Tight hips can be caused by a number of things, from sitting at a desk for hours each day to regularly hitting the gym.
This tightness comes from tension around the hip flexors, a group of muscles at the top of the thighs that connect the legs and hips. Not only do tight hips feel uncomfortable, they also increase the risk of injury and limited mobility later in life.
The good news? Even if you spend most of your day sitting, there are yoga poses you can do to keep your hips healthy and happy. Yoga teacher Mary Goodsell has shared five poses to release tension and improve hip mobility so you can move more comfortably.
Five yoga poses to release tension in your hips
1. Child's pose
"Child’s pose is a beginner-friendly hip stretch that’s great for easing tension through the hips and into the lower back," says Goodsell.
- Kneel on the floor and sit your hips back so your butt rest in between your heels. If you find this position too intense, place a block under your butt.
- Lean forward to rest your forehead on the floor while keeping your butt on your heels. Move your knees out to the sides if you find it more comfortable.
- Place your arms next to your legs, palms facing up.
2. Figure four
"The Figure 4 pose will help stretch tight glute muscles and hamstrings which can cause pain in the hips if not stretched out regularly," says Goodsell.
- Lie on your back on a yoga mat.
- Bend your knees and lift your feet so the knees are directly over your hips.
- Place your right ankle over your left thigh. To protect the right knee, flex your right foot by reaching your toes toward your shin.
- Hold the back of your left leg with both hands and gently pull it towards you until you find a stretch you're comfortable with.
- Repeat on the other side.
3. Low lunge
"Low lunges are a strong stretch so approach them with caution," says Goodsell. "They are great for mobility however, so adjust to what feels good for you."
- From standing, step your right foot forward. Engage your lower belly and lift your chest. Keep your hips level and facing forward throughout.
- Bend both knees to lower. You can place your rear knee and the top of your rear foot on the floor, or keep the knee off the floor and stay on your toes.
- Move your rear foot backward until you feel a stretch in your rear hip and thigh.
- Sweep your arms overhead so your biceps are next to your ears, or place your palms on your front knee.
4. Frog pose
"Frog pose helps stretch up over the hips, glutes and into the lower back too," says Goodsell.
- Stand with your feet wider than shoulder-width apart and toes pointing out at an angle.
- Keeping your feet flat on the floor, bend your knees and push your hips back to lower, bringing your butt as close to the floor as possible.
- If you find it too hard to keep your feet flat on the floor, use an angled foam block underneath your heels for support.
- Hold this deep squat position for a few breaths. You can also move around in the pose.
5. Pigeon
"Pigeon pose is really impactful for stretching the front of your hip flexors, an area which is often ignored," says Goodsell.
- Start in a high plank position, on your hands and toes, with your arms extended and hands underneath your shoulders, and your body in a straight line from head to heels.
- Bring your right knee forward towards your right wrist.
- Move your right ankle towards your left wrist.
- Slide your left leg back and place the top of your left foot on the floor.
- Keep your hips level. If you find this hard add a yoga block under your right buttock.
- Walk your hands forward and lower your torso towards the floor.
- Rest your forearms and forehead on the mat if your flexibility allows.
Shop yoga blocks

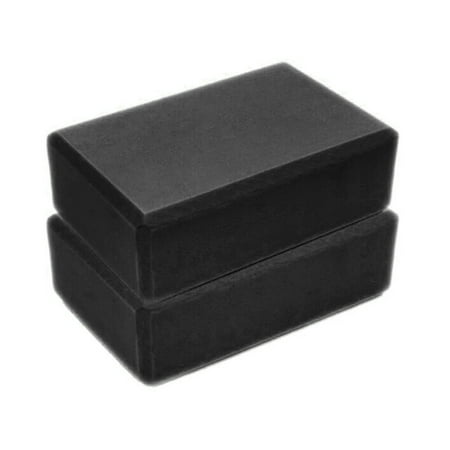
Less than $1 for one with four different colors available.

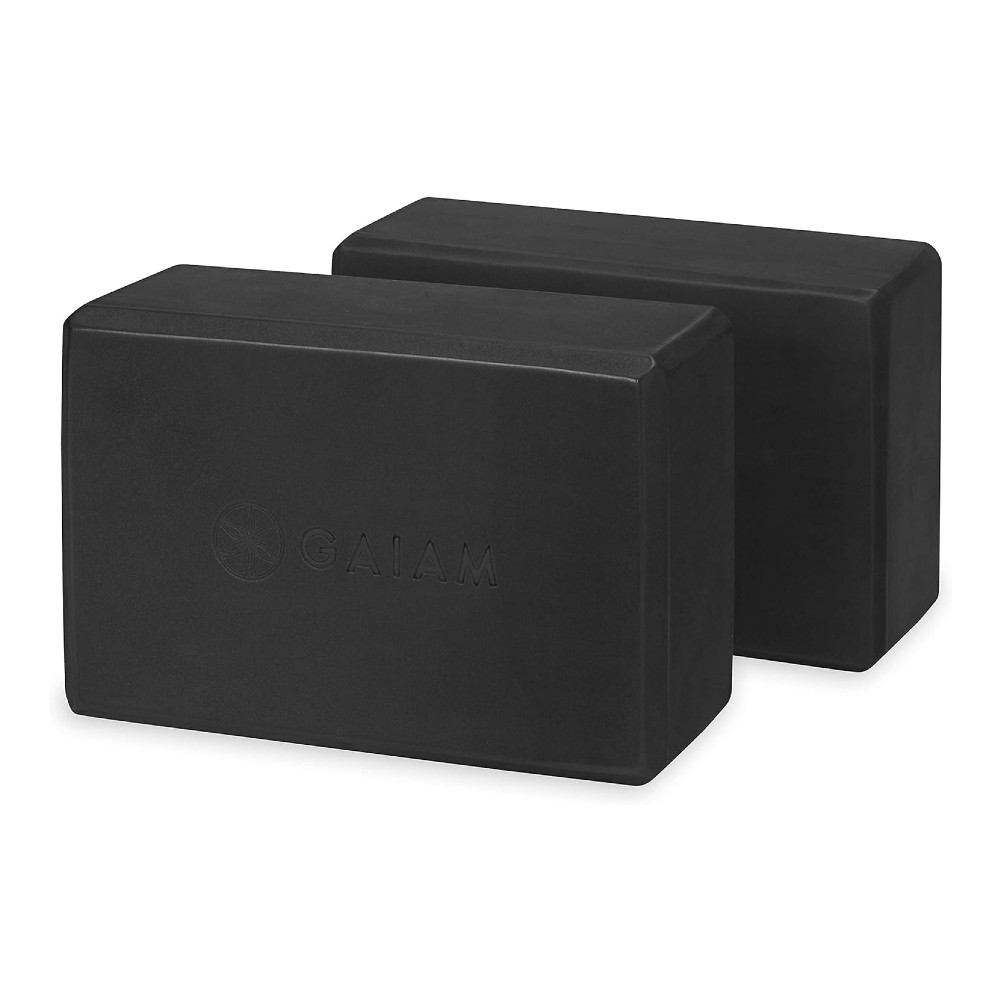
Amazon's number one best-selling yoga blocks.

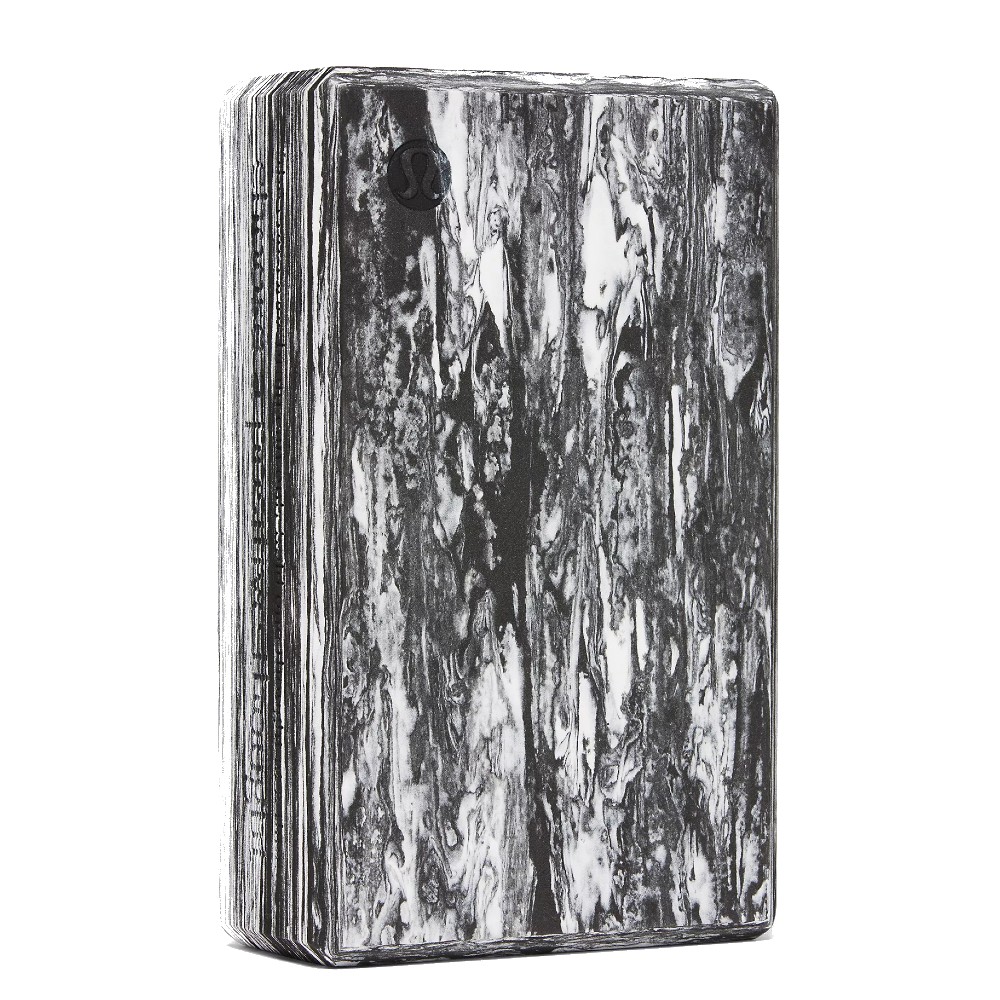
A stylish upgrade that's a little thinner than other blocks.


