Get all your news in one place.
100's of premium titles.
One app.
Start reading
Digital Camera World
Peter Fenech

This camera gear was never intended for panoramas – yet you can still shoot a macro panorama with it, and here's how

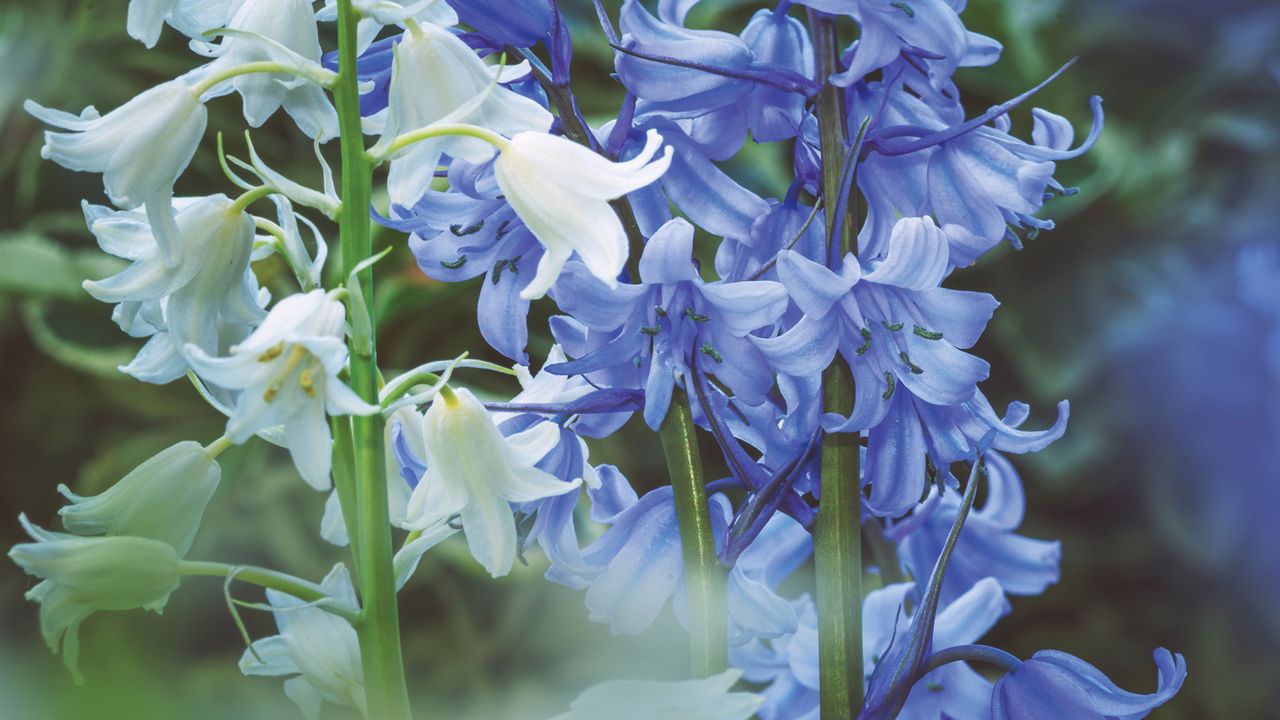
Close-up of delicate white and bluebell flowers with green stems against a blurred natural background.

Macro photography is recognizable by its characteristic shallow depth of field and tight framing. In the majority of close-up images, a single subject is isolated in the frame, with a sharp falloff in focus in front of and behind the subject.

This type of composition is fantastic for highlighting details and creating a bug’s-eye perspective. However, there are disadvantages to the macro point of view, namely a removal of context – a limit to situational coverage.
Sometimes we want to show how our subject fits into the environment beyond the frame edges, to tell our viewers a little more about it. And photomerging can provide an answer.

Traditionally, panoramas are associated with landscape photography – yet the widescreen format can lend a unique style to macro. Due to the specific challenges of the genre, however, we must adapt our approach to the shooting process.

As we will be rotating the camera, it's critical to observe the effect on focus placement and make adjustments. Fine control over focusing and exposure is necessary to produce an effective, engaging and successfully merged panoramic view.

For this technique, try using both a true macro lens and a telephoto zoom with a close-up function to see which gives more manageable results.

6 pro shooting steps

1. Set camera height

(Image credit: Peter Fenech / Future)

Start by lowering the tripod so that the camera is aimed at the subject from 90°. This reduces the impact of parallax issues during image stitching and increases depth of field over the subject.

2. Perform test pan

(Image credit: Peter Fenech / Future)

Decide exactly how much of the scene you want to cover and calculate where to start and end your pan movement, as well as how many images this may take to complete.

3. Lock exposure

(Image credit: Peter Fenech / Future)

Find the ideal exposure, then lock in these settings by switching to manual mode and entering the shutter speed and aperture values. This prevents brightness from changing between segments.

4. Focus first segment

(Image credit: Peter Fenech / Future)

Zoom in using Live View to focus the first segment. Here the subject was not visible in the first image, so the distance between it and the camera had to be measured and the focus estimated.

5. Pan and refocus

(Image credit: Peter Fenech / Future)

Shoot the first image and rotate the camera to shoot the second. Ensure the focus position is kept at the same distance relative to the camera to maintain sharpness over the subject.

6. Repeat and stitch

(Image credit: Peter Fenech / Future)

Using a smaller f-number will minimize focus changes between images, but you may need to reshoot several times to perfect focus placement. Turn on focus peaking to visualize the focal plane.

You might like...

Browse the best cameras for macro photography, the best macro lenses and the best telephoto lenses.

Sign up to read this article
Read news from 100's of titles, curated specifically for you.
Already a member? Sign in here
Related Stories
Top stories on inkl right now
One subscription that gives you access to news from hundreds of sites
Already a member? Sign in here
Our Picks
Fourteen days free
Download the app
One app. One membership.
100+ trusted global sources.