Remnant 2 is Gunfire games take of the souls genre. Where once sword and magic dominated in a fantasy realm, Remnant 2's version features guns, lasers and Star Gate portal worlds. Fight through expansive, procedurally driven worlds in solo, and in coop.
Follow our guides on how best to tackle these dungeons, enemies and various bosses. We'll help you get the most out of your experience. It should be easy since we already went through all the pain and suffering for you!
Enemies and layout
- Root Zombie: Walking targets as far as I'm concerned. The one concern they bring is their randomness. They'll spawn in front of you as often as they will behind you during a fight, potentially overwhelming you in numbers. Stay consistent in taking this out ASAP.
- Root Wart: These guys have slightly more health but can be taken out either from a distance or a well-timed dodge. As they'll dive to explode on you, but you'll have a decent moment to dodge out of the way.
- Root Shaman: If there's a shaman in the mix, kill it immediately. These guys will resurrect the zombies infinitely until they're down.
- Root Hulk: Big Root Zombies that essentially that have equally more health as the damage they deal.
- Root Rot (Optional): A smaller version of the Rot boss. This guy hangs out beneath the angel statues in one variation of the dungeon.
- Root Angel (Optional): Depending on the version of the Twisted Chantry that you get, you may or may not have an option location where these come from. They're terrifying statues that mimic Weeping Angels from Dr. Who. Whenever the player is not looking at them, their stone steps can be heard moving toward you. Look back at them, and they'll freeze in their tracks. They cannot be killed.
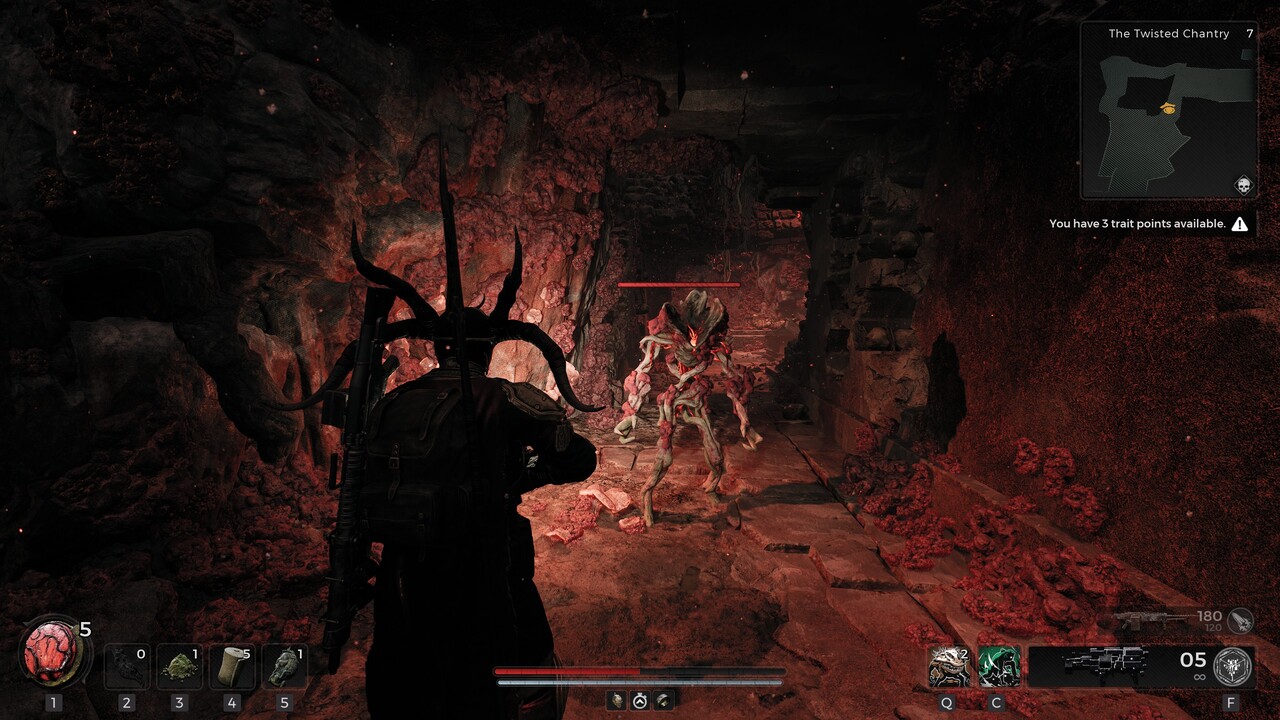
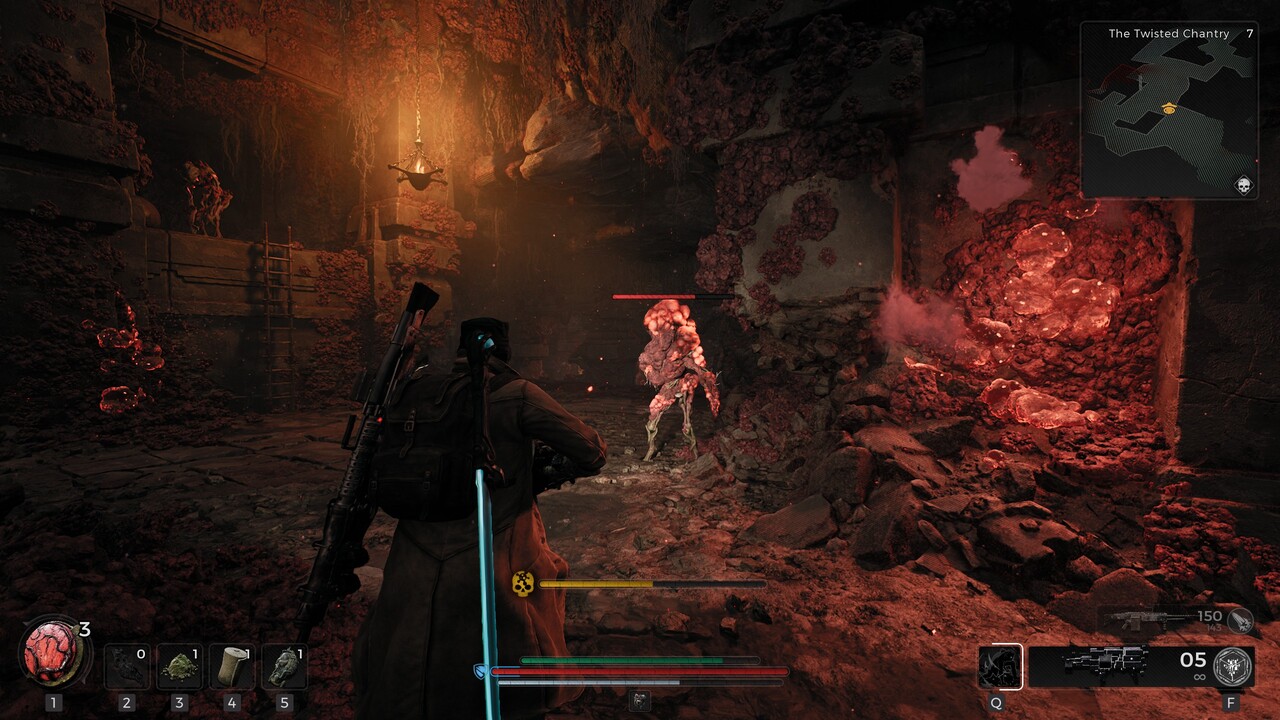
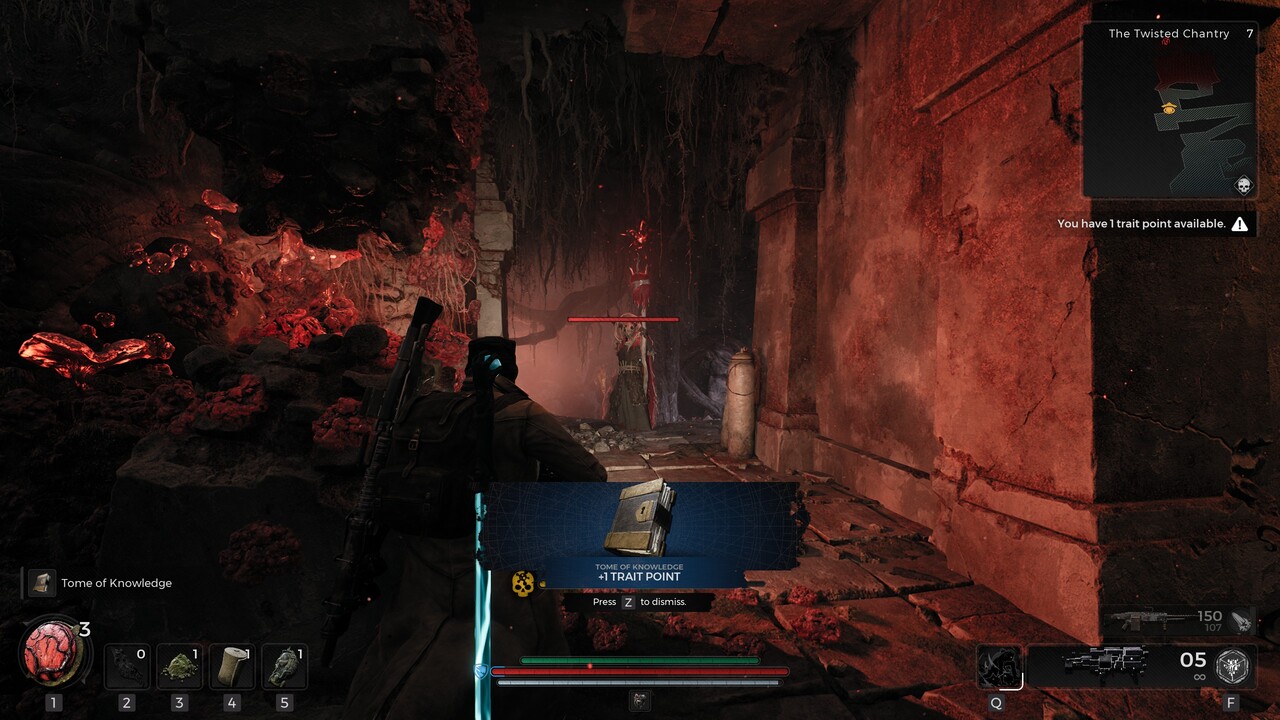
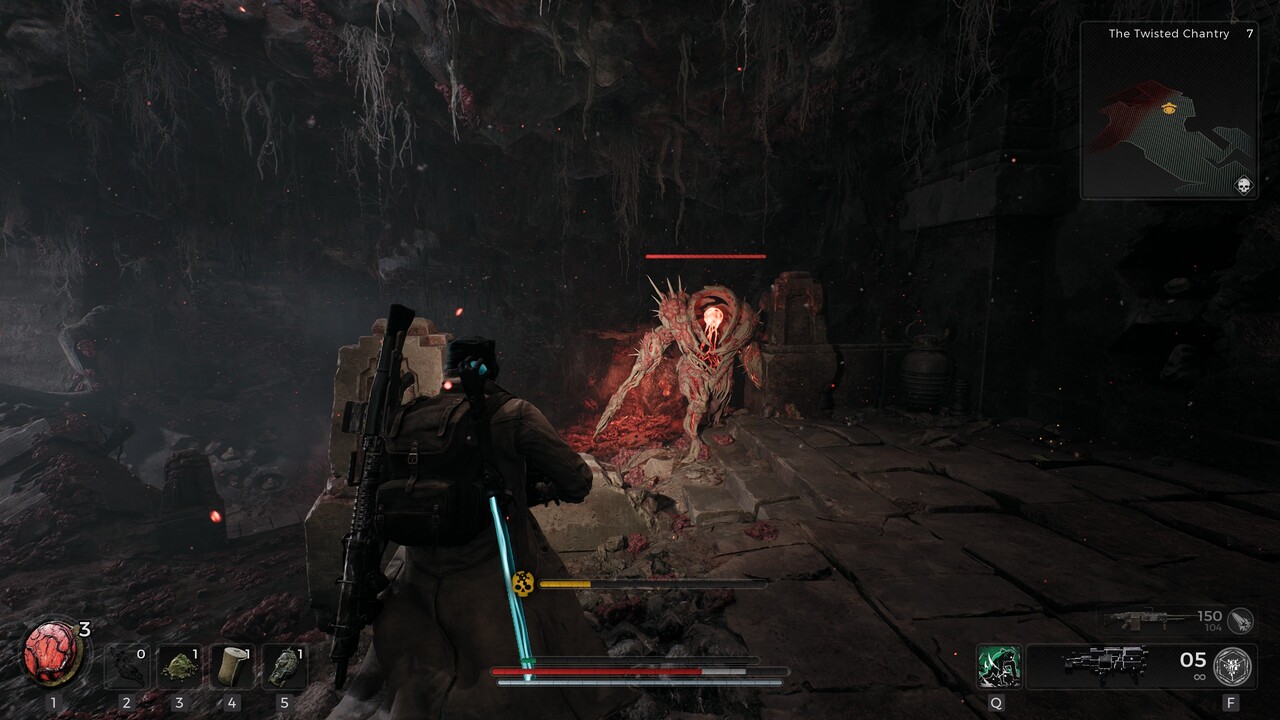
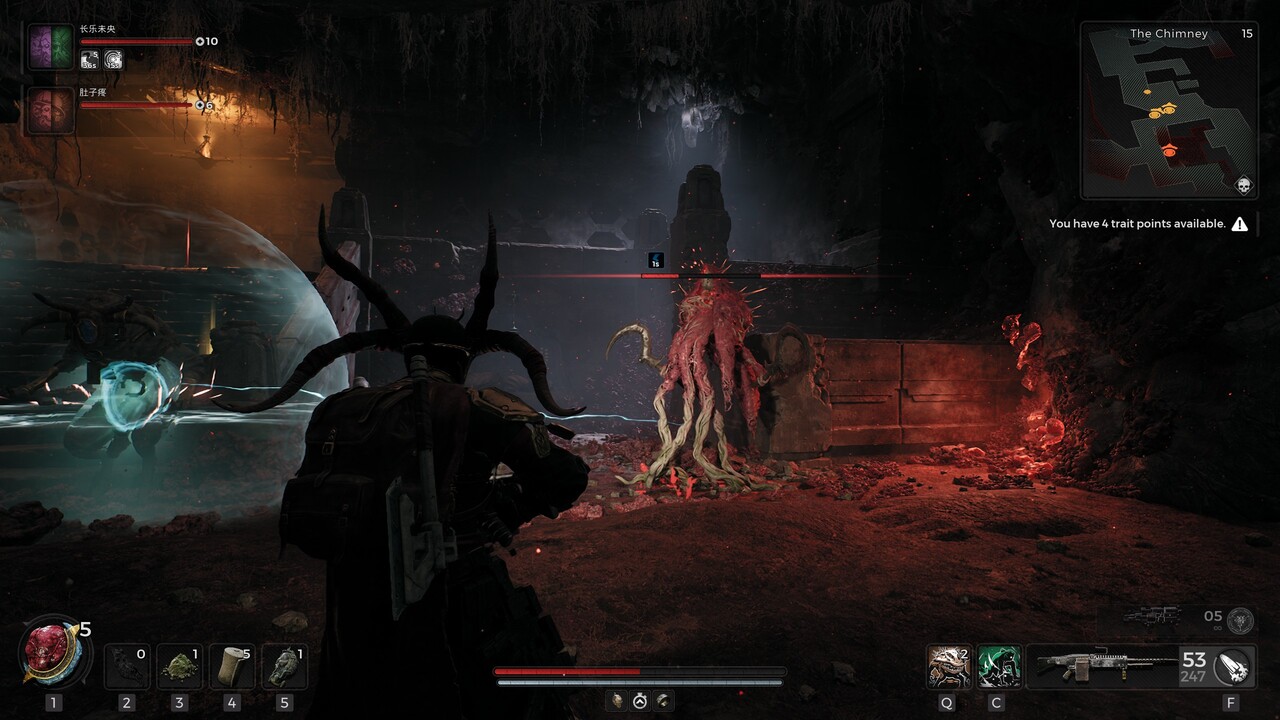
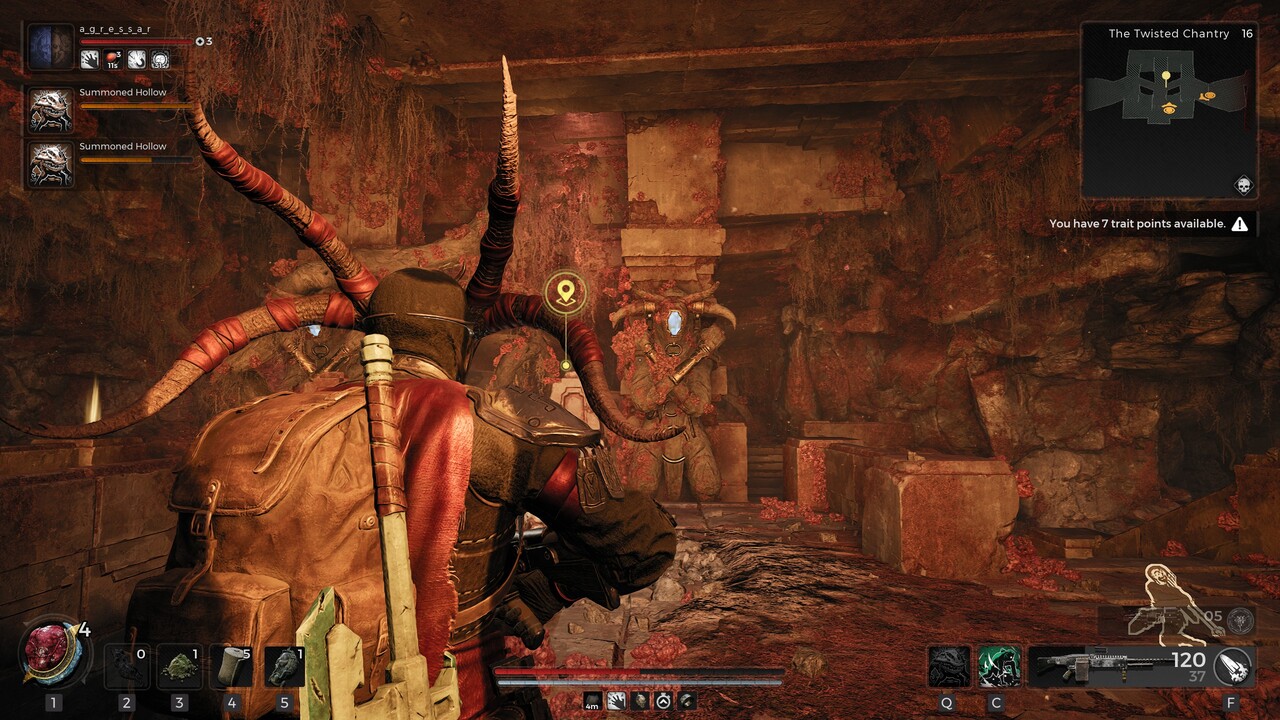
There are two layouts which seem to be at work for Twisted Chantry. The first layout we'll talk about, is the one I encountered. The layout of this area is pretty straightforward.
For me, it went in a big loop winding downward. On the way, there are two bosses in this place. Depending on how you choose to tackle them, I faced Rot first.
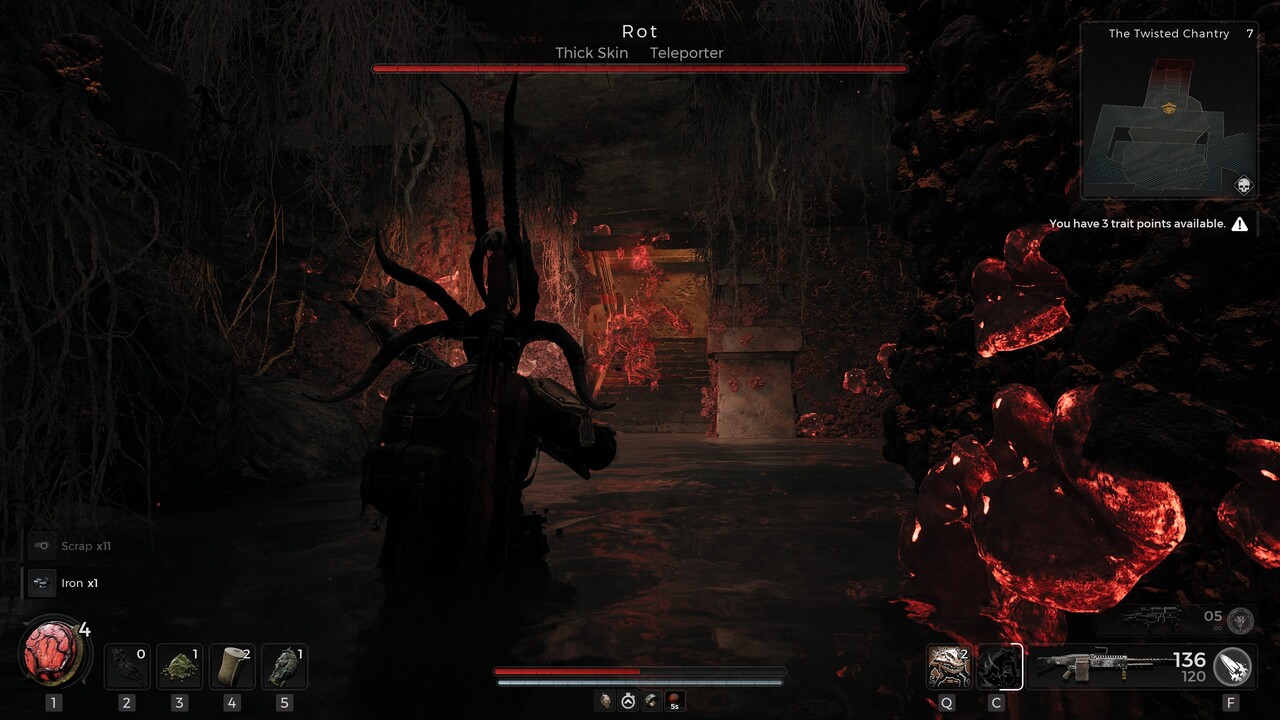
Boss Guide: Rot
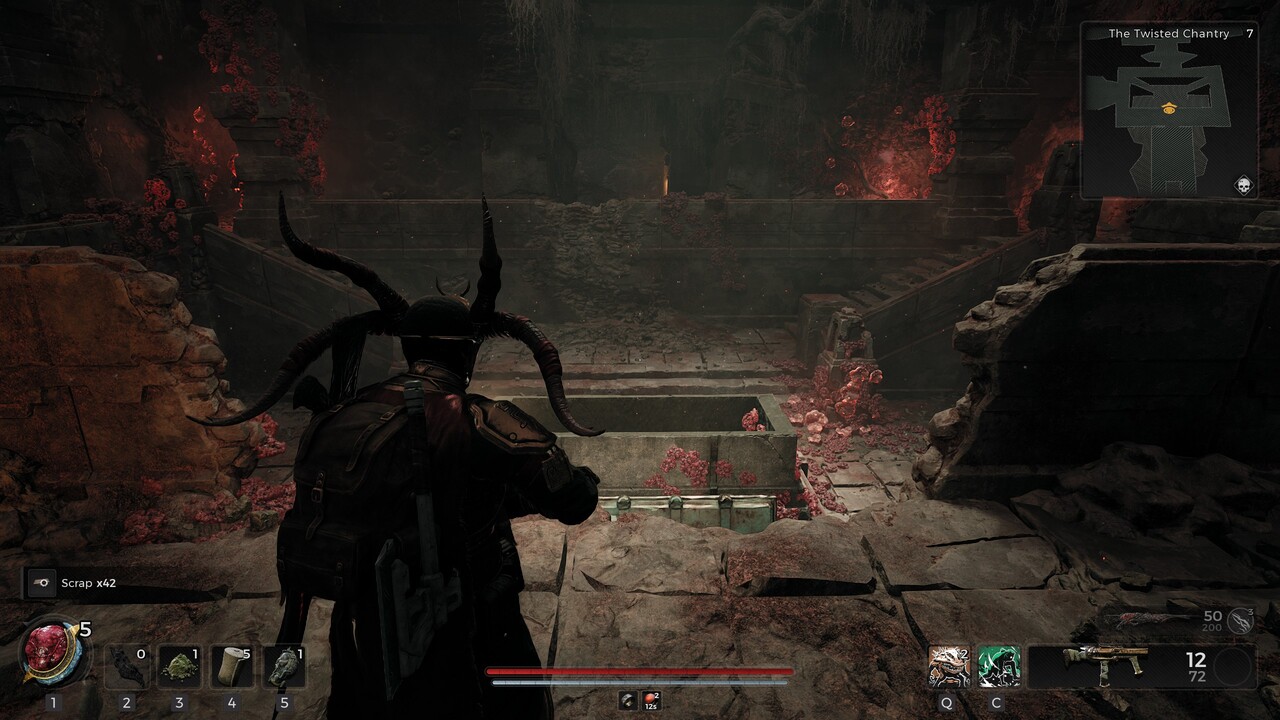
You'll need the "coffin" layout to get this optional boss. You'll find a coffin in the center of a room, as shown in the picture below. The player must jump from the ledge into the center of the coffin in. Crouching, you can then step out and find a swarm of Root Zombies. Kill them all, and the boss will spawn when moving forward
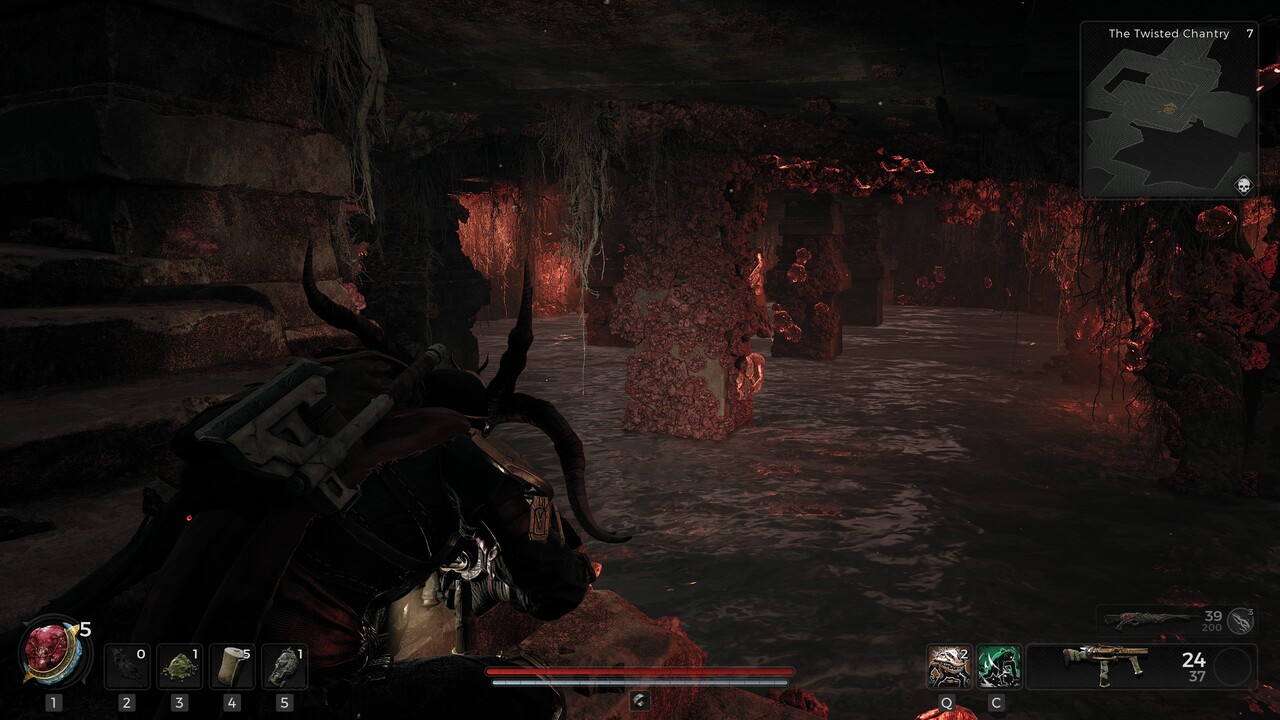
If you play it right, this guy is an absolute pushover compared to Legion. Walking into the water is dang near a death sentence, as you can't move freely through the liquid. The best advice I can give you is to use the staircase you came in on to kill him. He'll come after you, but jumping off the stairs when he comes on it and running back on after will keep him away. Shoot him in between having to move; this boss is a piece of cake.
The Rot drops the Twisted Extender Mutator, which increases magazine capacity by 20%. I've been using an LMG, and this mutator extended my capacity from 150 to 180 total rounds per clip.
Root Angels - Secret Room Guide
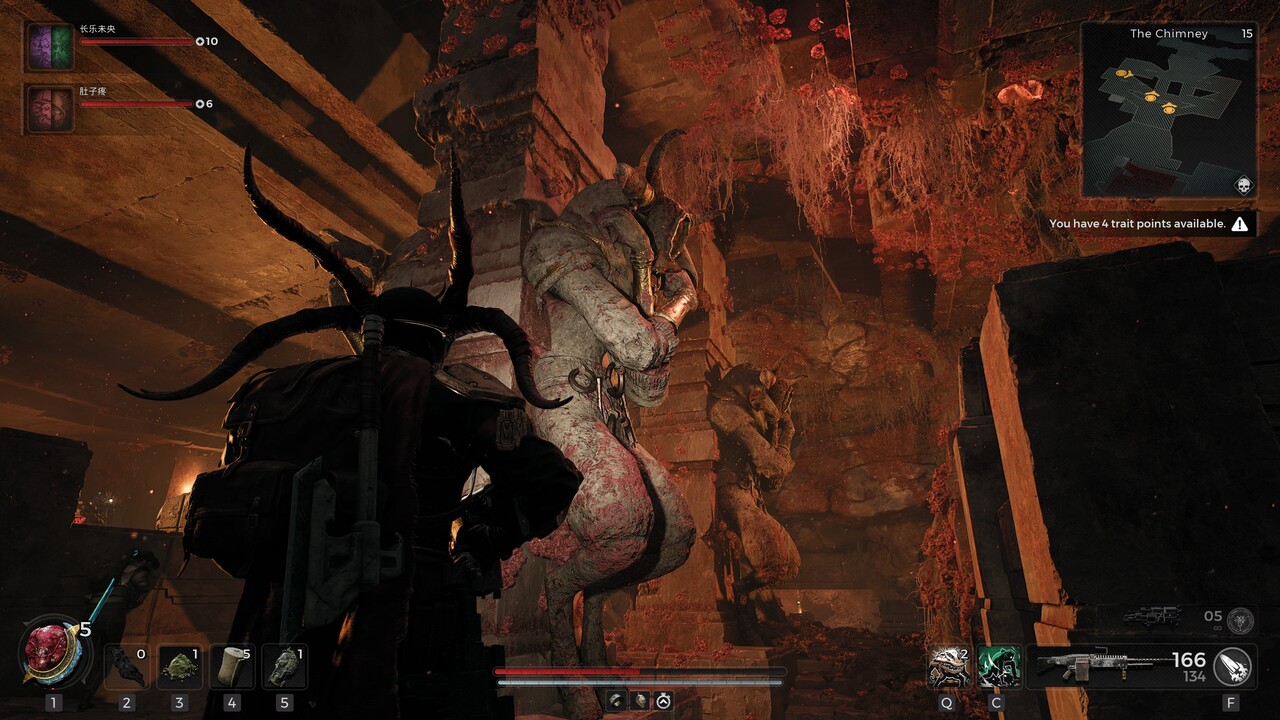

If you have the alternative layout, you'll see statues of what I call Root Angels. I love and hate these enemies since they strongly remind me of Dr. Who. The enemy that would kill you if you weren't looking at them. This has also been done in the SCPP, for those familiar.
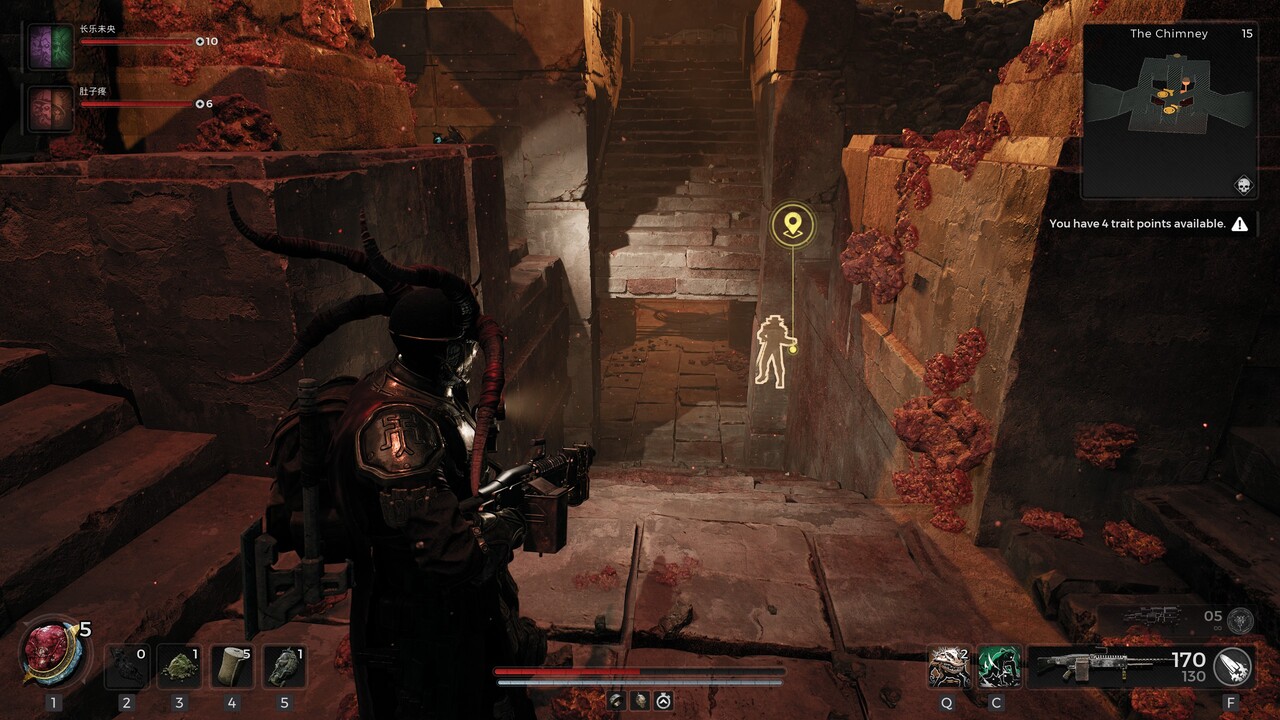
These statues contain a blue crystal in their forward, shoot all four crystals, and a secret staircase will open in the floor. Walk down, and you'll encounter an empowered slasher-type enemy.
Dispatch it, but keep an eye on the Root Angel, as it will one shot you if it gets close enough. Go ahead and grab the treasure chest ahead along with the items it contains. You can head back up afterwards and proceed ahead to Legion.
Boss Guide: Legion
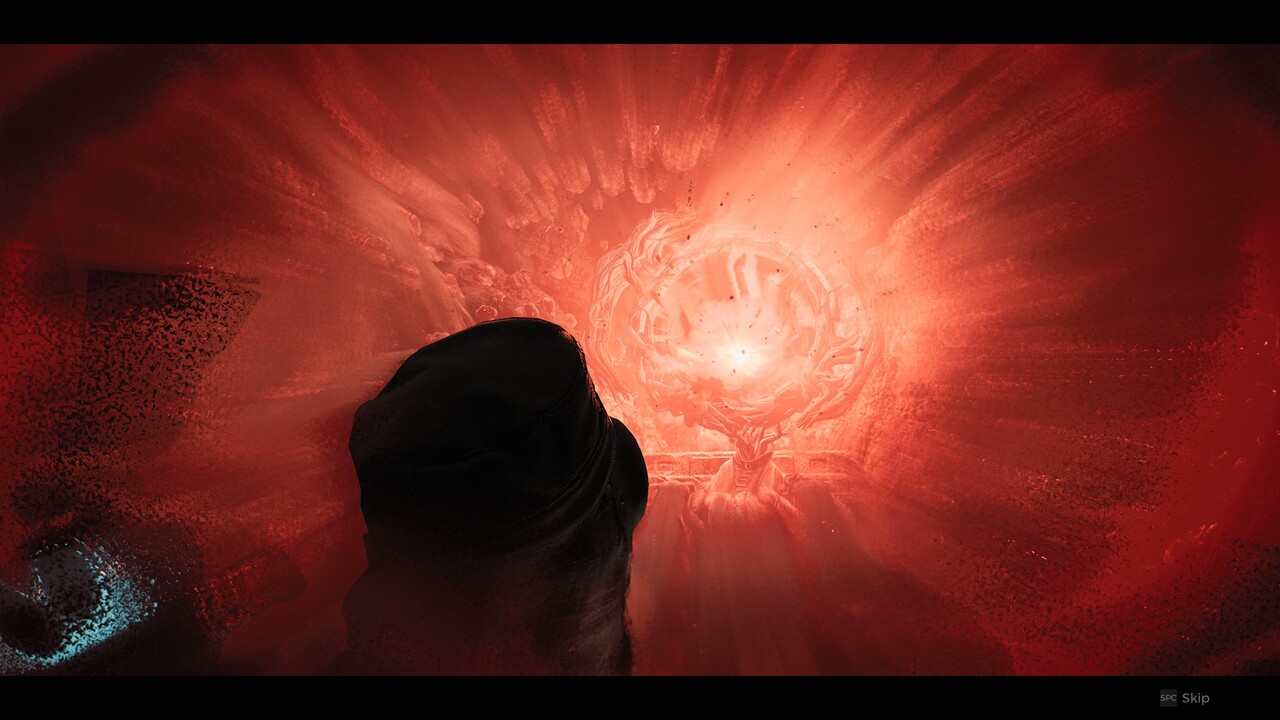
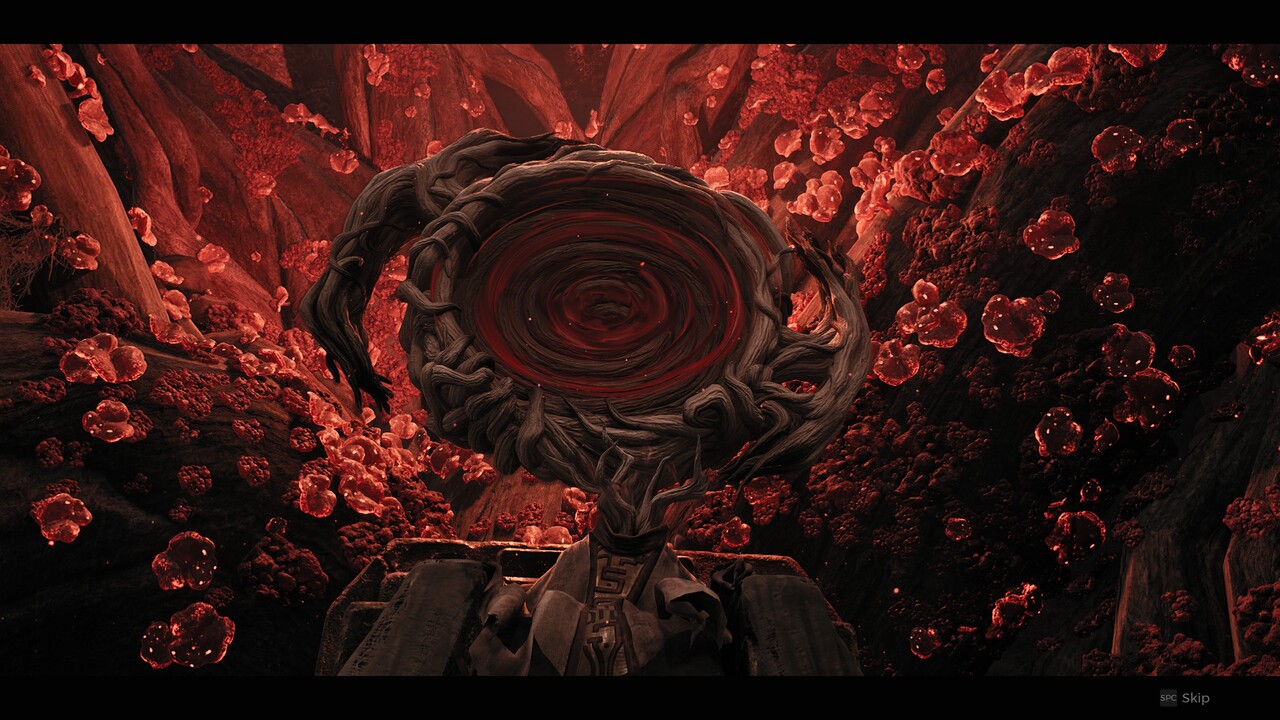
The nightmare is a circular portal device that pulses above the head of the boss. While the red aura is active and emanating, it can cause madness but is much weaker than gunfire. Take this time to pump it full of lead or whatever ammunition your weapon fires. Hit it and hit it hard. Keep your madness meter in check, and duck behind a wall when it gets too high. You can't attack the boss directly. The only way to hurt him is by hitting the red circle.
A wave attack will occasionally arise from the back of the room where the boss is sitting. When this arrives, the only way the player can avoid taking damage is to time their roll. This will completely negate injury using i-frames. Keep an eye on it throughout your fight with the circle.
Upon defeat, the boss will drop Agnosia Driftwood. This can be used to create the mod, Fargazer. This power called forth an eye of Legion to gaze at the player's AIM target. For every 0.25s Fargazer focuses on a target within 25m, a stack of MADNESS status is applied for 5s. Each stack deals 9.1 damage per second. Max 10 stacks and will last 30.6s. The enemy will take a whopping 91 damage a second when maxing stacks.
That's it for our Twisted Chantry guide. Let us know if you feel there's anything that absolutely needs to be added, or some correction in a variation that you saw!


