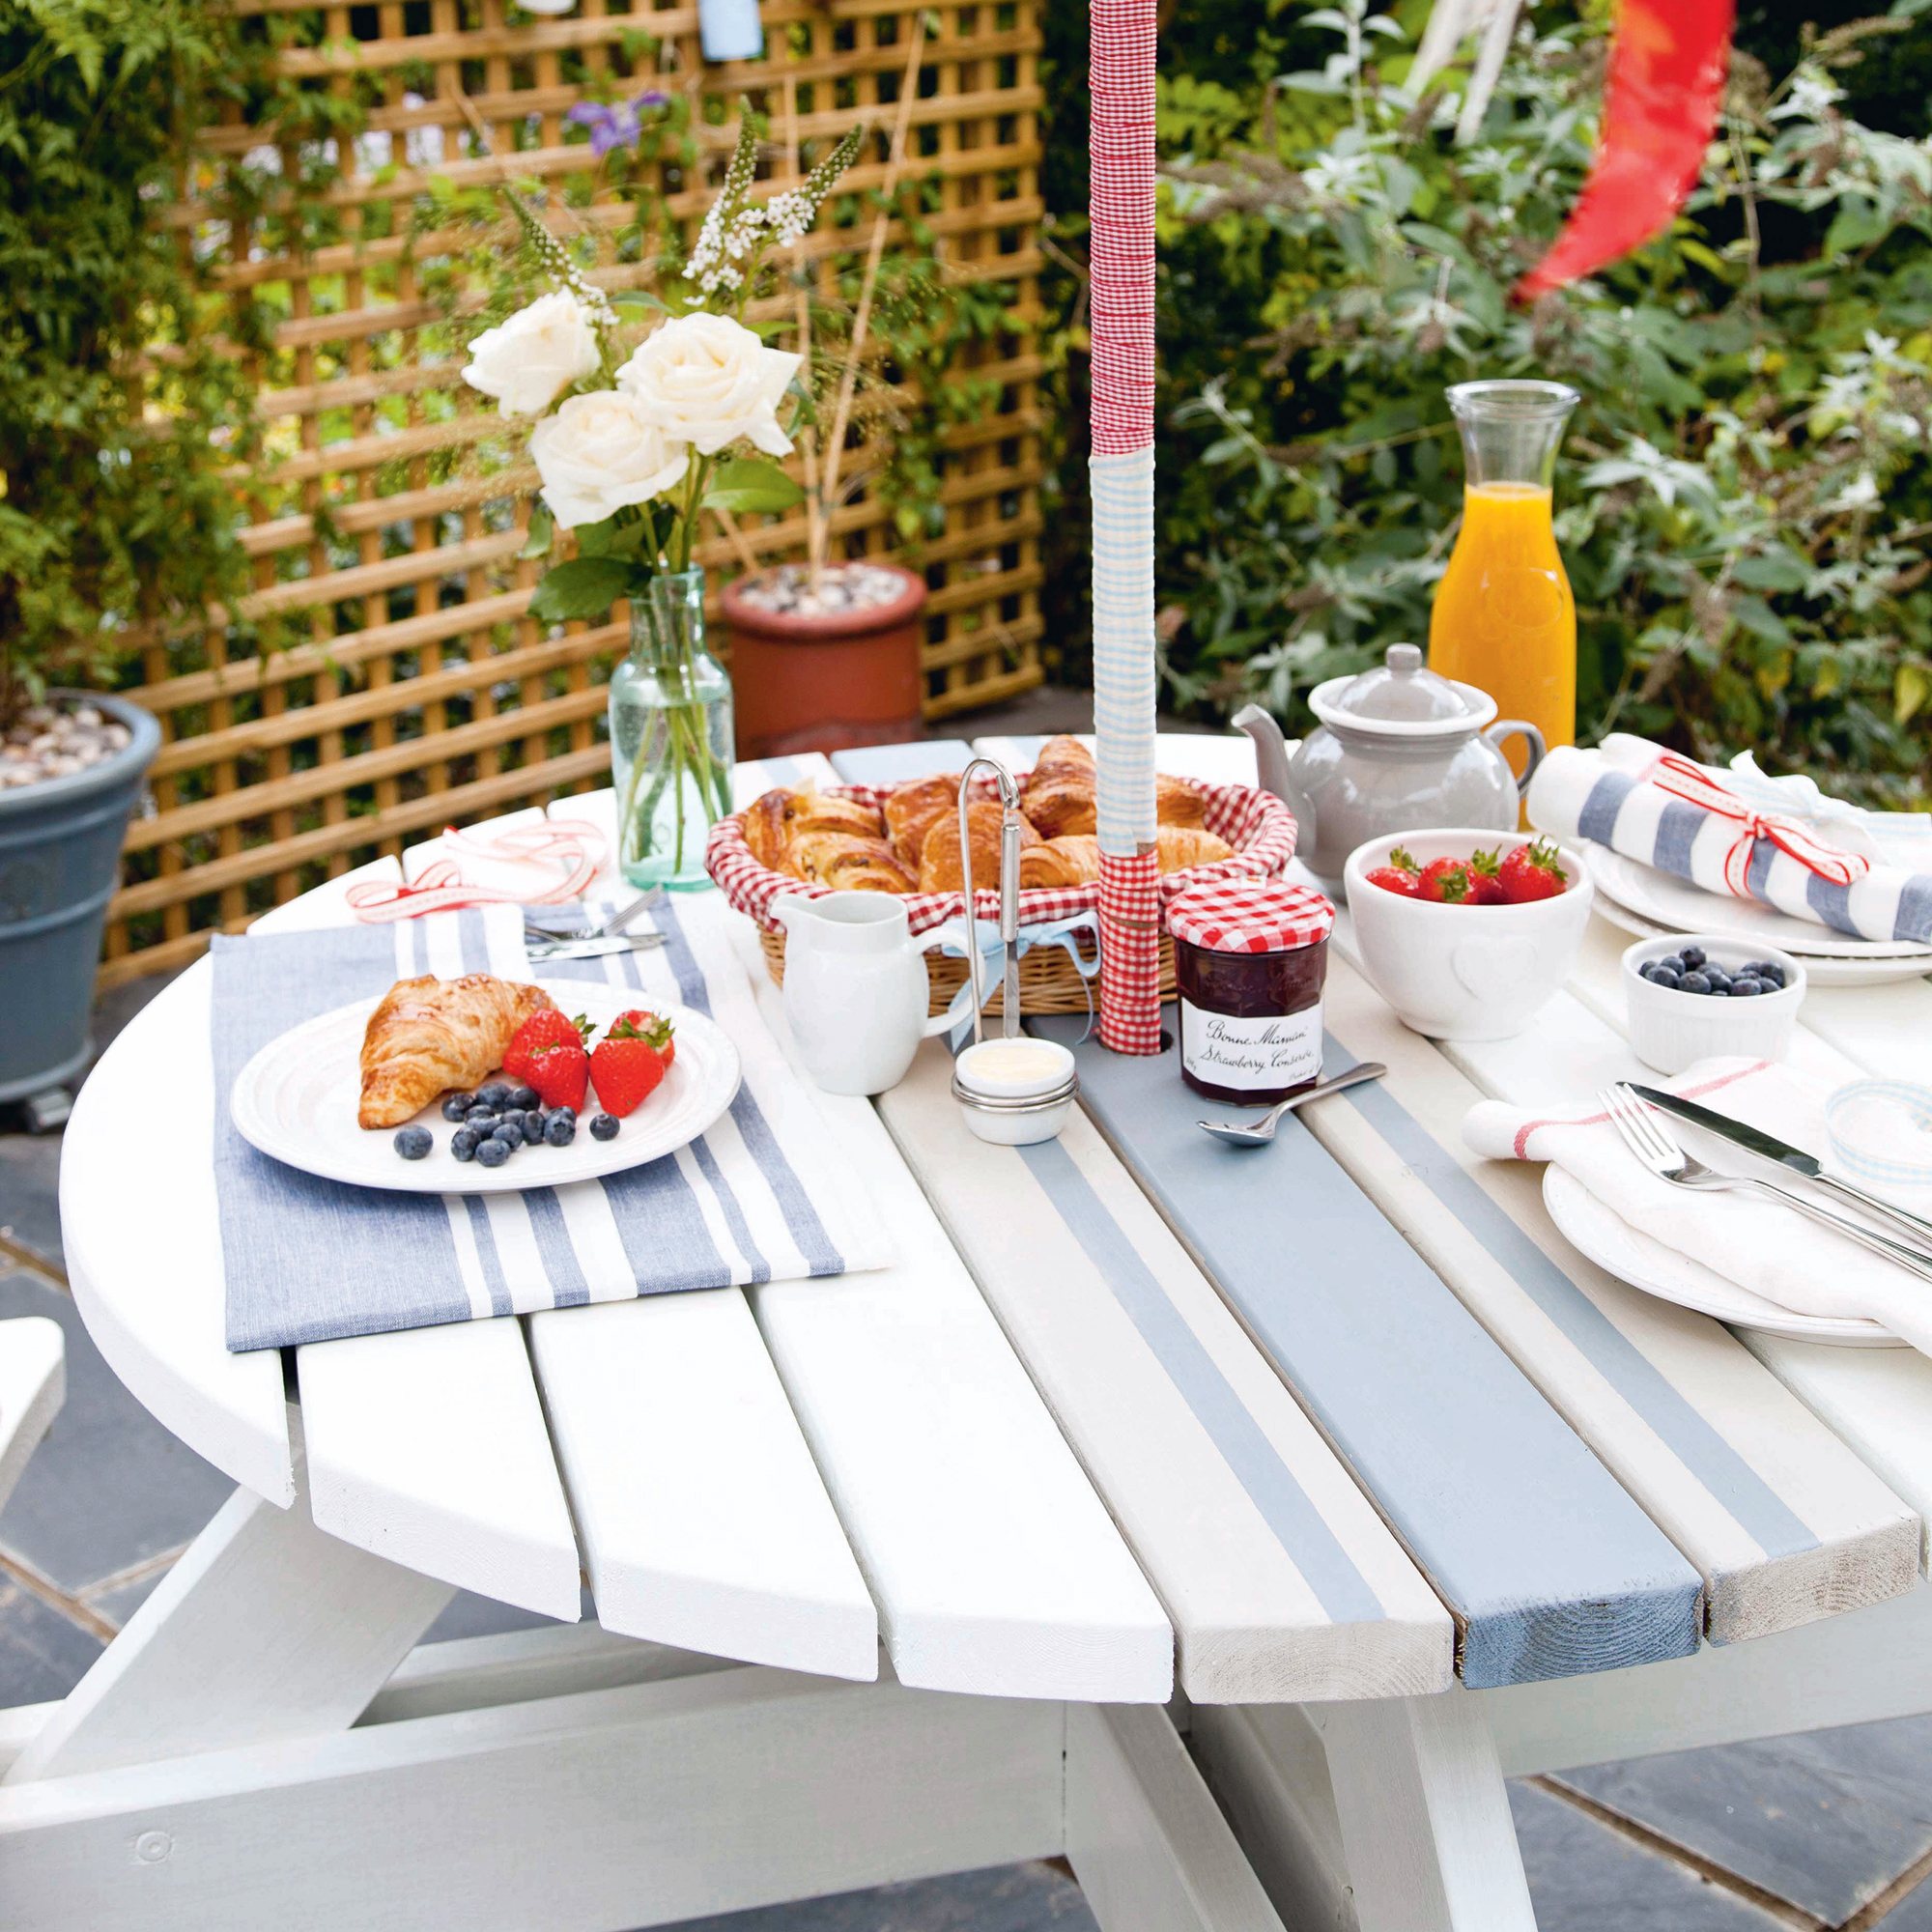
The warmer months have us considered what picnic table paint ideas to put into action. It's a chance to reinvigorate old pieces or add some personality to new purchases.
Even the best garden furniture can look a little tired after a few years of use, so if you're giving your table a lick paint anyway why not flex your creativity muscles at the same time.
Picnic table paint ideas
When selecting which picnic table paint ideas you wish to play around with, make sure the colour is right for your garden and the furniture.
'Select your colour palette based on shades that will fit with your existing garden design and your plants, and most importantly, bring a smile to your face,' suggests Ben Thornborough, co-founder of wood and glass paint specialists Thorndown.
'Use sample pots to make sure you’re getting exactly the colour you want and always go with a wood paint that has been specially formulated for exterior use. This will ensure your chosen colours last longer.'
1. Go for a chic white-wash
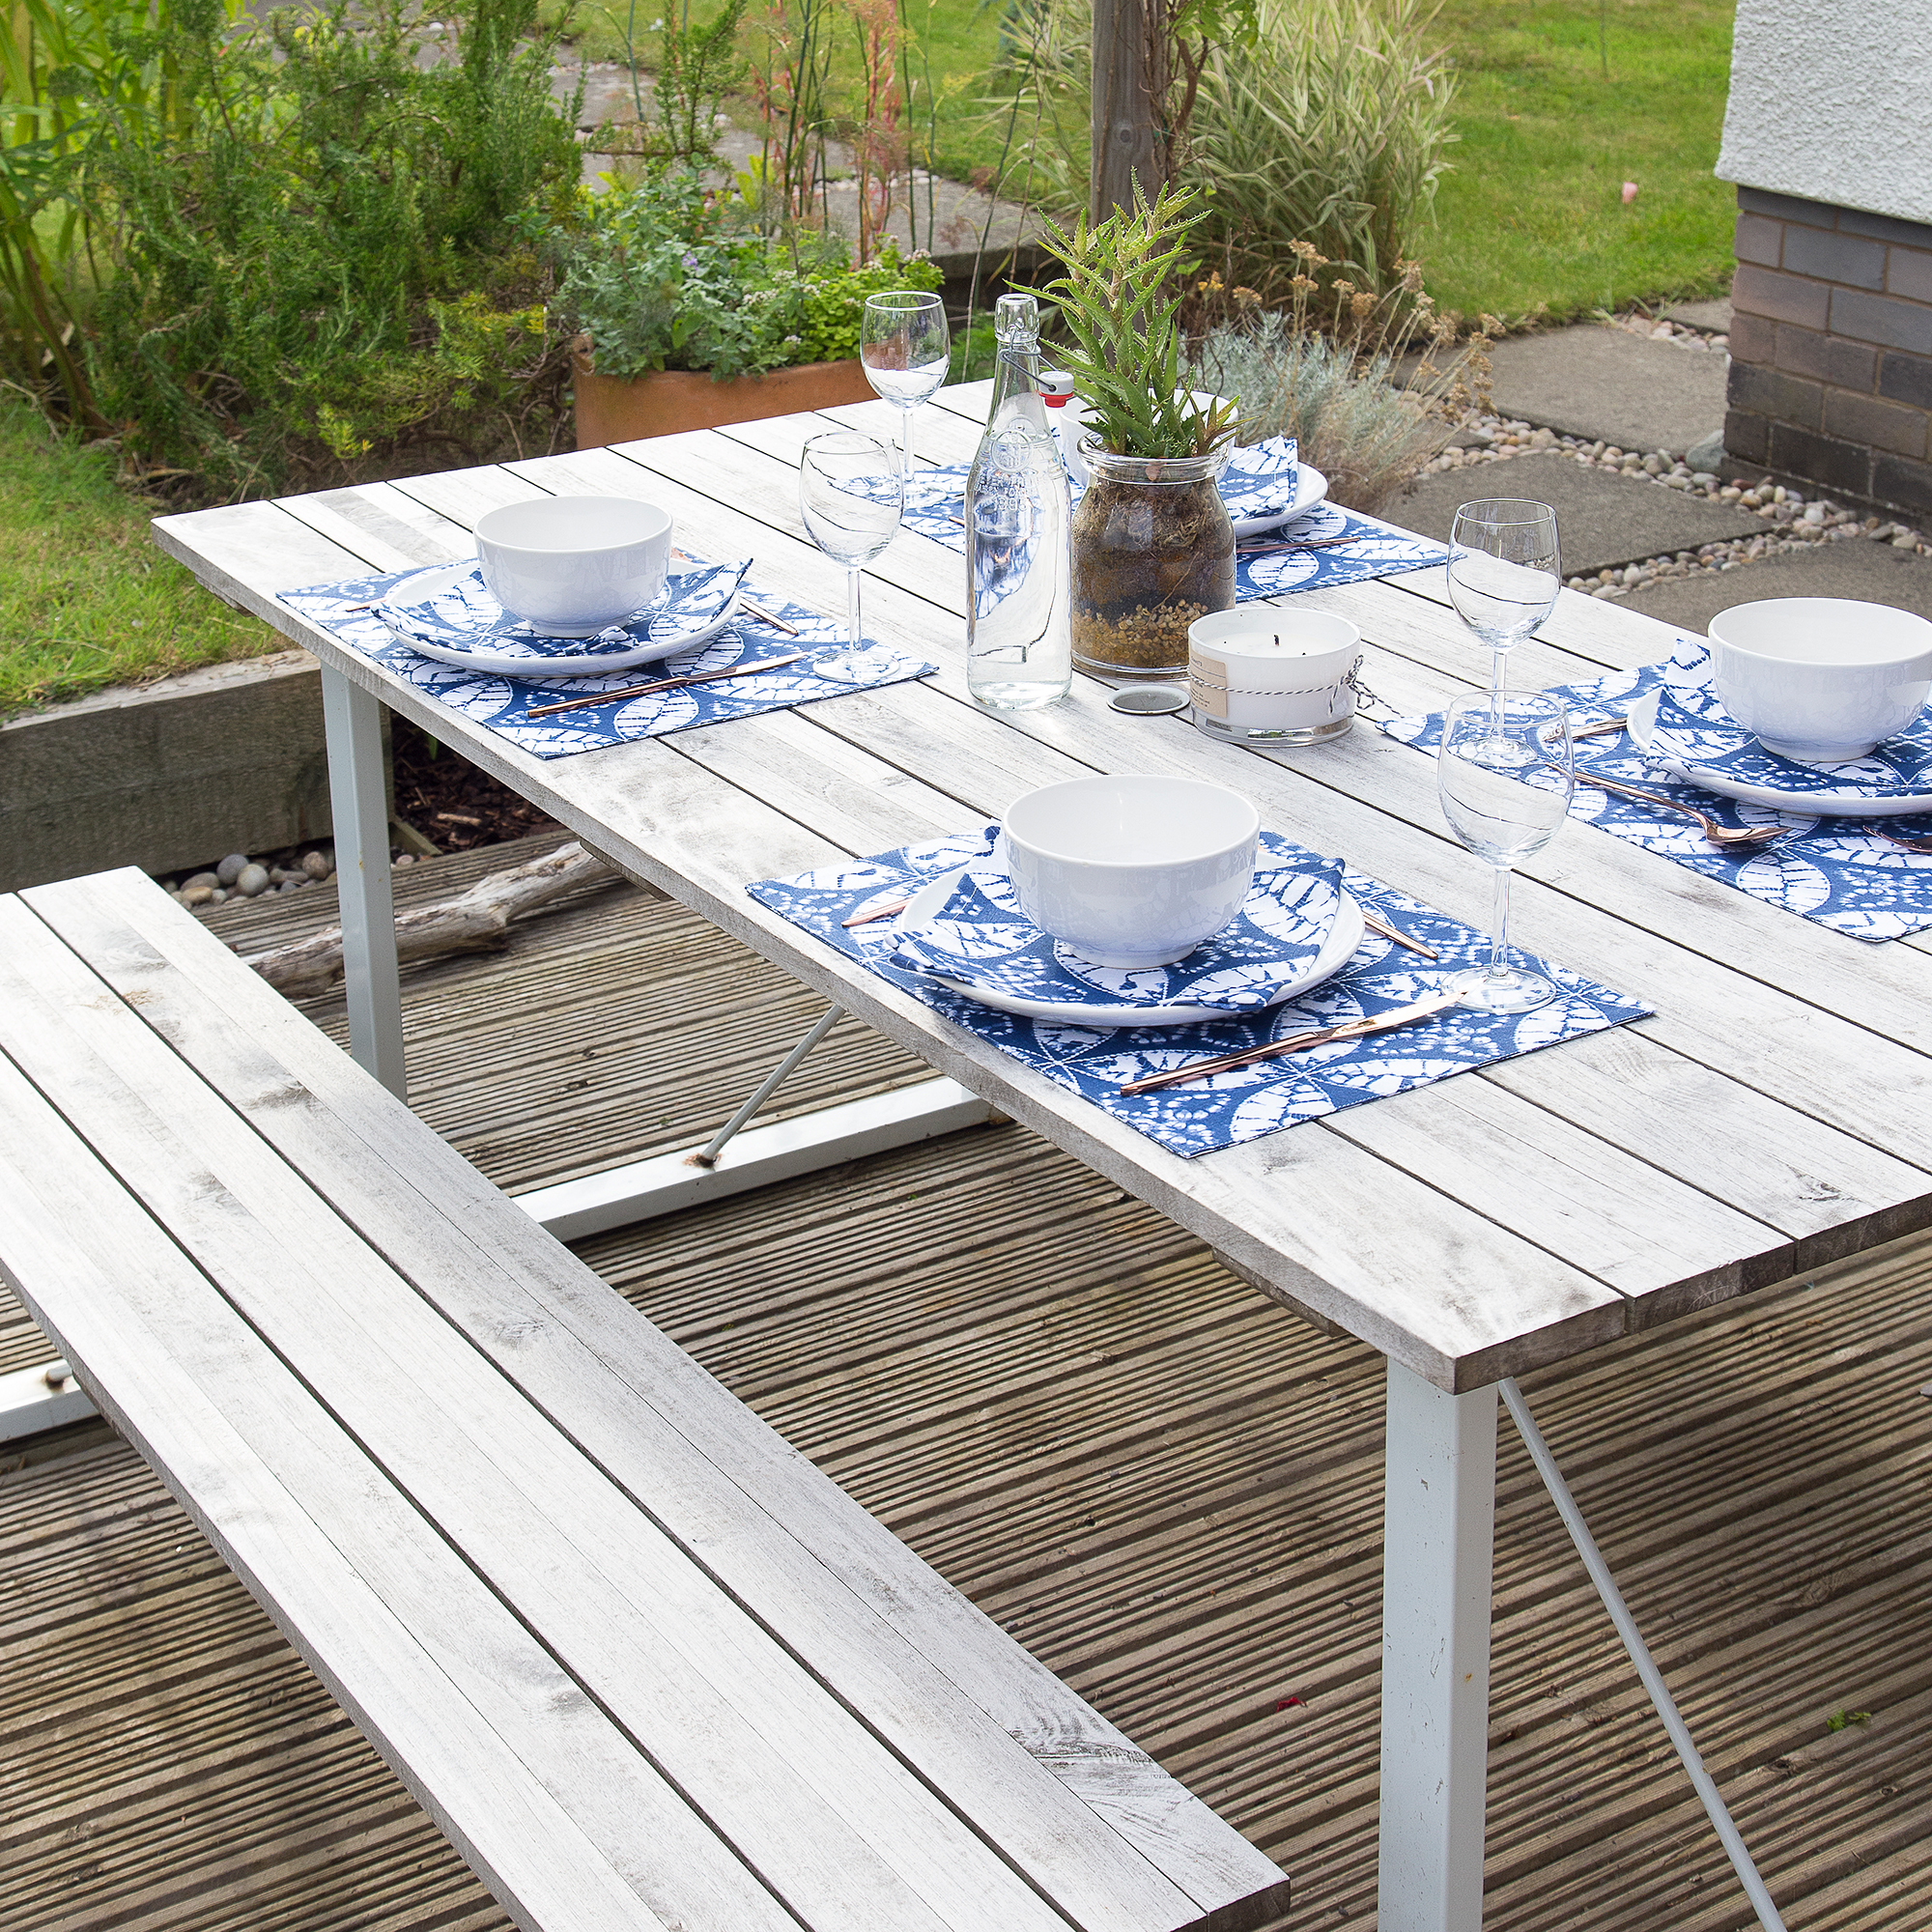
A whitewash effect works beautifully on outdoor on the best wooden garden furniture, adding either a relaxed coastal feel to your space. There are specialist whitewash paints for this, like the Village Green Wood Stain, from £3.95 on Amazon.
This is great for beginners because you don't have to be too neat. 'There are no mistakes in refreshing your outdoor furniture, only happy accidents,' adds Anthony Roebuck who specialises in watercolour painting and even recommends the medium for picnic table paint ideas.
'There are now watercolour products specifically designed for wood that can withstand the elements,' explains Anthony. 'I've seen some fantastic transformations with just a brush, water, and a set of outdoor watercolours. The wash of colours gives a soft, ethereal touch that can make your furniture look whimsical, almost like something out of an Impressionist painting.'
2. Contrast with painted seating
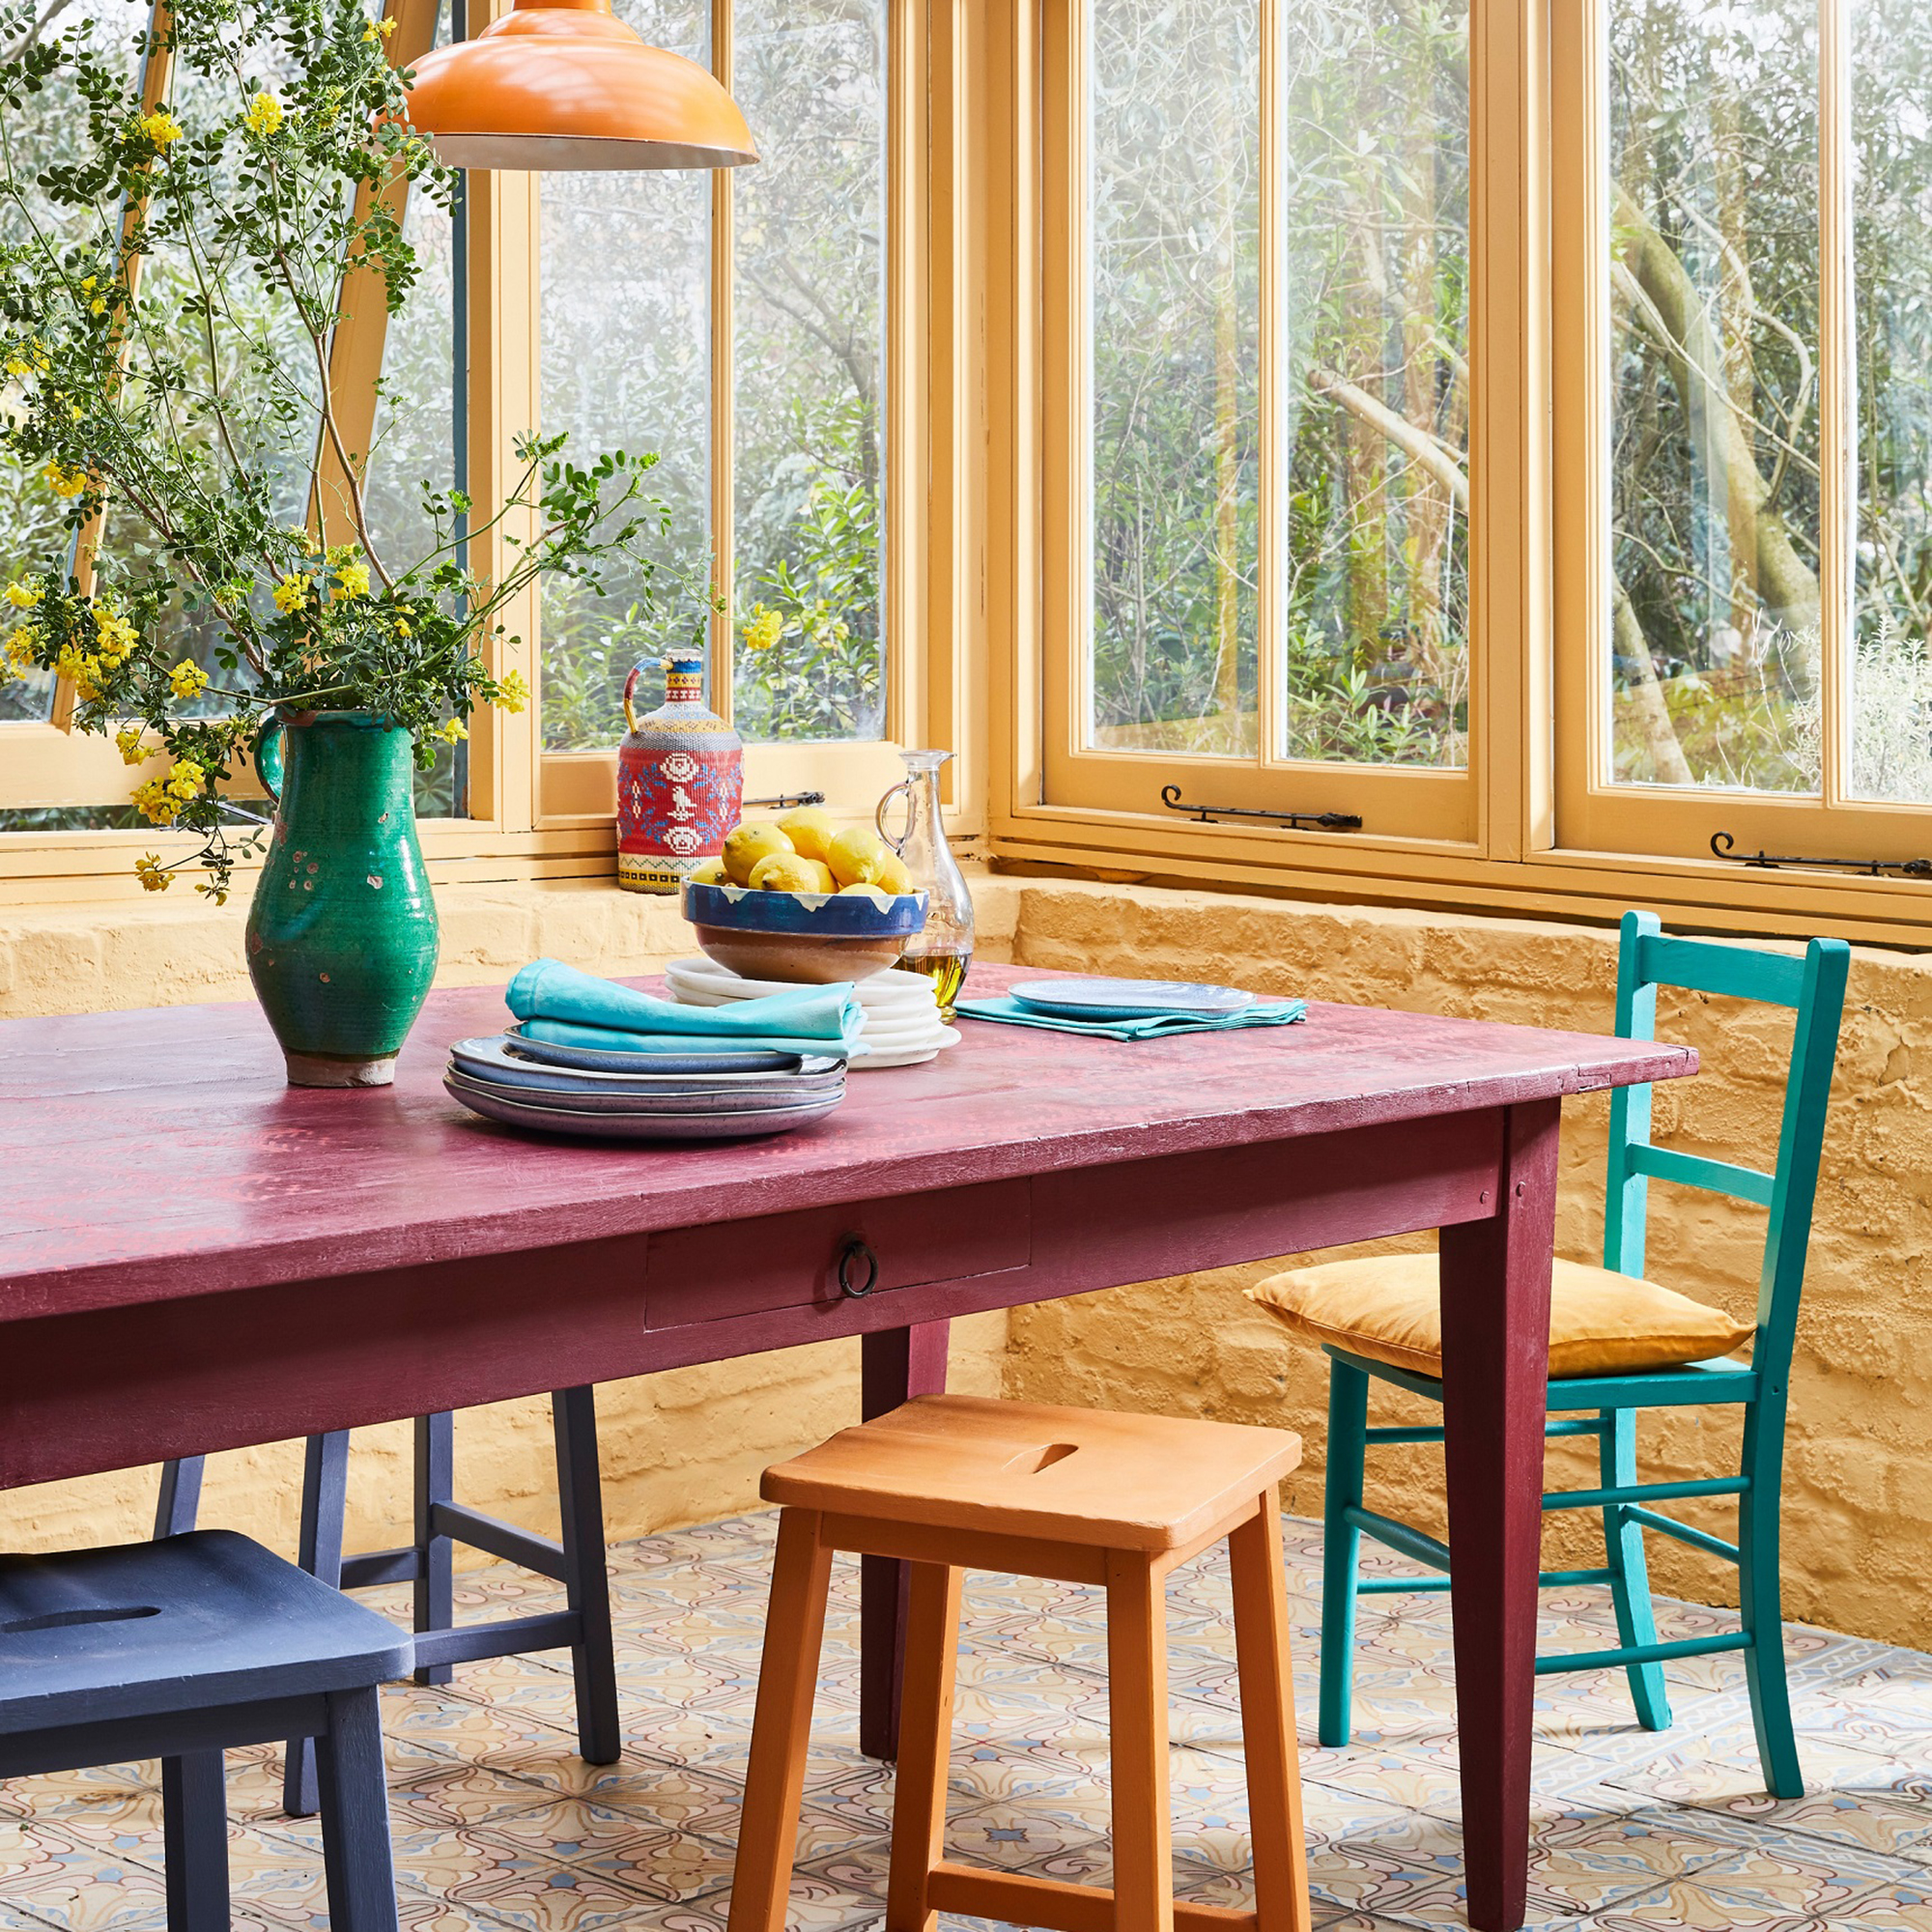
Whether you've chosen a bold and bright or a calm and gentle colourway for your picnic table paint ideas, you can add extra interest by painting your accompanying garden seating ideas in contrasting shades.
To stop the look from overwhelming, stick to a maximum of three colours for the seating pieces. 'For smaller pieces of furniture, such as chairs, a small brush will be the best tool,' says Tim Warren, DIY expert from Adkiwk. 'Larger items like wooden tabletops can be painted with a roller.'
3. Add in some stylish stripes

Once you've worked out how to paint garden furniture successfully it's time to start playing around with designs. Stripes are one of the easiest patterns on picnic tables thanks to the majority of them having individual planks of wood forming the top.
You could paint one or two of these in a different colour to the bulk of the surface and - if you've got some Frog Tape to hand - add on some smaller stripes through the middle of other planks.
4. Co-ordinate with your bench
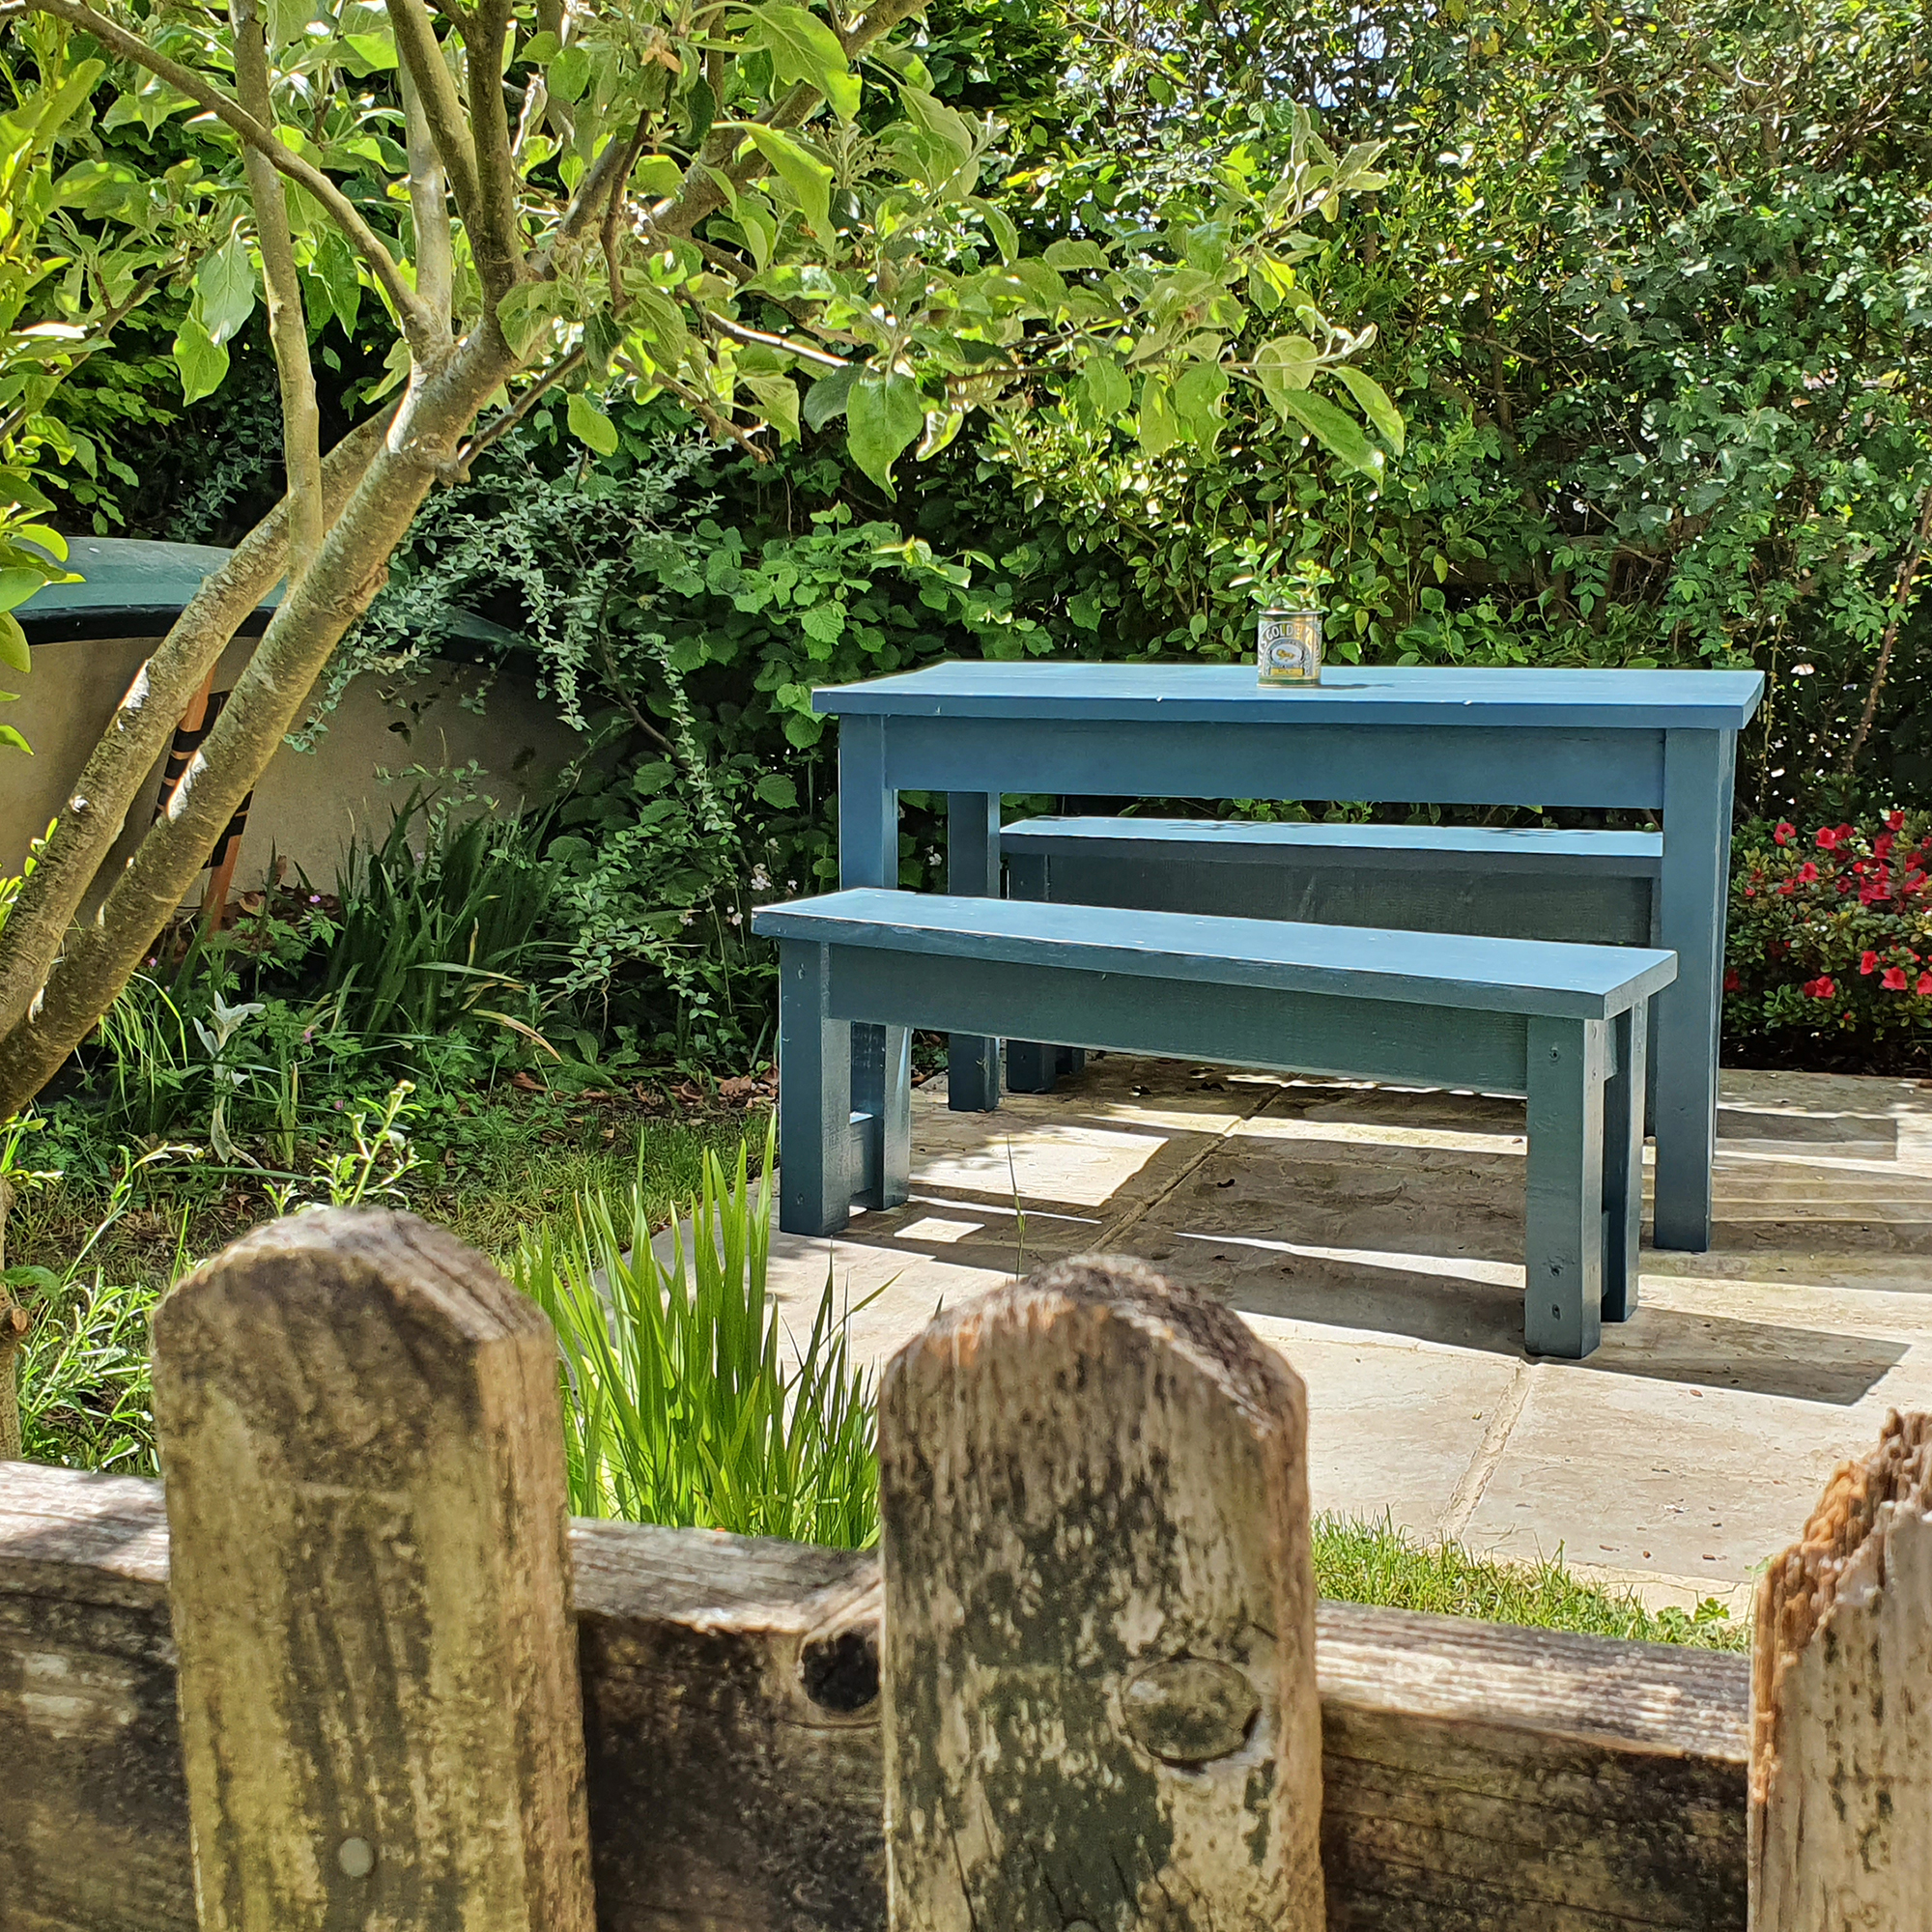
For a cohesive look, match your seating to your chosen picnic table paint ideas. For a professional finish, do your best to ensure an equal coating of paint on each.
'After the first coat, wait for the paint to completely dry and then apply a second coat,' advises James Greenwood, paint expert at Graham & Brown. 'When painting each section, make sure you only use a light layer of paint, it’s always better to do two light layers than one heavy layer.'
5. Paint the legs and leave the top
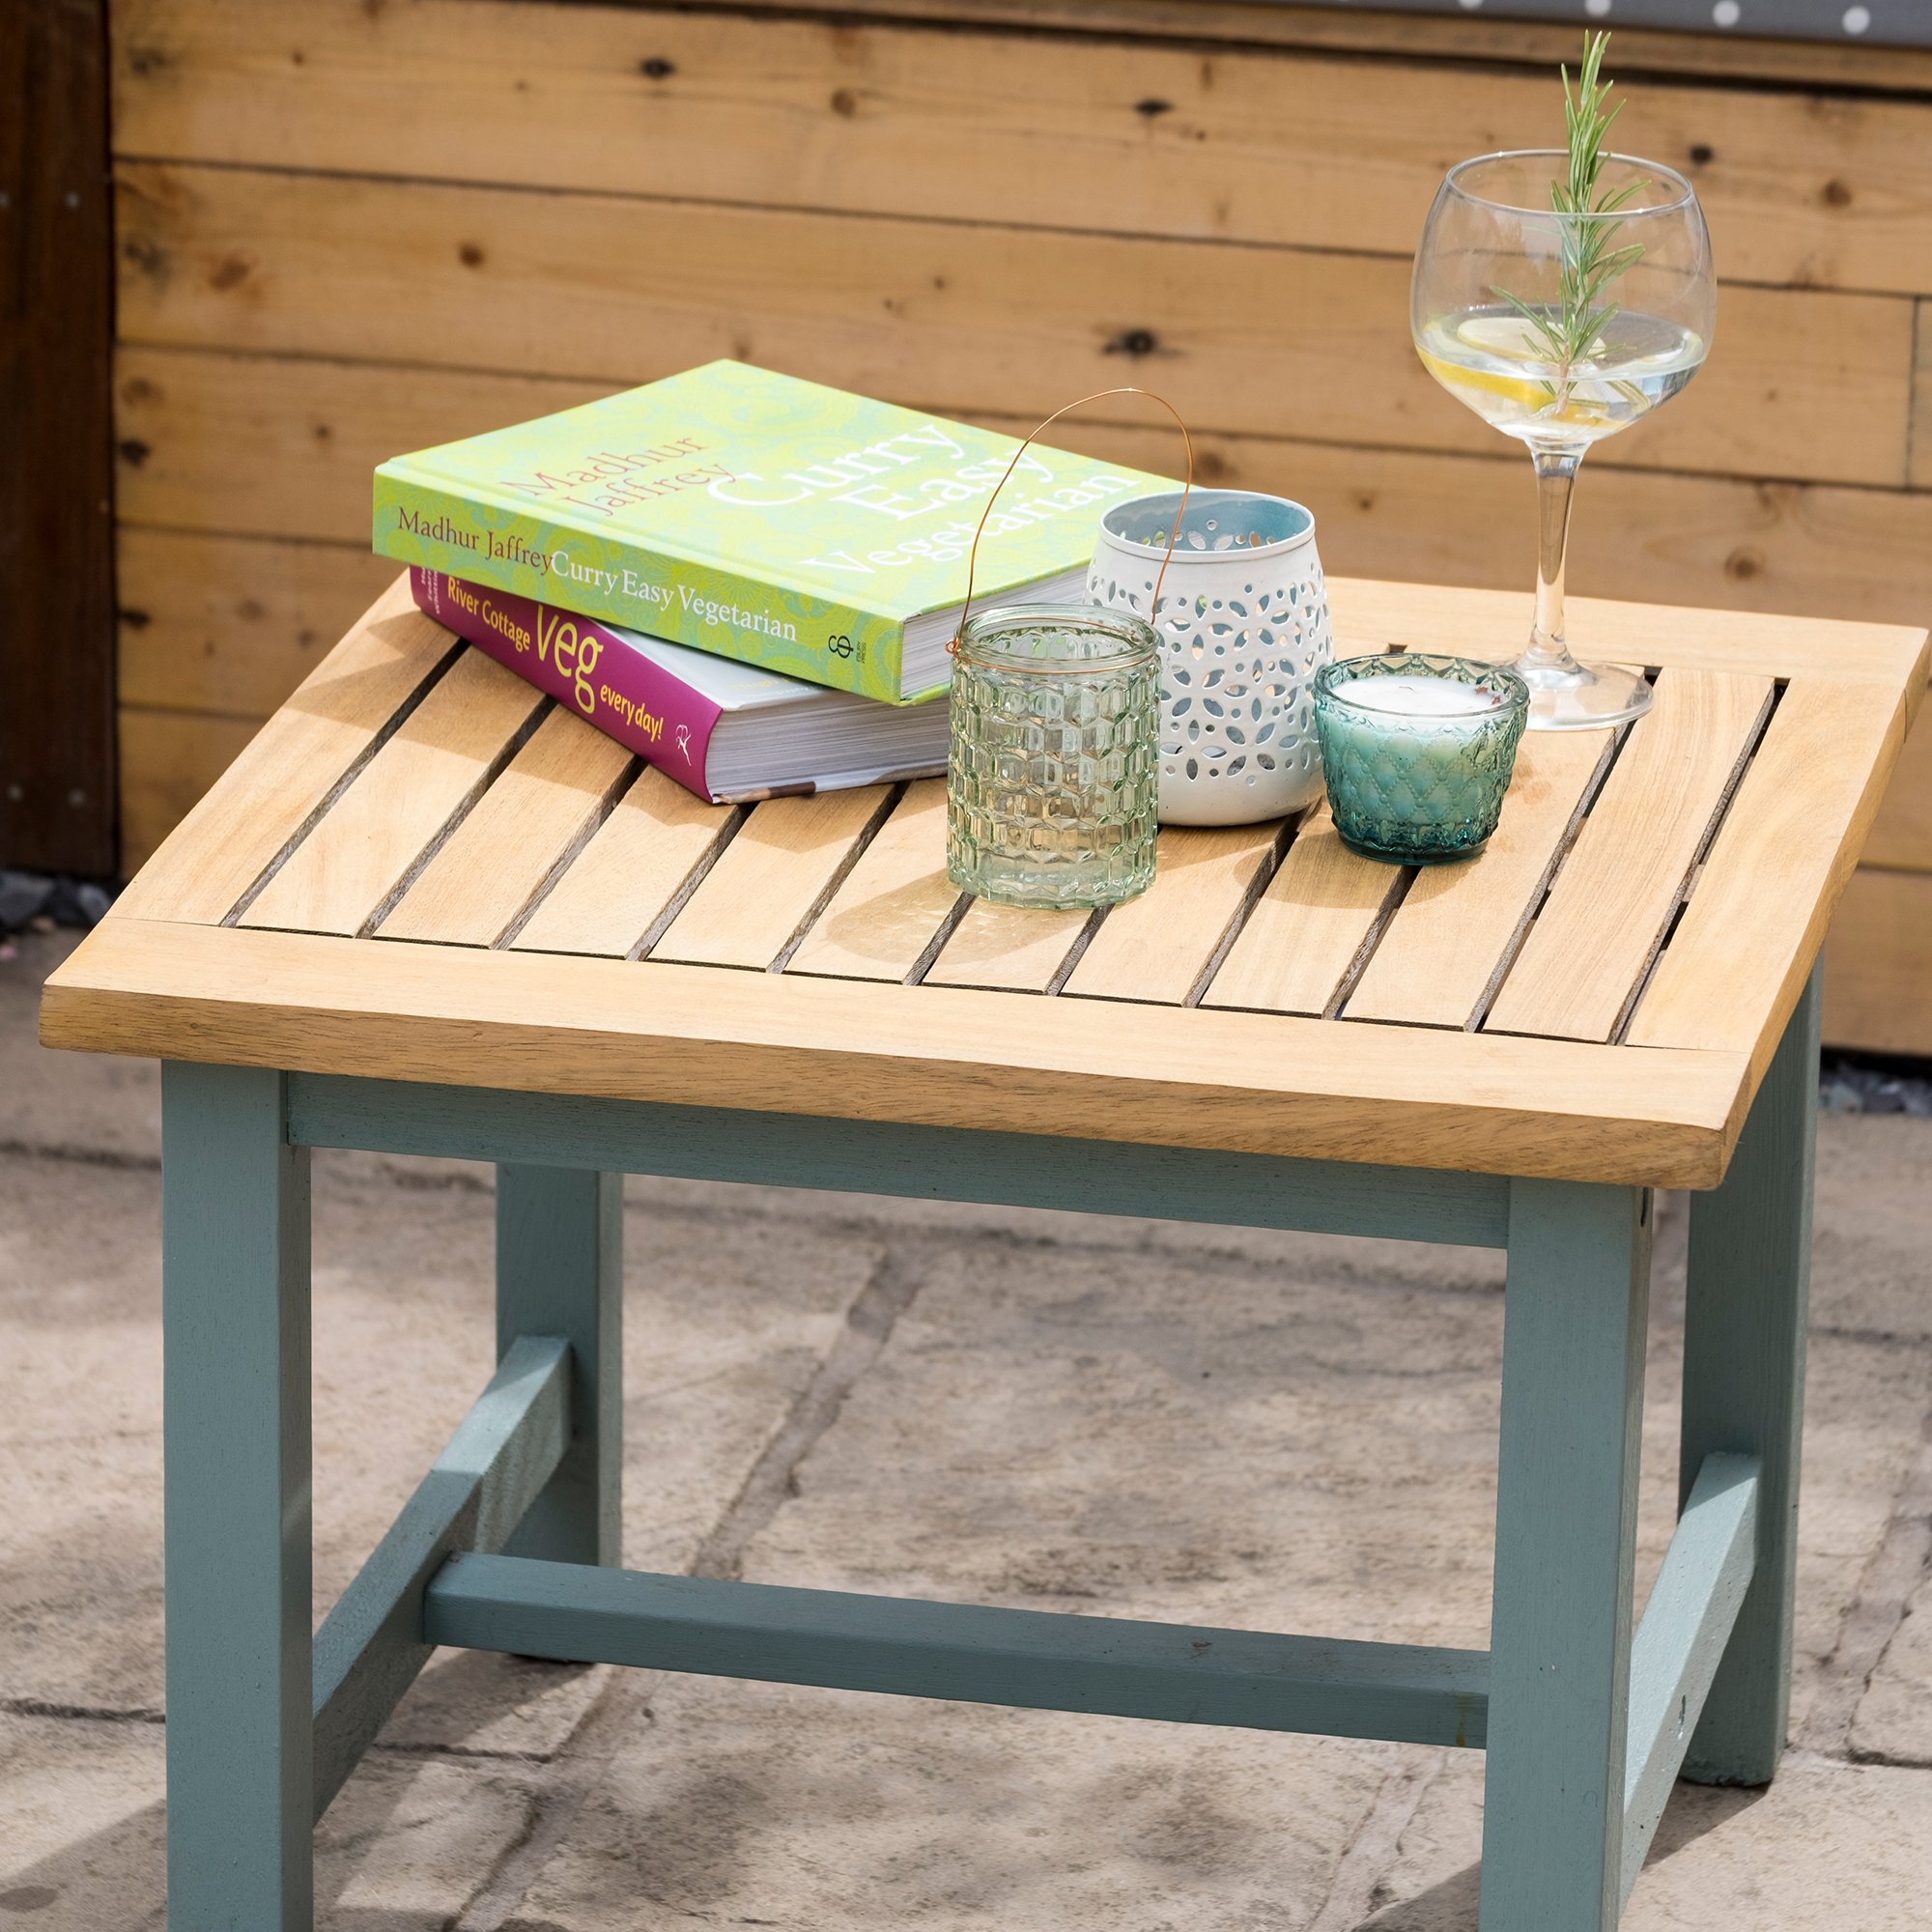
If you're looking for a different approach to painting your outdoor table, or just haven't fully committed to a colour yet, then why not just paint the legs? Some Frog Tape or masking tape will help you contain the paint to the legs.
Then, later in the summer or next year, you might want to paint the top another colour. If you want it to be the same colour note that the legs may have faded a little so do a quick patch test on the underside of the top, or embrace the gentle ombré effect.
Start your project off right by priming your garden furniture before you start painting. This is suitable for indoors and out so you can use it for all manner of projects.
If you're in a rush or want to experiment with different techniques, why not try spray painting your picnic table instead of painting it?
Choose the perfect shade for your picnic table paint ideas. This Sweet Pea shade has been making the Ideal Home team very happy recently.
What is the best way to paint a wood picnic table?
Before you get going with your chosen picnic table paint ideas, there are a few preparation steps to bear in mind - namely cleaning, sanding and priming. Here's how and why you shouldn't slip these steps...
1. Clean the surface
'Although you may be itching to get cracking with painting, giving your garden furniture a clean is the first step and it’s crucial you don’t overlook it,' advises painting expert Jamie Hancox from paint brand Tikkurila.
'After a few years of neglect or a few years of braving the elements, outdoor furniture tends to accumulate all manner of dirt, grime, and microbial growth, all of which will need to be washed away before work can continue.'
2. Sand the surface
'As a general rule, if you don’t sand the wood before painting the applied paint could peel off after a while,' explains Joe Handley, who works with outdoor product at Black + Decker.
'Firstly, start off by removing any existing finish, if the wood has any previous paint or varnish it’s important to remove it before painting. Then sand the surface using an orbital sander; this helps to create a smooth and even surface for paint. Before painting make sure to sweep away any sanding dust using a tack cloth or a lint free cloth as this will mix with the paint. Apply a primer and get to painting.'
Note that some speciality paint removes the need for sanding, so be sure to check out the retailer's advice before beginning.
3. Prime the furniture
'To ensure an even and long-lasting finish, it’s always best to start a paint job with an undercoat or primer,' recommends James from Graham & Brown.
'Choose a primer that closely matches the colour of your topcoat and apply in broad strokes, working with a wet edge.'


