Unboxing a new iPhone is exciting, but the setup process can feel overwhelming if you're not sure which options to choose. Apple guides you through the basics, but it's easy to skip important settings or miss features that make a real difference later.
Taking the time to set up your iPhone correctly from the start saves you from having to dig through settings menus later. The process takes about 15-20 minutes depending on how much data you're transferring.
Here's how to set up your new iPhone properly, from the moment you press the power button to configuring all the essential features.
1. Turn on your iPhone and choose text size

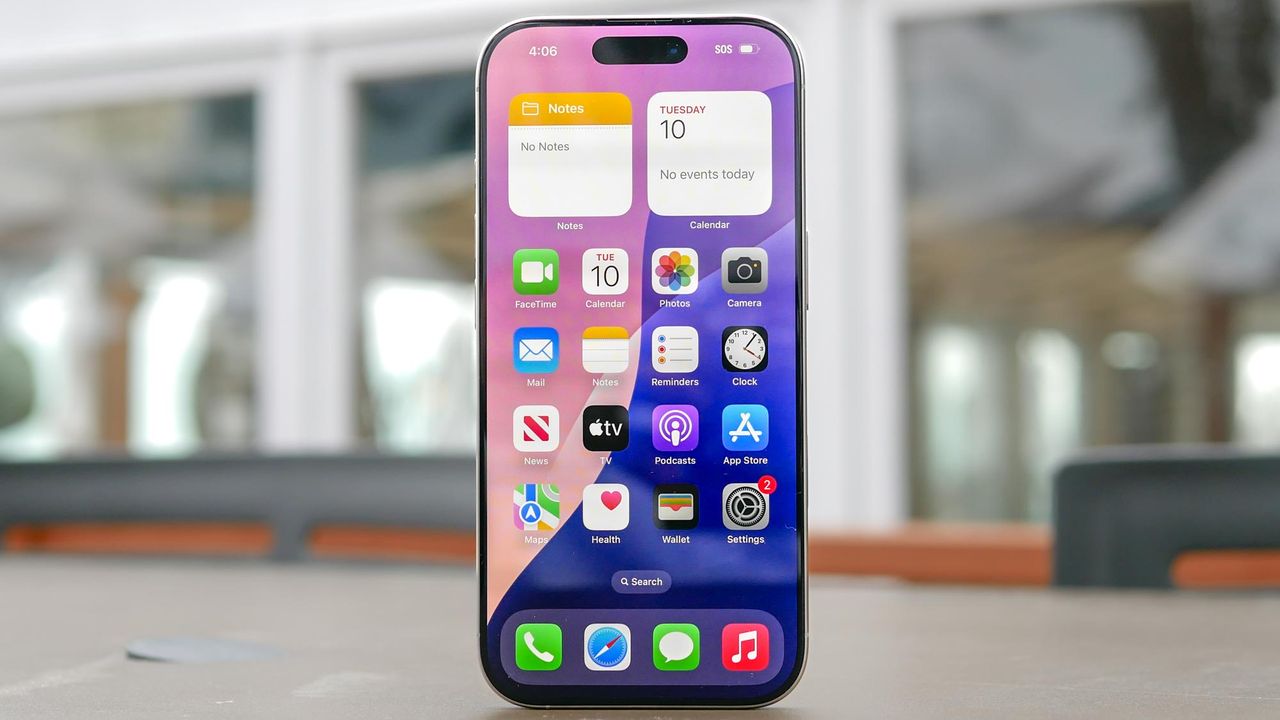
Press and hold the power button on the side of your iPhone until you see the Apple logo, followed by "Hello" displayed in multiple languages.
After picking your language preference, the first setup screen asks you to choose your preferred text and icon size: Default, Medium, or Large. Slide the icon between options to preview how text and apps will look at each size. This affects readability throughout iOS, so pick what's comfortable for your eyes. You can always change this later in Settings if needed.
Tap Continue once you've selected your preference. If you need accessibility features like VoiceOver or Zoom, you can enable them from this initial screen.
2. Use Quick Start or set up manually

If you have another iPhone nearby running iOS 26 or later, Quick Start offers the fastest setup method. Turn on Bluetooth on your old iPhone and hold it near your new one. Your old phone will detect the new device and prompt you to use Quick Start for automatic transfer.
If you don't have another iPhone handy or prefer manual setup, tap Set Up Without Another Device. You'll see a blue accessibility button at this stage if you need to configure additional accessibility options before proceeding.
Quick Start is the easiest method for most people as it transfers settings, preferences, and data automatically.
3. Connect to Wi-Fi and activate your iPhone

Select your Wi-Fi network from the list and enter the password to activate your iPhone and continue setup. If you don't have Wi-Fi access, tap Continue Without Wi-Fi to use cellular data instead, though you'll need a SIM card or eSIM already installed.
For iPhones with physical SIM cards, you might need to insert the SIM before this step. Some carriers require eSIM activation during setup — follow the prompts if this applies to you.
Without network connectivity, you can't complete the activation process, so make sure you have Wi-Fi credentials ready before starting.
4. Set up Face ID and create a passcode
Follow the on-screen instructions to set up Face ID by positioning your face in the frame and slowly moving your head in a circle. Face ID lets you unlock your phone, authorize purchases, and sign into apps using facial recognition.
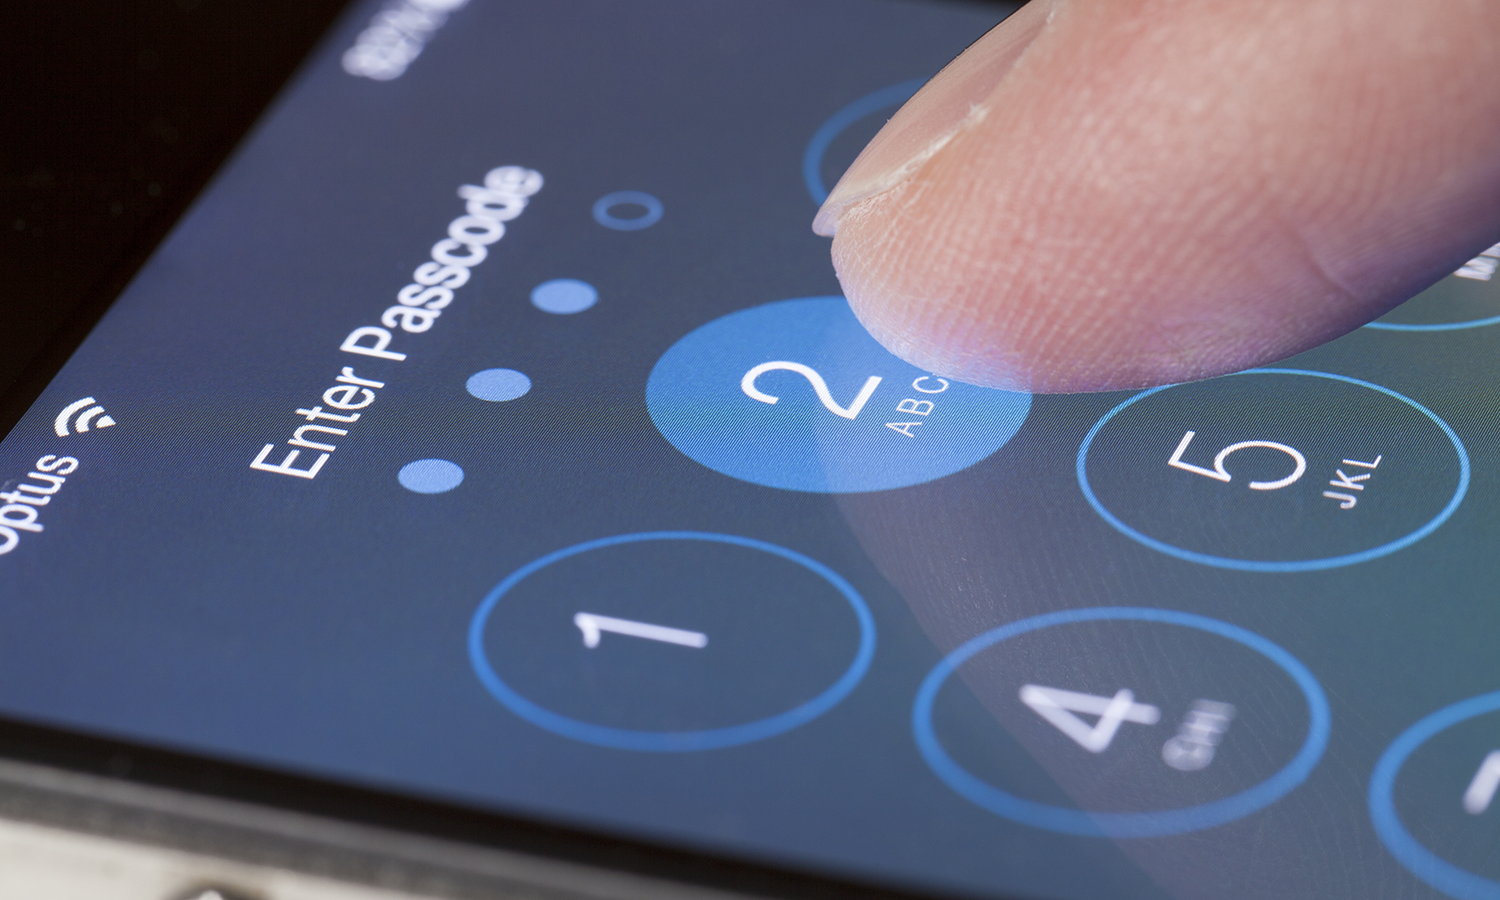
After setting up Face ID, create a six-digit passcode. This passcode is required for features like Apple Pay and serves as a backup when Face ID doesn't work. If you prefer a four-digit code or a custom alphanumeric password, tap Passcode Options.
Having a passcode on your iPhone is essential for device security and data protection, so I would advise not skipping this step.
5. Transfer your data from your old device

Choose how to restore data to your new iPhone. You can transfer directly from another iPhone using Quick Start, restore from an iCloud backup, restore from a computer backup, or transfer data from an Android device using the Move to iOS app.
If you want a completely fresh start with no old data, select Don't Transfer Apps & Data. The transfer process duration depends on how much data you're moving — a few gigabytes might take 10-15 minutes, while restoring a full backup could take an hour or more.
Make sure your old device stays nearby and connected during the entire transfer. Next, sign in with your Apple Account email and password to access iCloud, the App Store, and other services.
And lastly...
After completing the main setup, your iPhone will prompt you to enable several optional features. These include automatic iOS updates, Siri voice recognition, Screen Time monitoring, Light or Dark mode appearance, and data sharing preferences.
You can configure these now or skip them and adjust the settings later in the Settings app.

Follow Tom's Guide on Google News to get our up-to-date news, how-tos, and reviews in your feeds. Make sure to click the Follow button.