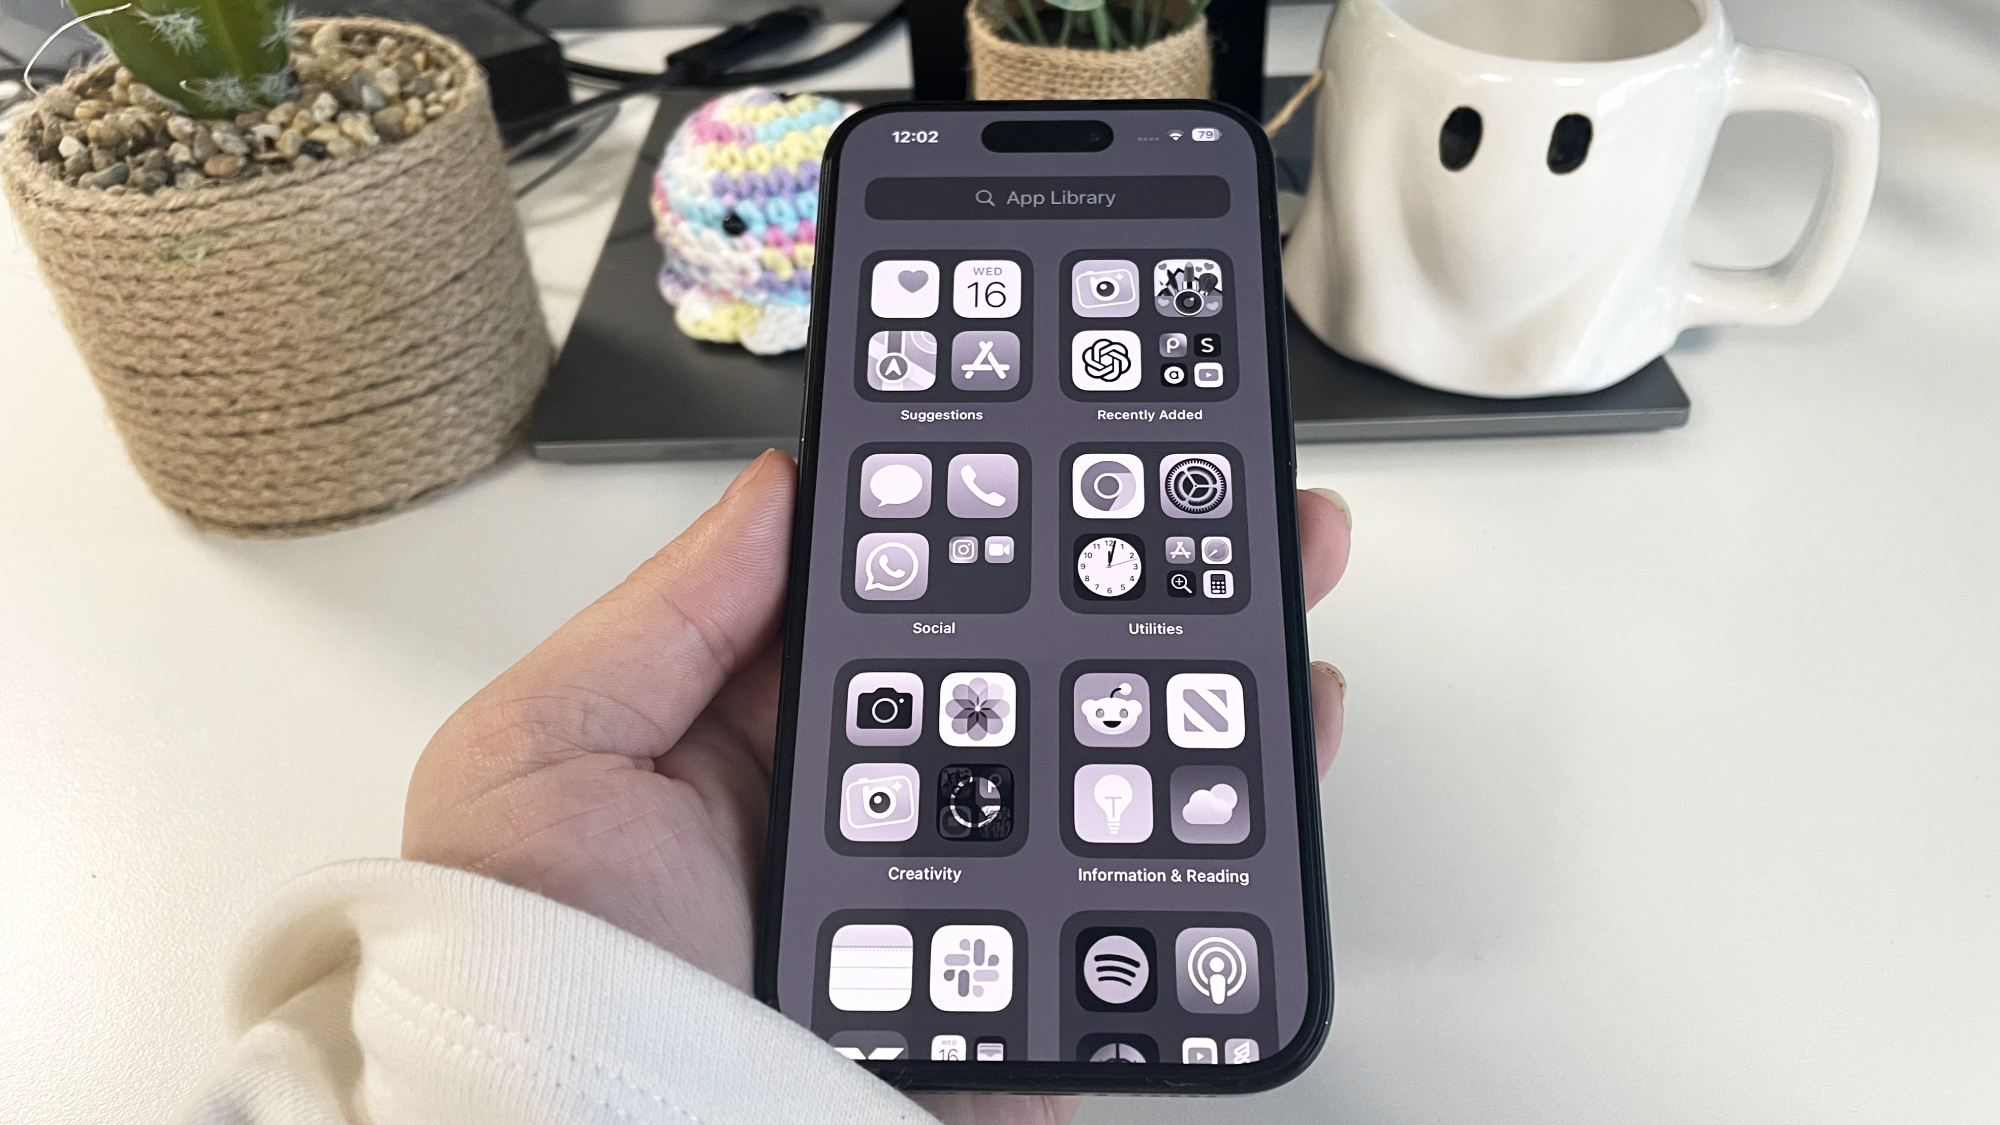
As someone who's spent more late nights with my iPhone than I care to admit, I've become intimately acquainted with the struggle of eye strain. Even with Night Shift's warm glow, my eyes were still begging for mercy during those midnight scrolling sessions. I was one bright notification away from considering a digital detox.
While exploring iOS 18's new features, I stumbled upon a hidden gem that had been there all along: the grayscale filter. Who knew my iPhone had been harboring this eye-saving secret? The update itself is impressive, letting you navigate your home screen with eye tracking and quickly sort photos by category. It even includes Clean Up, Apple's take on Android's magic editor. But for me, discovering this pre-existing filter was the real game-changer.
No longer a slave to blue light, I've found grayscale to be a welcome change. Let's walk through how to activate this understated feature. You might just wake up tomorrow wondering how you ever lived without it!
Why should you switch to grayscale?
Switching your iPhone to grayscale offers several practical benefits. For starters, it's significantly easier on your eyes, reducing brightness and contrast that can lead to eye strain during those late-night scrolling sessions.
It's also a clever trick for curbing app addiction — turns out, those vibrant icons and notification dots are far less tempting in black and white. And if you happen to be color blind, the grayscale filter can actually improve your experience by making text and icons easier to distinguish.
How to switch on the grayscale filter
1. Open Settings
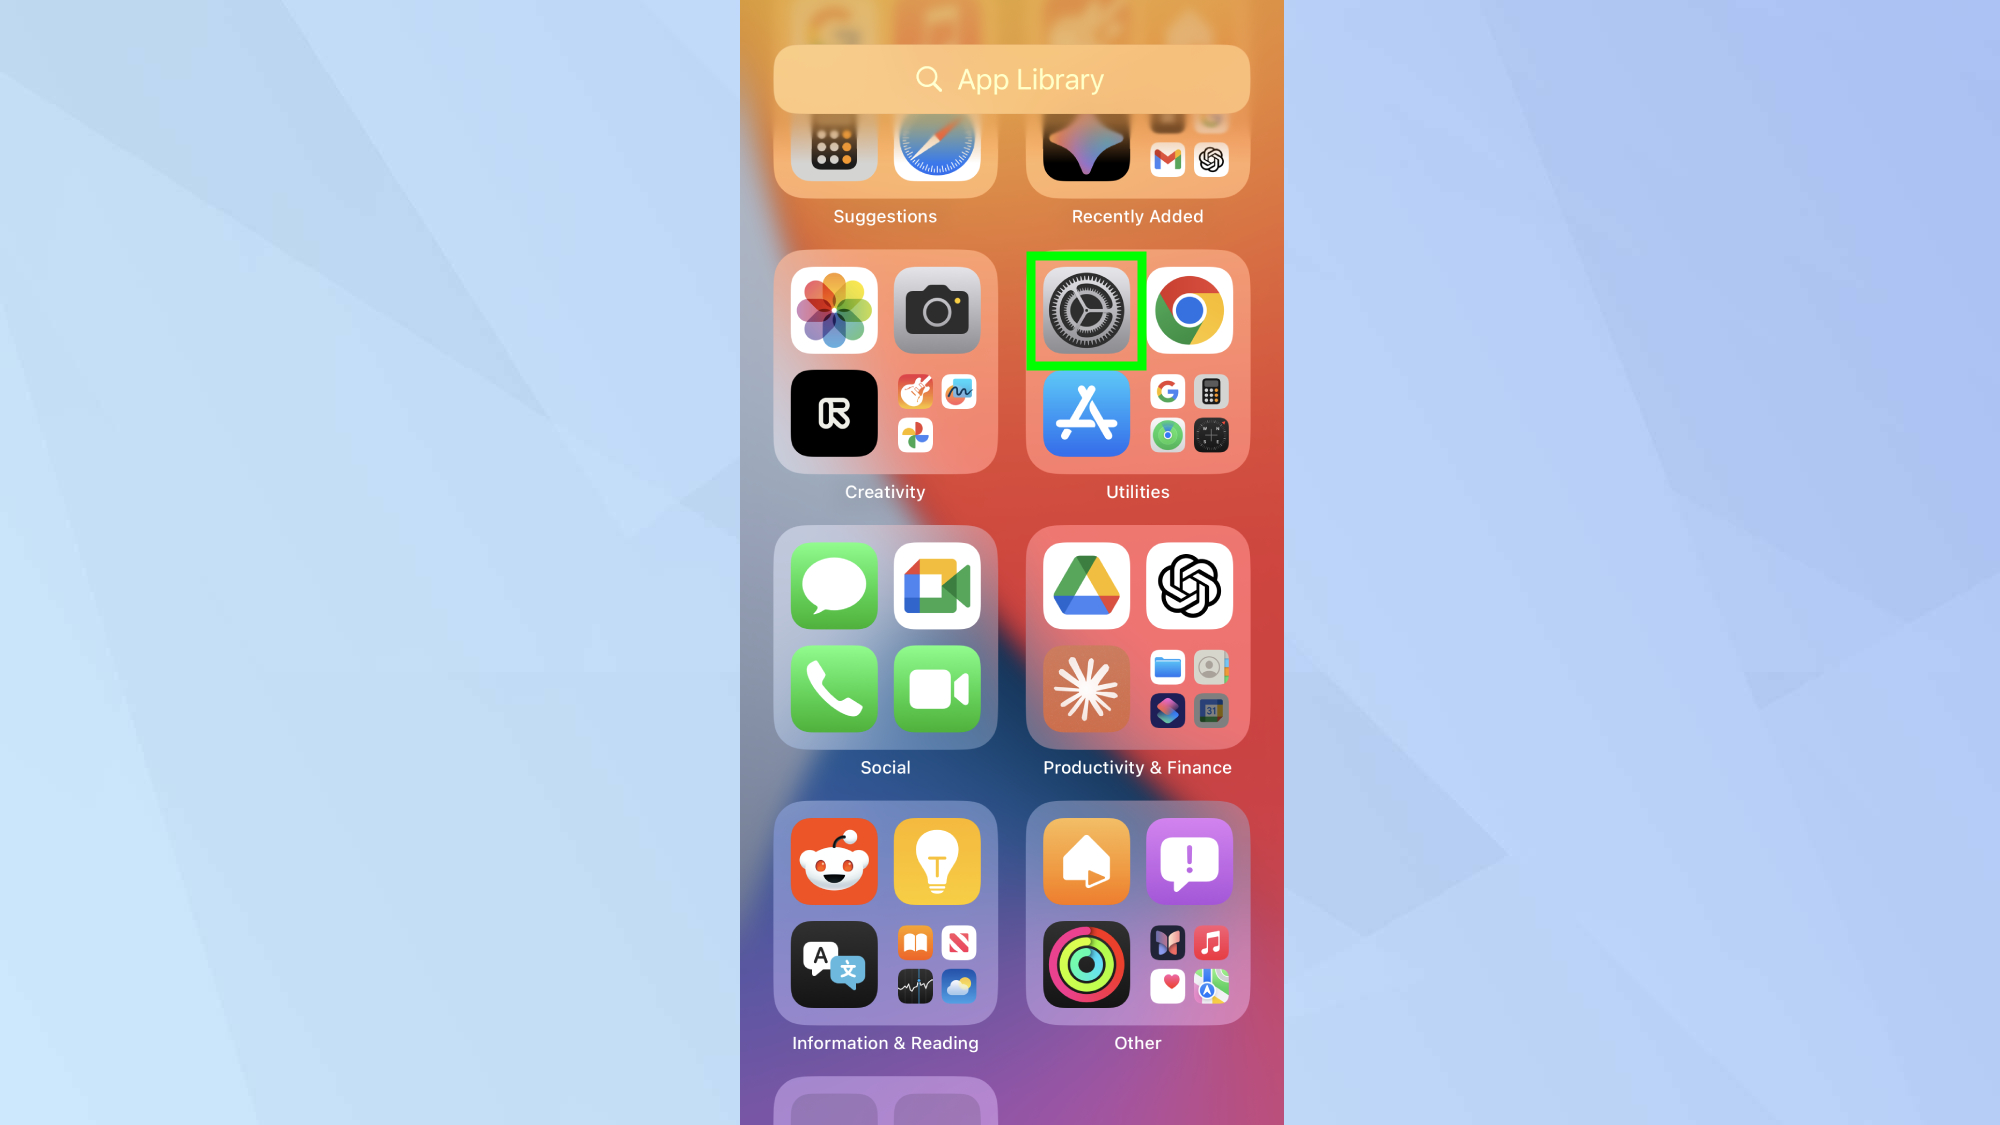
Start by locating and tapping the Settings app on your iPhone's home screen.
2. Find Accessibility
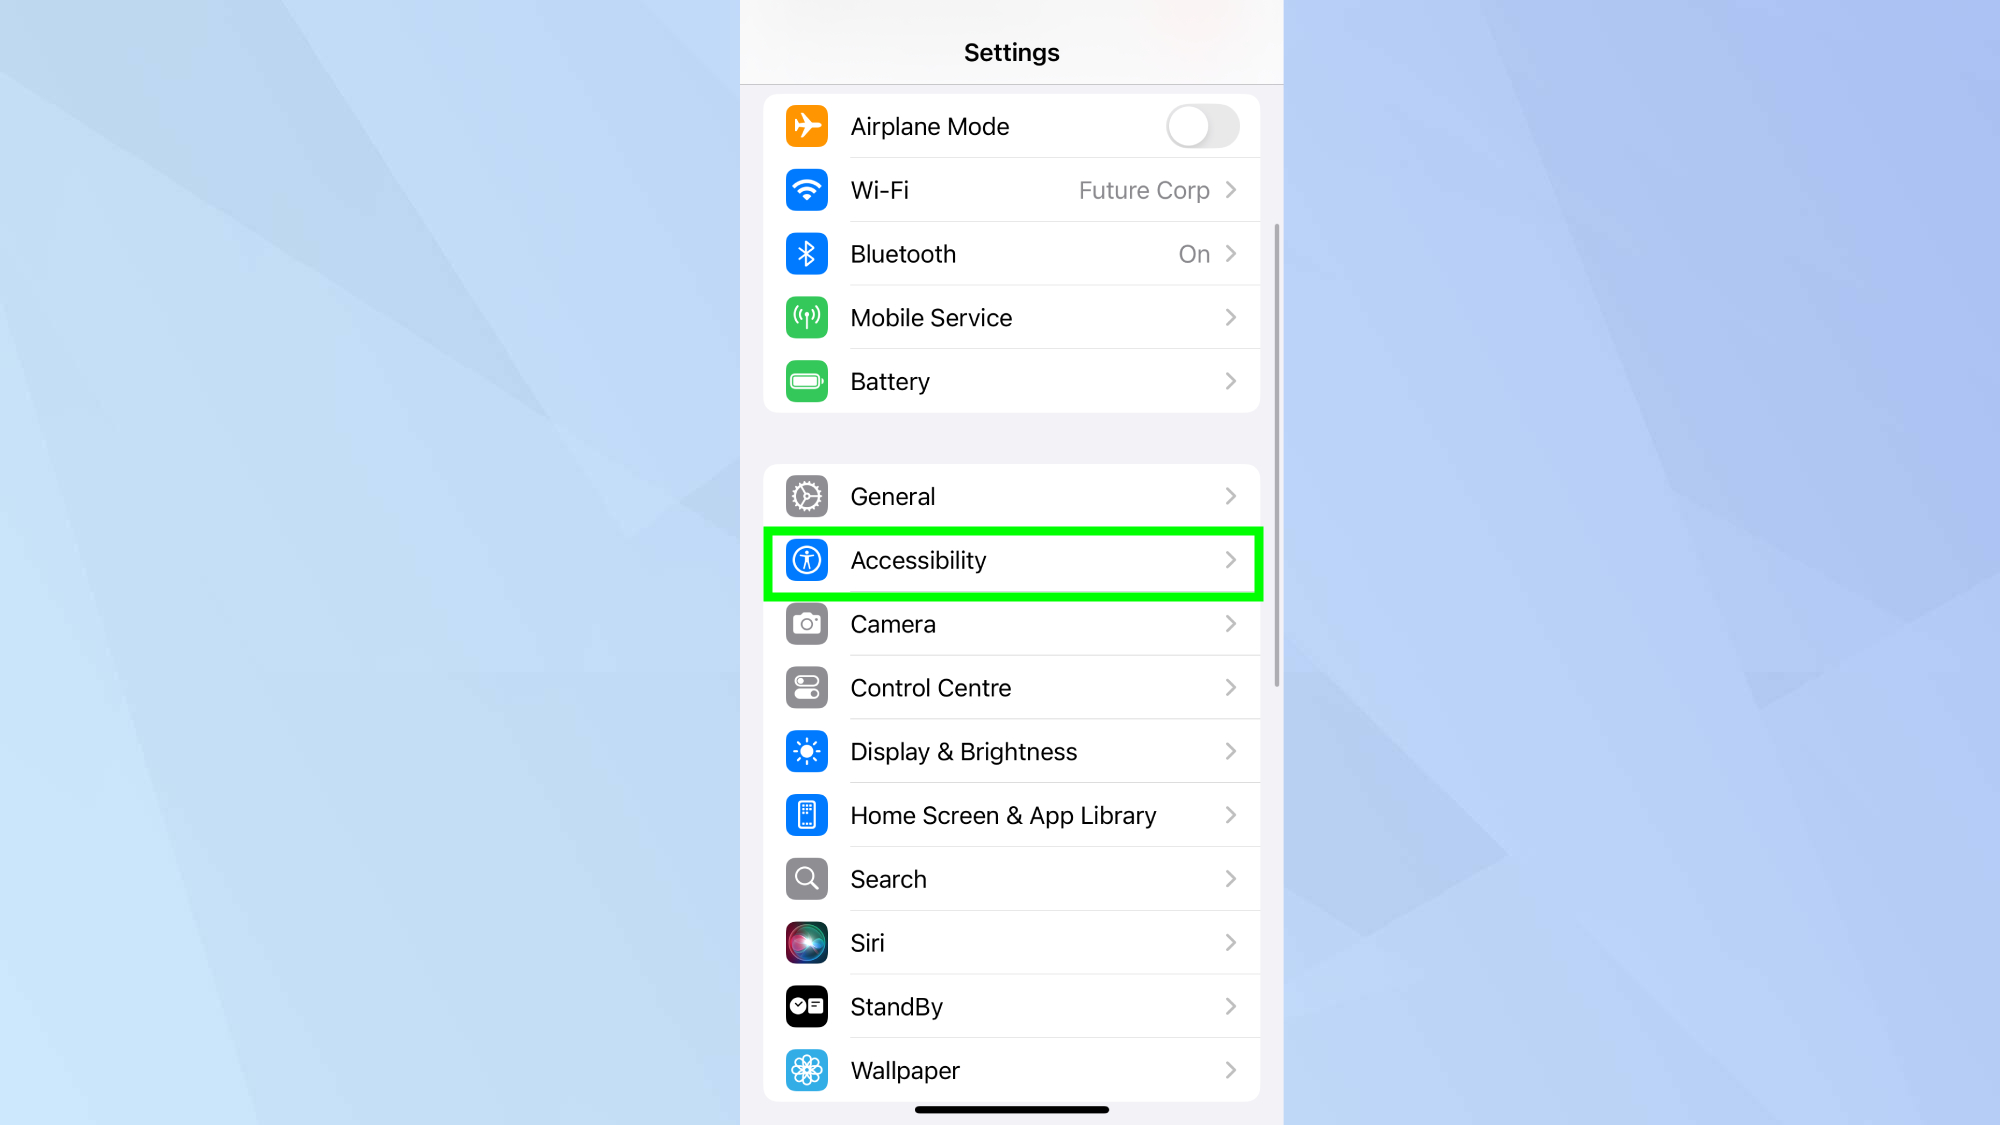
Scroll down the Settings menu until you find Accessibility. This section houses a variety of features designed to make your iPhone easier to use.
3. Open Display & Text Size
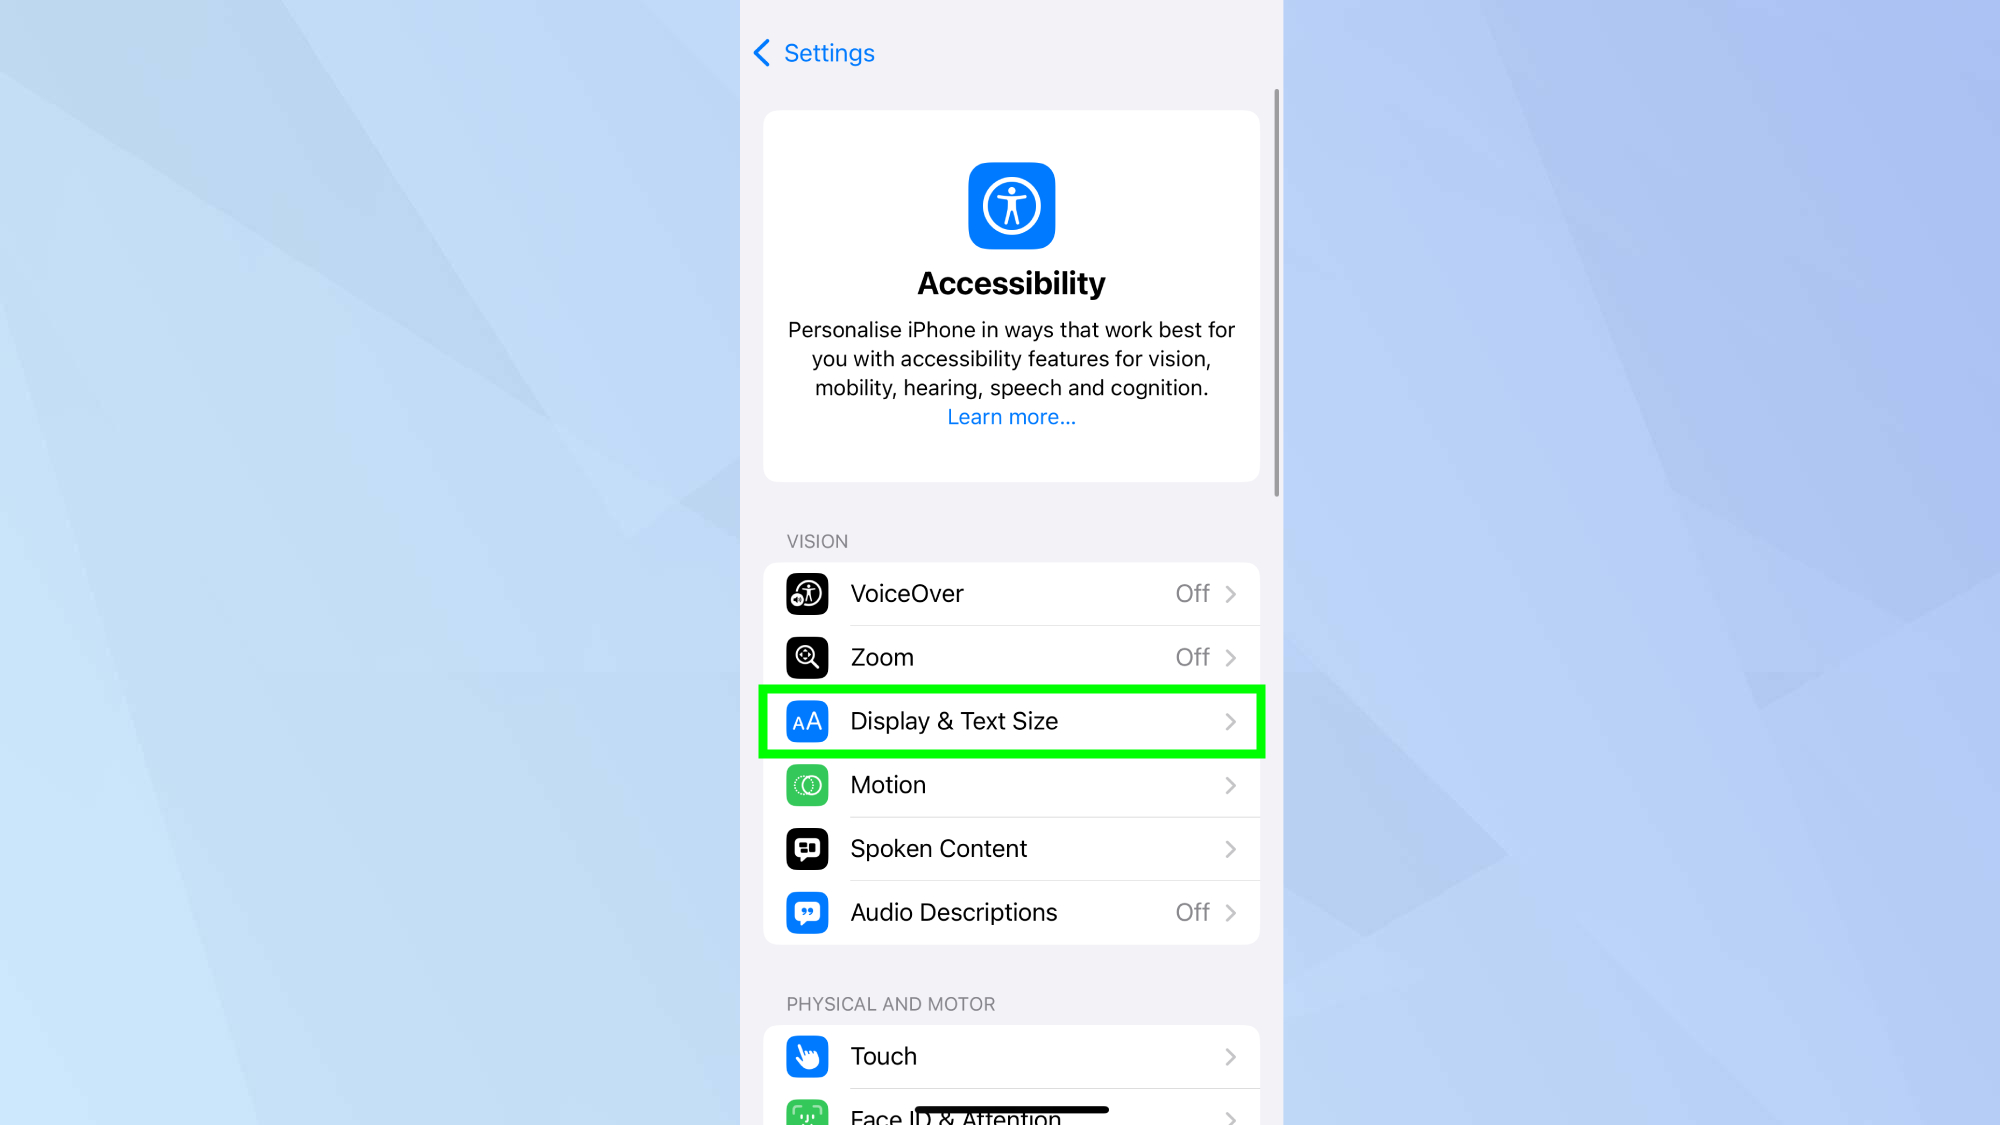
In the Accessibility menu, look for Display & Text Size. This is where you can adjust various visual aspects of your iPhone.
4. Access Colour Filters
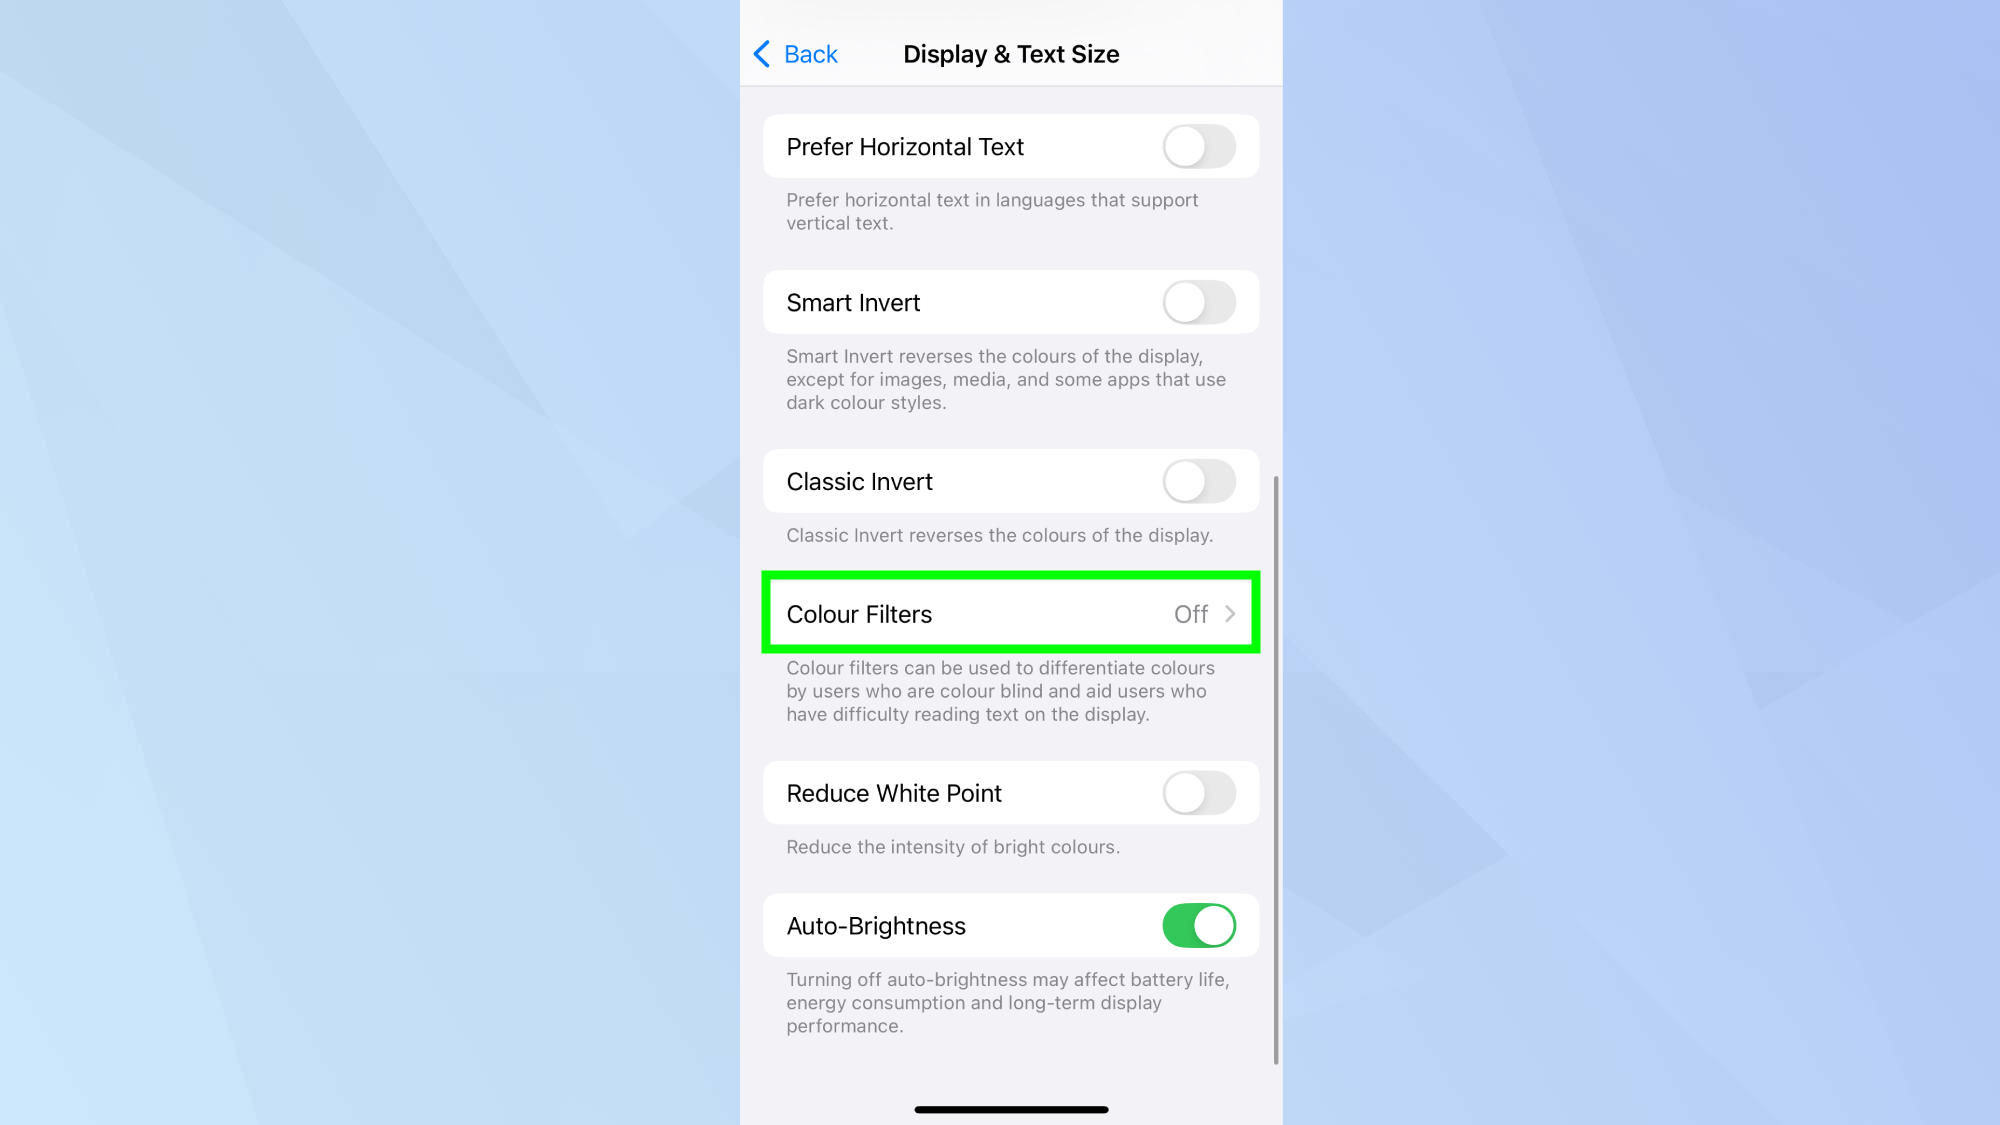
Scroll through the Display & Text Size menu and tap Color Filters. This is where the magic happens.
5. Toggle on Color Filters
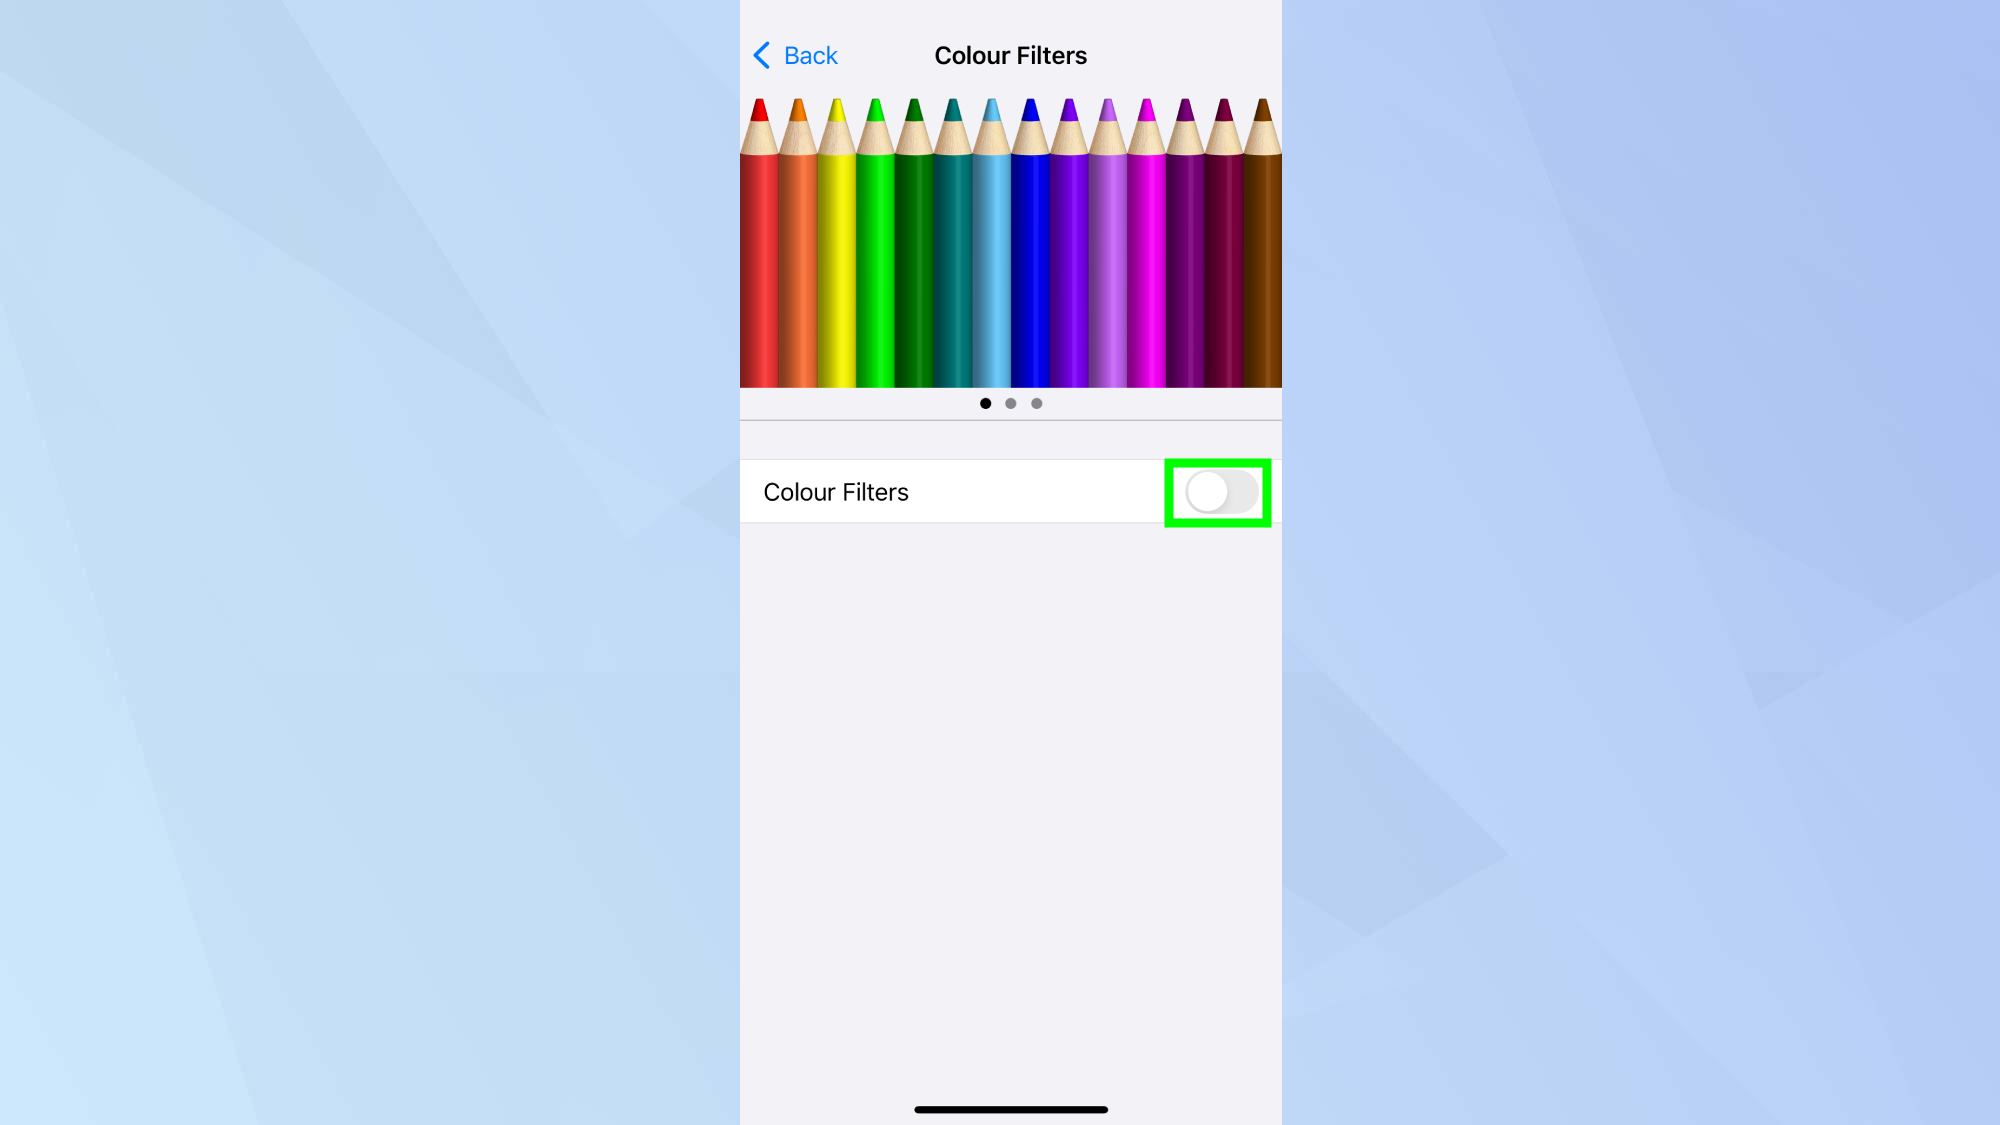
Qt the top of the Color Filters screen, you'll see a toggle switch. Tap it to turn on Color Filters.
6. Select Grayscale mode
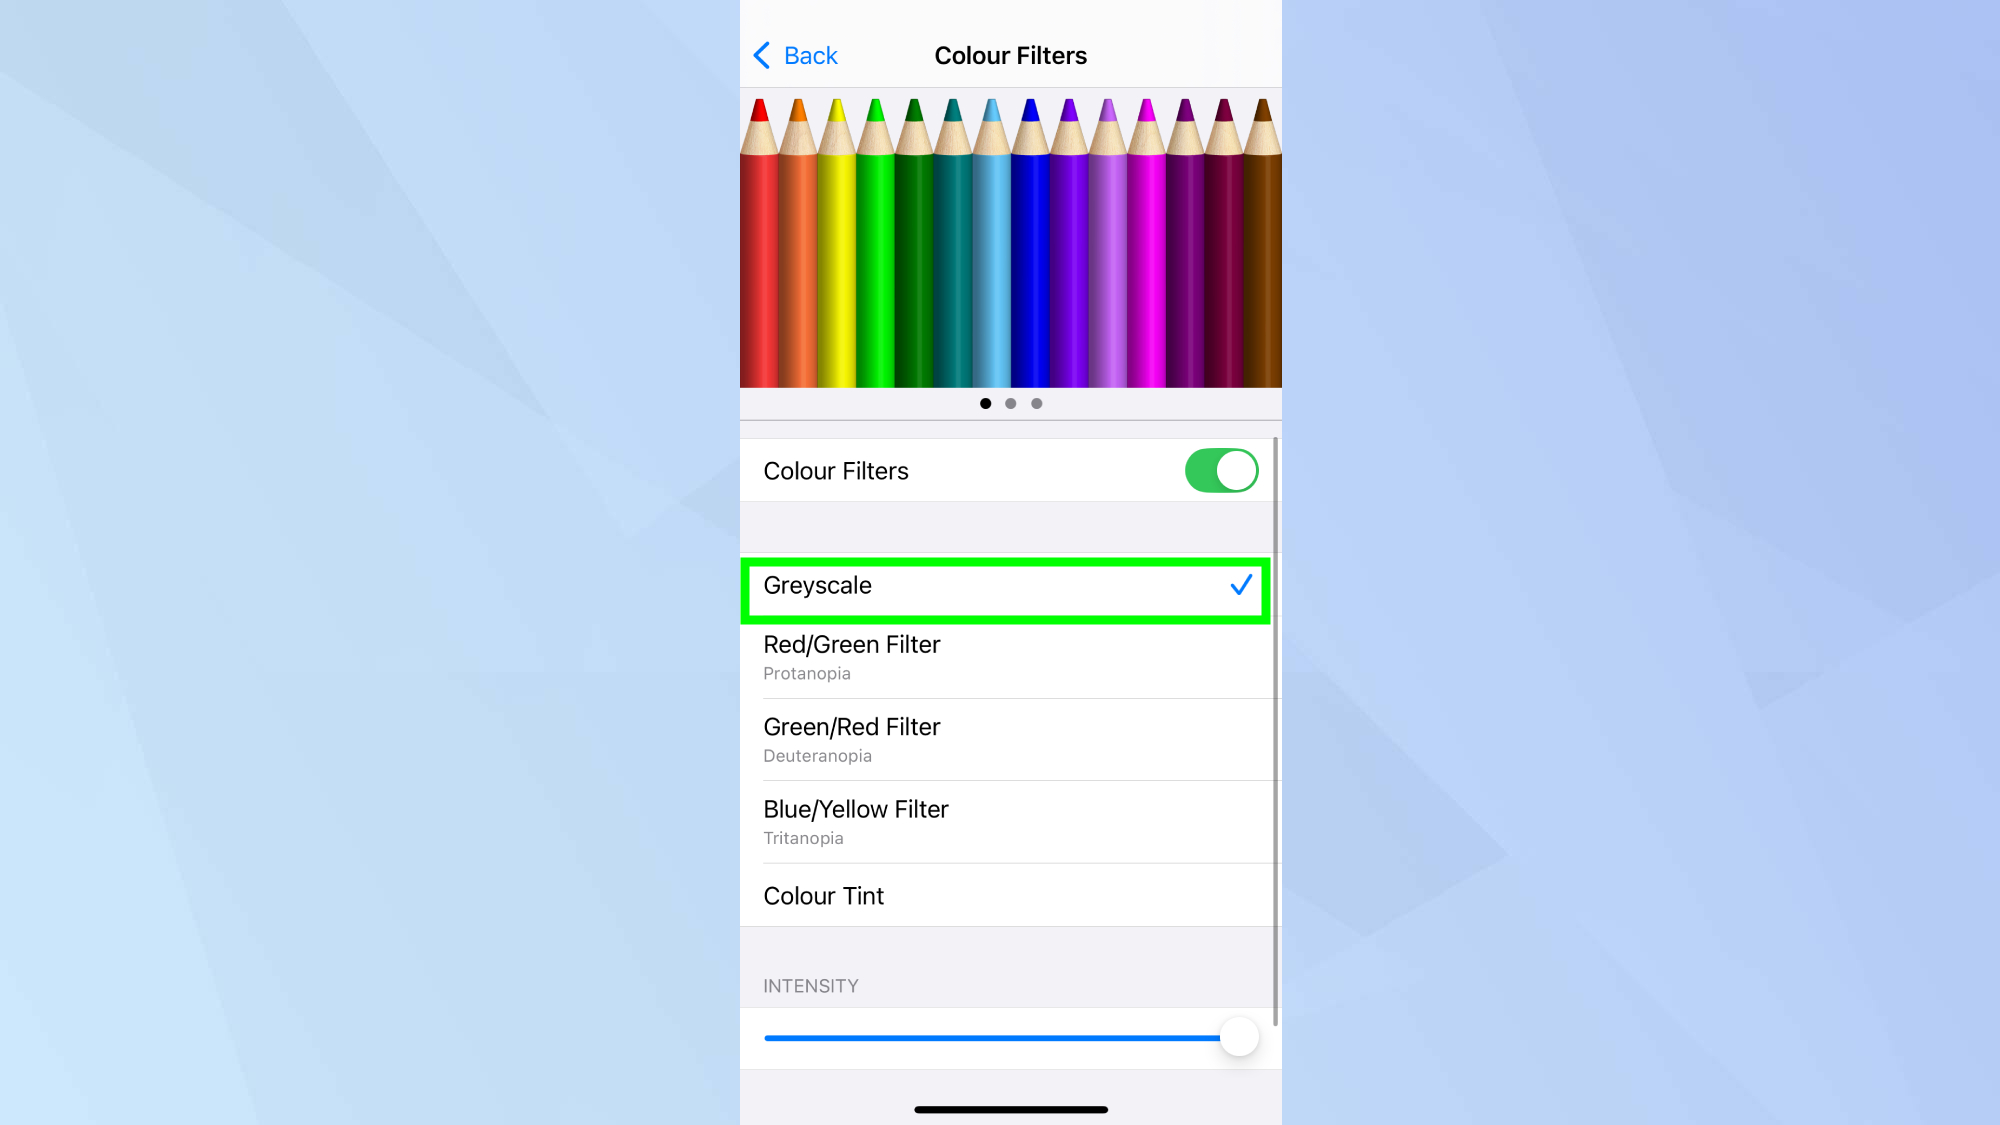
From the list of color filter options presented, tap Grayscale. This will immediately change your display to show everything in shades of gray.
7. Fine-tune the intensity (optional)
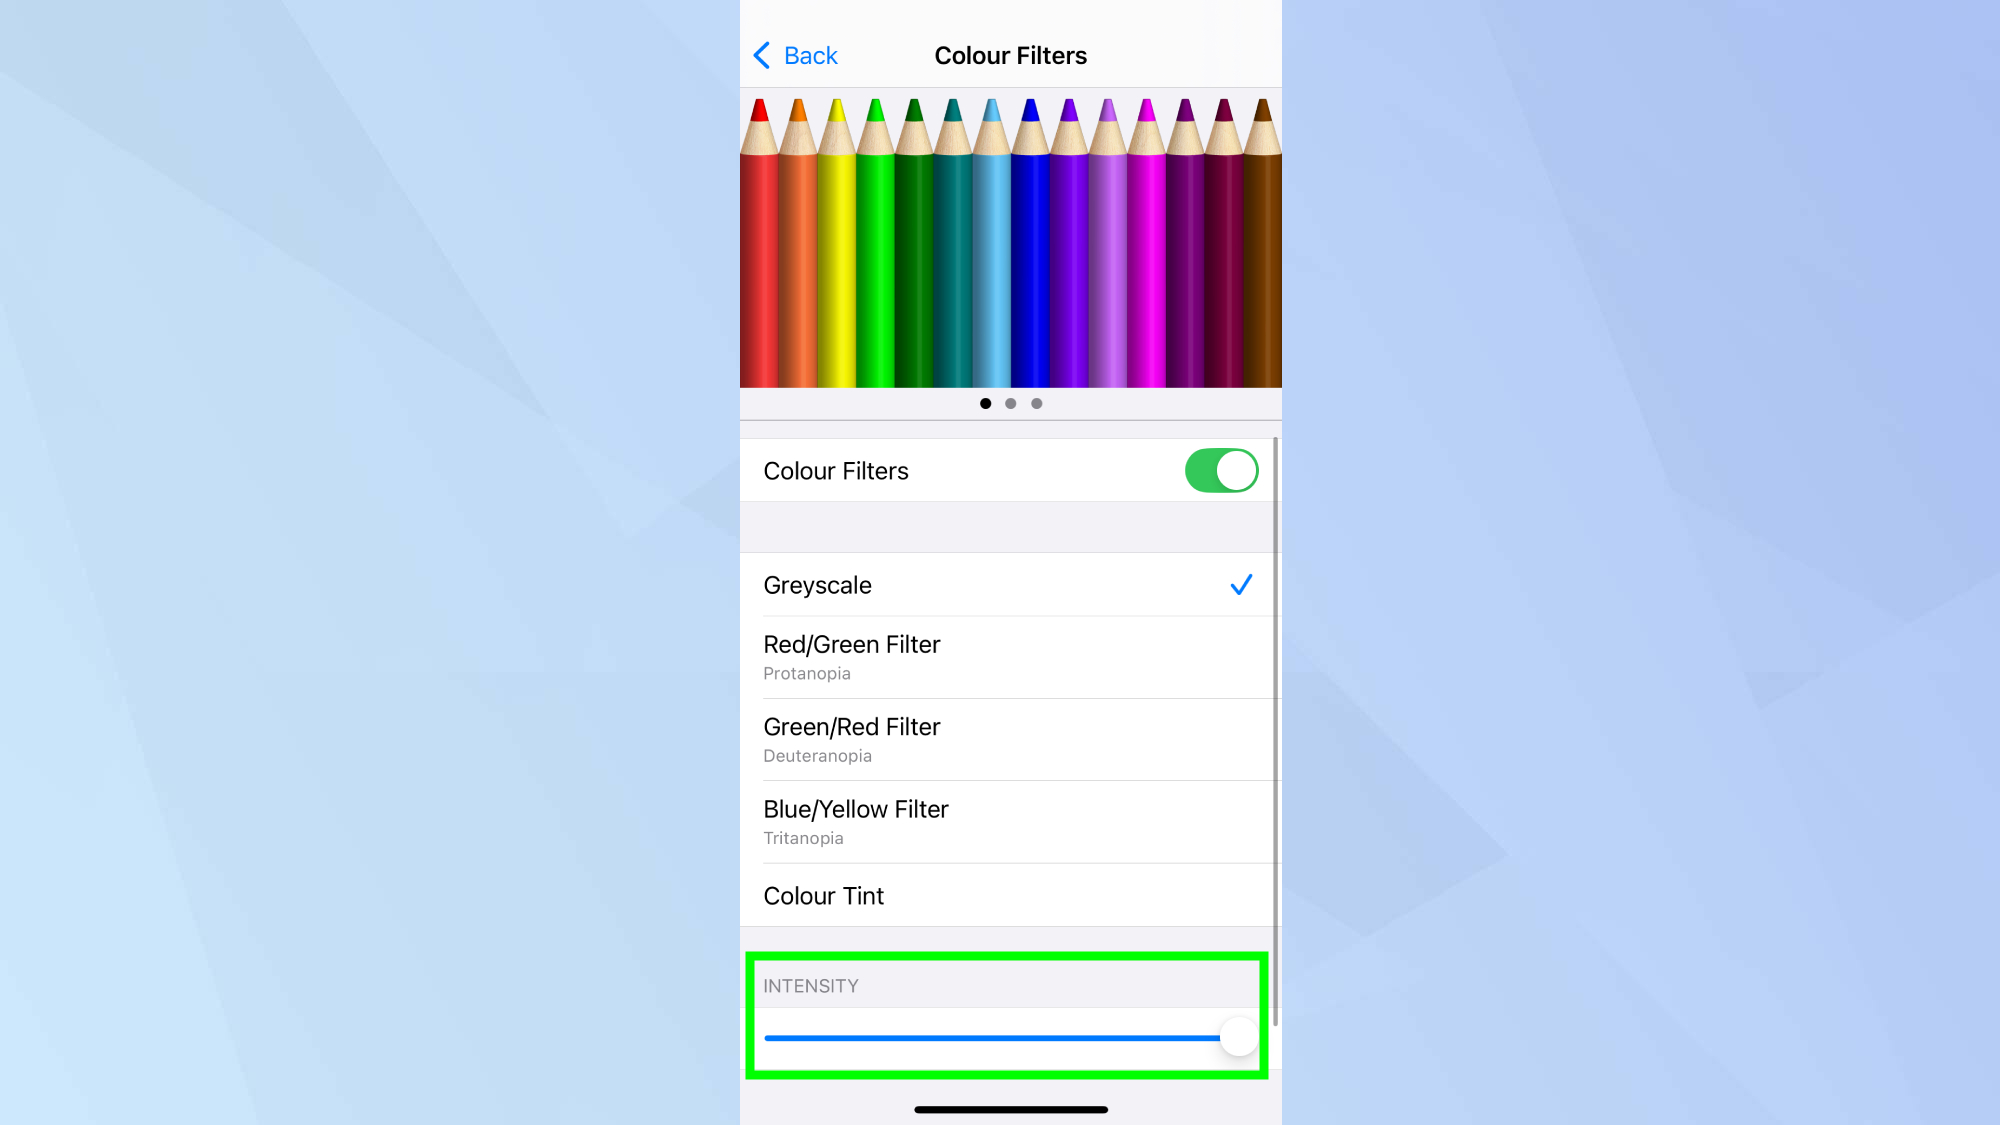
If you want to adjust the strength of the grayscale effect, use the slider bar located below the color filter options. Slide left for a softer effect or right for a more pronounced grayscale look.
Final thoughts...
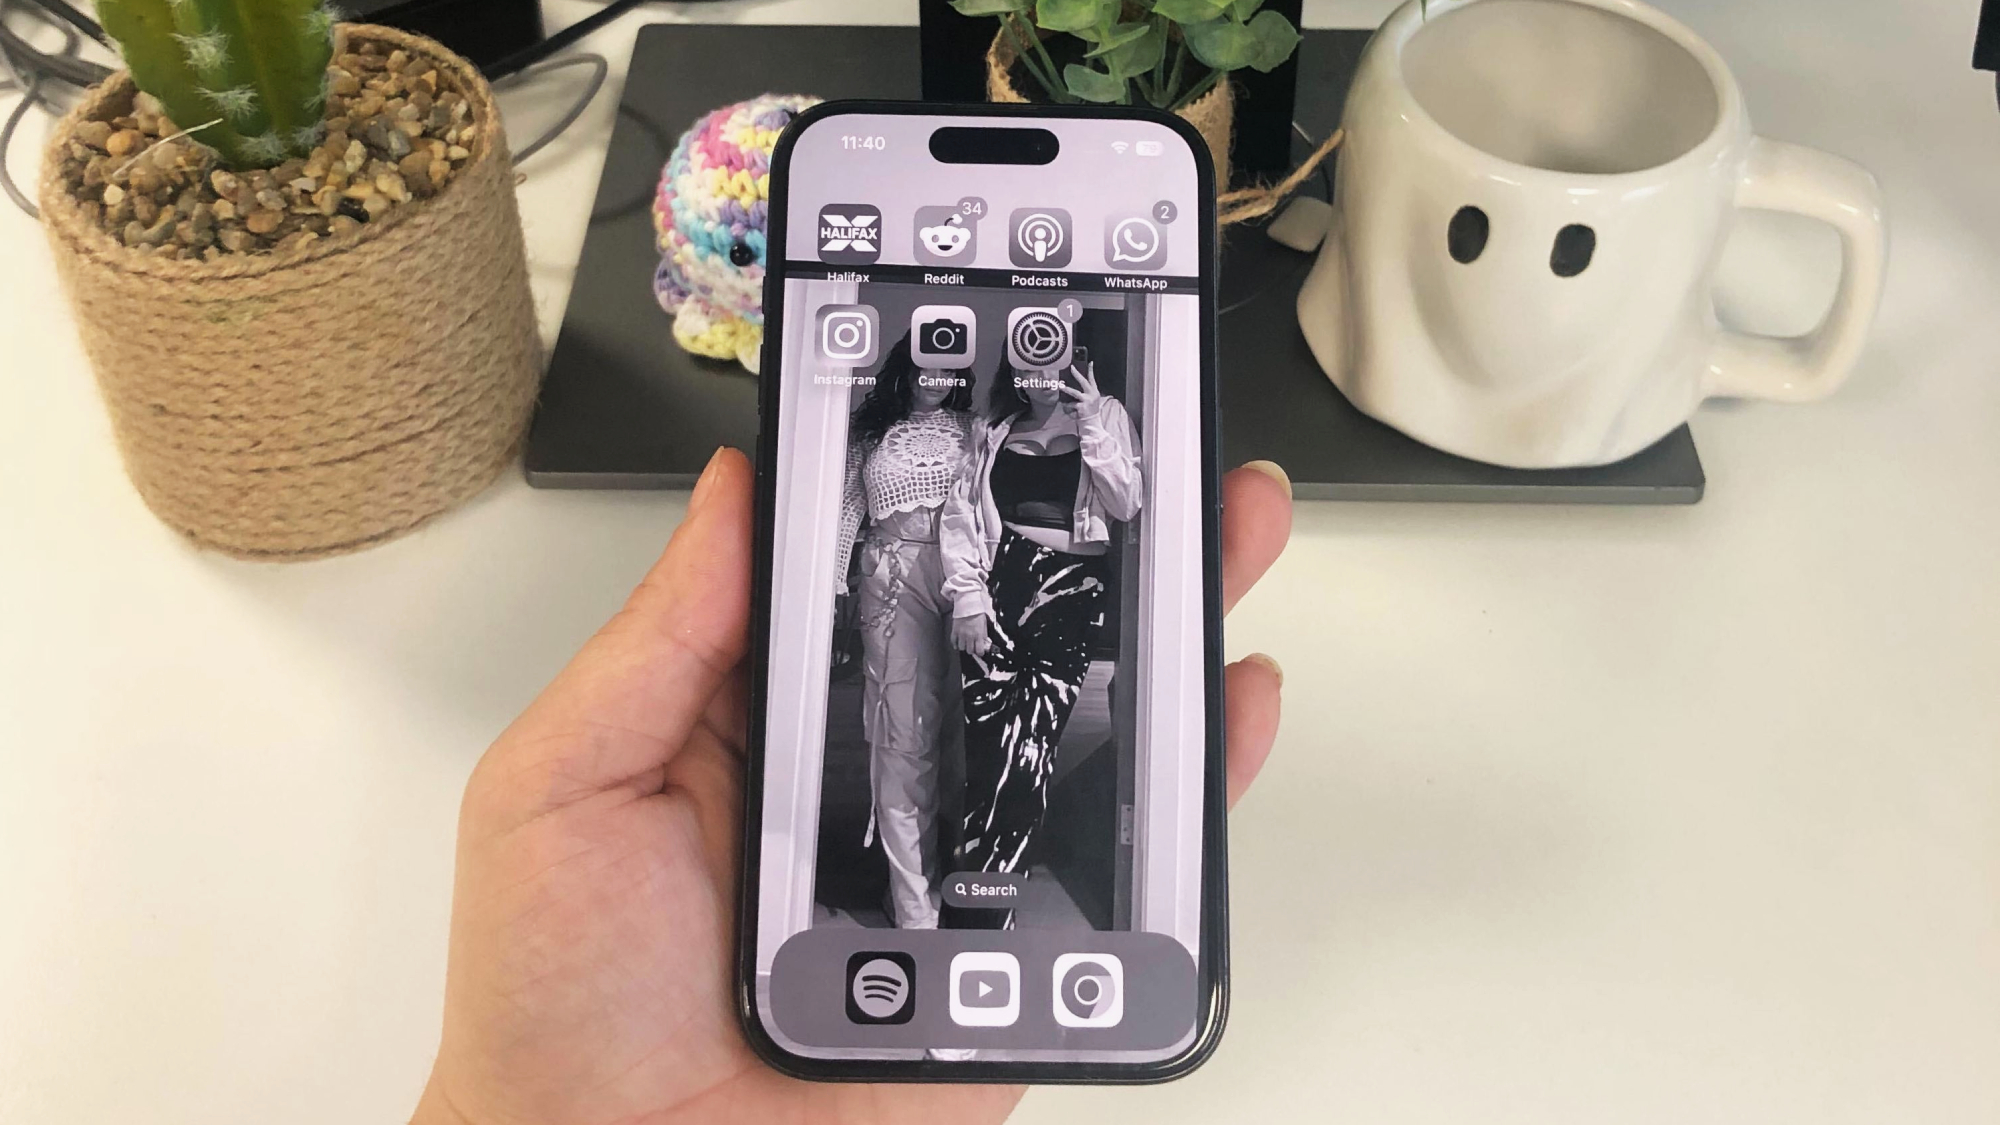
After a week of using grayscale mode on my iPhone, I'm pleasantly surprised by the difference it's made. My late-night scrolling sessions no longer feel like I'm staring into a miniature sun, and I've noticed a significant reduction in eye strain. While I do switch back to color for photo editing or when I need to distinguish something, grayscale has become my new default.
If you're looking for a way to reduce screen time and give your eyes a break, I'd definitely recommend giving grayscale mode a try.
Now you've learned how to enable grayscale, why not check out some other iOS features? Learn how to use Safari Reader for a cleaner browsing experience. Boost your privacy with our guide on how iOS 18 lets you protect your apps with Face ID. And for quick access to your favorite apps, discover how to customize the home screen.


