
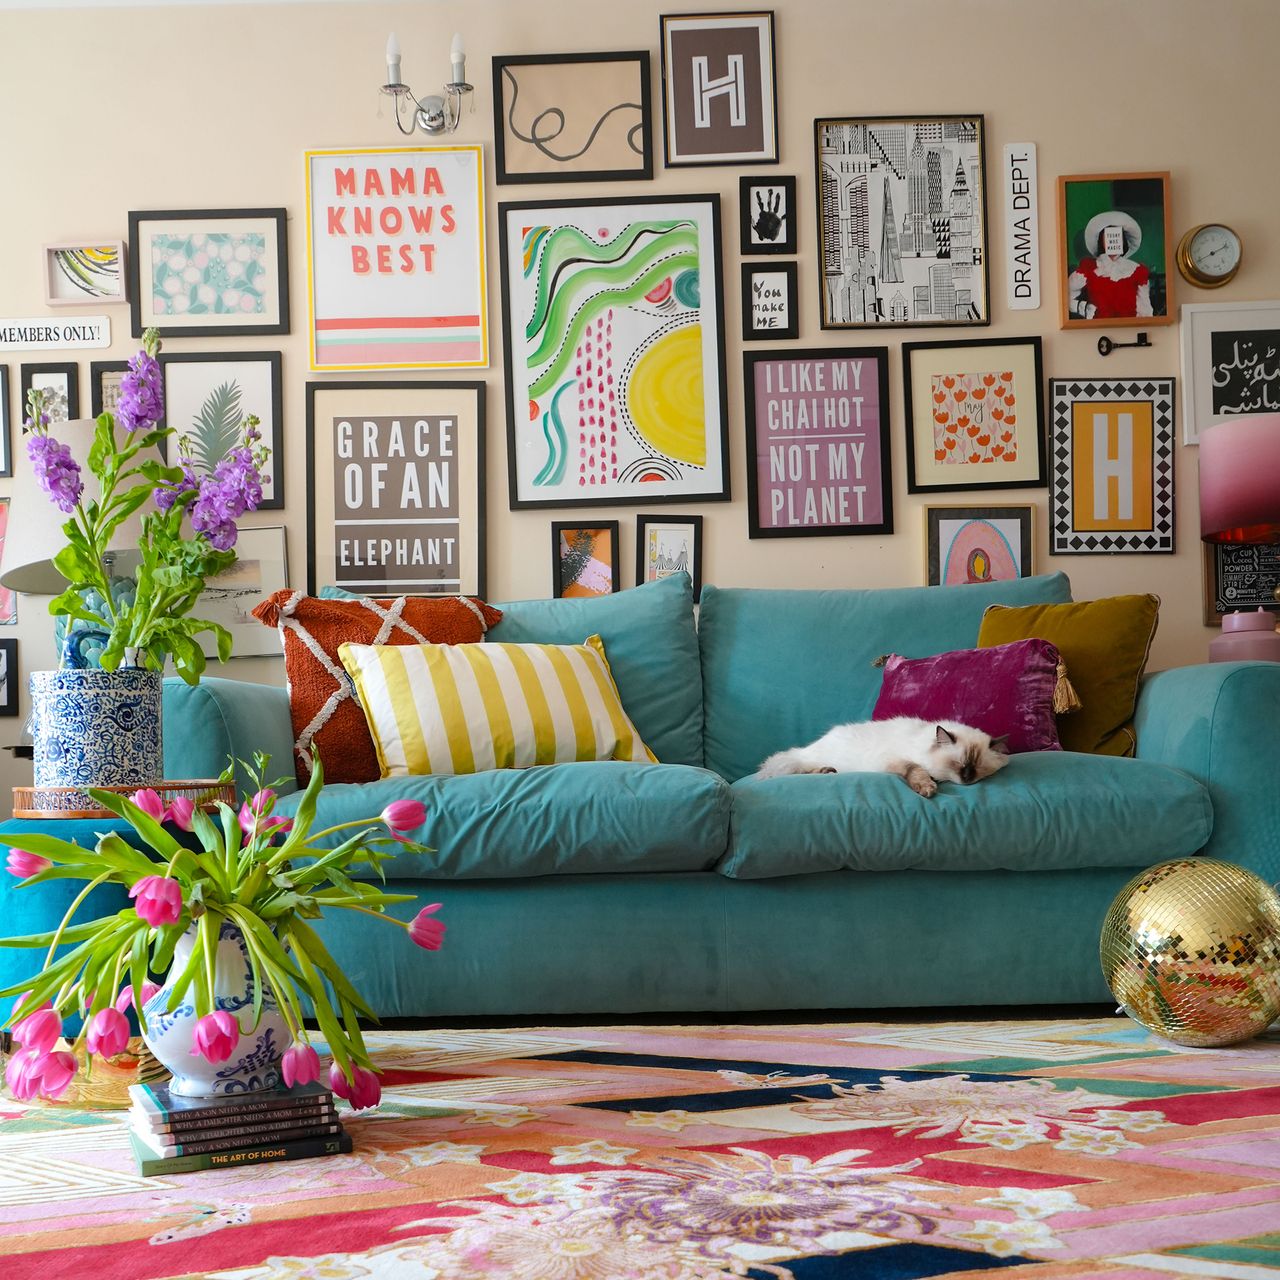
Home decorator Ammarah Hasham is one of Ideal Home's new Open House contributors, sharing her thoughts infusing her rental house with plenty of personality. See the rest of her articles here.
A couple of weeks ago, I shared a simple DIY using cork board stick-on tiles to create a giant pin board.…and it kind of went viral, racking up nearly one million views. (Gulp).
OK, watching those numbers climb was surprisingly exciting. But what stood out even more were the conversations that followed.
Many of you wanted to know where I'd bought the cork tiles, but one question appeared again and again. ‘How are you going to remove it?’
Some wondered if it would damage the walls. Others admitted they’d never even considered trying something similar because, as renters, the walls can feel almost untouchable. If you are reading this and nodding along, join the party…
Every renter knows that little voice asking, “Will I lose my deposit if I try this?’’. Being a renter sometimes feels like a battle between the home you want and the home you are allowed to have. Whenever I find myself caught in that tug of war before starting a project, I usually consult two people: my inner DIY enthusiast and my inner deposit custodian. Here’s what they have to say.
1. Photograph everything before you start
I have talked about this strategy here because it literally takes a few minutes but can save hours of stress later on. Before making any changes, I photograph every room from every angle paying particular attention to existing marks, paint chips, damages, fixtures, and anything else that seems noteworthy.
Those photos provide visual proof of how the property was received and come in handy when I am trying to put the rooms back together. Having photo proof is also helpful if there’s ever a disagreement about damage that existed before the tenancy.
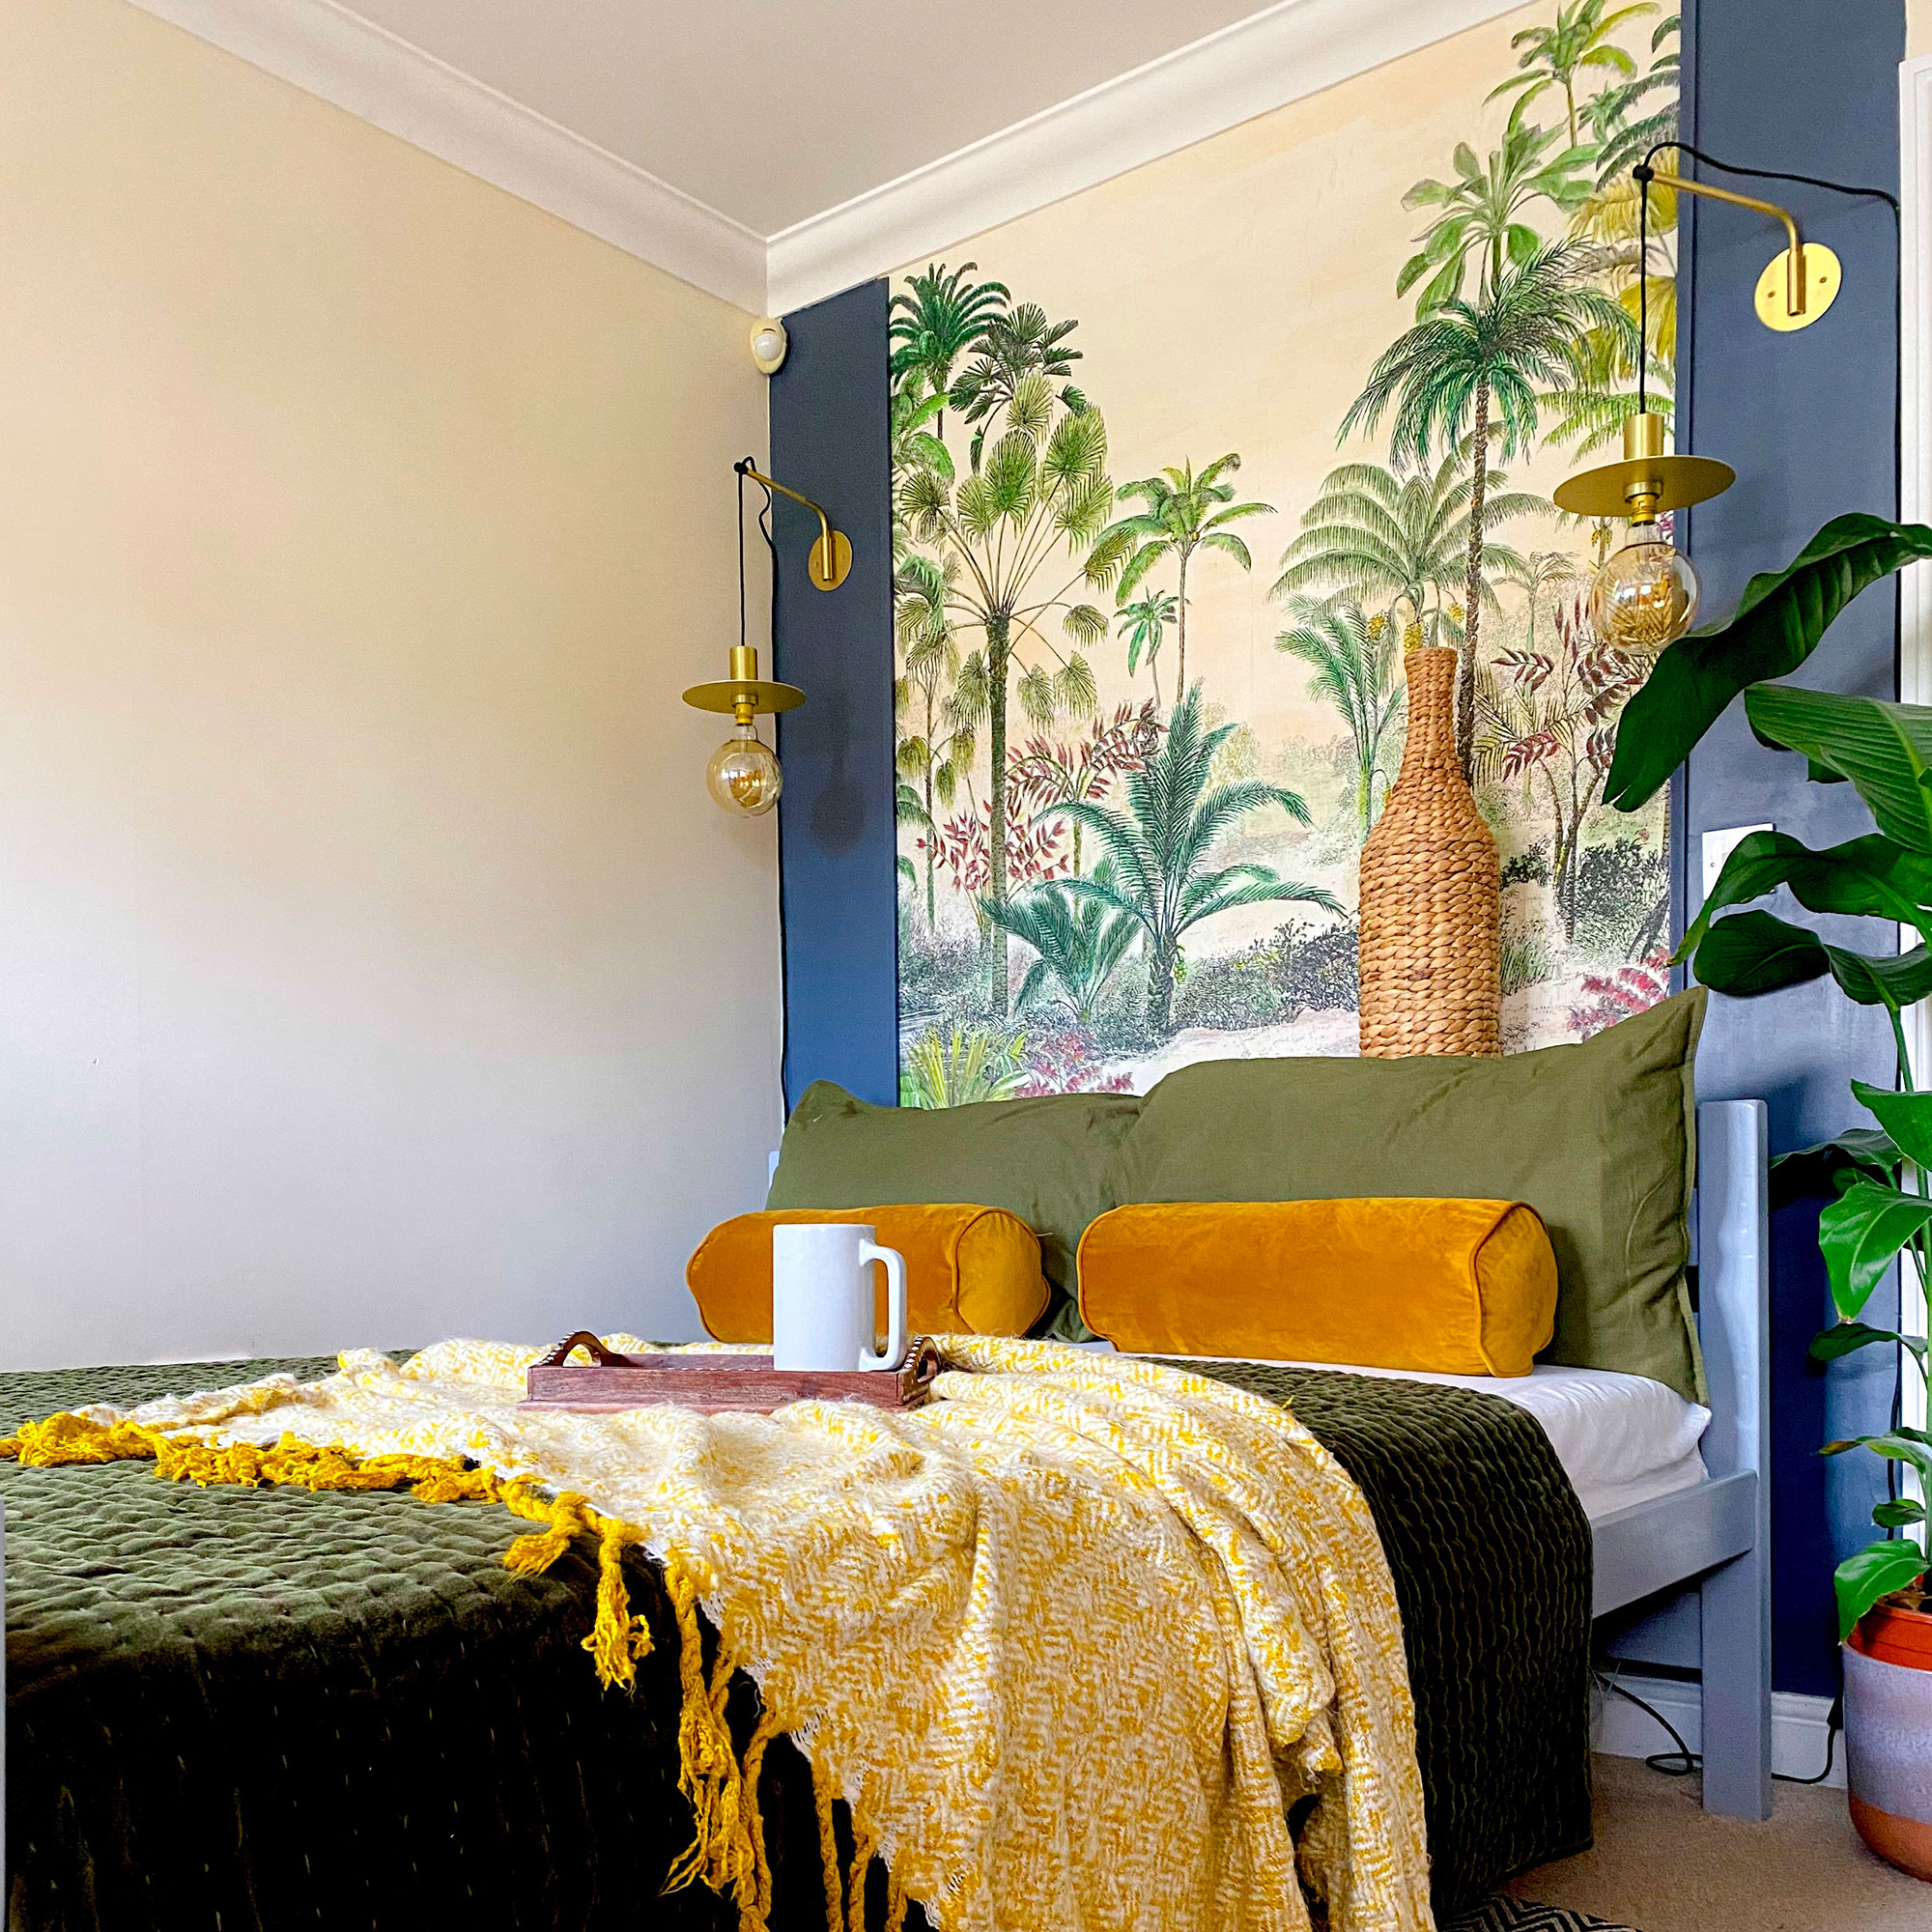
2. Think backwards before you think forwards
Let’s call it my Reversibility Rule. Every project should have an exit plan.
Before I stick, drill or paint anything, I ask myself a couple of questions: Can I put this room back as I found it? If I had to move out in two months, can I undo everything without panicking? If the answer is yes, I carry on.
Decorating isn’t usually the problem. Permanent changes in temporary homes are. I’ve transformed almost every home I’ve rented and, if I am honest, putting it all back together has always felt a little daunting. But it has never stopped me creating a home I love. The joy of living in a space that feels like mine has always outweighed the inconvenience of restoring it later.
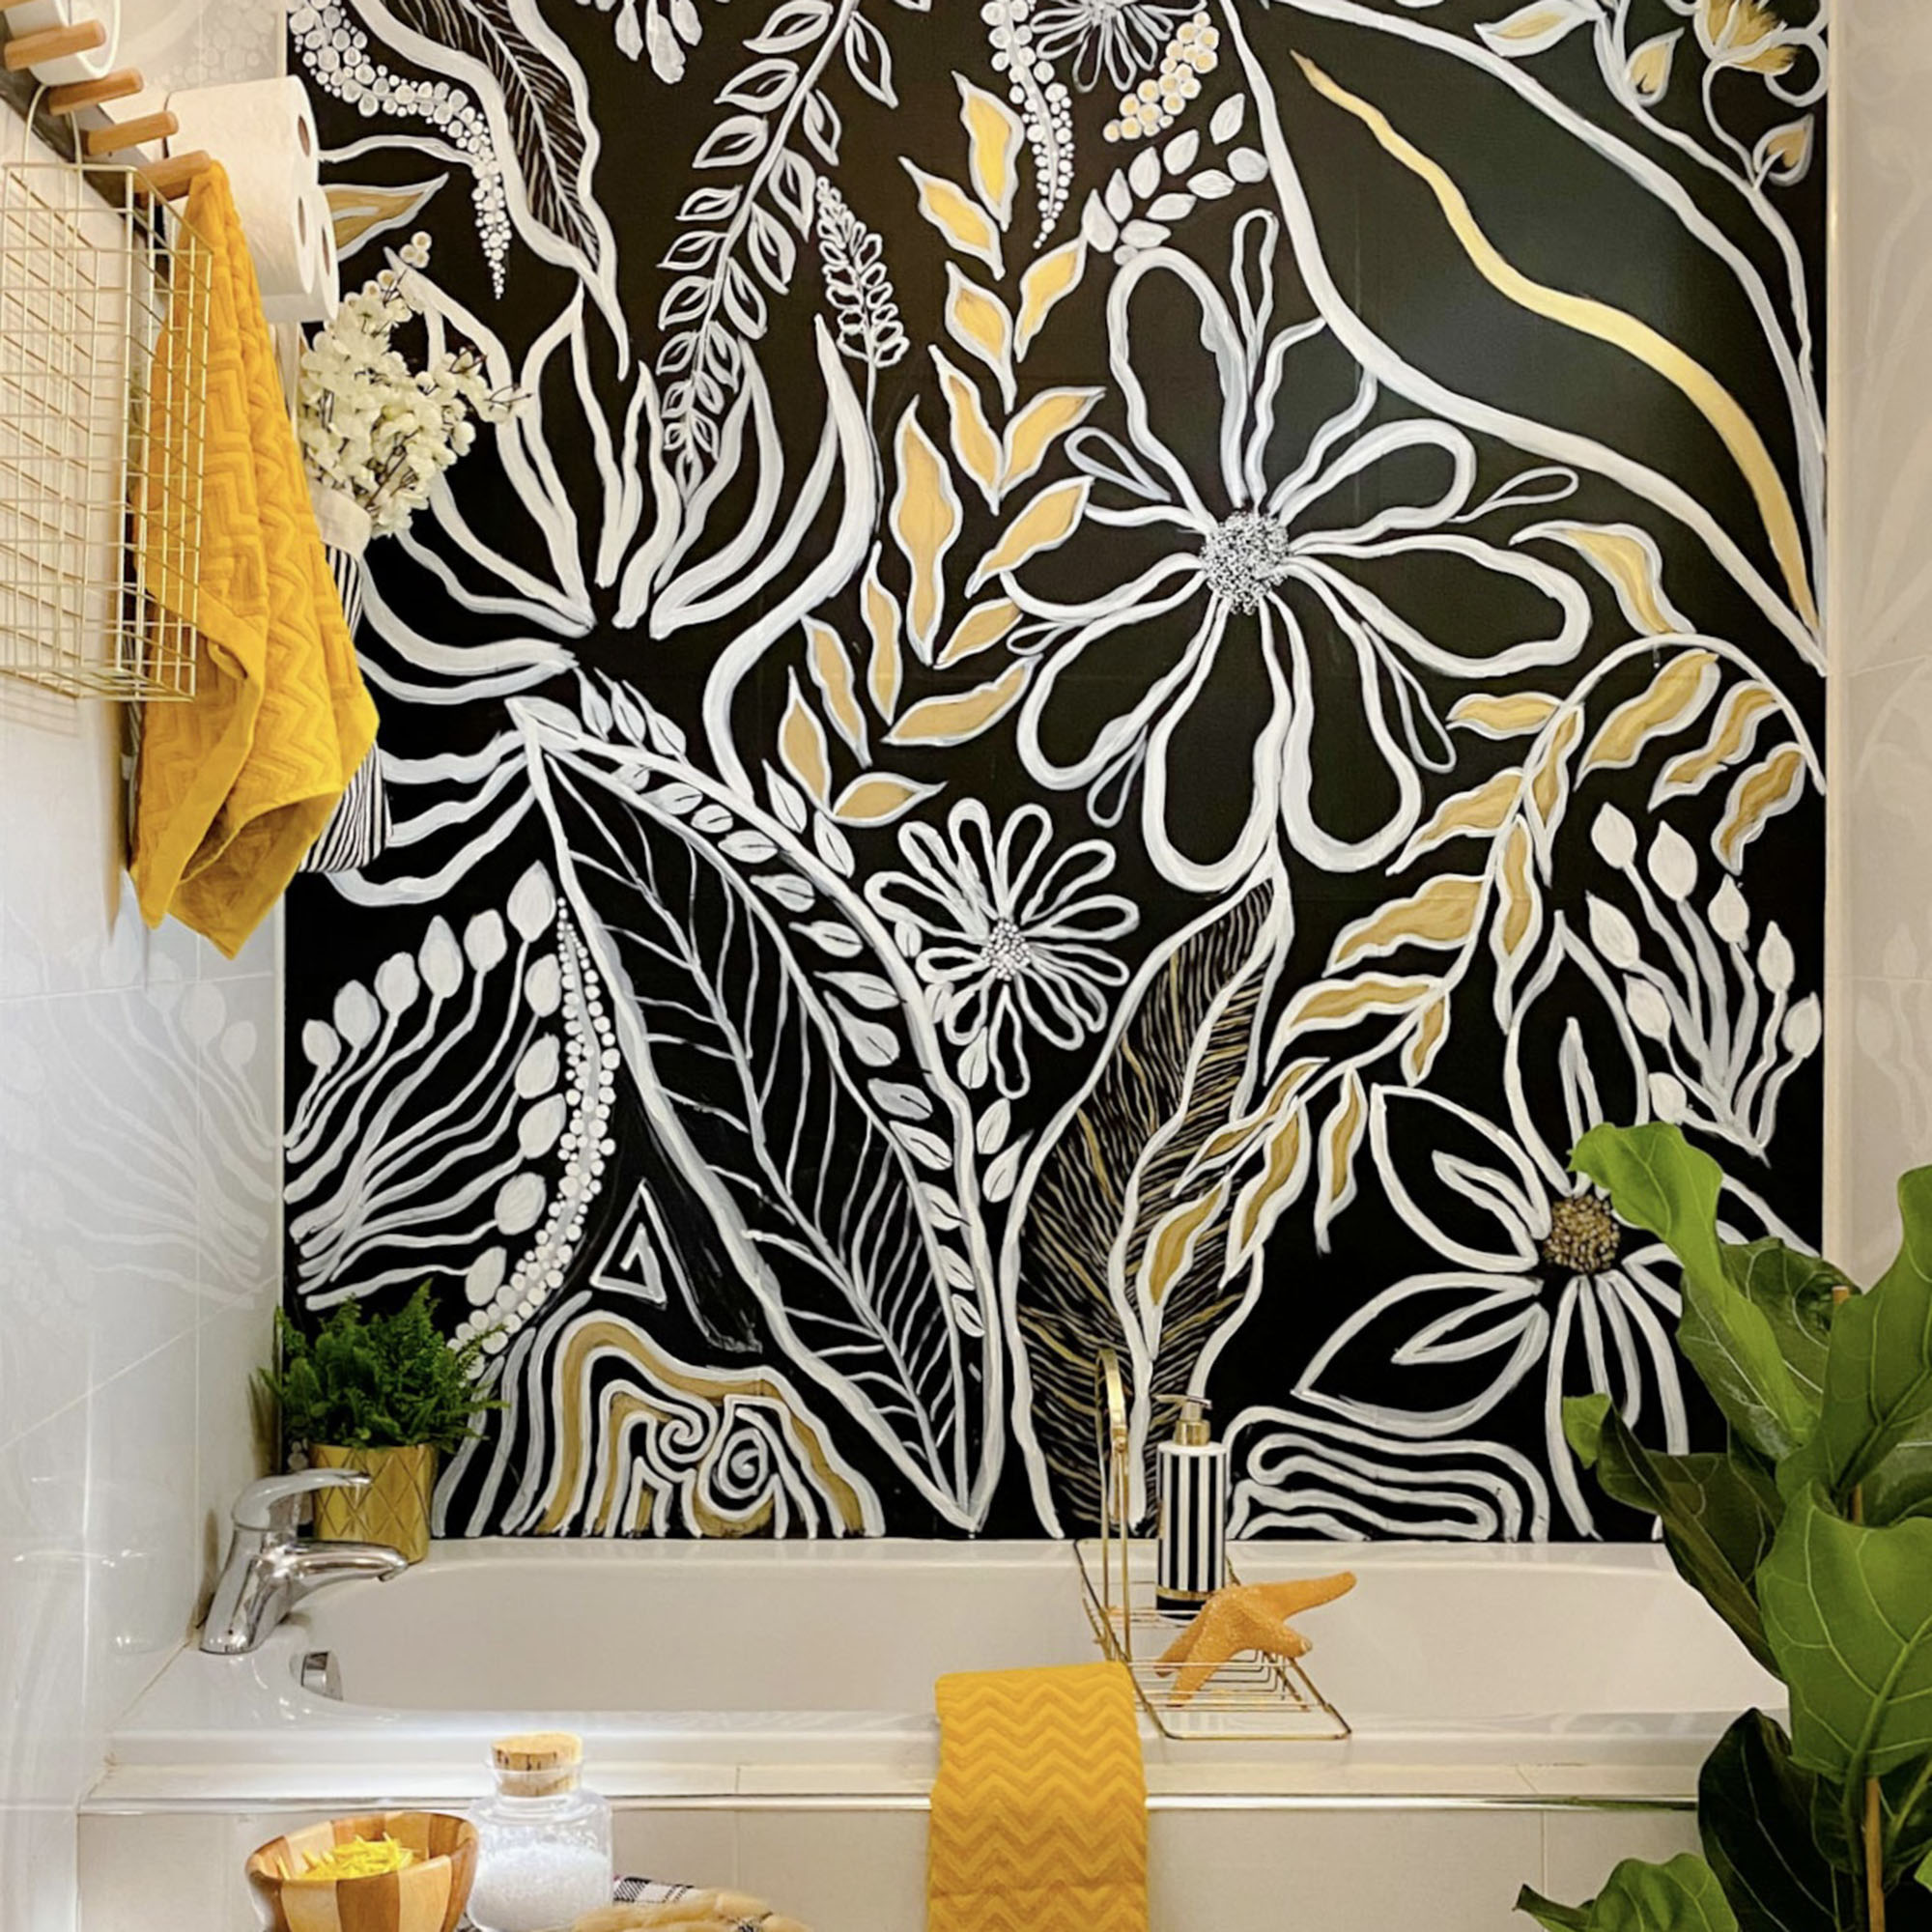
3. Look after everything you remove
This is the step so many renters overlook. When you’re caught up in a DIY project, it’s easy to chuck the old drawer handles into a random box and tell yourself you’ll remember where you put them. Spoiler: you probably won’t.
Keep every tiny screw, cupboard handle, light fixture, curtain pole and curtain hooks somewhere safe (unless you’ve agreed otherwise with your landlord). Yes, even the ugly ones. Especially the ugly ones.
I keep everything together in labelled boxes because you’d be surprised how easy it is to forget where you’ve put something after living in a home for several years. Admittedly, I have the memory of Dory, so labelled boxes have saved me more than once. No one wants any unnecessary expense that’s easy to avoid by being a little organised.
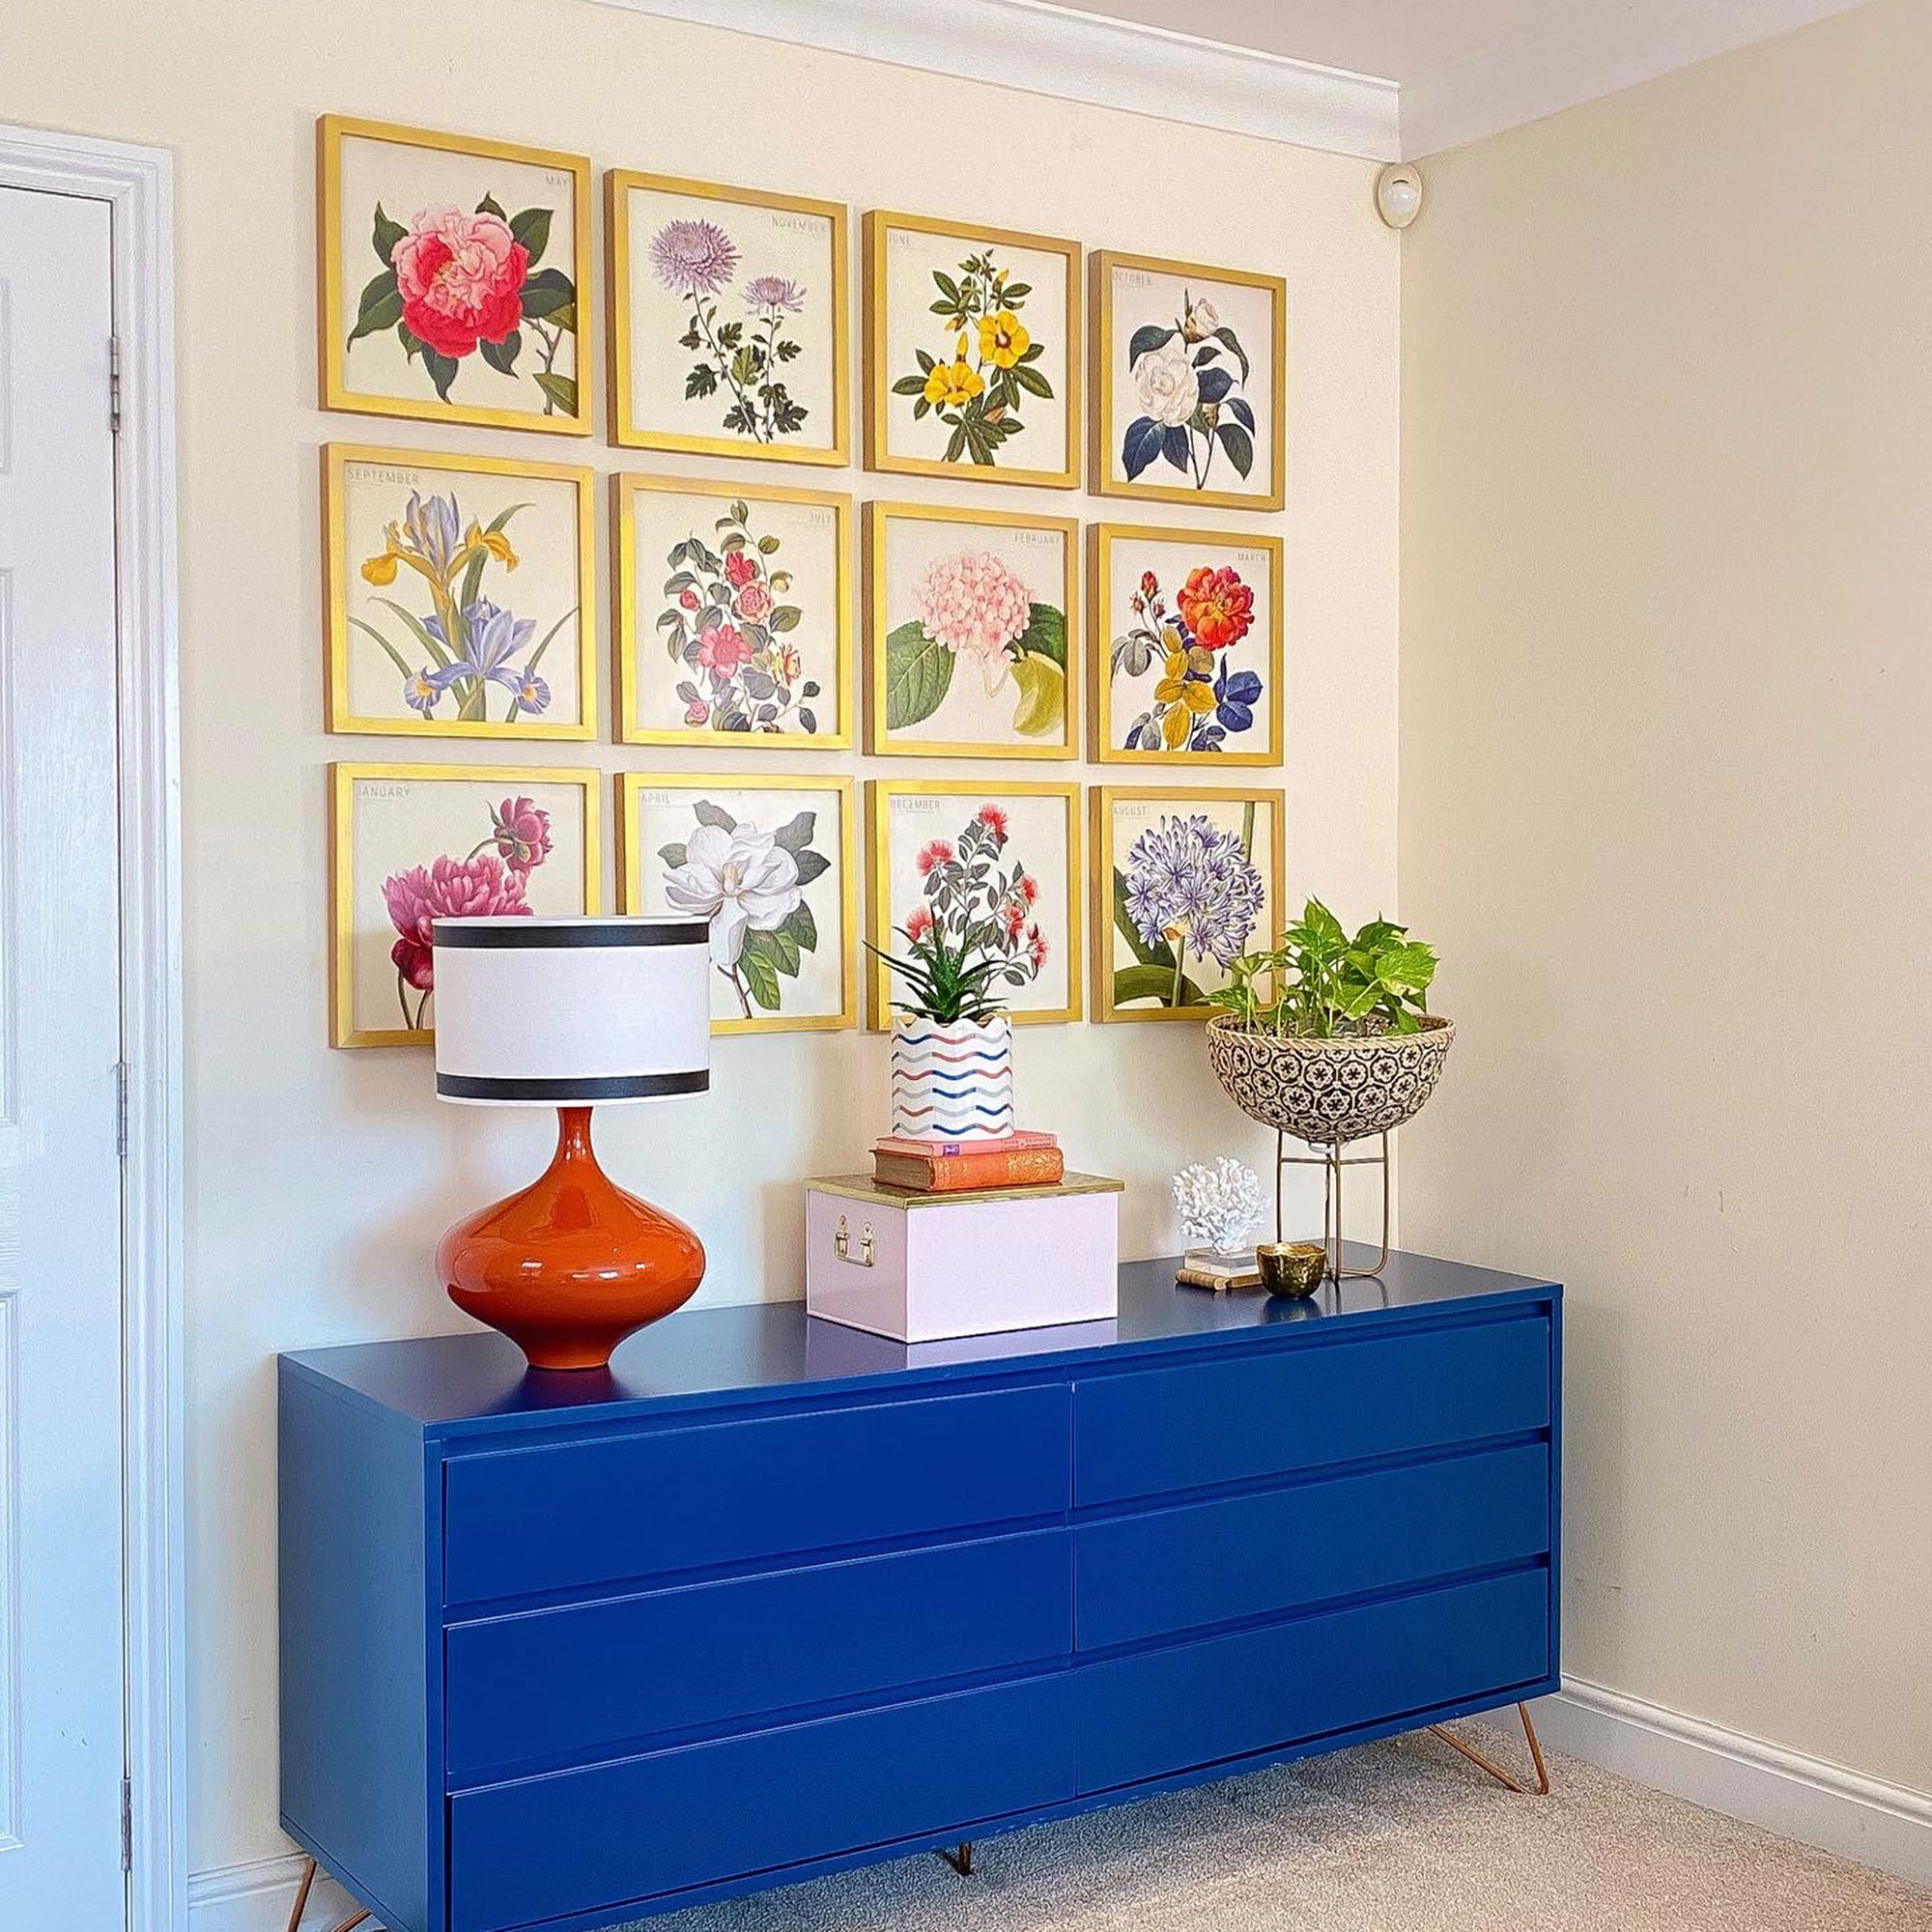
4. Always do a patch test
Just because something is labelled renter-friendly doesn’t mean it’ll suit every rental. I’ve completed more than fifteen reversible DIY projects in this house alone, and one thing I’ve learnt is that every property behaves differently. The same adhesive that comes away easily in one home can take chunks of paint with it in another.
That’s why I always do a patch test before I commit to any makeover. I apply a small piece of the product somewhere discreet and leave it there for a few days. If it comes away easily, I carry on. If it doesn’t, at least the damage is limited to a small area. Social media is brimming with inspiration but please, please, please do your own research to avoid any disappointment.
5. Keep a can of paint handy
This might be the least exciting tip, but a useful one nonetheless. Always keep a small can of the paint handy in the colour used in your rented home. Most rented homes use fairly standard shades, so matching it is usually straightforward.
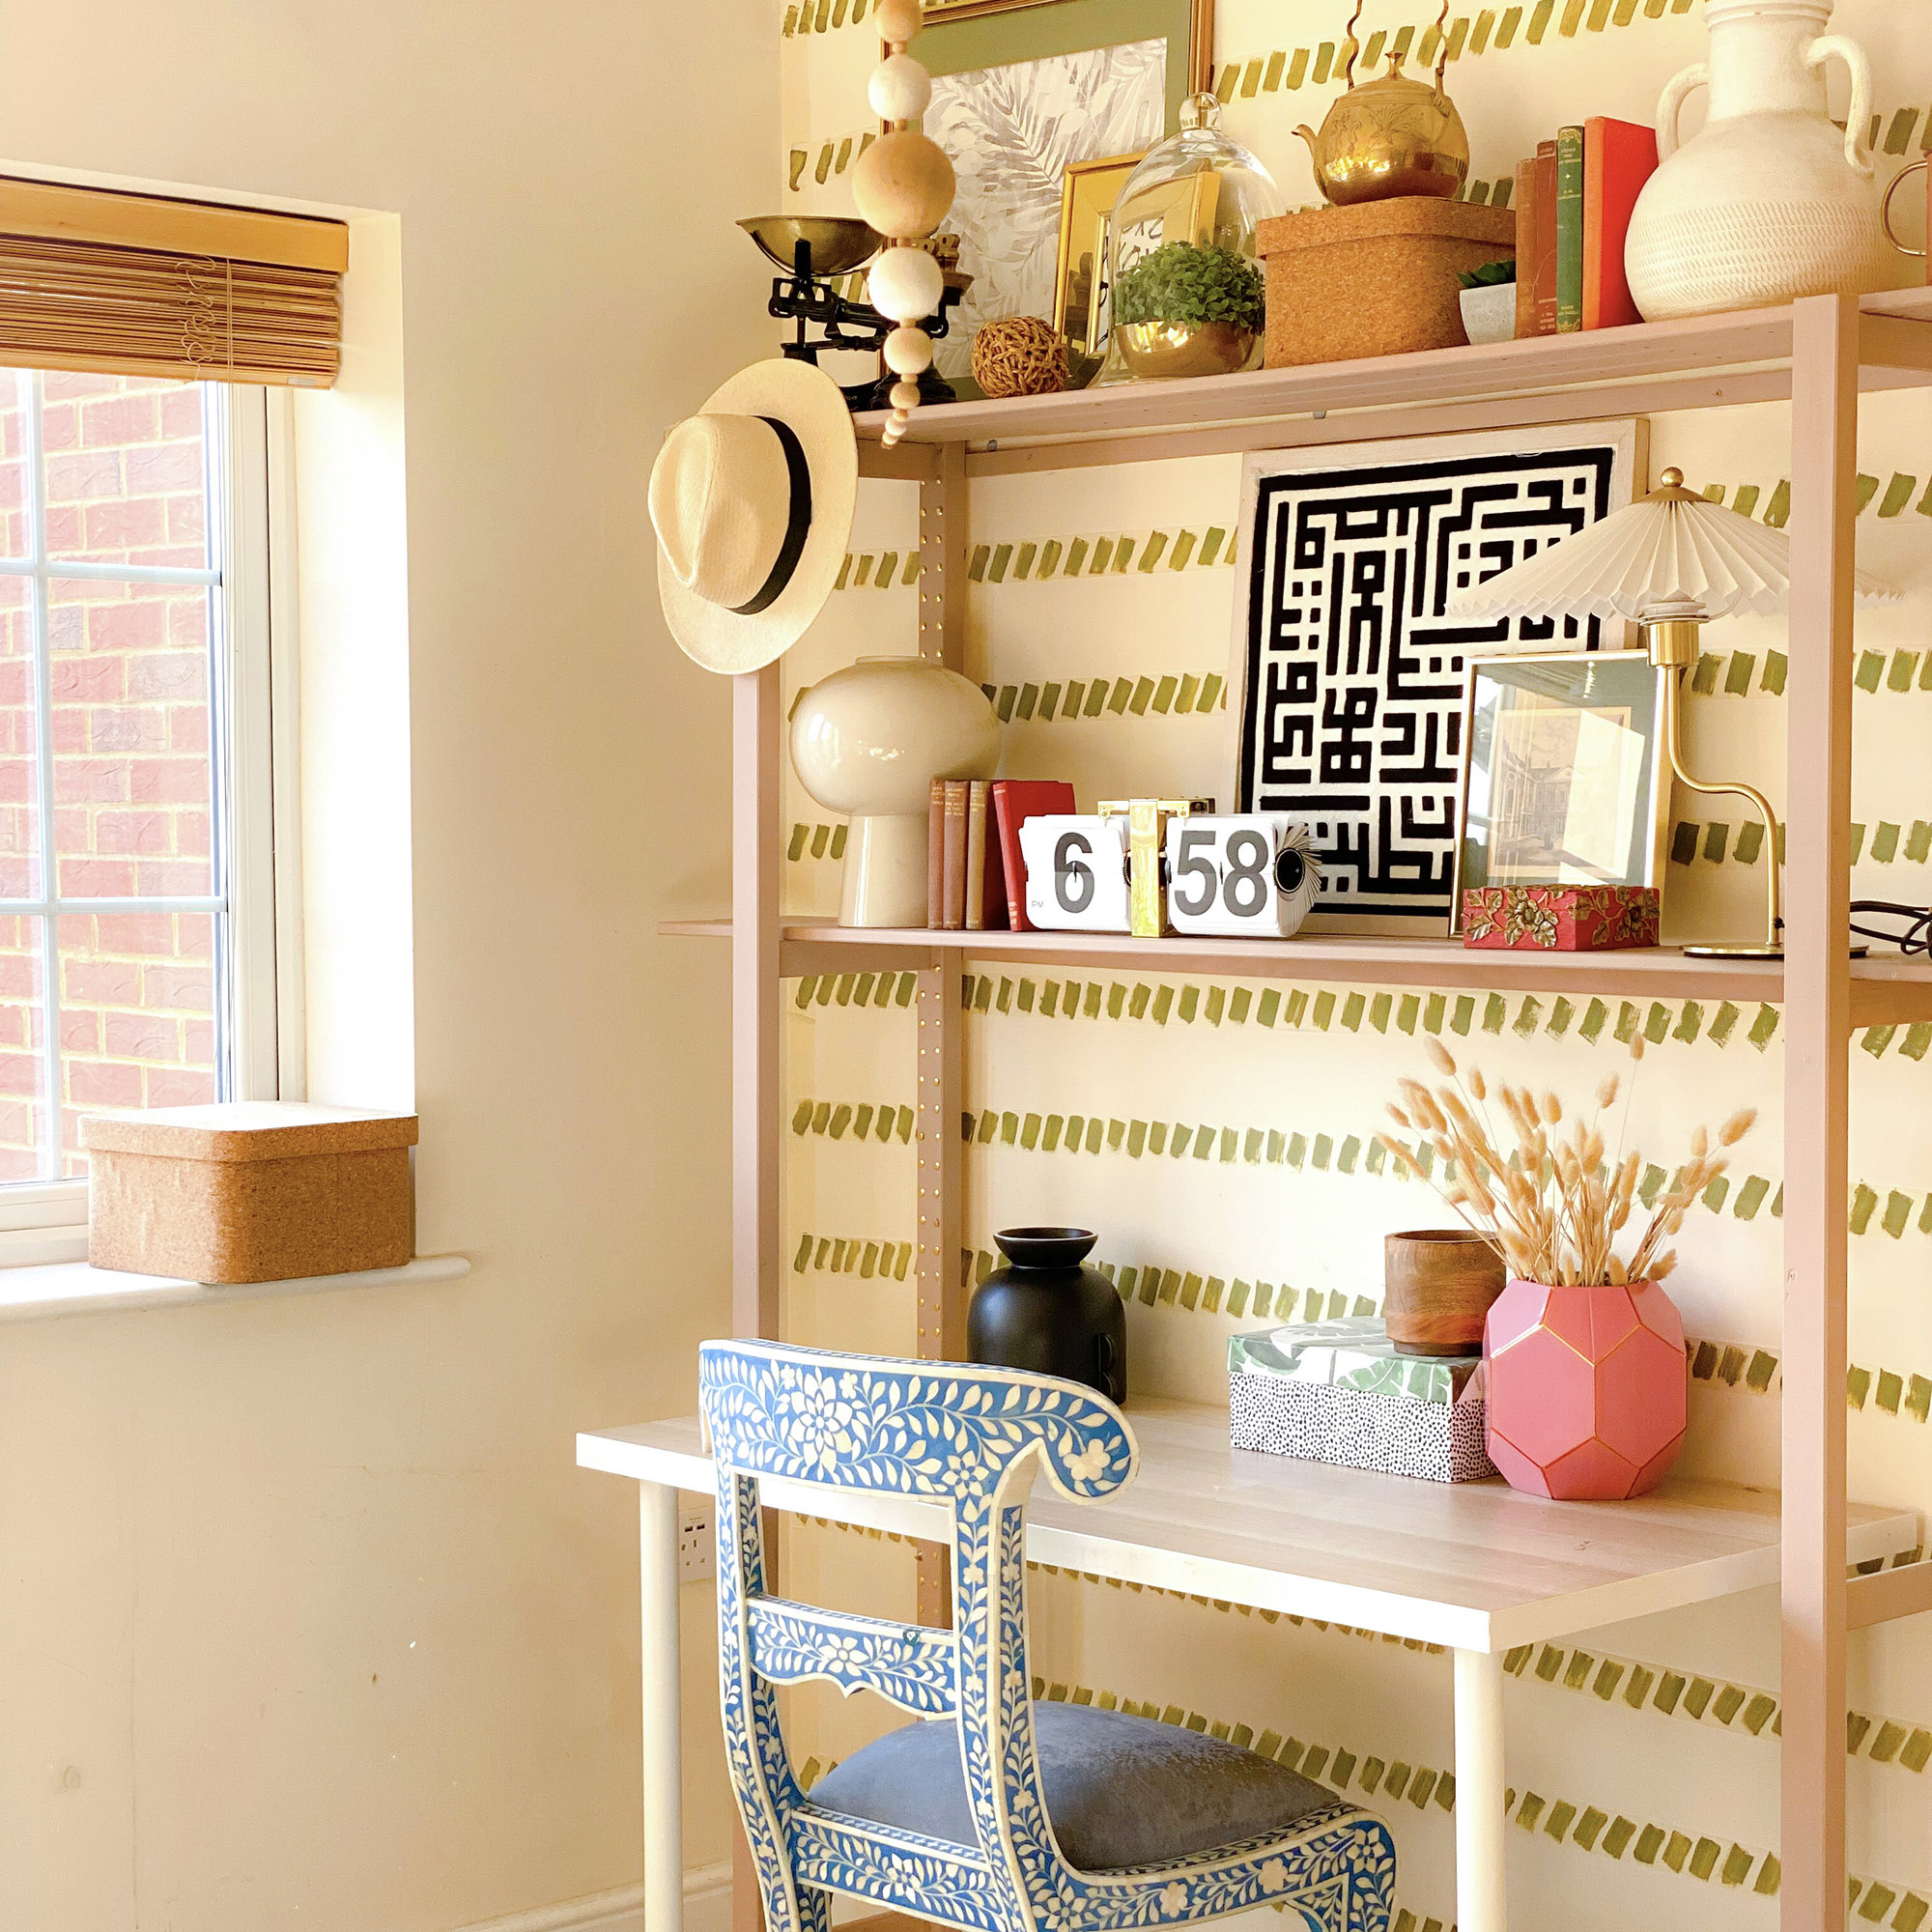
Since the walls in my home are painted magnolia, I keep a small tester of Dulux Magnolia for touching up marks, scuffs, and tiny chips. It is invaluable for fixing the occasional DIY mishap as well. You’d be amazed what a ten-minute touch-up can do when it comes to protecting your deposit.
I know one day I’ll hand these keys back. But when I do, I’ll be proud that I cared for this home without sacrificing the joy of making it my own.