Hands up who keeps putting off changing their acoustic guitar strings? I've only just done it… after a year! If you're about to do the same, you might want to watch this video tutorial from Gibson Master Luthier Jim DeCola (via Gibson Gazette) as it points out a few crucial things you need to consider, as well as how to do it step-by-step.
One is taking off all the old strings at once. If you're not planning on conditioning your fretboard, the massive change in tension at once from taking all six strings off should be avoided unnecessarily.
"The first thing in restringing an acoustic is to loosen your strings and I recommend doing it three at a time," advises Jim. "There's a lot of tension on the guitar and unless you're going to give the guitar a deep cleaning which would necessitate removing all the strings at once time, I typically will do the wound strings, replace those, and then the plain strings."
Jim also points out that this method avoids the risk of your acoustic guitar's bridge saddle falling out, and if you have a piezo pickup underneath it that can be very sensitive to repositioning.

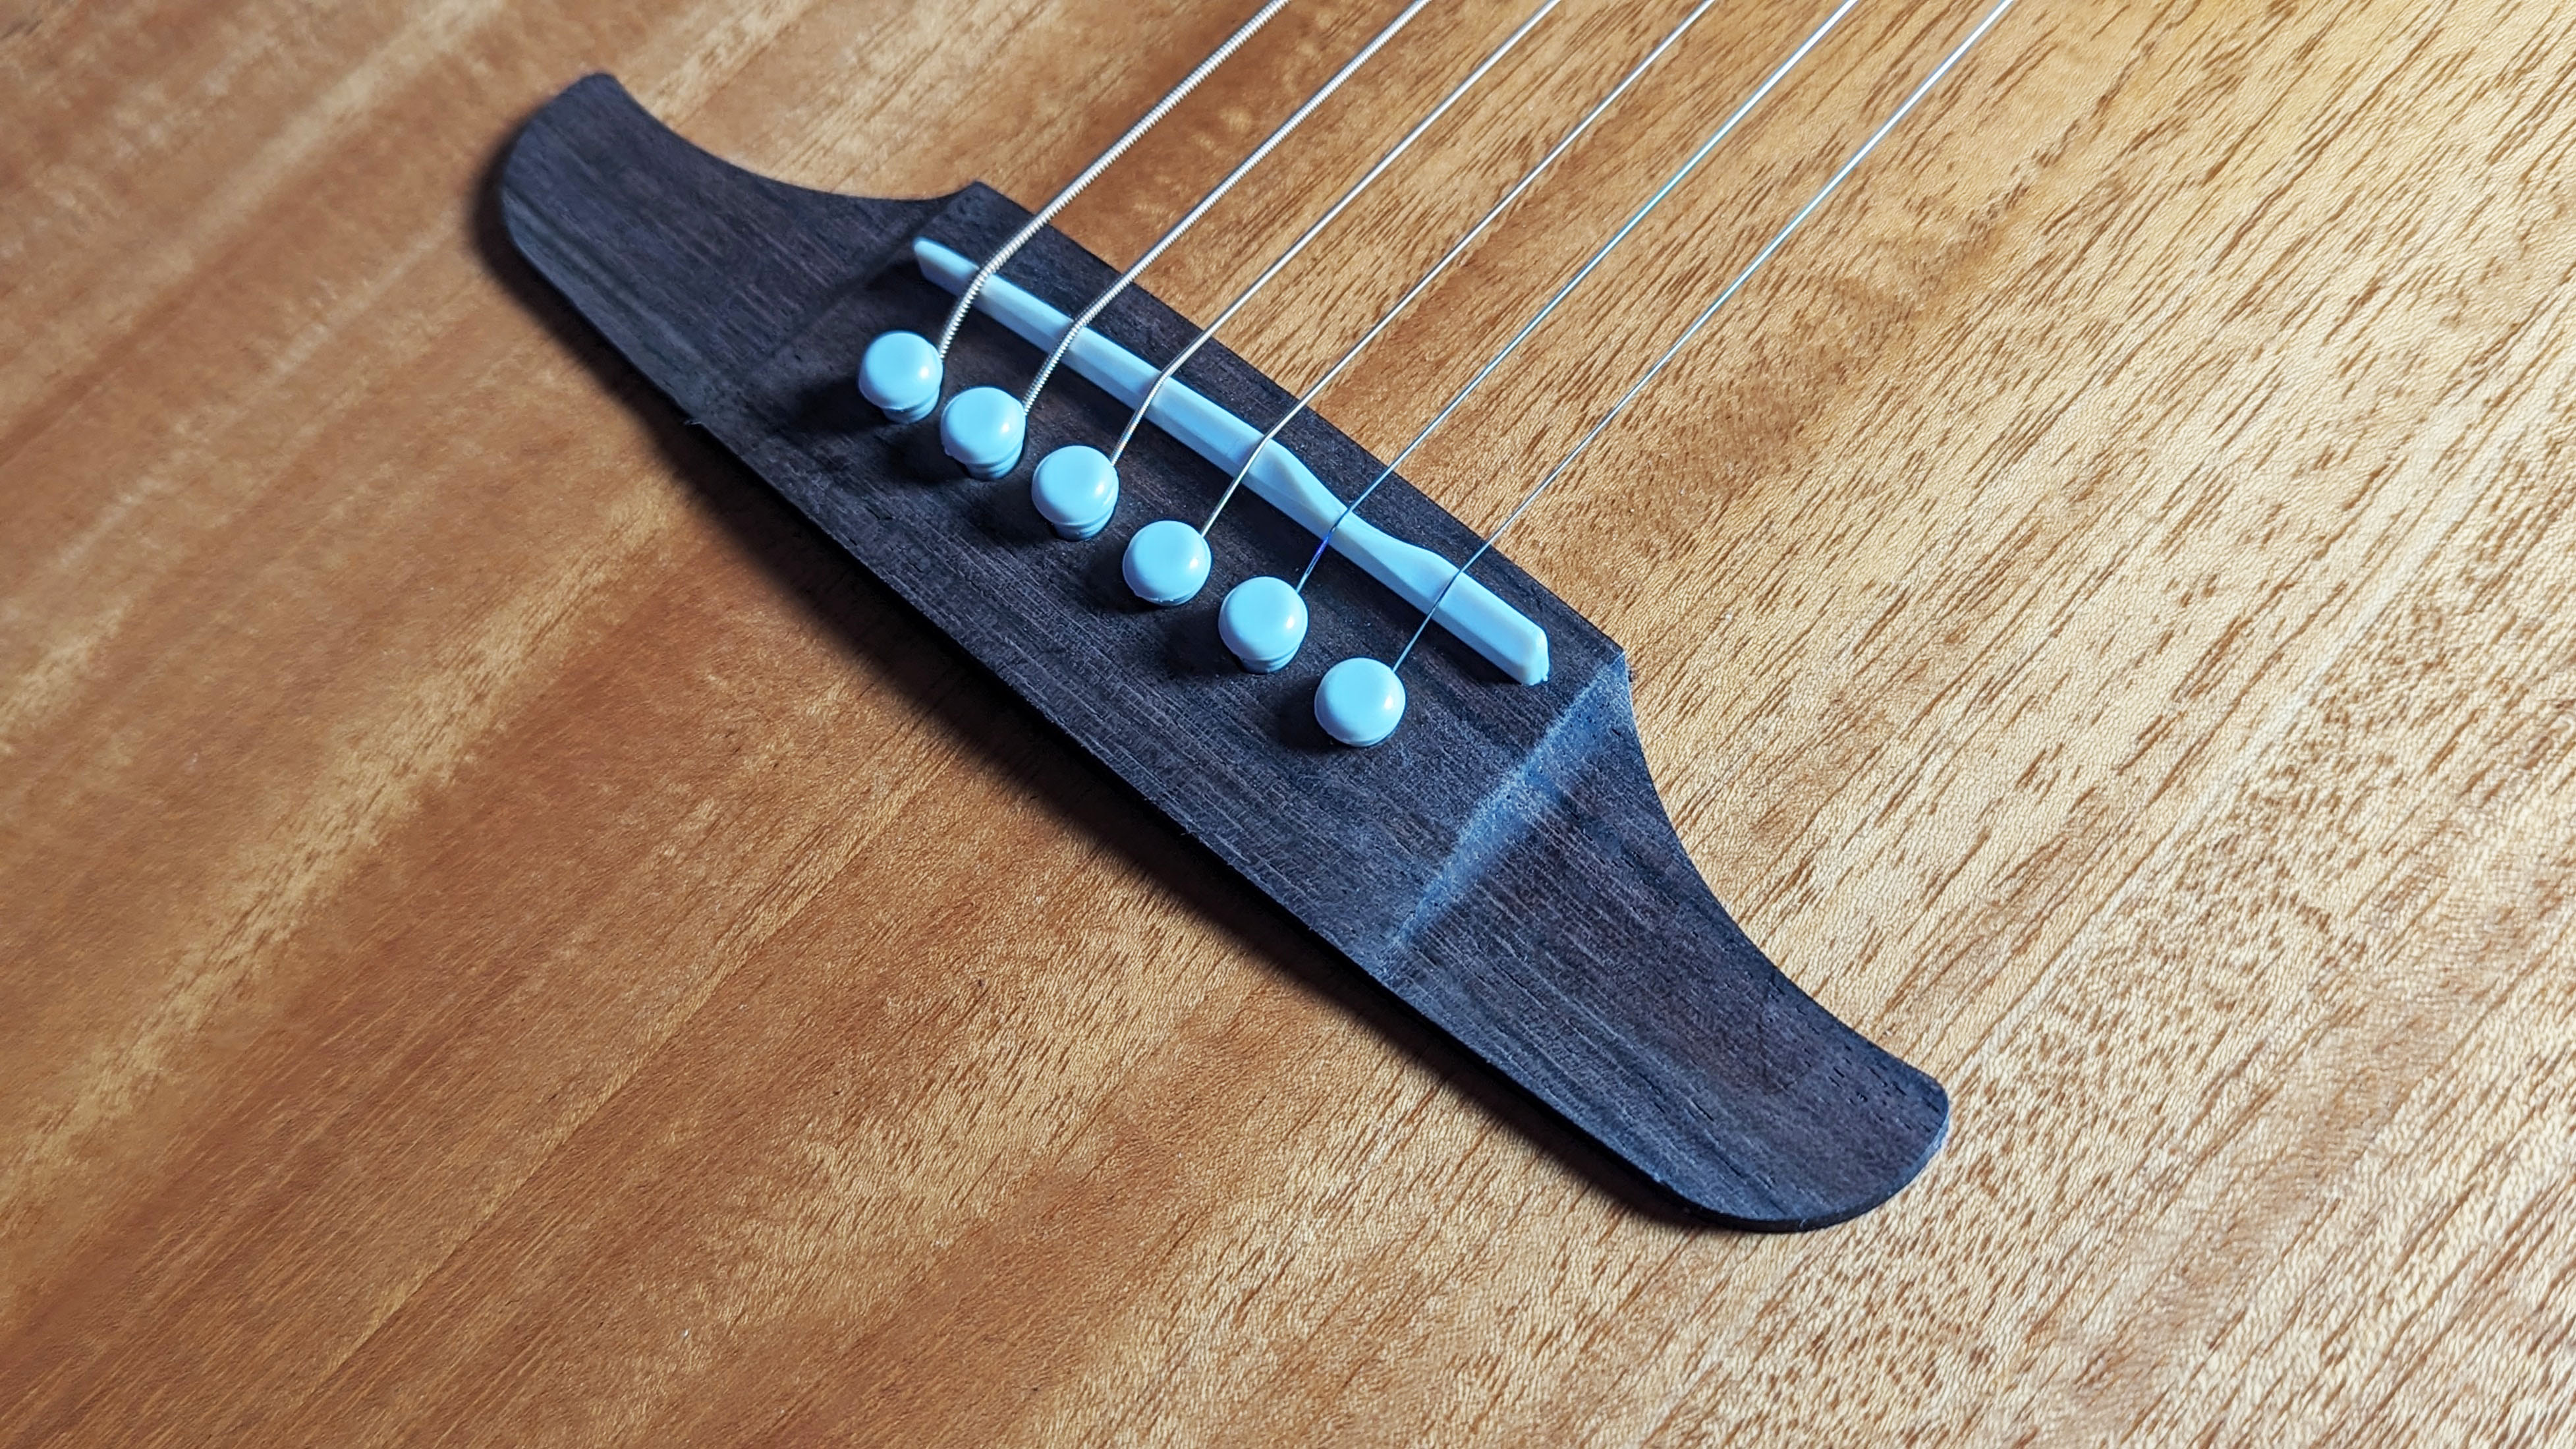
Another area we need to be careful with is the removal of the bridge pins that hold your acoustic guitar strings in place – effectively anchoring them via the ball ends. This is where carelessness can have serious consequences if damaged is caused.
"If you have a peg winder they'll often have a little slot which you slide under the bridge pin and pry up, and that's how you remove the pin," says Jim. "If you don't have a peg winder that has that feature and if you're careful, you can use wire cutters very very gently – only enough to wedge under that pin and gently lift up that bridge pin."
Jim also covers the much-overlooked subject of string winding and wrapping; he illustrates two methods for it that are both good habits to get into. Check it all out in the video above.


