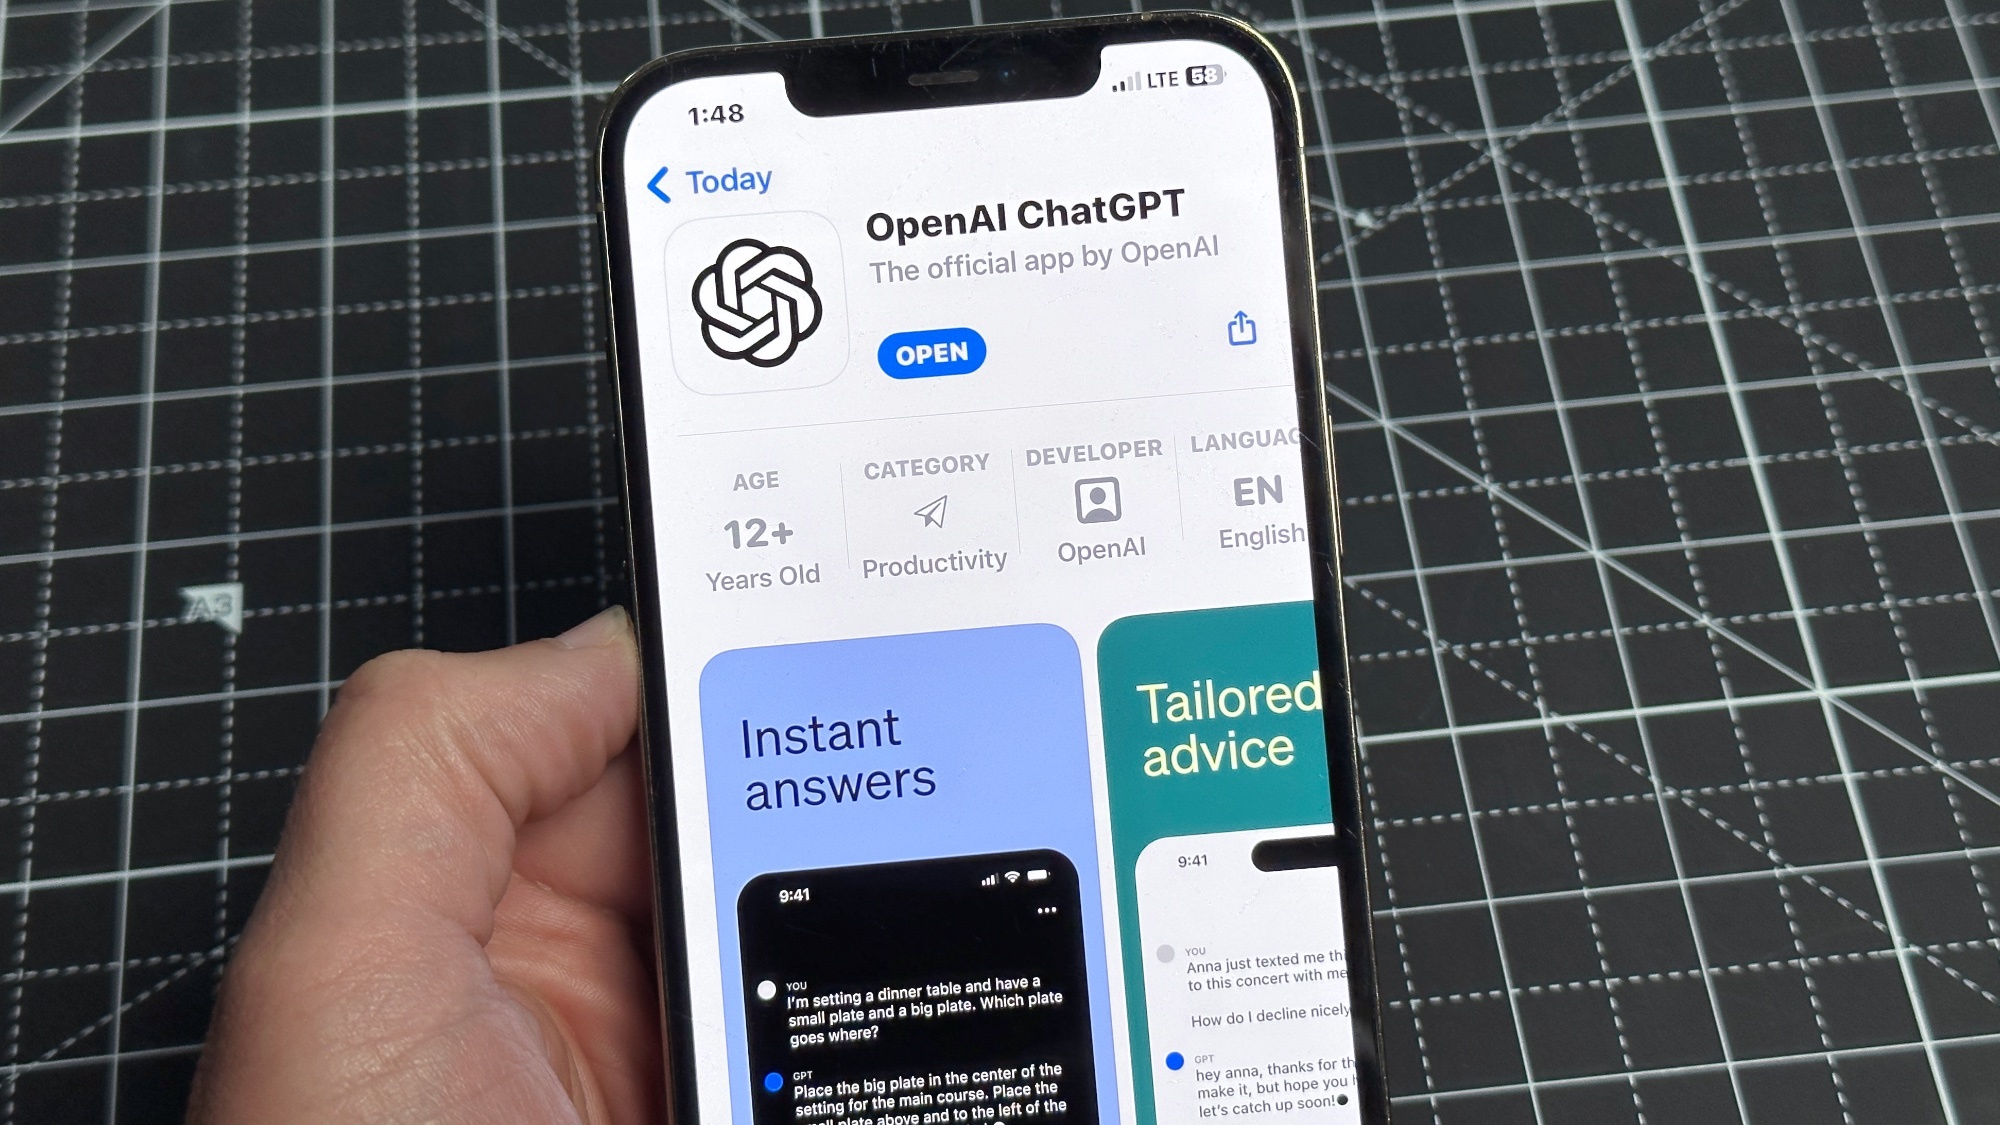
ChatGPT has long been replying to our curious questions and helping us with our daily tasks. But did you also know that paying users can ask ChatGPT to generate images for them?
OpenAI’s chatbot accomplishes this thanks to DALL-E 3, an artificial intelligence model that can take a text prompt and turn it into an image. It is available to all ChatGPT Plus, Team, and Enterprise users, as well as to developers through OpenAI’s API.
All of the image creation happens in the regular ChatGPT interface. This is great because you don't have to leave the comfort of the familiar chat environment and you can also bounce off ideas with ChatGPT to refine your prompts and create stunning AI visuals.
How to generate images using ChatGPT
Creating AI images with ChatGPT is quick and easy. Although you need to purchase a subscription, since free ChatGPT accounts can't yet be used to create images, using OpenAI's chatbot to create images is very similar to having it complete other text-based tasks.
1. Sign in to ChatGPT
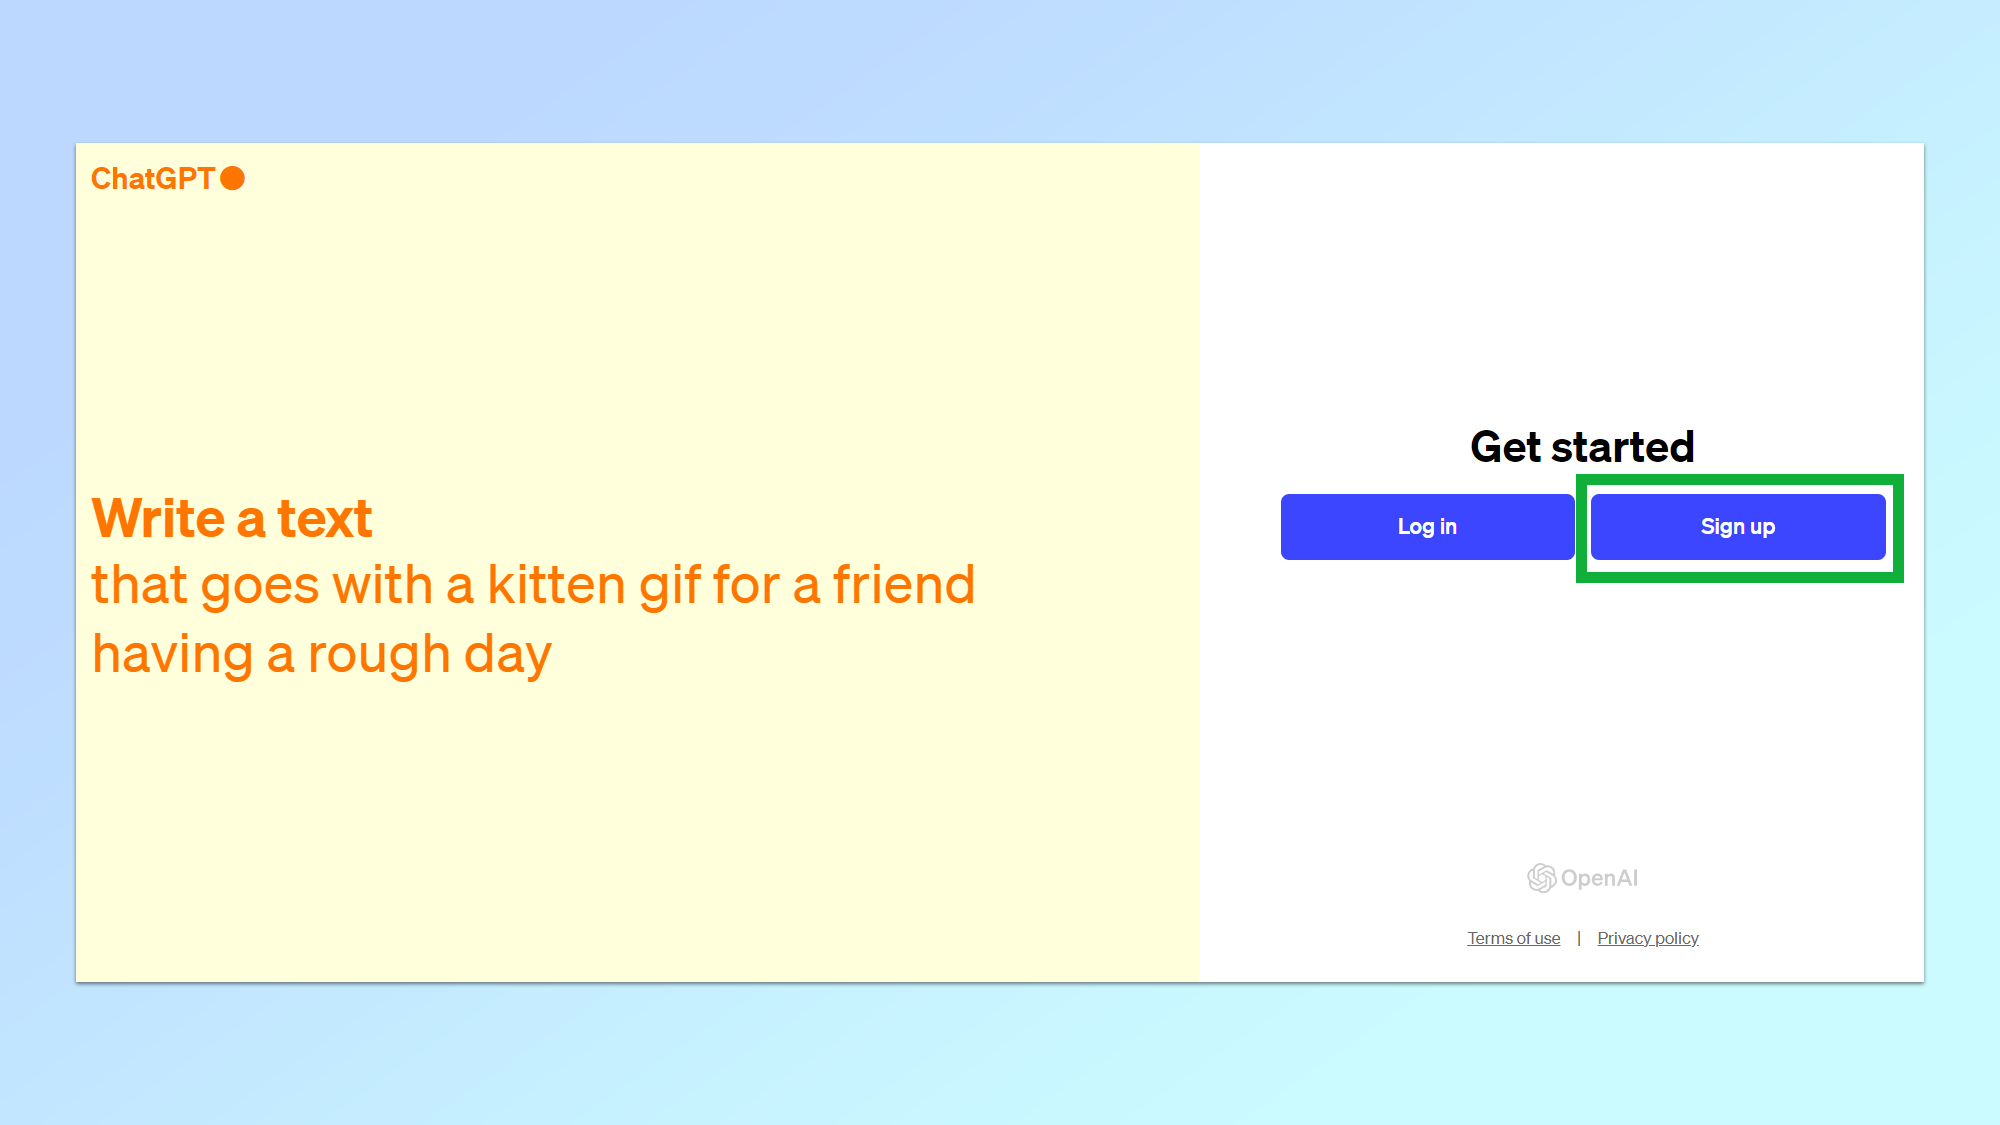
Sign in to your account or if it’s your first time using ChatGPT, create a new one. However, you’ll need a paid account to be able to utilize ChatGPT’s image-creating abilities. If you have a free account, you’ll need to upgrade to at least a Plus subscription to proceed.
2. Switch to the GPT-4 model
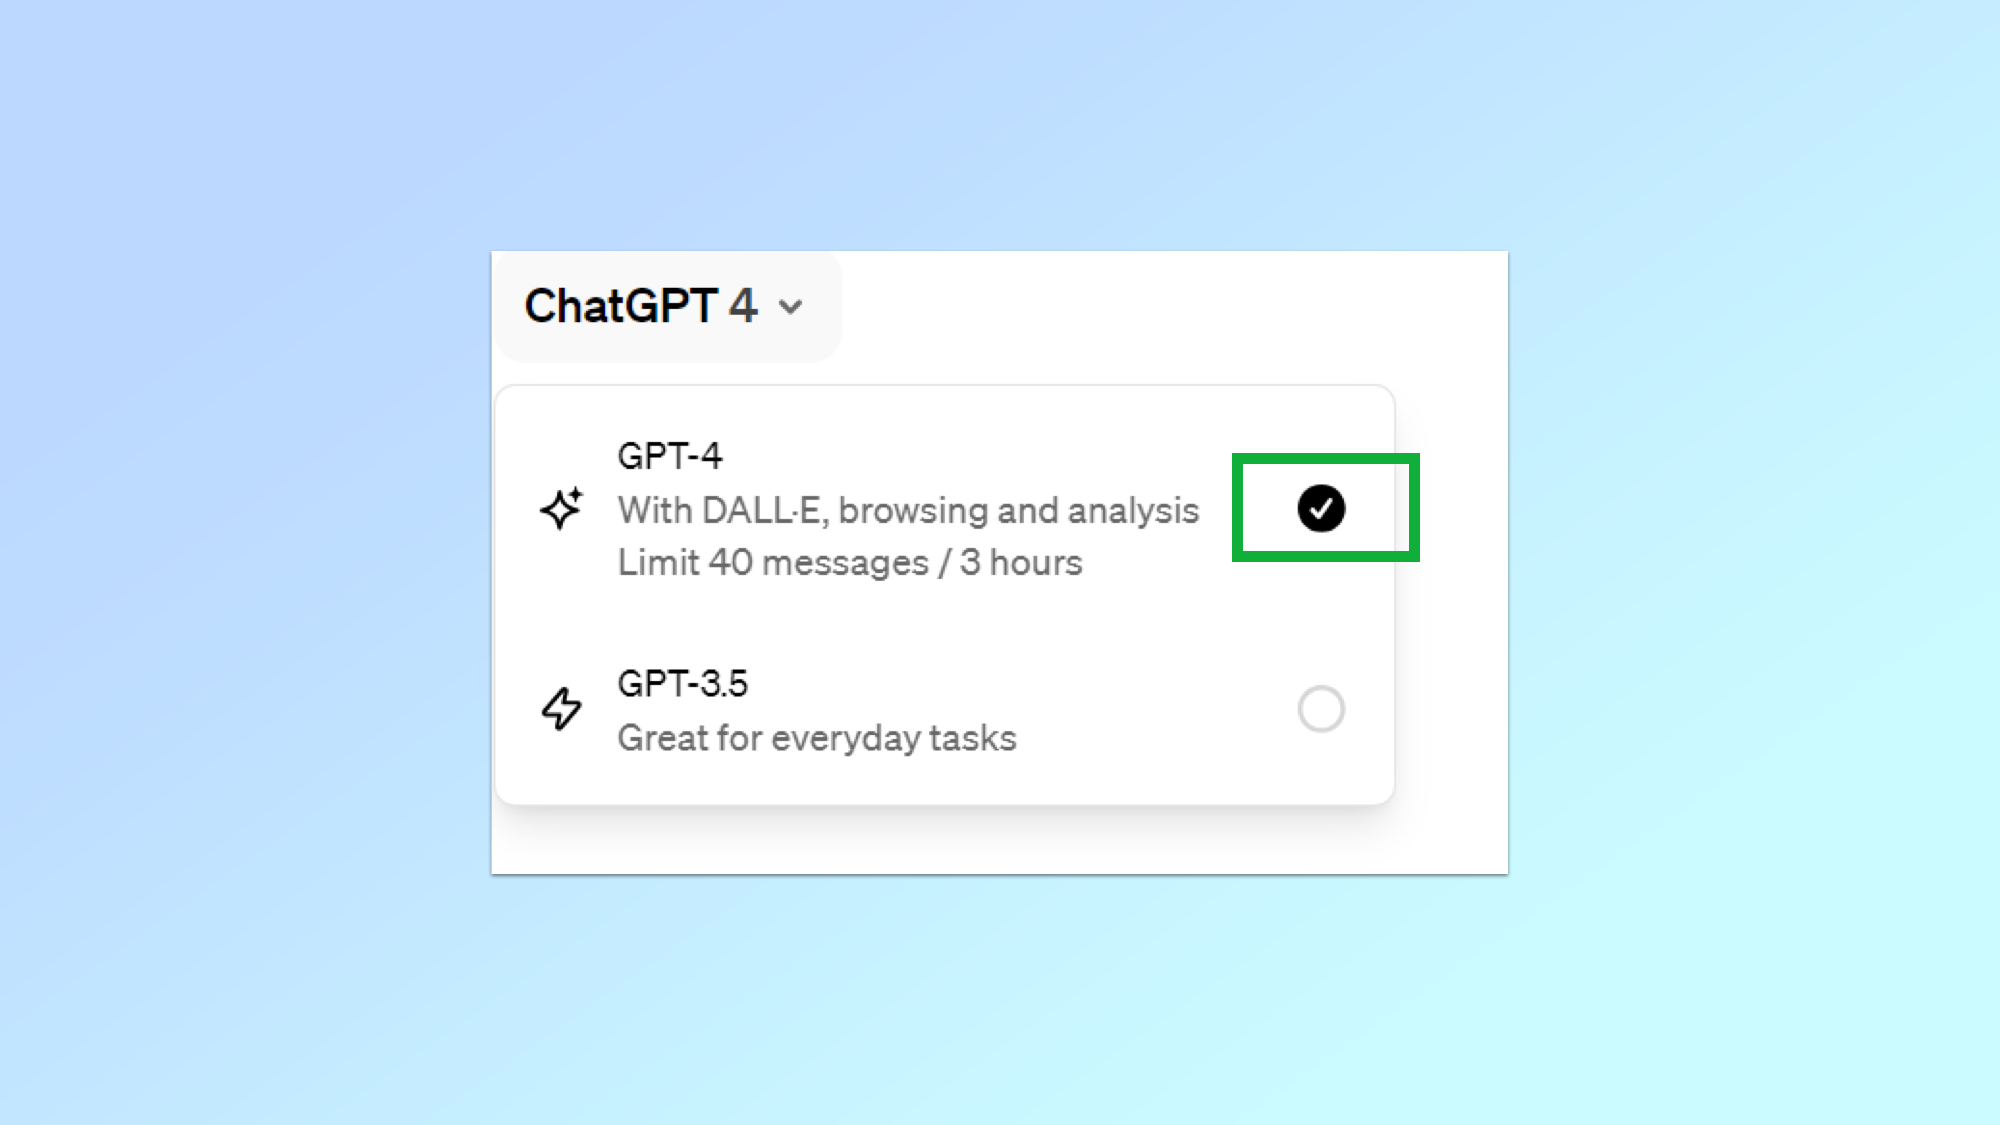
Once you’re logged you’ll have to switch to the GPT-4 model. GPT-3.5 is great for all things text, but so far remains unable to create images itself.
3. Type in a prompt to create your image
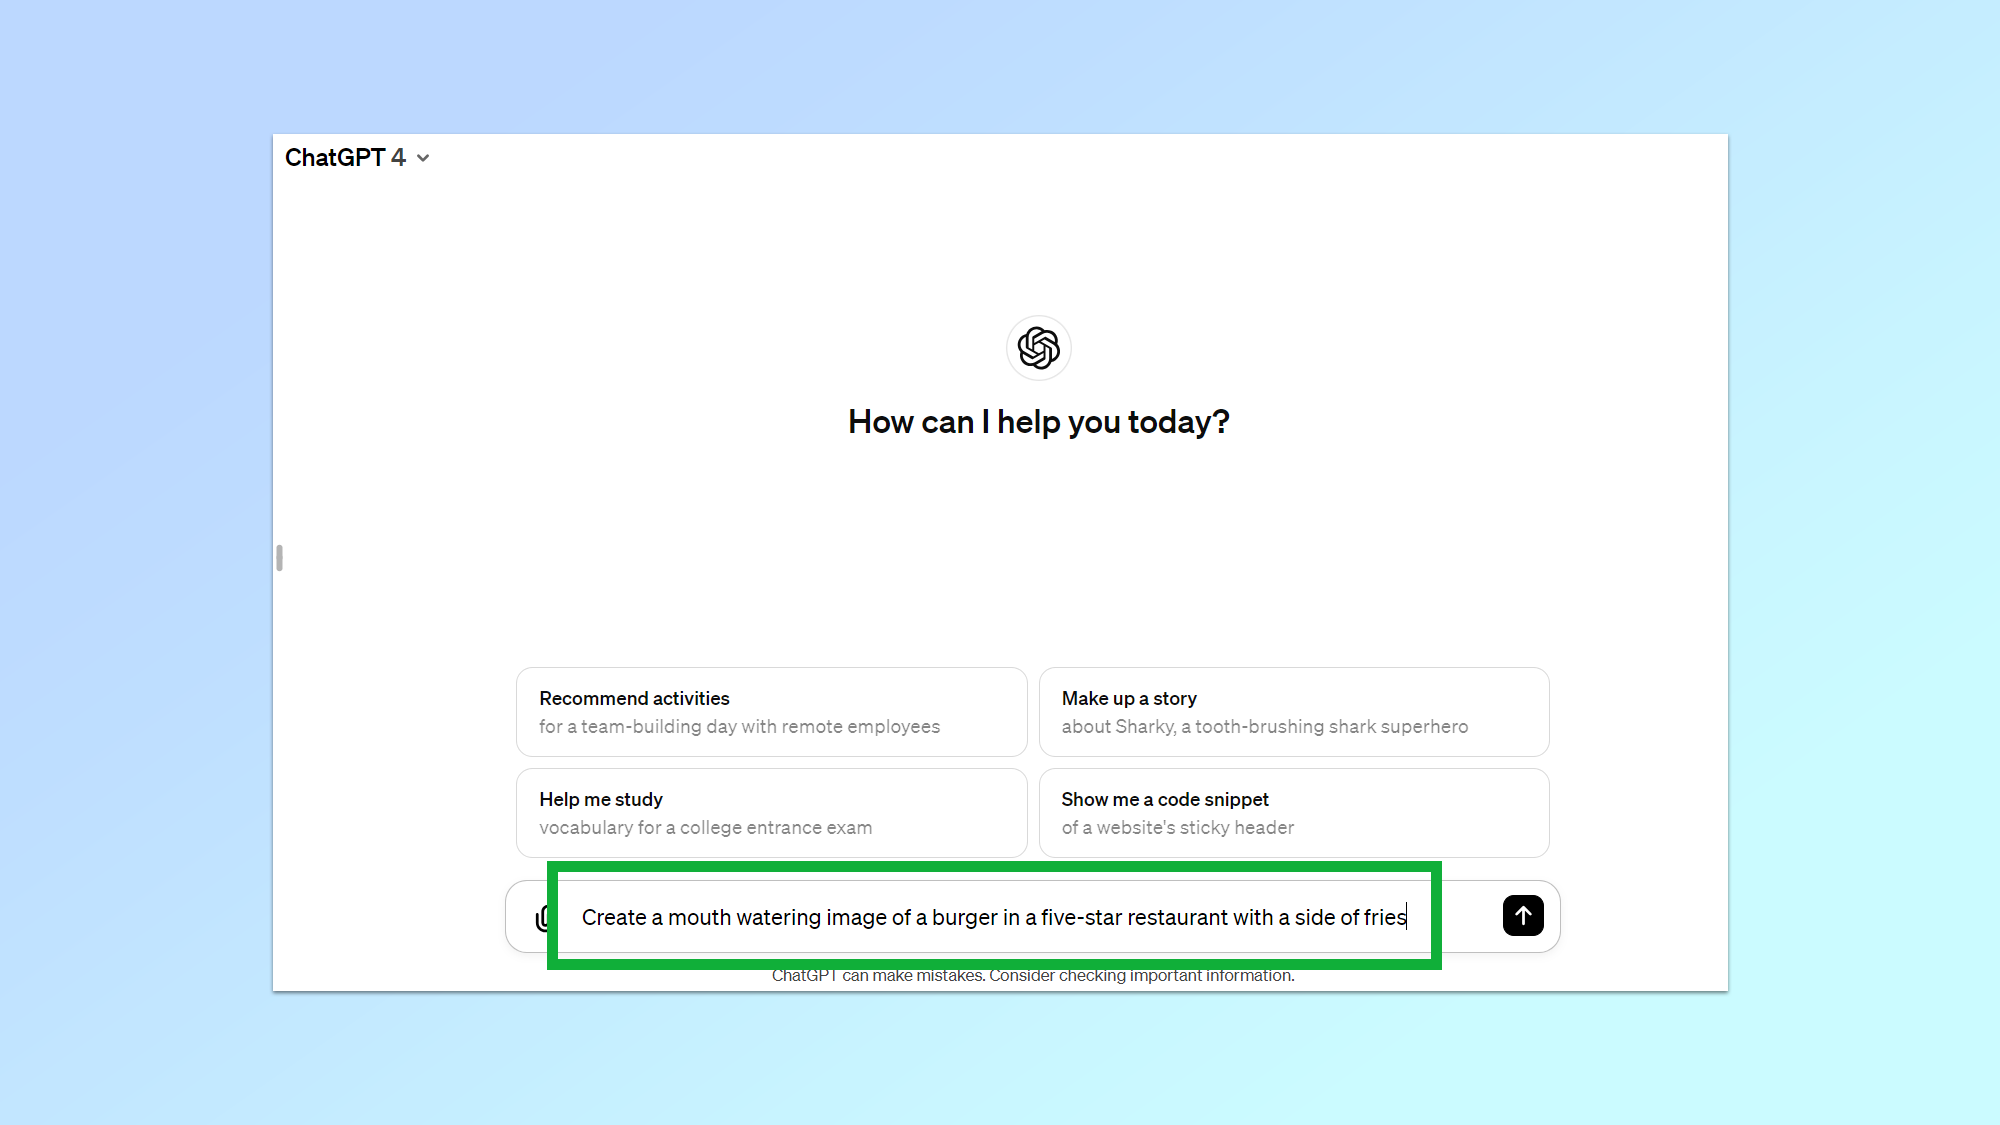
With ChatGPT 4 selected, you’ll see an option to start a new conversation or if you’re a returning user, you can resume one that’s already started. Creating images works with either option.
Simply ask ChatGPT to do it for you in the regular conversation environment and the chatbot will do the rest! DALL-E 3 understands significantly more nuance and detail than OpenAI’s previous systems, so creating stunning images from your ideas should be a breeze.
For this example, I asked ChatGPT to create a burger fit for a 5-star restaurant, with a side of fries of course.
4. Review your image
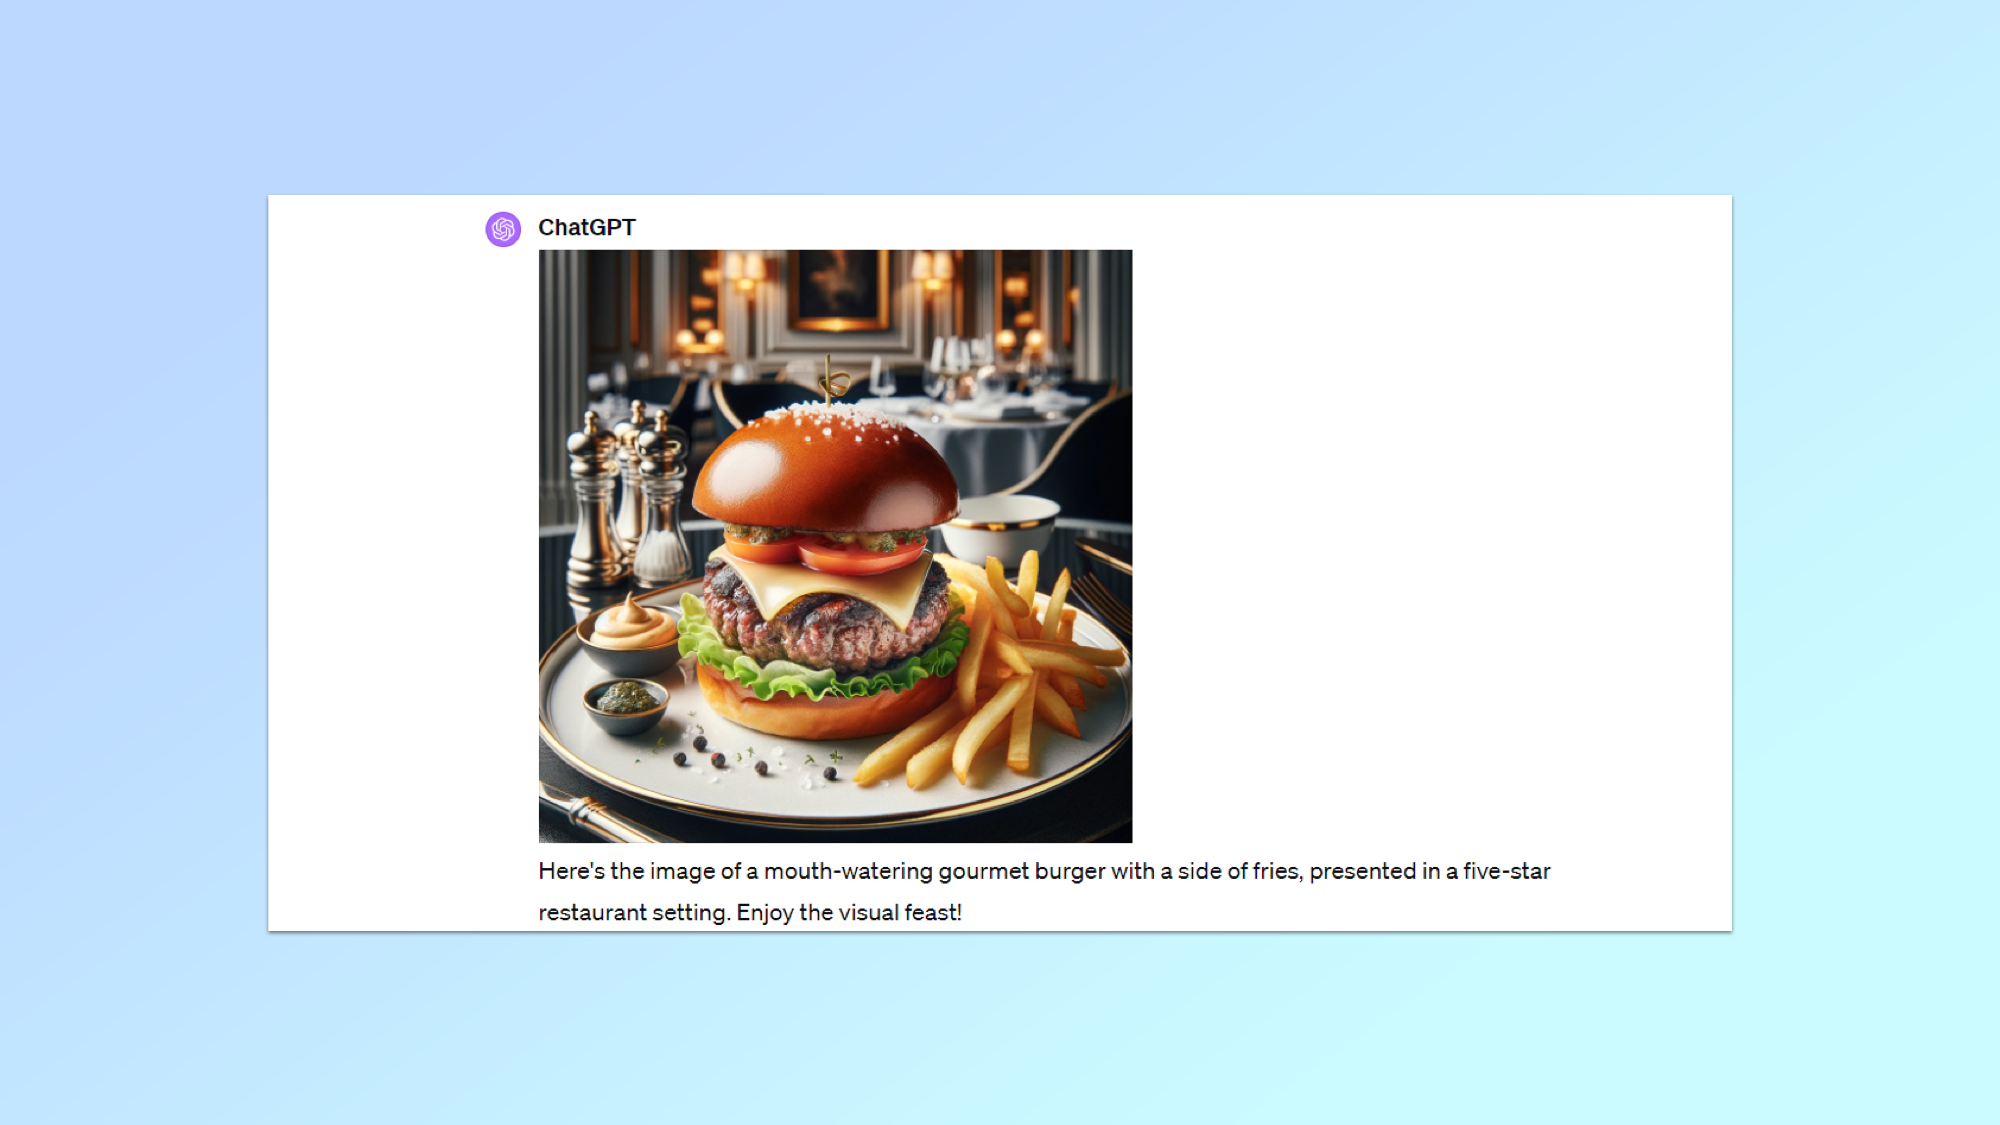
Within seconds ChatGPT should present you with your newly created AI image. Check it out to see whether you want to keep it or try again.
5. Regenerate your image
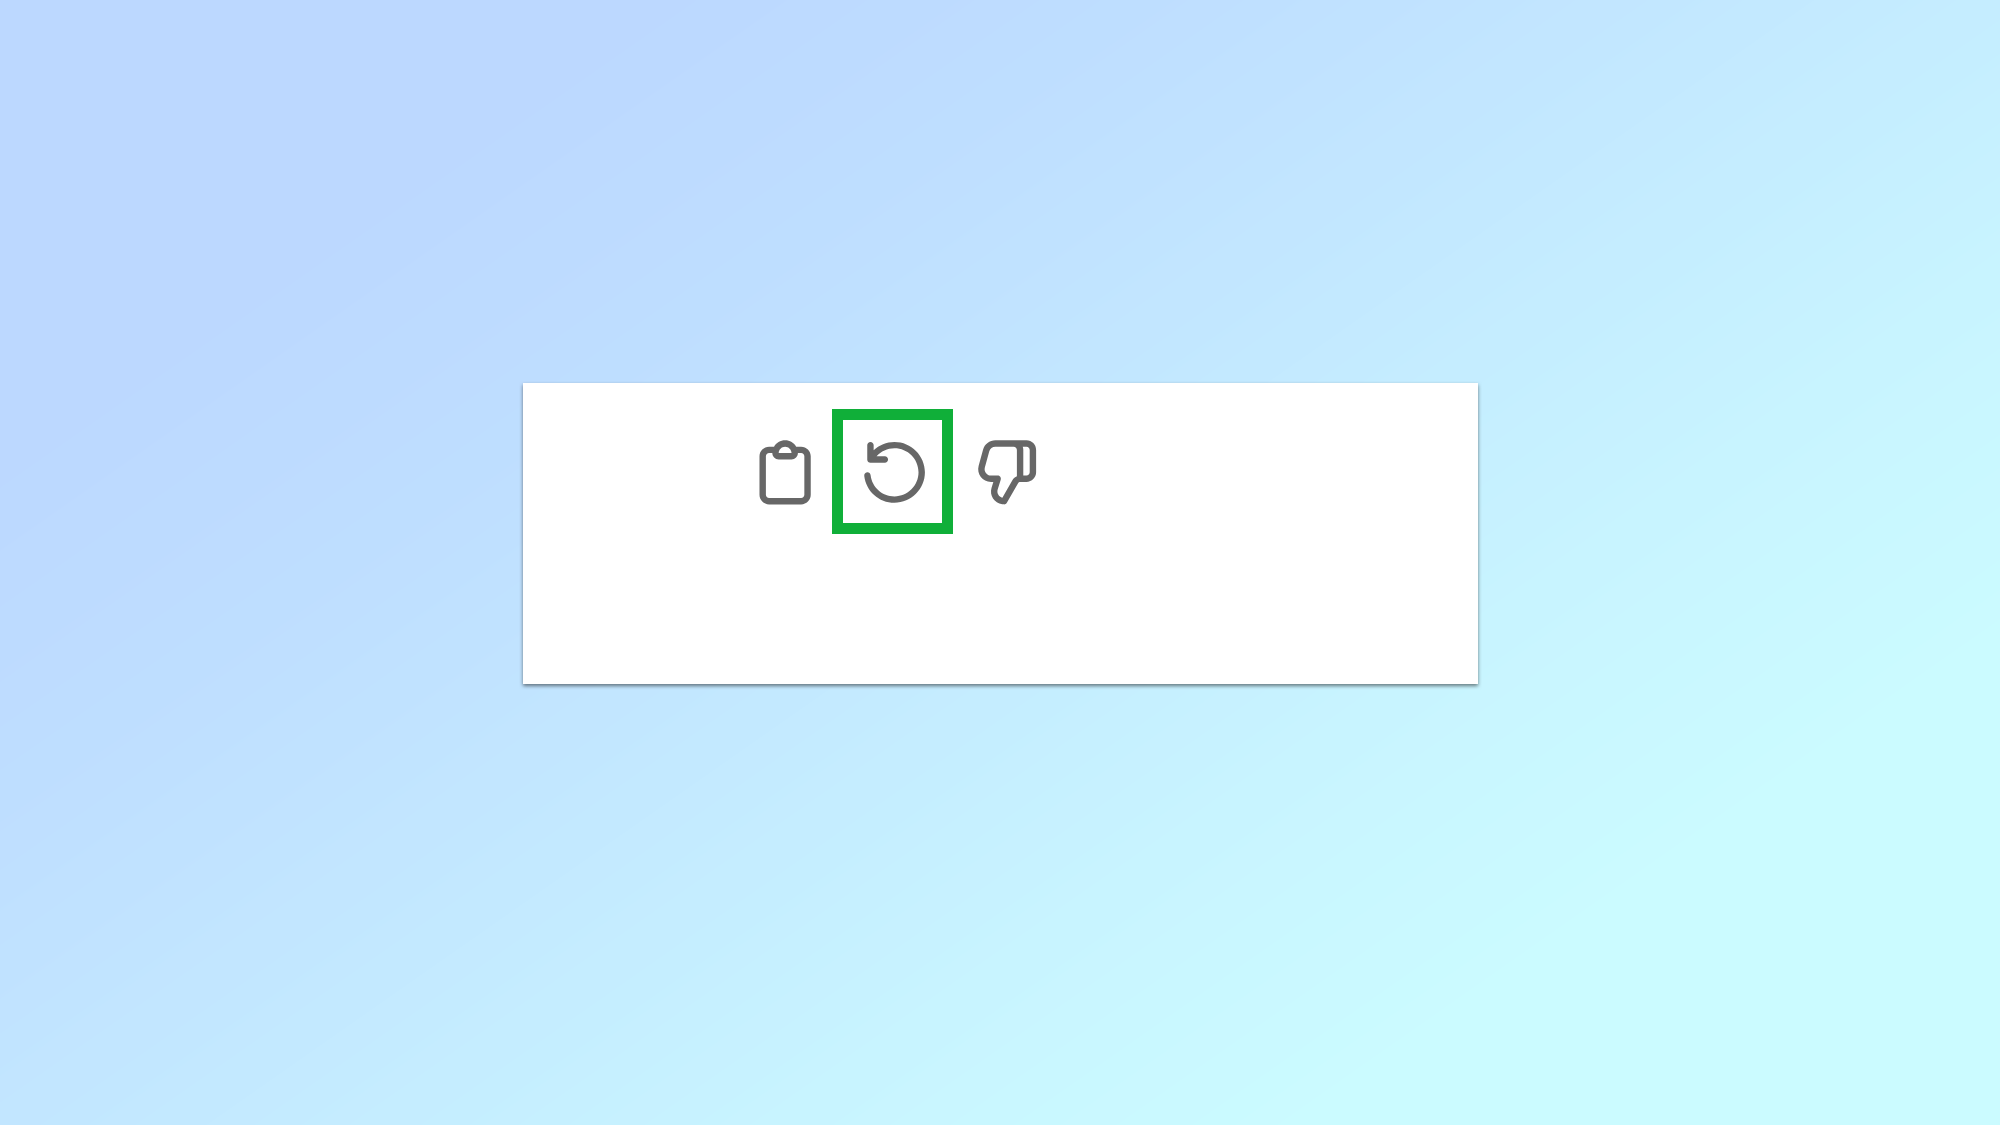
Not happy with the result? Not a problem. Simply click on the regenerate button and ChatGPT will give it a second go.
6. Alter an image
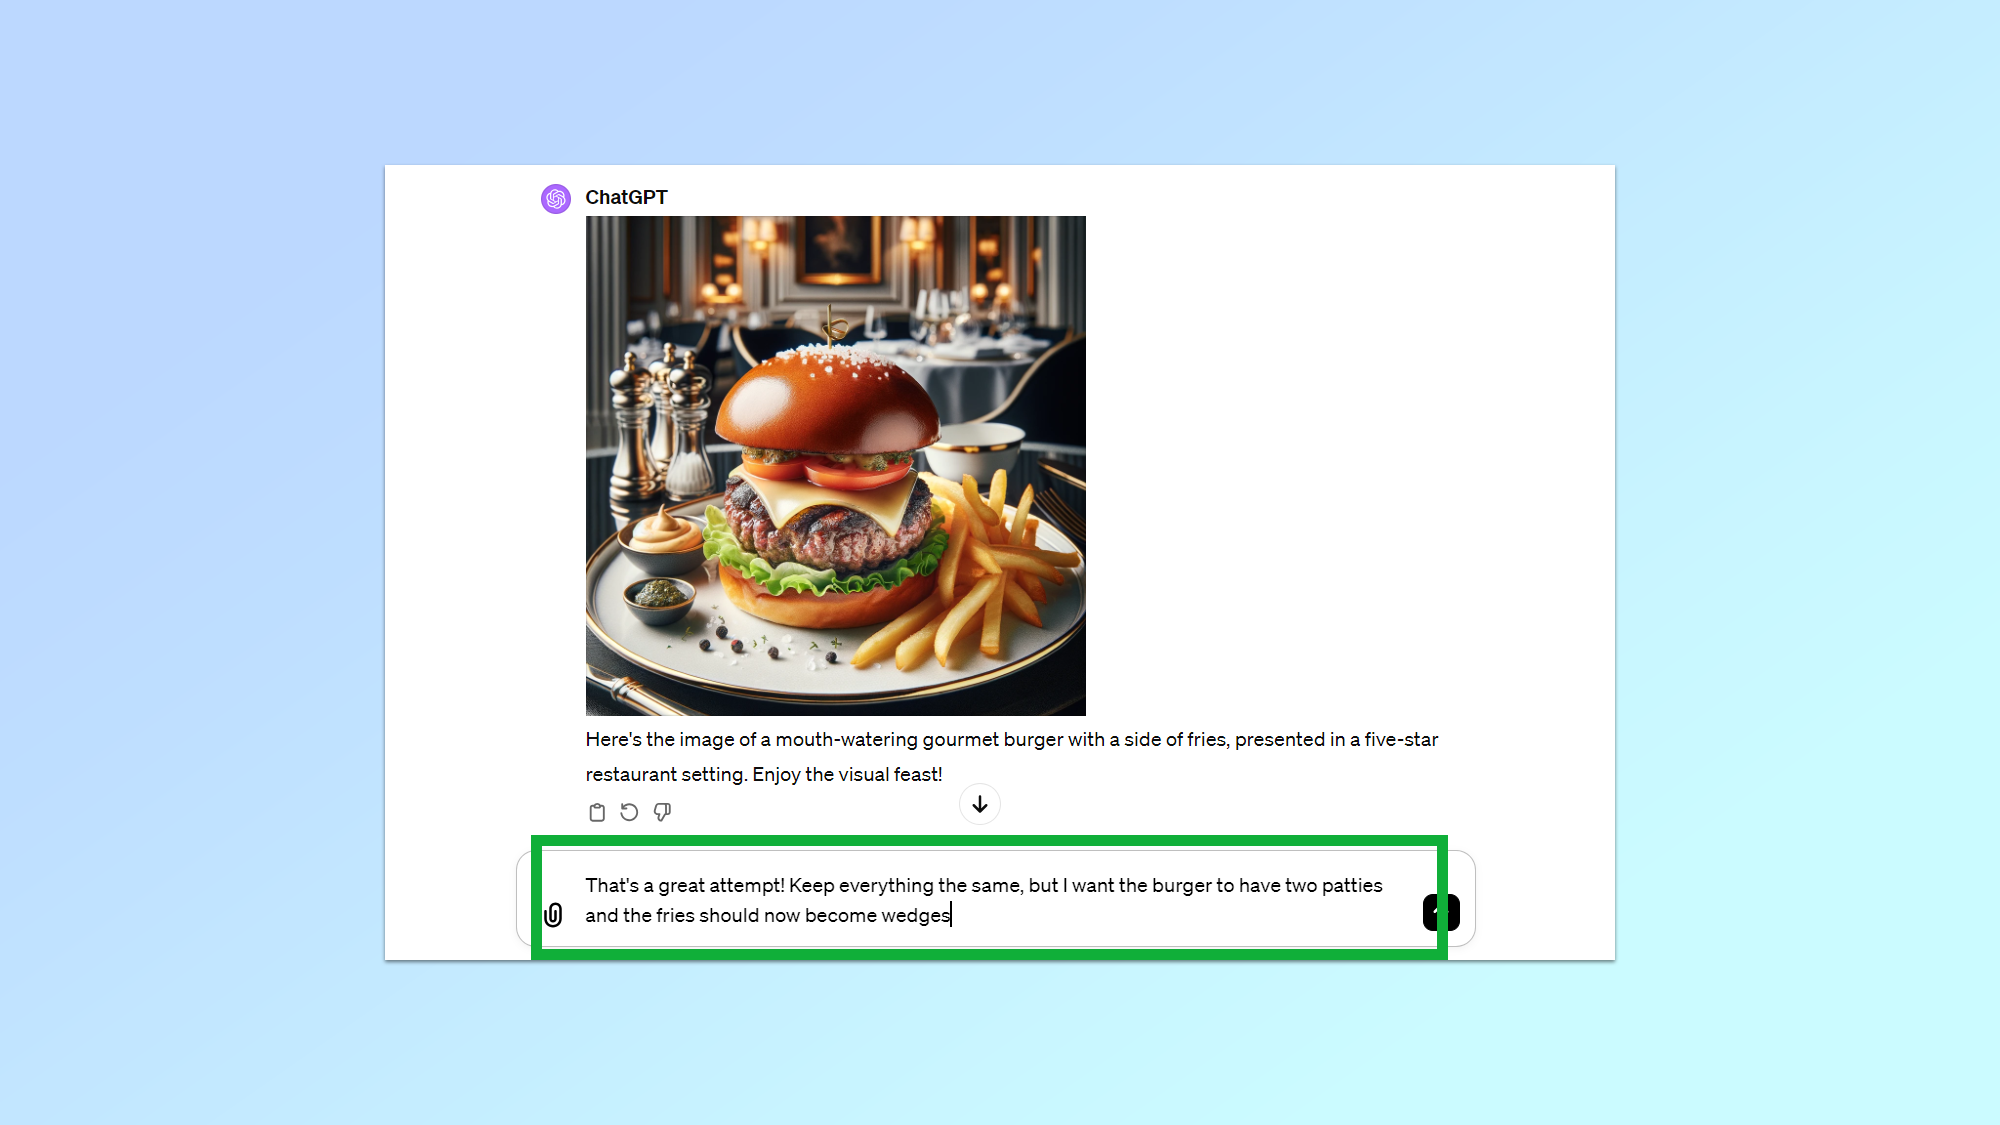
In case the regenerate option still isn’t doing the trick, you can alter your prompt. If you’re happy with the overall image but want specific changes made, tell ChatGPT which image you want to alter and add your new instructions.
7. Play around with styles
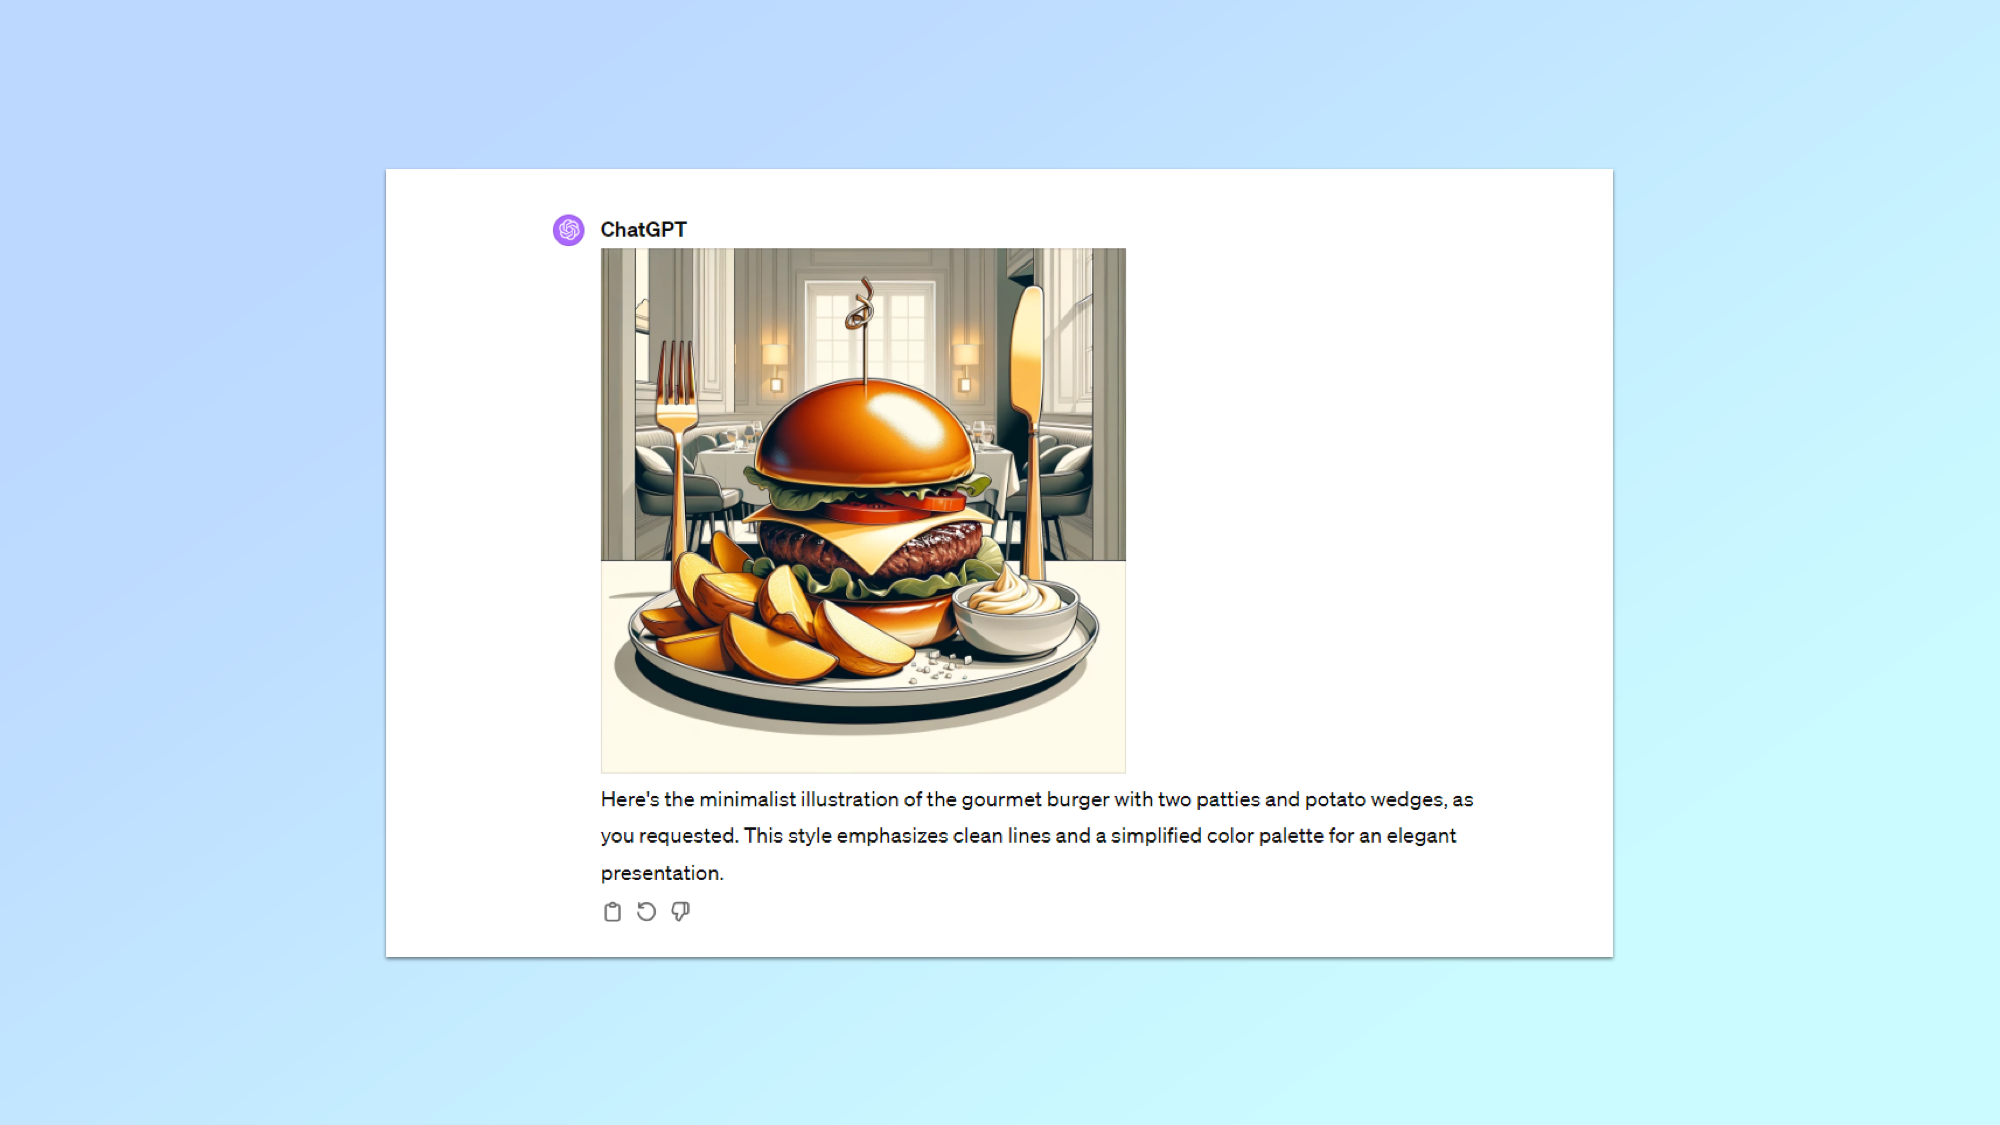
In the mood for a stylistic change? Become an AI art director and give ChatGPT notes about which style you want your image in. We turned our burger into a minimalistic illustration to show you how this can be done.
8. Change the colors
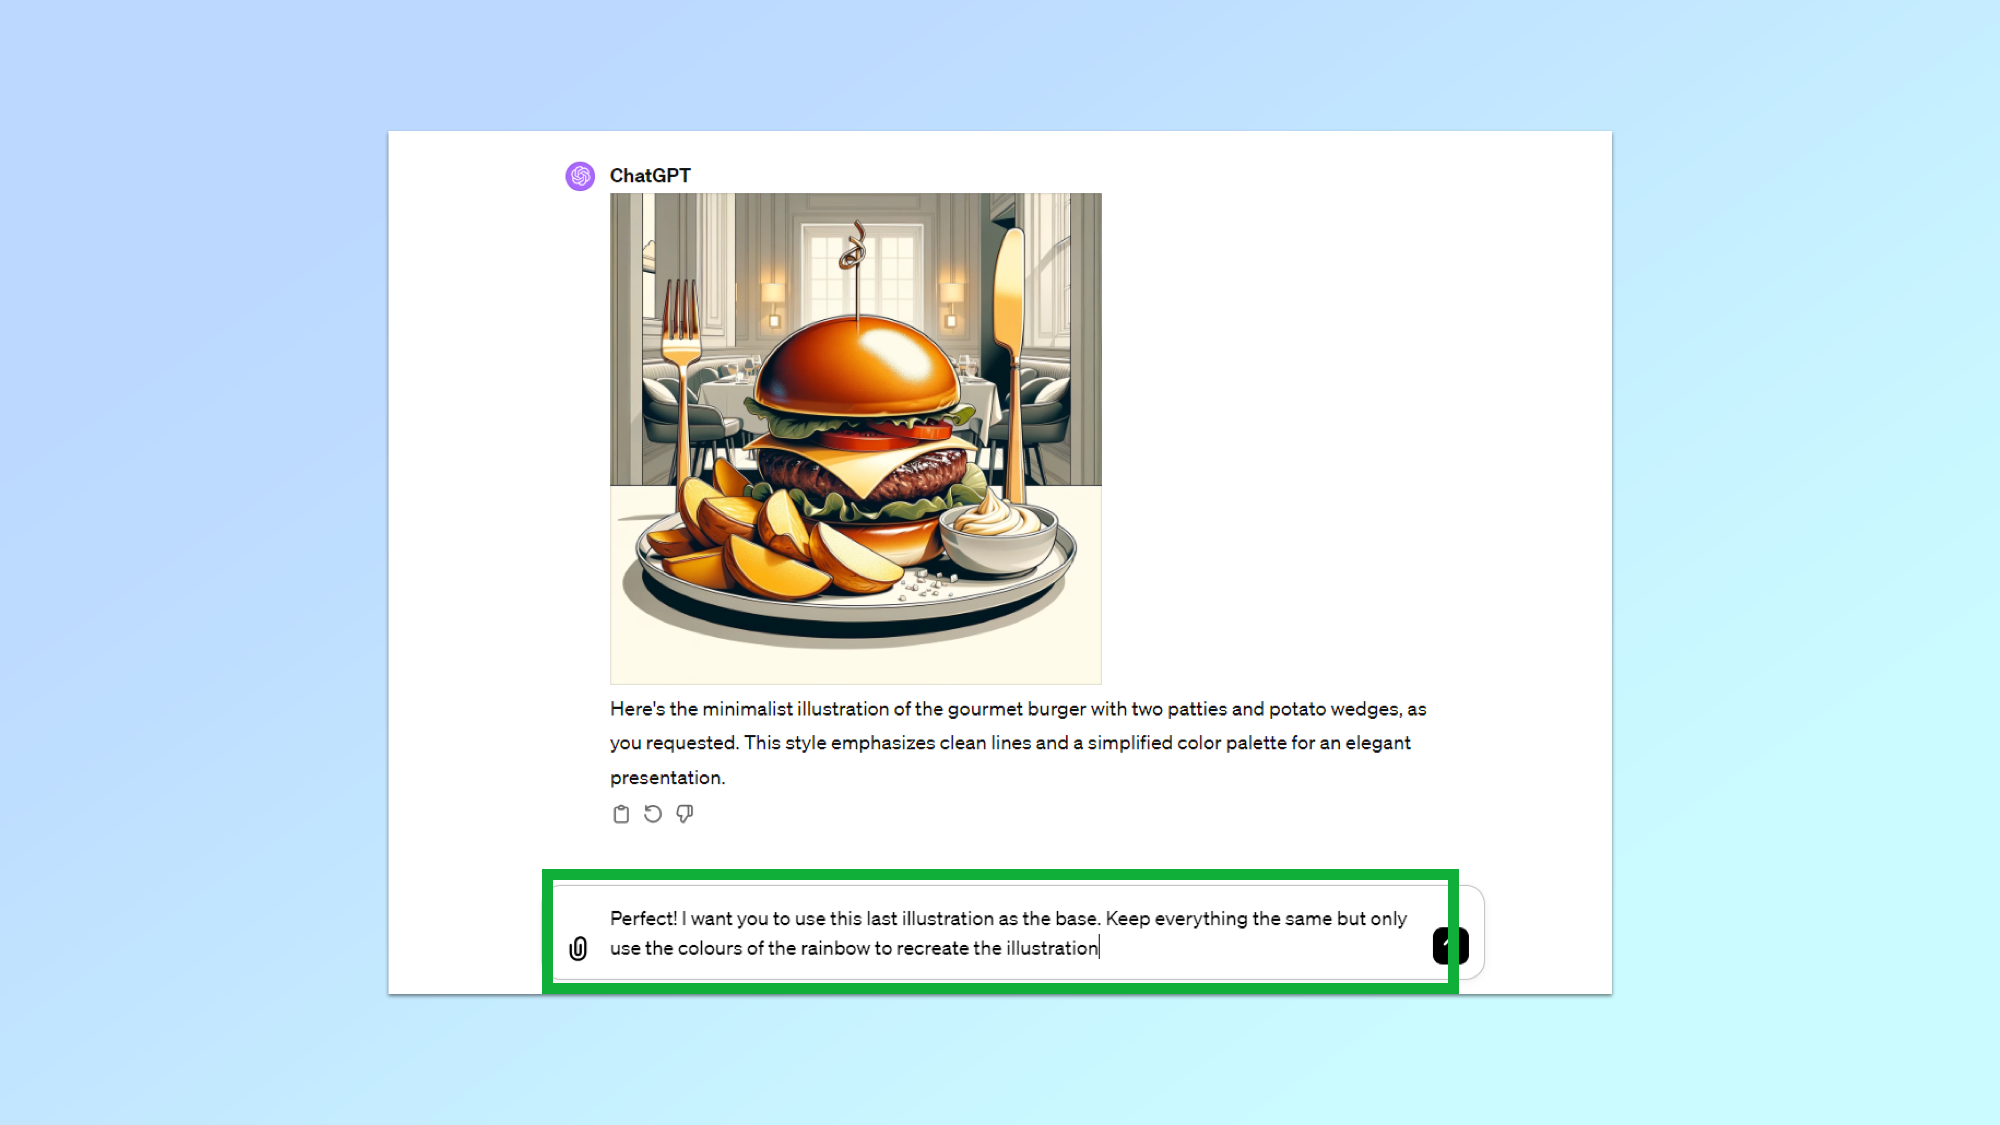
Happy with the artistic style but want a fresh set out colors? Just say the word and ChatGPT will take care of the rest.
9. Requesting more than one image
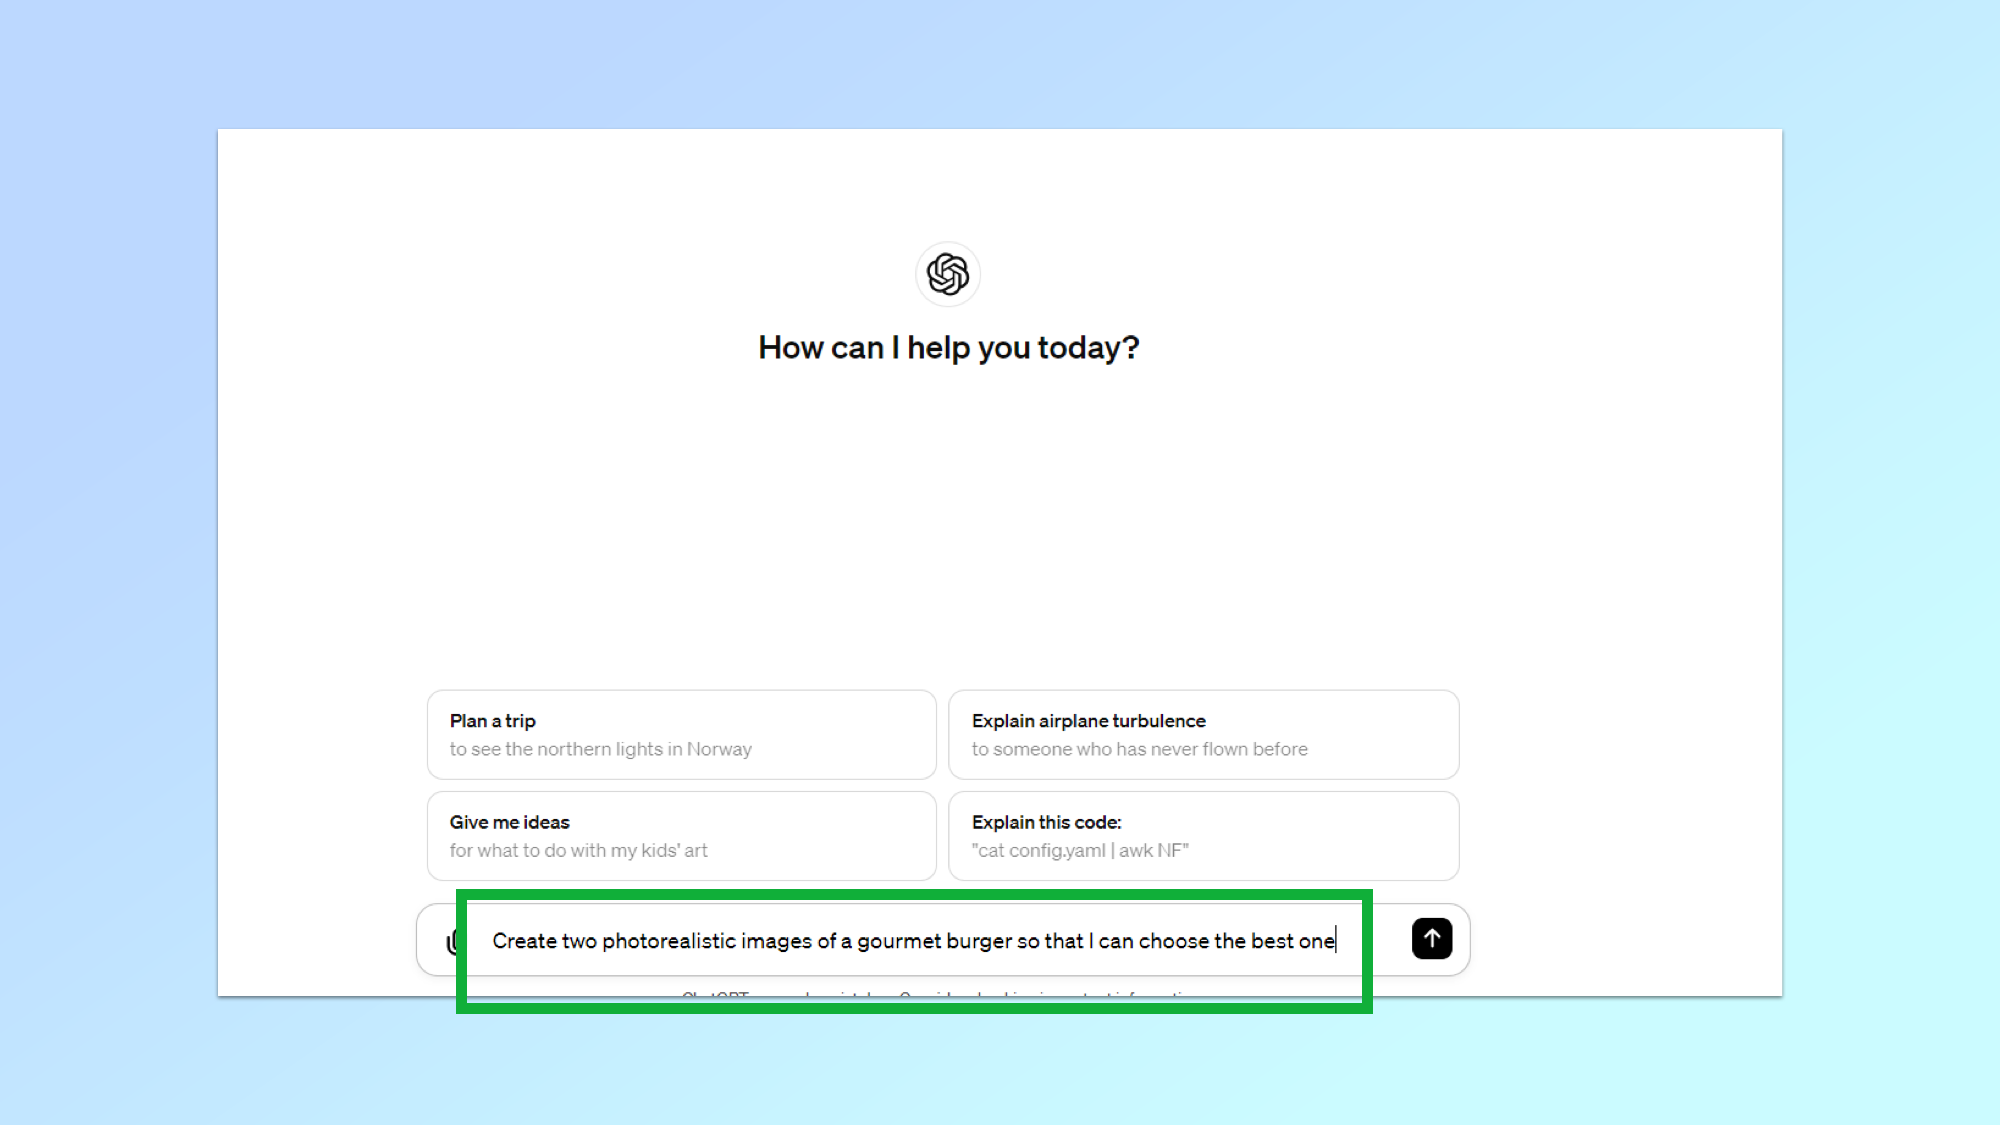
By default ChatGPT will generate one image at a time. If you want multiple options to be able to choose from, specify this in your request.
10. Download your selection
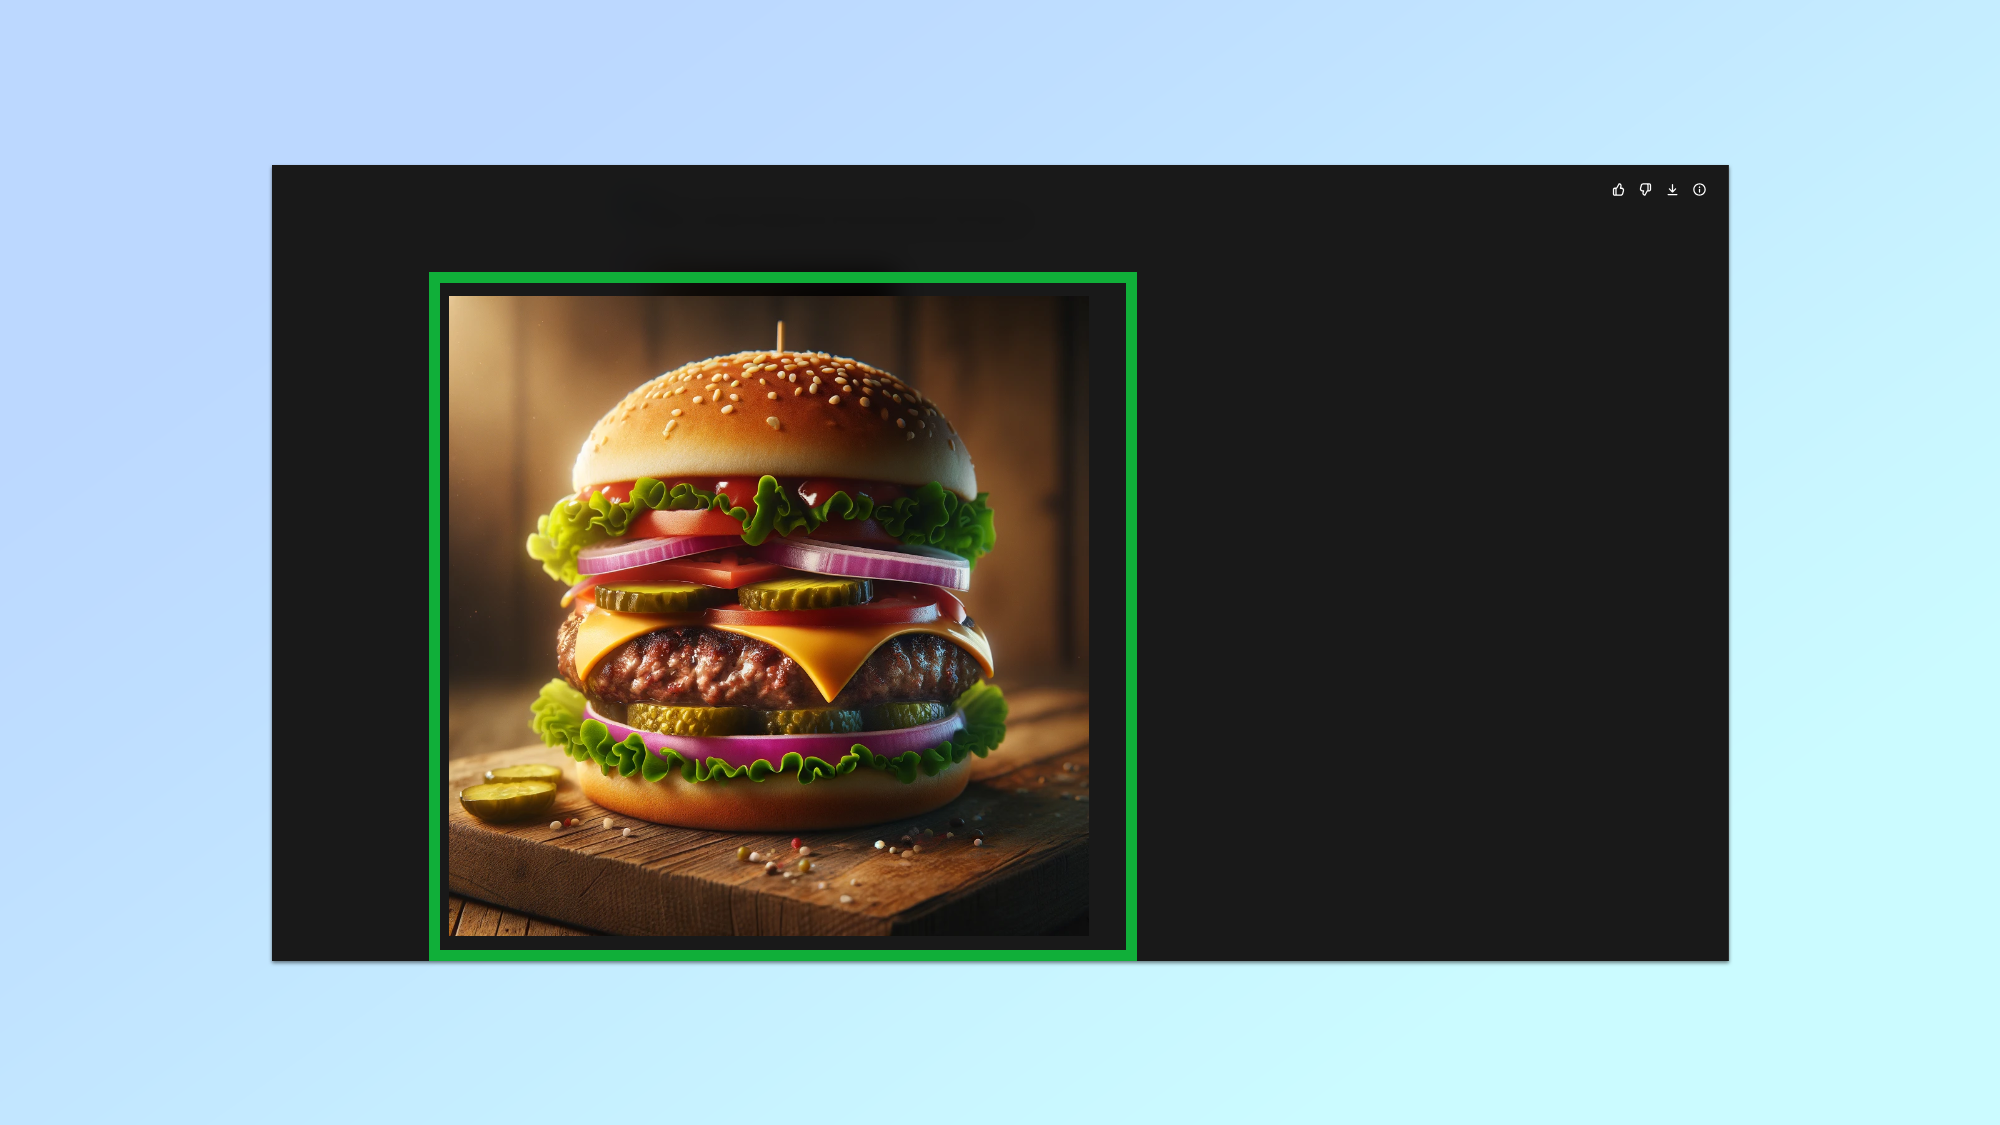
To download your selection you can click on an image to get a larger preview. Then press the download button in the top right corner of your screen.
Alternatively, hover over an image and select the download button that will appear at the top left of the image.
11. Review the full prompt
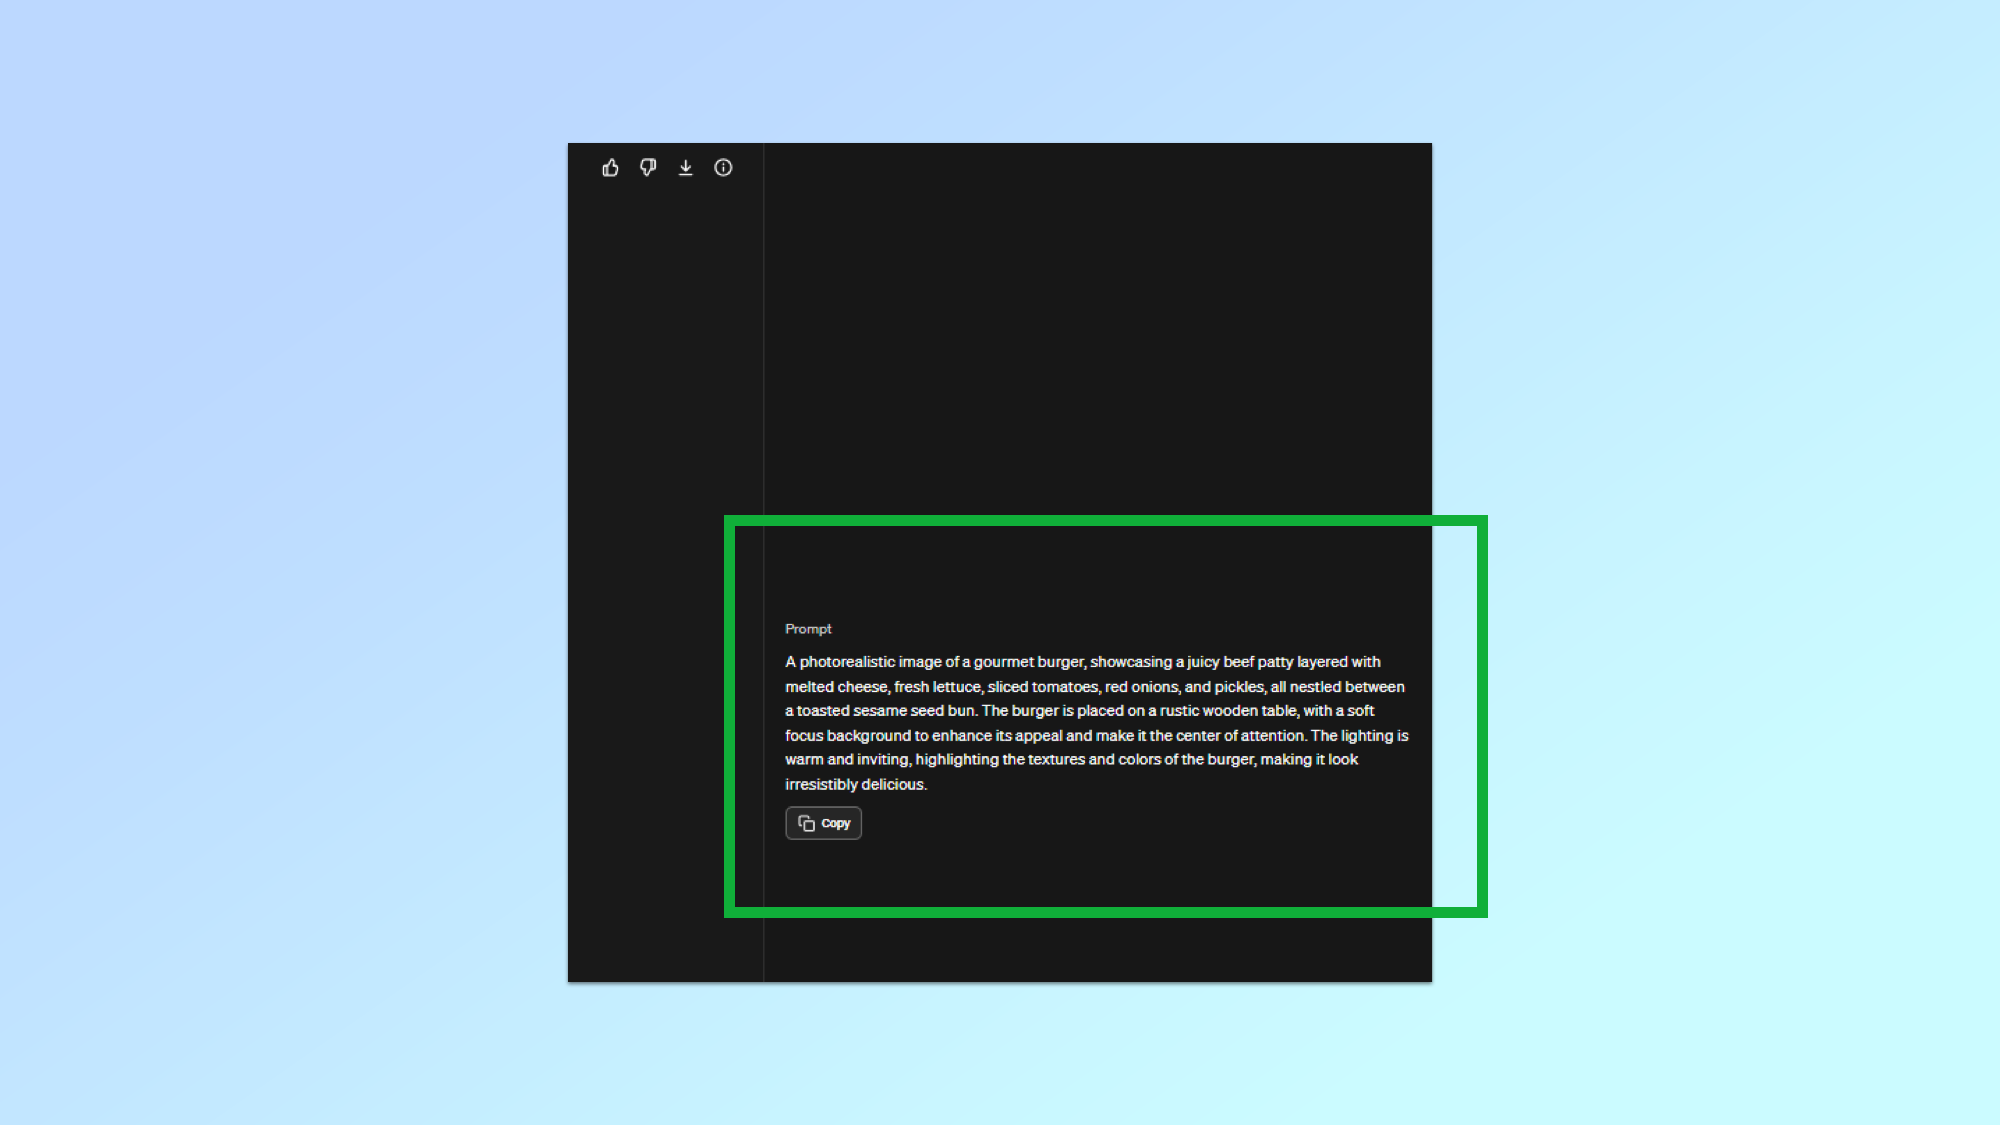
If you’re curious to learn more about the full prompt that ChatGPT ultimately used to create your image, click on the information button. ChatGPT will then show you the extended prompt it used. The more general your initial prompt was, the more likely it is that ChatGPT will elaborate on it. Seeing this full prompt may help you refine your instructions to alter a specific image.
