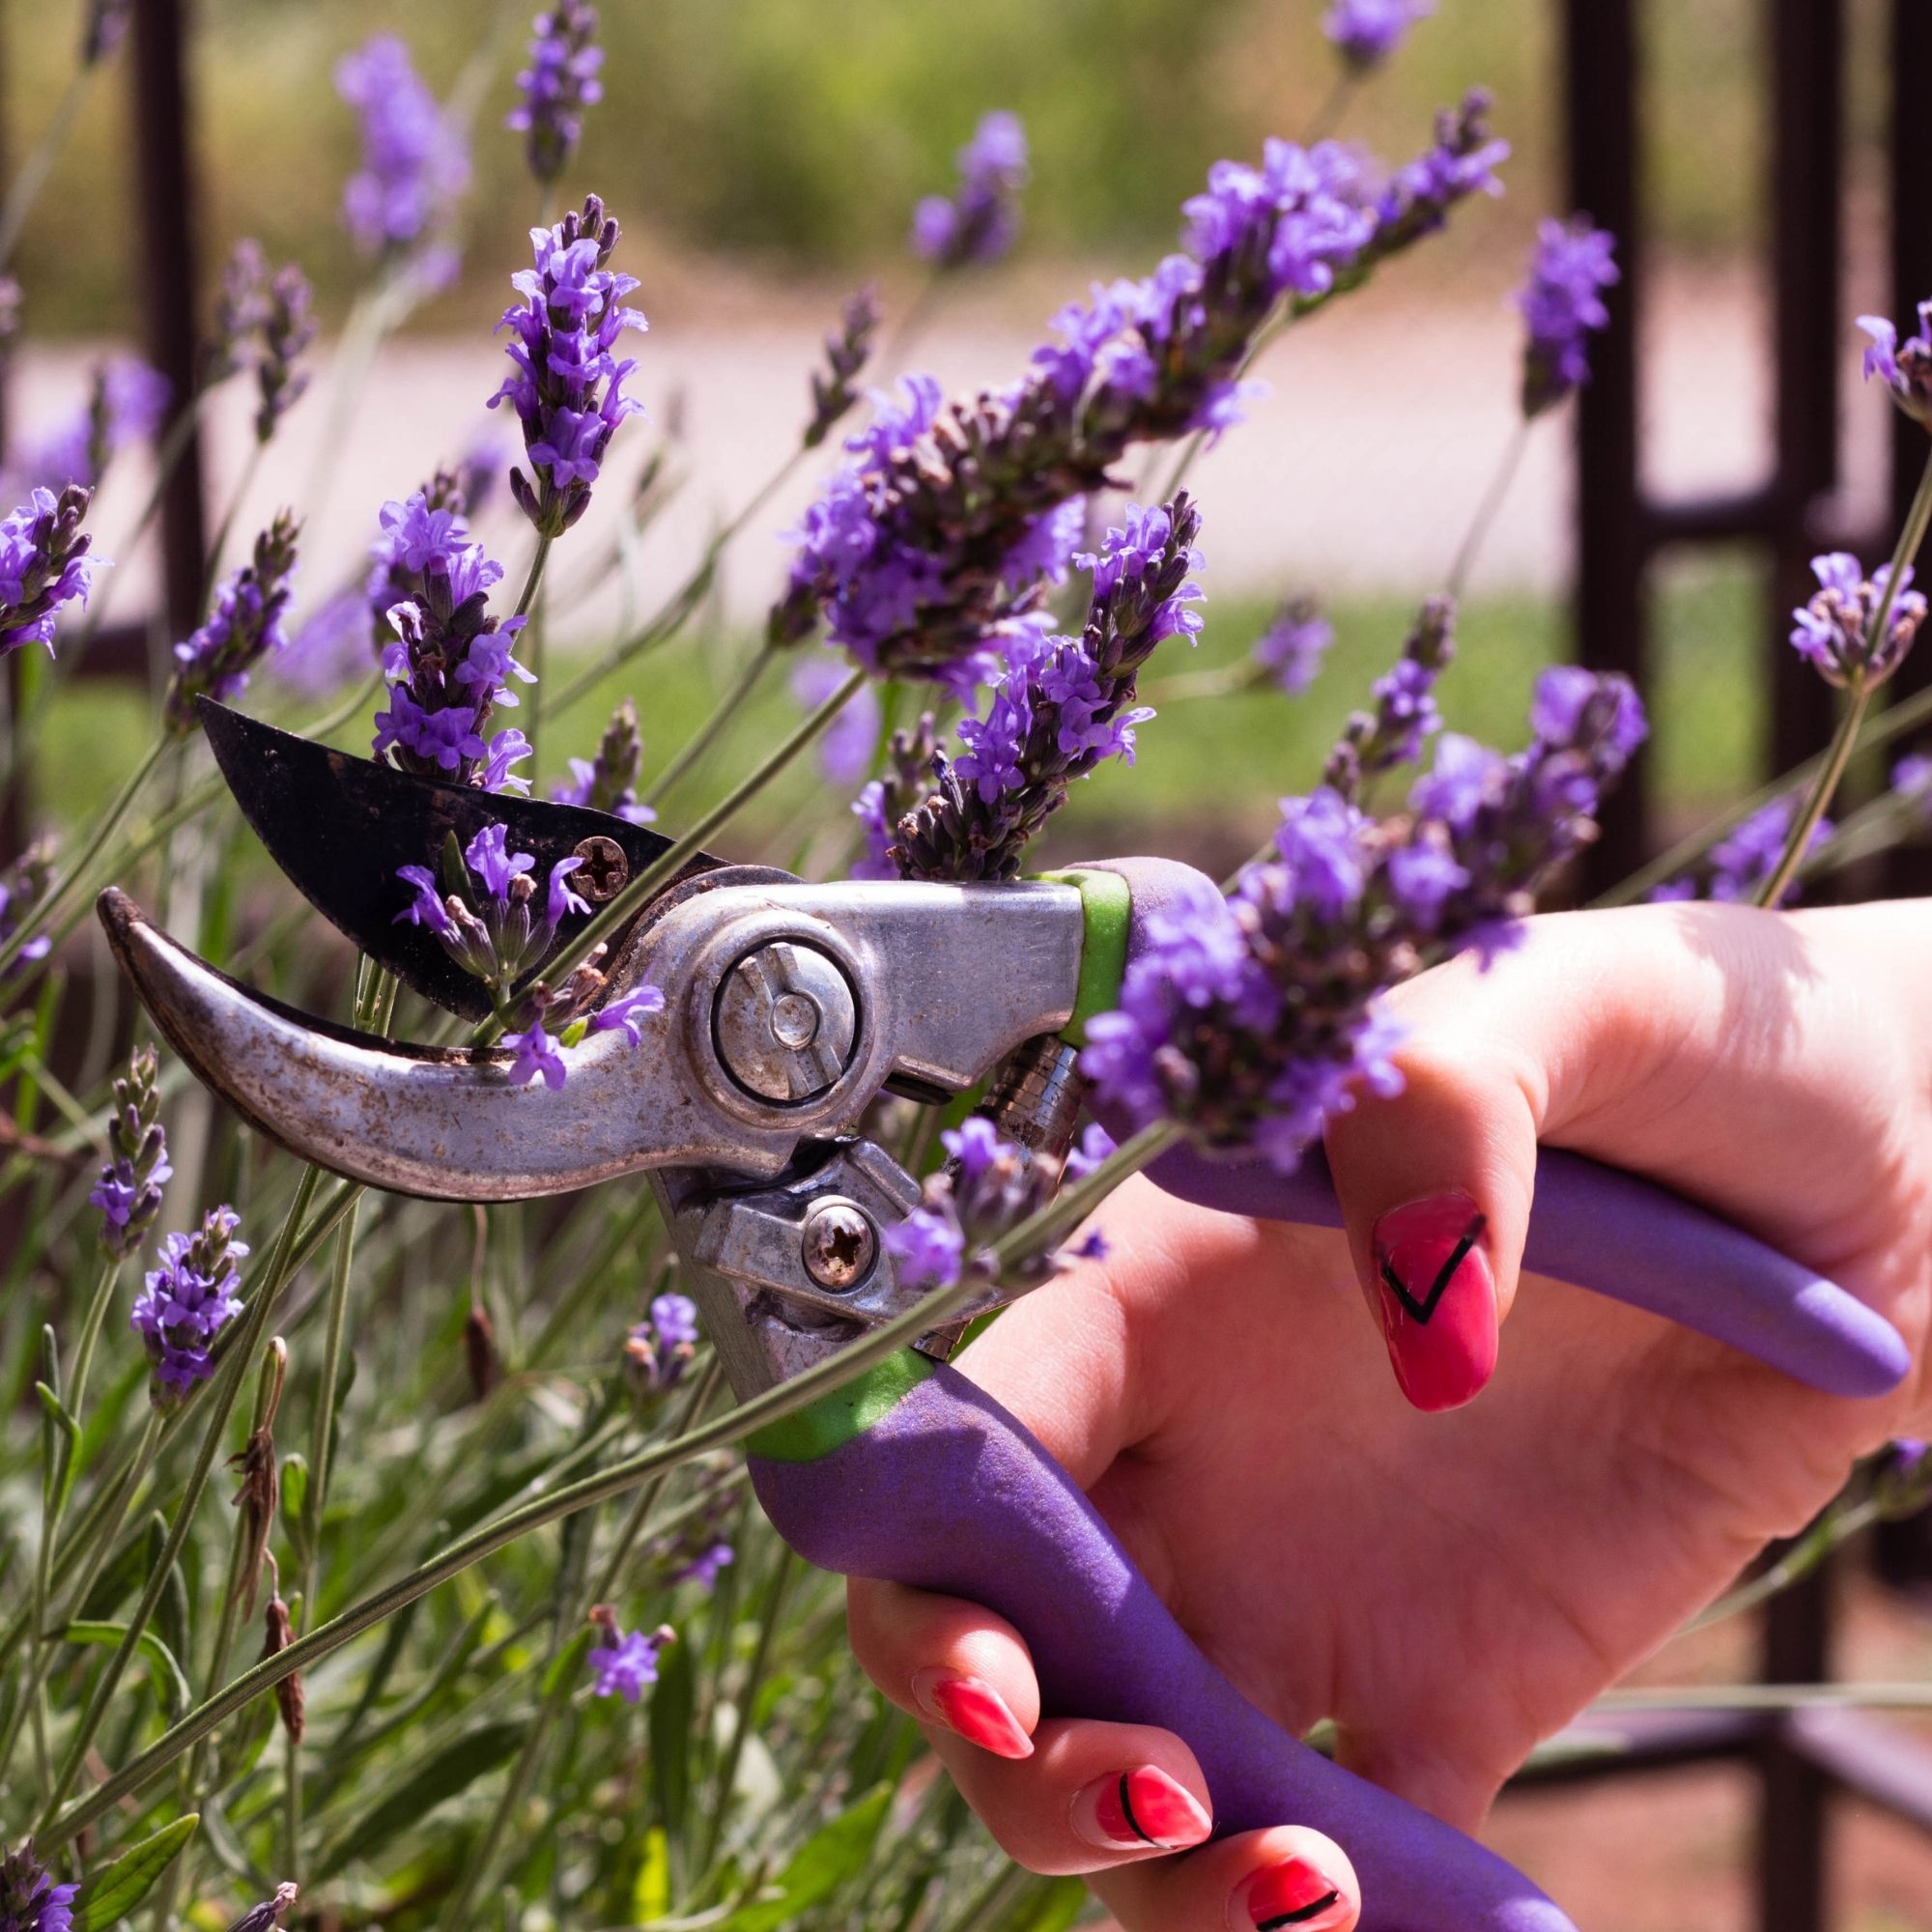
If Taylor Swift has left you in a lavender haze, you'll likely be wanting to learn how to take lavender cuttings.
One of the easiest ways to propagate your own lavender, taking your own cuttings means you can make all of your sweetly-scented garden ideas a reality in no time. And, better still, you'll be able to fill your garden border with social media's favourite bloom for free.
So, whether you are planning to grow lavender in pots and containers, or have dreams of starting your own oh-so-Instagrammable lavender field, you've come to the right place.
Here's how to leap aboard this most wholesome of garden trends, no matter your skill level...
How to take lavender cuttings
There is nothing we love more at Ideal Home than learning how to propagate plants in unusual (and thrifty) ways: think learning how to grow your own lemon tree from seed, how to grow ginger from shop-bought, and how to start tapping your tomato plant.
Taking cuttings, however, has to be one of our favourite methods. We've done it with roses, we've done it with hydrangeas, and now it's time to try it with lavender, too.
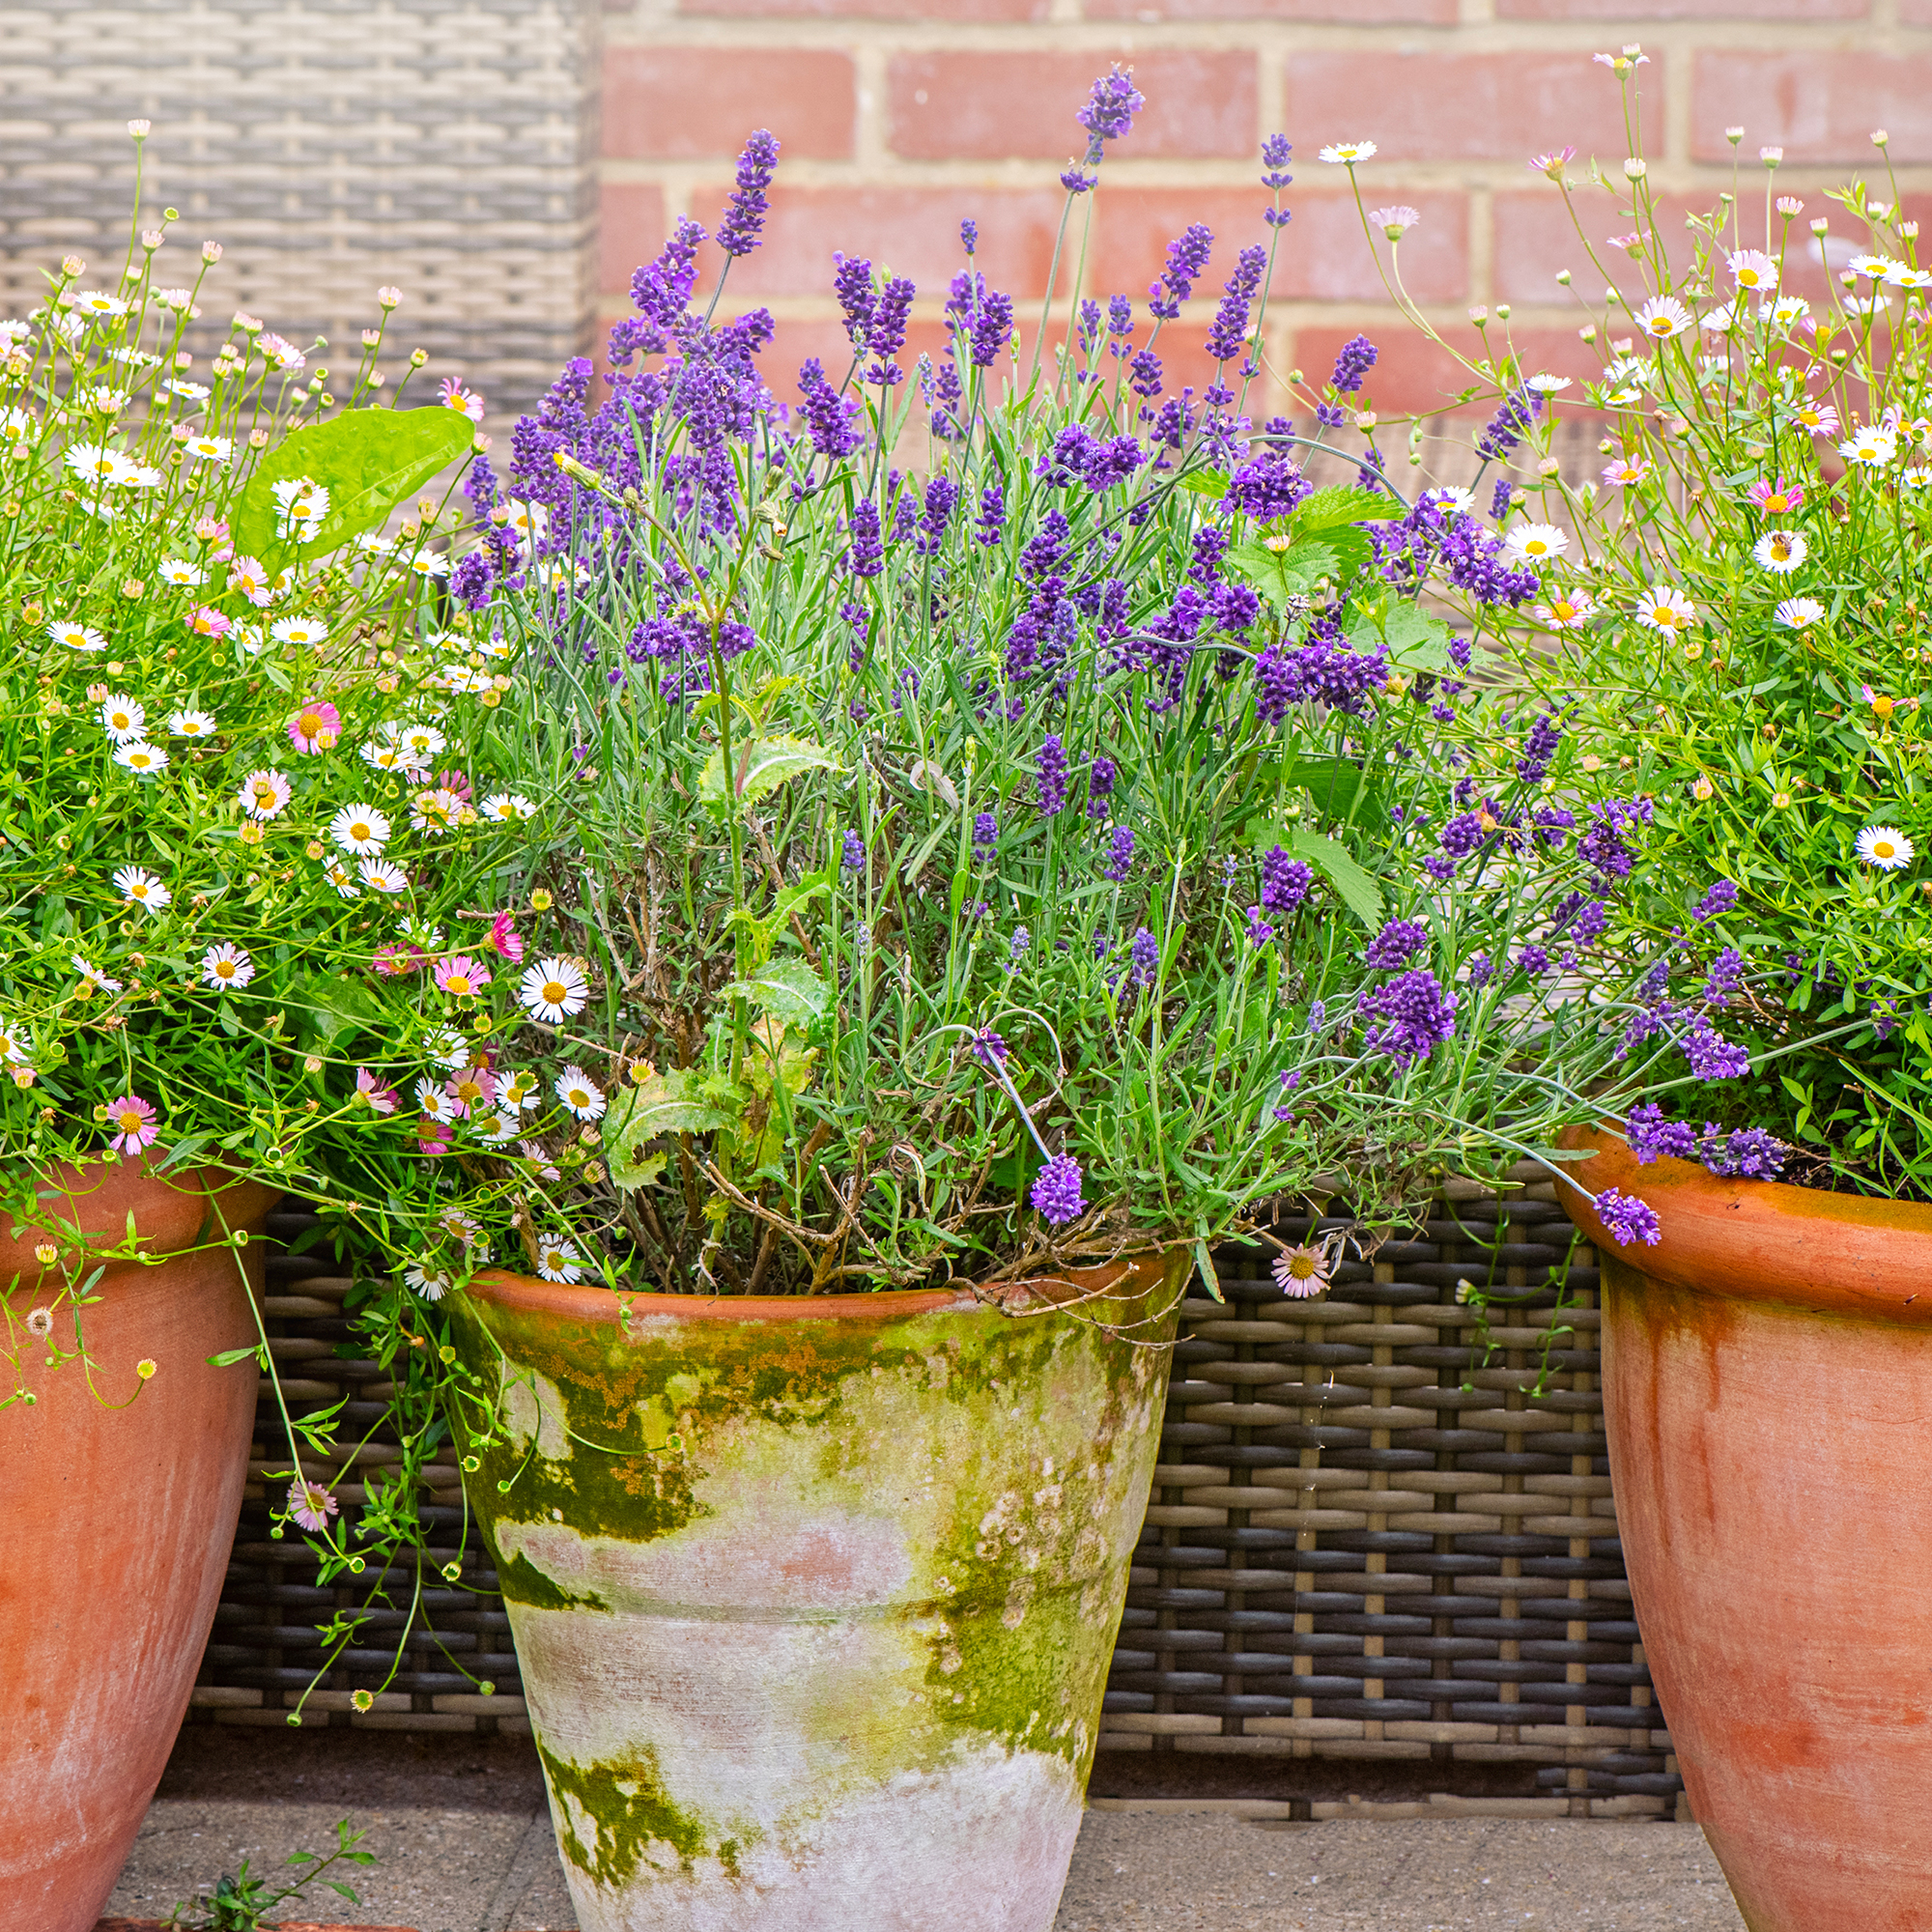
Ready to get started? Then let's begin...
What you will need
Sarah Ferguson, who runs Wild Butterfly Gardening, absolutely adores lavender.
'Its soft lilac colour has such a beautiful scent and is great for pollinators, so it's no wonder it’s so popular,' says Sarah.
'However, it can be short lived, as it really suffers in harsher winters, so a great way to create new plants for free is by propagation.'

Here's what you will need to have to hand to start taking your own cuttings:
- A healthy lavender plant (ideally one of your own, although you could absolutely ask someone to trim a few stems from theirs. Just don't go around snipping at your neighbours' plants without asking, please...)
- A sharp knife
- A clean container
- Horticultural grit
- Peat free compost (try using Sylva Grow Peat Free)
- Hormone rooting gel or powder (optional)
- Individual 10cm pots
How to take lavender cuttings: a step-by-step guide
Once you've gathered all of your tools, it's time to get started – and you'll be pleased to know that this is a task well-suited to even the greenest of gardeners.
'Taking lavender cuttings is a lovely summer activity,' says Andrew O'Donoghue of Gardens Revived.
'It's easy, for starters, and it means you get to spend some time breathing in that relaxing lavender scent.'
What more could you ask, eh? Let's get started...
1. Select a healthy stem
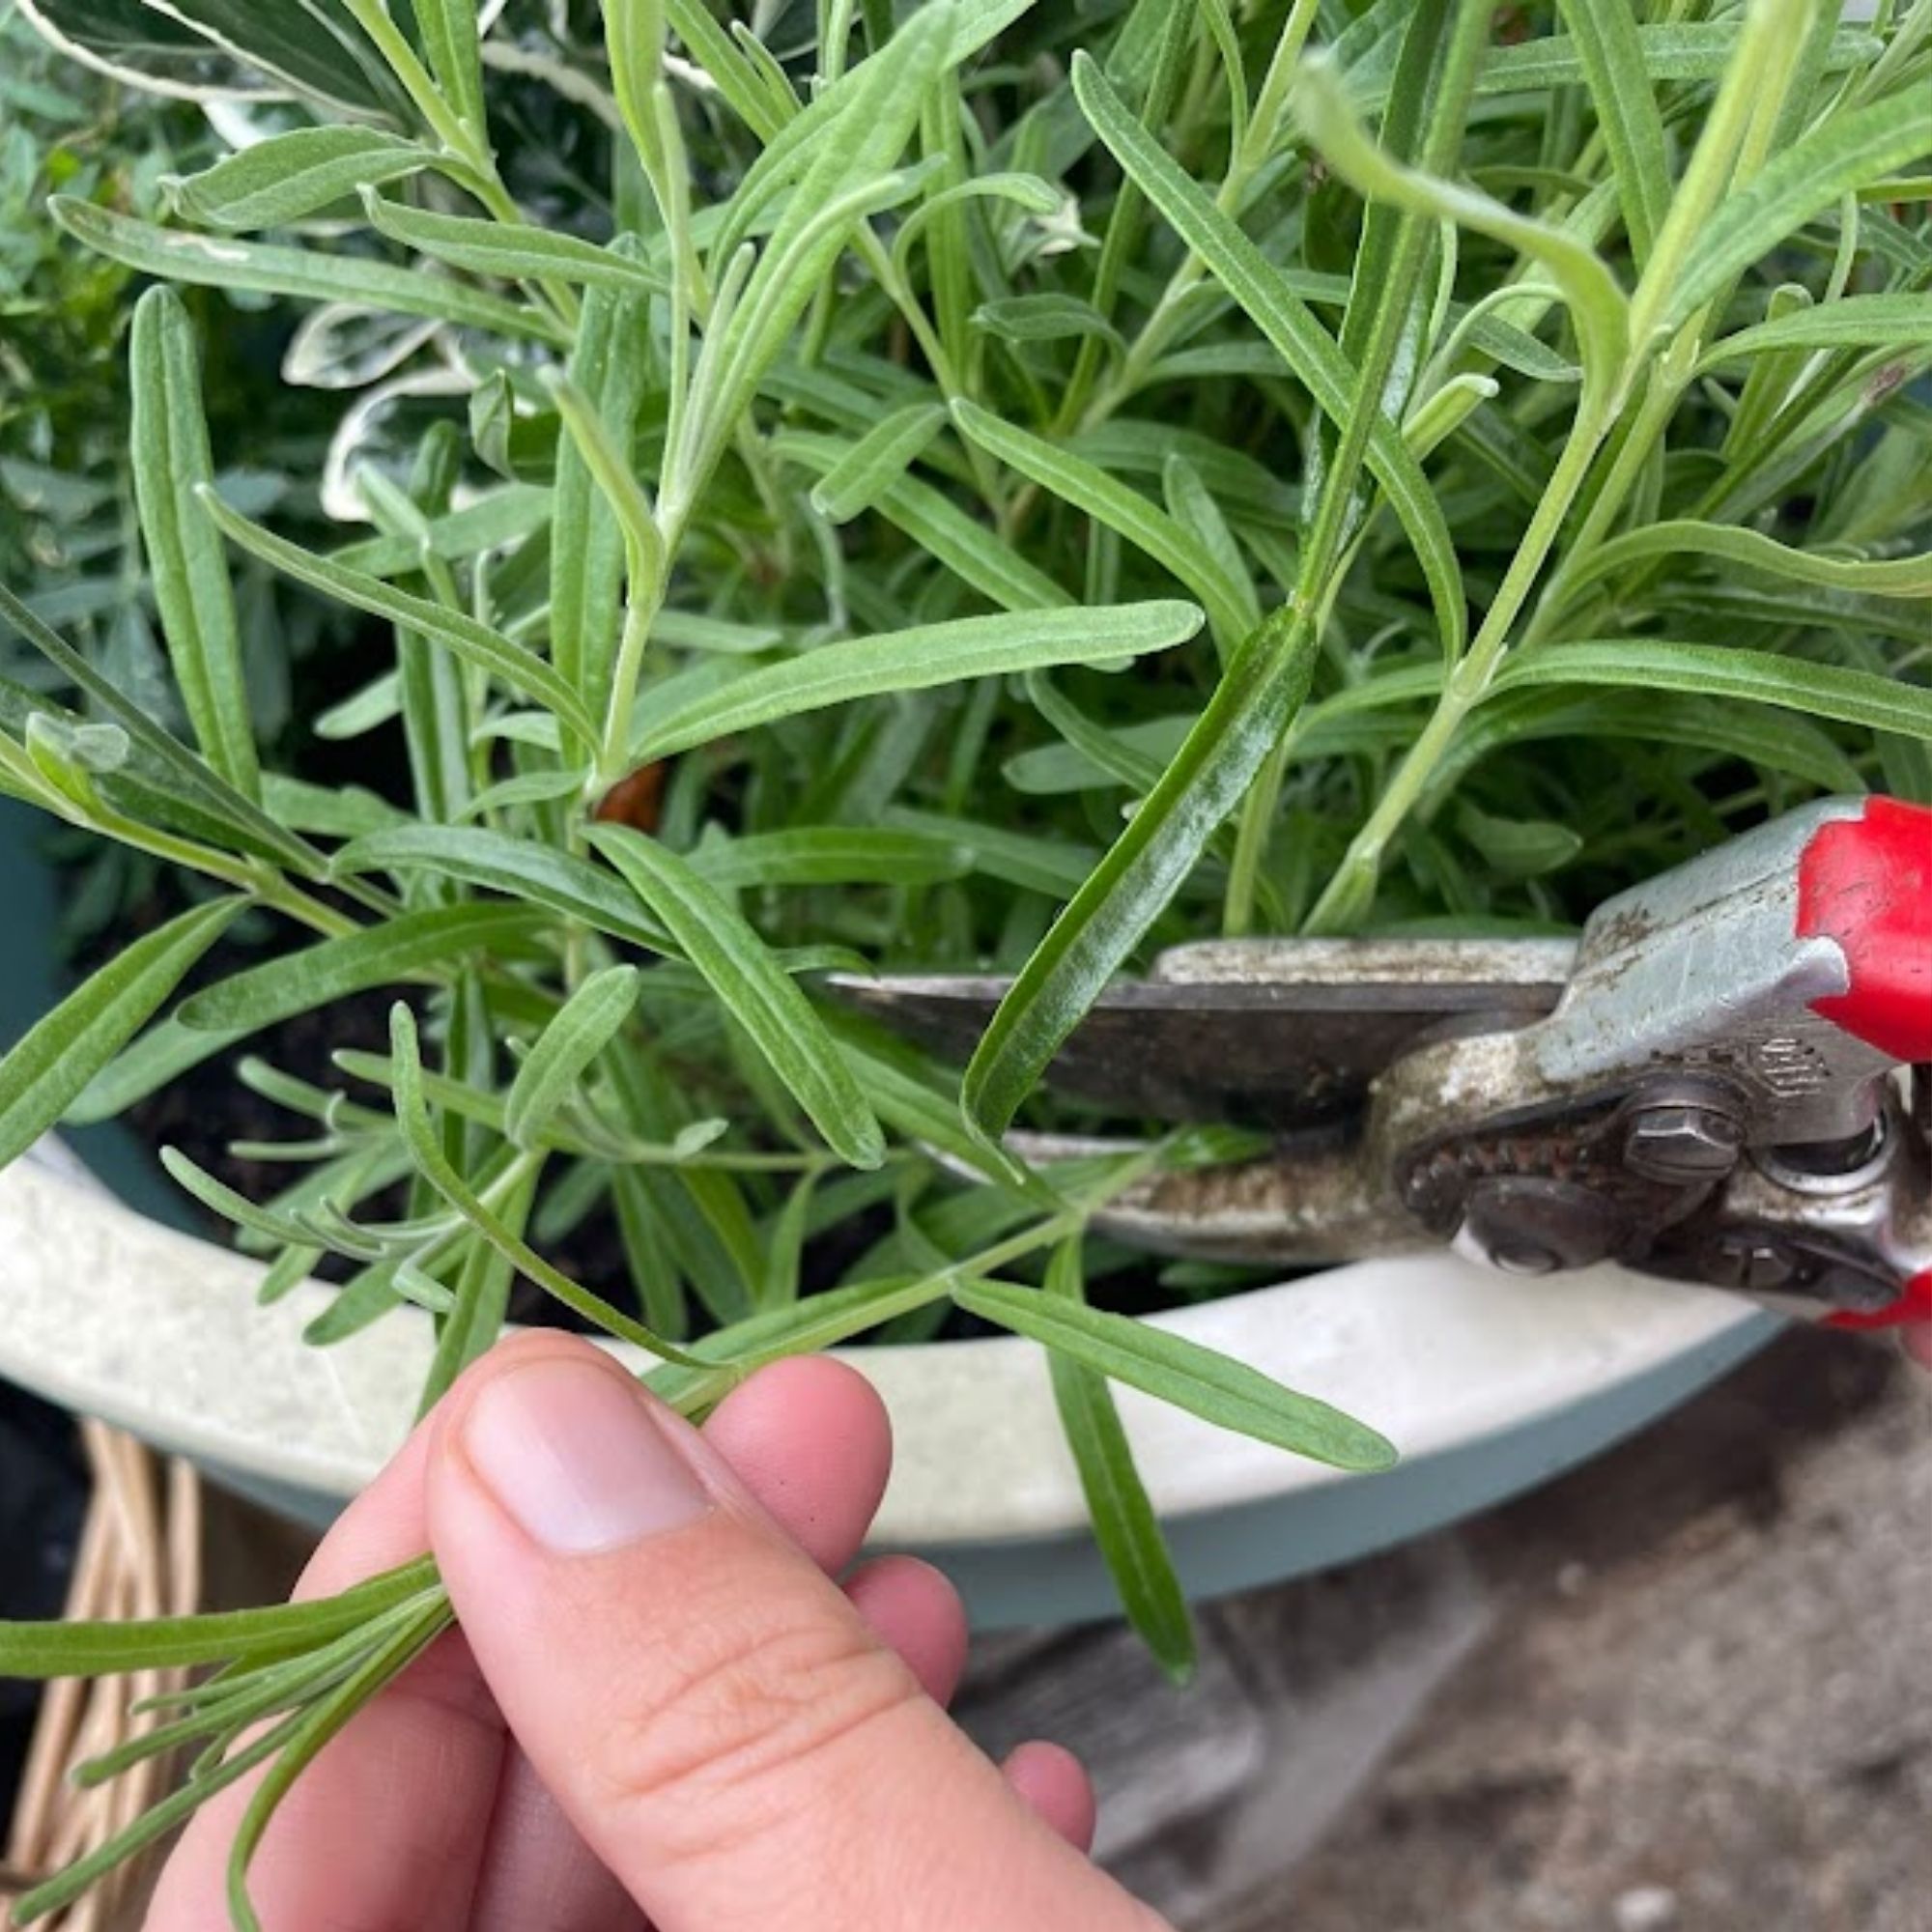
First things first, it is best to take cutting in late spring or early summer when there are signs of active growth. So, to get started, look for a healthy lavender plant and start digging around for a good specimen.
'You want to choose healthy looking stems without any flower buds on and cut pieces 10cm long,' says Sarah.
'Ideally, you want these to be non-flowering stems,' adds Andrew, 'and always use a sharp, clean knife or pair of secateurs.'
2. Strip off the leaves
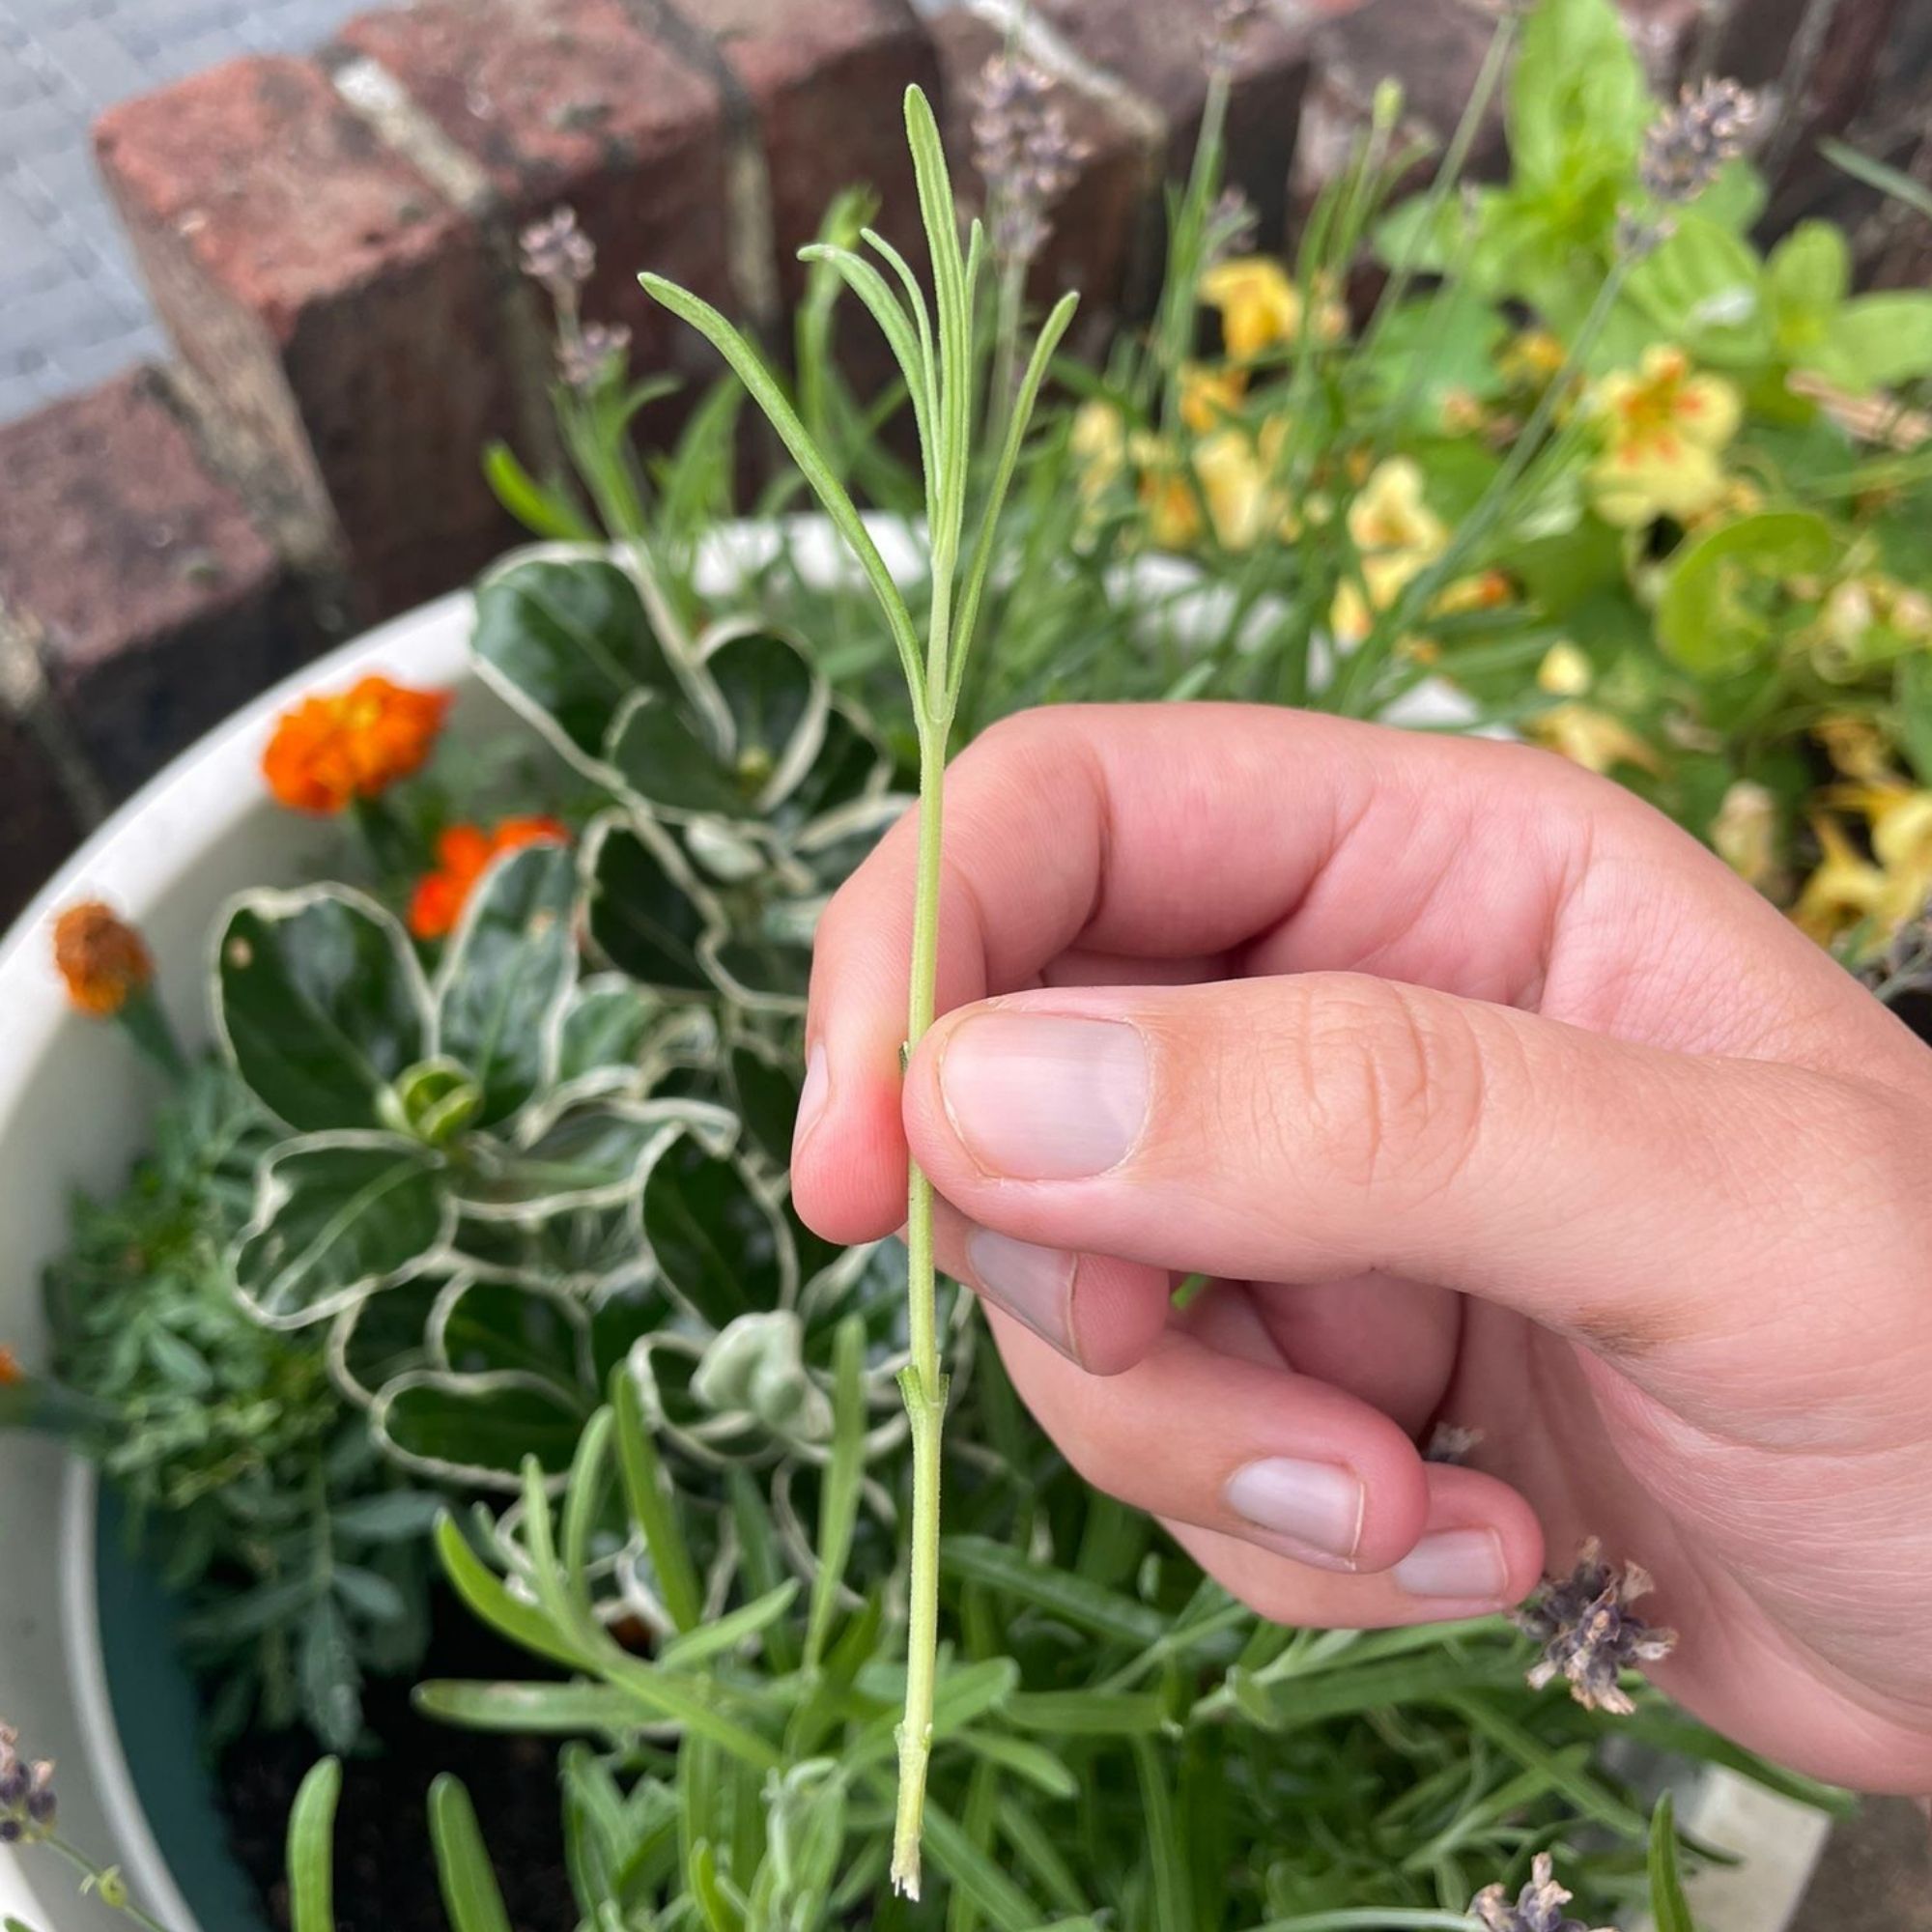
Once you've taken your cuttings, it's time to prep them for their new life ahead.
'Remove all leaves from the lower half of each stem then most from the top half,
leaving 3-4 in total,' says Sarah.
'It seems a strange thing to do, but this will encourage root growth,' adds Andrew.
On that note, please learn from this writer's past mistakes: always pinch the leaves off between your nails/cut them cleanly, never pluck. Doing so can cause the skin to peel away from the stem and ruin your cutting!
Optional step: you can apply rooting hormone powder to the base of each of your cuttings (follow the instructions on the packaging) to further encourage root growth.
3. Plant your cuttings
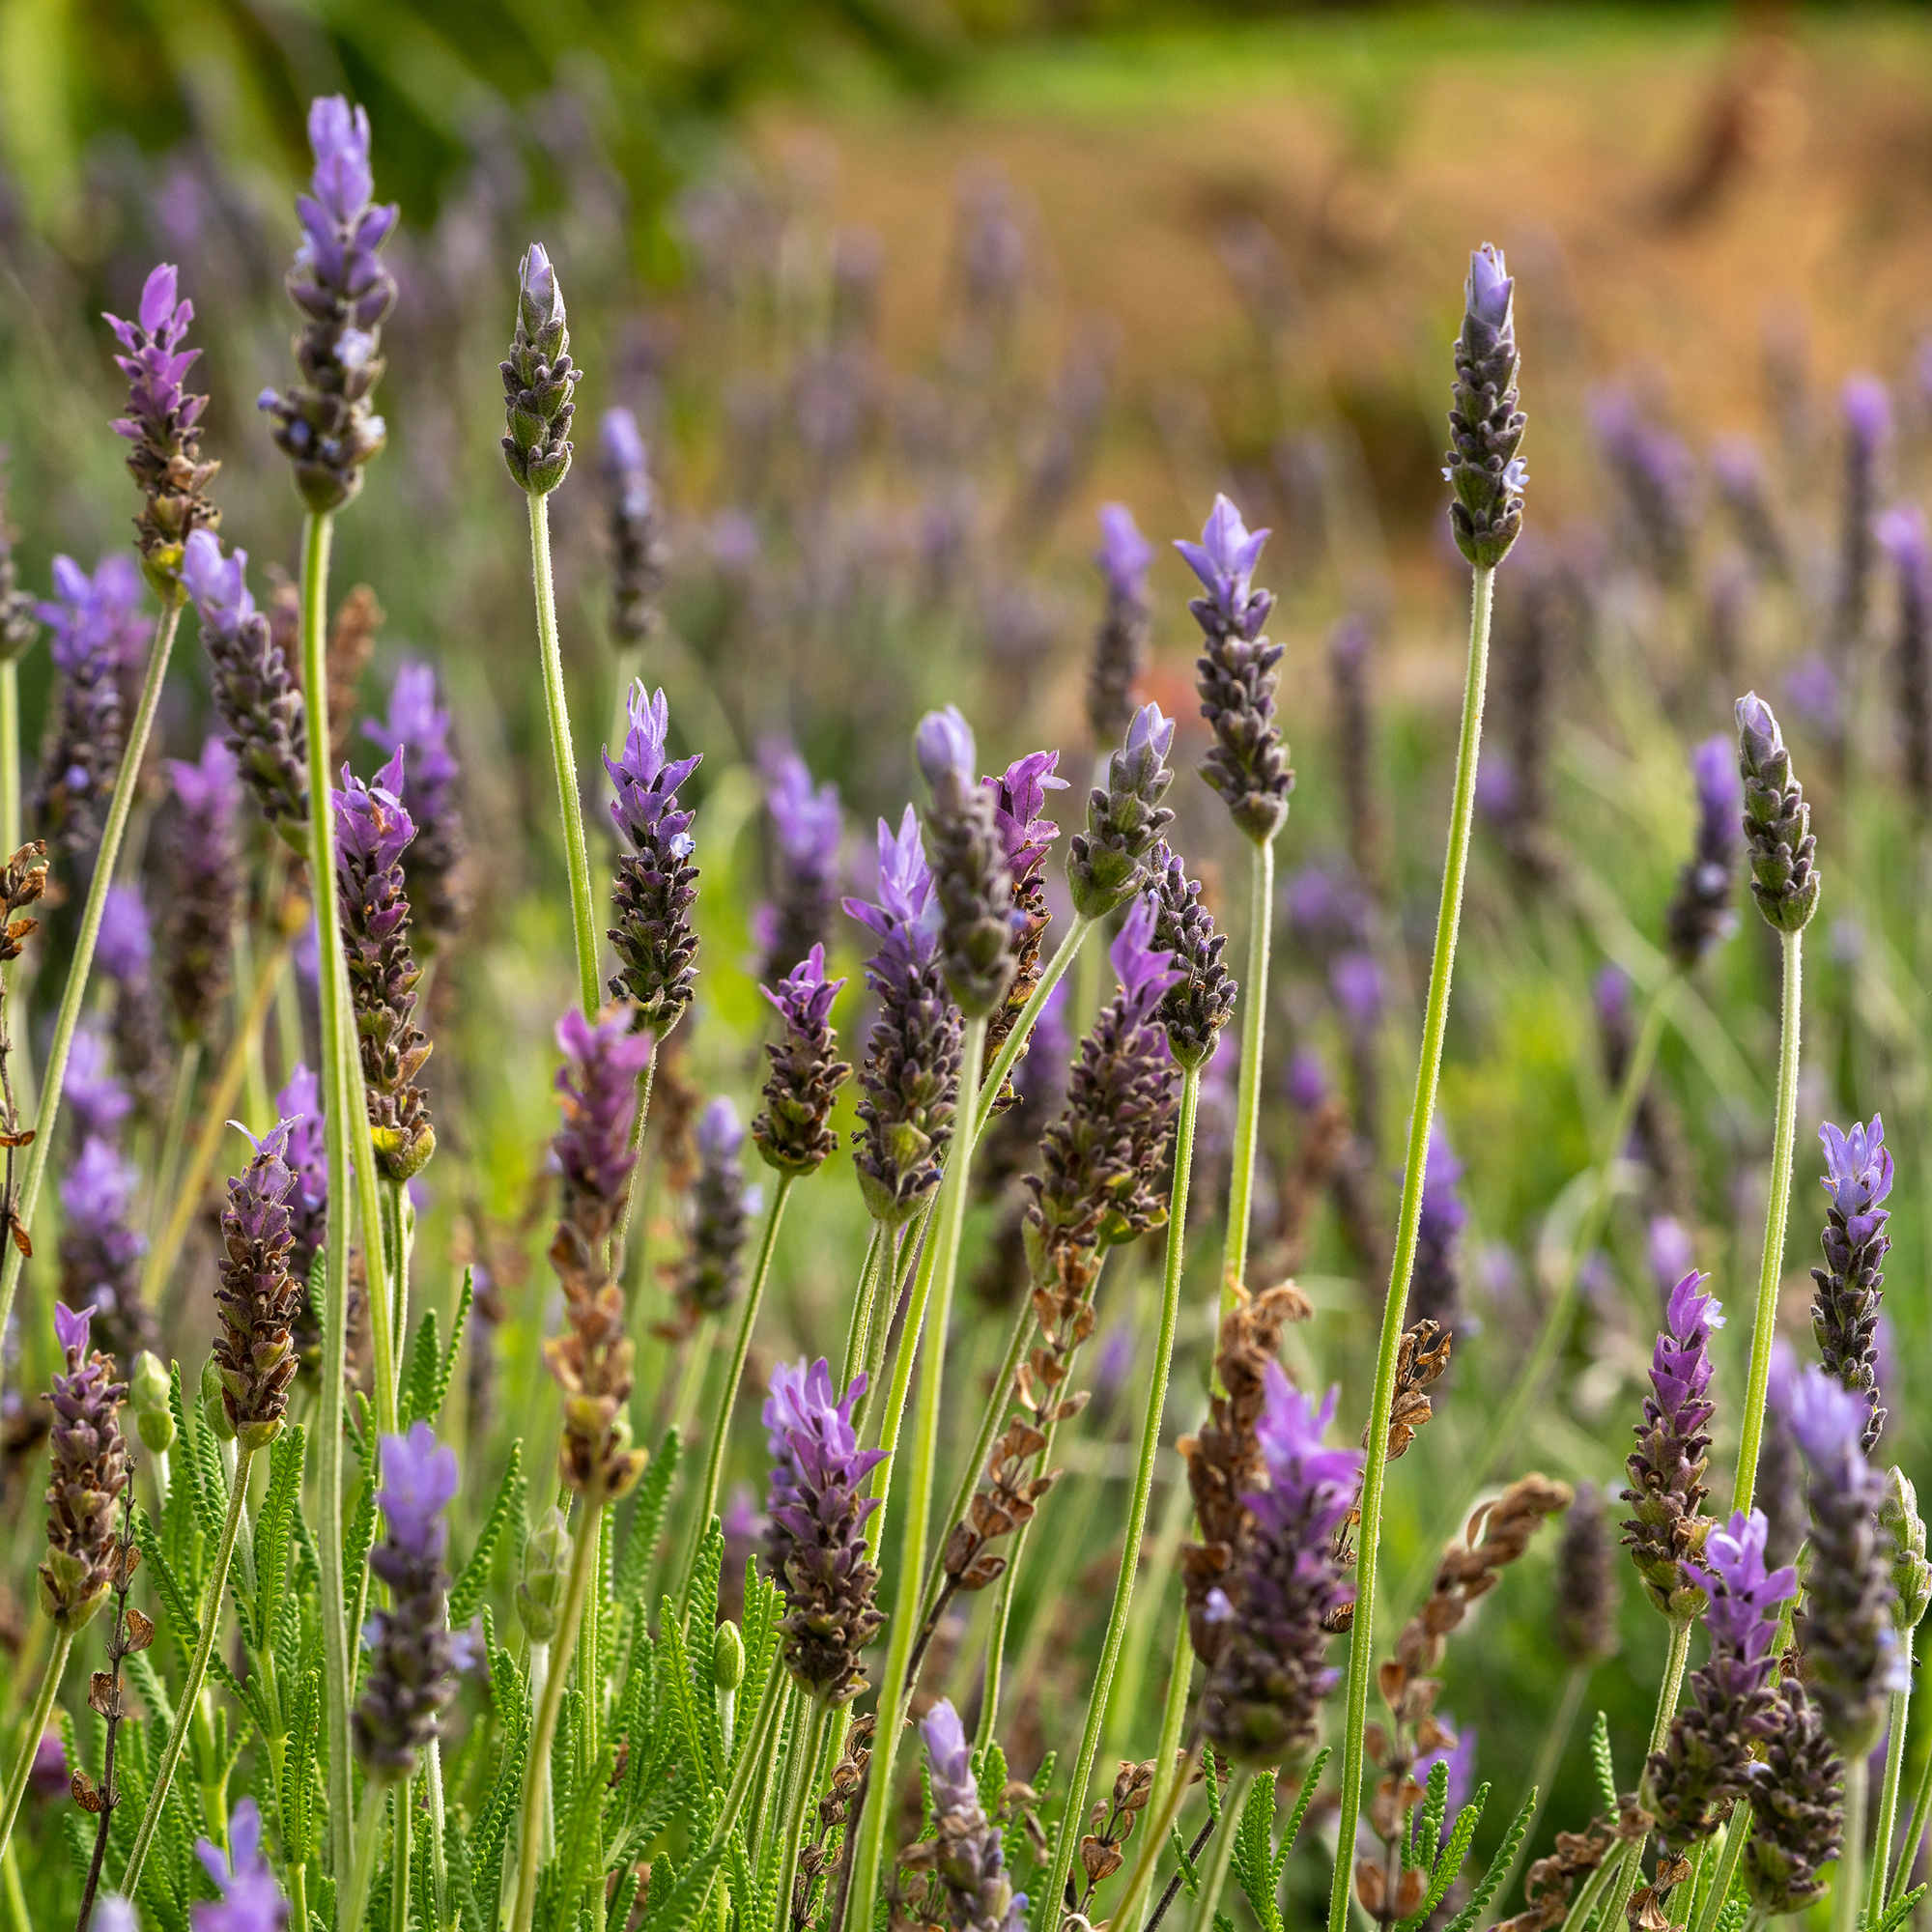
You'll need to prepare a clean container with 1/4 horticultural grit, 3/4 peat free compost mixed together, according to Sarah.
'Ensure any lumps are removed from the compost, use a dibber (or a pencil) to create a space for your cuttings, then place each stem in the container ensuring they aren’t touching each other.'
You'll want to pop them in a warm, bright location with indirect sunlight. You can, if you wish, cover them over with a plastic bag to create a greenhouse effect – but if not, be prepared to mist.
'Whatever you do, you need to maintain humidity,' says Andrew.
4. Water them well
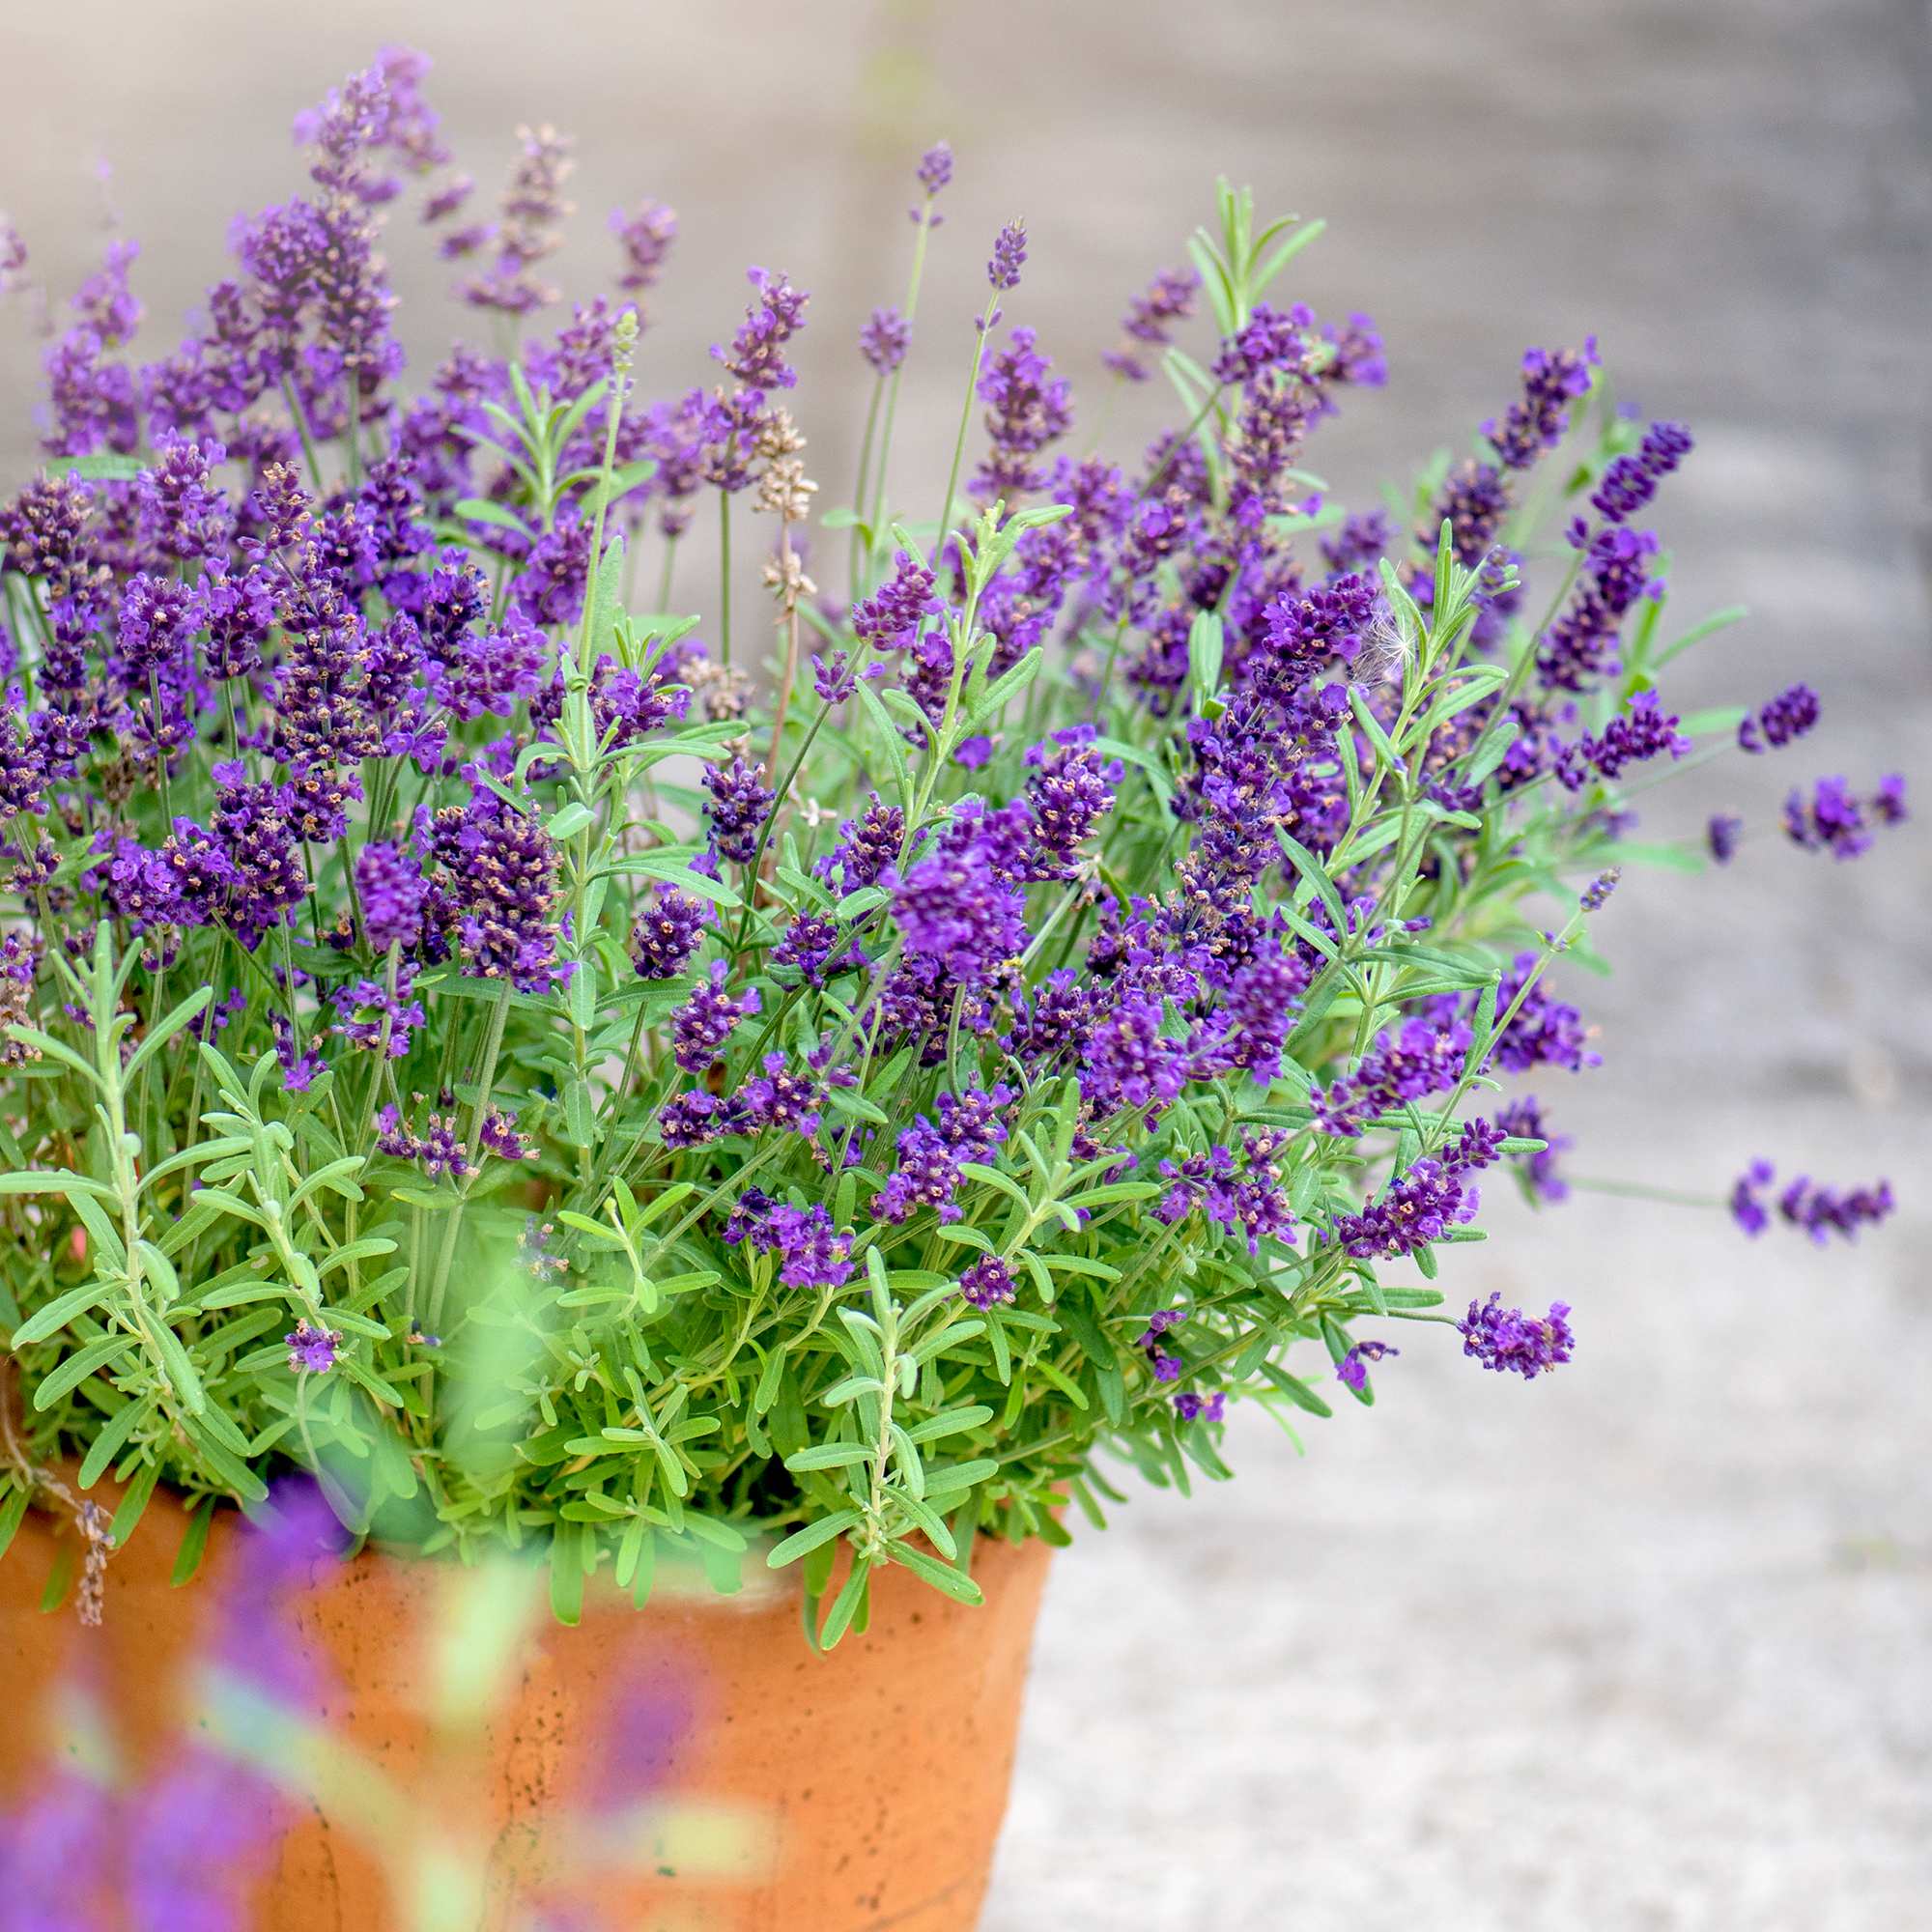
The key to a successful lavender cutting experience is to keep your soil moist, but not waterlogged: it's very difficult to save an overwatered plant.
'Water overhead once, then place in a saucer or tray and water from the base going
forwards,' advises Sarah.
'Ensure the compost is always slightly moist under the surface of the compost.'
Top tip: always use a rose on your watering can, and start watering from a wee distance away, to ensure the flow is smooth and steady before you get to your dainty little plant baby.
5. play the waiting game

You will have to wait around 6-8 weeks for your lavender's roots to take hold.
'Tug the plant gently,' says Andrew. 'If you feel resistance, it means the roots have formed and it's time to transplant.'
'Pop each cutting into individual pots, and keep them in a sheltered spot protected from frost over winter,' adds Sarah.
They will be ready to plant out the following spring, but be sure to harden off the plant gradually and give it time to adjust to its new outdoor home.
When should lavender cuttings be taken?
The best time to take your cuttings or cuttings is in the spring/summer, so aim to take yours sometime between June and September. And try to do it in a cool, shady spot, to prevent the cuttings from drying out while you work.
If you have a very woody lavender, however, you will need to take your softwood cuttings in the spring when the growth is both fresh and young.
Do you put lavender cuttings in water or soil?
While lavender can be propagated using water, it is very susceptible to root rot. As such, it is best to propagate your cuttings in a very well-draining soil.
How long does it take for lavender cuttings to root?
It can take anywhere from 6-8 weeks for roots to develop on lavender cuttings (they will do so faster in warmer and more humid conditions). Make sure you tug your cuttings gently to see if there is any resistance, as this will mean that the roots have established.


