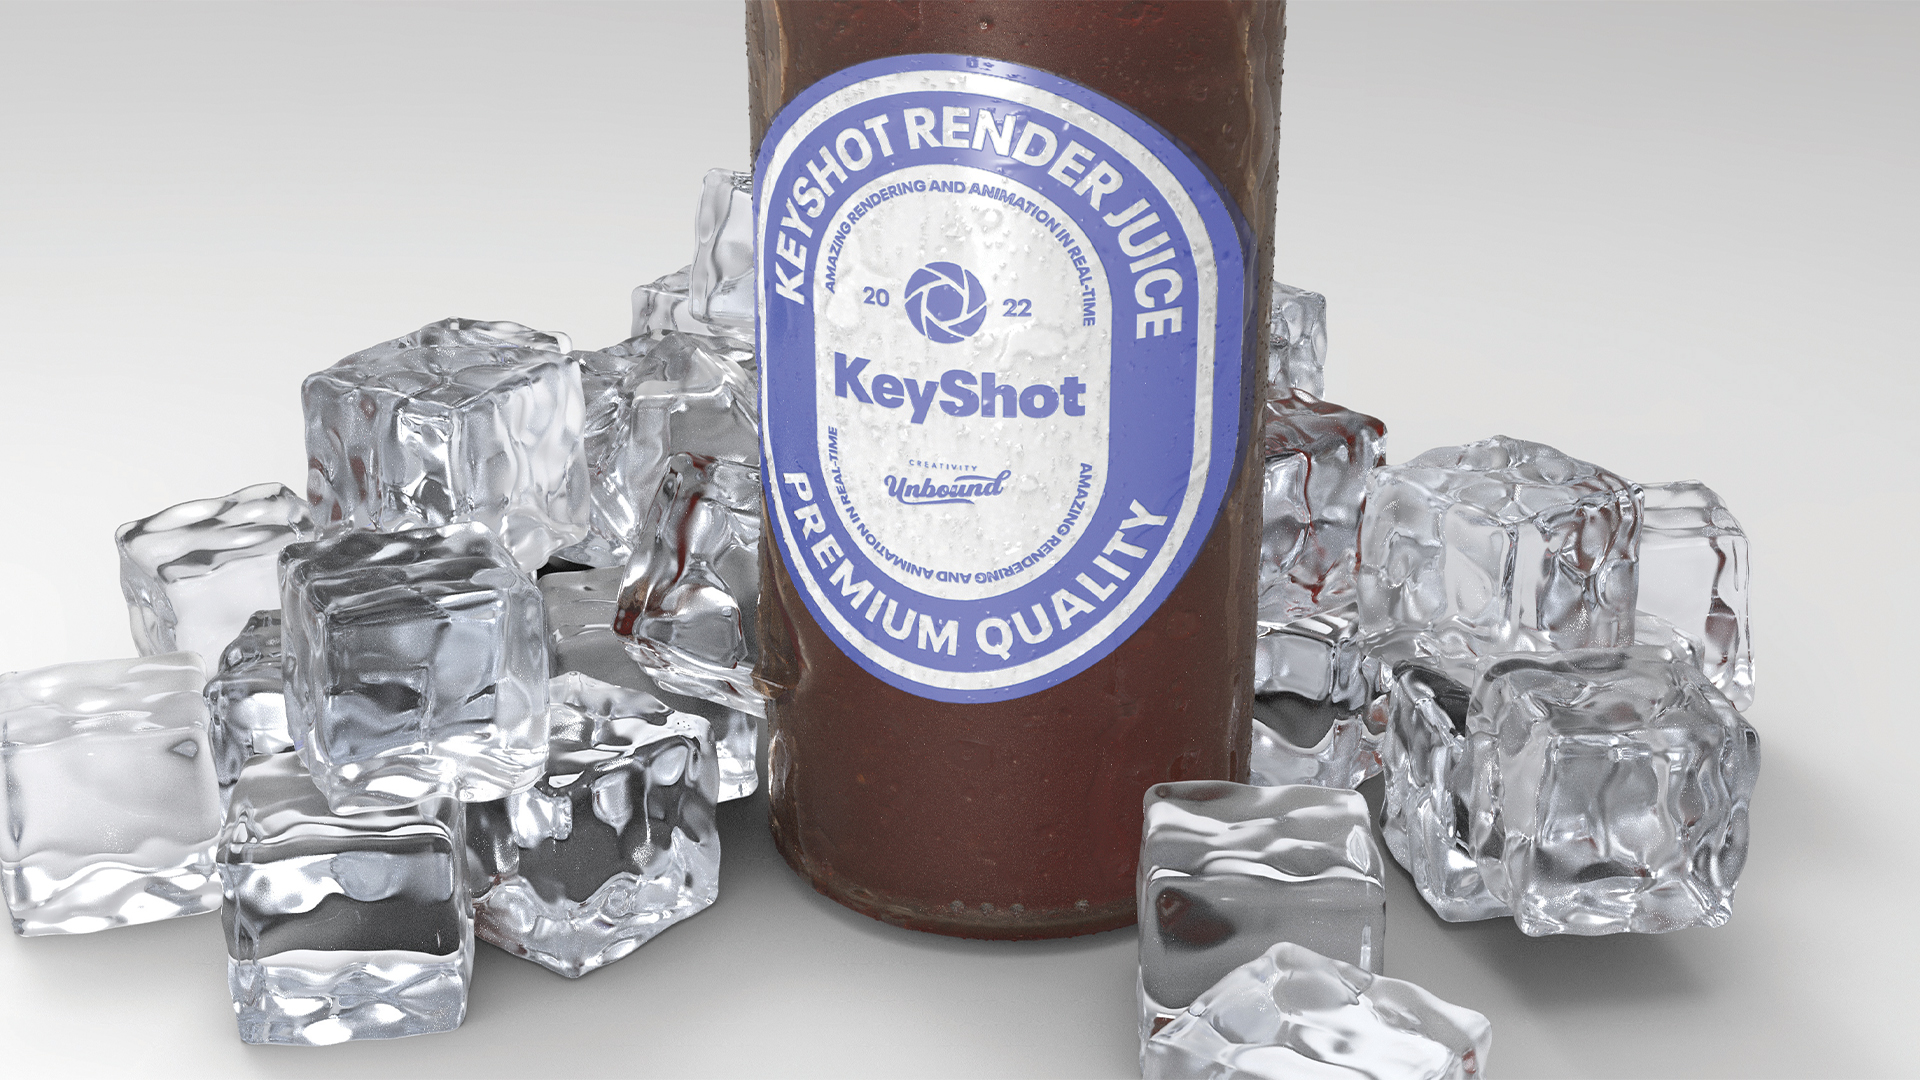
The placement of objects in any 3D scene requires a certain amount of attention to detail to ensure models don’t overlap when they shouldn’t. This is especially the case for product or small-scale visuals, where it would be immediately obvious if there was an issue.
In most 3D software packages you have to rely on your eye or, more helpfully, the built-in snapping tools to ensure accurate contact but nothing more. Snapping tools are an absolutely essential part of any modelling workflow, but they can be a bit cumbersome when you need to adjust the properties and make sure you’re snapping to the right parts.
The KeyShot team has come up with an innovative way of ensuring objects are positioned correctly. The workflow includes a falling simulation element and a snap-style implementation for moving objects. This partnership provides a foolproof solution for getting your objects placed correctly every single time.
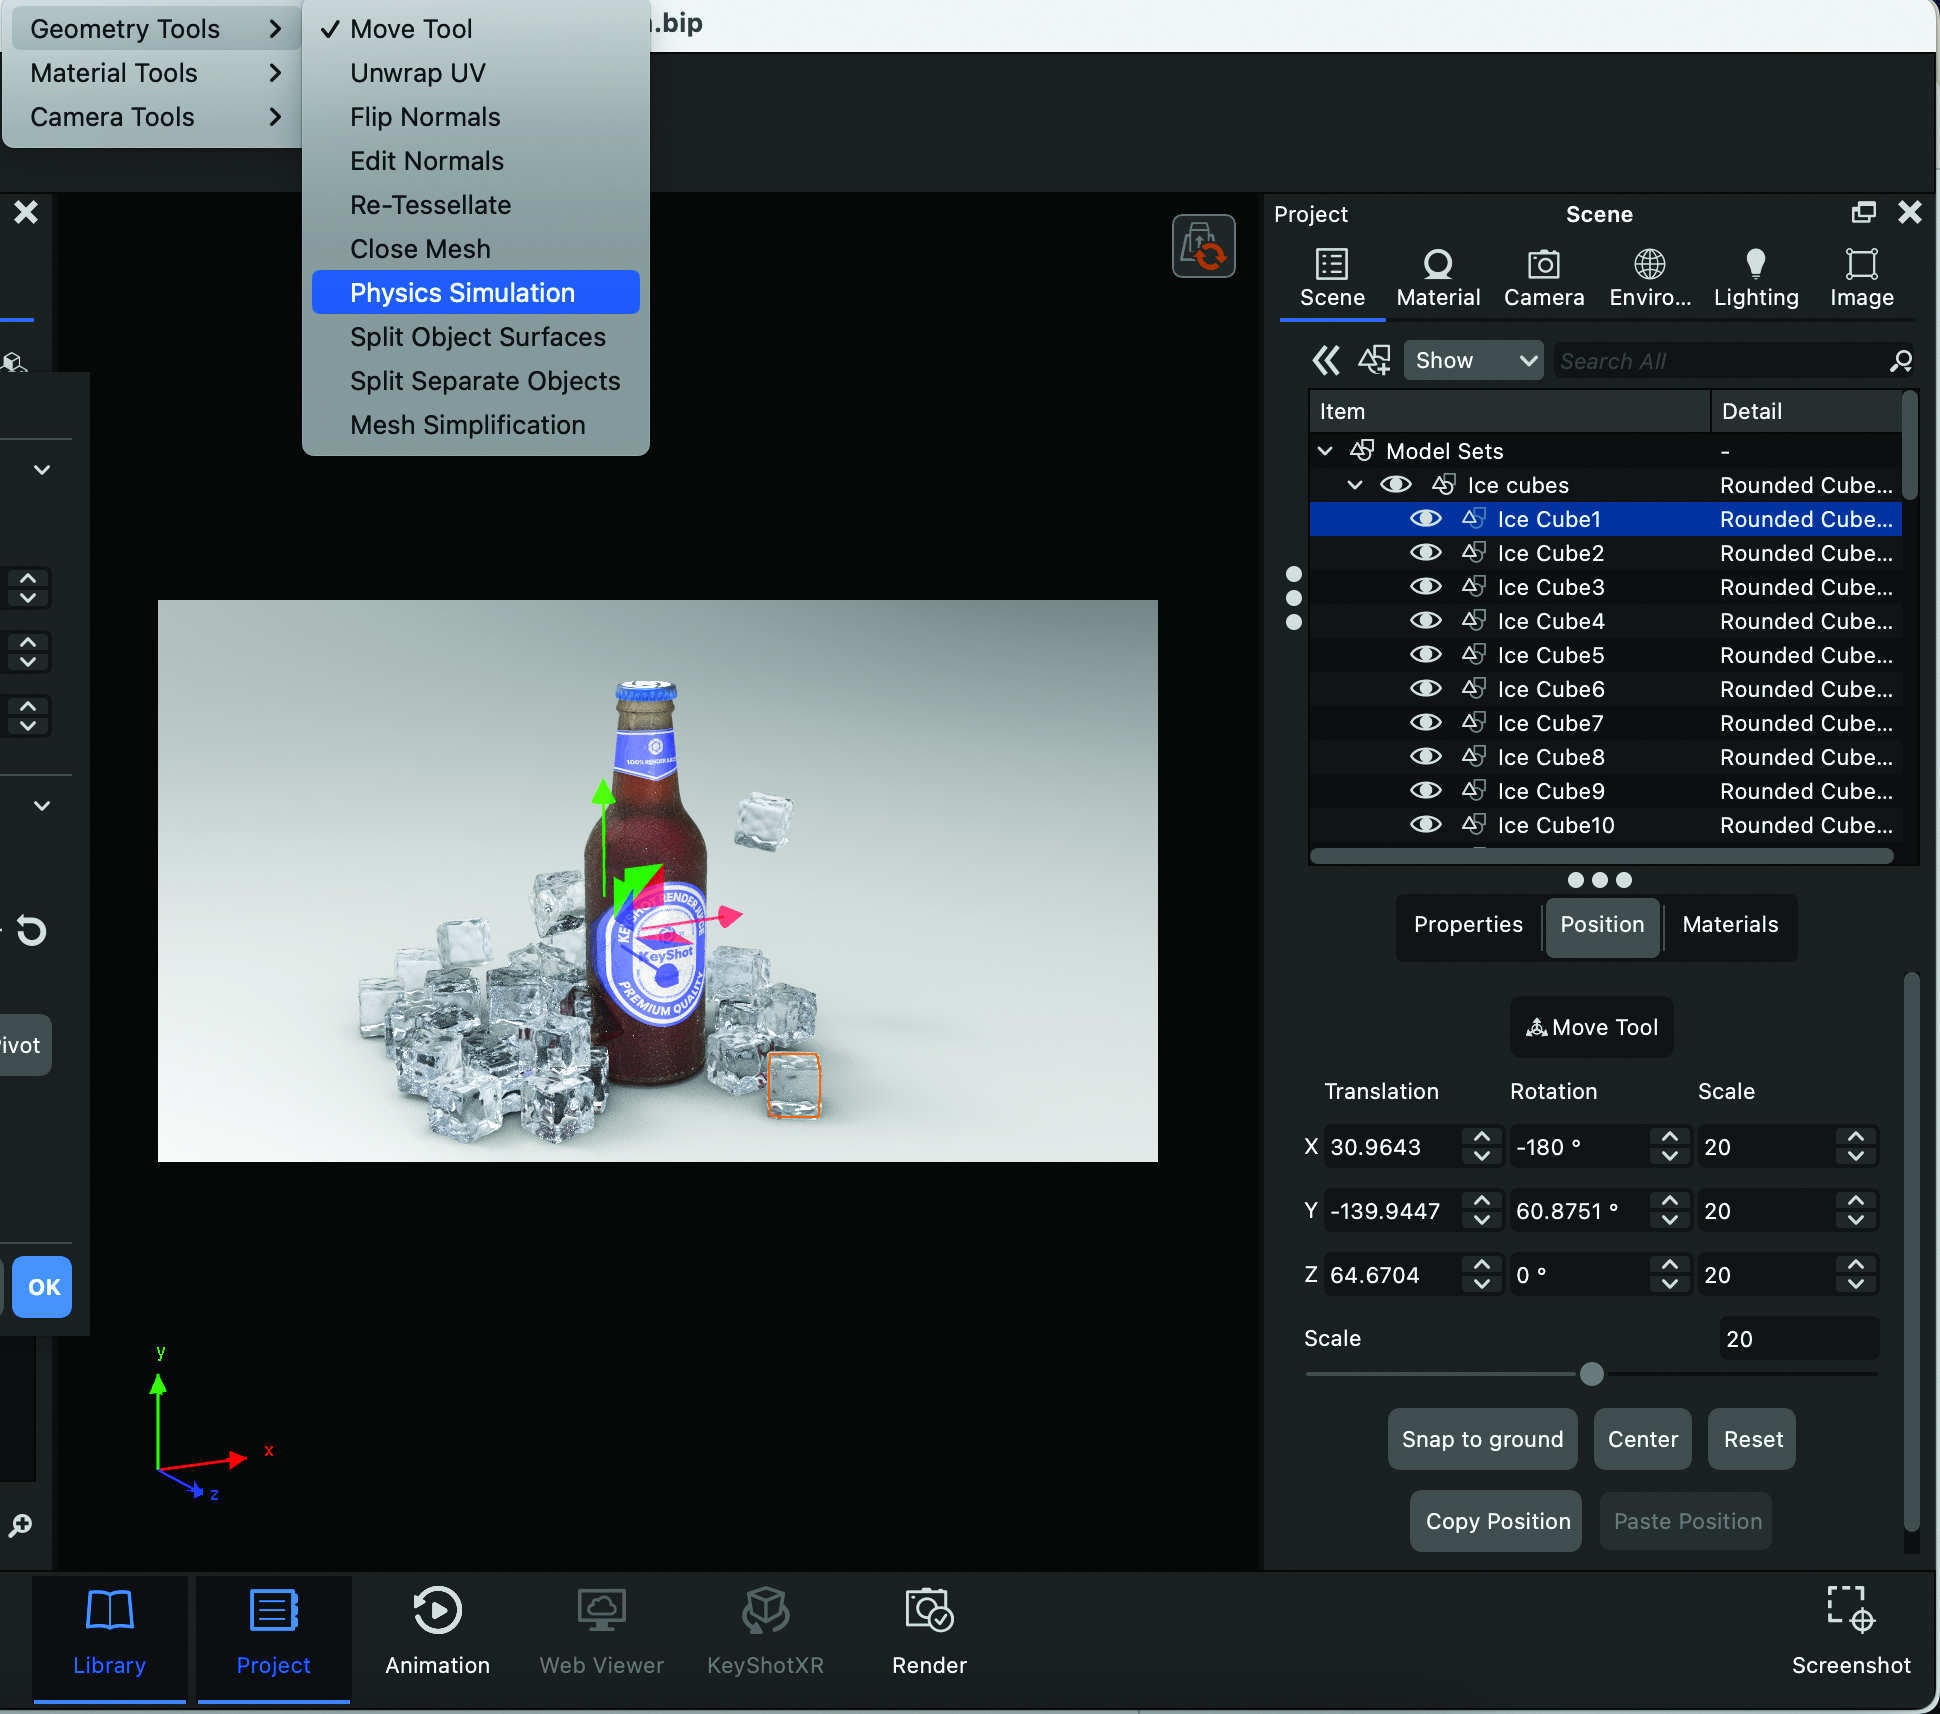
The final location of your simulated objects will depend largely on where, in 3D space, they’re located prior to the simulation taking place. Give some thought to how your objects might interact with each other. You can always re-run simulations if the result isn’t what you’re after, but you can get a better outcome with a bit of thought.
One of the benefits of the simulation side of things is that it does away with having to spend time carefully positioning objects. This comes into its own when you either have lots of objects, or when those objects are particularly complicated and difficult to position without a lot of fine movements and rotations.
The new collision tools live within the Move tool, accessed by right-clicking on an object in the viewport or list of scene items. These tools aren’t immediately obvious but are instead hidden in the Advanced rollout. There are only three parts to the new functionality, providing a remarkably simple implementation that’s perfect for beginners or users who aren’t big fans of using 3D software.
The first part is a simple collision checkbox that will activate a blocking functionality between the object being moved and the other objects in the scene. The second is a Settle button that lets the selected object drop according to gravity until it settles on top of other objects. The final part is another checkbox option that lets the selected object settle based on individual components rather than as a whole. This last part is ideal for breaking objects up in an automated way rather than having to keyframe the whole thing.
You can download the ‘Render Juice Bottle and Ice’ model I’ve used, created by Kmerchant, from KeyShot Cloud. If you're new to renderers, read our KeyShot review and our roundup of the best rendering software available now.
01. Enable collision
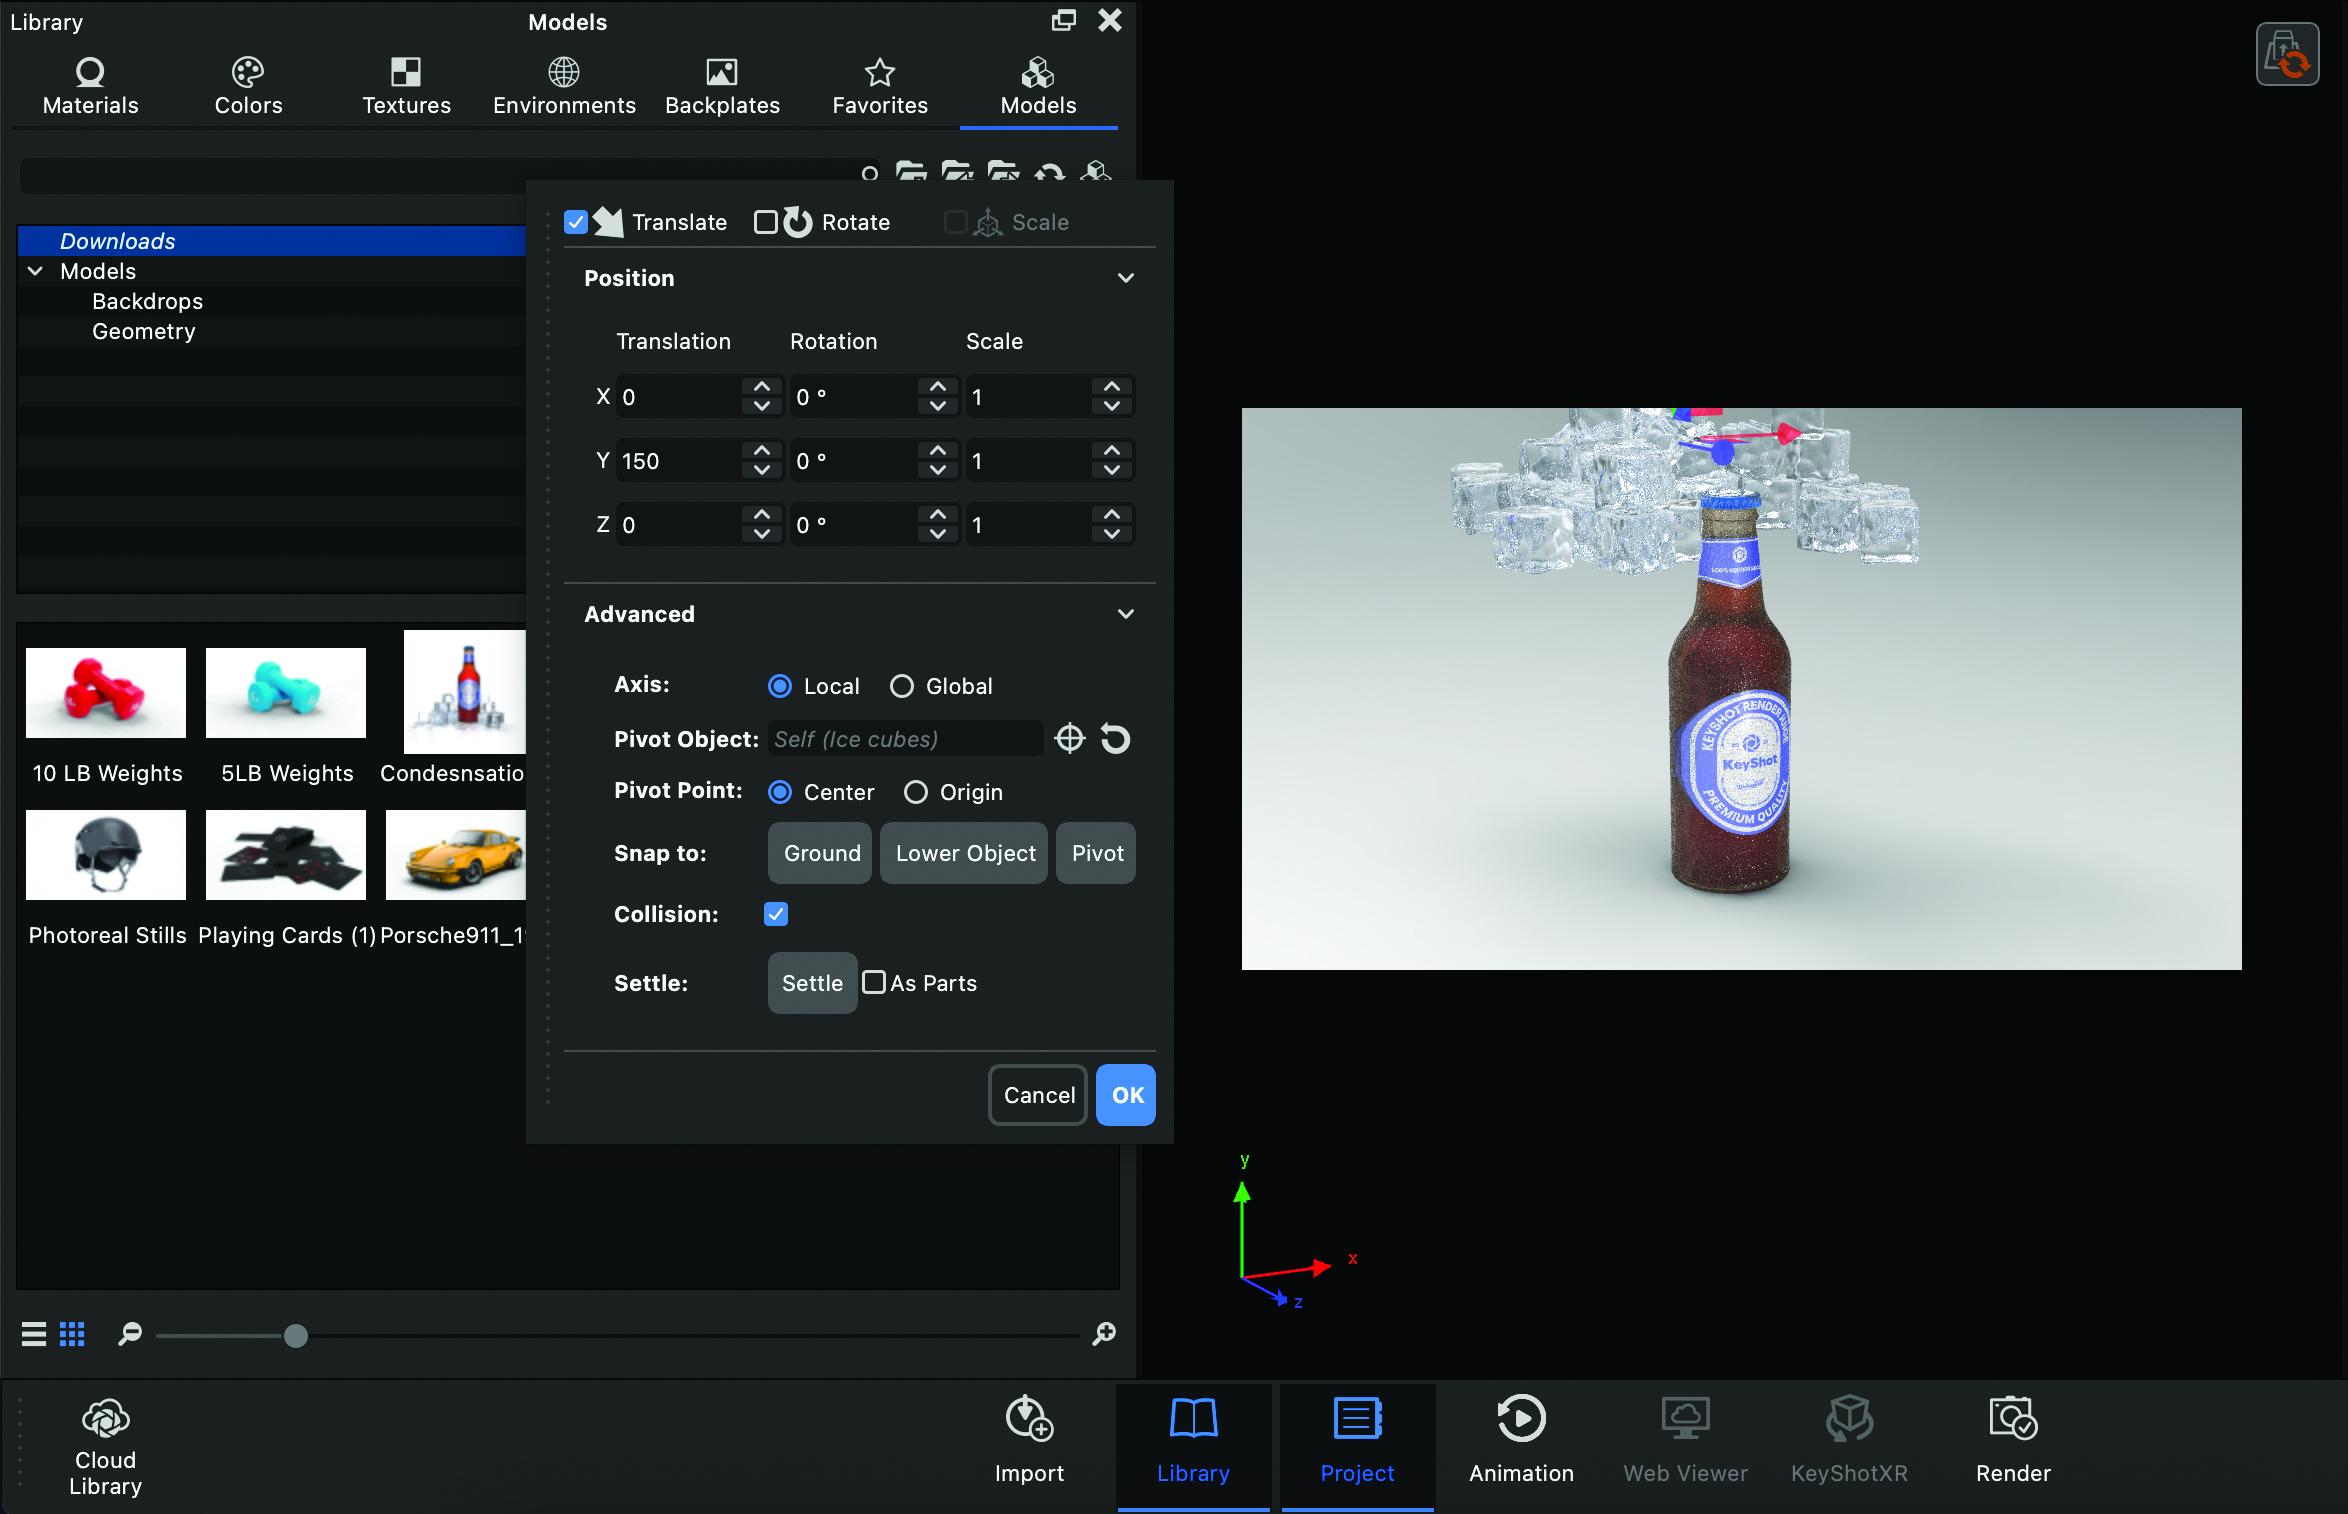
The first part of the Collision functionality is a simple checkbox that stops objects being moved through other objects. This is similar to a snapping tool, but its operation is a little different. Right-click on your object and select Move Part, then open up the Advanced rollout in the Move window and select the Collision checkbox. Now try moving your object and you’ll see that it stops dead when it encounters other objects.
02. Collision and scaling
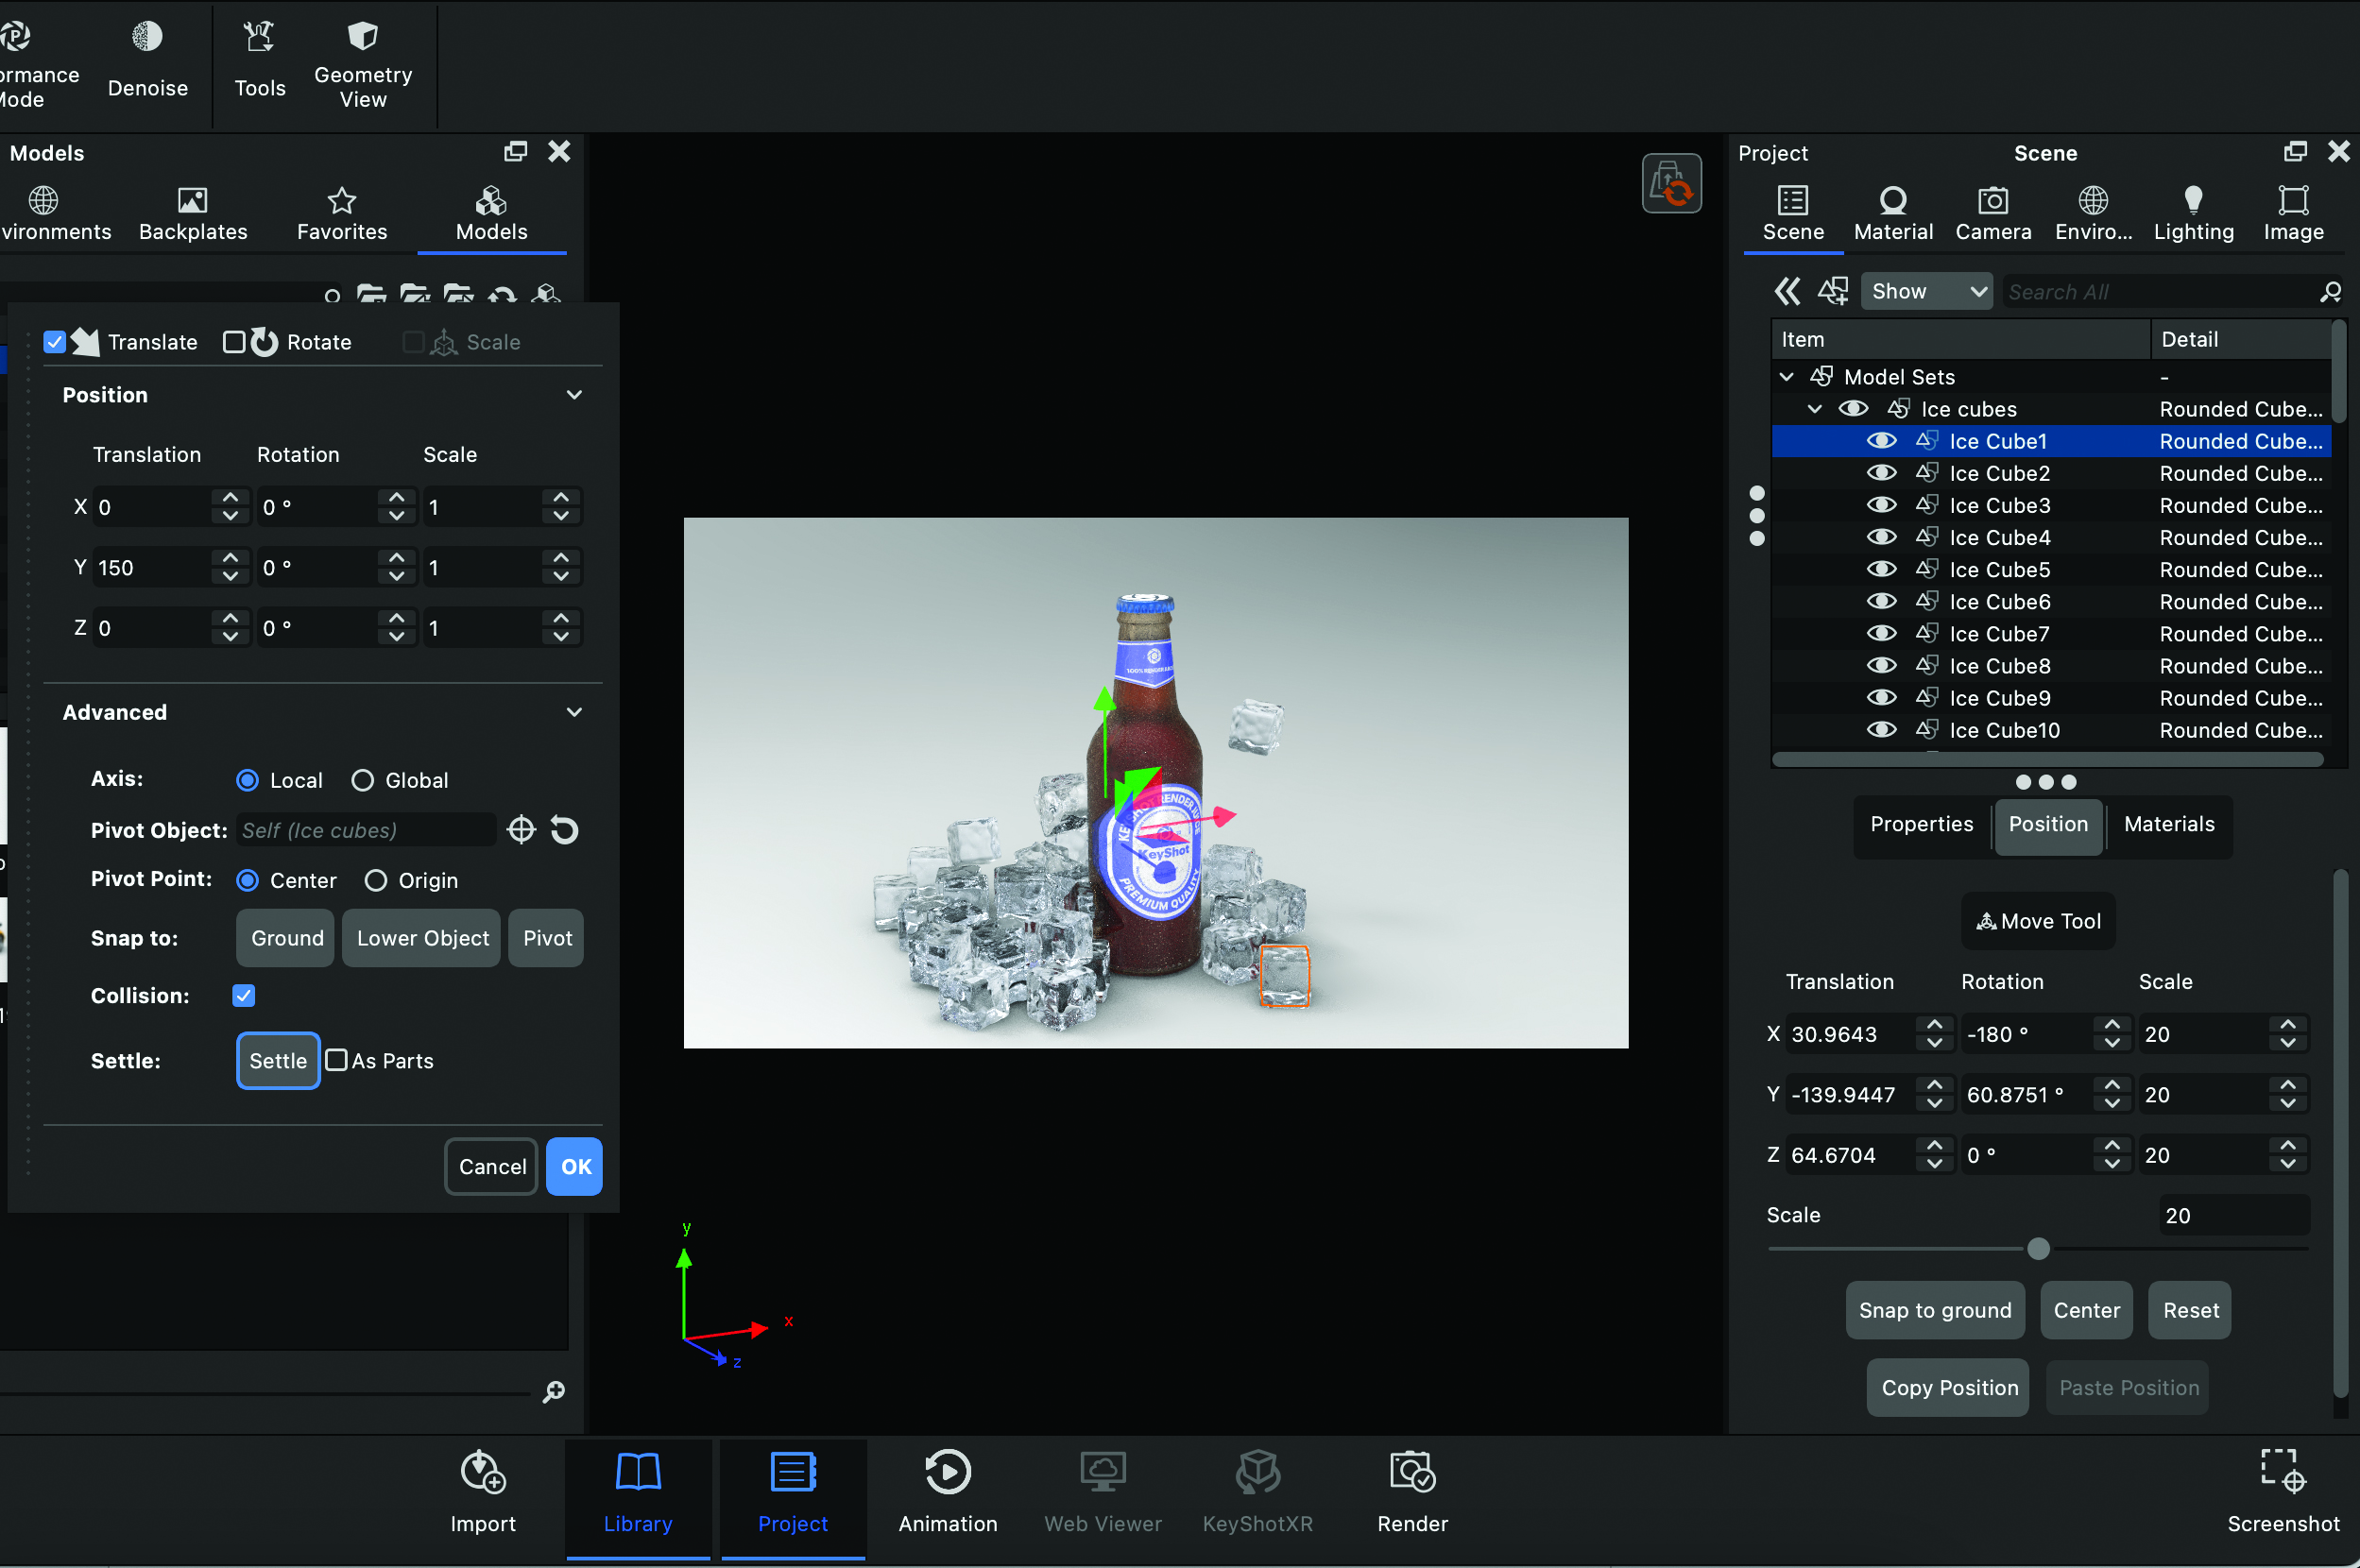
When in Collision mode, KeyShot removes the ability for you to scale objects through the Move Tool window. This can be overcome either by turning Collision off while you perform your scale operation, or by scaling the object using the Object Properties panel. This is a little annoying but a necessary downside of using the tool.
03. Hit the settle button
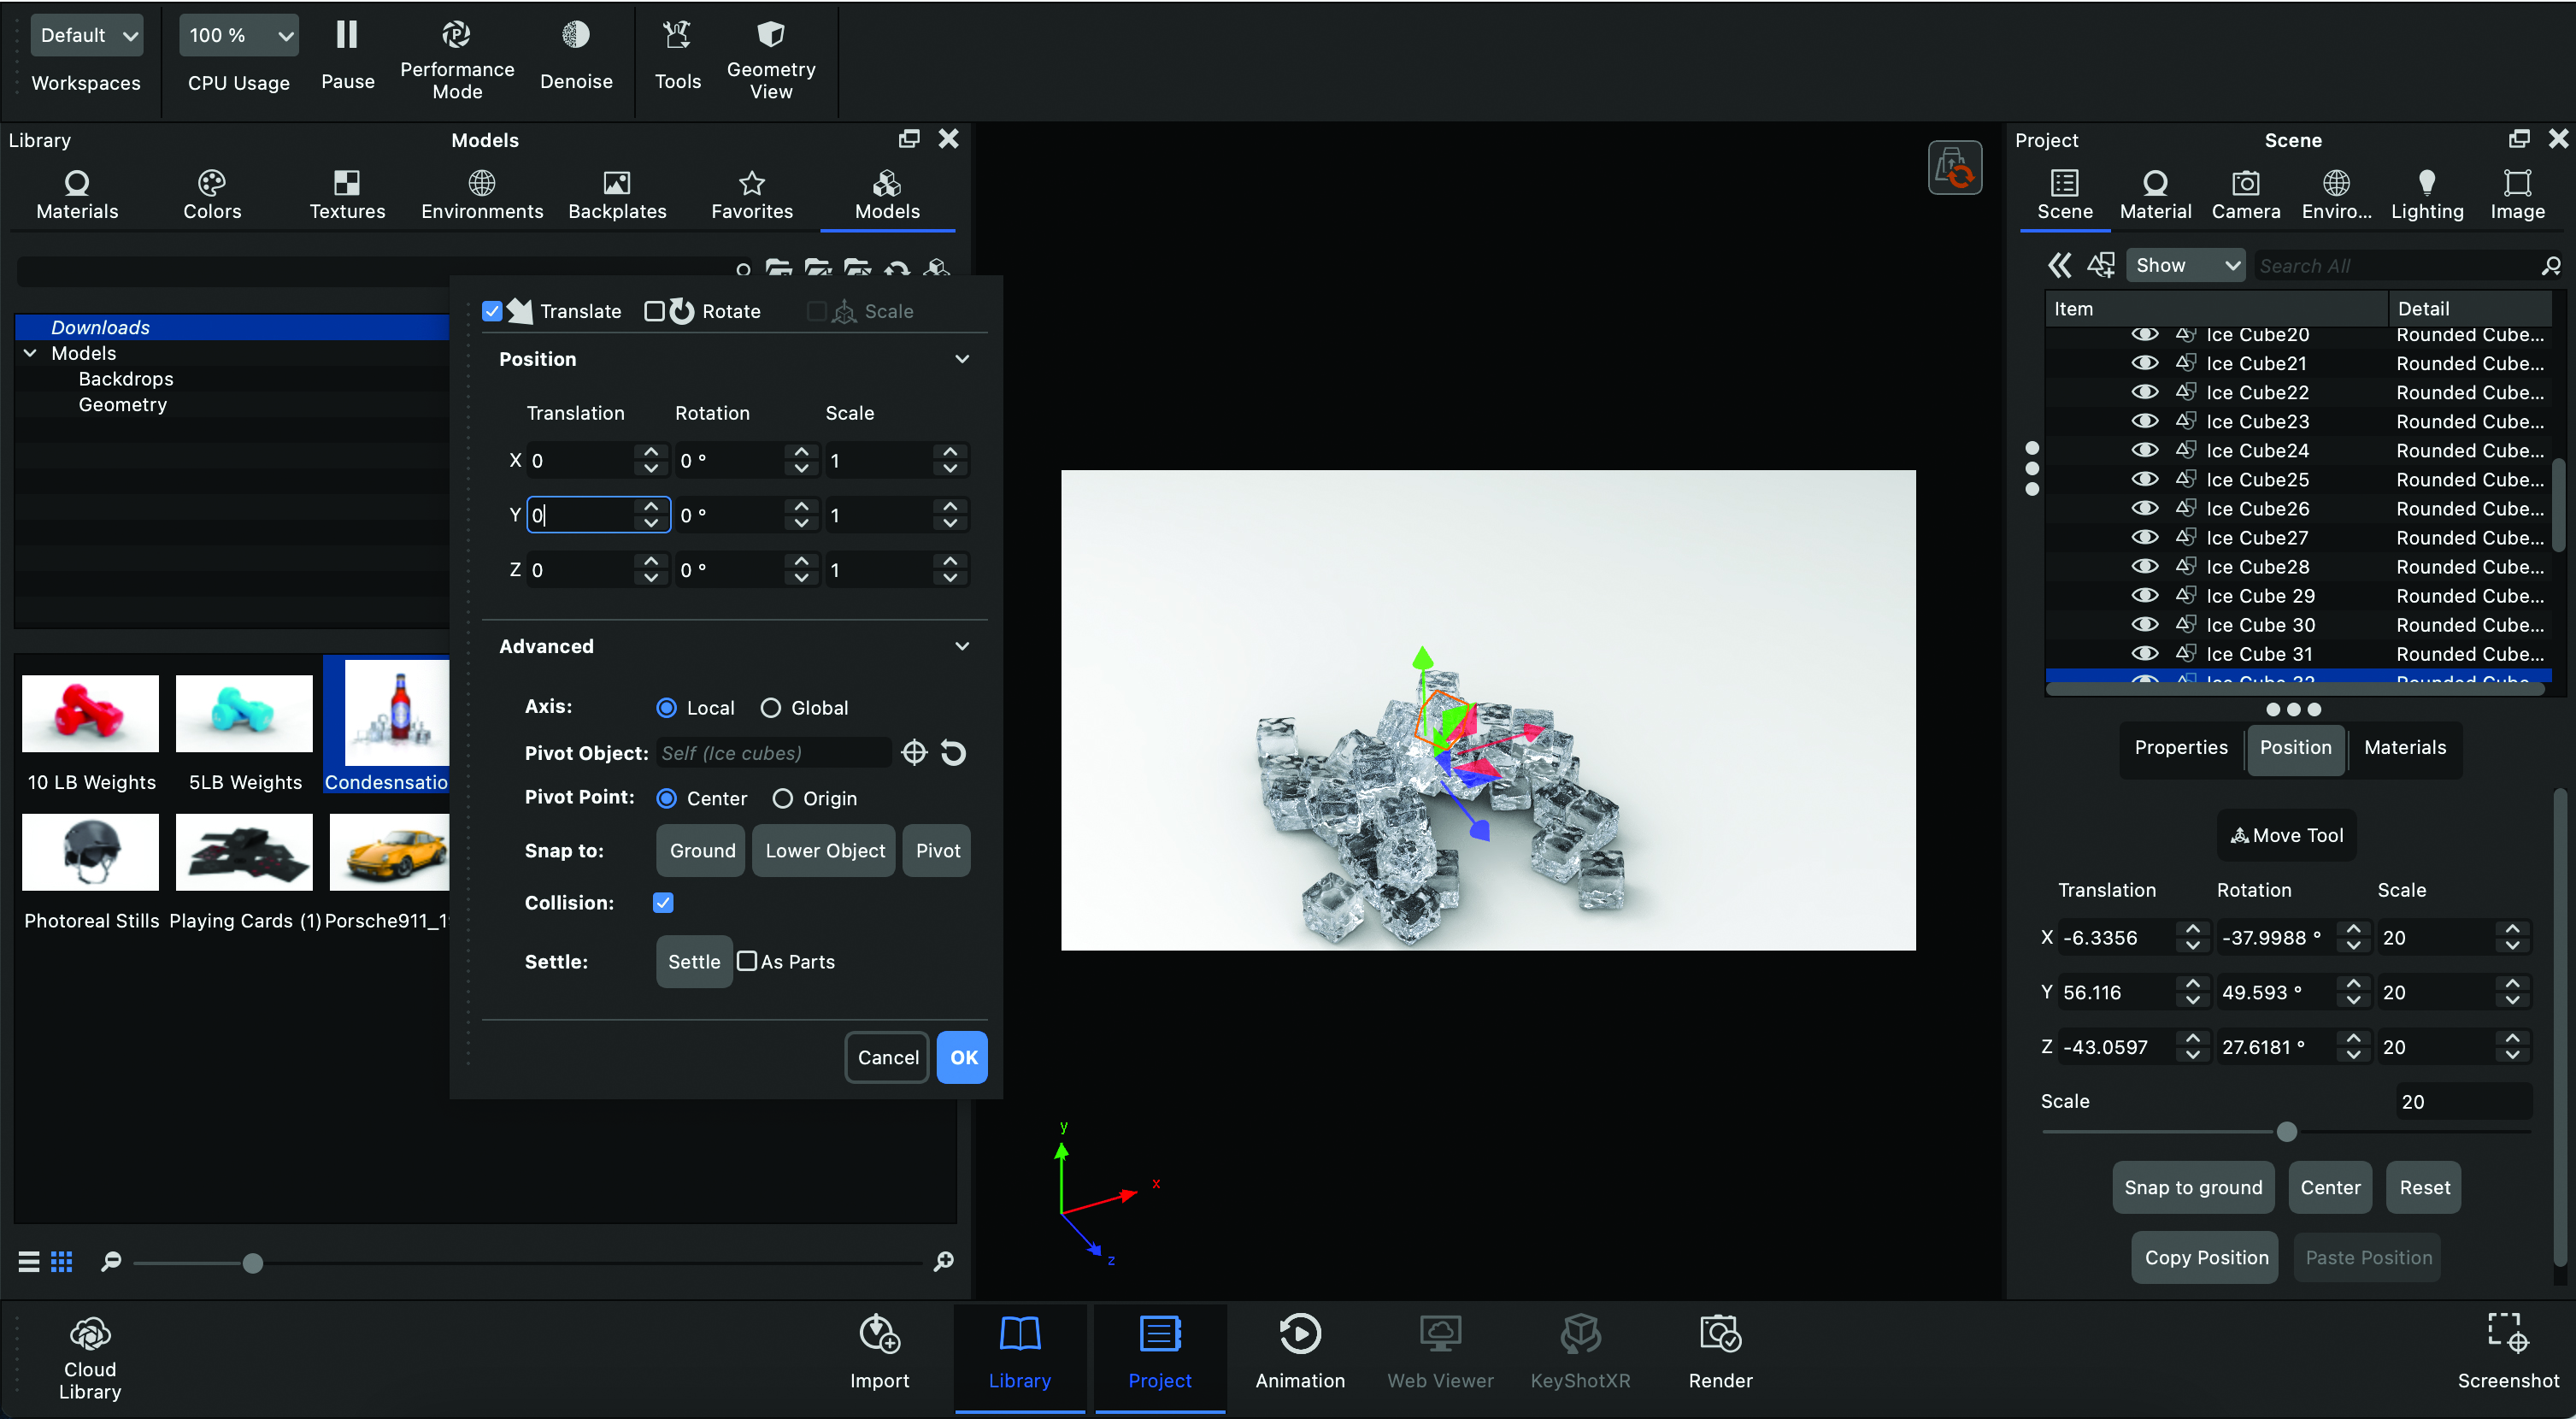
Extending Collision functionality, KeyShot has also made it possible to simulate objects falling and colliding with other objects. The settling process begins as soon as you hit the Settle button and ends when you click in the viewport. You can leave it running until you’re happy with the way your objects have settled. You can also perform the settling process with multiple objects at the same time.
04. Settle as parts
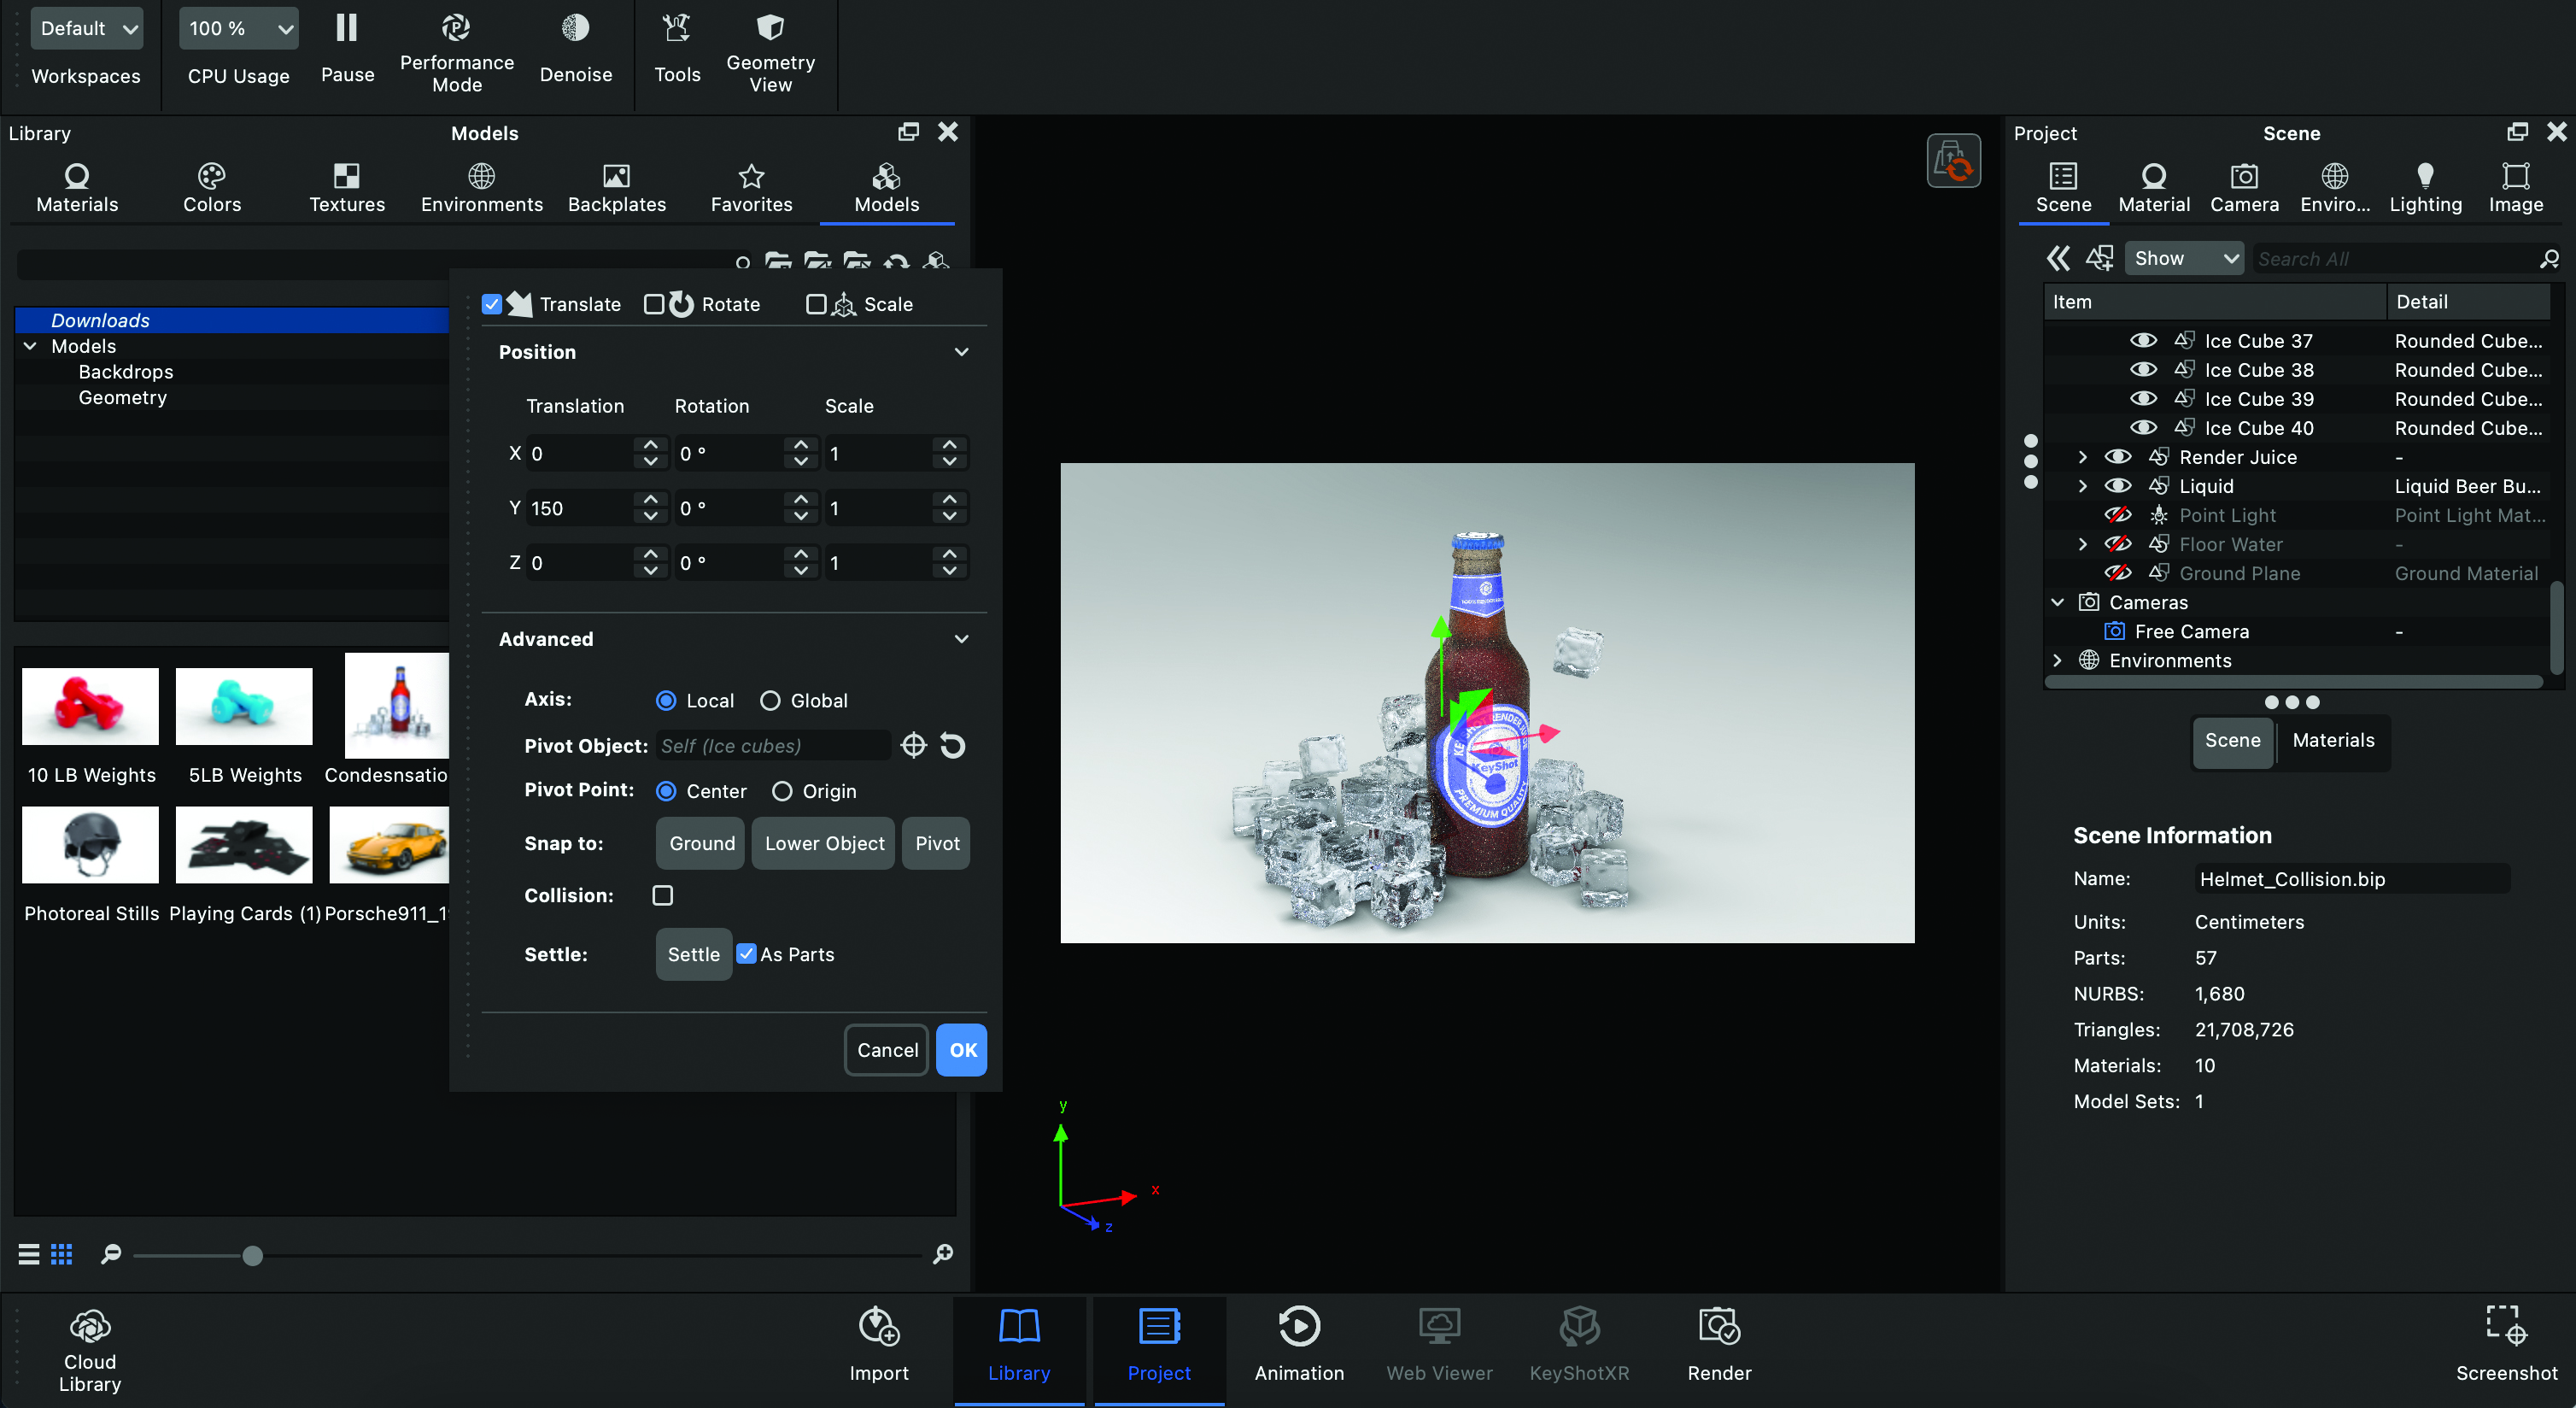
So far the settling process has been calculated using the object as a whole. KeyShot also makes it possible to treat objects based on their parts. This is helpful when you want to break an object up and scatter it naturally. Do this by selecting your object and ticking the ‘As Parts’ checkbox. Hit the Settle button and watch it break into pieces. The speed of settling depends on the model’s complexity.
This content originally appeared in 3D World magazine. Subscribe to 3D World at Magazines Direct.
