● System: Android, iOS, Windows or Mac
● Tools: A smartphone or computer
● Skill Level: Novice
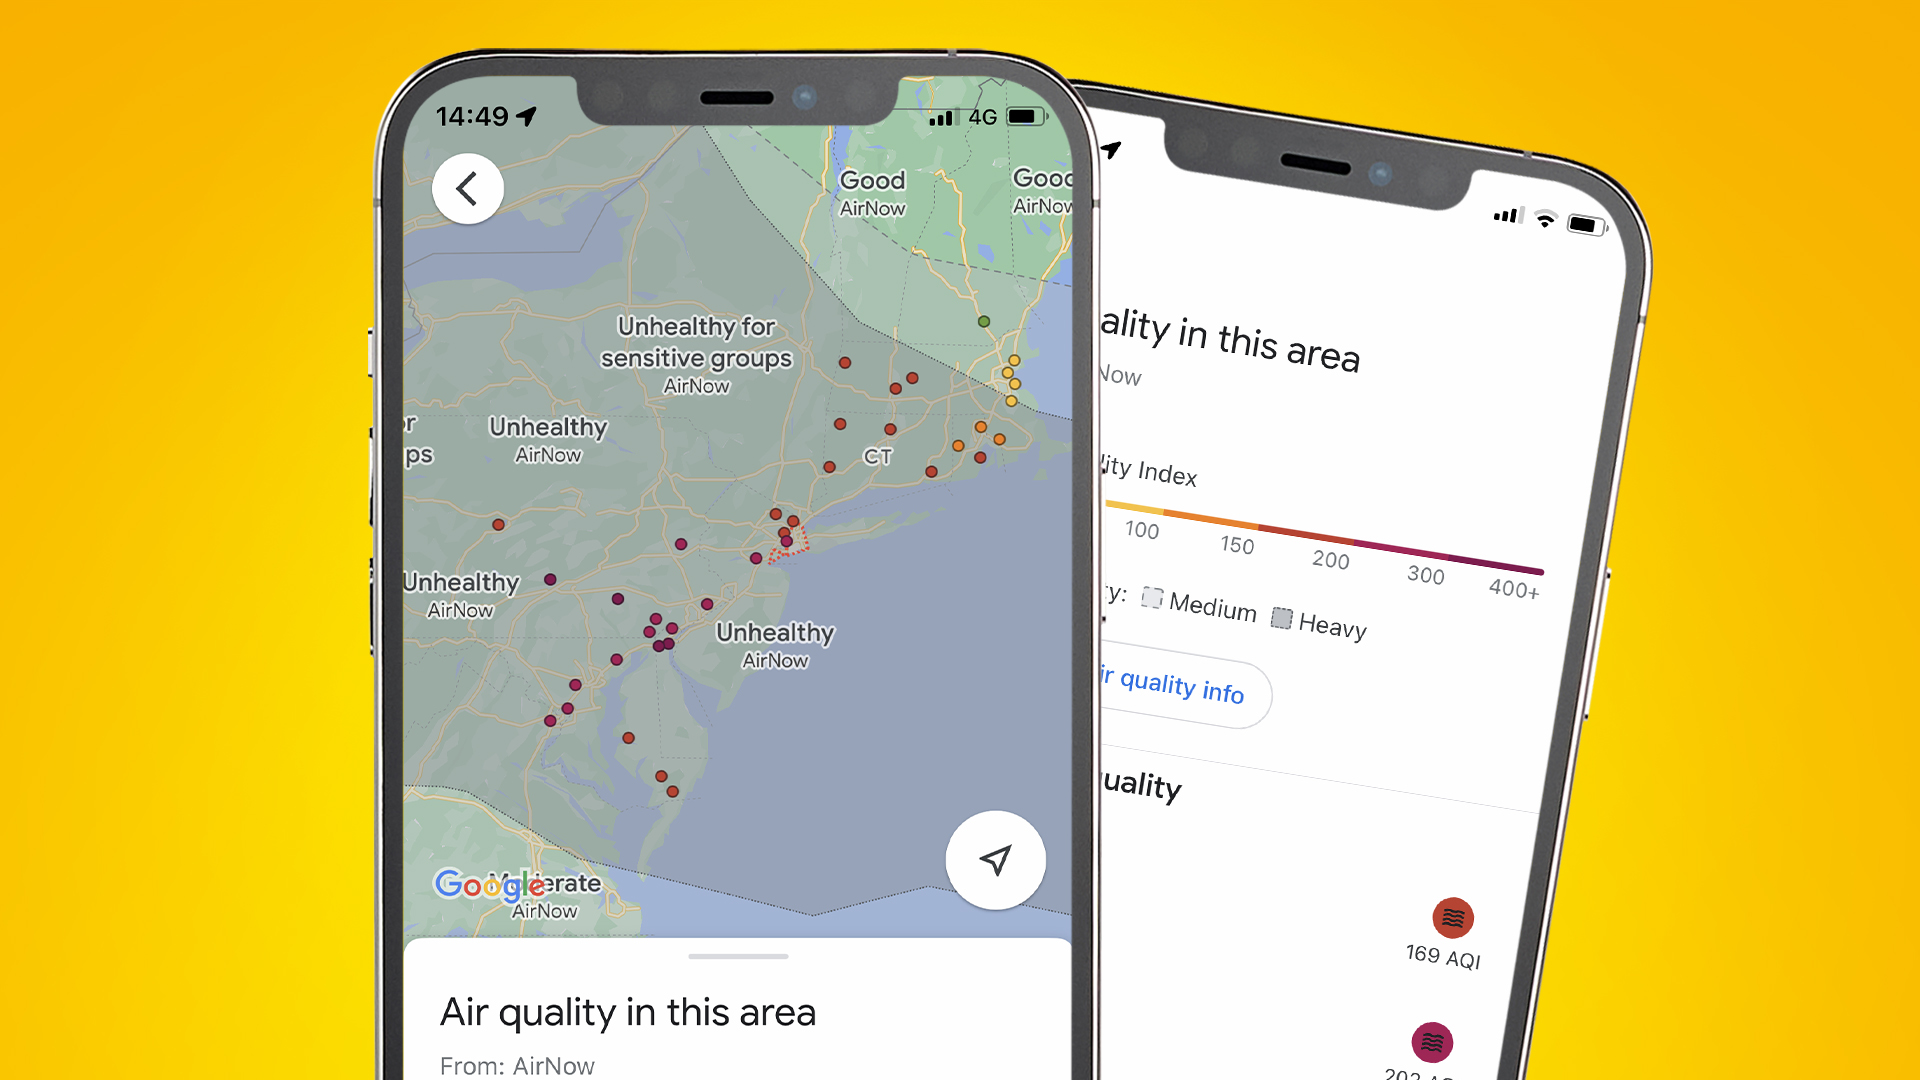
As we write this, wildfires are raging across parts of Canada, with the smoke from them spreading down the US East Coast and blanketing New York – among many other places – in a thick smoky haze.
As such, if you’re in or near one of the affected areas you might very well be wondering just how bad the air quality is. But even in other places and at other times, it’s useful to keep an eye on the quality of the air that you’re breathing – particularly in major cities, as these often have significant air pollution.
Fortunately, Google Maps makes this easy to do, and we’ll run you through the process below.
Note though that there are other ways to check air quality too, that don’t require the use of Google Maps. These include the likes of PurpleAir and the World Air Quality Index. We’re not going to explain those here, but they’re fairly straightforward and provide similar data to Google Maps.
Quick steps for checking air quality on Google Maps
- Open Google Maps
- Search for the location you want to check air quality in
- Press the layers button
- Select the ‘Air quality’ option
Step by step guide for checking air quality on Google Maps
1. Open Google Maps
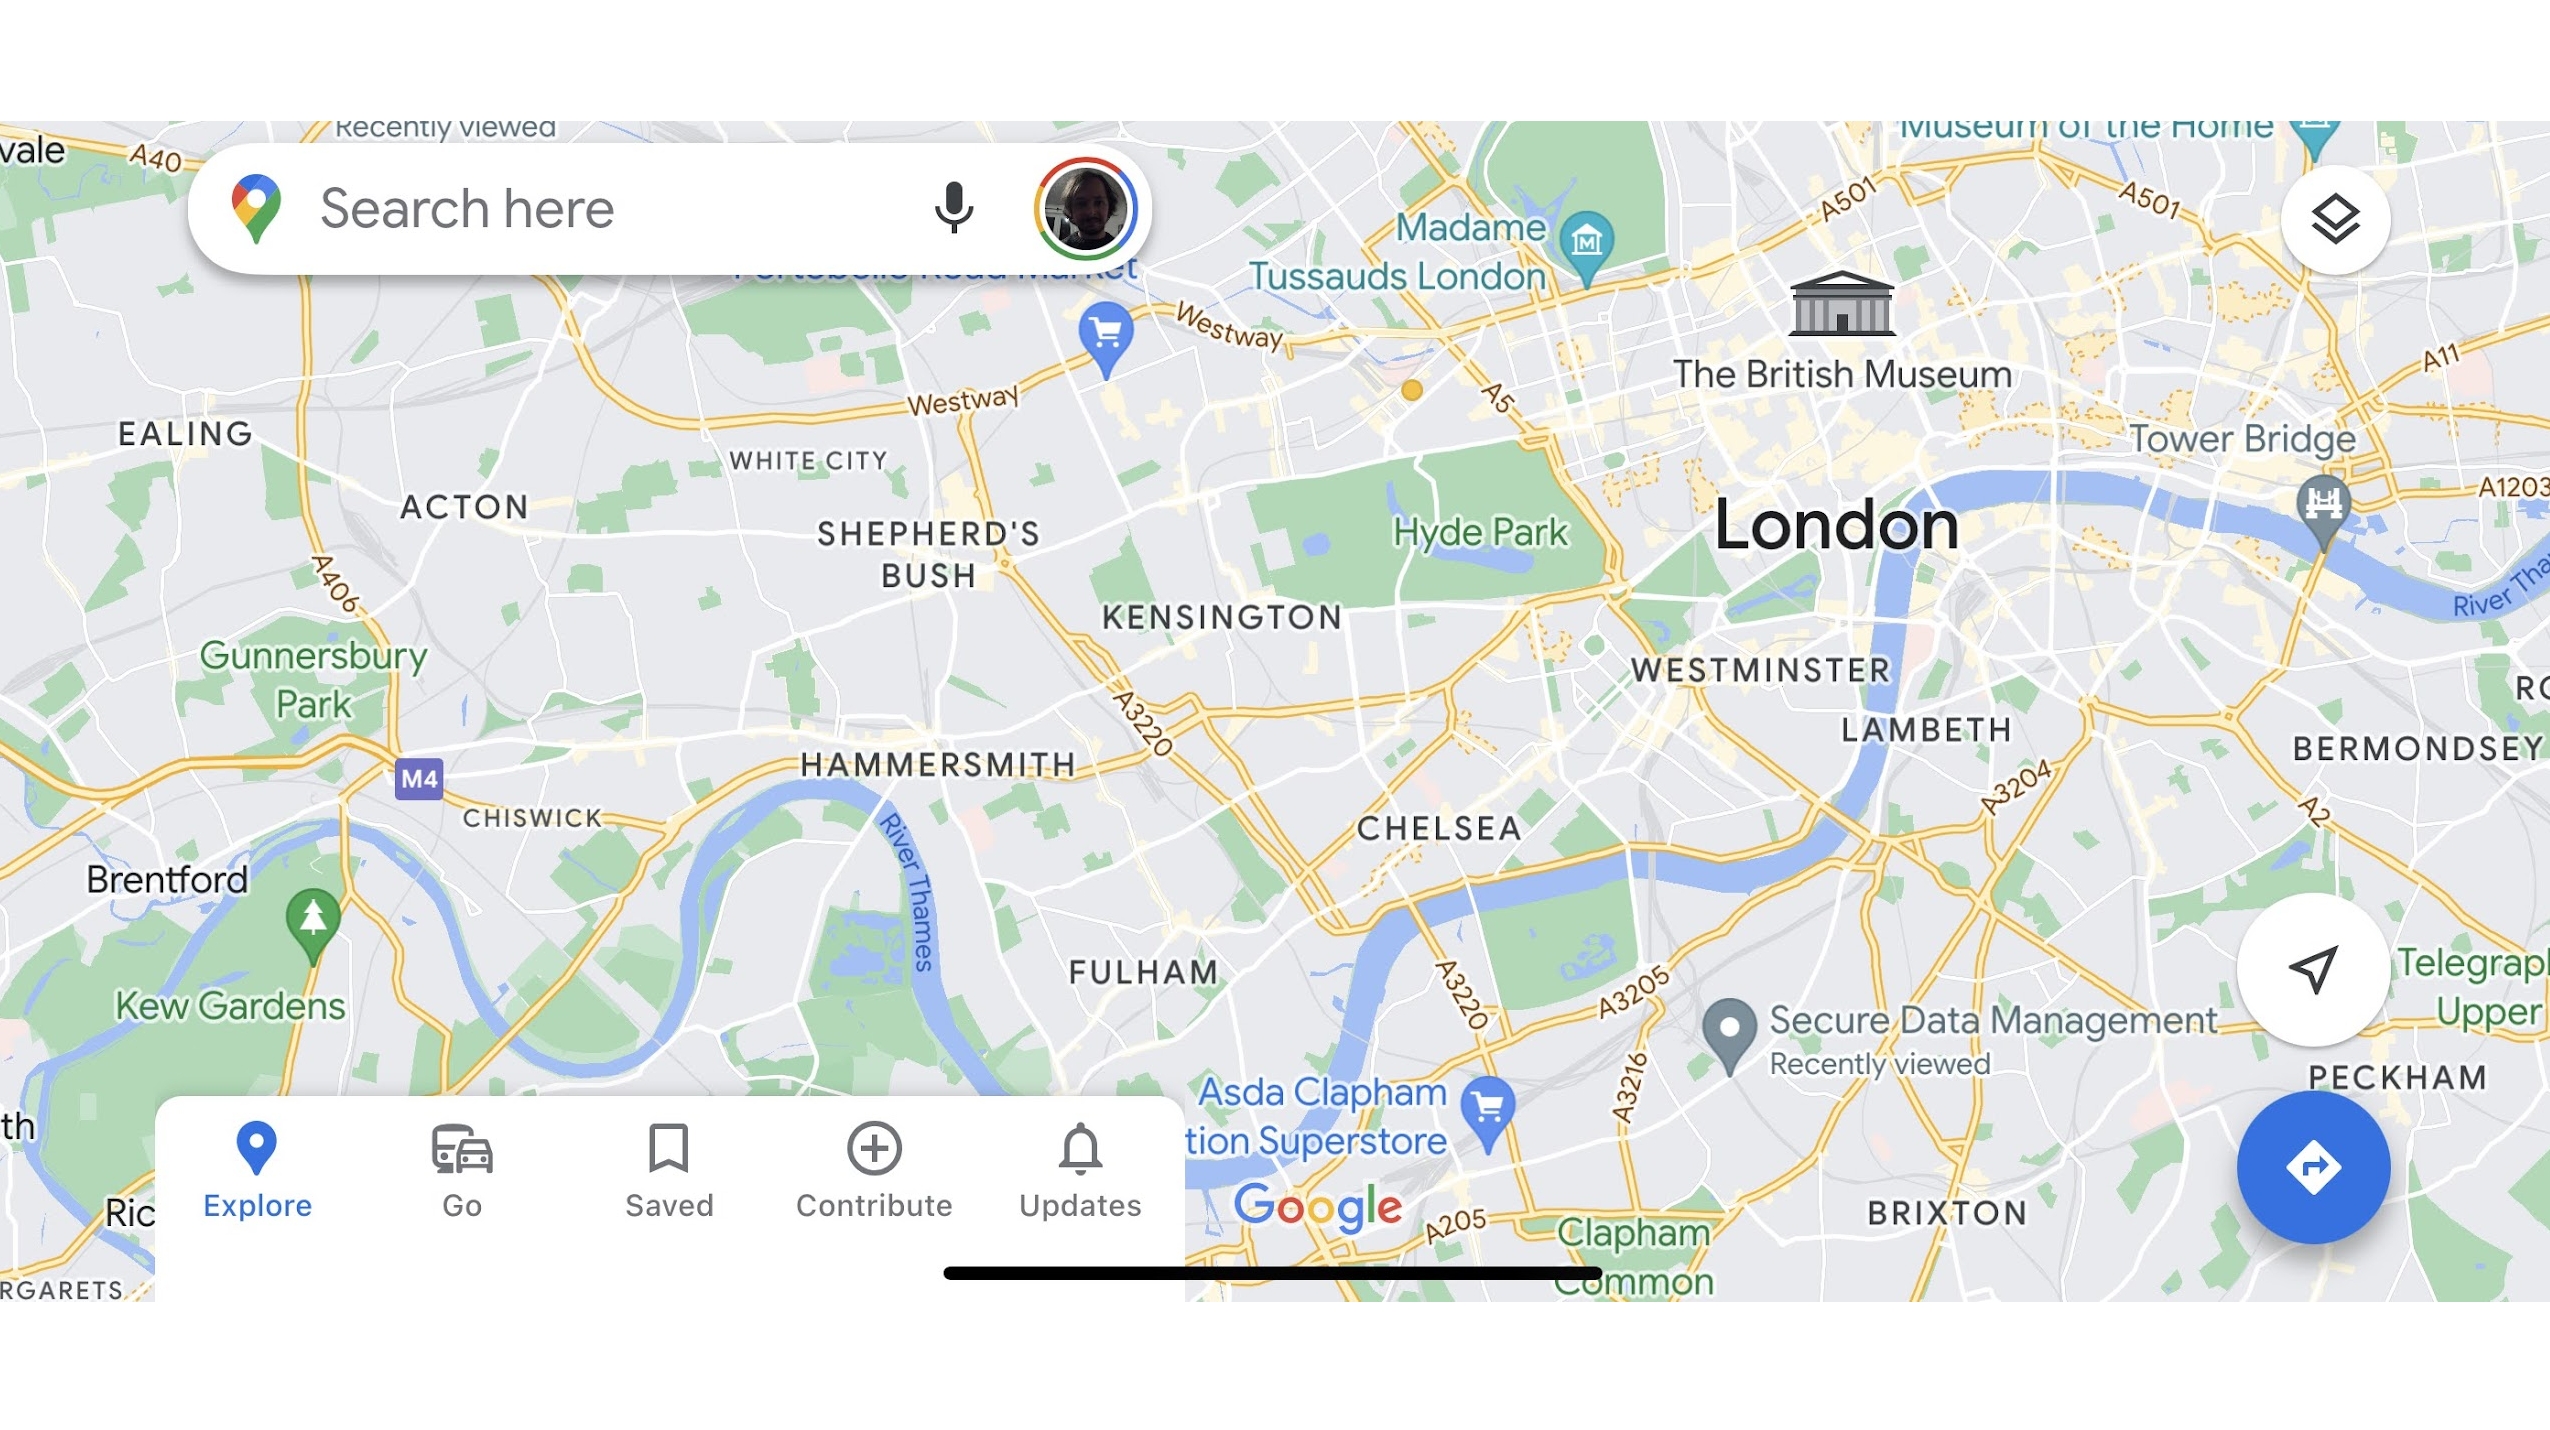
The first step is simply to open Google Maps, and the good news is that you can find air quality information whether you’re using Google Maps on an Android phone, an iPhone, or a computer.
So just launch the app or Google Maps website on your platform of choice to get started.
2. Navigate to the location you want to check
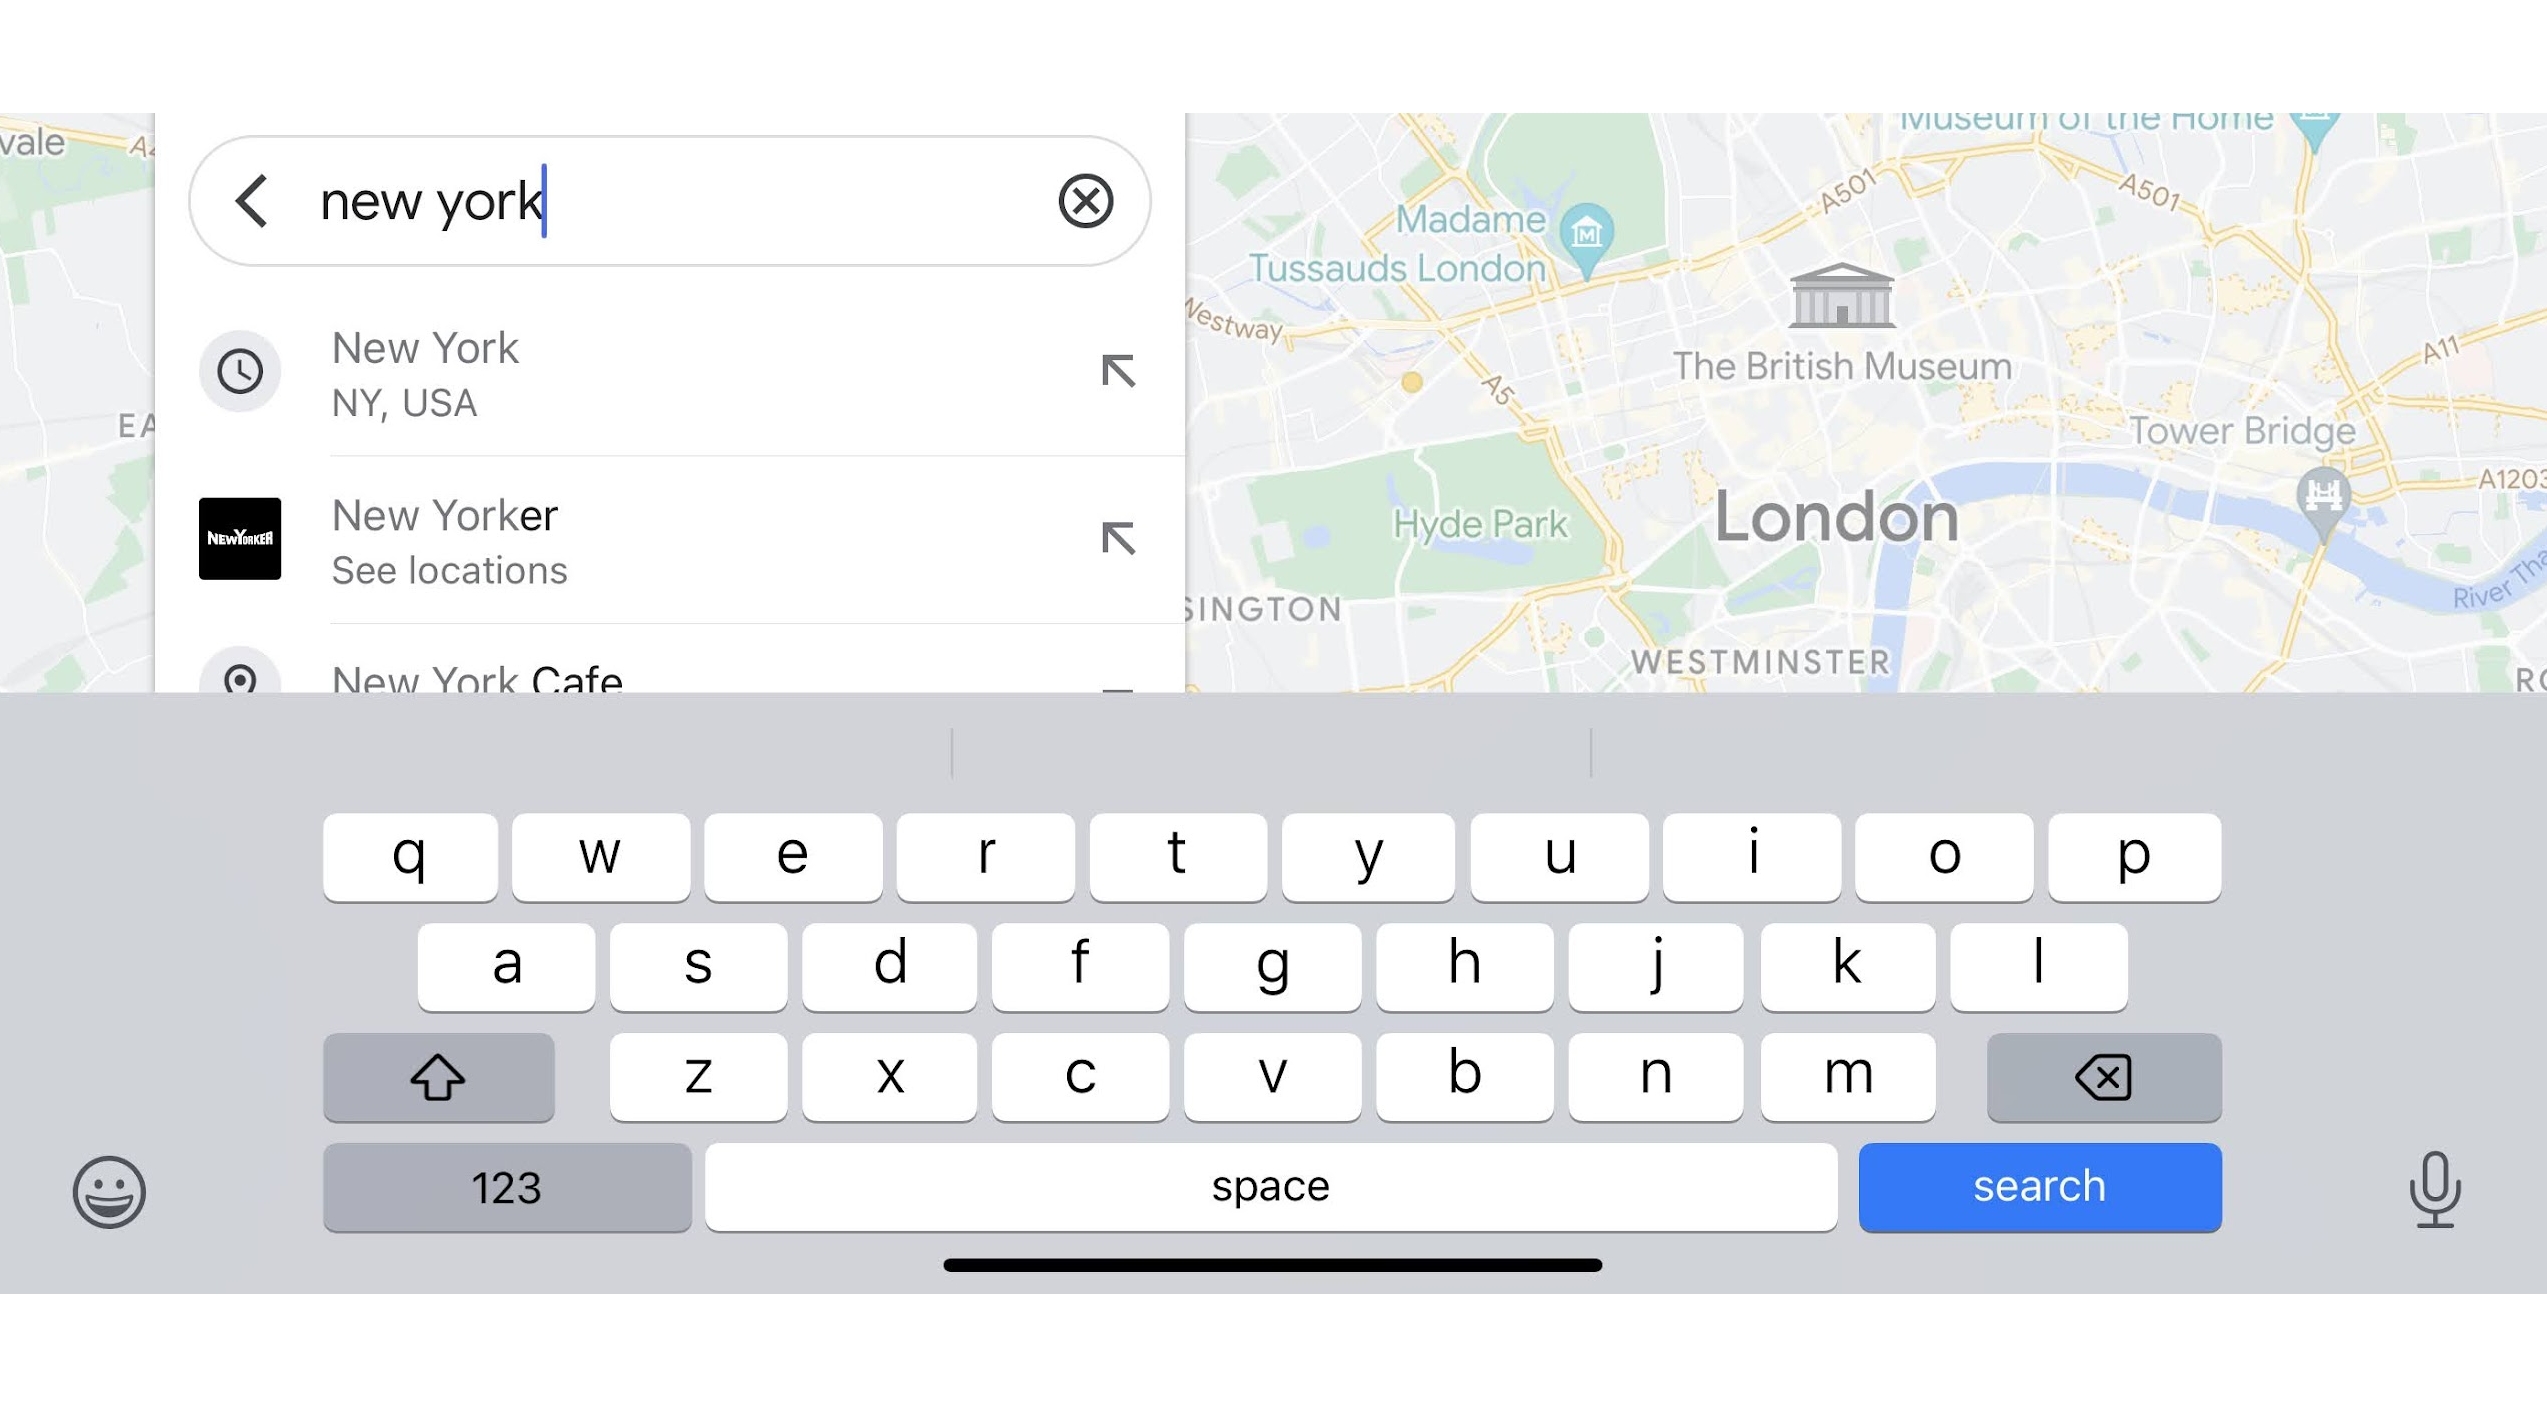
Google Maps will likely start by showing you your current location, and if that’s where you want to check the air quality in then you can head to the next step. If it doesn’t default to your current location, hit the button in the bottom right corner that will look either like a target or an arrow (depending on your device). If your device has permission to use your location, then that will center the map on where you are.
If you want to check the air quality for another location, then instead enter the address or location in the search bar at the top.
3. Press the layers button
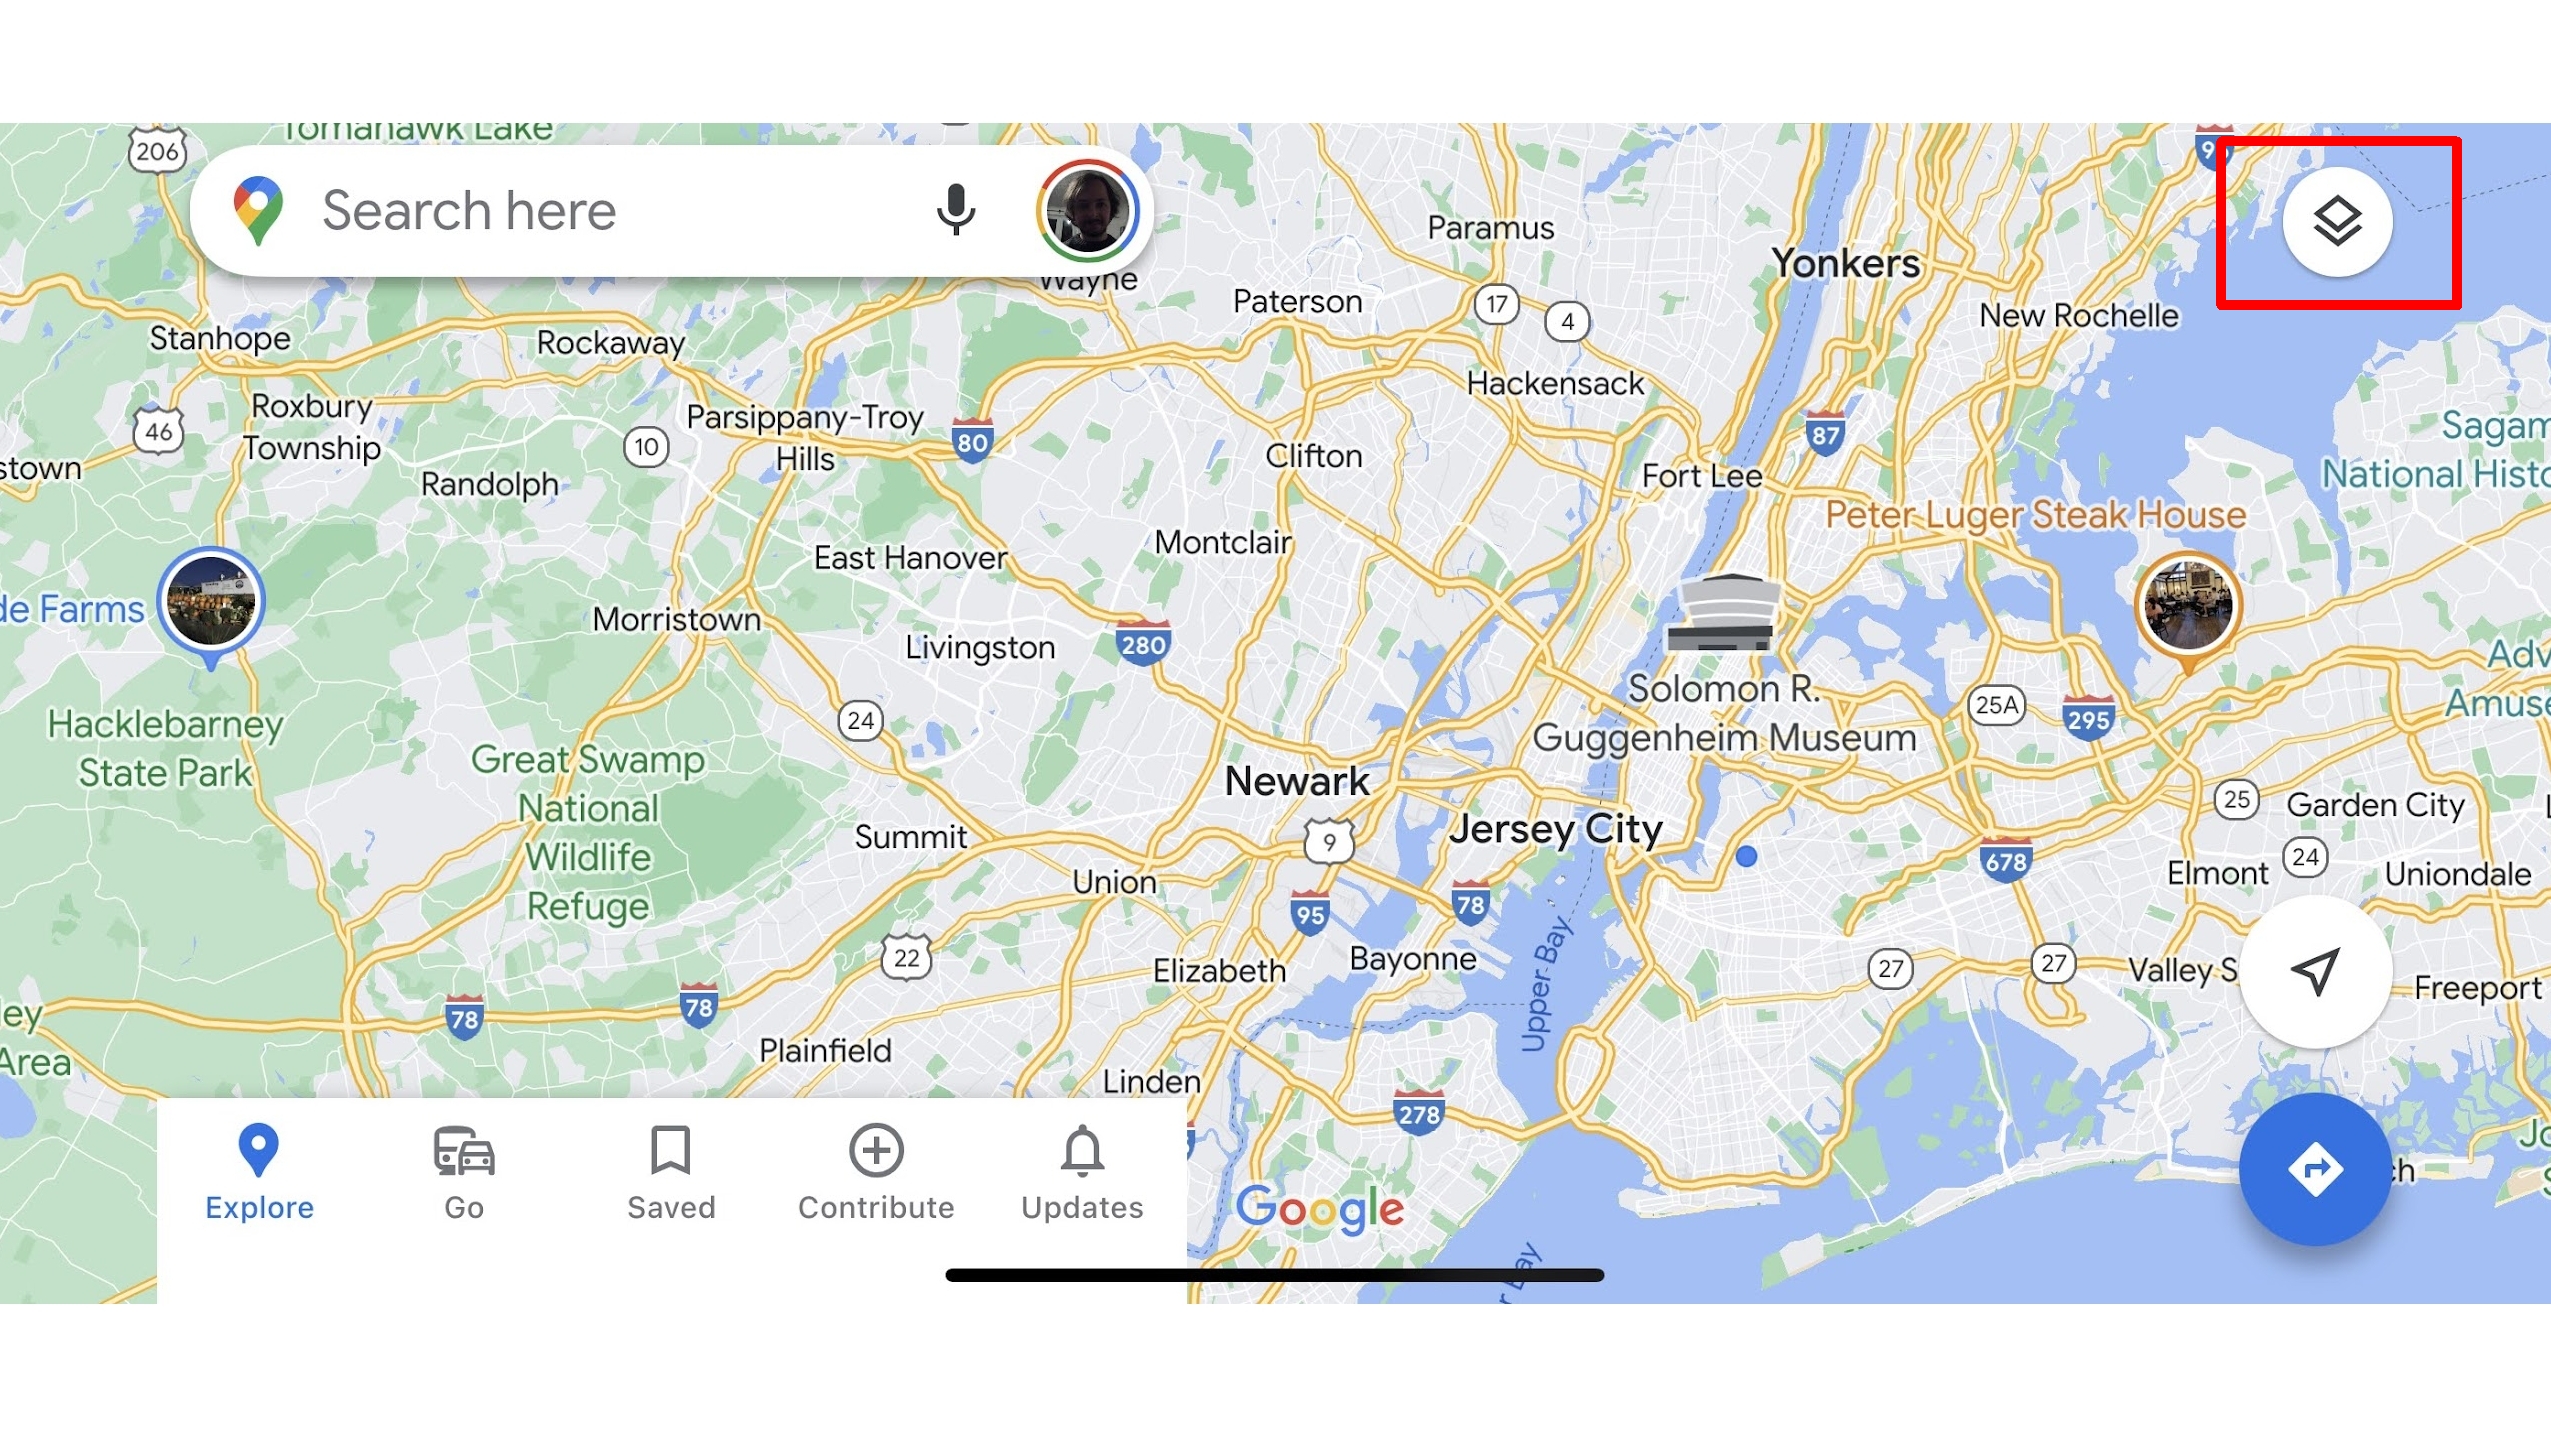
Next press the layers button. This looks like a square on top of another square, and on the Android and iOS app it can be found towards the top right of the map screen. If you’re viewing Google Maps in a web browser then it will be at the bottom left. We’ve highlighted it in a red box in the image above.
4. Select the ‘Air quality’ option
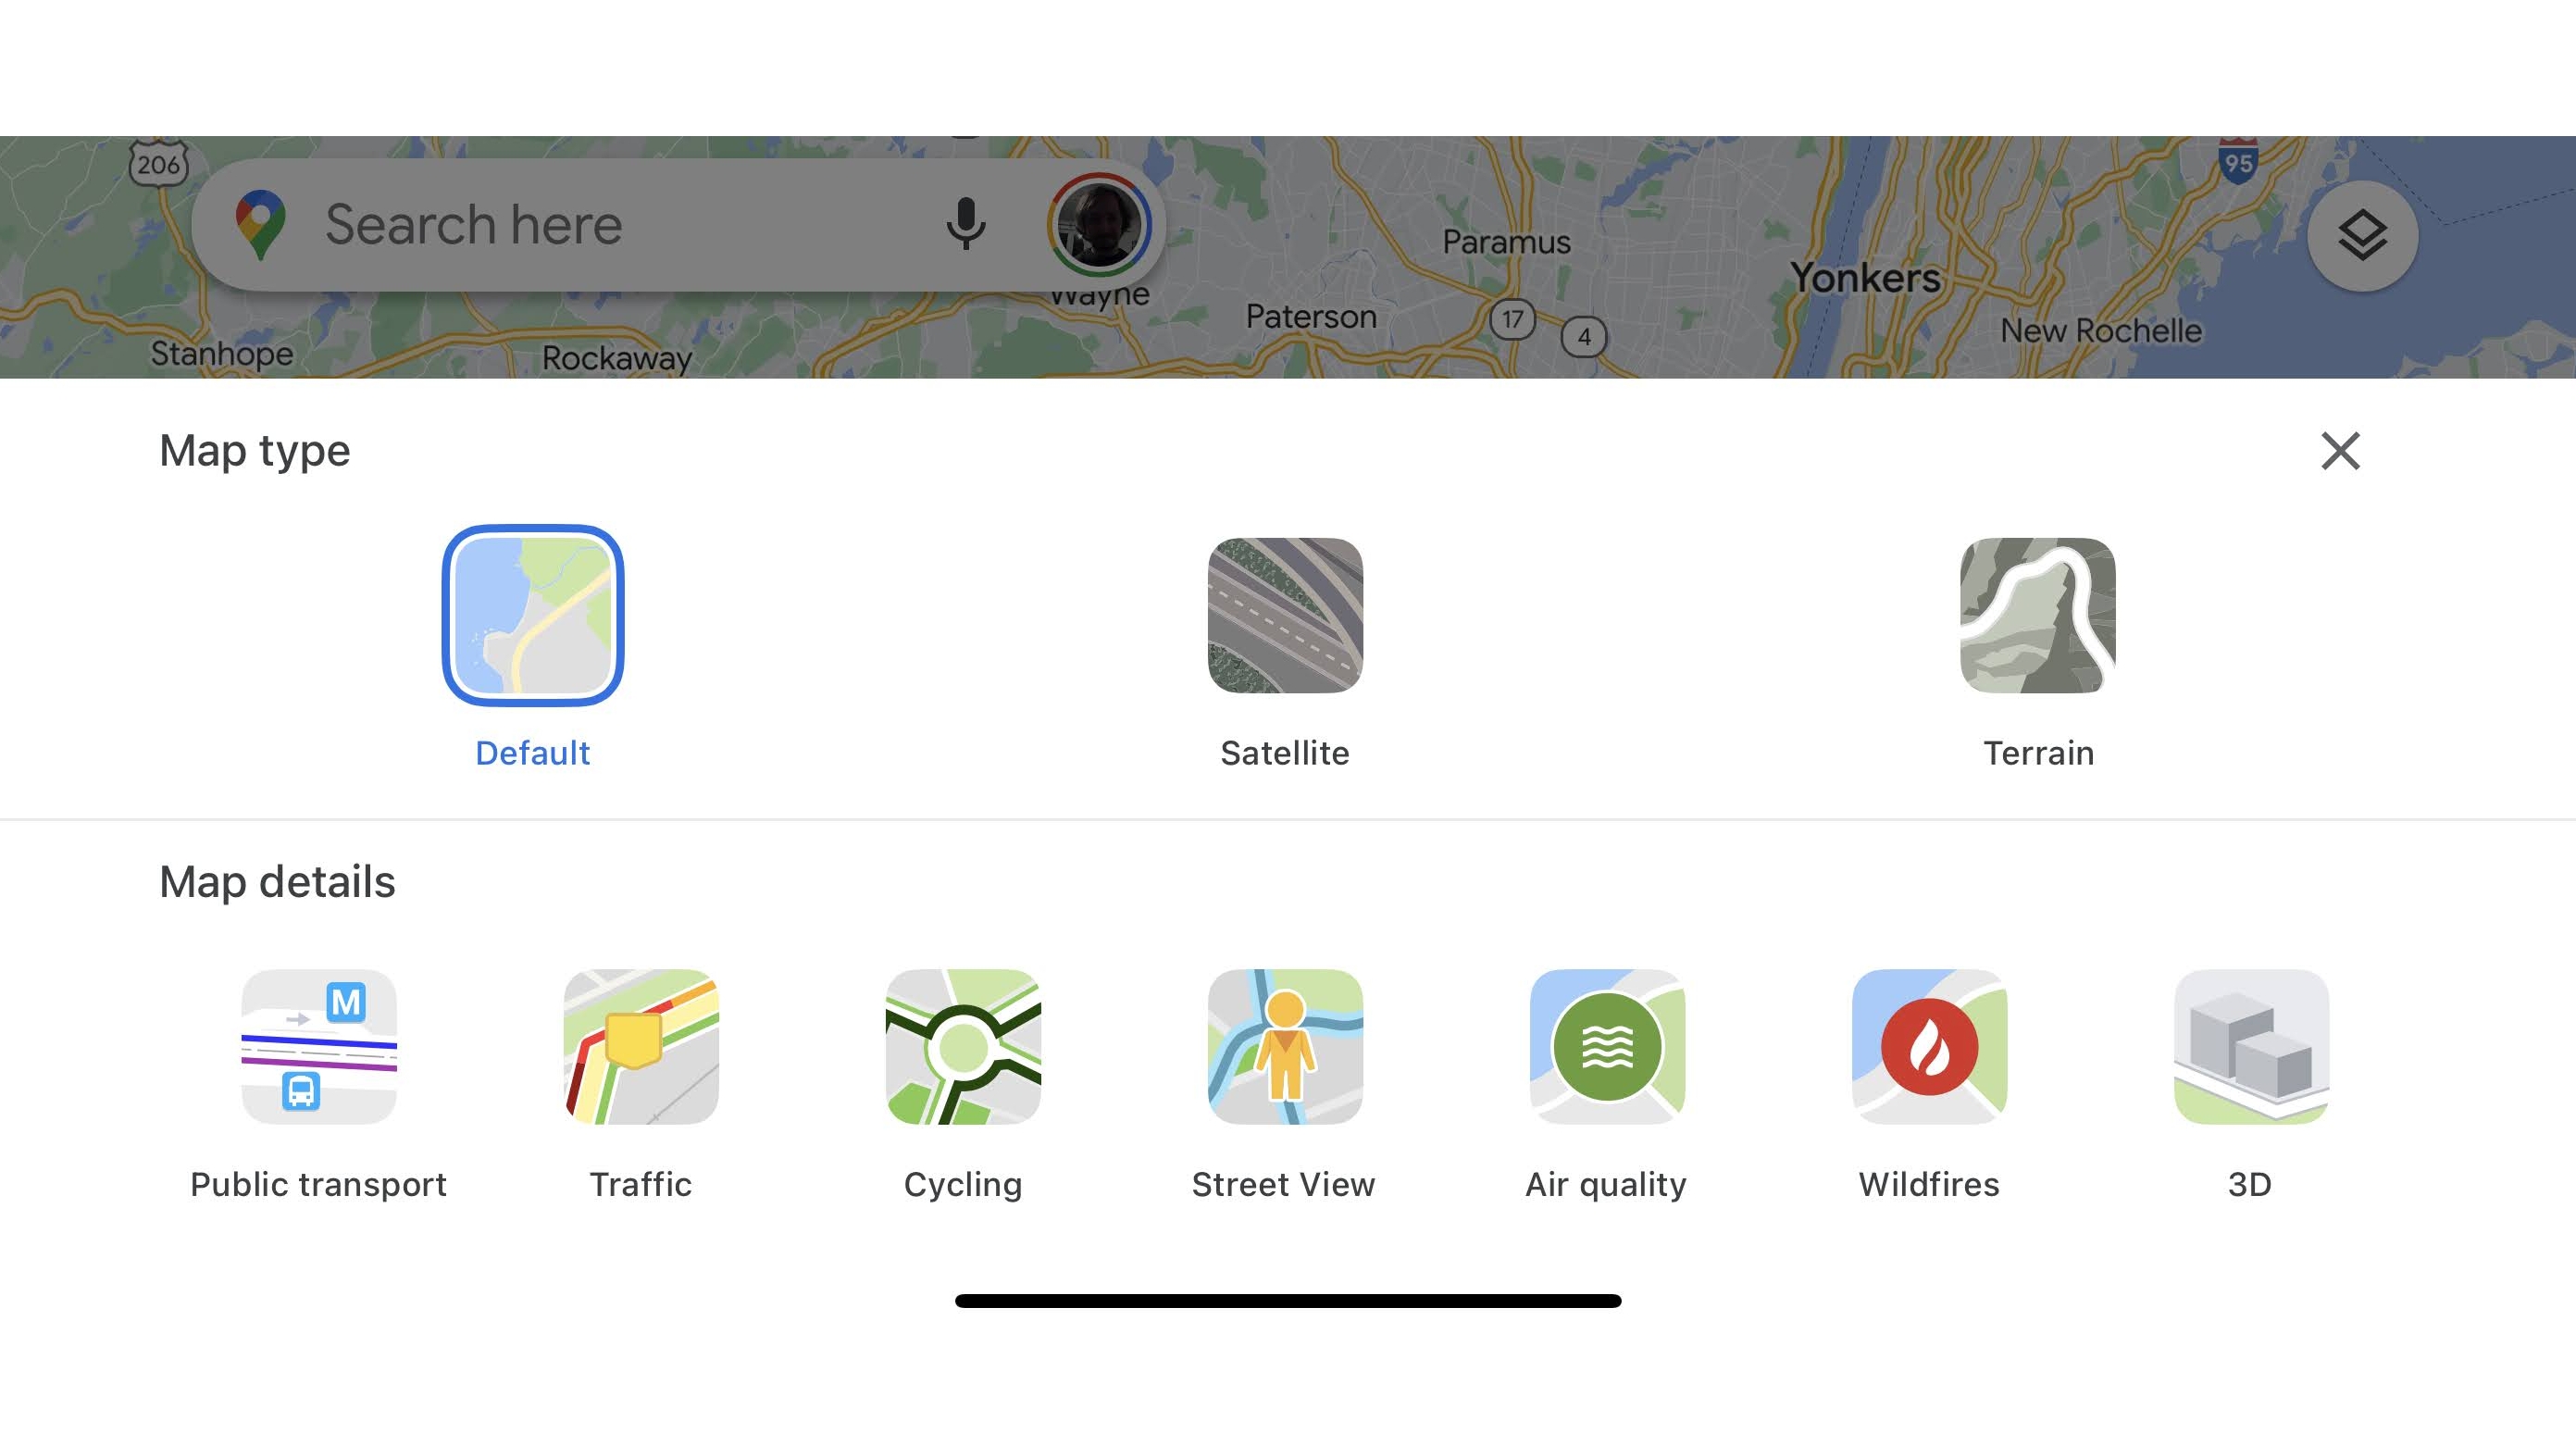
The layers screen will give you various options for things you can display on the map – including wildfires, which will also be particularly helpful for some people at the time of writing. But for now, tap or press the ‘Air quality’ option.
Depending on your device, this may not be immediately visible, in which case press ‘More’, and then you should see it.
5. View the air quality
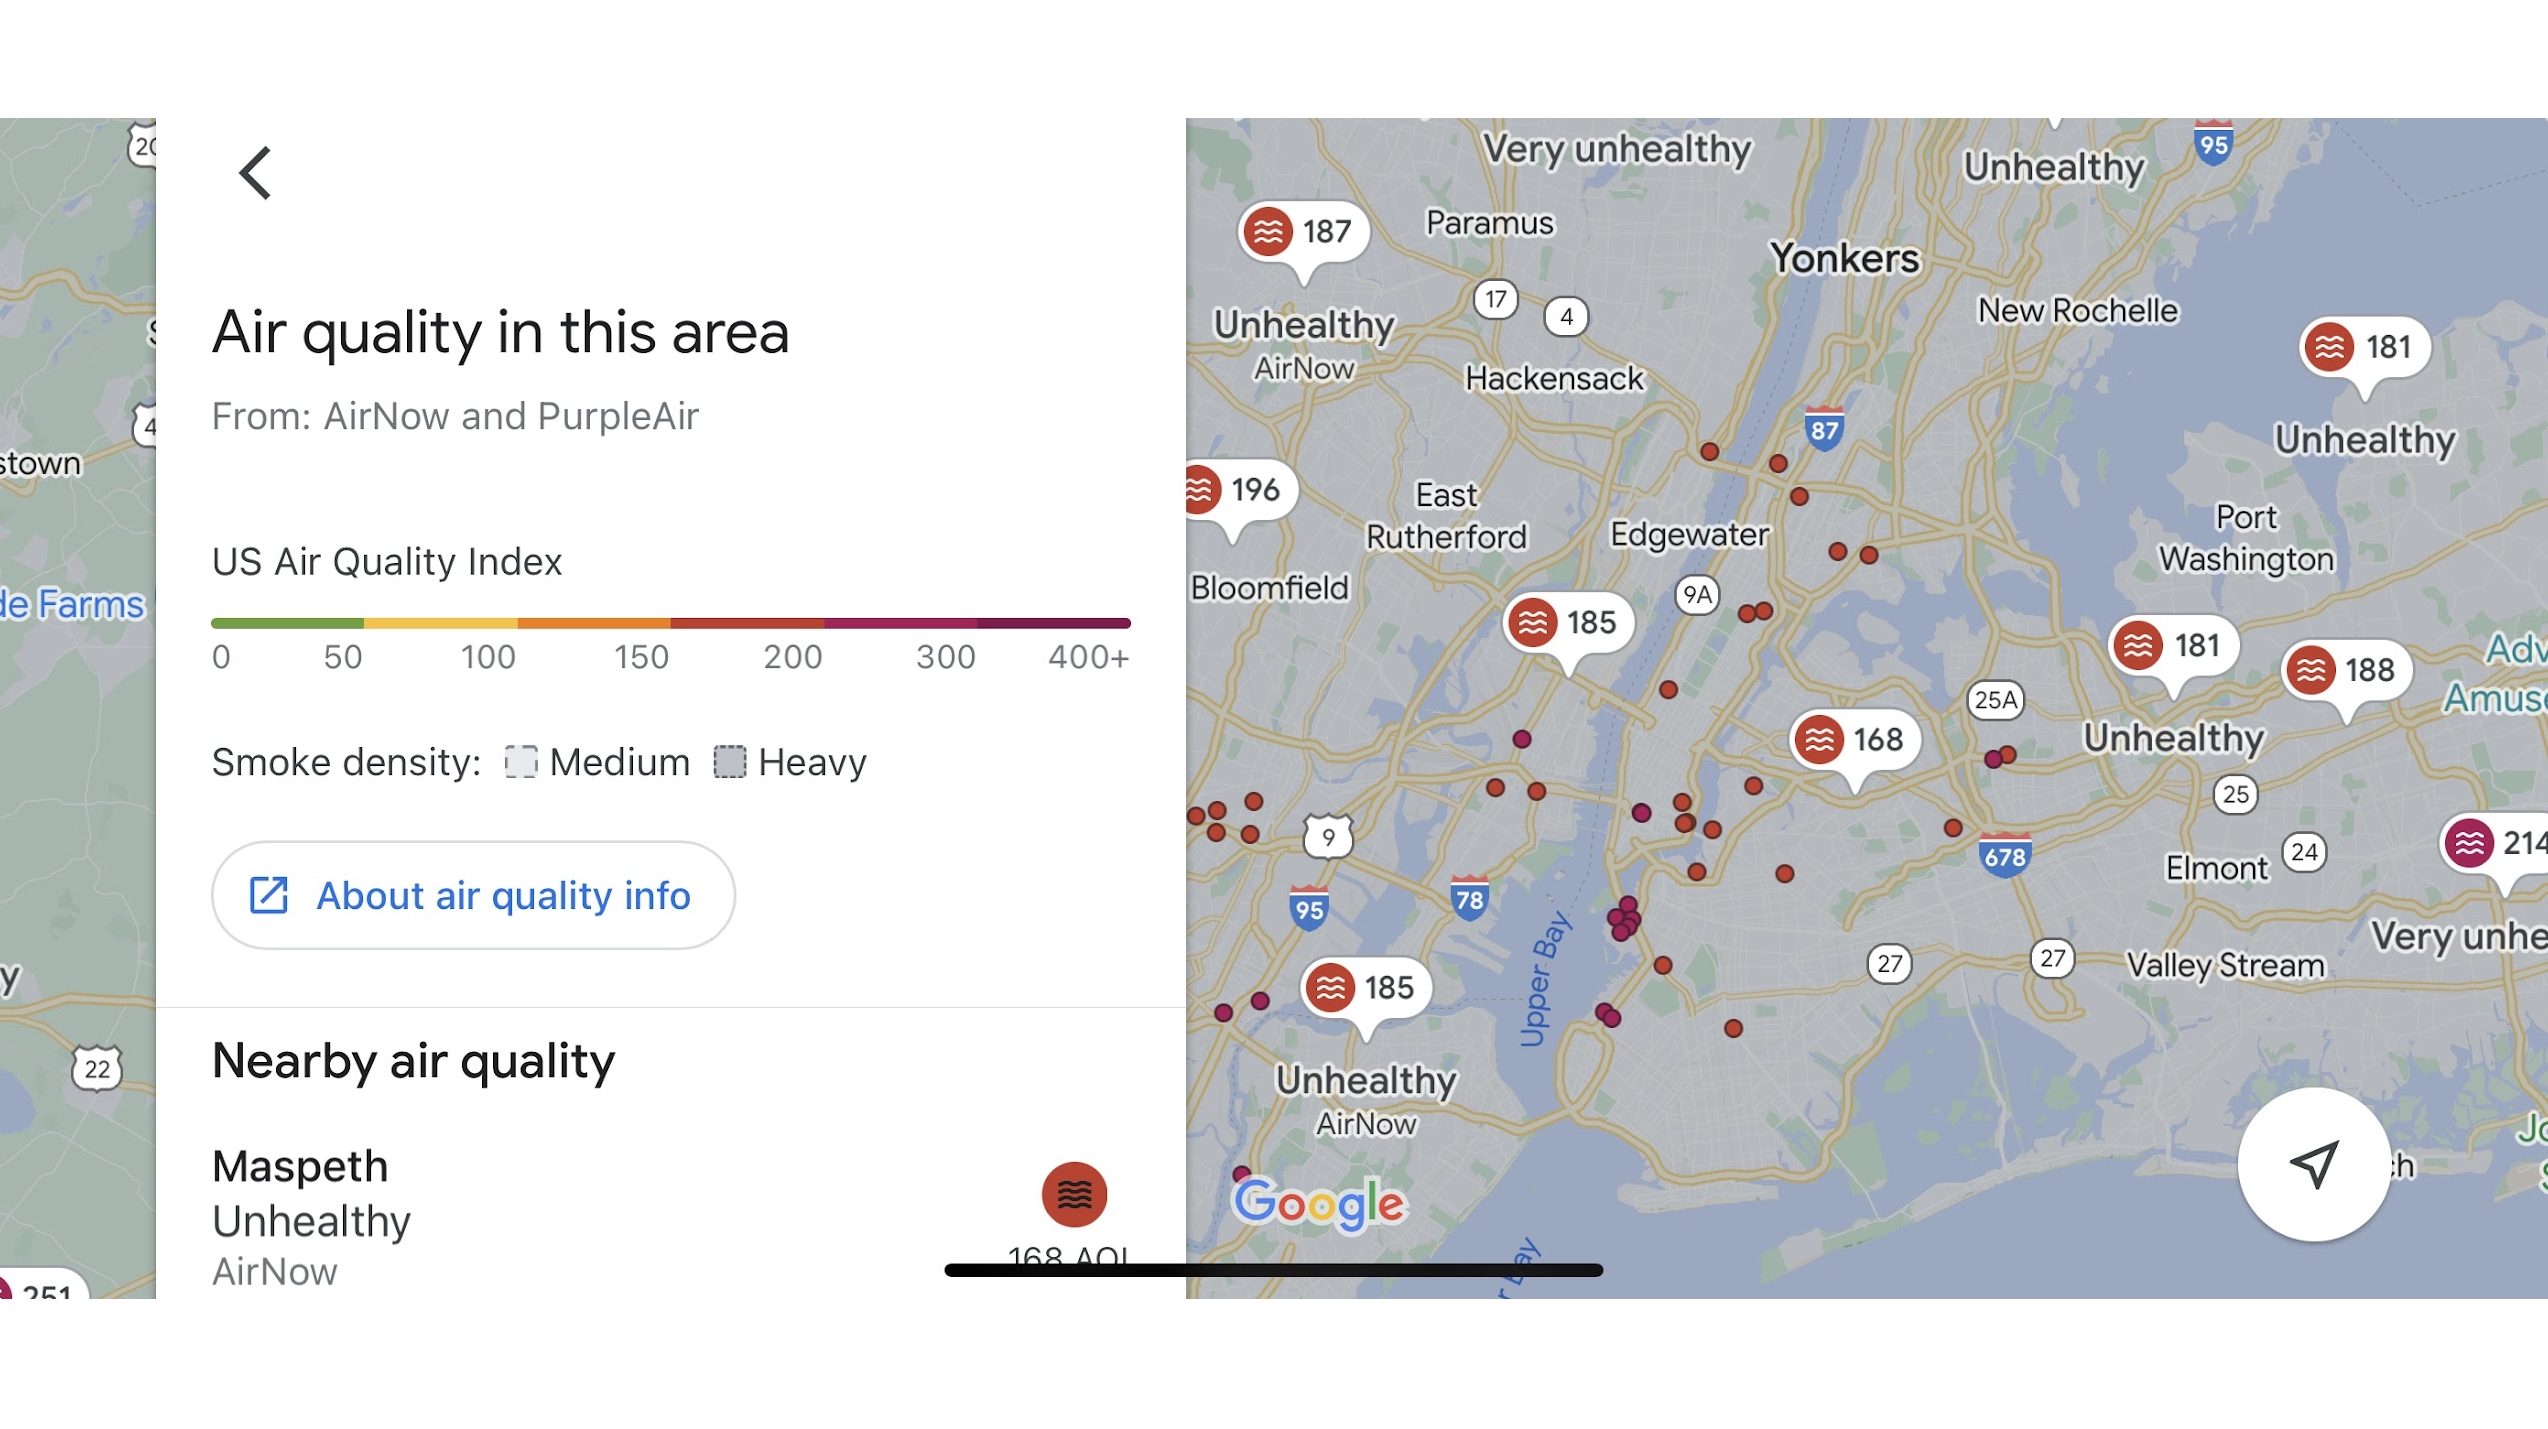
You should now be able to see text over the map detailing the air quality, with terms such as ‘moderate’ or ‘unhealthy’. These are accompanied by labels with numbers in them. The numbers are the Air Quality Index (AQI), and higher numbers mean worse air quality. The labels are also color-coded, with green being good, dark red being ‘hazardous’, and various shades in between.
You can also tap or click on one of the labels for additional details, such as exactly where that air quality was recorded, and what the number actually means, including advice on whether it’s safe to be outside.
Final thoughts
While Google’s air quality checker is an extremely handy tool – and potentially even life-saving in some cases – it’s not available everywhere.
All Google Maps users have access to it, but actual air quality data is only shown in select countries (including the US). So you might find that there’s no data available in some parts of the world.
That’s unfortunate, but alternatives we mentioned like PurpleAir and the World Air Quality Index show data for a lot more places, so there are still options.
If you’re checking somewhere that has data though, Google Maps makes for a slick, convenient option that most people will already be familiar and comfortable with using.
And if you're looking for more Google Maps tips, check out our guide to ten things you didn't know Google Maps could do.


