Unlike most Ryzen 7000 motherboards, which are notorious for being expensive, the ASRock B650M-HDV/M.2 is quite literally the least expensive board available in the B650 space. Priced at $119.99 at the time of this writing, the HDV/M.2 offers support for flagship-class processors, including our Ryzen 9 7950X. While the board may not come with all of the bells and whistles of more costly options, you still get two M.2 sockets (one PCIe 5.0 x4) and four SATA ports, USB Type-C support on the rear IO and front panel, a 2.5 GbE Realtek network, and power delivery able to support high-end processors.
Inevitably at this price point, some sacrifices need to be made. First, you won’t find any 20 Gbps ports (or headers), so if your build requires fast external connectivity, you’ll need to buy an add-in card. It’s also missing a premium audio solution, integrated Wi-Fi (though there is a slot), and PCIe 5.0 expansion slots. Though for the latter, few will miss the increased bandwidth. For those looking for RGB lighting, look elsewhere or buy a third-party solution, as there is none on the board, nor any headers to add your own.
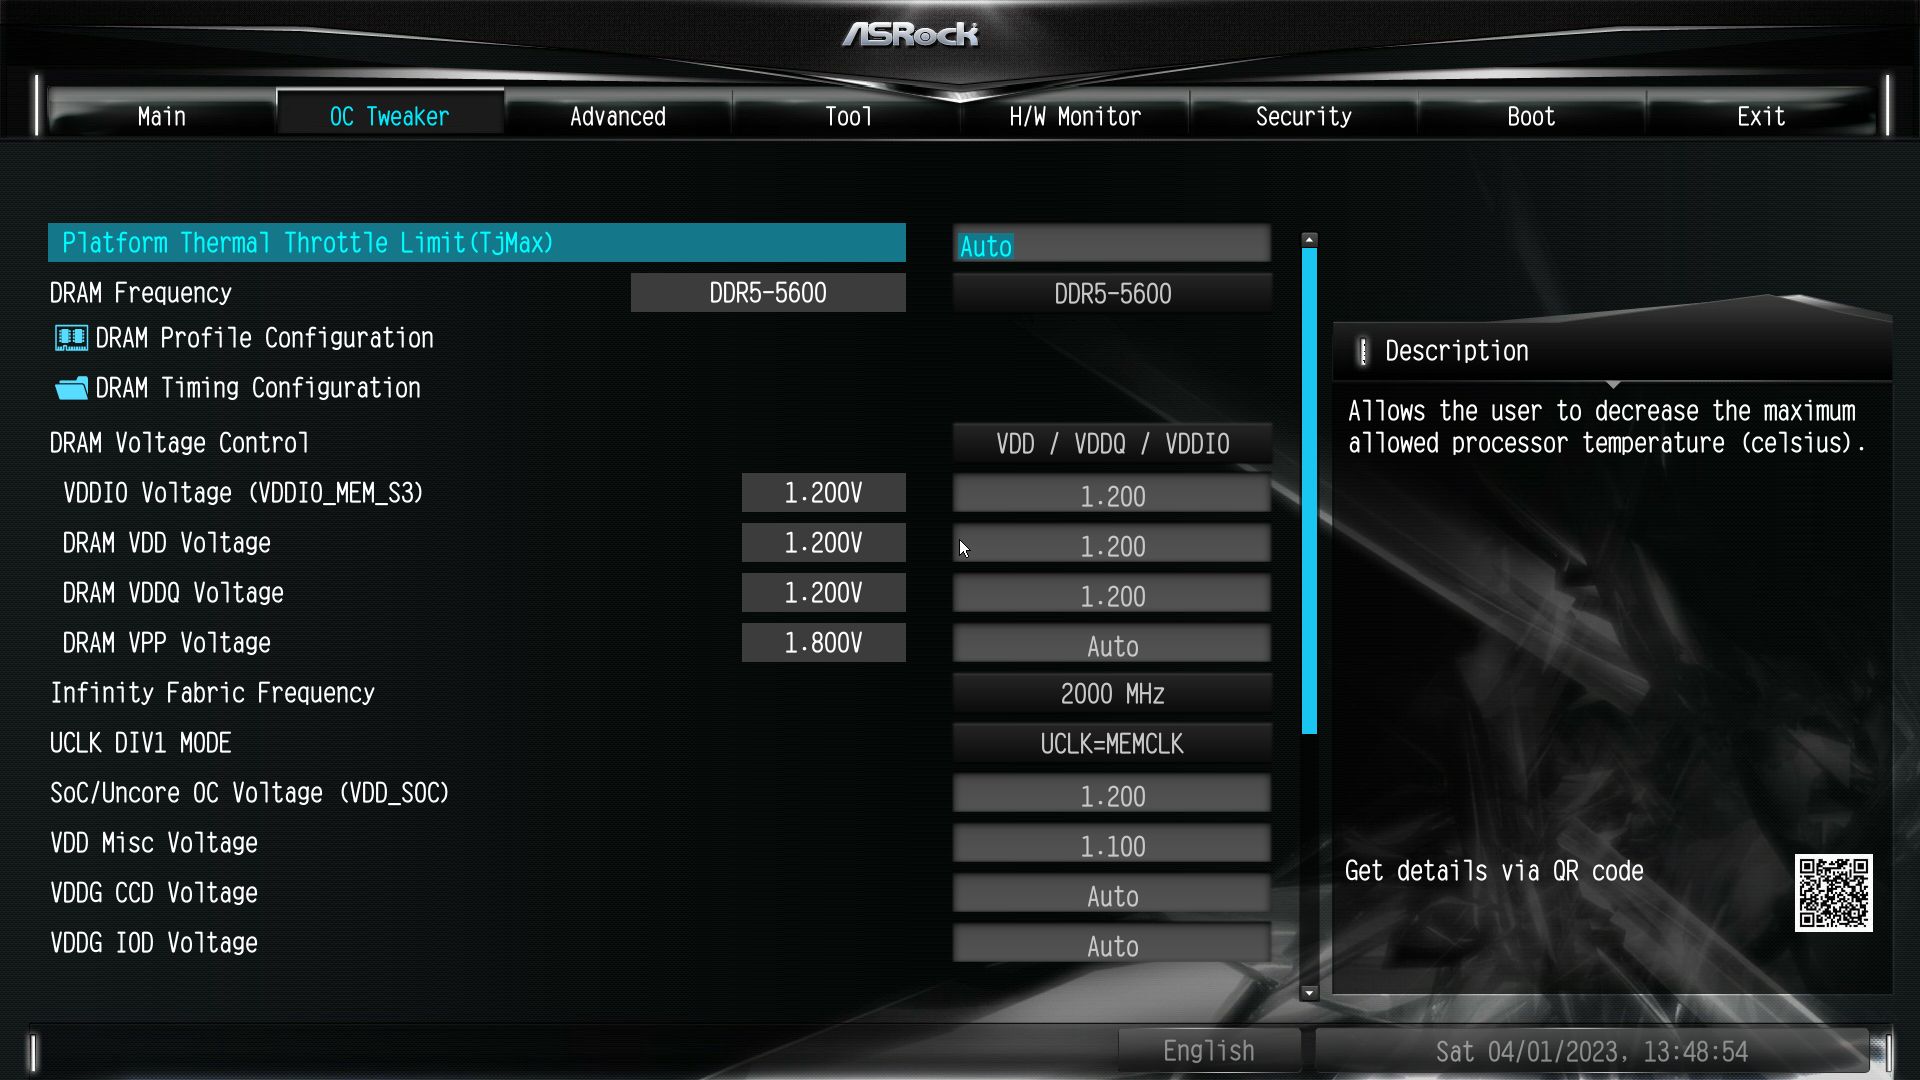
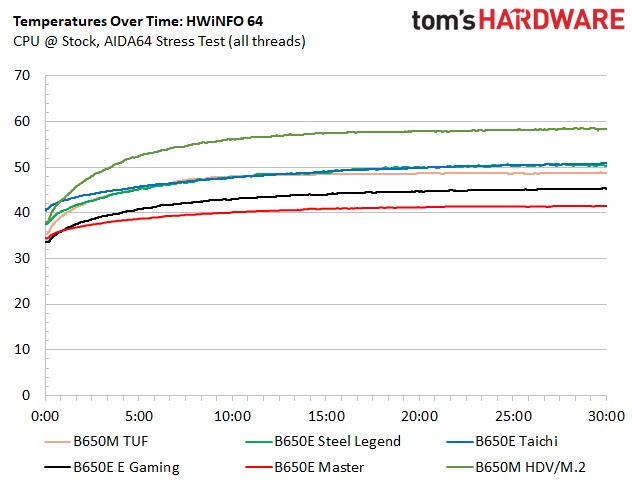
Out of the box, the B650M-HDV/M.2 sets the temperature limit to 85 degrees Celsius, lower than the default maximum (95 degrees Celsius) for our processor, which can limit performance on some applications. That said, it did well in our gaming tests, but was overall slower across our benchmarking suite, especially in longer-running and heavily multi-threaded applications where the processor runs hot.
As affordable as it is, this board won’t make our best motherboards list, but it’s still a viable MicroATX option and the least-expensive option for the B650 chipset. If you need the horsepower the 7000 series processors offer but don’t care about the fastest ‘this’ and most number of ‘that’ on your motherboard, it’s worth considering. Before we get into all the details, here is a complete list of specs, direct from ASRock.
Specifications: ASRock B650M-HDV/M.2
Inside the Box of the ASRock B650M-HDV/M.2
The B650M-HDV/M.2, like most other boards, also comes with a few accessories to start your build. But as you would imagine, it doesn’t come with much. You get two SATA cables, two M.2 screws, and a user manual. That’s it, but it’s still about what we’d expect in this price range.
Design of the B650M-HDV/M.2

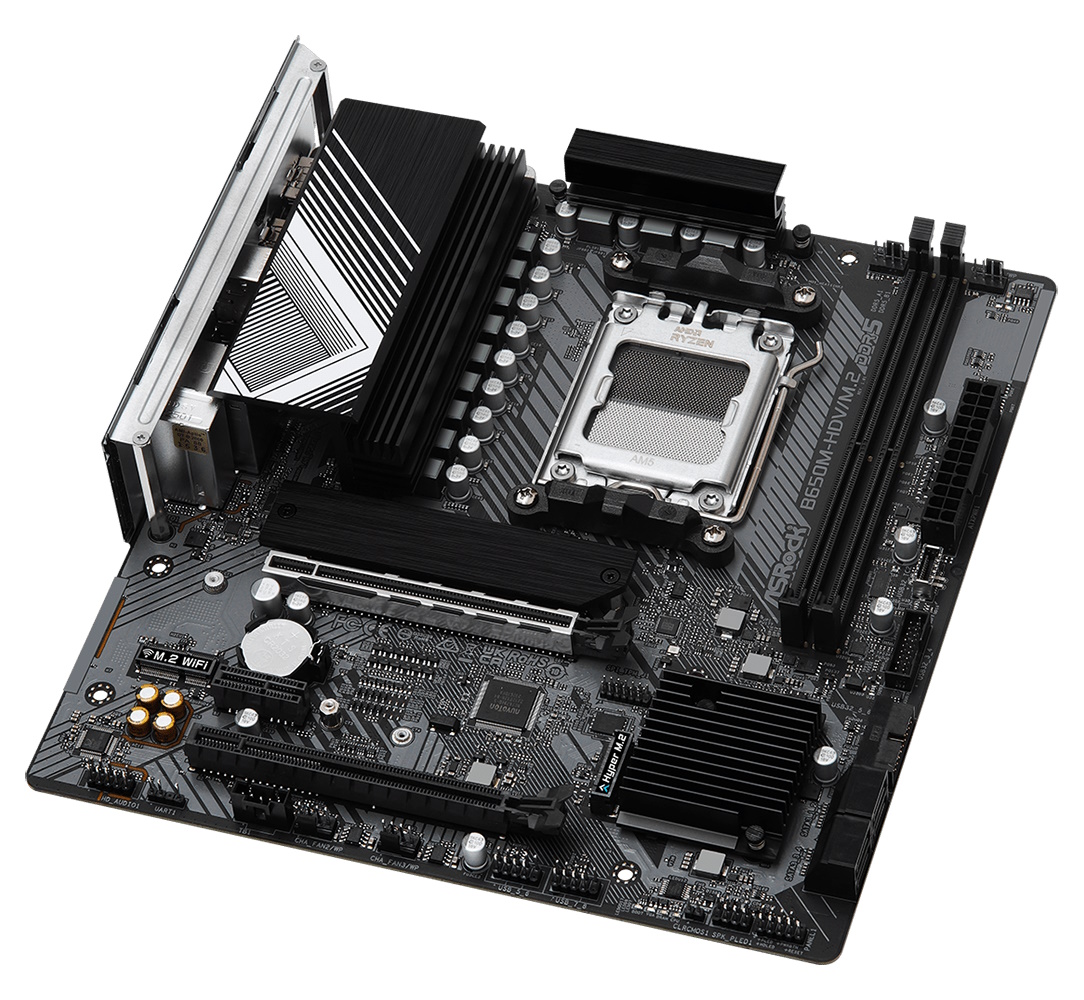
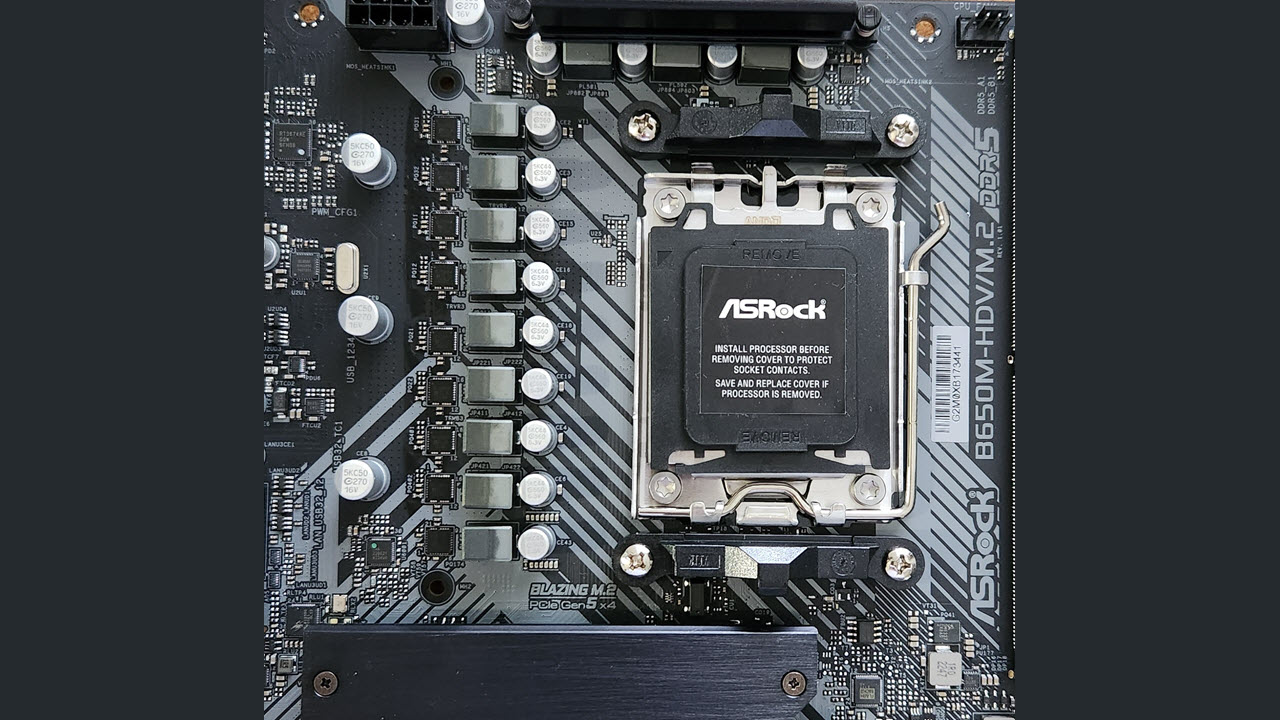
The ASRock B650M-HDV/M.2 uses a matte black finish on the MicroATX-size PCB. Some grey patterns are stenciled on to break up the monotony of a simple one-color motherboard. Heatsinks cover the bits that get hot but, as you would expect, aren’t as large or heavy, but the VRM heatsinks do a good job, especially when the processor is limited. Once we restore the temperature limit to the CPU’s default, VRM temperatures increase several degrees, but still run within specification.
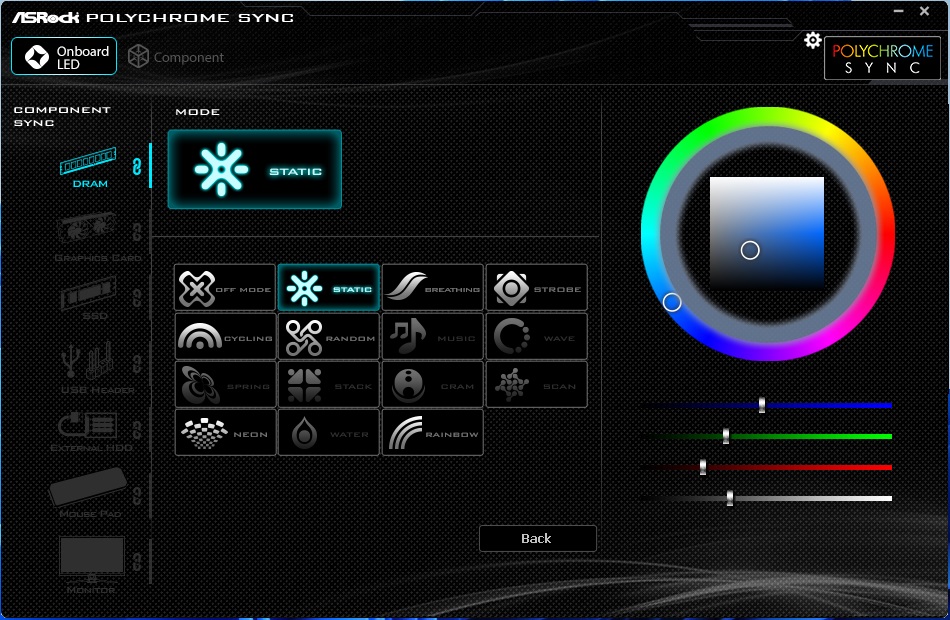
If you’re looking for integrated RGBs or the ability to attach some, this is not the board for you. Put simply, there are no RGB LEDs onboard or headers to add your own. It will have to come from third-party devices. With its overall appearance and lack of any RGBs, this board won’t stick out in your chassis, but blends well with any black build themes.
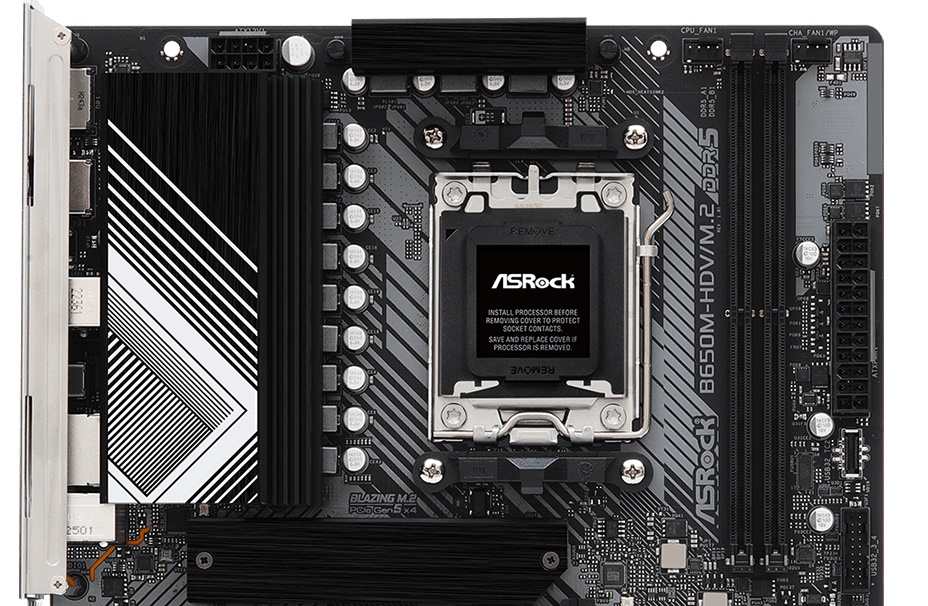
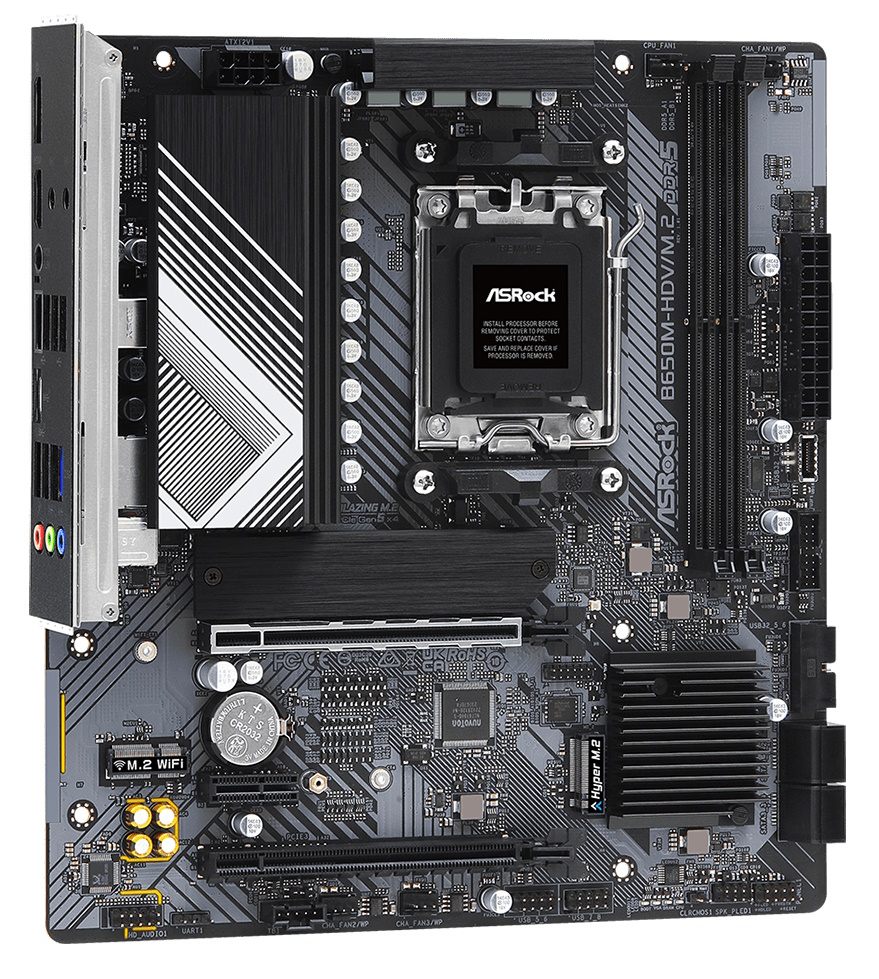
In the top-left corner, we spy a single 8-pin EPS connector (required, and the only EPS plug) to power the processor. Below, we get a better look at the heatsink covering the left VRM bank. It sports a brushed aluminum finish and has the same design theme as the PCB. Pushpins hold the top VRM heatsink on. While not ideal, this is another cost-saving measure compared to more high-end boards. The top VRM bank also runs the warmest.
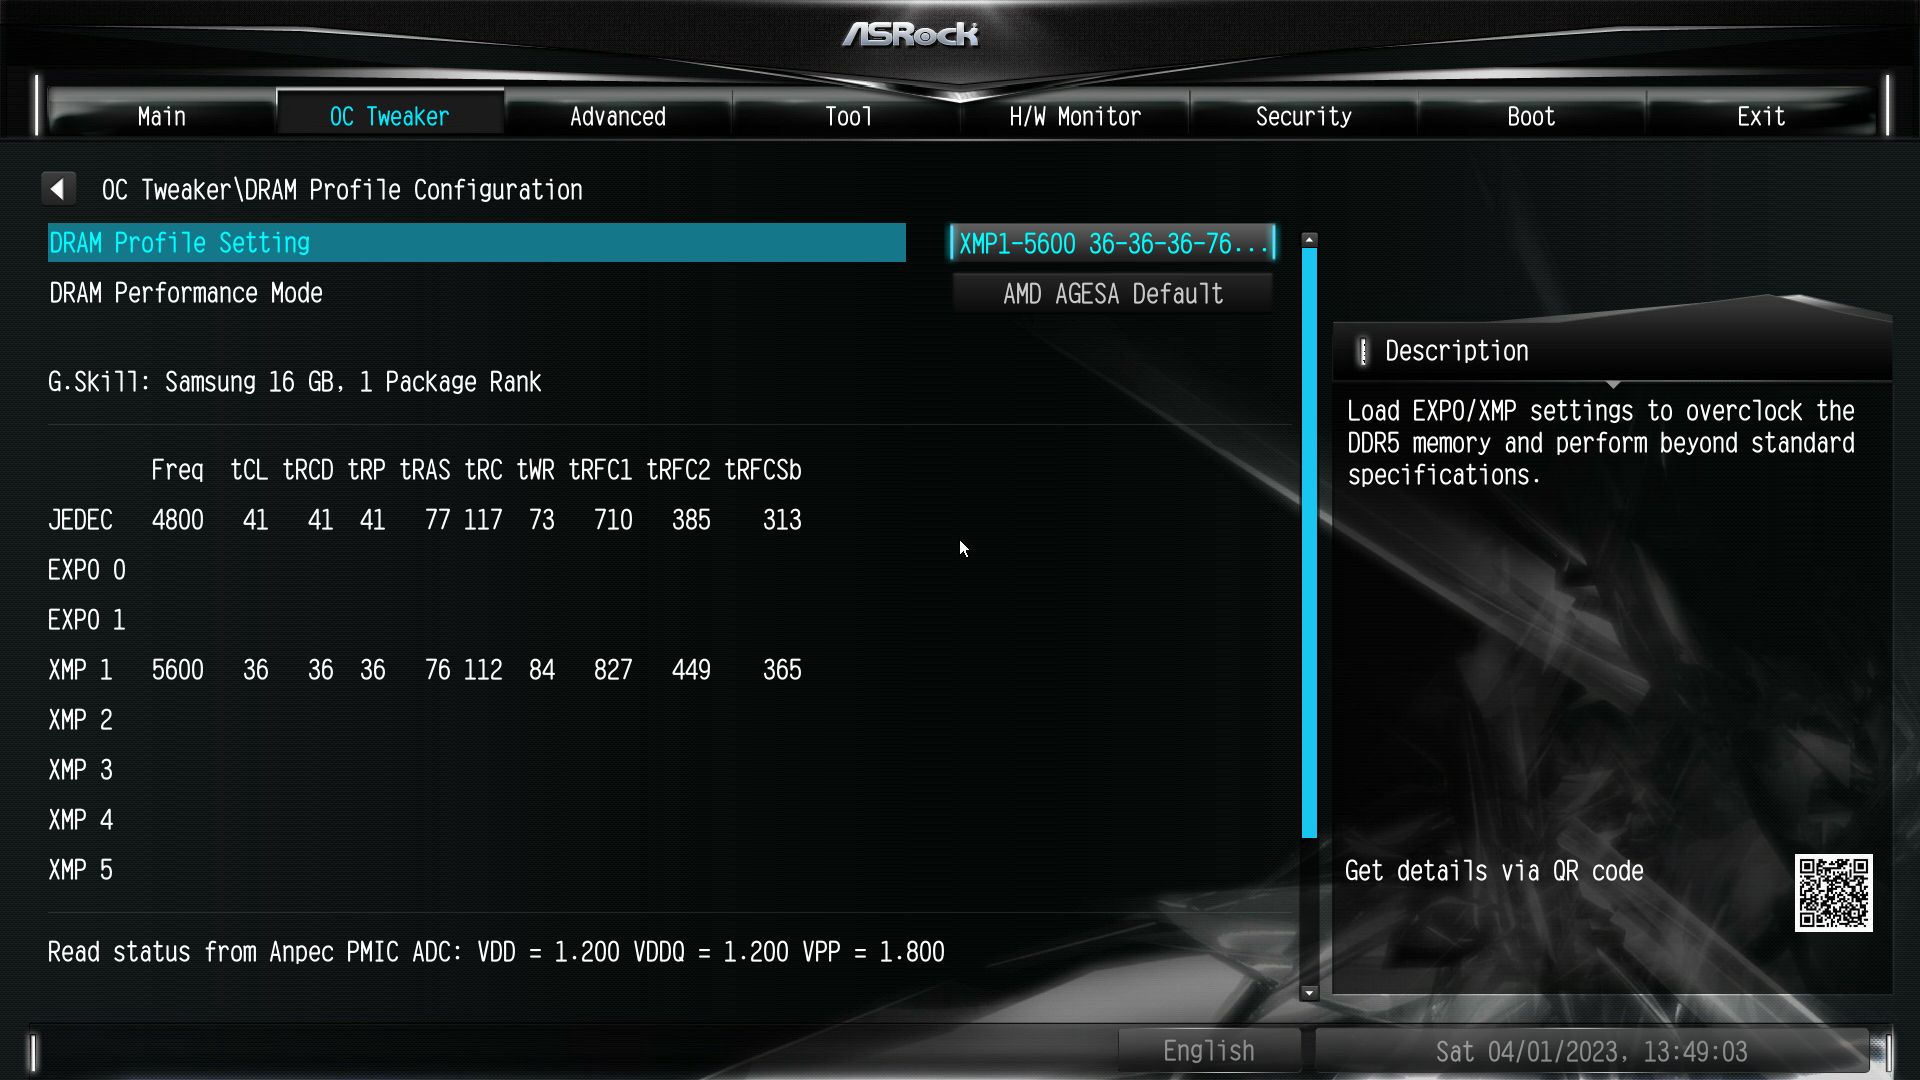
Moving past the socket area, we run into two unreinforced DRAM slots, with a single locking mechanism at the top. ASRock lists support for 64GB and speeds up to DDR5-6400. Our kits worked without issue by enabling the XMP/EXPO profiles found on our sticks and using the latest BIOS.
Flanking the two memory slots are two (of four total) 4-pin fan headers. Each header supports PWM and DC-connected fans. Control over these devices is handled through the BIOS or ASRock’s ATune software. The CPU header outputs up to 1A/12W, while the three chassis fan headers support up to 2A/24W.
Along the right edge of the board, we run into the 24-pin ATX connector to power the board, a front panel USB 3.2 Gen 2 (10 Gbps) header, and a USB 3.2 Gen 1 (5 Gbps) front panel connector.
IMG - board5 (vrm)
Power delivery on the B650M-HDV/M.2 consists of 11 total phases, of which eight are dedicated to Vcore. Power comes from the 8-pin EPS connector and onto a Renesas RAA229621 controller. From there, it splits to the 8x 50A Vishay Sic654 Dr. MOS MOSFETs for Vcore. The 400A available isn’t a lot but was enough to handle our Ryzen 9 7950X without issue in the more limited default configuration.
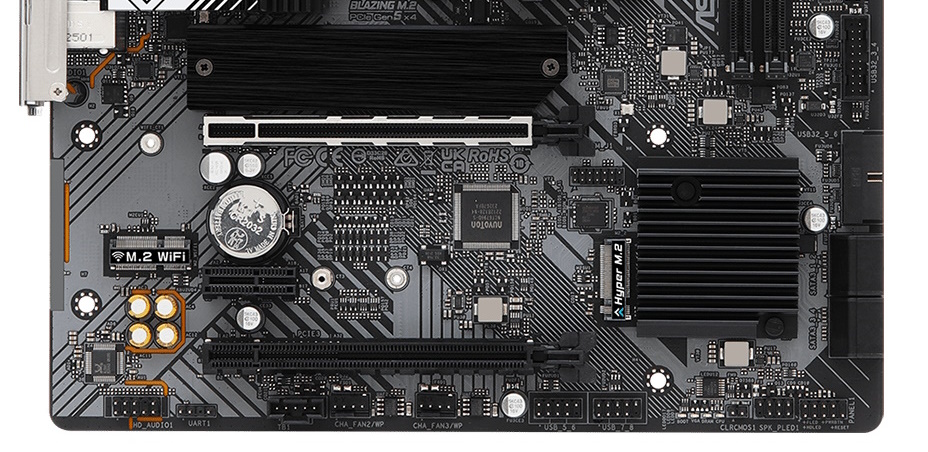
On the bottom half of the board, we see almost everything fully exposed. The top M.2 socket has a small heatsink on it, as does the B650M chipset. Outside of that, you see the PCB for all it’s worth. On the left is a fully exposed Realtek ALC897 codec and four yellow capacitors dedicated to audio. Being on the extreme budget side, you won’t find high-end codecs or amps. With that out of the way, many users will find this solution adequate. However, audiophiles will want to look elsewhere, or opt for speakers with an external DAC.
Another item in this area worth noting is the Key-E M.2 socket for Wi-Fi. While the board lacks Wi-Fi out of the box, you can just purchase a CNVi-based compatible card (which generally costs around $30 or less), drop it in the socket, and install drivers to enable Wi-Fi. I’d like to see all boards include Wi-Fi, as most users will want to connect their systems wirelessly at some point. But I understand a Wi-Fi card adds to the bill of materials and can be counterintuitive to the true budget nature of the board.
Three PCIe slots and two M.2 sockets live in the middle of the board. The primary graphics slot (top) is reinforced to prevent shearing and mitigate some EMI. This slot (and the full-length bottom slot) connects through the CPU and runs at PCIe 4.0 x16 (no PCIe 5.0 slots). The bottom slot is PCIe 4.0 x4. Last, the small x1 and bottom full-length slot sources its lanes through the chipset and runs at PCIe 4.0 x1.
The top M.2 socket connects through the CPU and is your PCIe 5.0 x4 socket (128 Gbps). It has a heatsink. However, I don’t imagine it will do a great job with hot-running PCIe 4.0 x4 or newer PCIe 5.0 x4 drives, which should run even hotter. So if you have a high-end drive, you may want to use an aftermarket heatsink over what’s included here to prevent thermal throttling on sustained drive activity. The second M.2 socket gets its lanes from the chipset and runs at PCIe 4.0 x4 (64 Gbps).
Continuing right past the pushpin-attached chipset heatsink, we run into a USB 3.2 Gen 1 (5Gbps) front panel connector, along with the four SATA ports. The SATA ports and M.2 sockets support RAID0/1/10 modes for those who want redundancy or additional speed. There’s no lane sharing, so you get the full complement of storage options regardless of what is populated.
Across the bottom of the board are several exposed headers. You’ll find the typical fare here, including additional USB and 4-pin fan headers. Below is a complete list from left to right:
- Front panel audio
- UART header
- Thunderbolt header
- (2) 4-pin chassis fan headers
- (2) USB 2.0 headers
- Debug LED
- Clear CMOS jumper
- Speaker/Front Panel headers
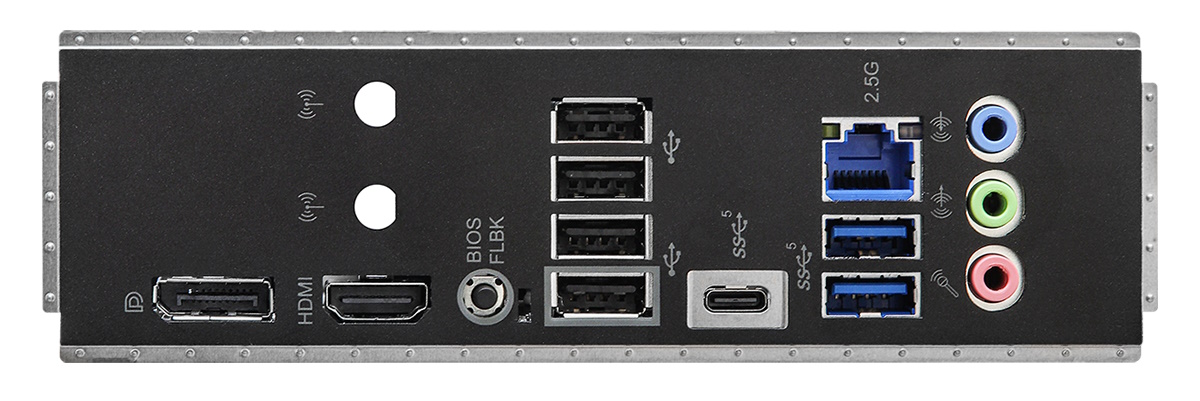
The rear IO on the B650M-HDV/M.2 surprisingly comes with its shroud pre-installed and attached to the motherboard. It has a black background with the ports labeled in grey. It’s so plain, there isn’t even any branding! On the left are the DisplayPort and HDMI video outputs to use with integrated graphics, while just above are pre-drilled holes for Wi-Fi antennas, should you choose to supply your own. There are seven USB ports, including a Type-C 3.2 Gen 2 (10 Gbps) port, two 3.2 Gen 2 (10 Gbps) ports, and four USB 2.0 ports. The six Type-A available could be too few for some users (me!). Above the 5 Gbps ports is the Realtek 2.5 GbE, and to the right are three analog plugs for audio. Last but not least is a BIOS flashback button used to update the board without a processor. The latter is a nice touch, given how affordable the board is.
MORE: Best Motherboards
MORE: How To Choose A Motherboard
MORE: All Motherboard Content
Firmware
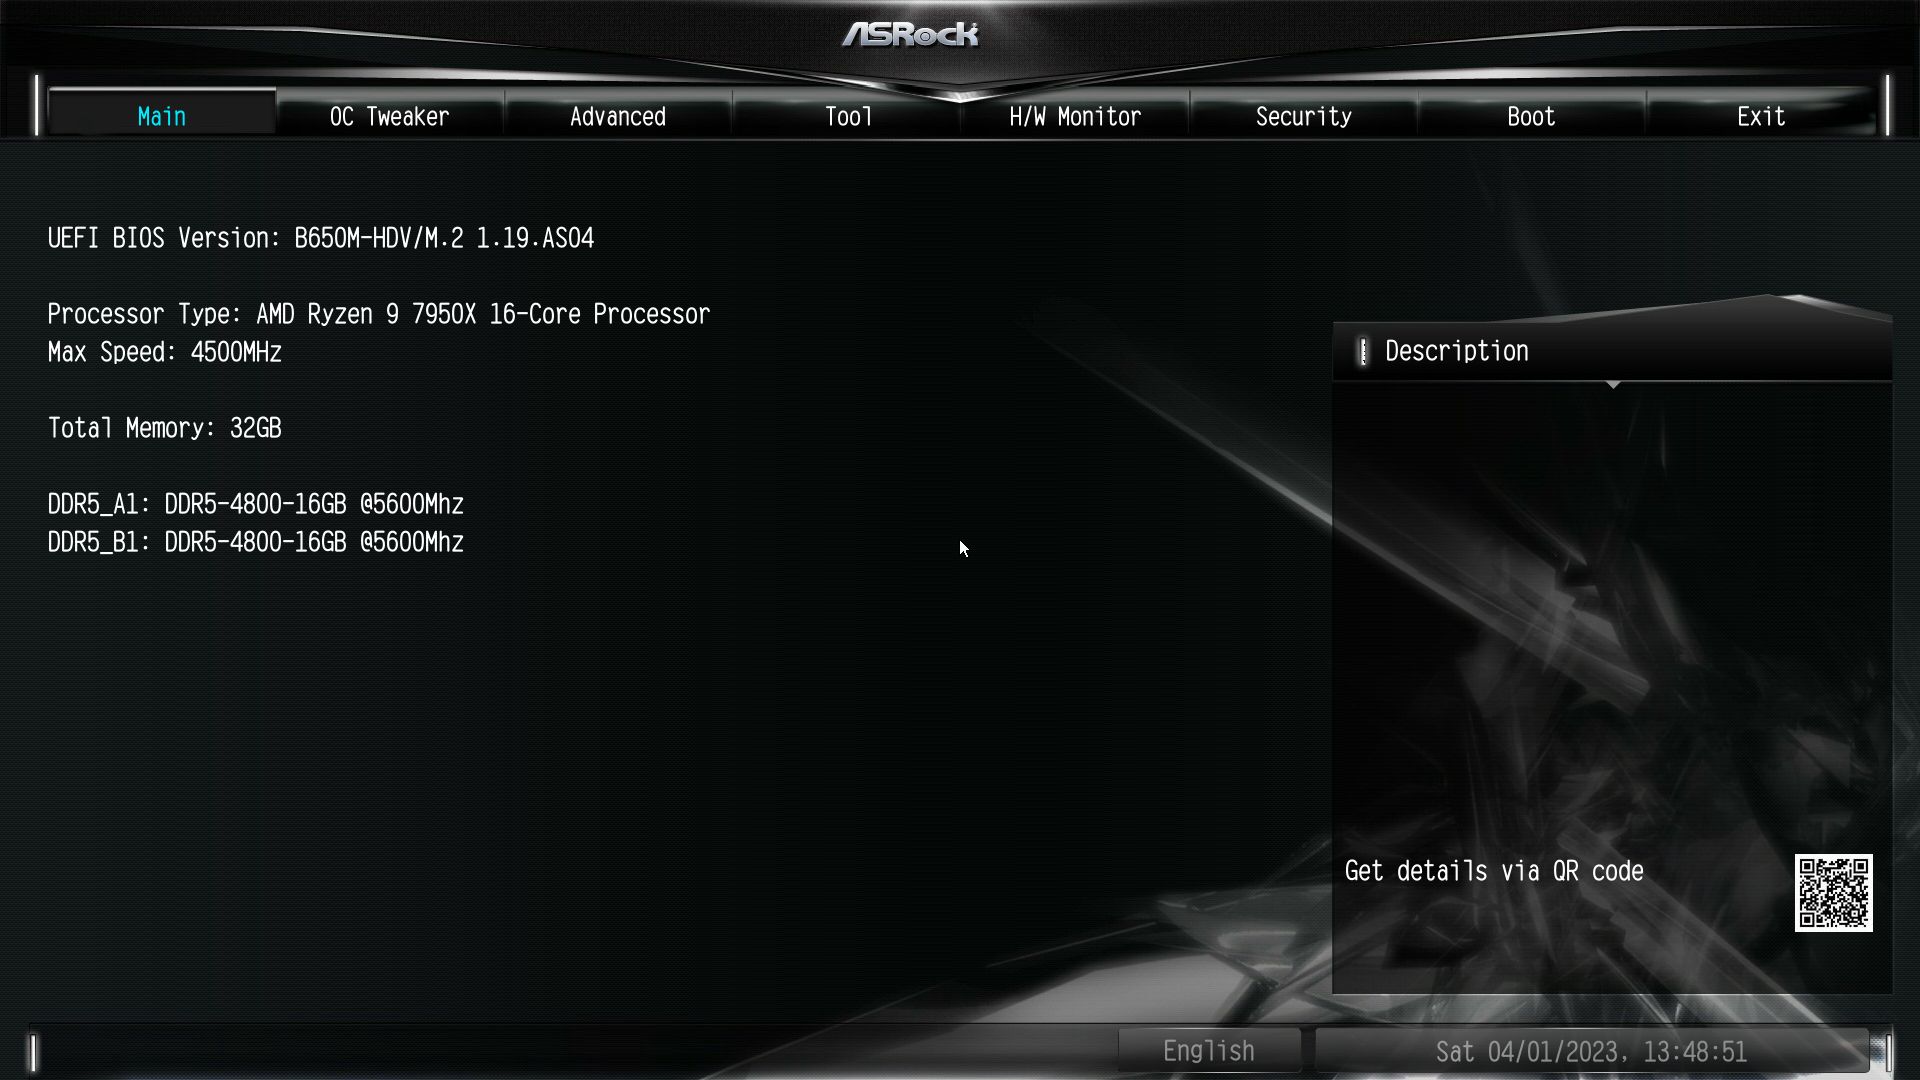
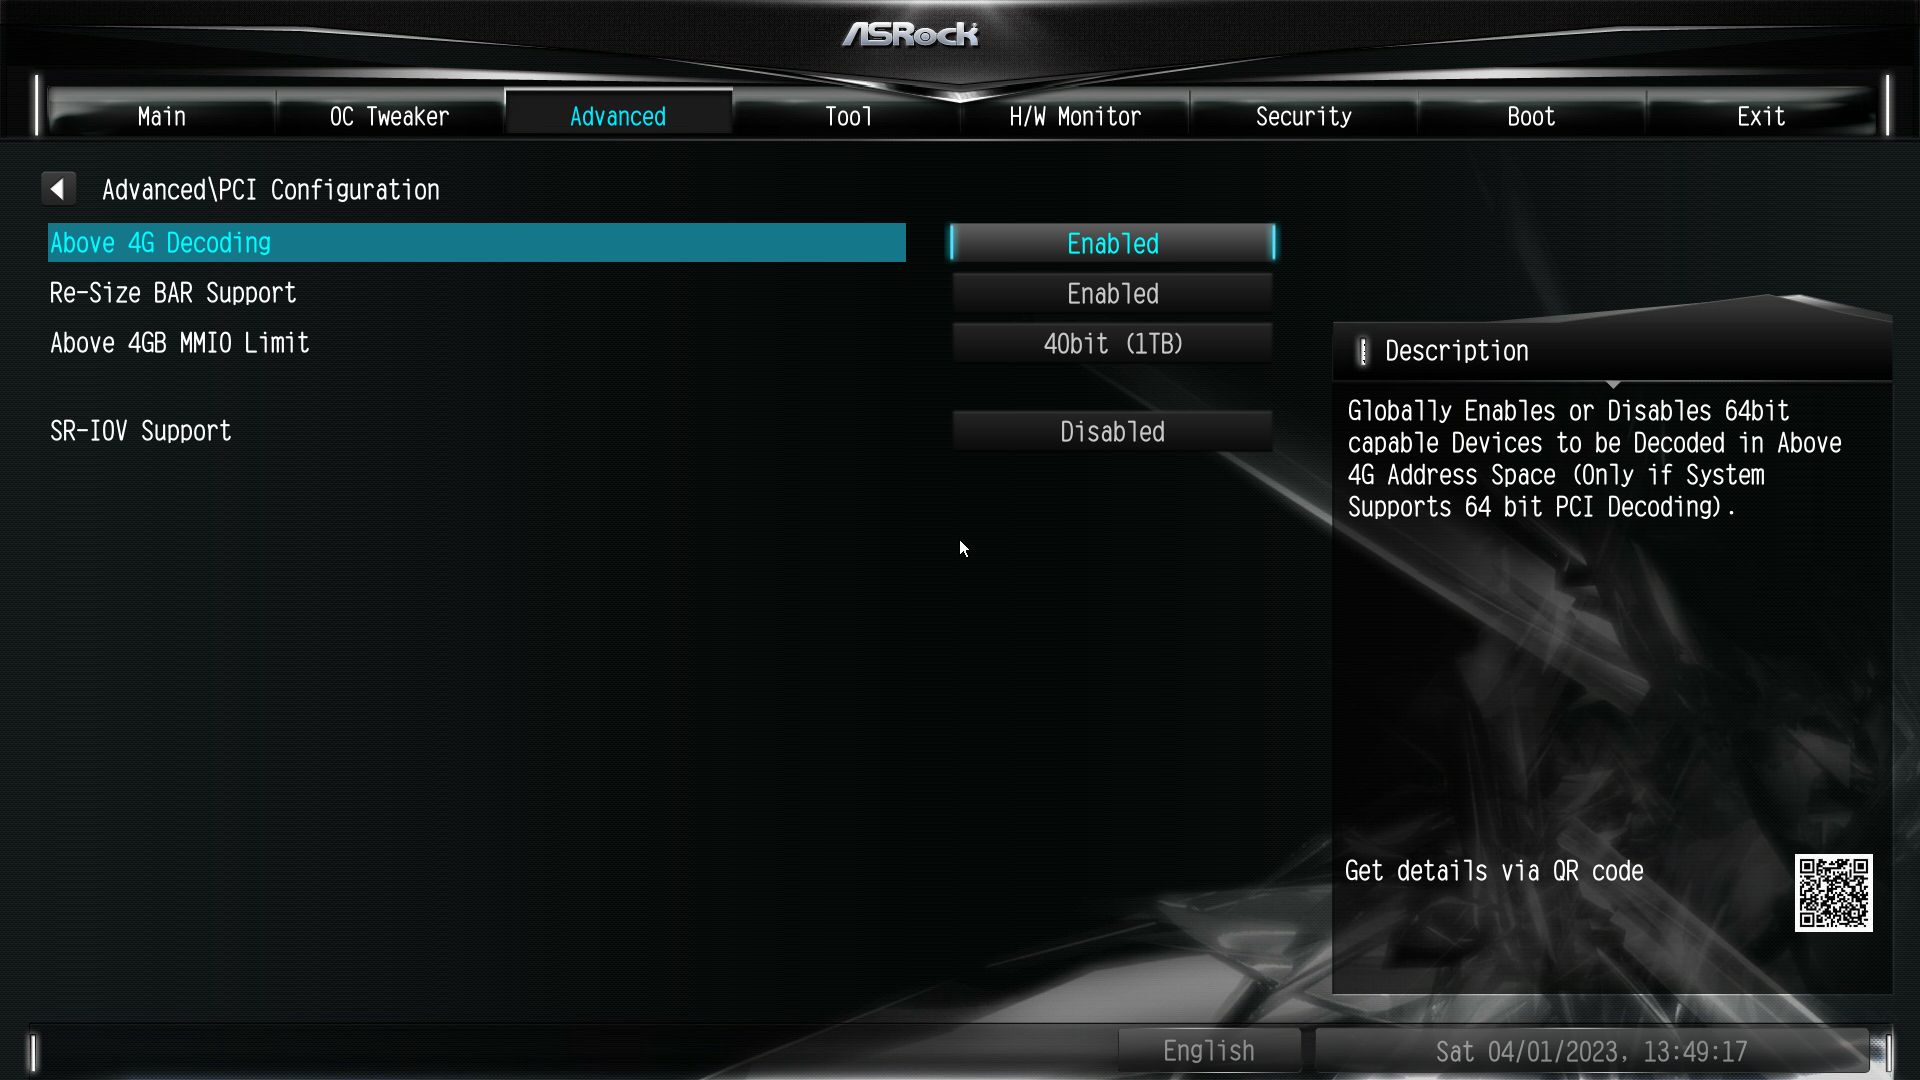
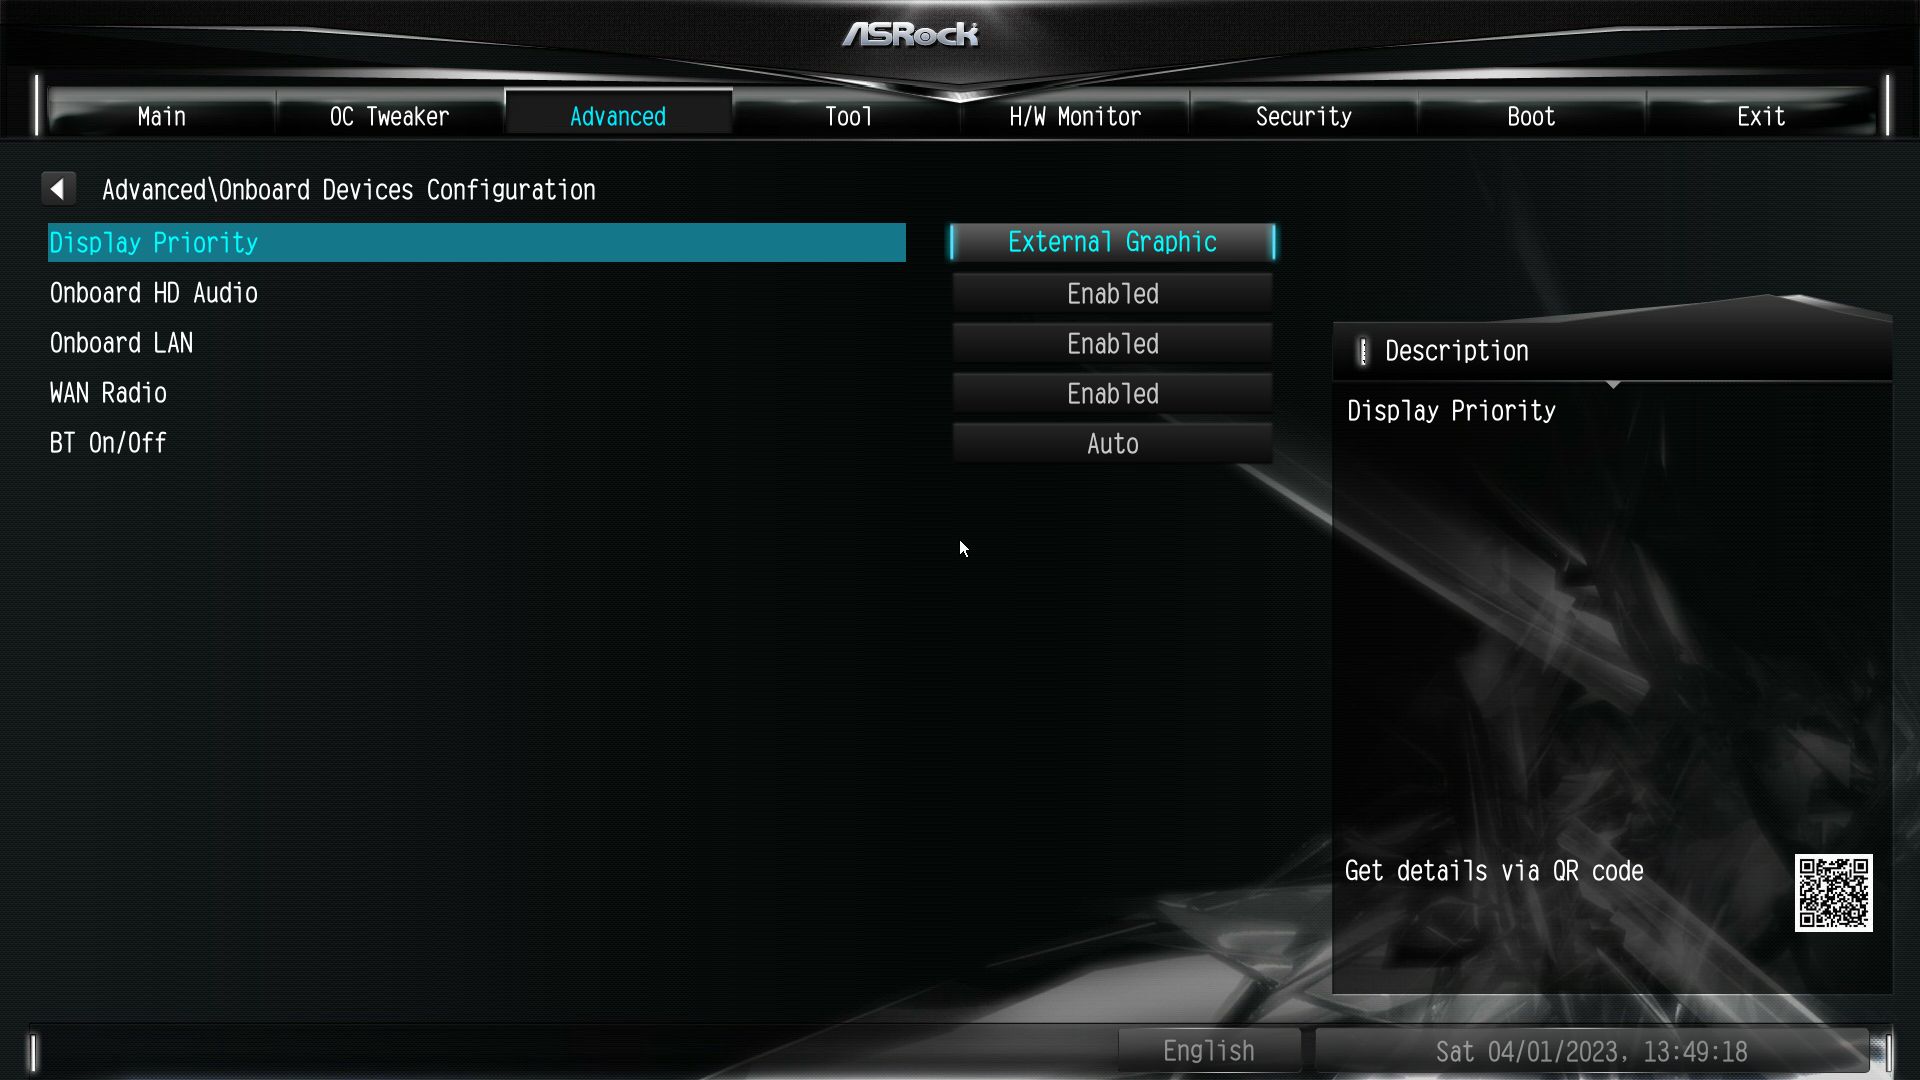
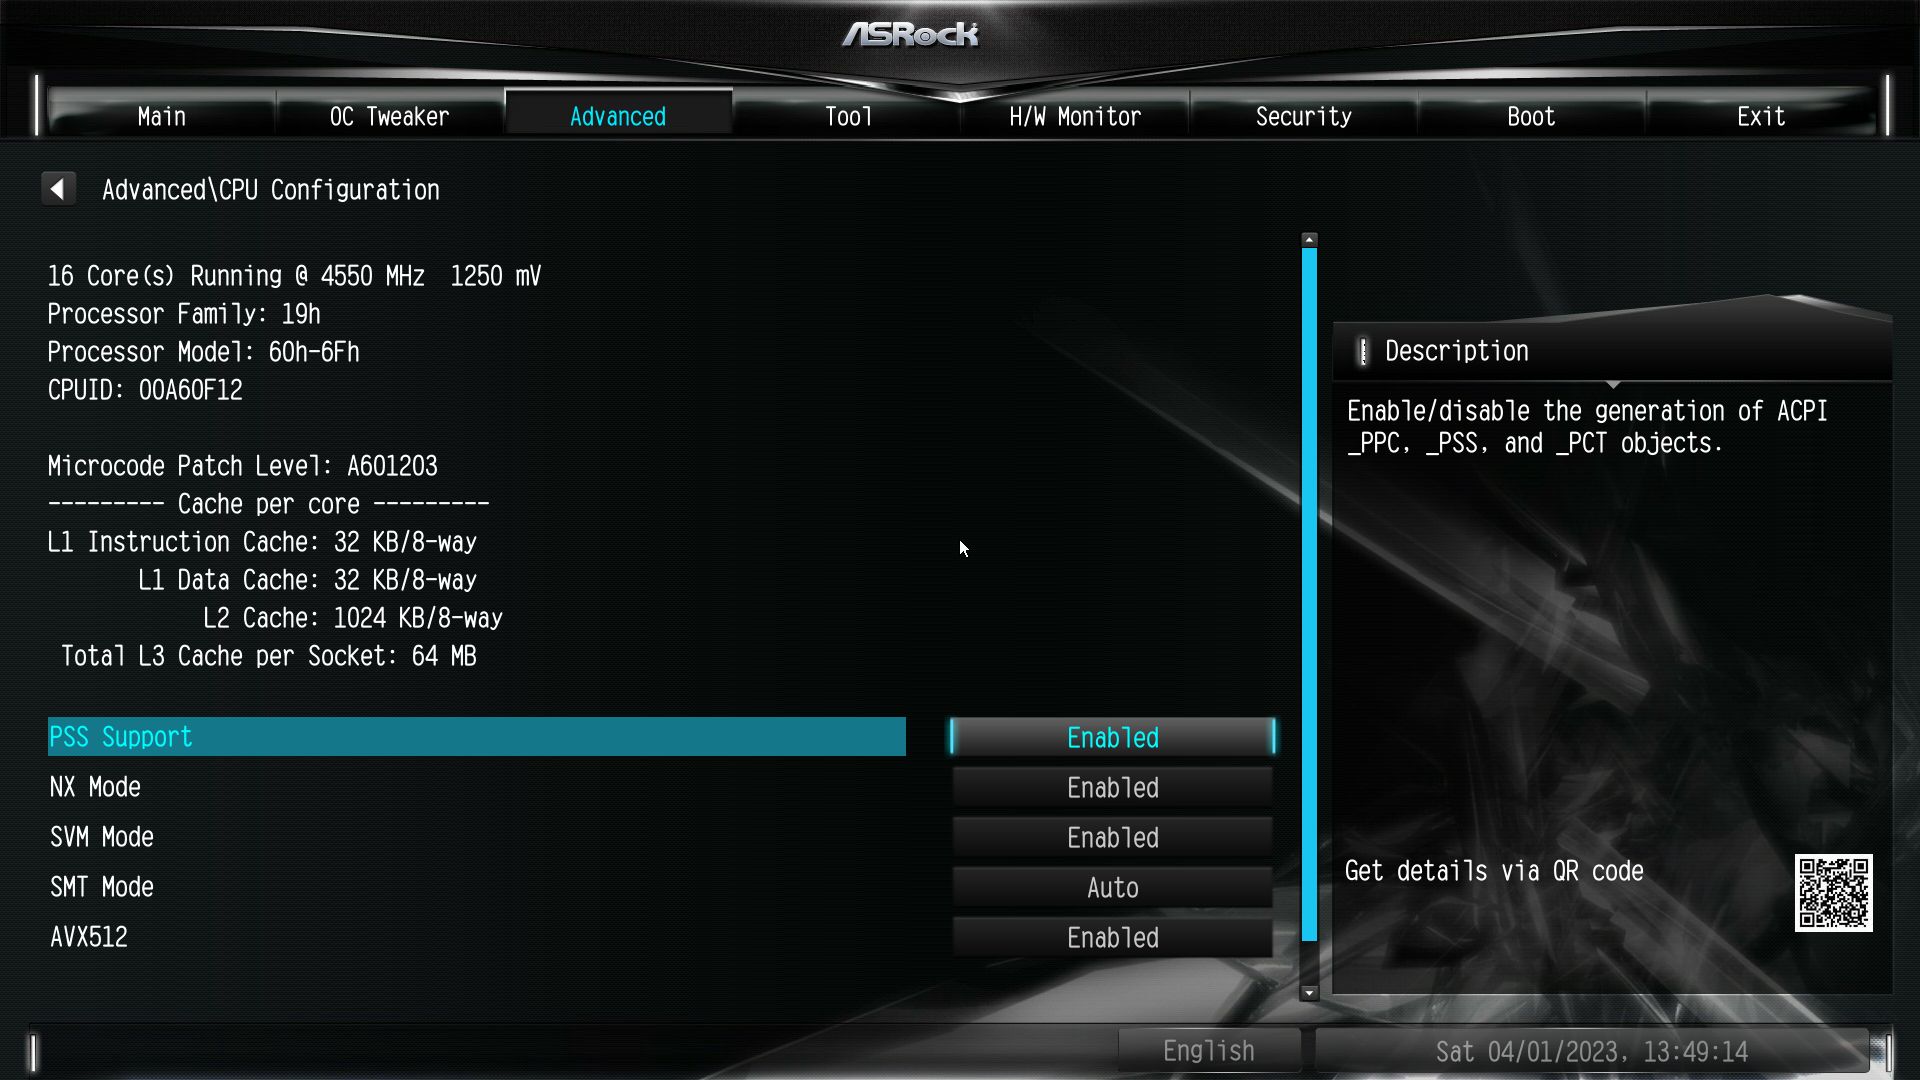
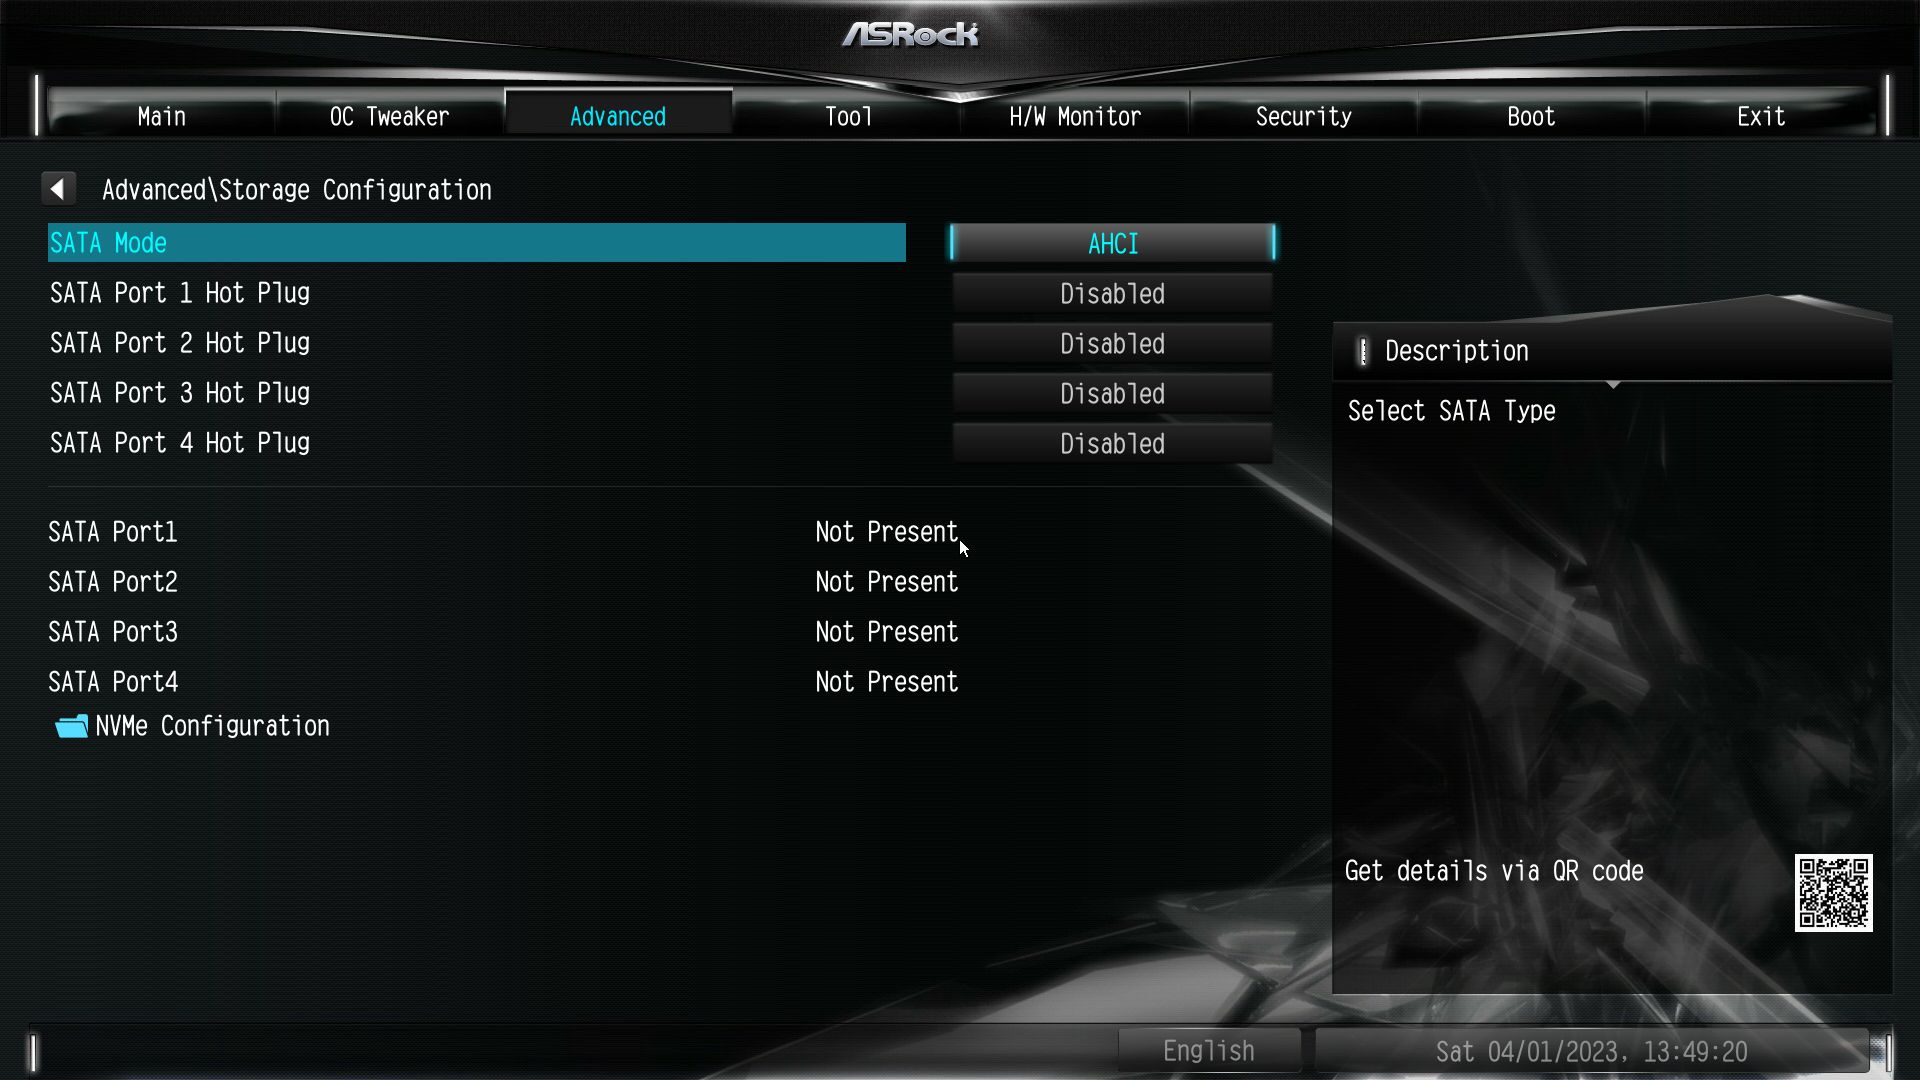
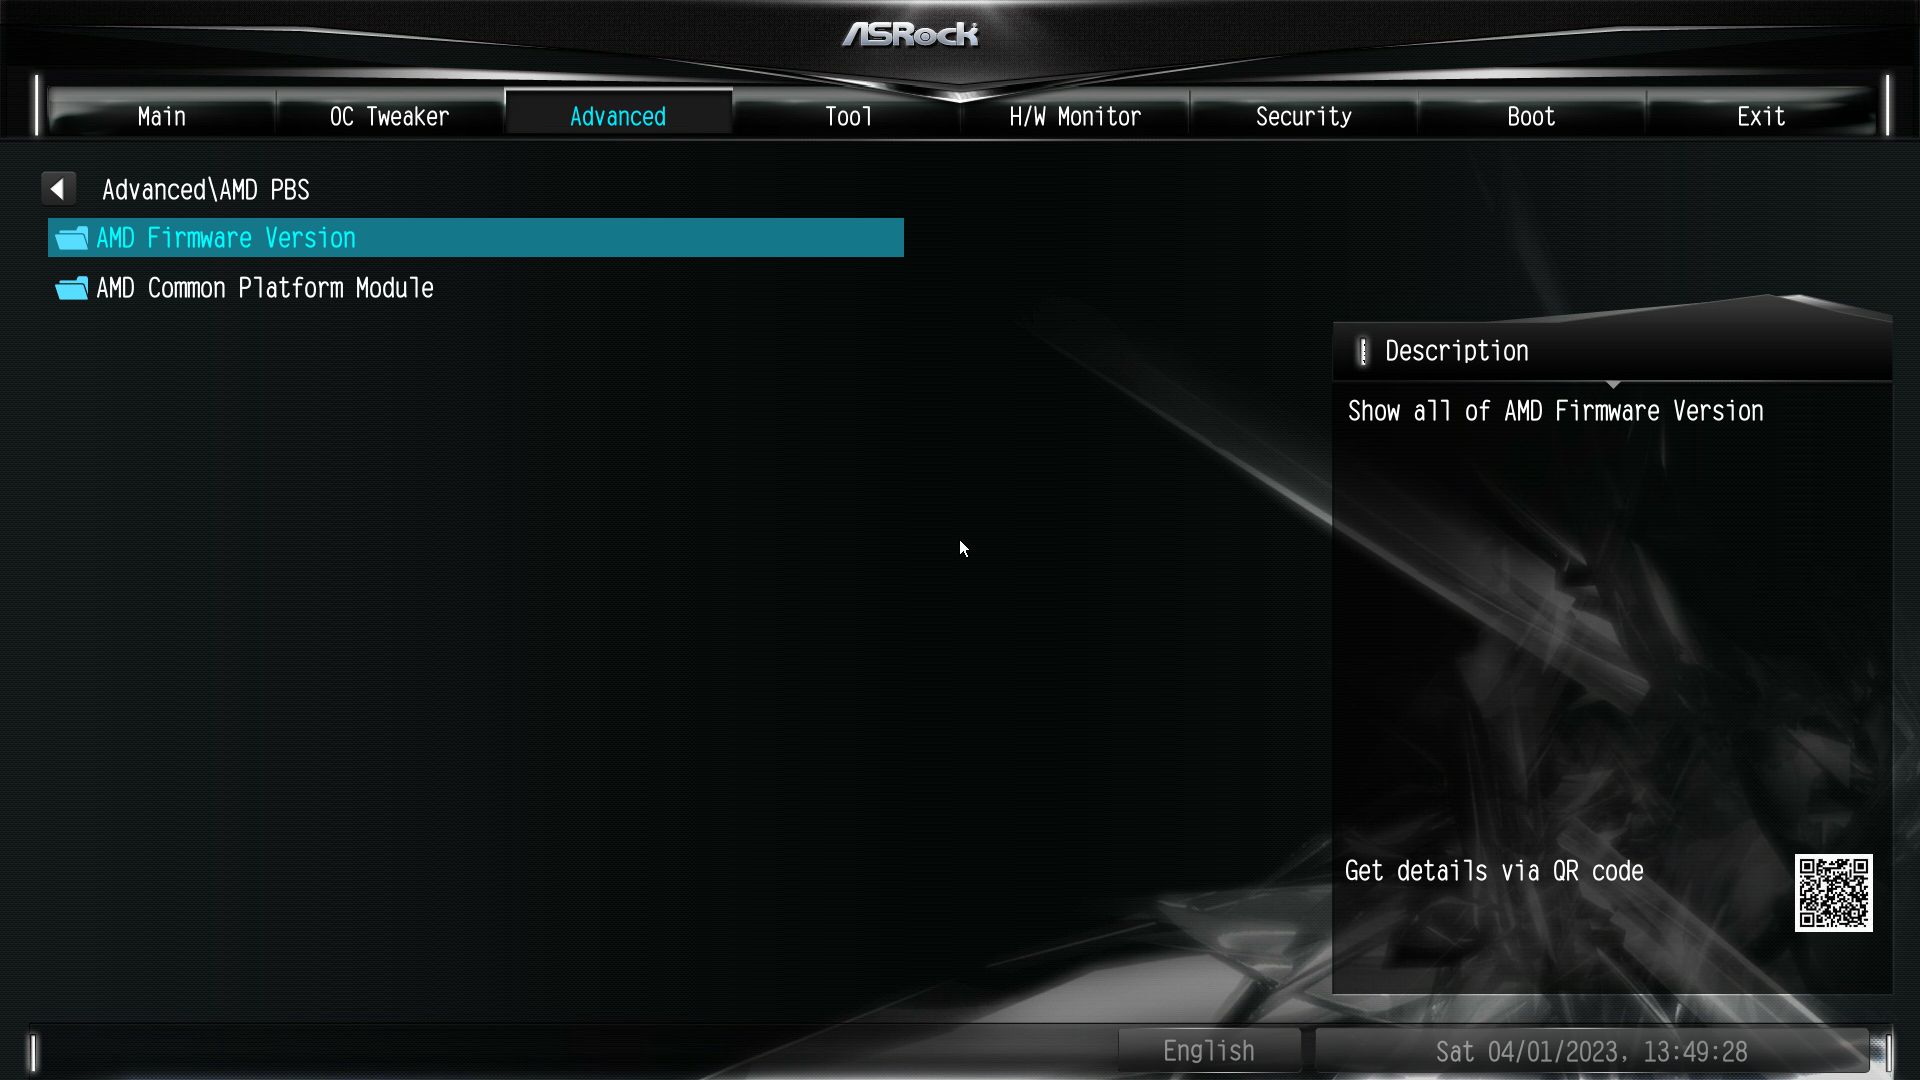
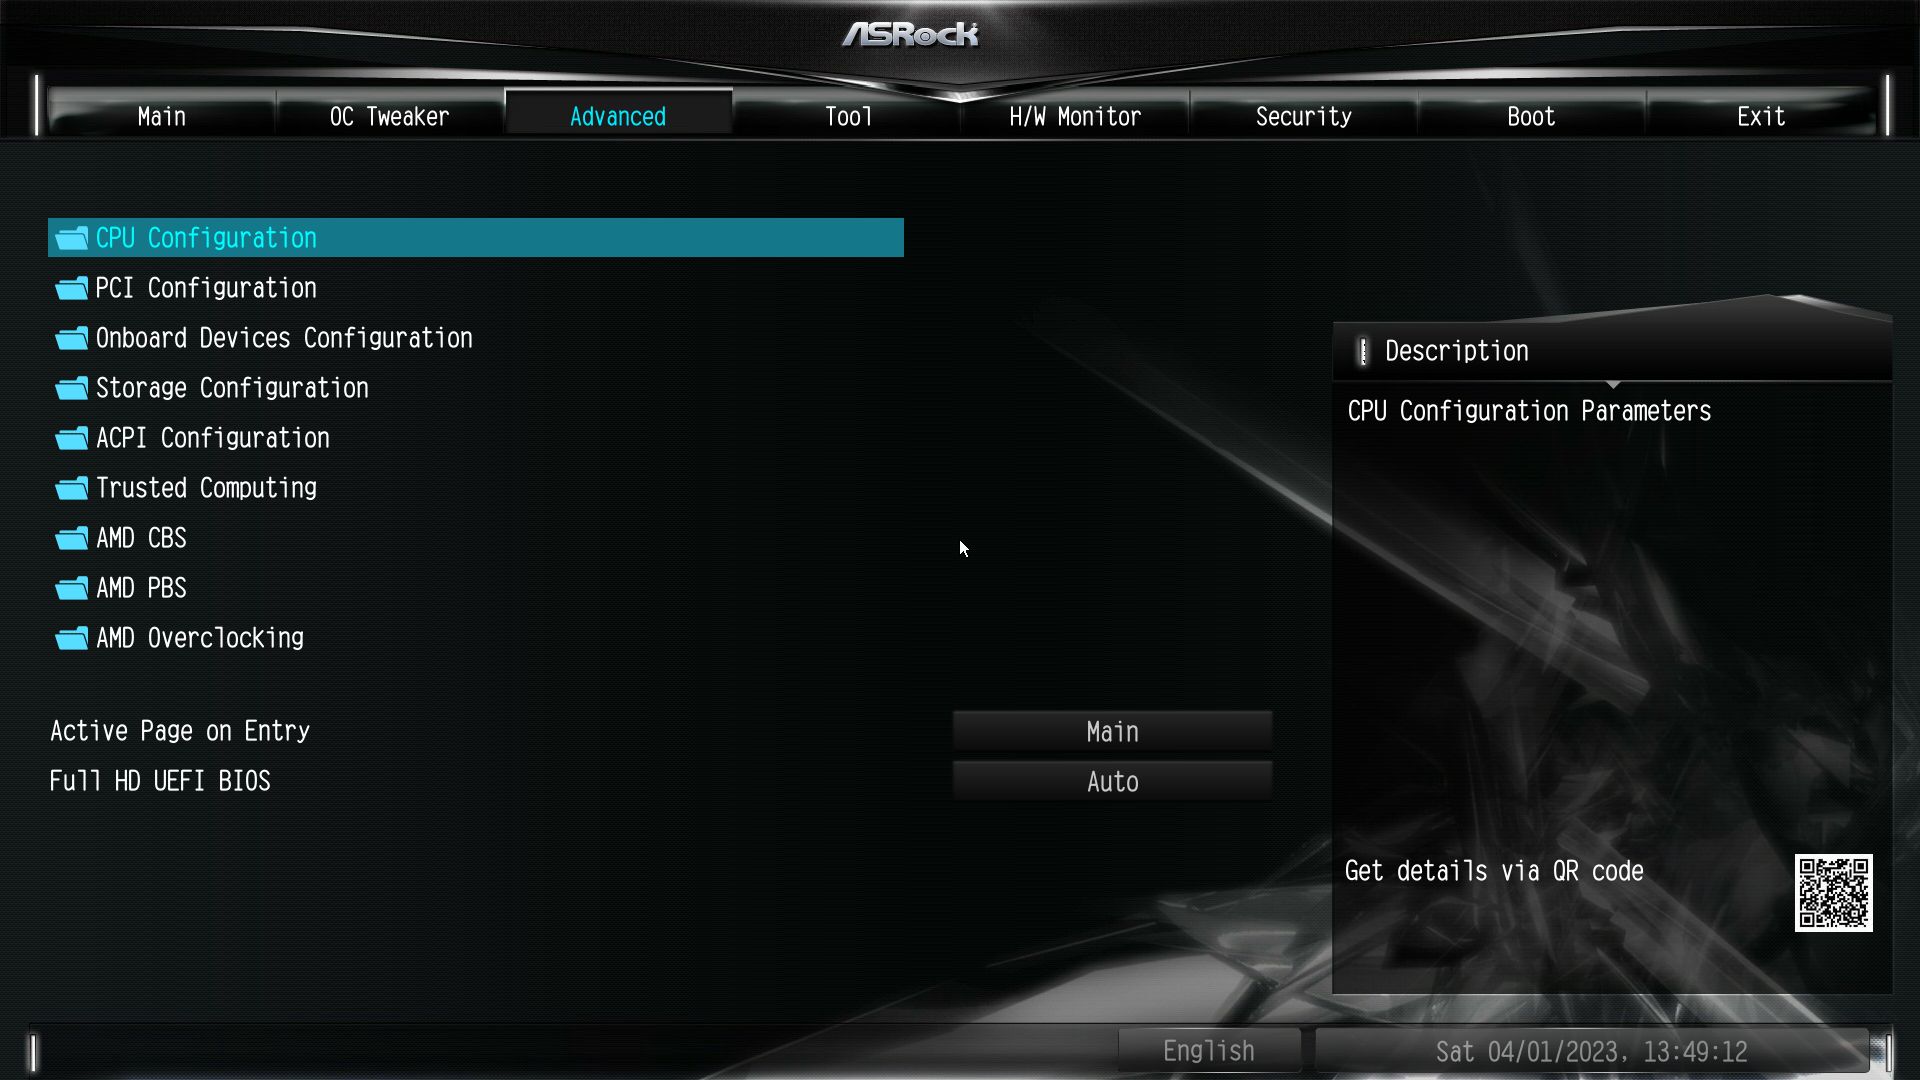
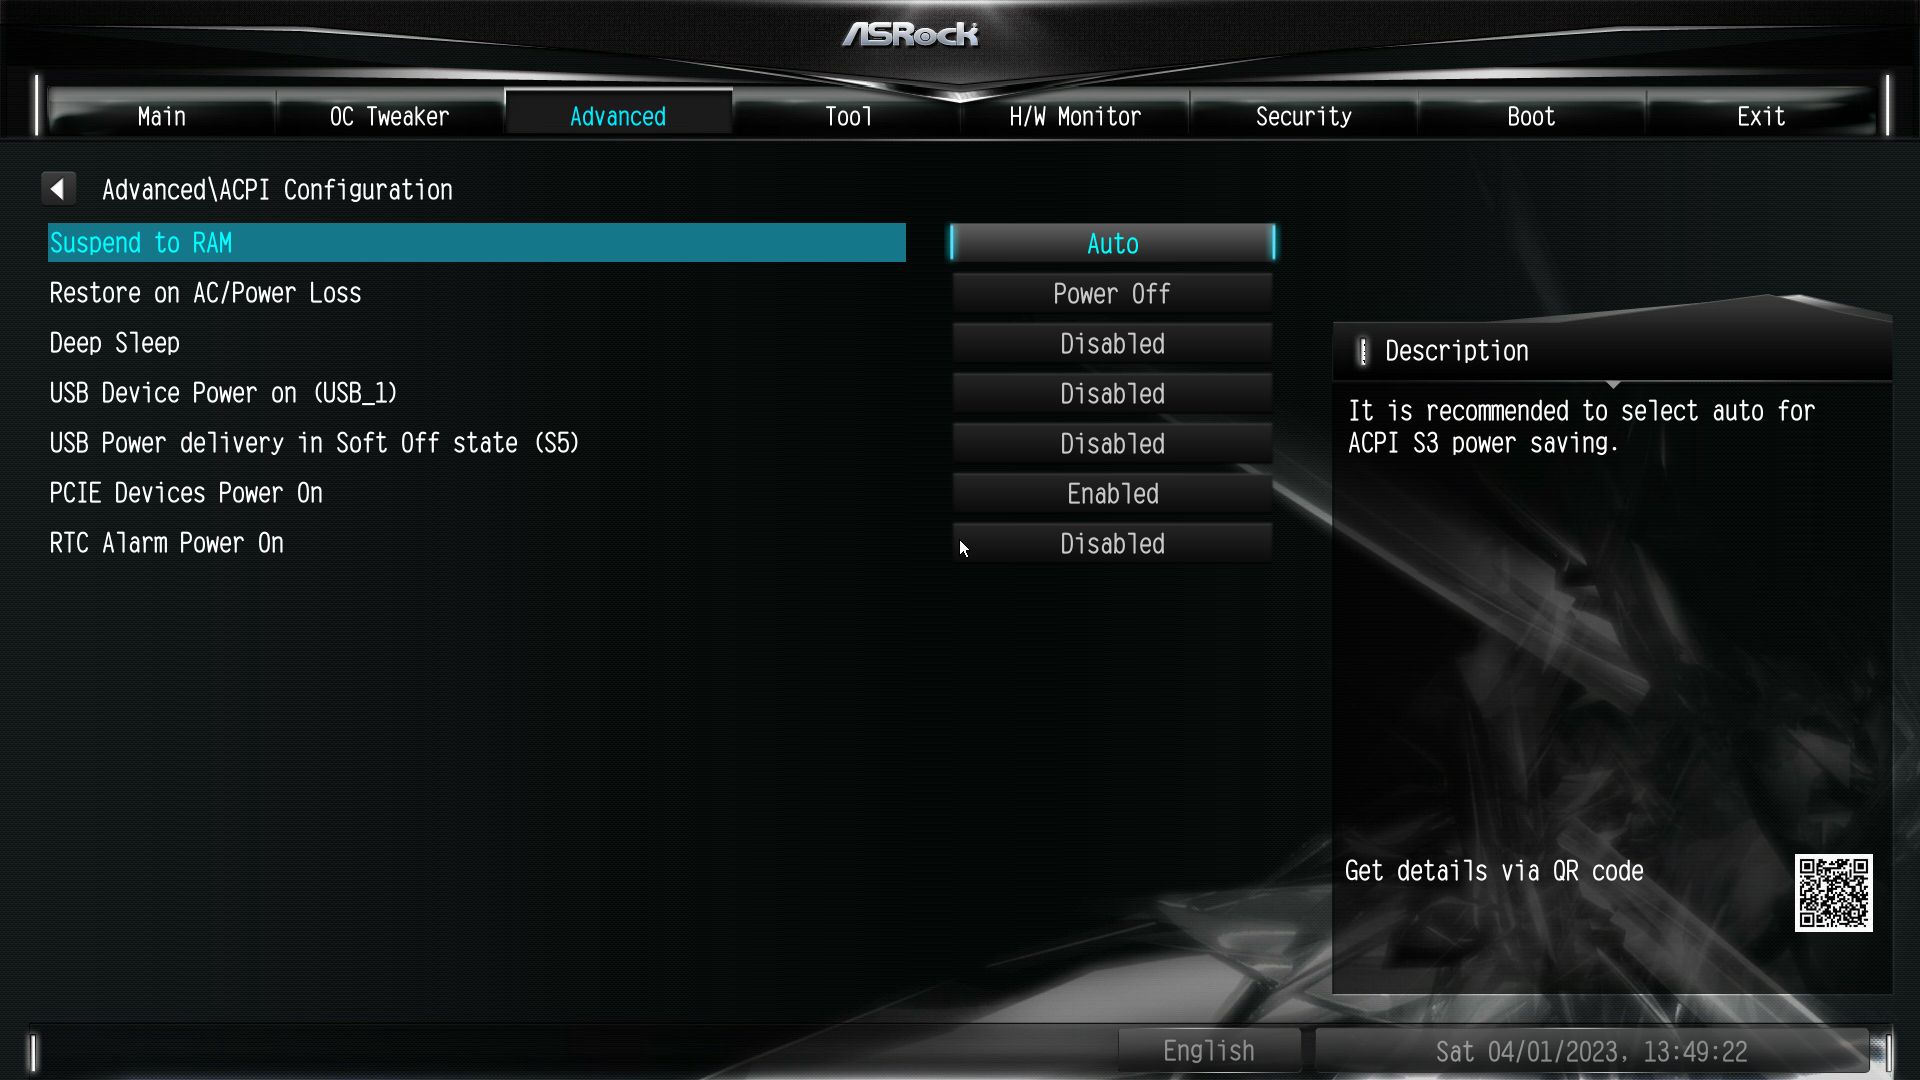
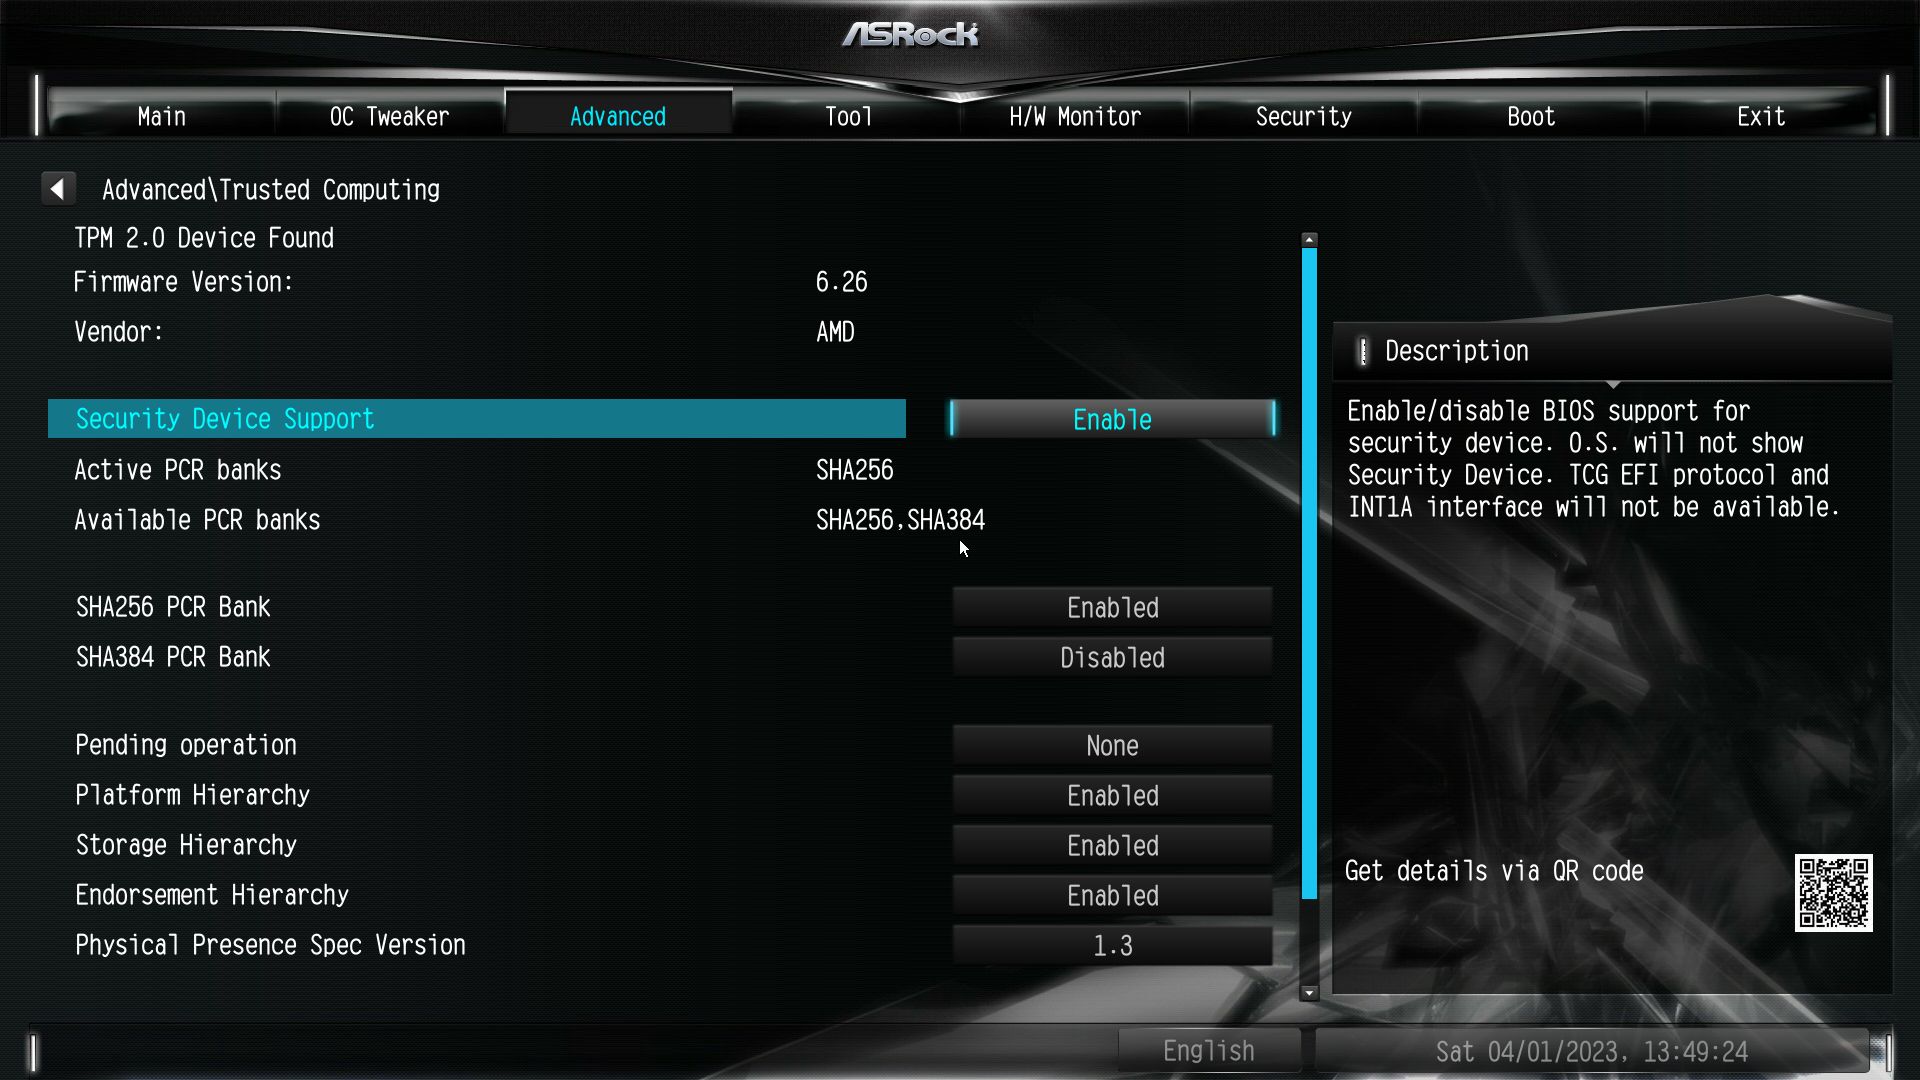
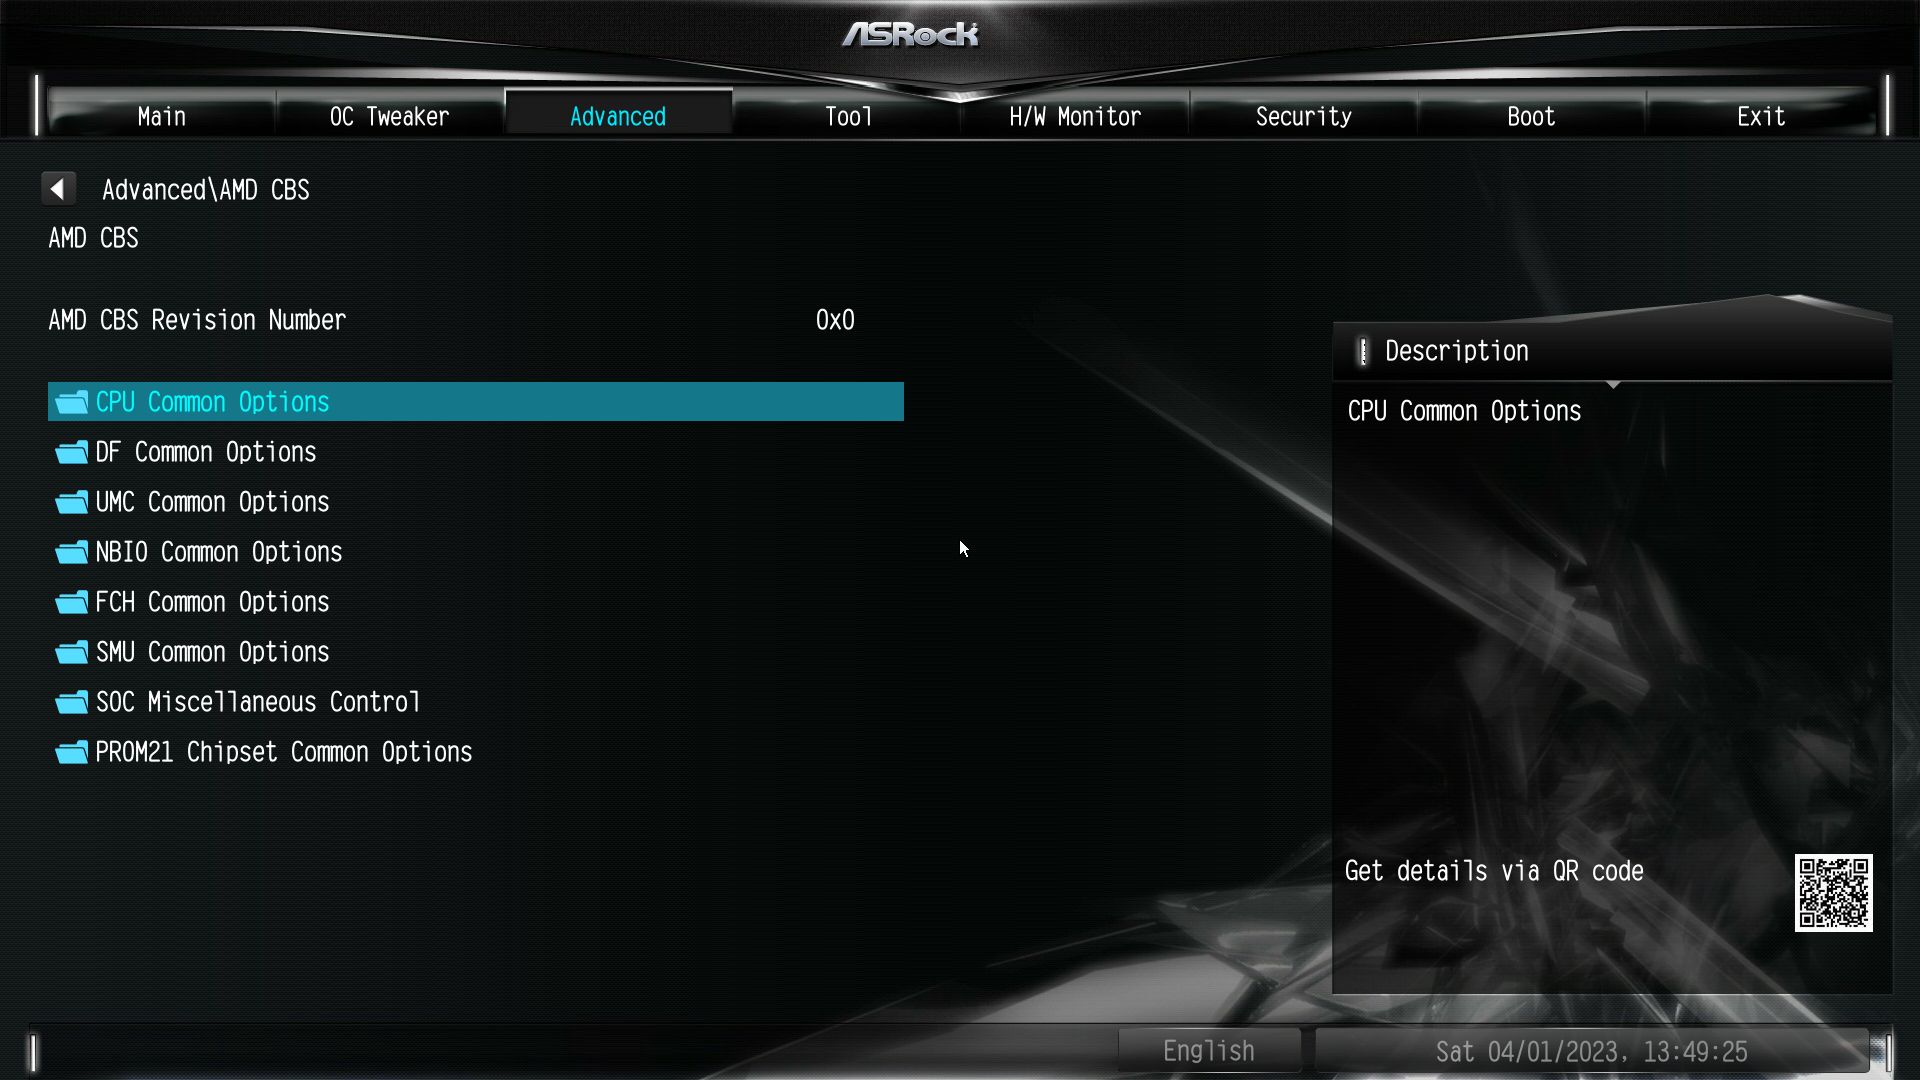
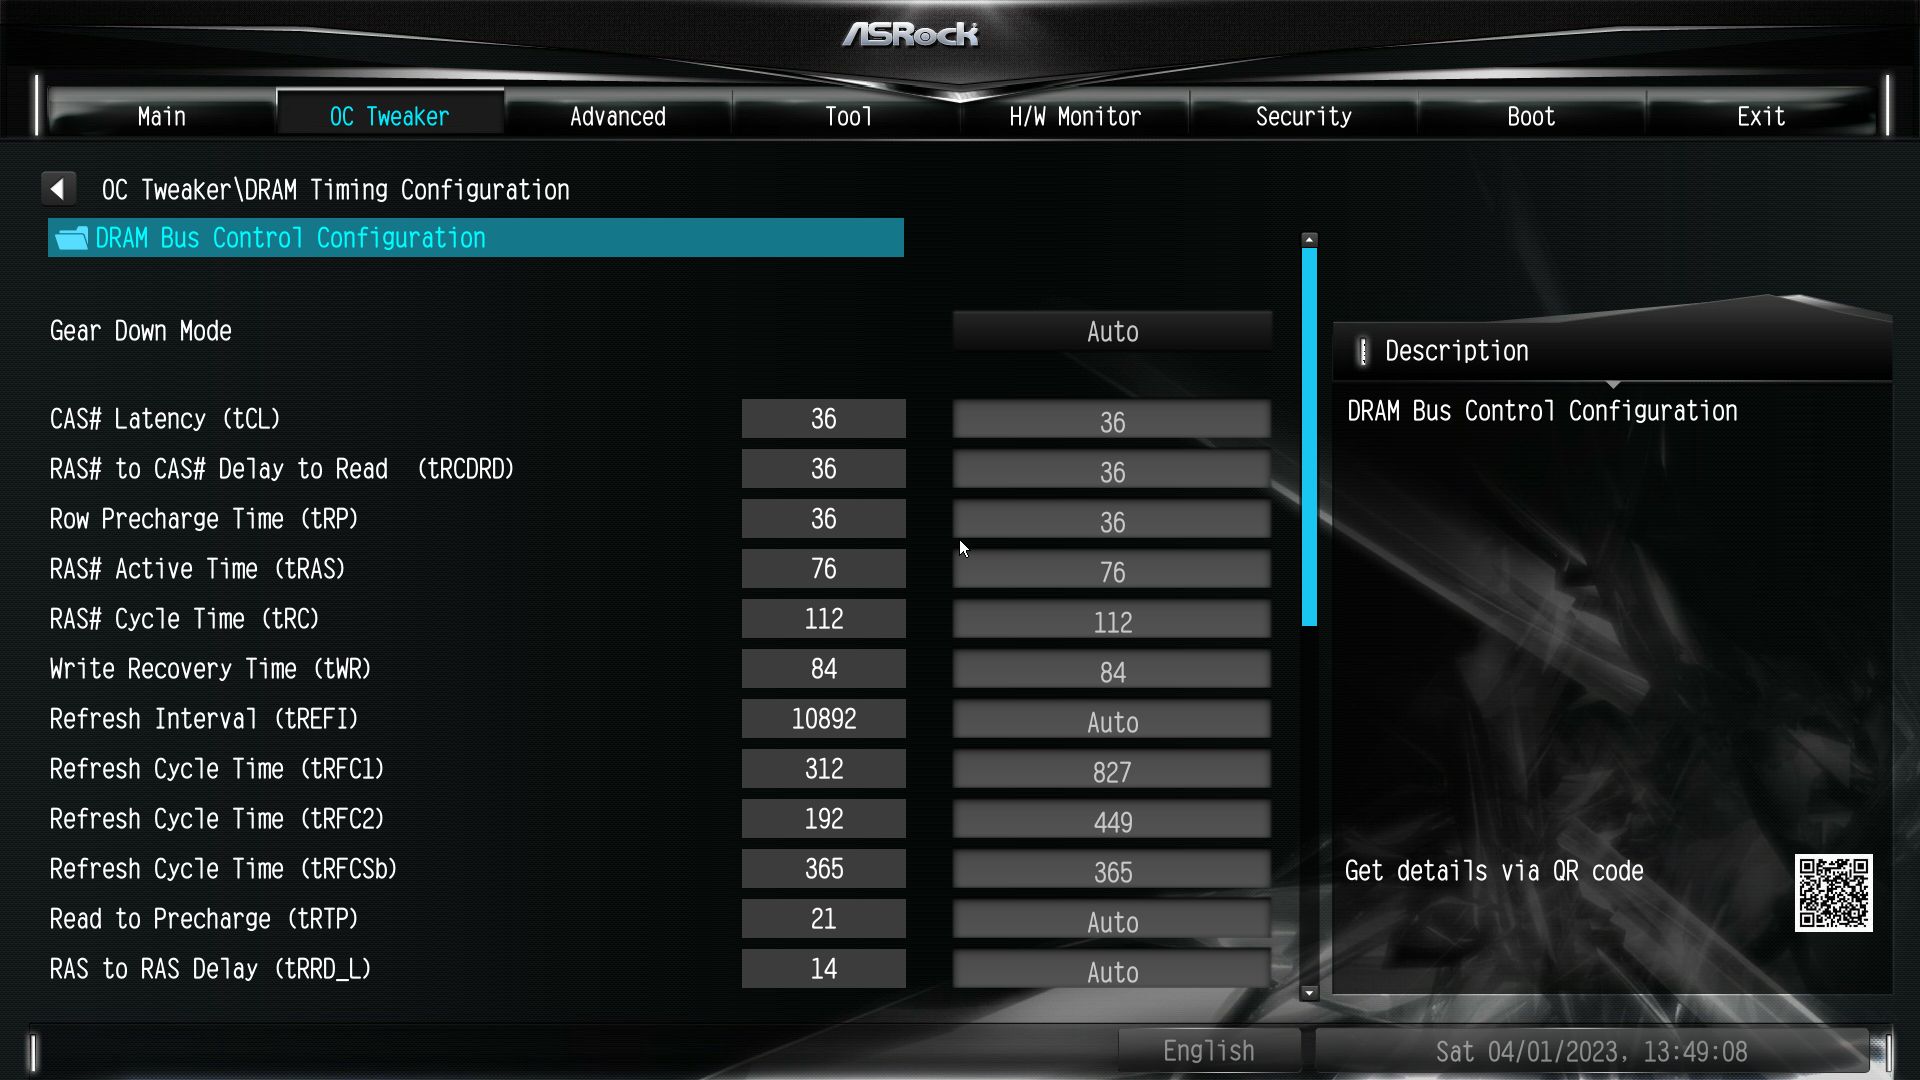
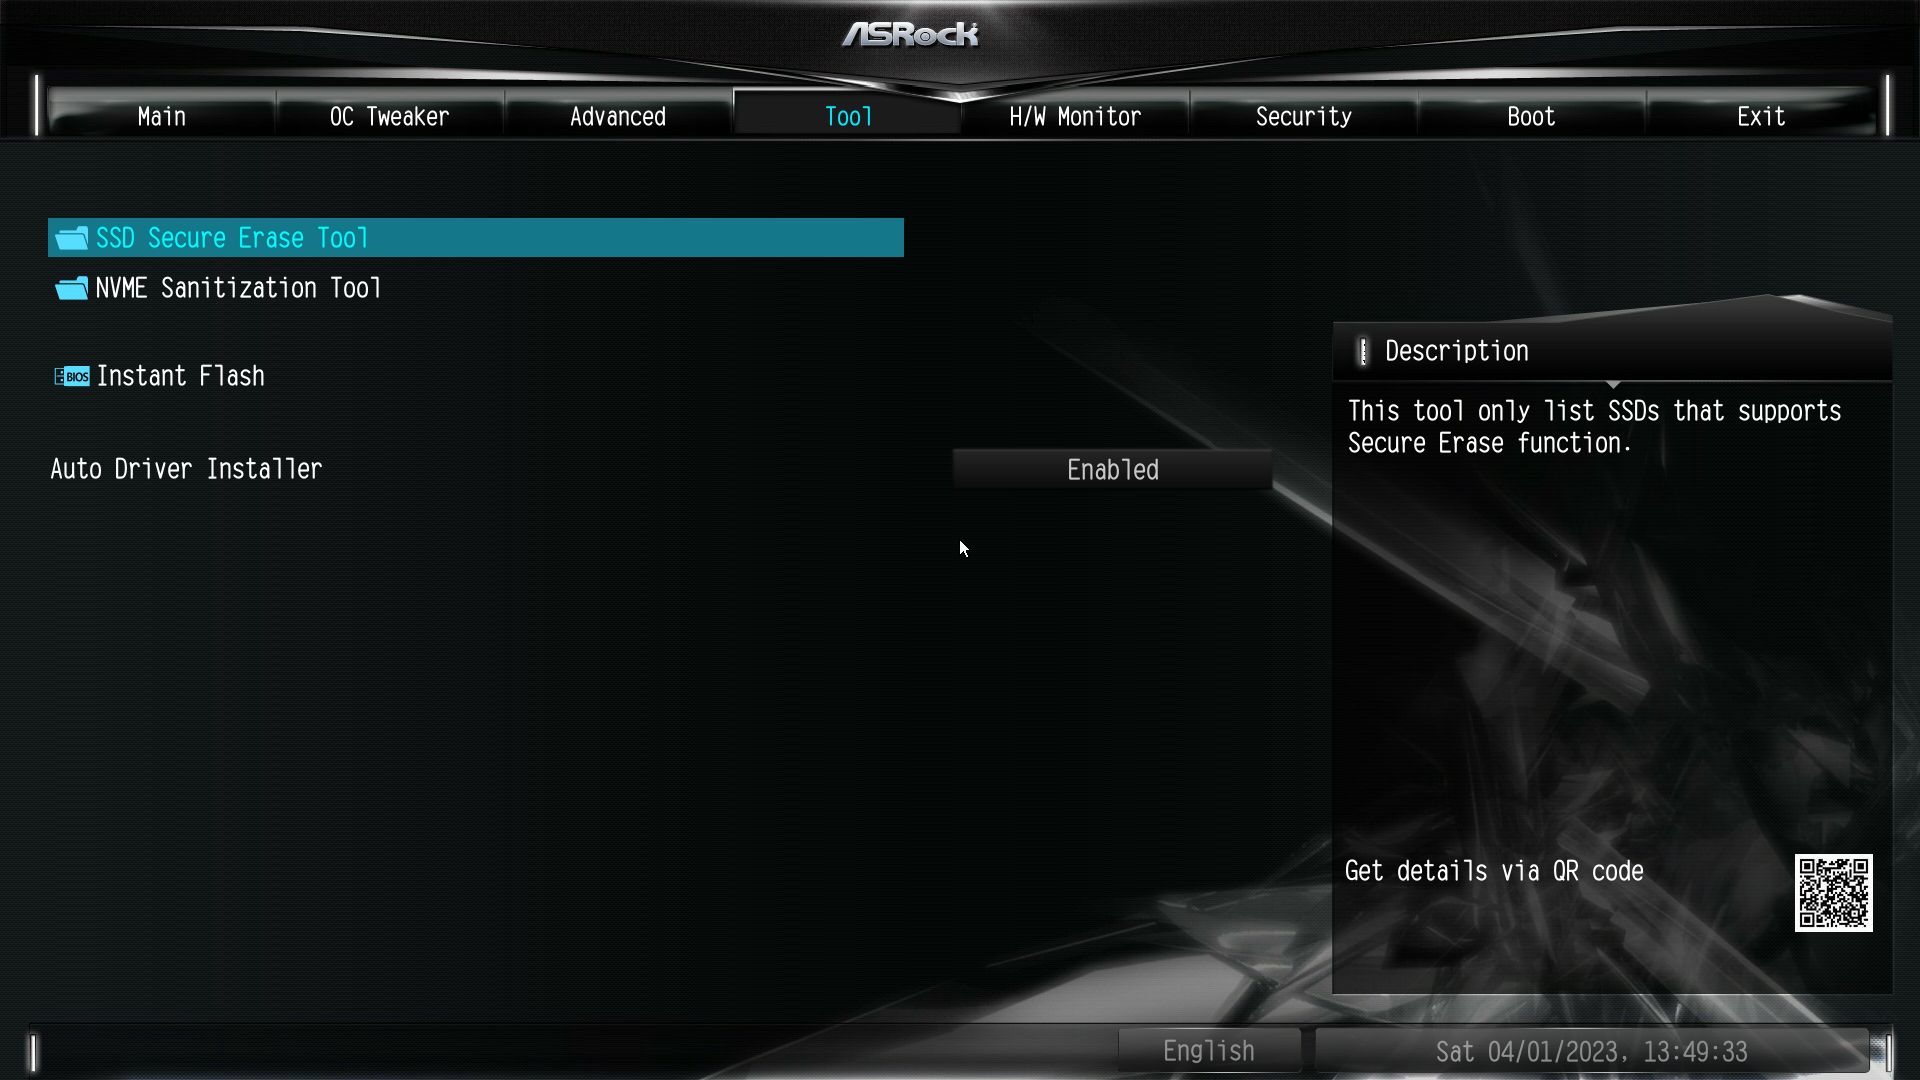
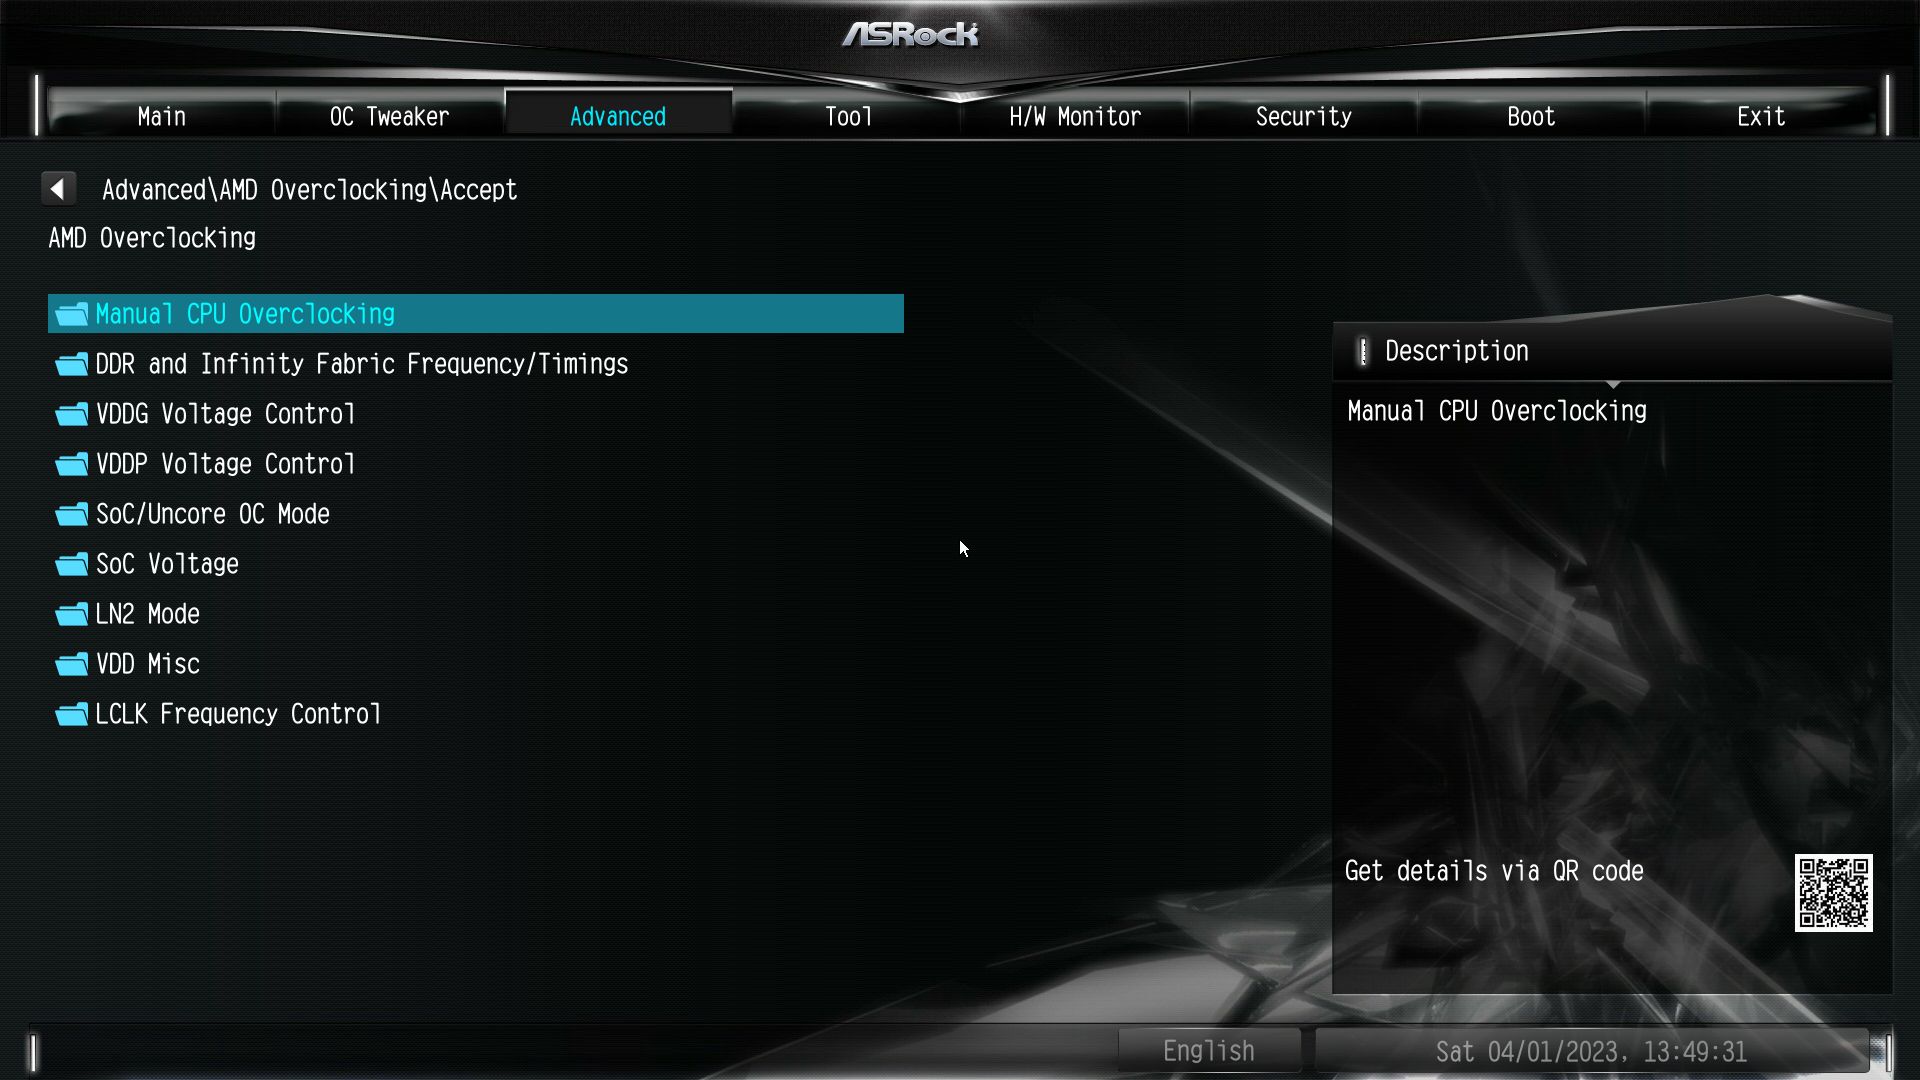
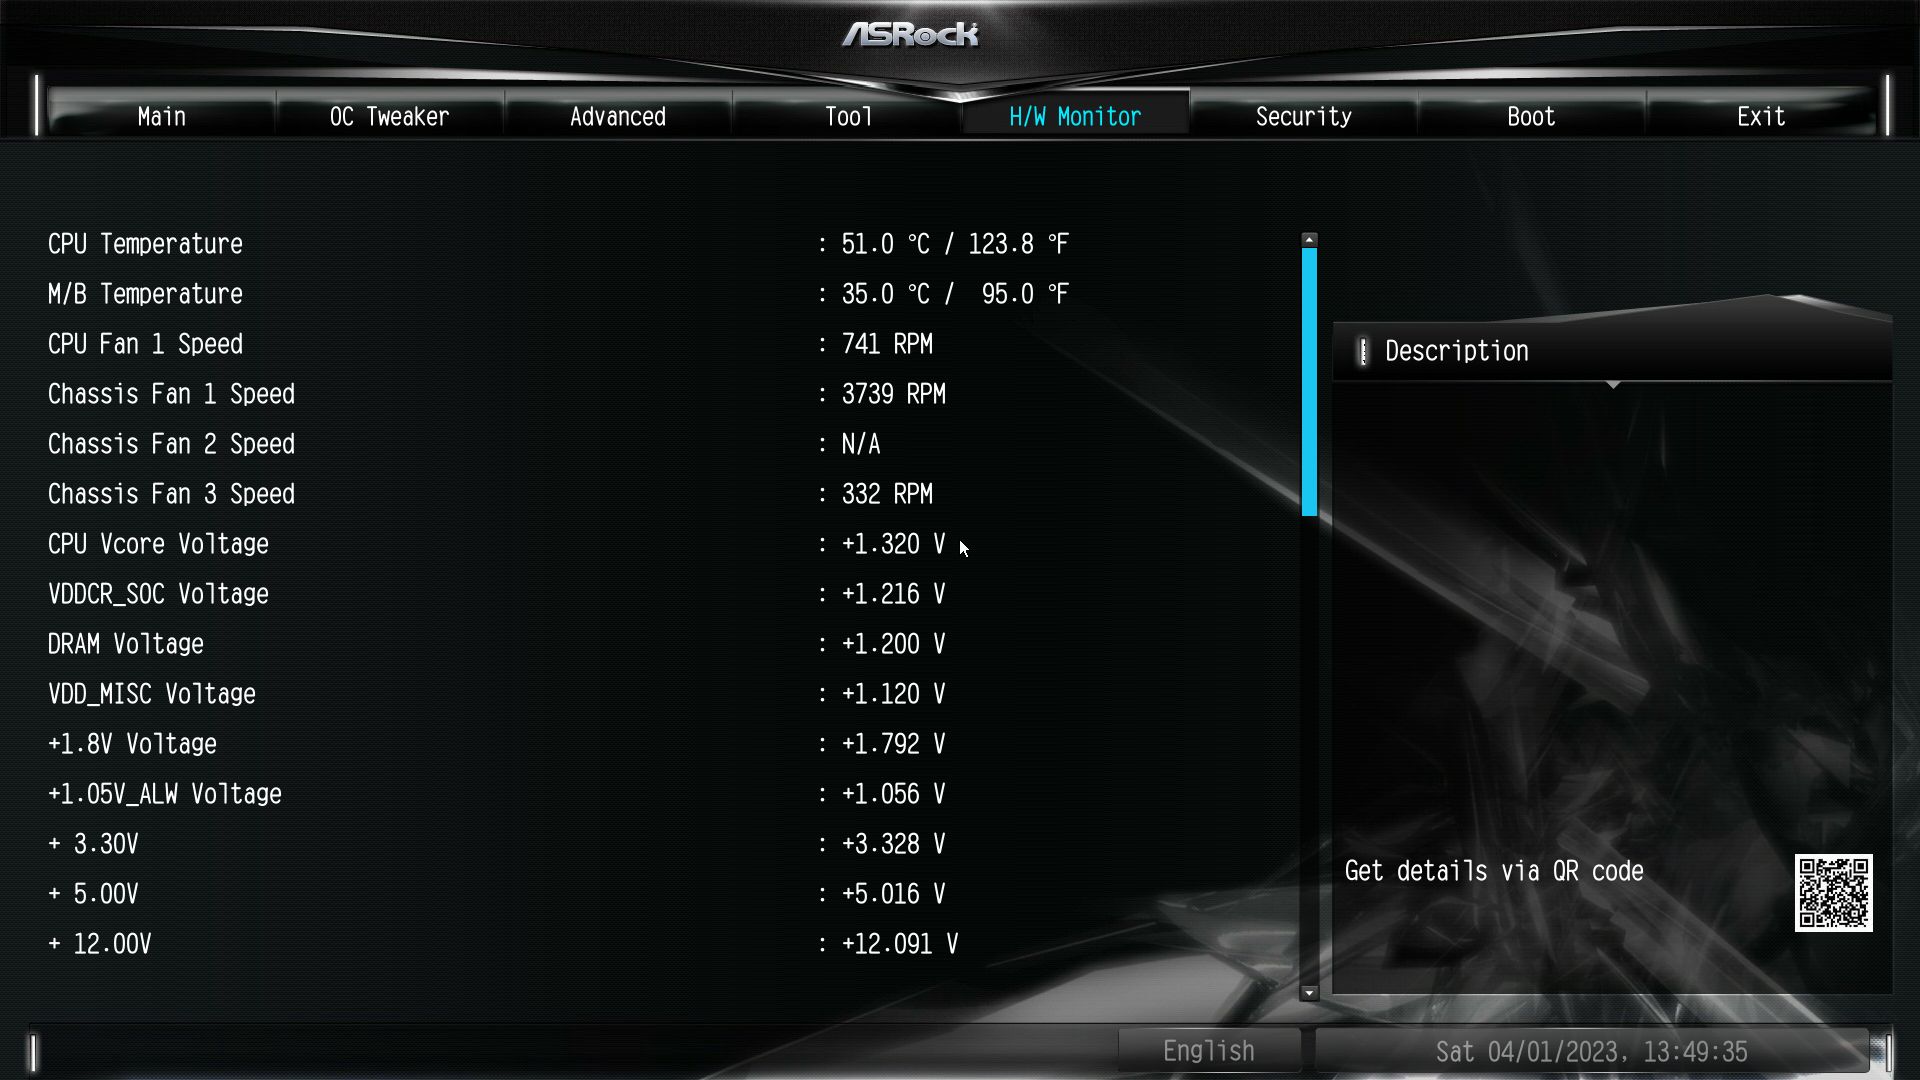
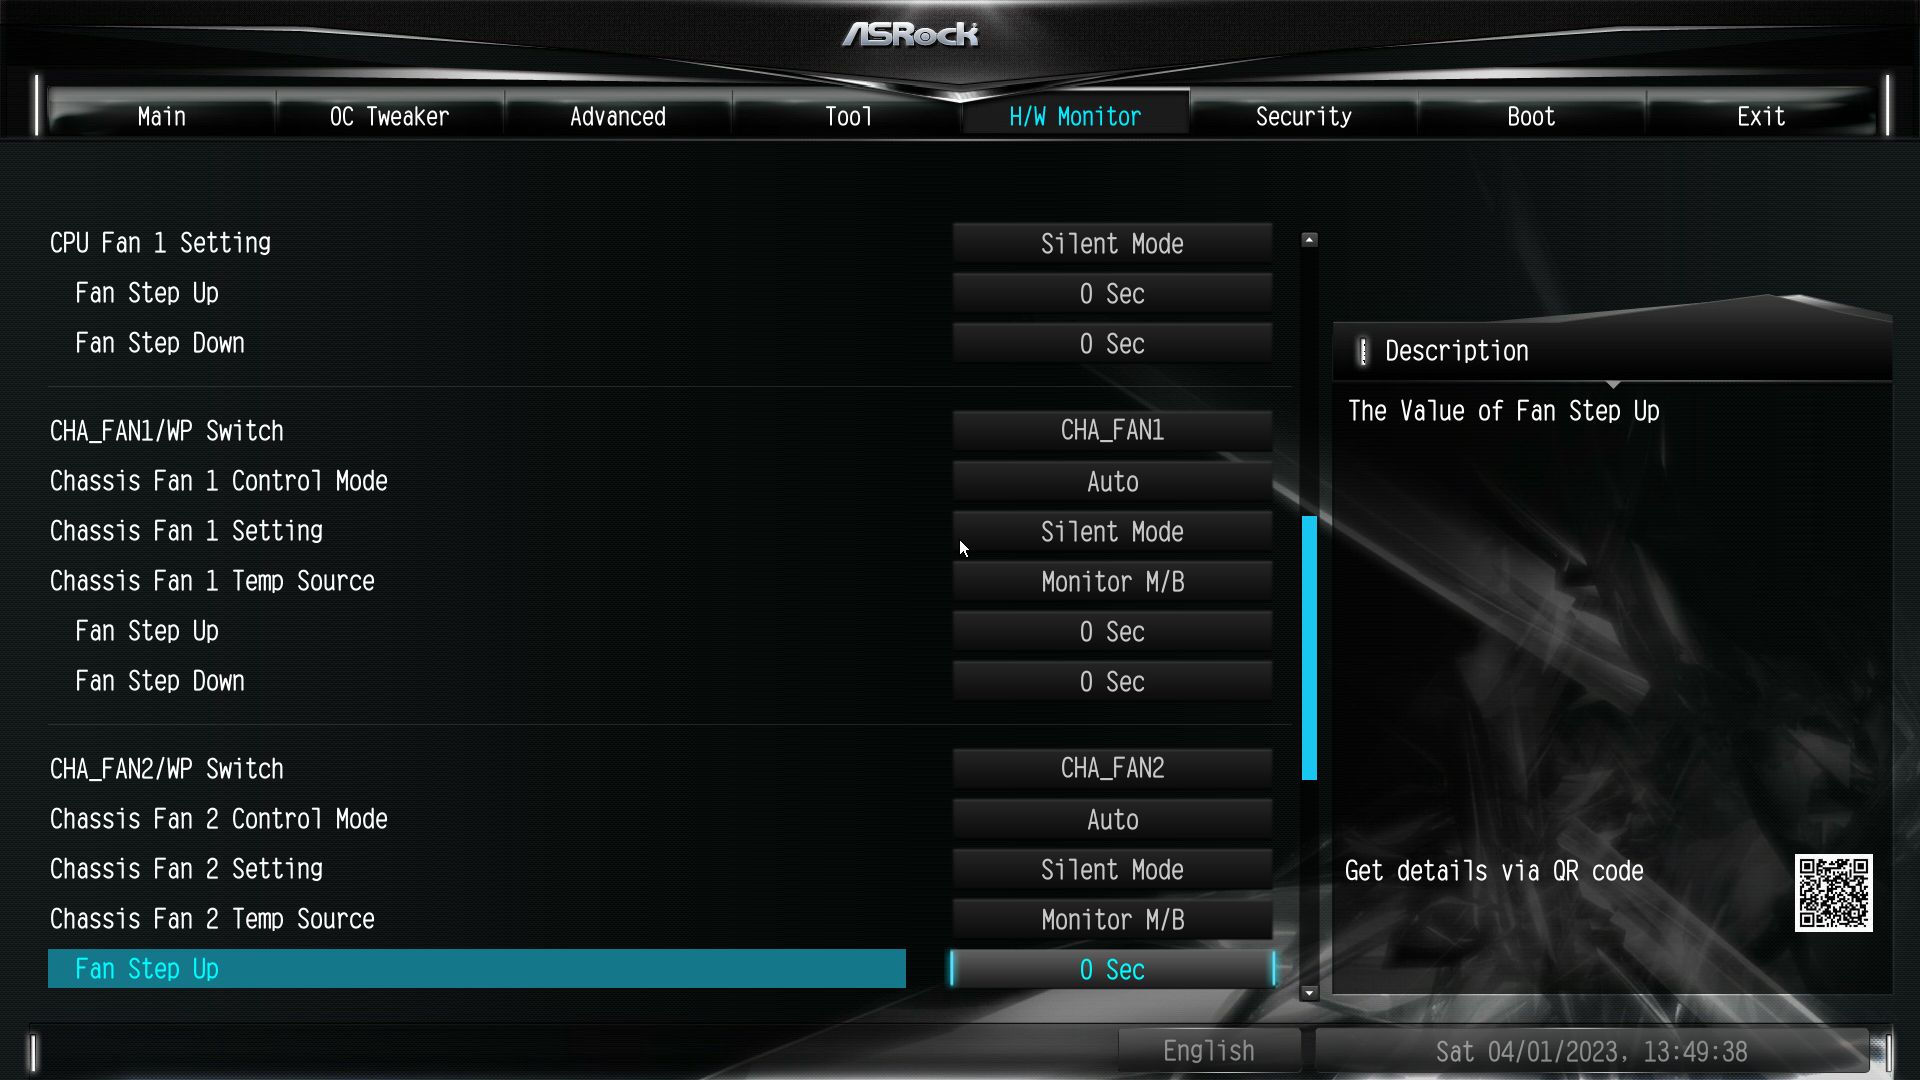
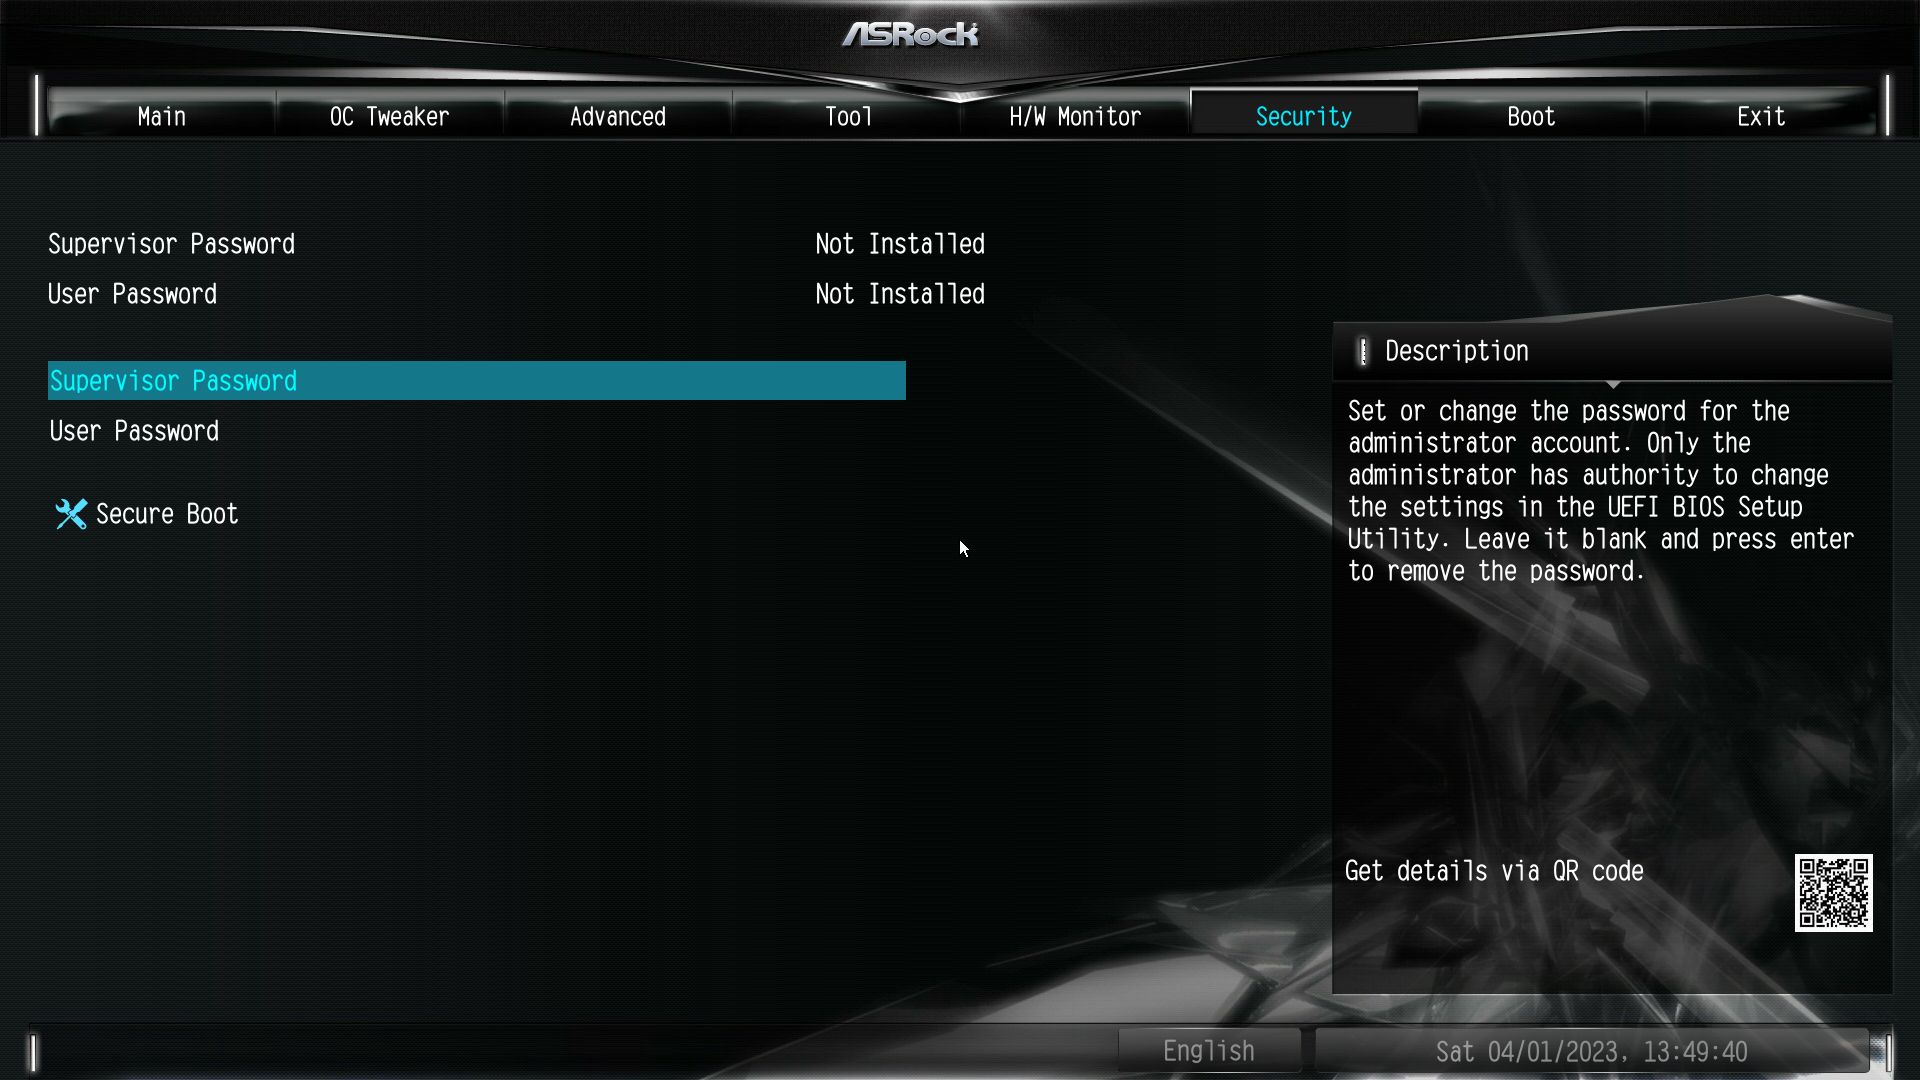
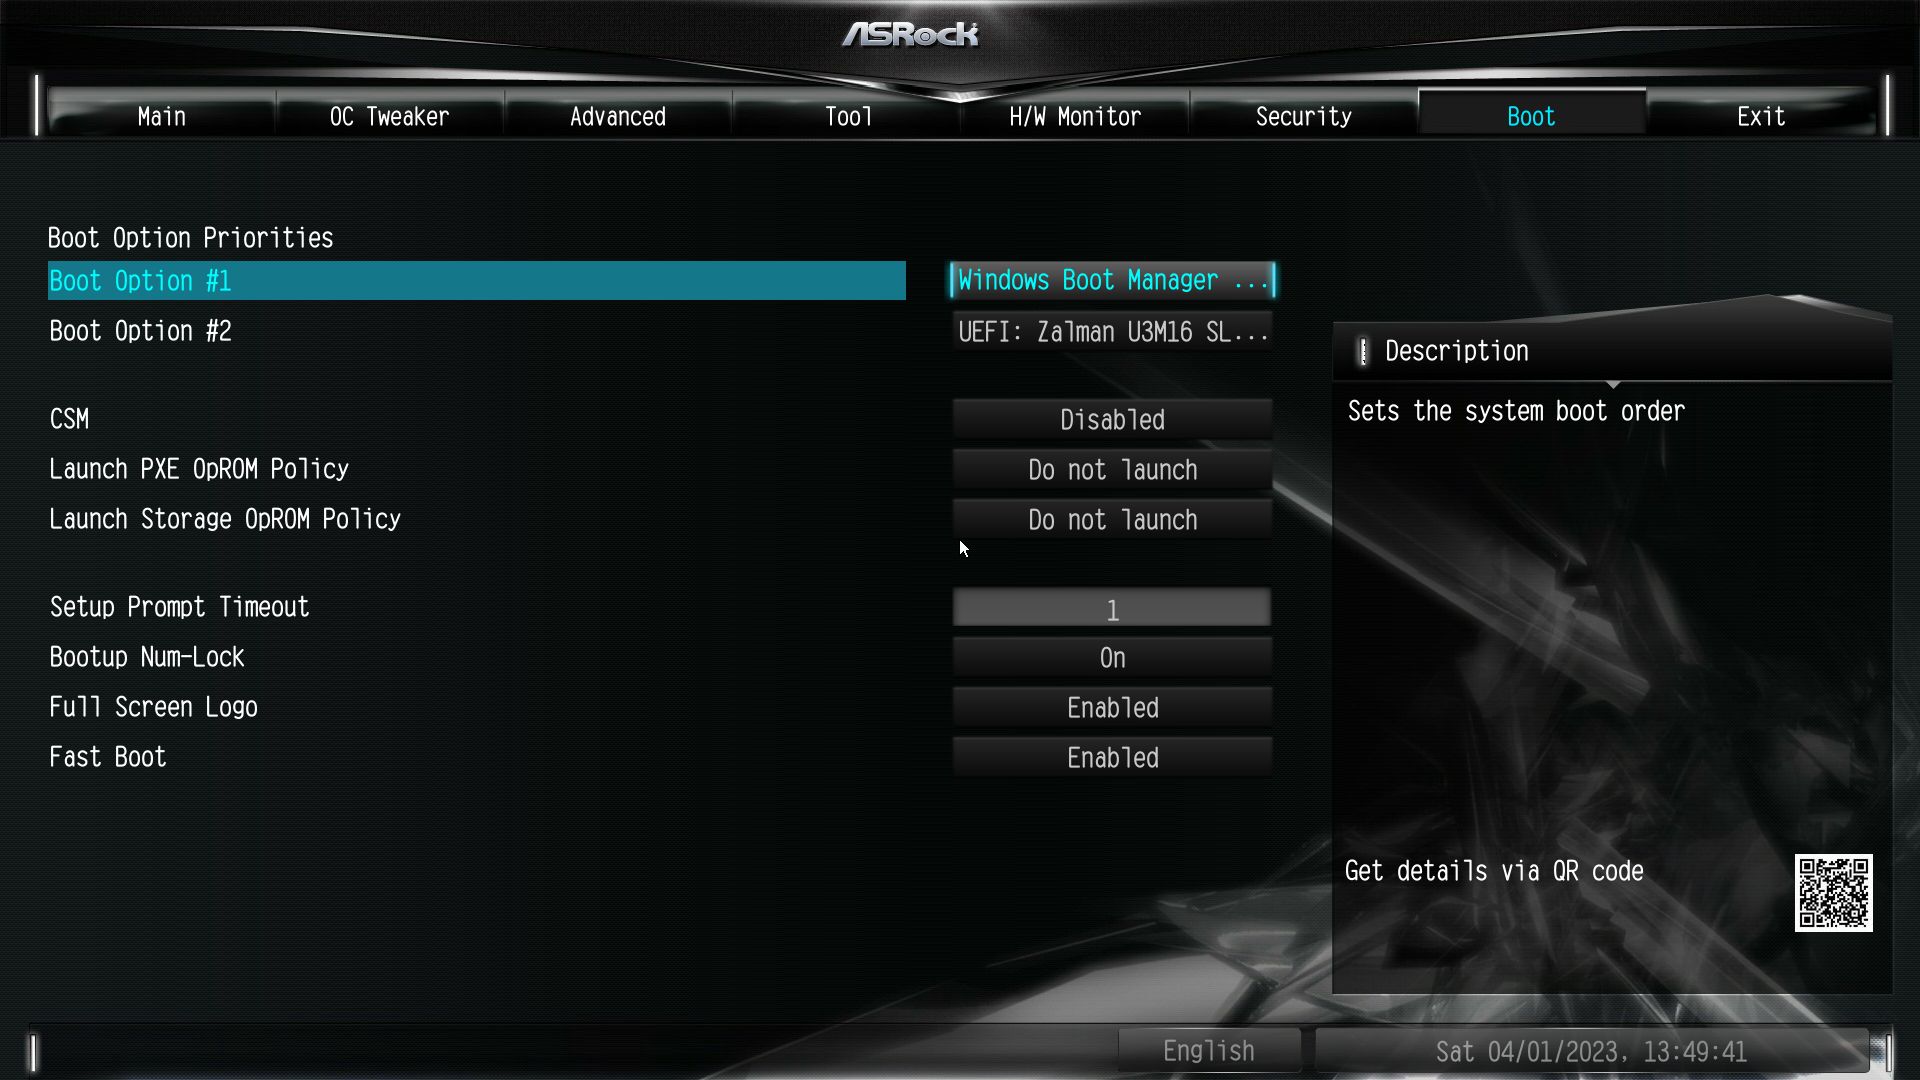
ASRock’s BIOS on the B650M-HDV/M.2 looks the same as most other ASRock boards. Except this board doesn’t offer an Easy Mode. The BIOS is themed in black and white and sports the familiar black, grey, white, and light blue, which is also easy to read. Advanced mode displays headings across the top with details below.
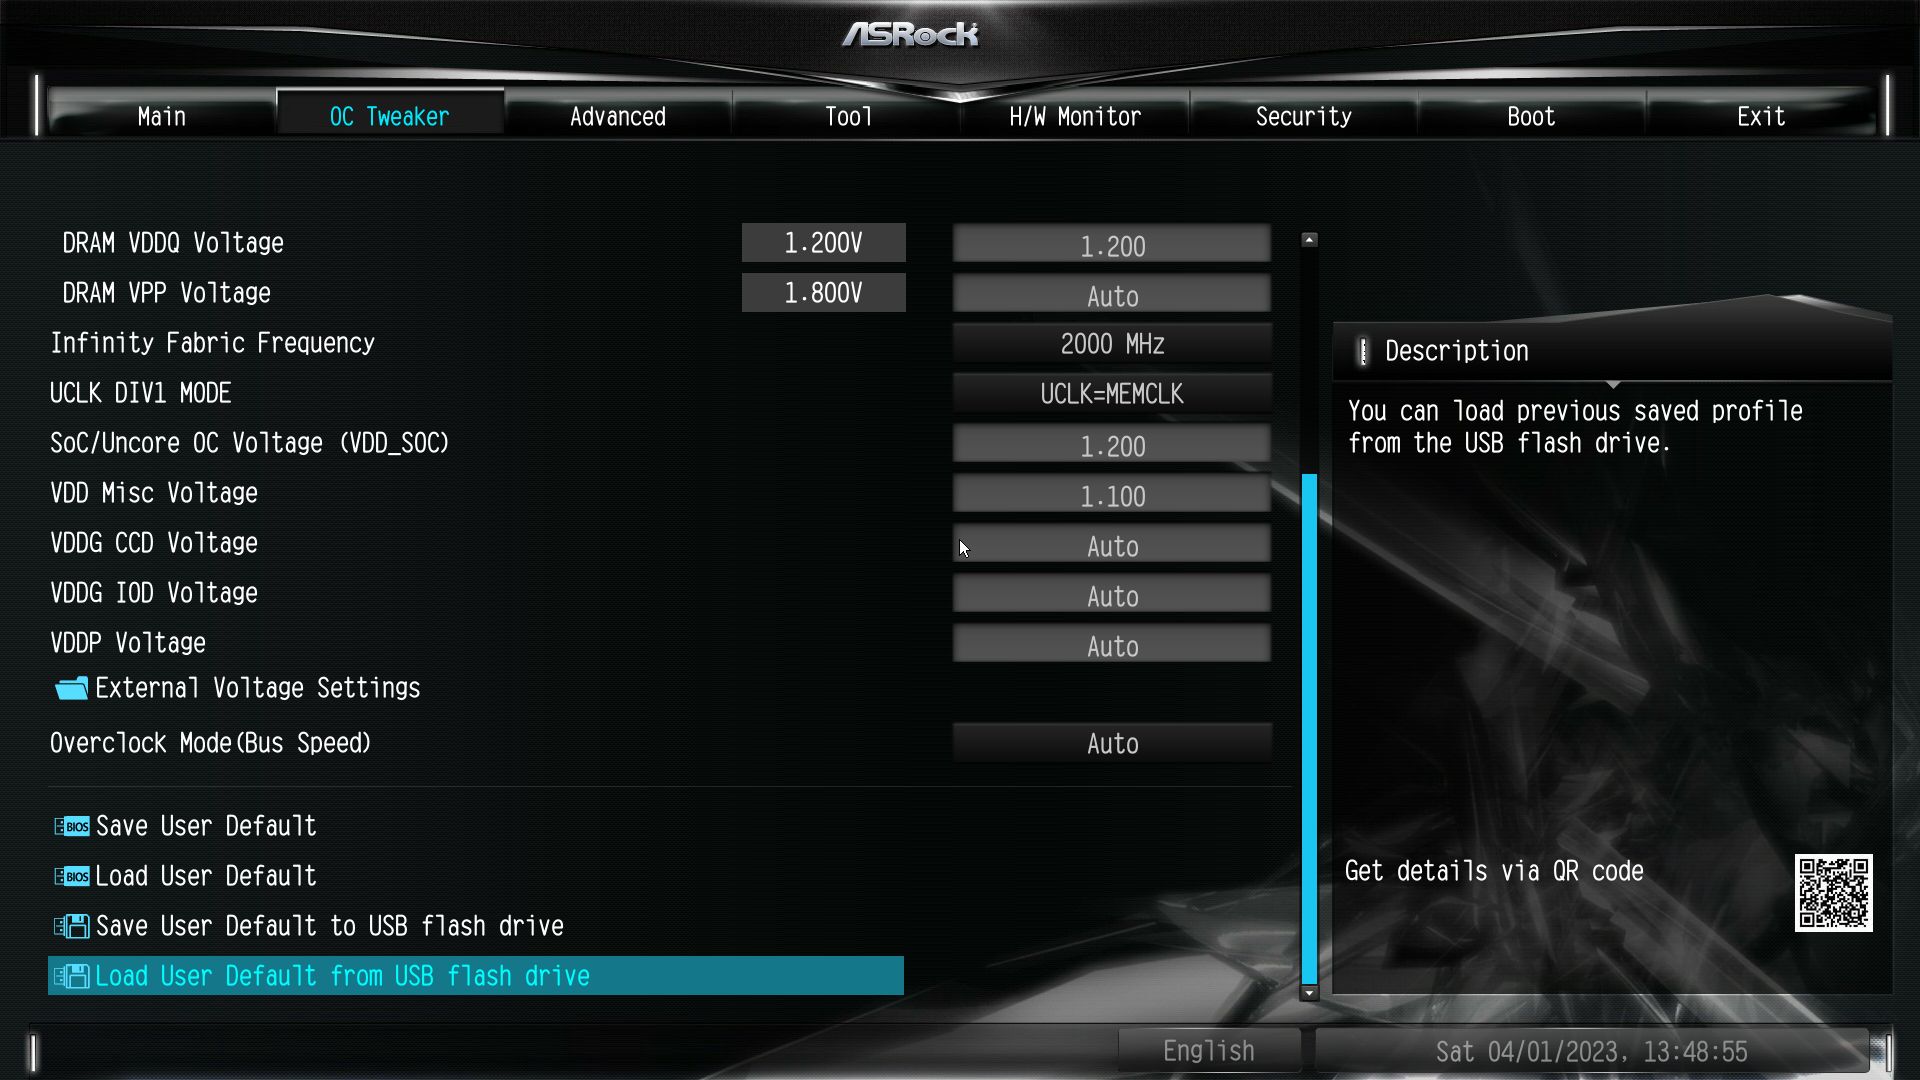
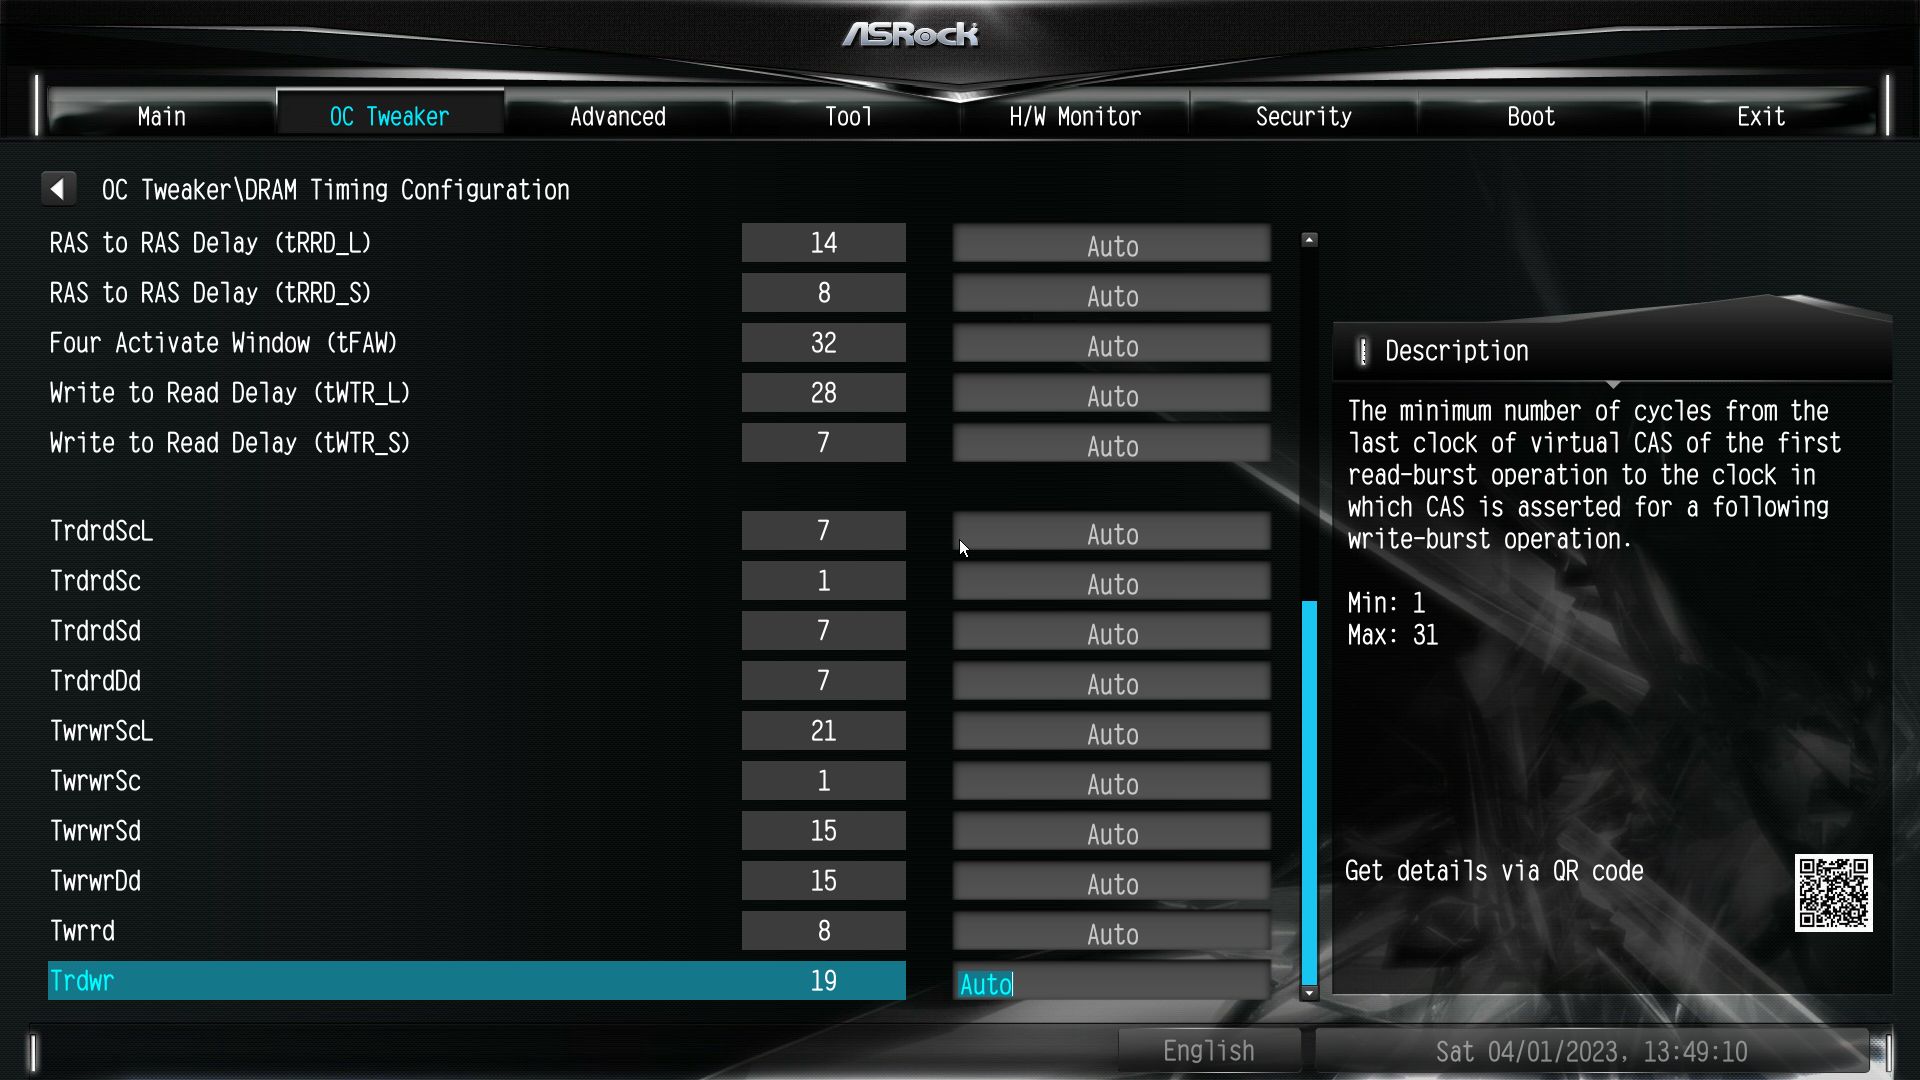
Here you can tweak everything to your heart’s desire (including raising the TJmax of your processor), as ASRock includes every option you can think of. Overclocking is easy, with most options on the same page, although some power options are in a different section. It’s a logical layout. The movement is smooth, and it’s easy to read. No complaints from us about the ASRock firmware.
Software
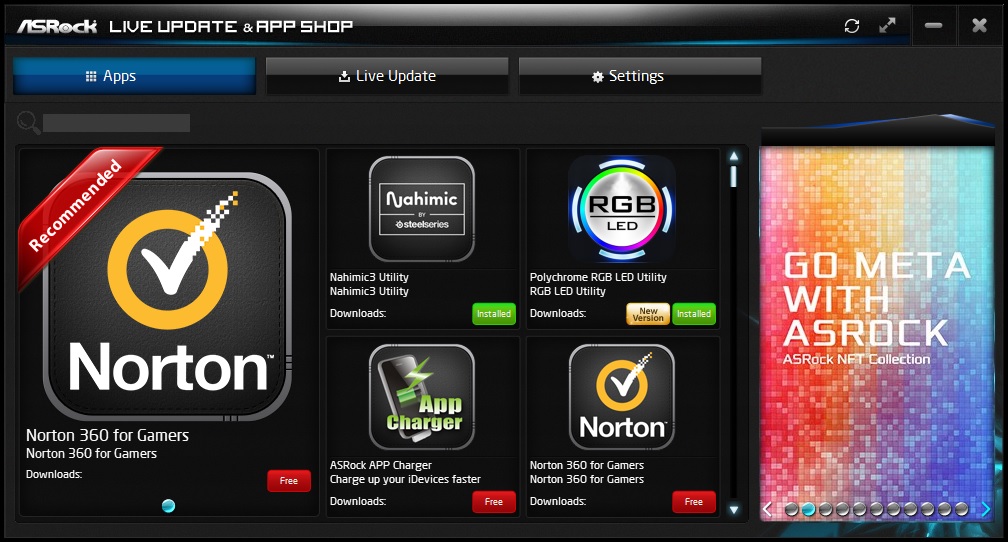
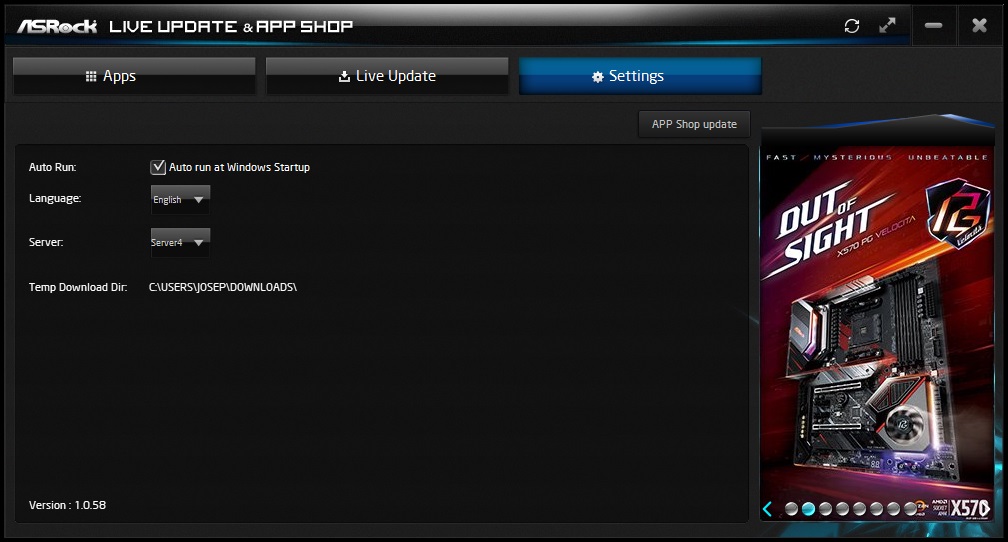
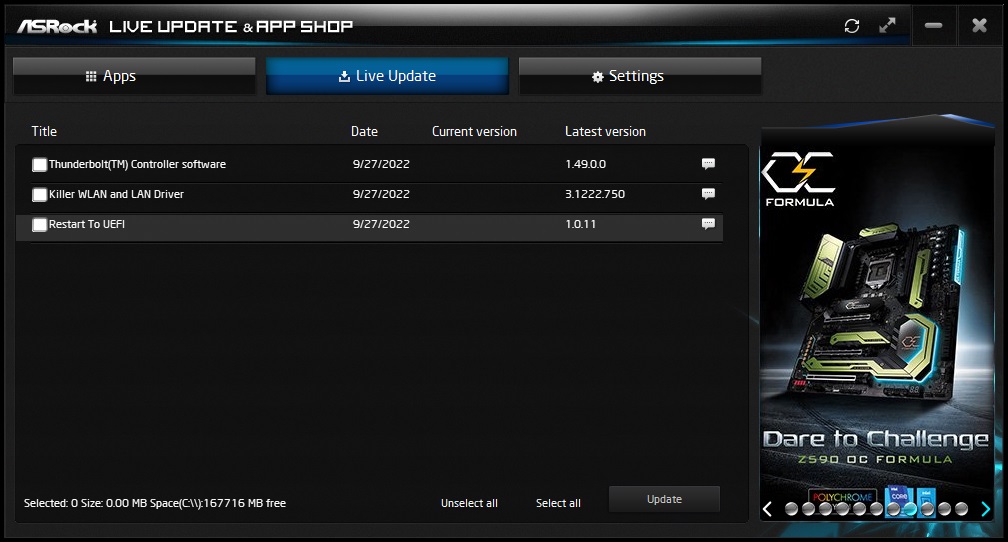
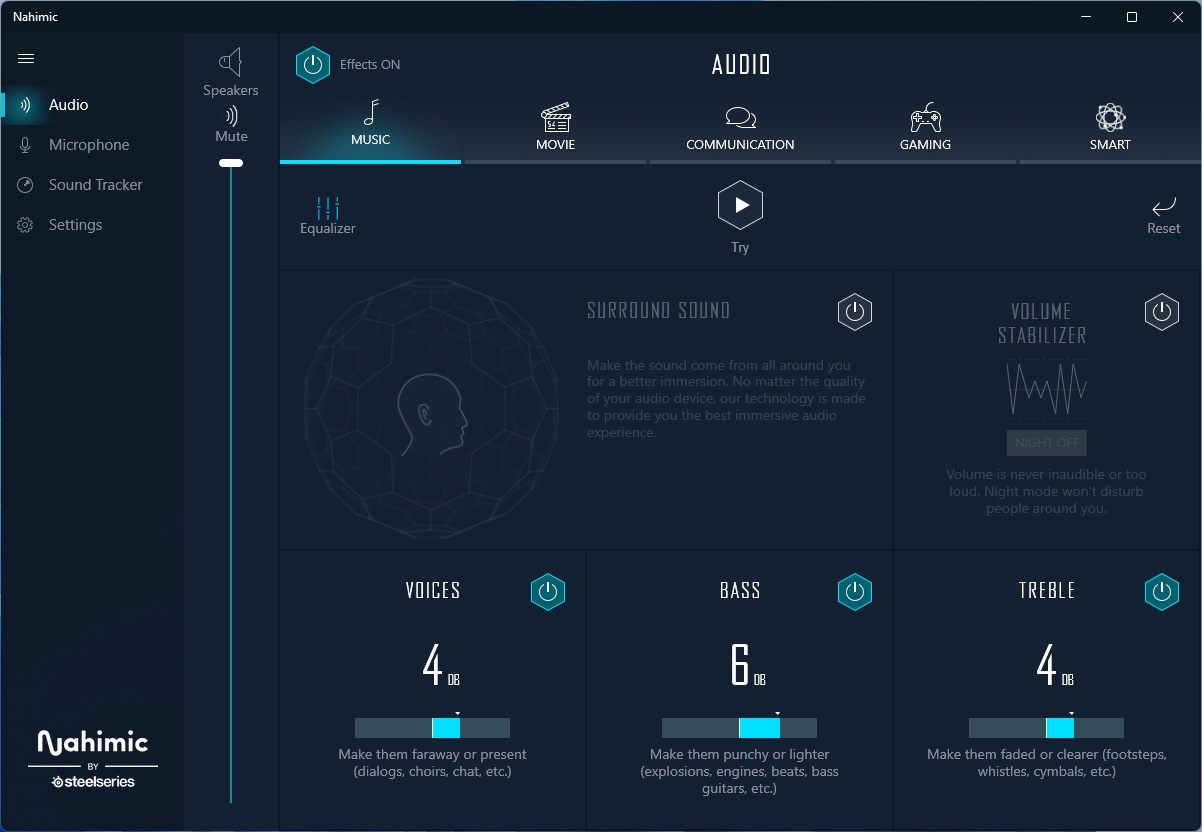
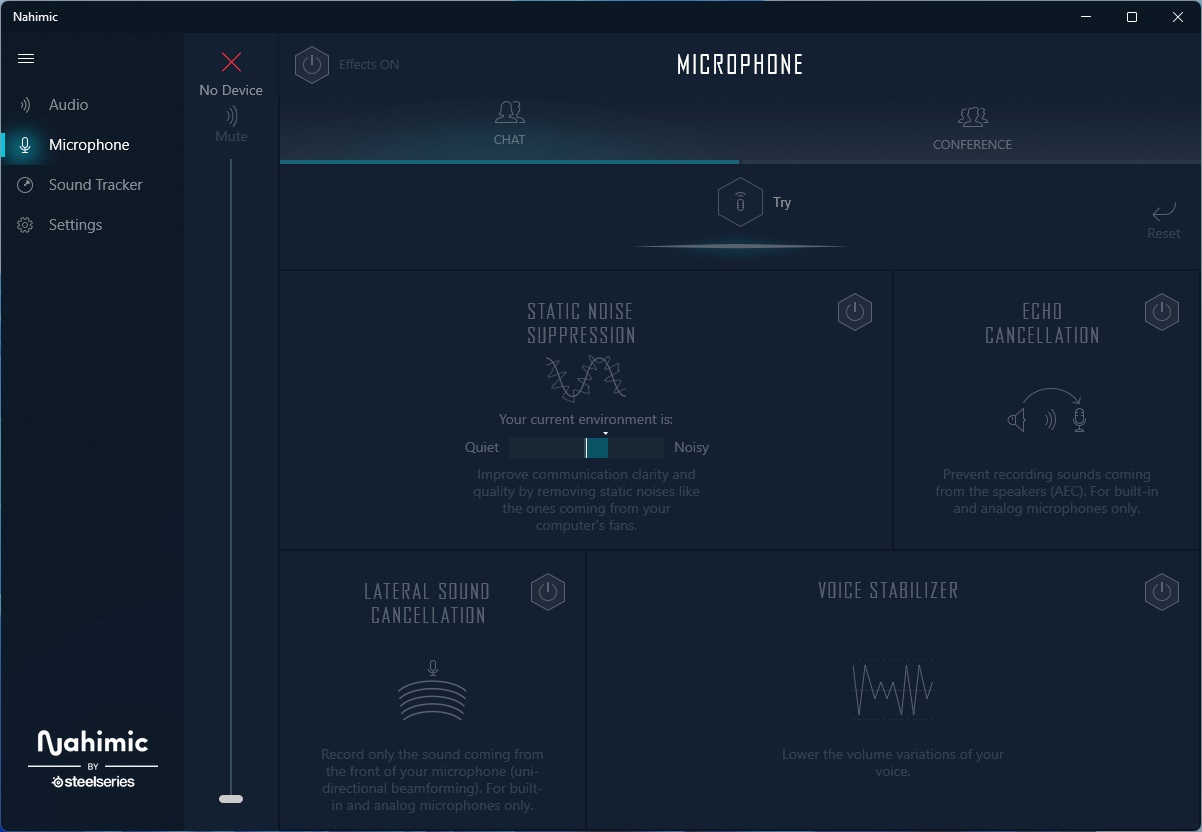
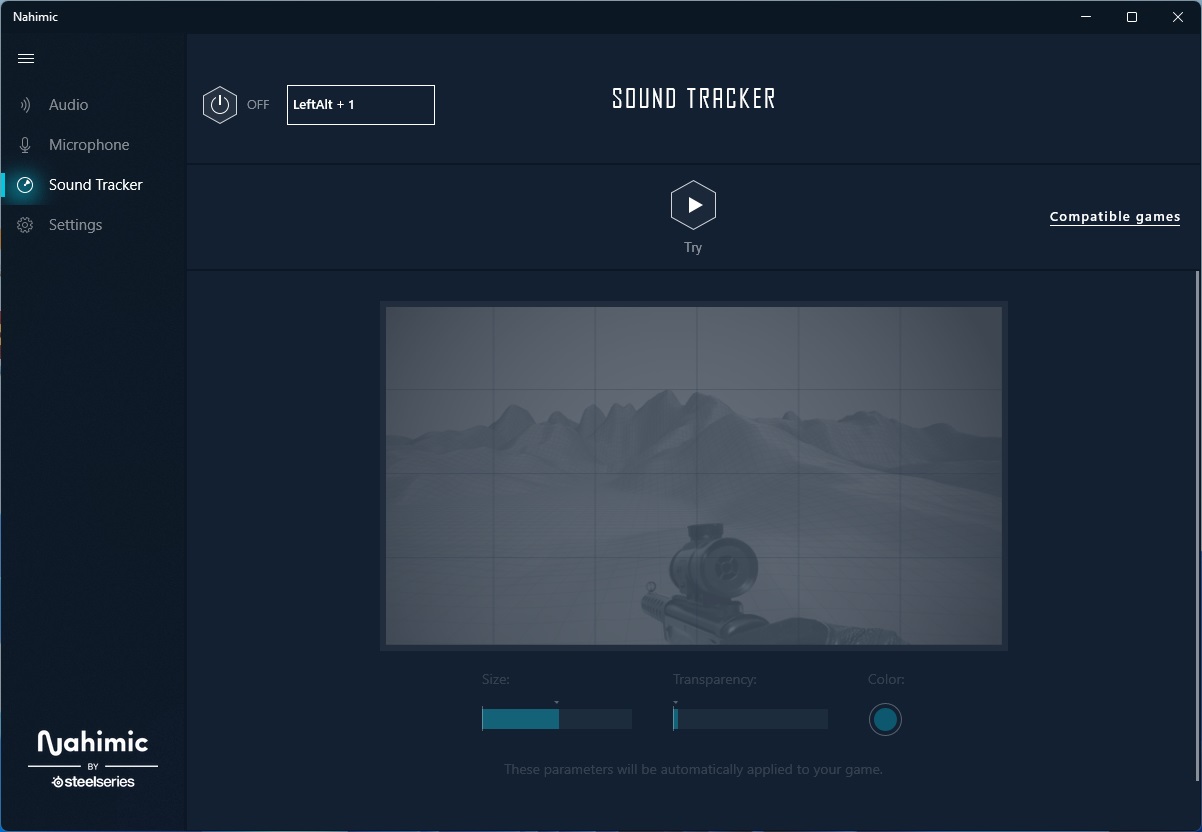
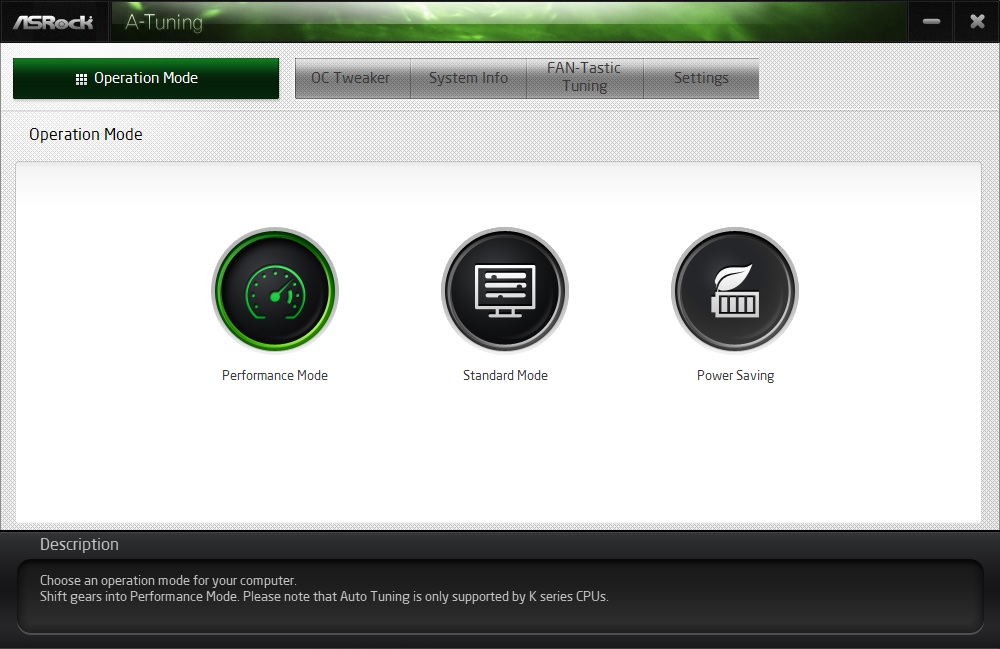
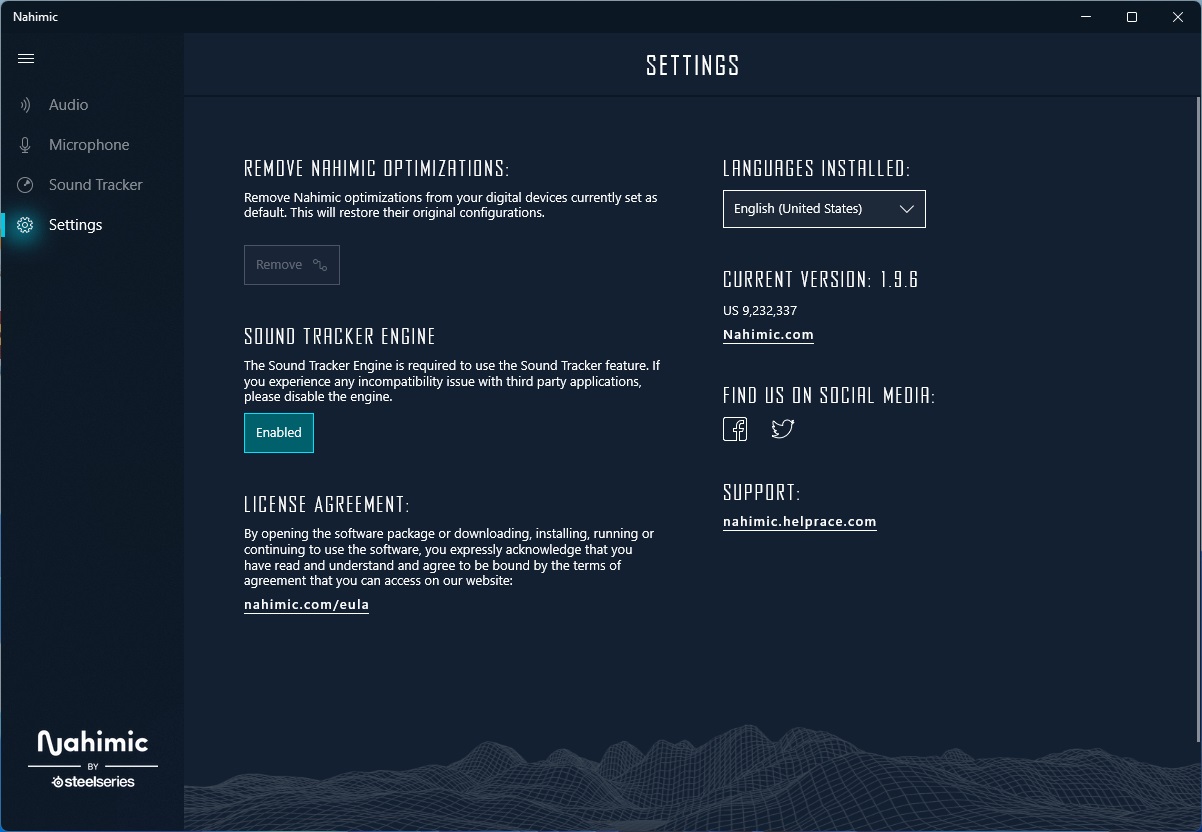
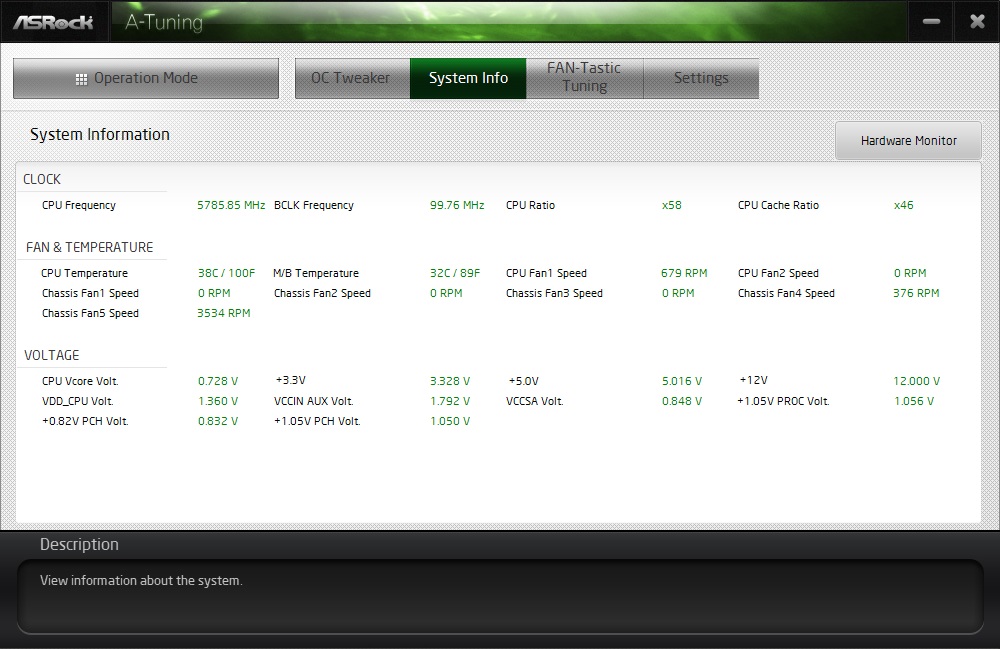
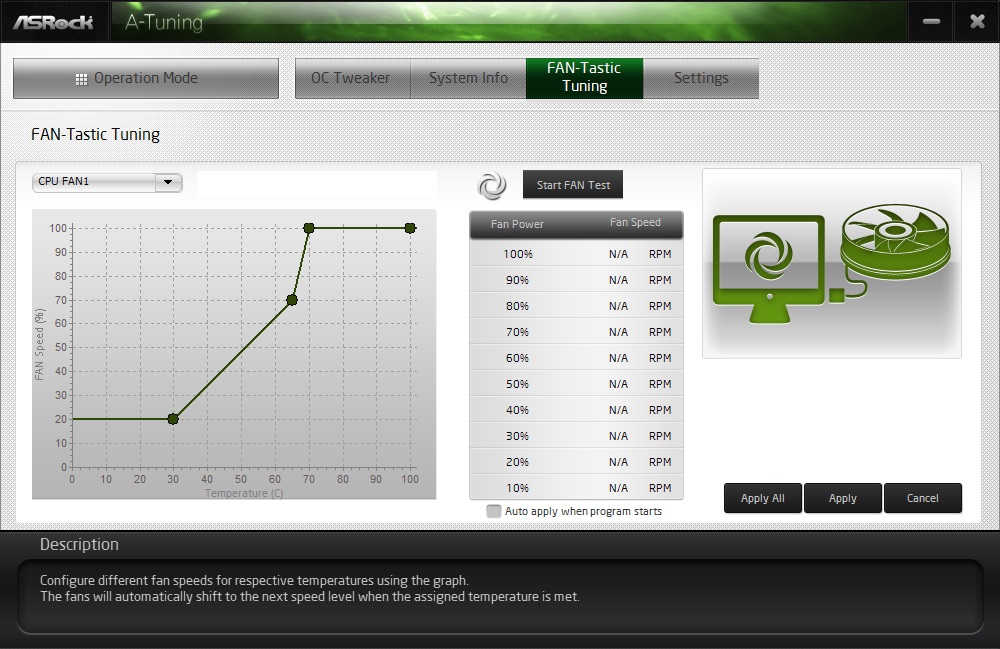
For software, ASRock provides several different options. It has the App Shop to install drivers and software, the Nahimic 3 audio control panel, and the A-Tune application that overclocks your system, controls fans, and more. There’s even a pop-up to install drivers when you first boot the system. ASRock’s software provides everything users need to manage and tweak their system.

Test System / Comparison Products
We’ve updated our test system to 64-bit Windows 11, with all updates applied. We kept the same Asus TUF RTX 3070 video card from our previous testing platforms but updated the driver. Additionally, we updated to F1 22 in our games suite and kept Far Cry 6. We use the latest non-beta motherboard BIOS available to the public unless otherwise noted. The hardware we used is as follows:
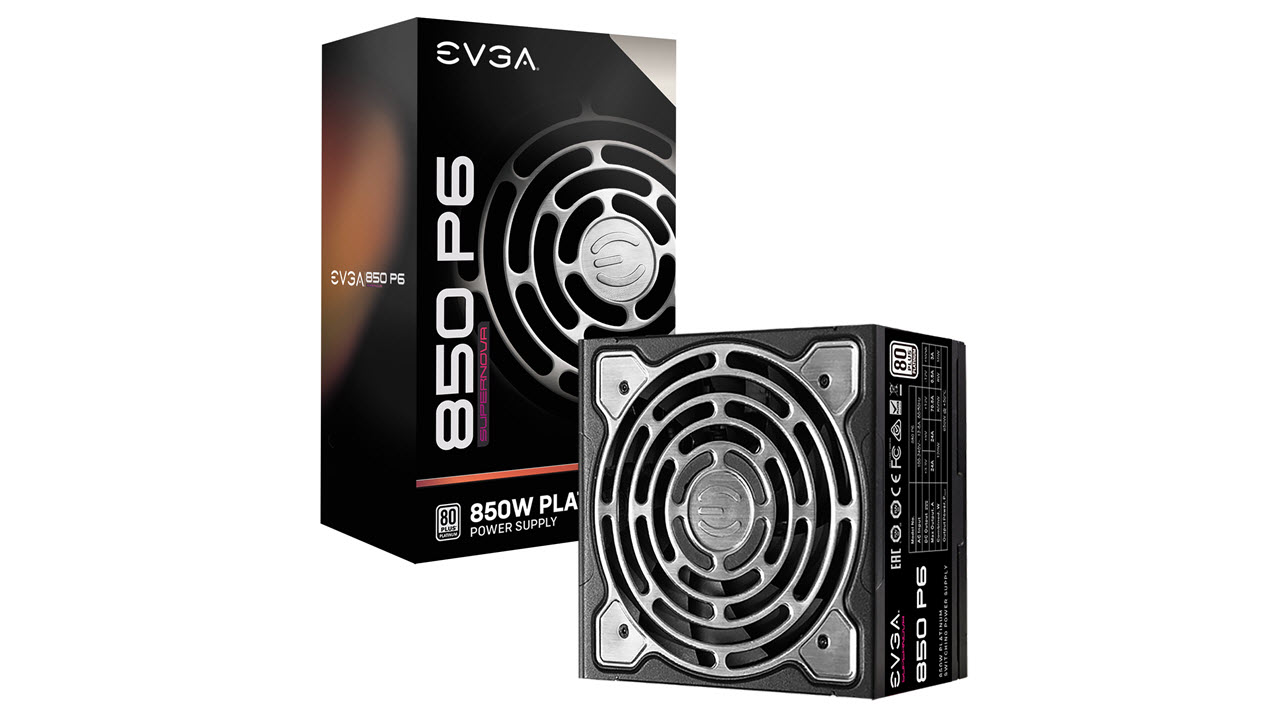
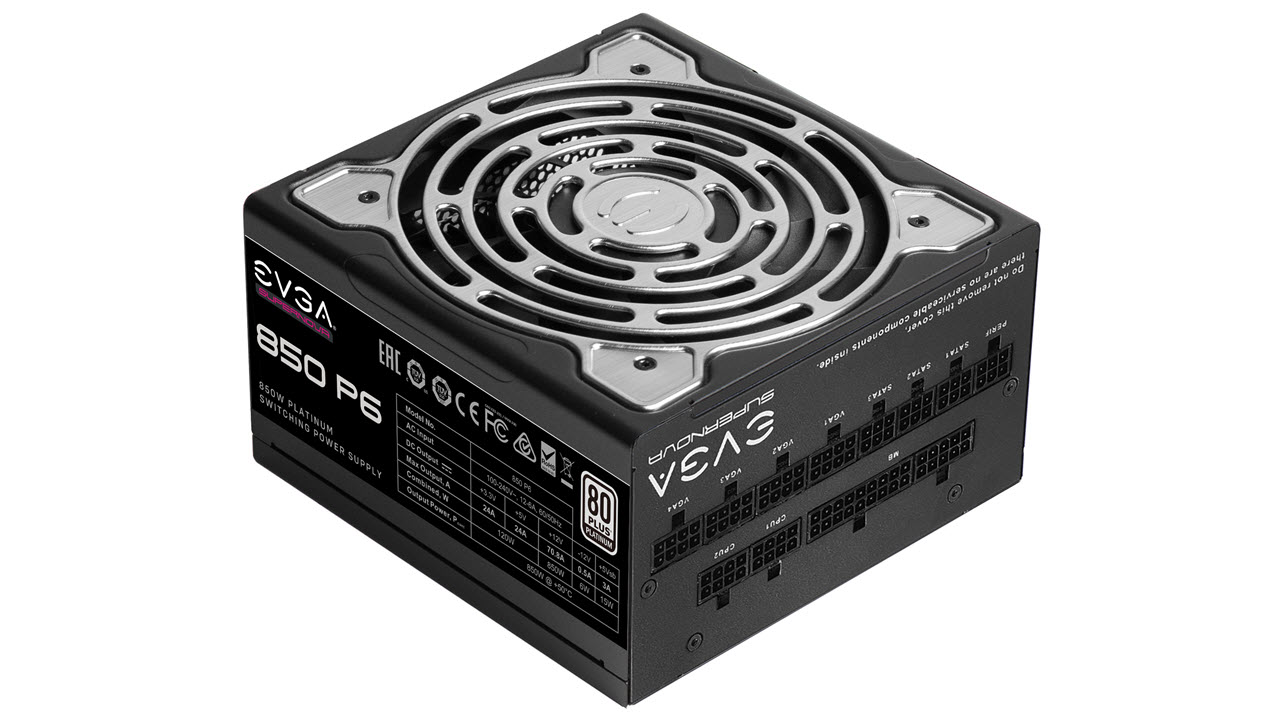
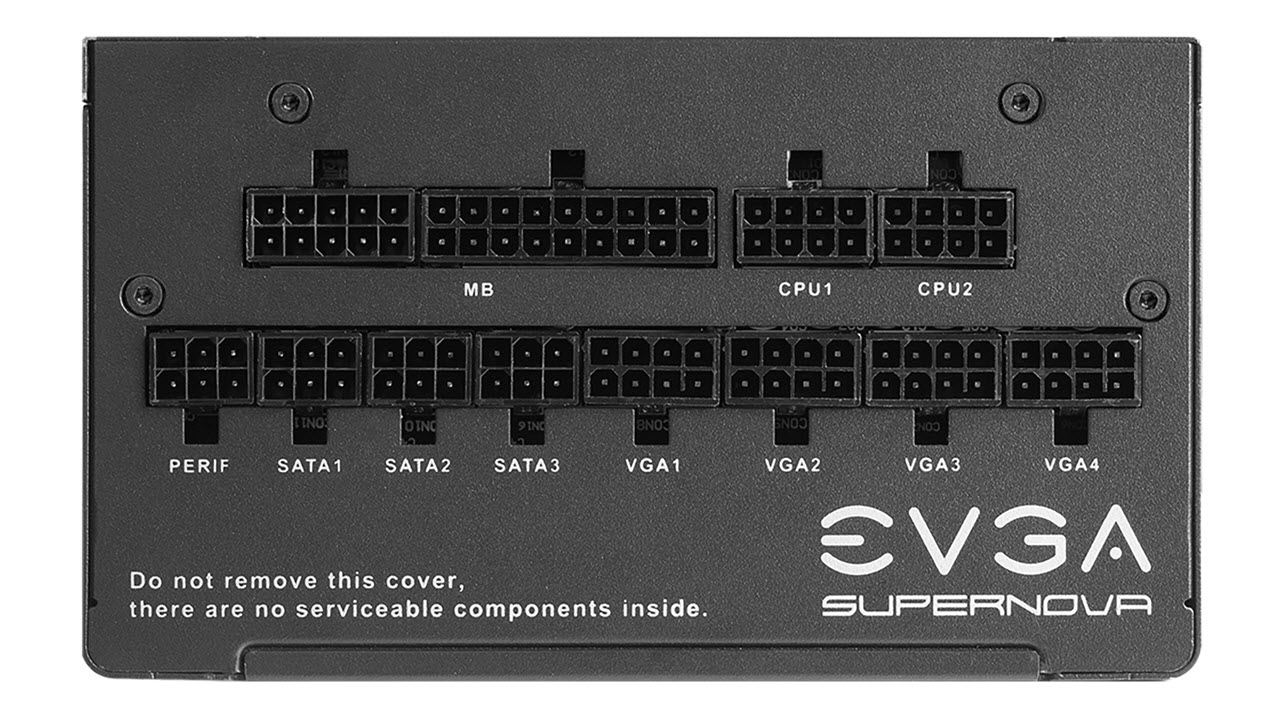
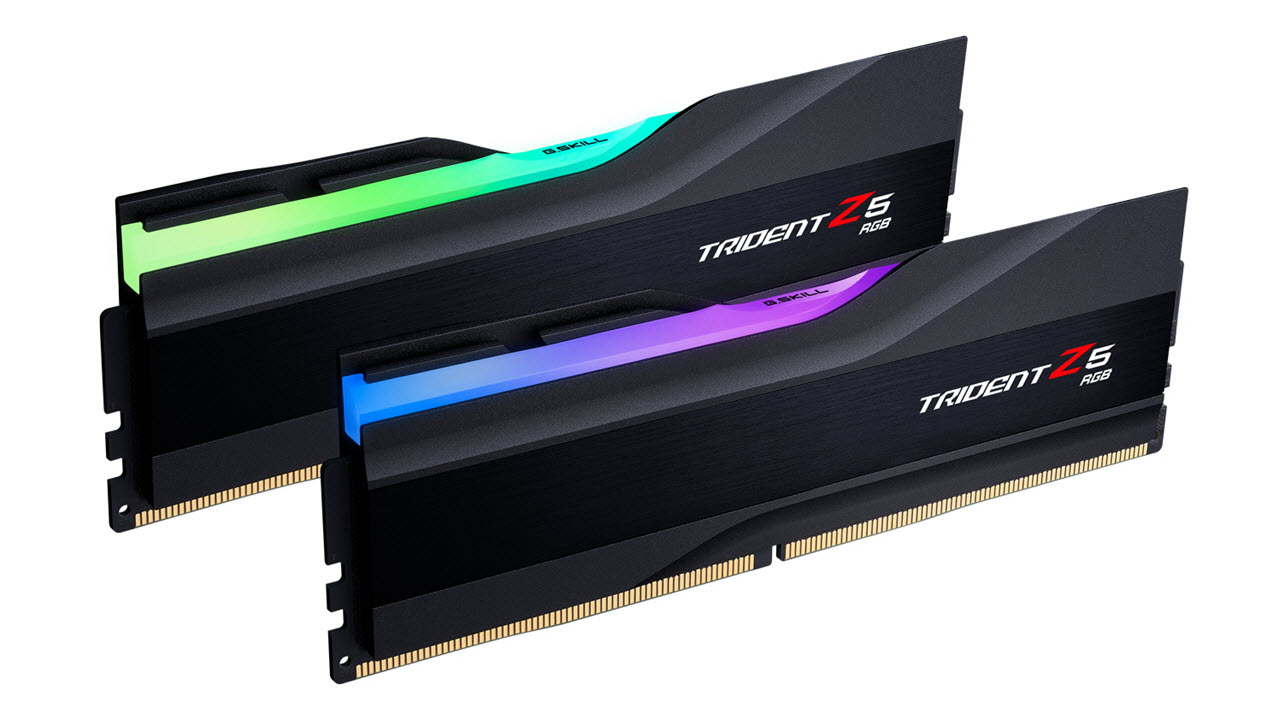
EVGA supplied our Supernova 850W P6 power supply (appropriately sized and more efficient than the 1.2KW monster we used previously) for our test systems, and G.Skill sent us a DDR5-5600 (F5-5600U3636C16GX2-TZ5RK) memory kit for testing.
Benchmark Settings
MORE: Best Motherboards
MORE: How To Choose A Motherboard
MORE: All Motherboard Content
Our standard benchmarks and power tests are performed using the CPU’s stock frequencies (including any default boost/turbo), with all power-saving features enabled. We set optimized defaults in the BIOS and the memory by enabling the XMP profile. For this baseline testing, the Windows power scheme is set to Balanced (default) so the PC idles appropriately.
Synthetic Benchmarks
Synthetics provide a great way to determine how a board runs, as identical settings should produce similar performance results. Turbo boost wattage and advanced memory timings are places where motherboard makers can still optimize for either stability or performance, though, and those settings can impact some testing.
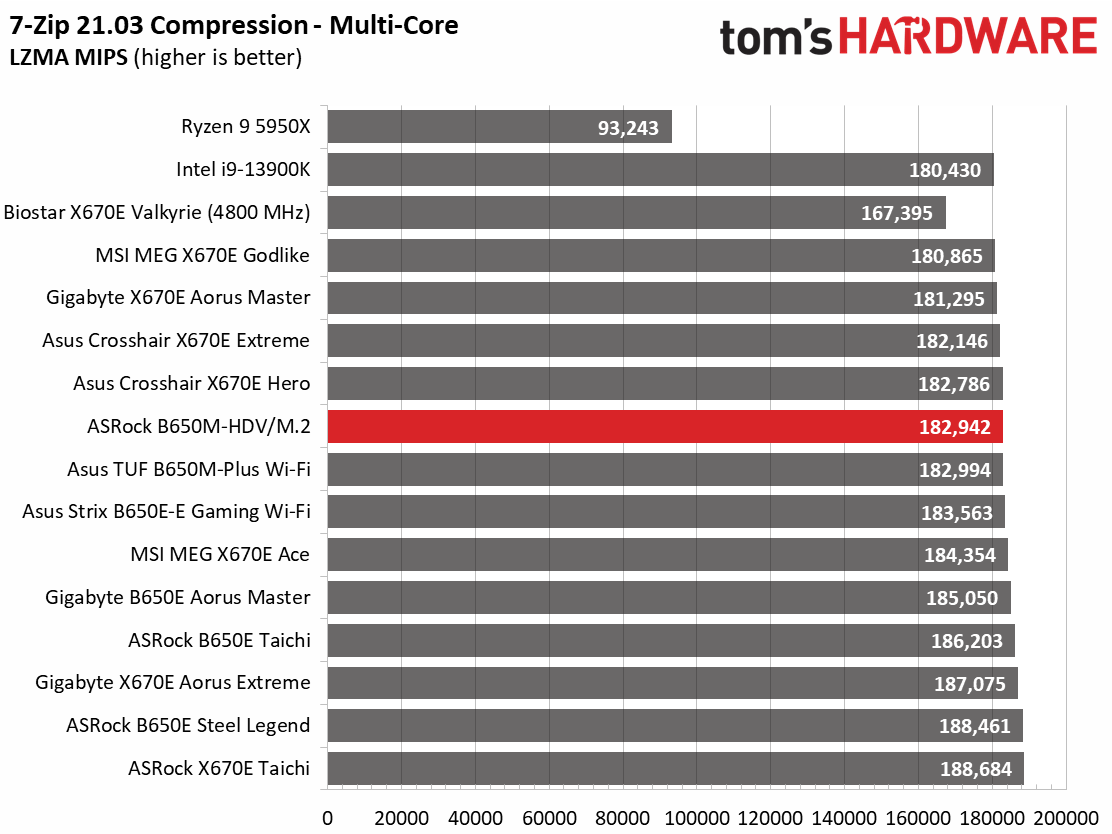
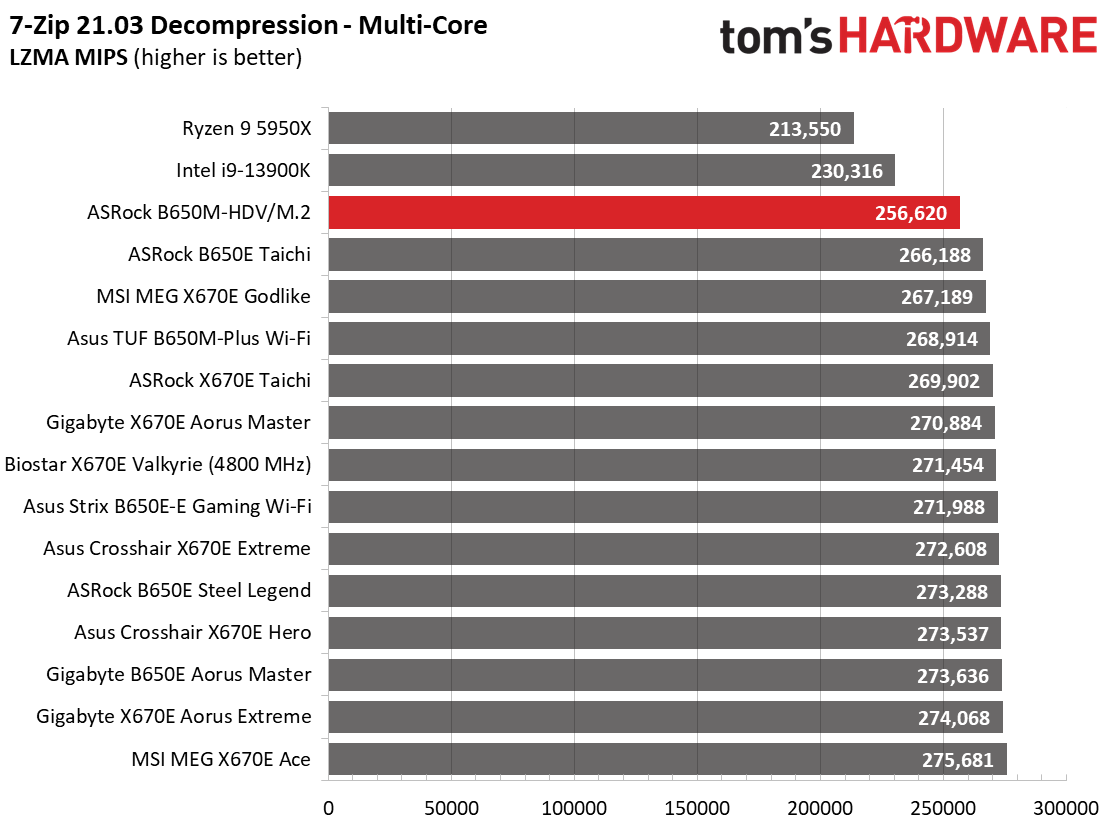
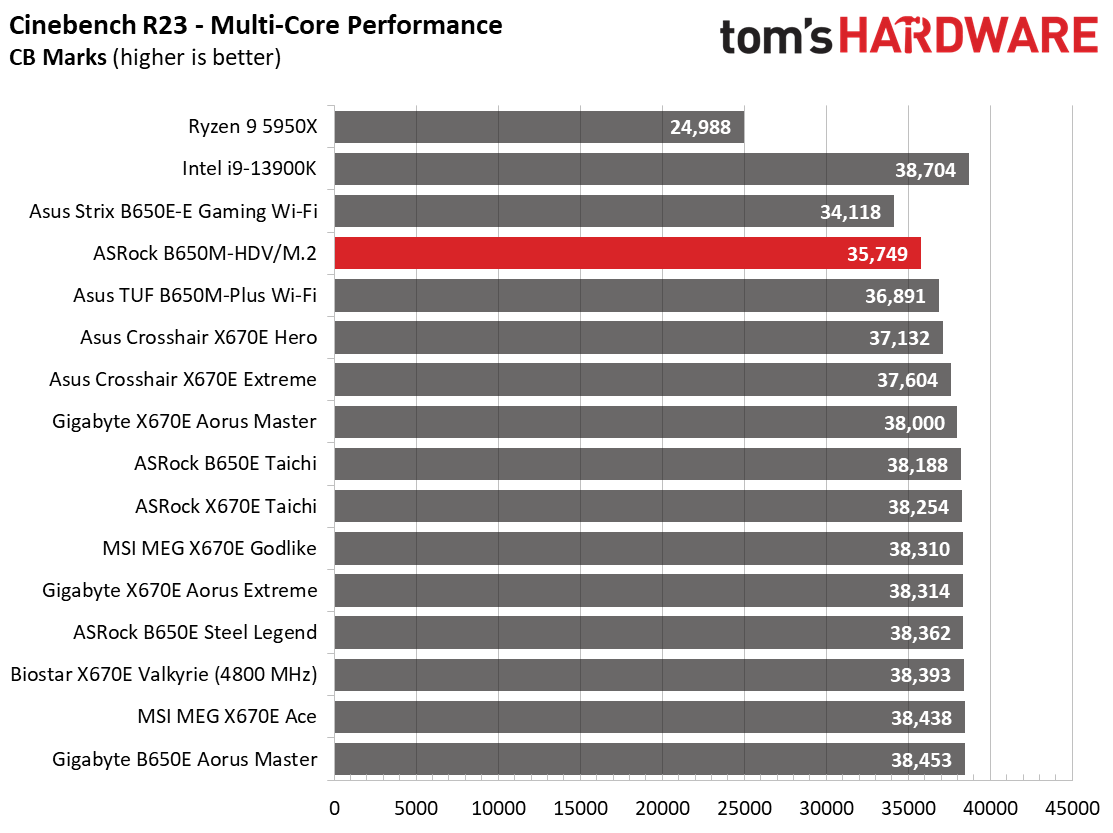
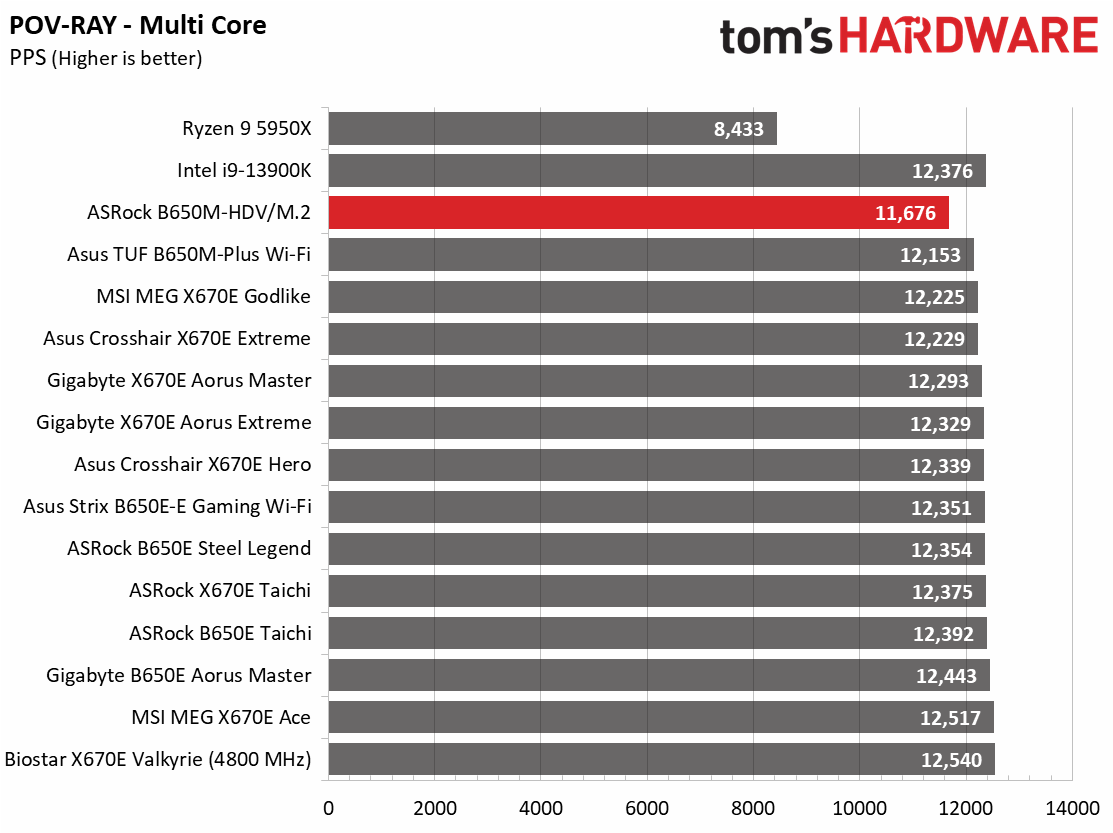
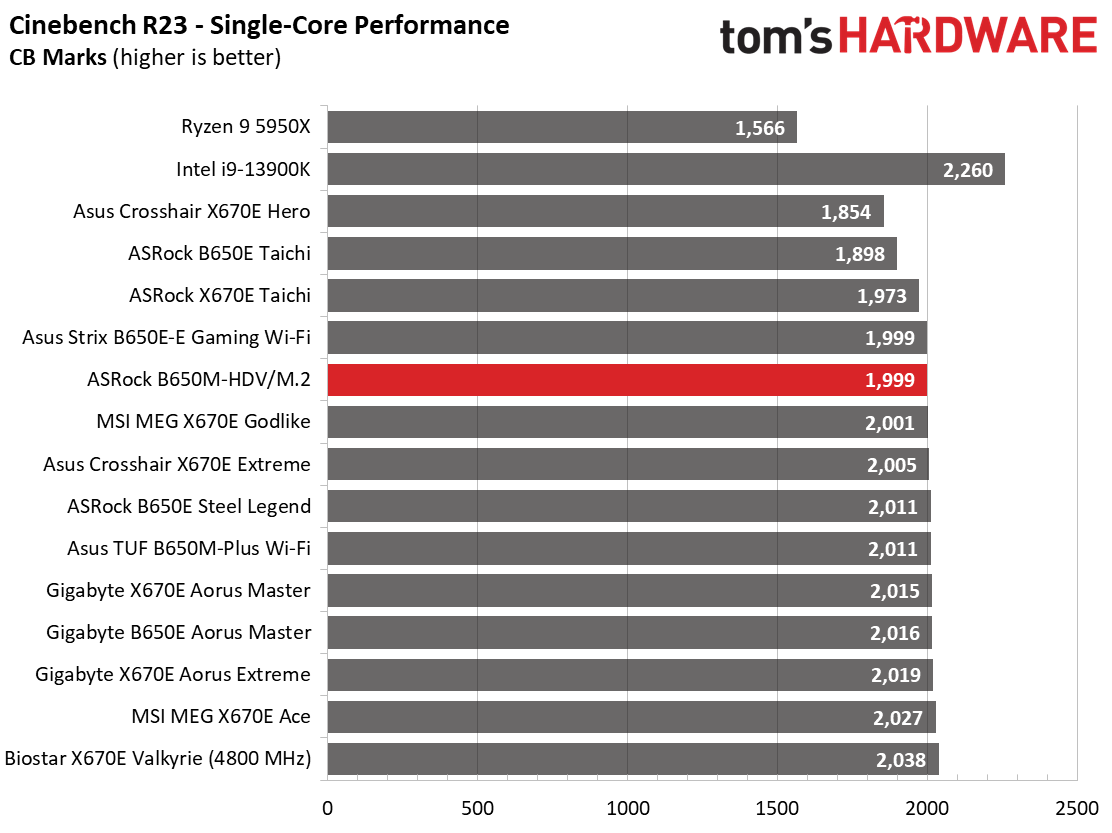
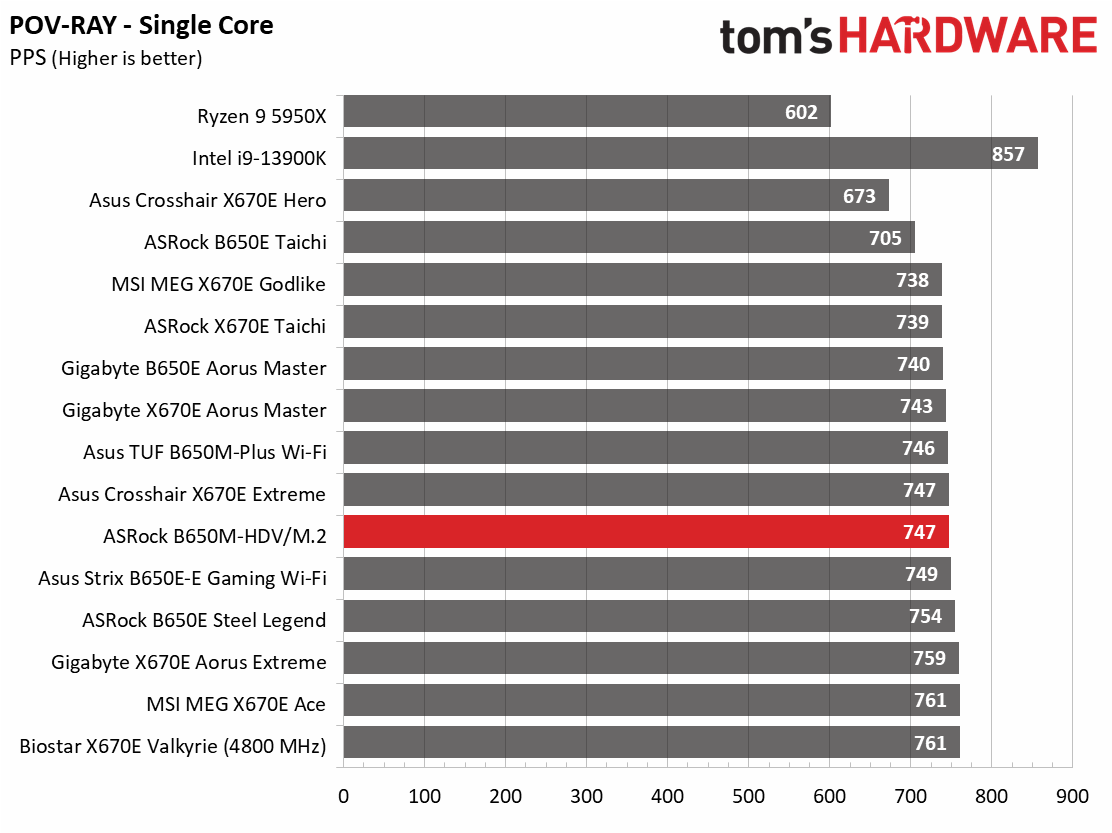
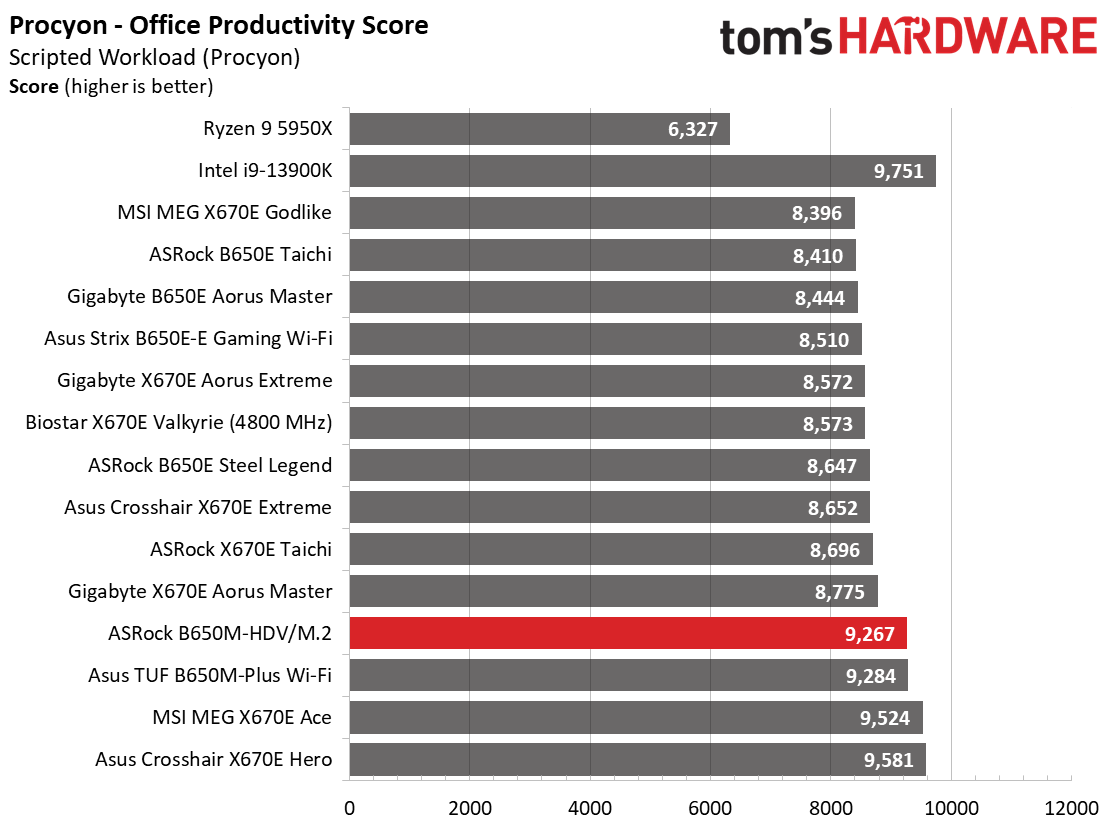
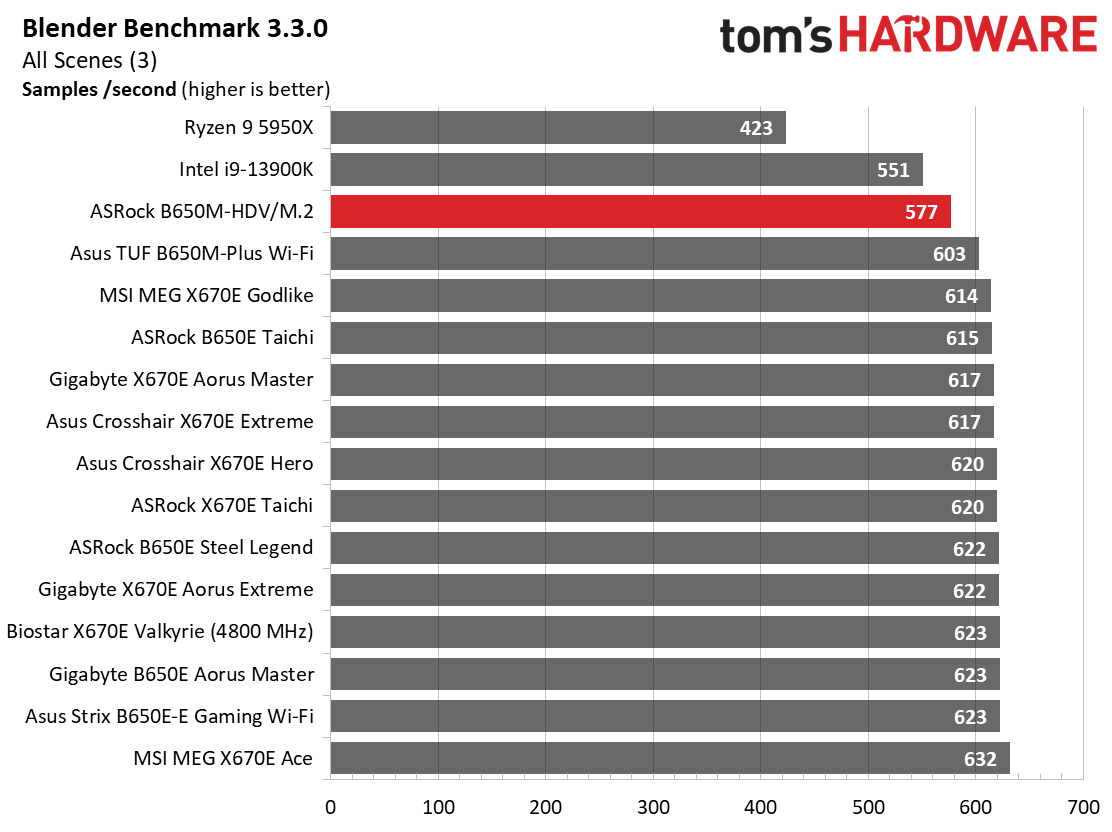
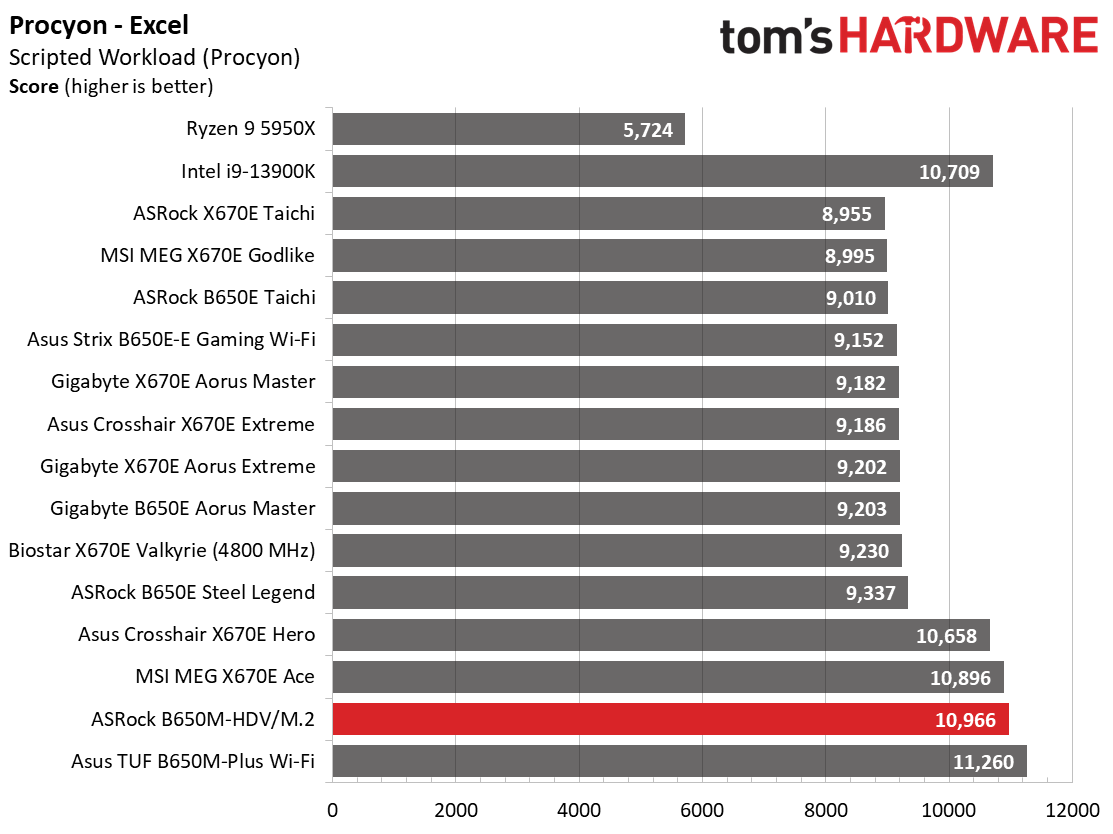
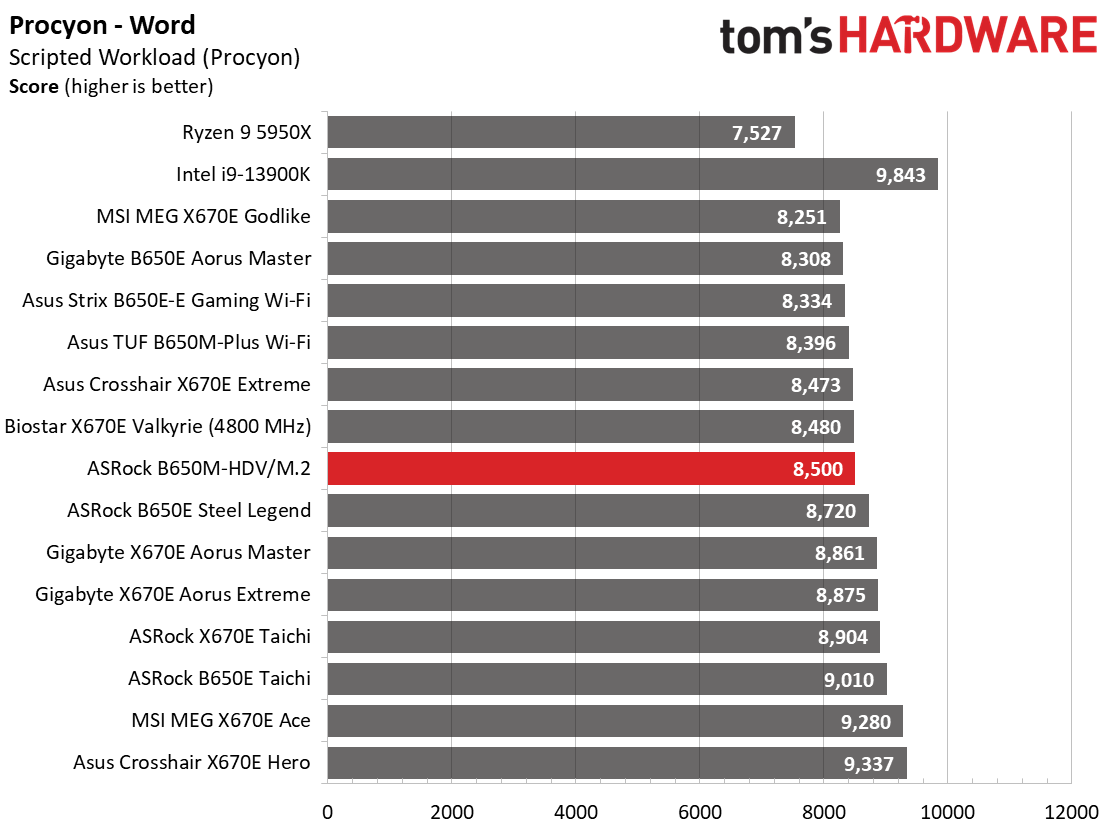
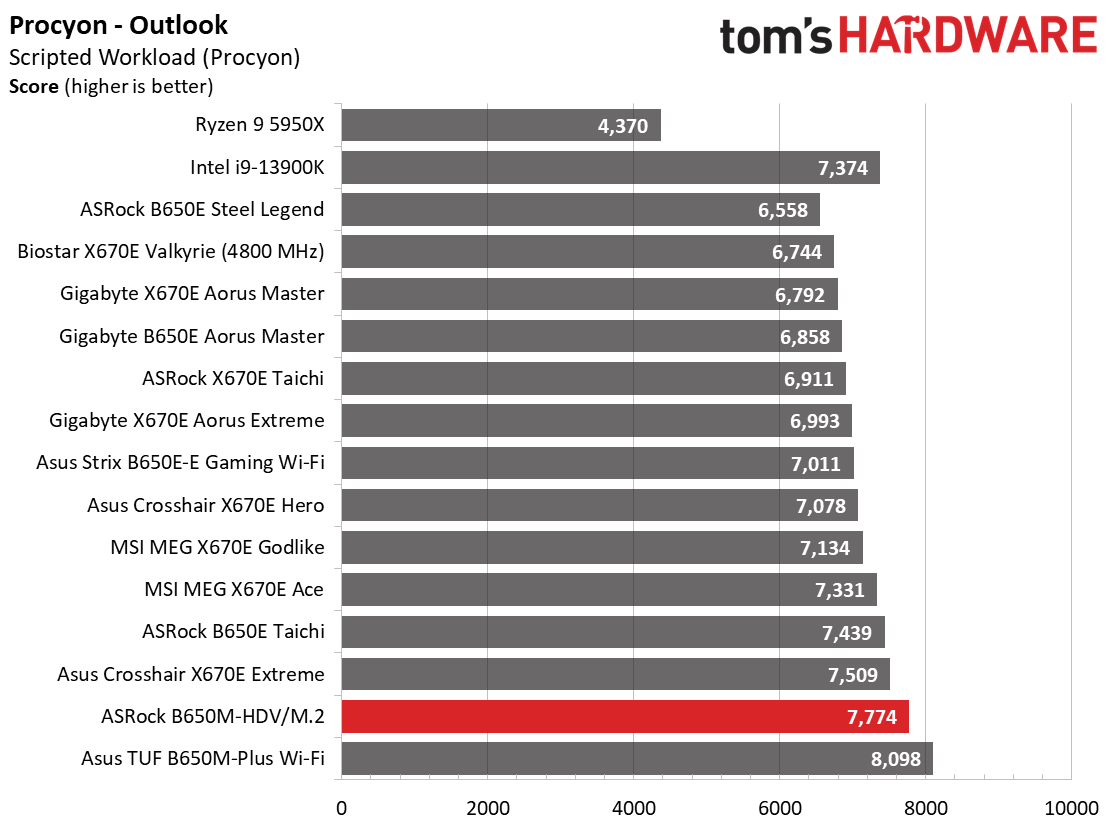
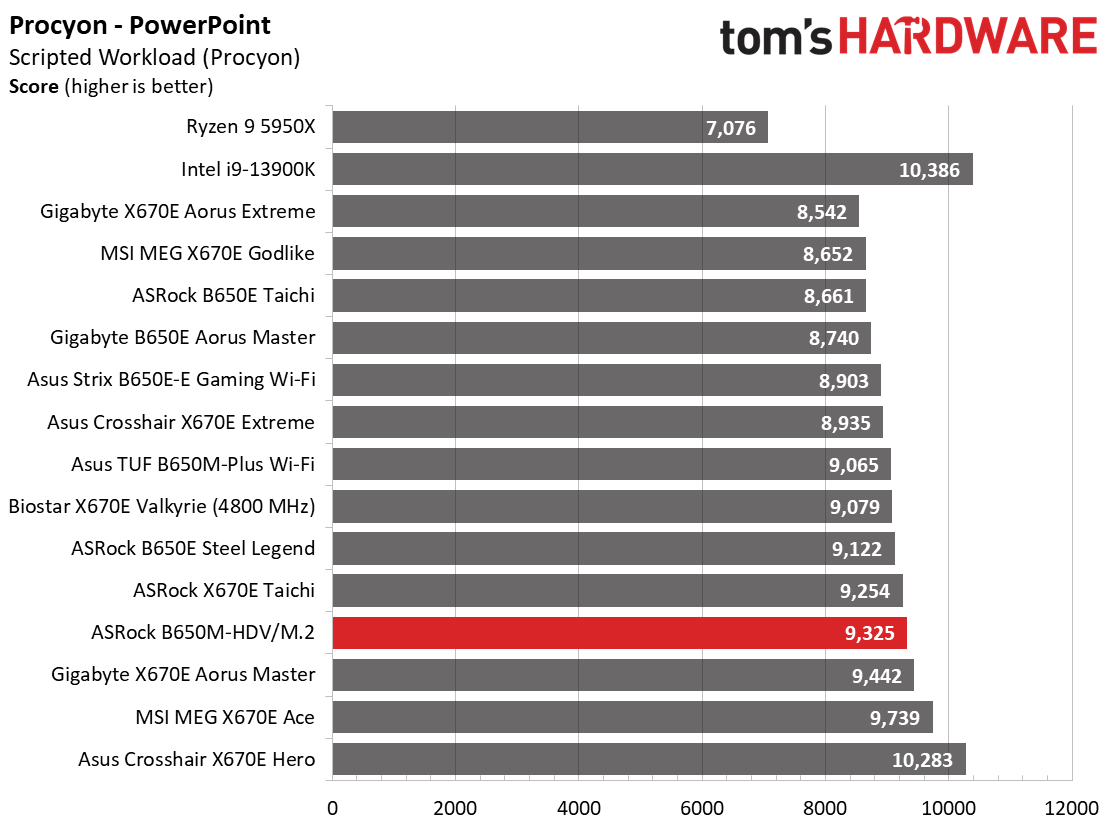
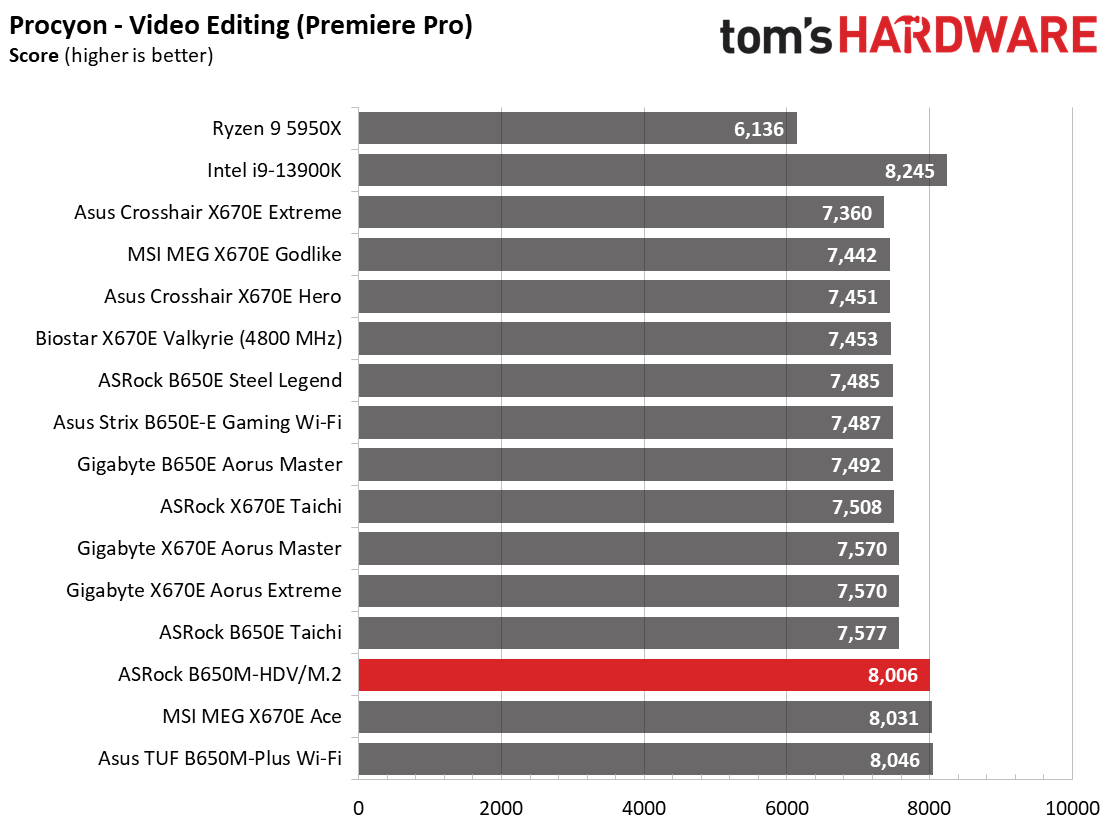
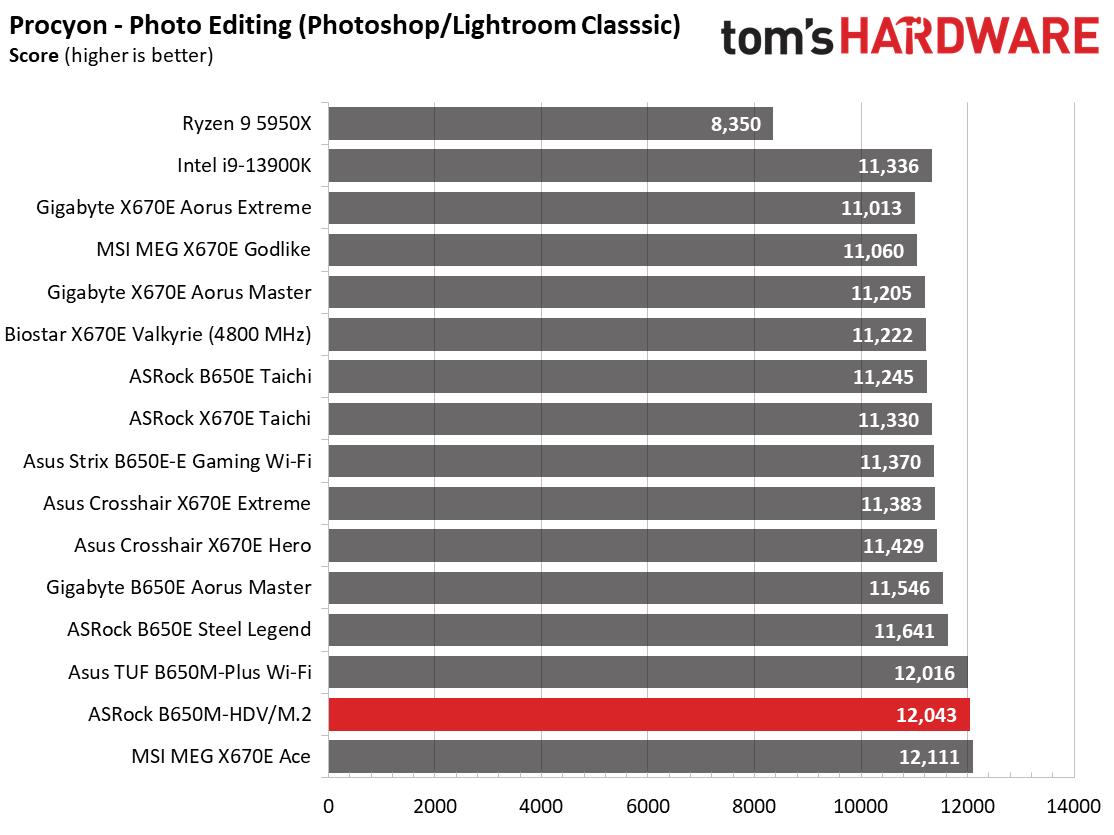
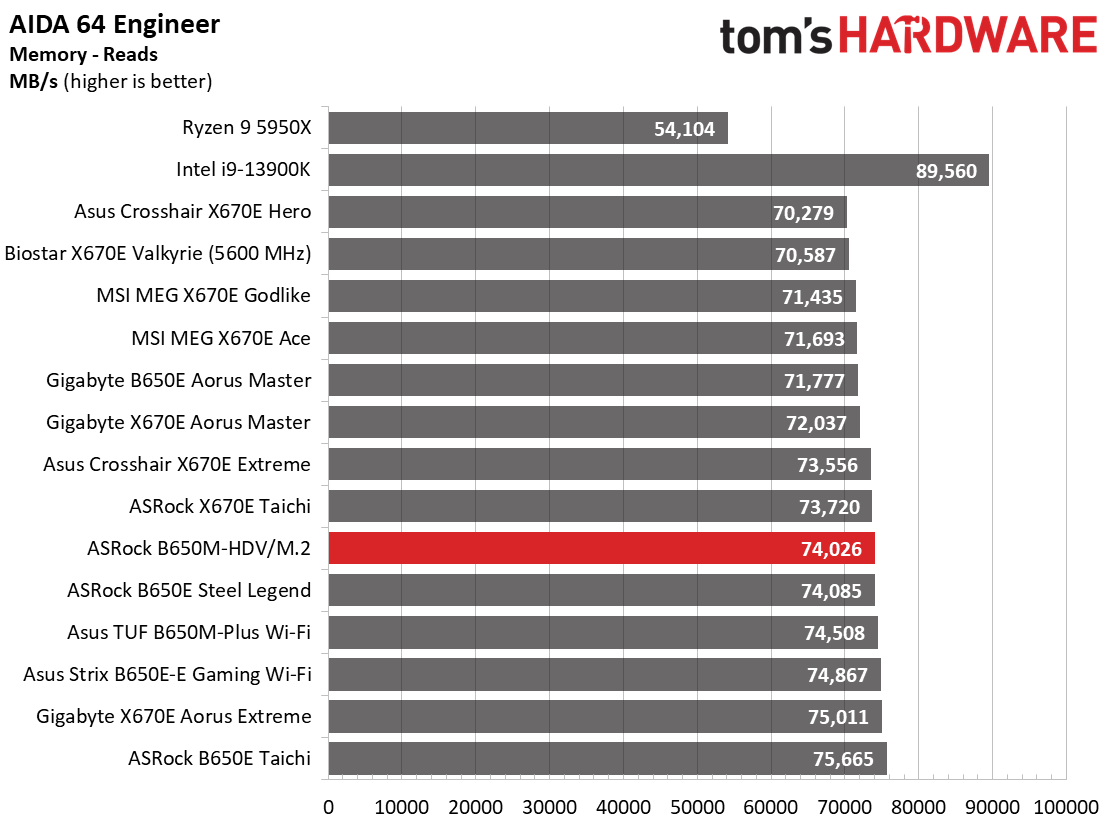
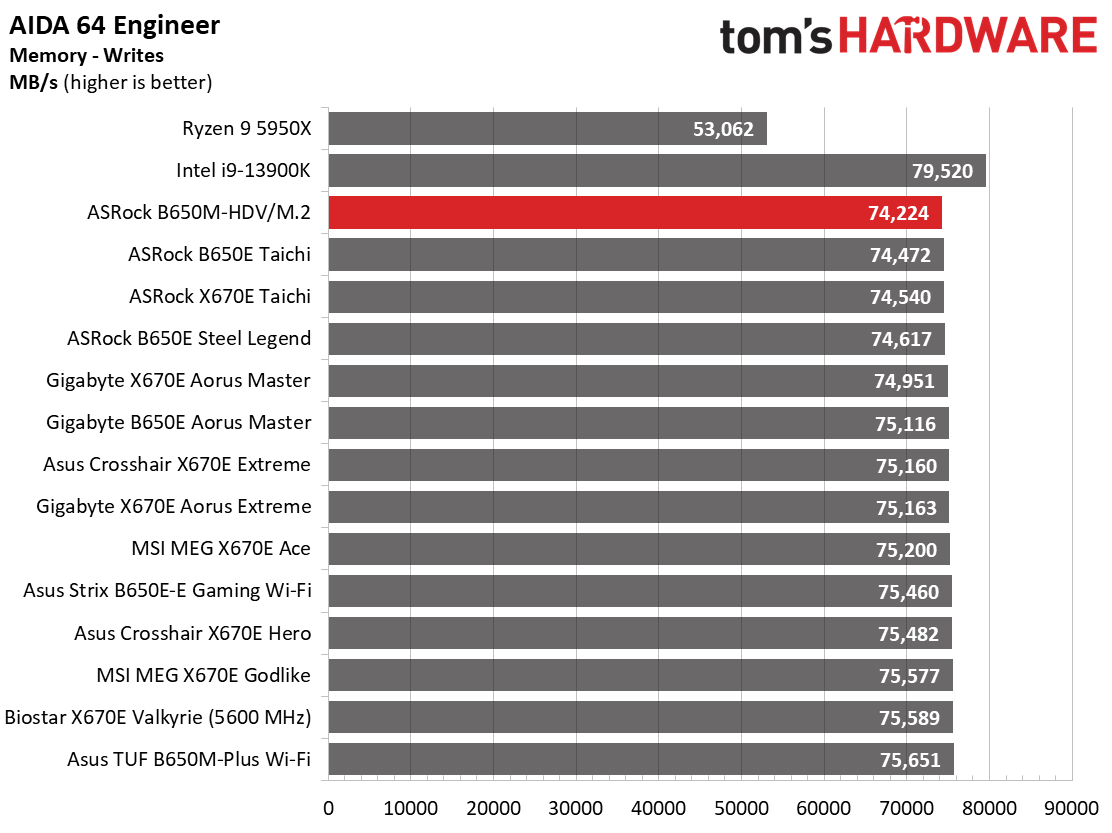
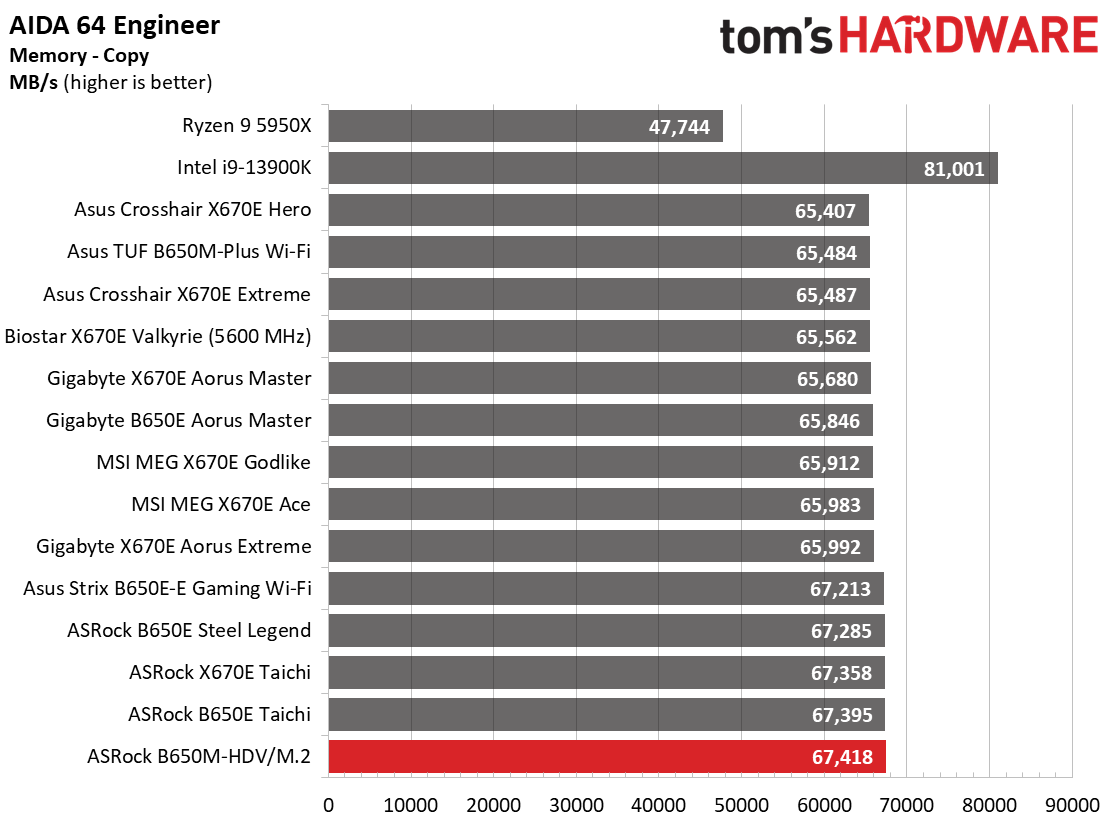
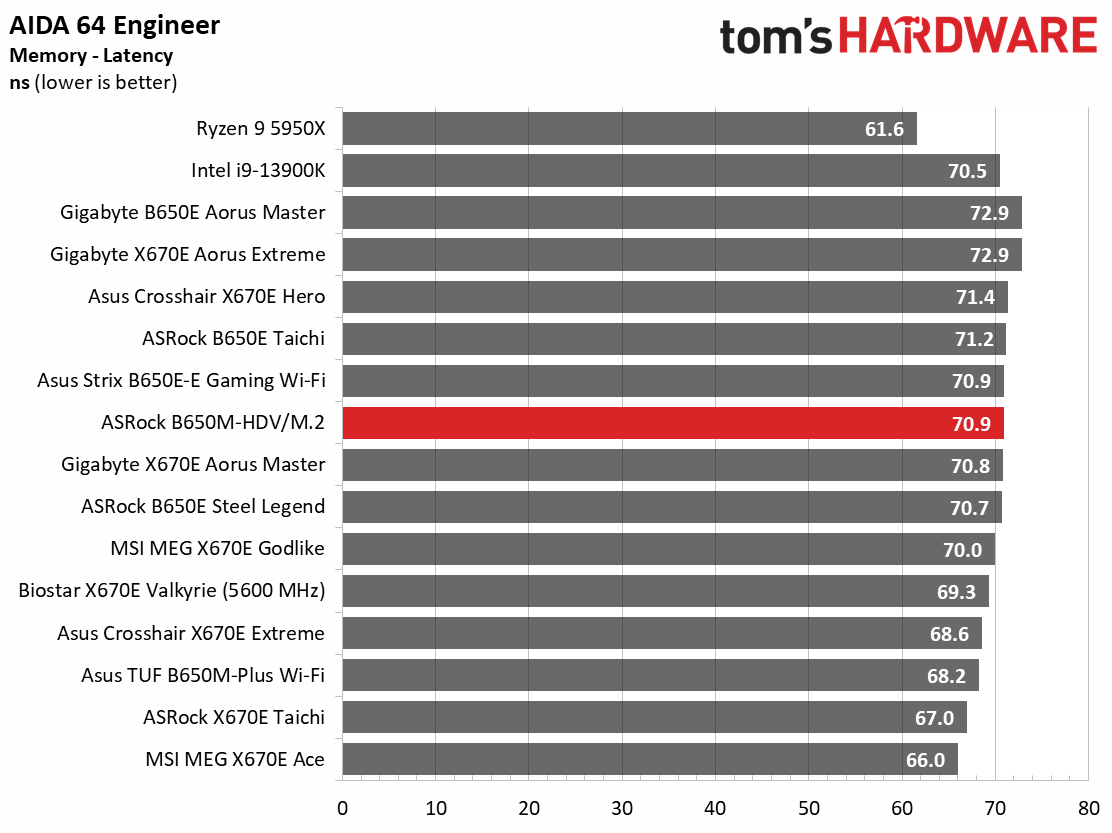
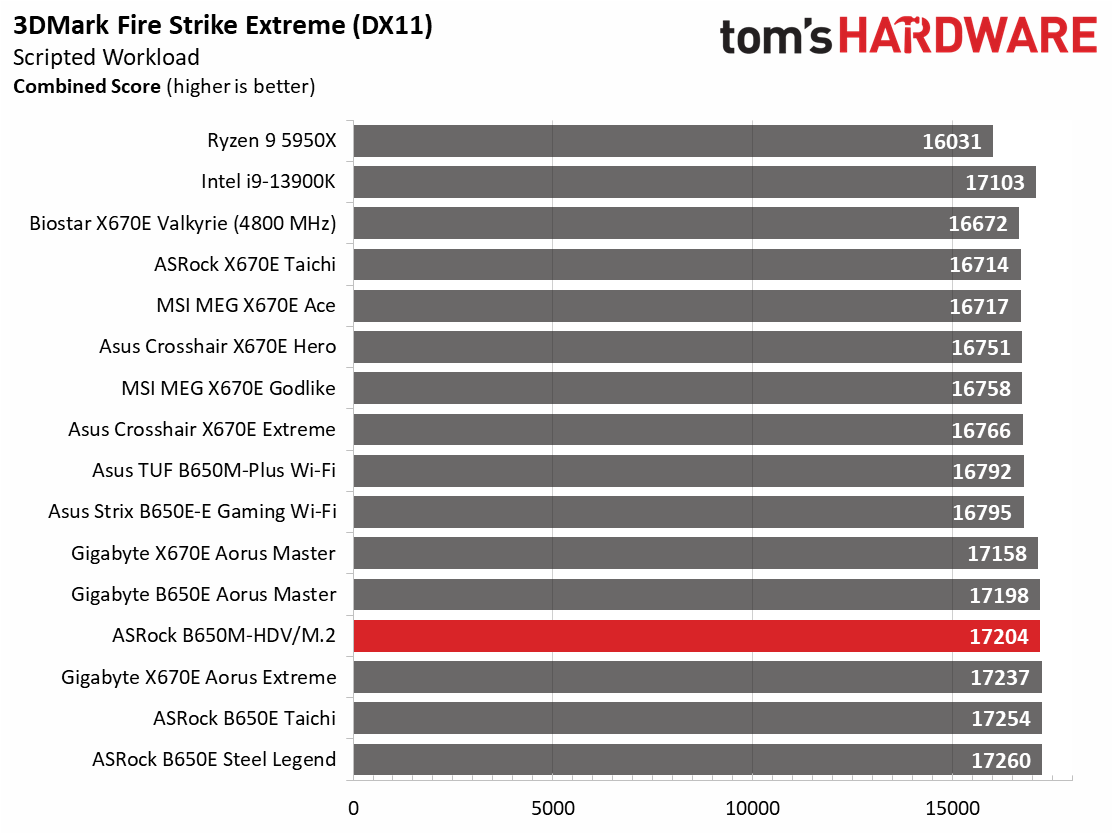
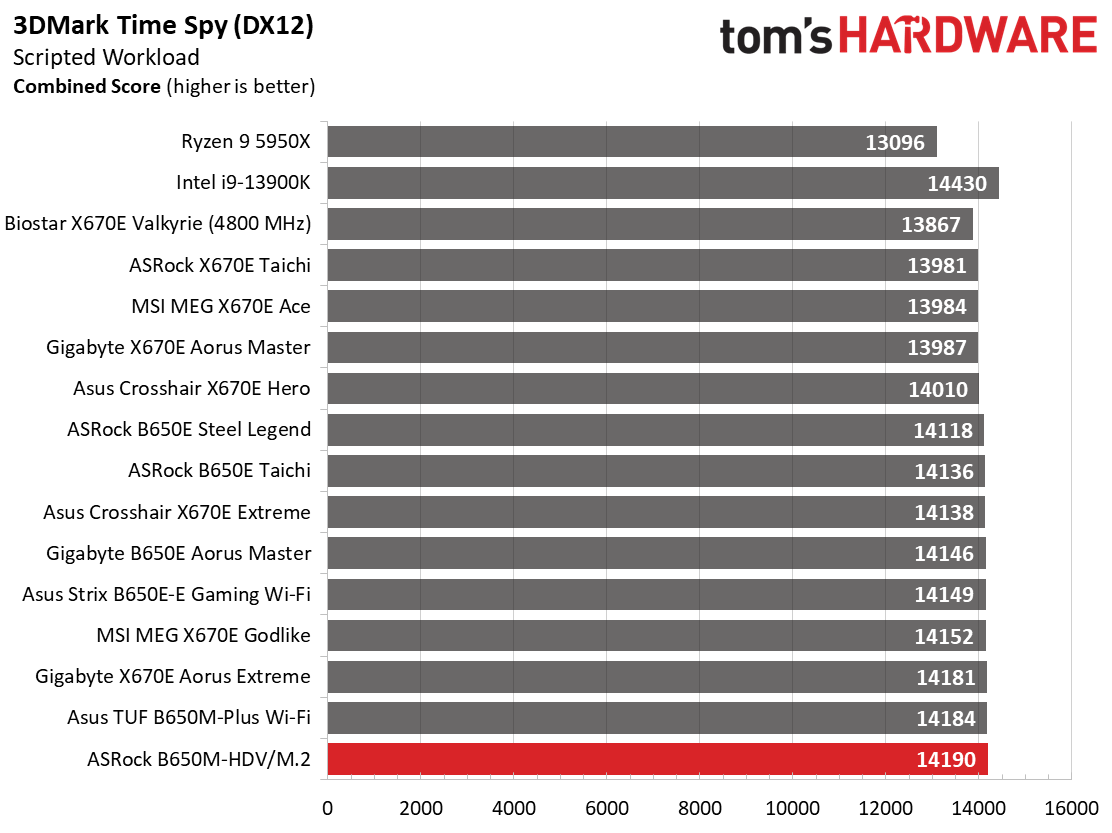
Results from our synthetic benchmarks show our inexpensive ASRock board runs average to below average in most of these tests. This will be a recurring theme due to the board limiting the processor to 85 degrees Celsius out of the box, but also worth noting, the difference in most tests is only a couple of percent off the average marks. Once raised to the default, the board handles our testing without issue and moves more toward the average.
Timed Applications
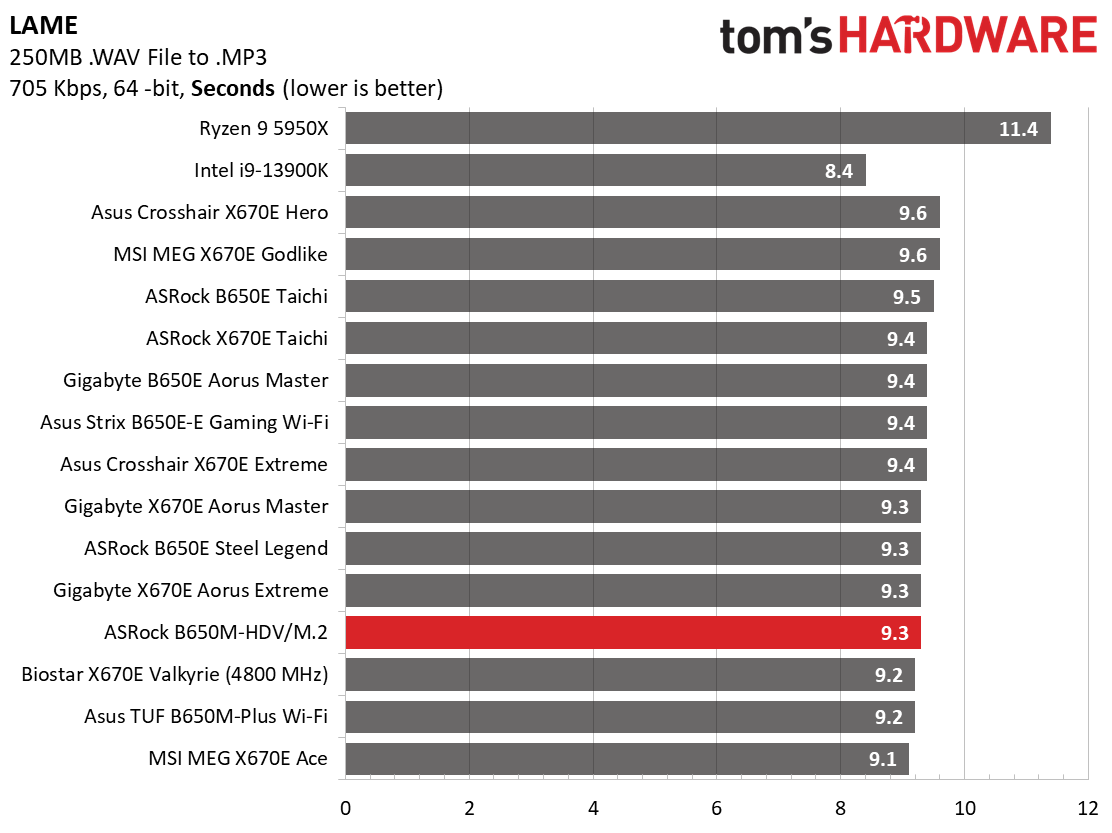
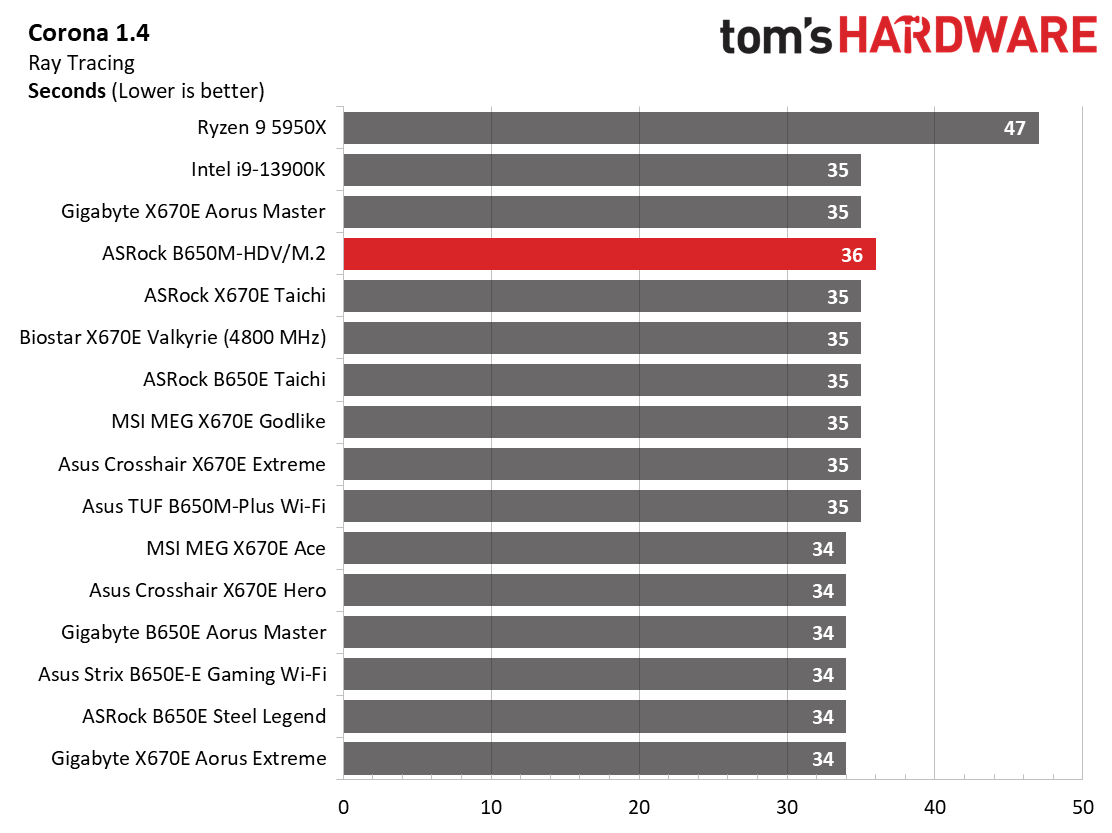
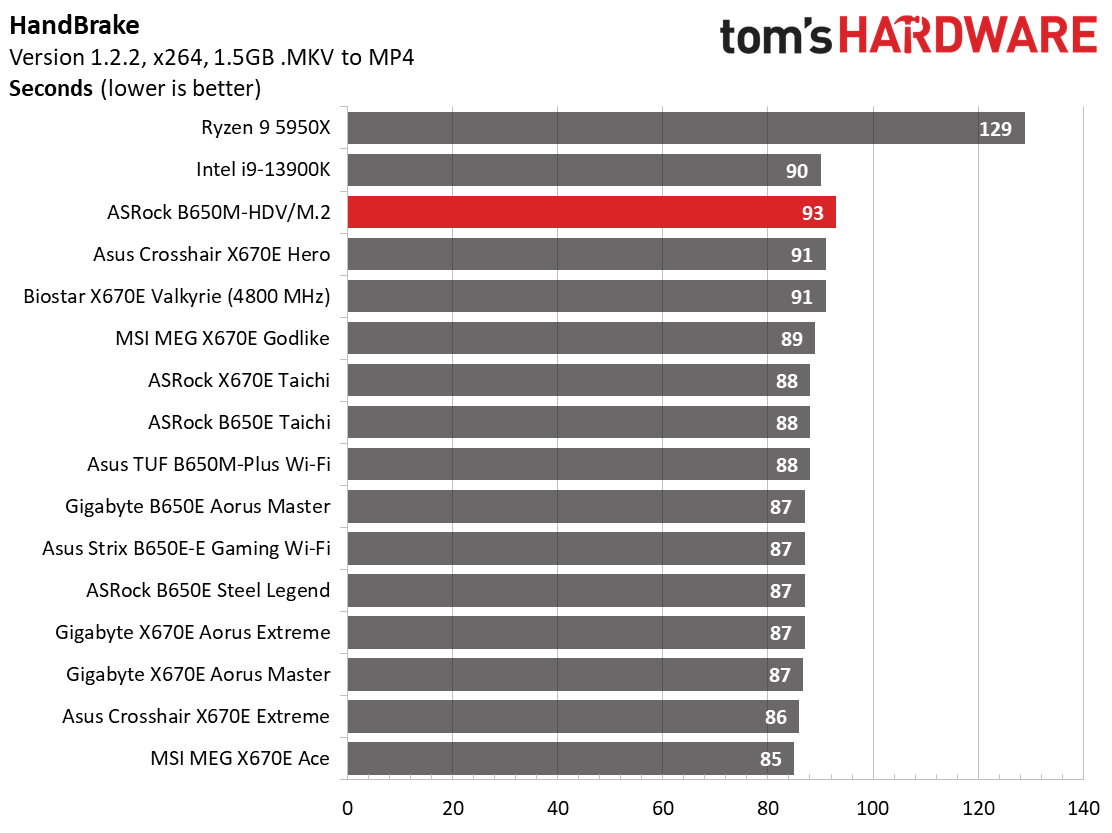
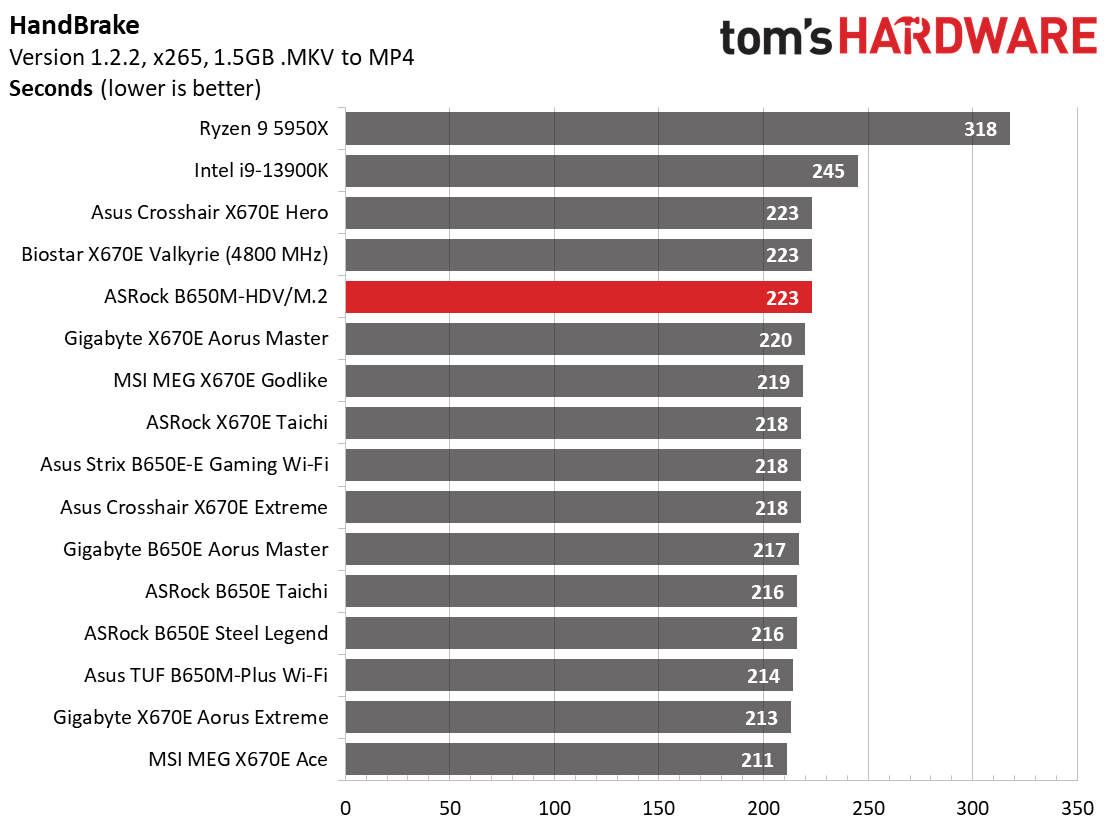
In the timed applications, the B650M-HDV/M.2 was again below average in Corona and Handbrake, completing these tests in some of the slowest times we’ve seen for this generation. LAME testing was average to slightly above average, showing the difference between these heavier loads and what the limit can do to this processor.
3D Games and 3DMark
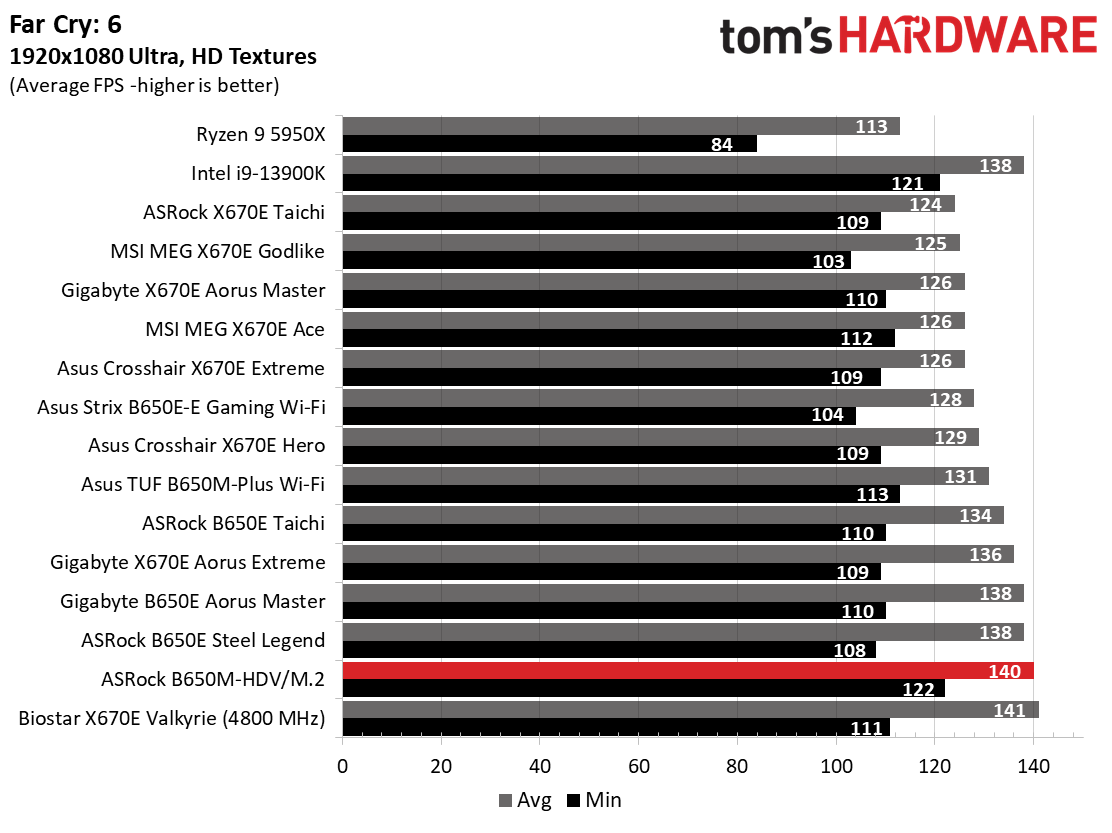
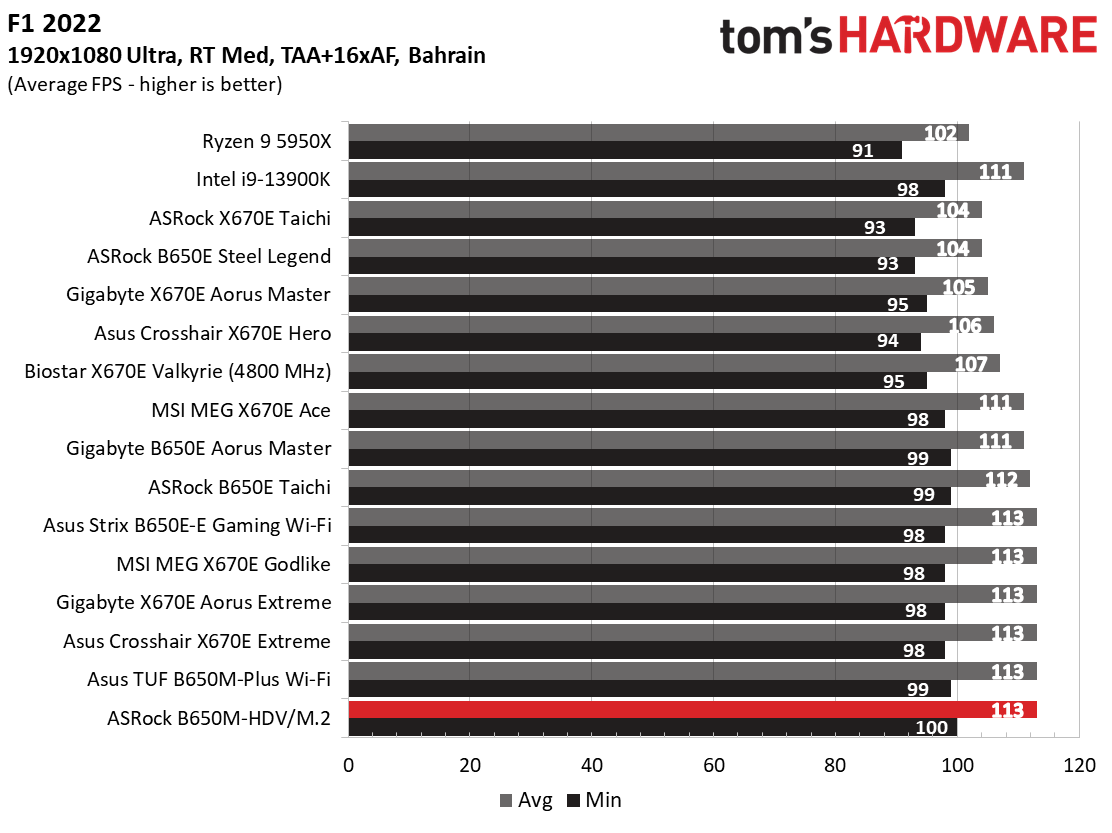
Starting with the launch of Ryzen 7000, we’ve updated one of our games, F1 21, to the latest version, F1 22. We're keeping Far Cry 6. We run the games at 1920 x 1080 resolution using the Ultra preset (details listed above). As the resolution goes up, the CPU tends to have less impact. The goal with these settings is to determine if there are differences in performance at the most commonly used (and CPU/system bound) resolution with settings most people use or strive for (Ultra). We expect the difference between boards in these tests to be minor, with most differences falling within the margin of error. We’ve also added a minimum FPS value, affecting your gameplay and immersion experience.
Gaming tests showed a different story for this budget board. The B650M-HDV/M.2 performed well in synthetics and our actual gaming tests. It delivered one of the highest minimum frame rates and average in Far Cry:6 and F1 2022. This board will not cap your gaming experience and performed well here.
Power Consumption / VRM Temperatures
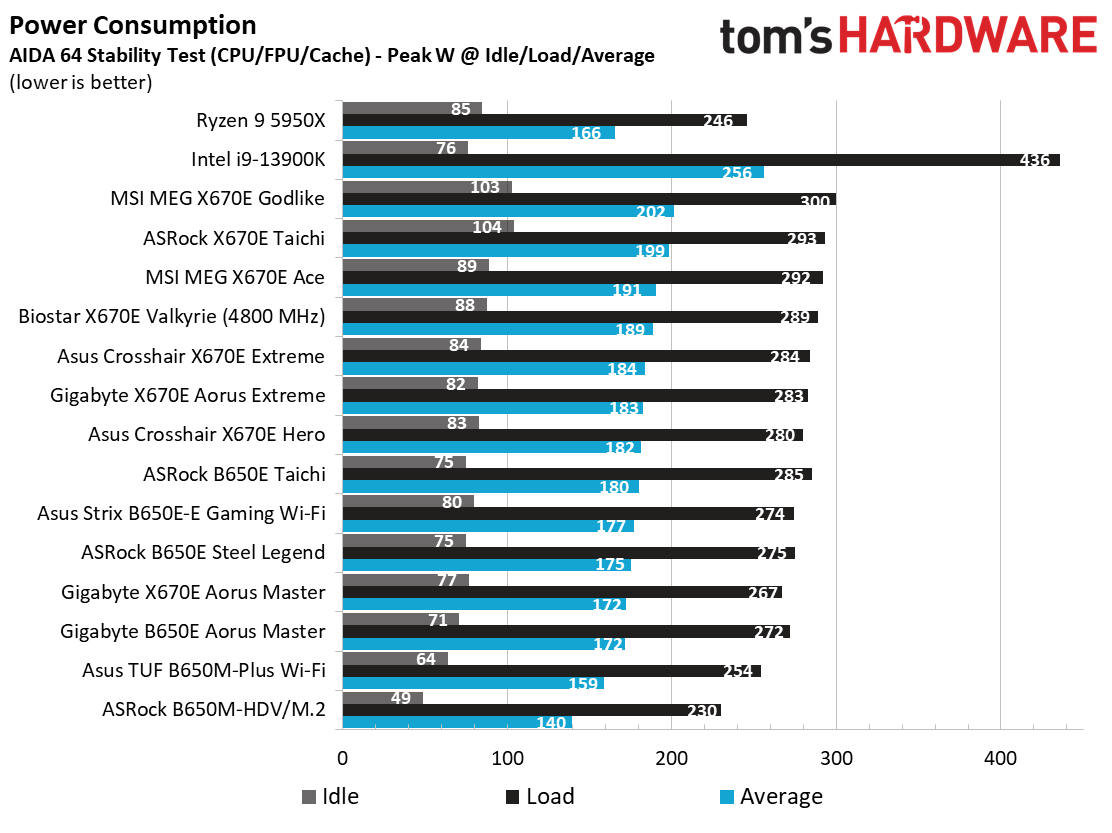
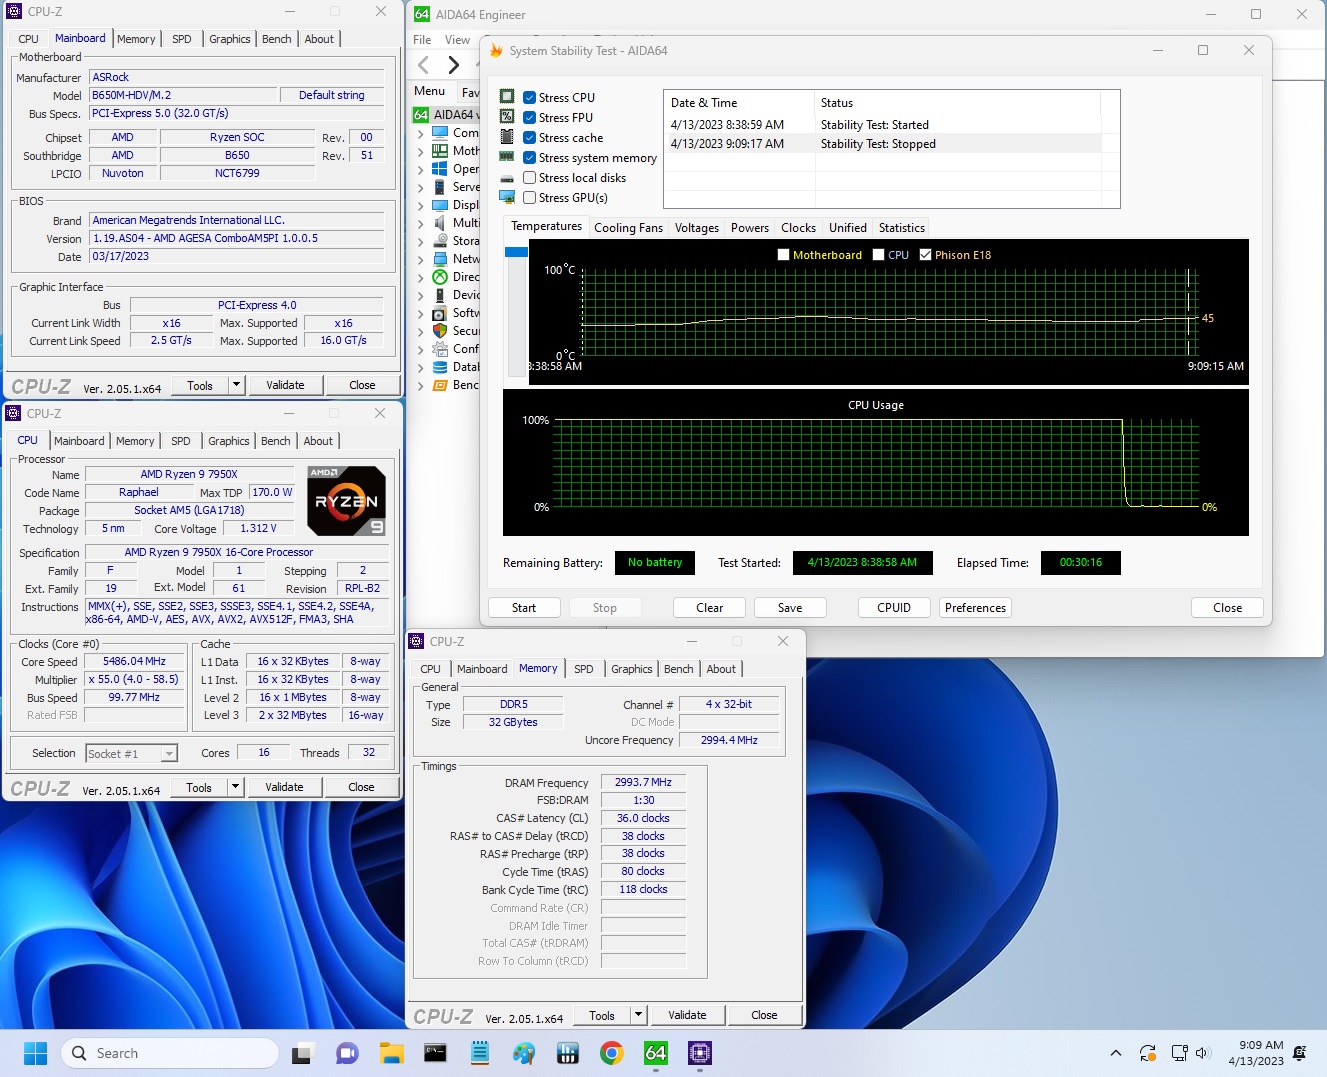
We used AIDA64’s System Stability Test with Stress CPU, FPU, Cache and Memory enabled for power testing, using the peak power consumption value. The wattage reading is from the wall via a Kill-A-Watt meter to capture the entire PC (minus the monitor). The only variable that changes is the motherboard; all other parts remain the same.
Power consumption for our cheap ASRock was the lowest we’ve seen across the board, taking the title from the TUF B650M-Plus Wi-Fi we recently looked at. At idle, it uses 49W, and stress testing peaked at 230W. This averages out to 140W and is the lowest we’ve captured so far. If it’s efficiency you’re after, the default settings on this board yield the best power use we’ve seen so far, but it leaves performance on the table in doing so.
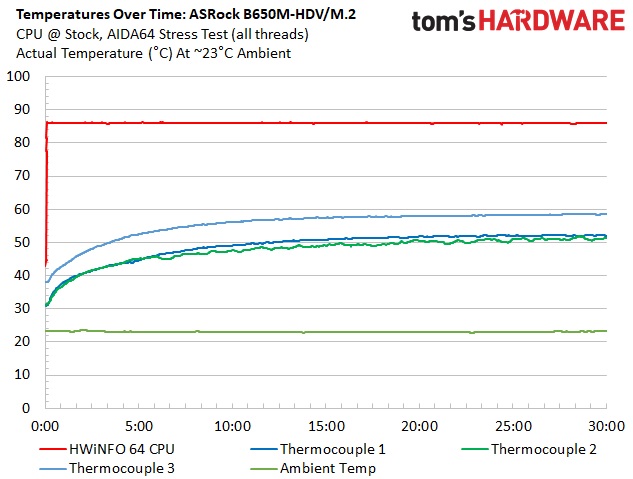
VRM temperatures on this ASRock were well within specification during our testing. The MOSFETs’ paltry 50A rating held up well, but again, our Ryzen 9 7950X is limited to 85 degrees and peaked around 115W. If we loosen the straps, the power bits get hotter, but they’re still running within specification.
Overclocking
Over the last few CPU generations, overclocking headroom has been shrinking (at least on the AMD side) while the out-of-box potential has increased. For overclockers, this means there’s less fun to have. For the average consumer, it means you’re getting the most out of the processor without manual tweaking. Our goal in this section is to increase the load on the VRMs and see if they can handle the additional stress. Overclocking AMD CPUs can be done in several ways (all-core or adjust PBO values). But for simplicity’s sake, we just went with an all-core overclock of 5.4 GHz with 1.30V to increase the power output.
Since our approach is to add power through all cores, we simply raised the CPU multiplier to 54x, manually set the voltage to 1.30V, and adjusted LLC to minimize vdroop. On the memory side, AMD states the sweet spot is around DDR5-6000, so we used the Kingston Fury kit, set the AMD EXPO profile and checked for stability.
After setting the CPU multiplier, Vcore and adjusting LLC to mitigate vdroop (there was, unsurprisingly, a lot at default settings), we overclocked the system without concern. The board performed well in our limited overclock testing (stress test).
On the memory side, we dropped in our Kingston Fury Beast DDR5-6000 kit, enabled EXPO, and things were stable out of the gate. The board lists support for slightly higher speeds (to DDR5-6400), so presumably, there’s still some headroom available.
Bottom Line
For being the least expensive B650-based motherboard available, the ASRock B650M-HDV/M.2 presents users with an interesting option on the budget side of things. While you won’t get the latest and greatest audio codec, 20 Gbps USB ports, or even PCIe 5.0 expansion slots, you can drop in the latest and greatest AM5-based processors from AMD, along with a cutting-edge PCIe 5.0 x4 (128 Gbps) M.2 SSD. Also on board is a budget audio codec, 2.5 GbE (no Wi-Fi), and power delivery good enough to handle the flagship CPU.
Around the $120 price point, Gigabyte has the B650M K ($124.99). Stepping up a bit in price, there’s the Asus Prime B650M-A-CSM ($155.88), and the MSI Pro B650M-A WIFI ($179.99). The other boards do have four memory slots, and the MSI does have integrated Wi-Fi. However, it’s also priced quite a bit more. Performance-wise, we haven’t had a chance to look at the others, but expect similar performance limitations out of the box when pushing a flagship-class CPU.
It’s difficult to pick a winner among these boards because the prices are different. But as usual, it will come down to wants, needs, and pricet since, aesthetically, these boards aren’t designed to be show pieces of the build but designed to ‘just work’ with the latest CPUs. To that end, if you need fast storage at a low price, this board has a single PCIe 5.0 x4 socket for M.2. RAM support is limited to 64GB due to being a two-slot solution, though few in this price range should find that problematic.
Overall, this is the least expensive way into AM5 – unless you want to drop down to an A620 board, which doesn’t support higher-end CPUs or PCIe 5. The ASRock board comes with the basics, but as you would expect, not much more. While I don’t see too many users pairing this with a 7950X, the board can handle it, though it may be a better fit with a midrange chip like the Ryzen 7 7800X or 7800X3D.
MORE: Best Motherboards
MORE: How To Choose A Motherboard
MORE: All Motherboard Content