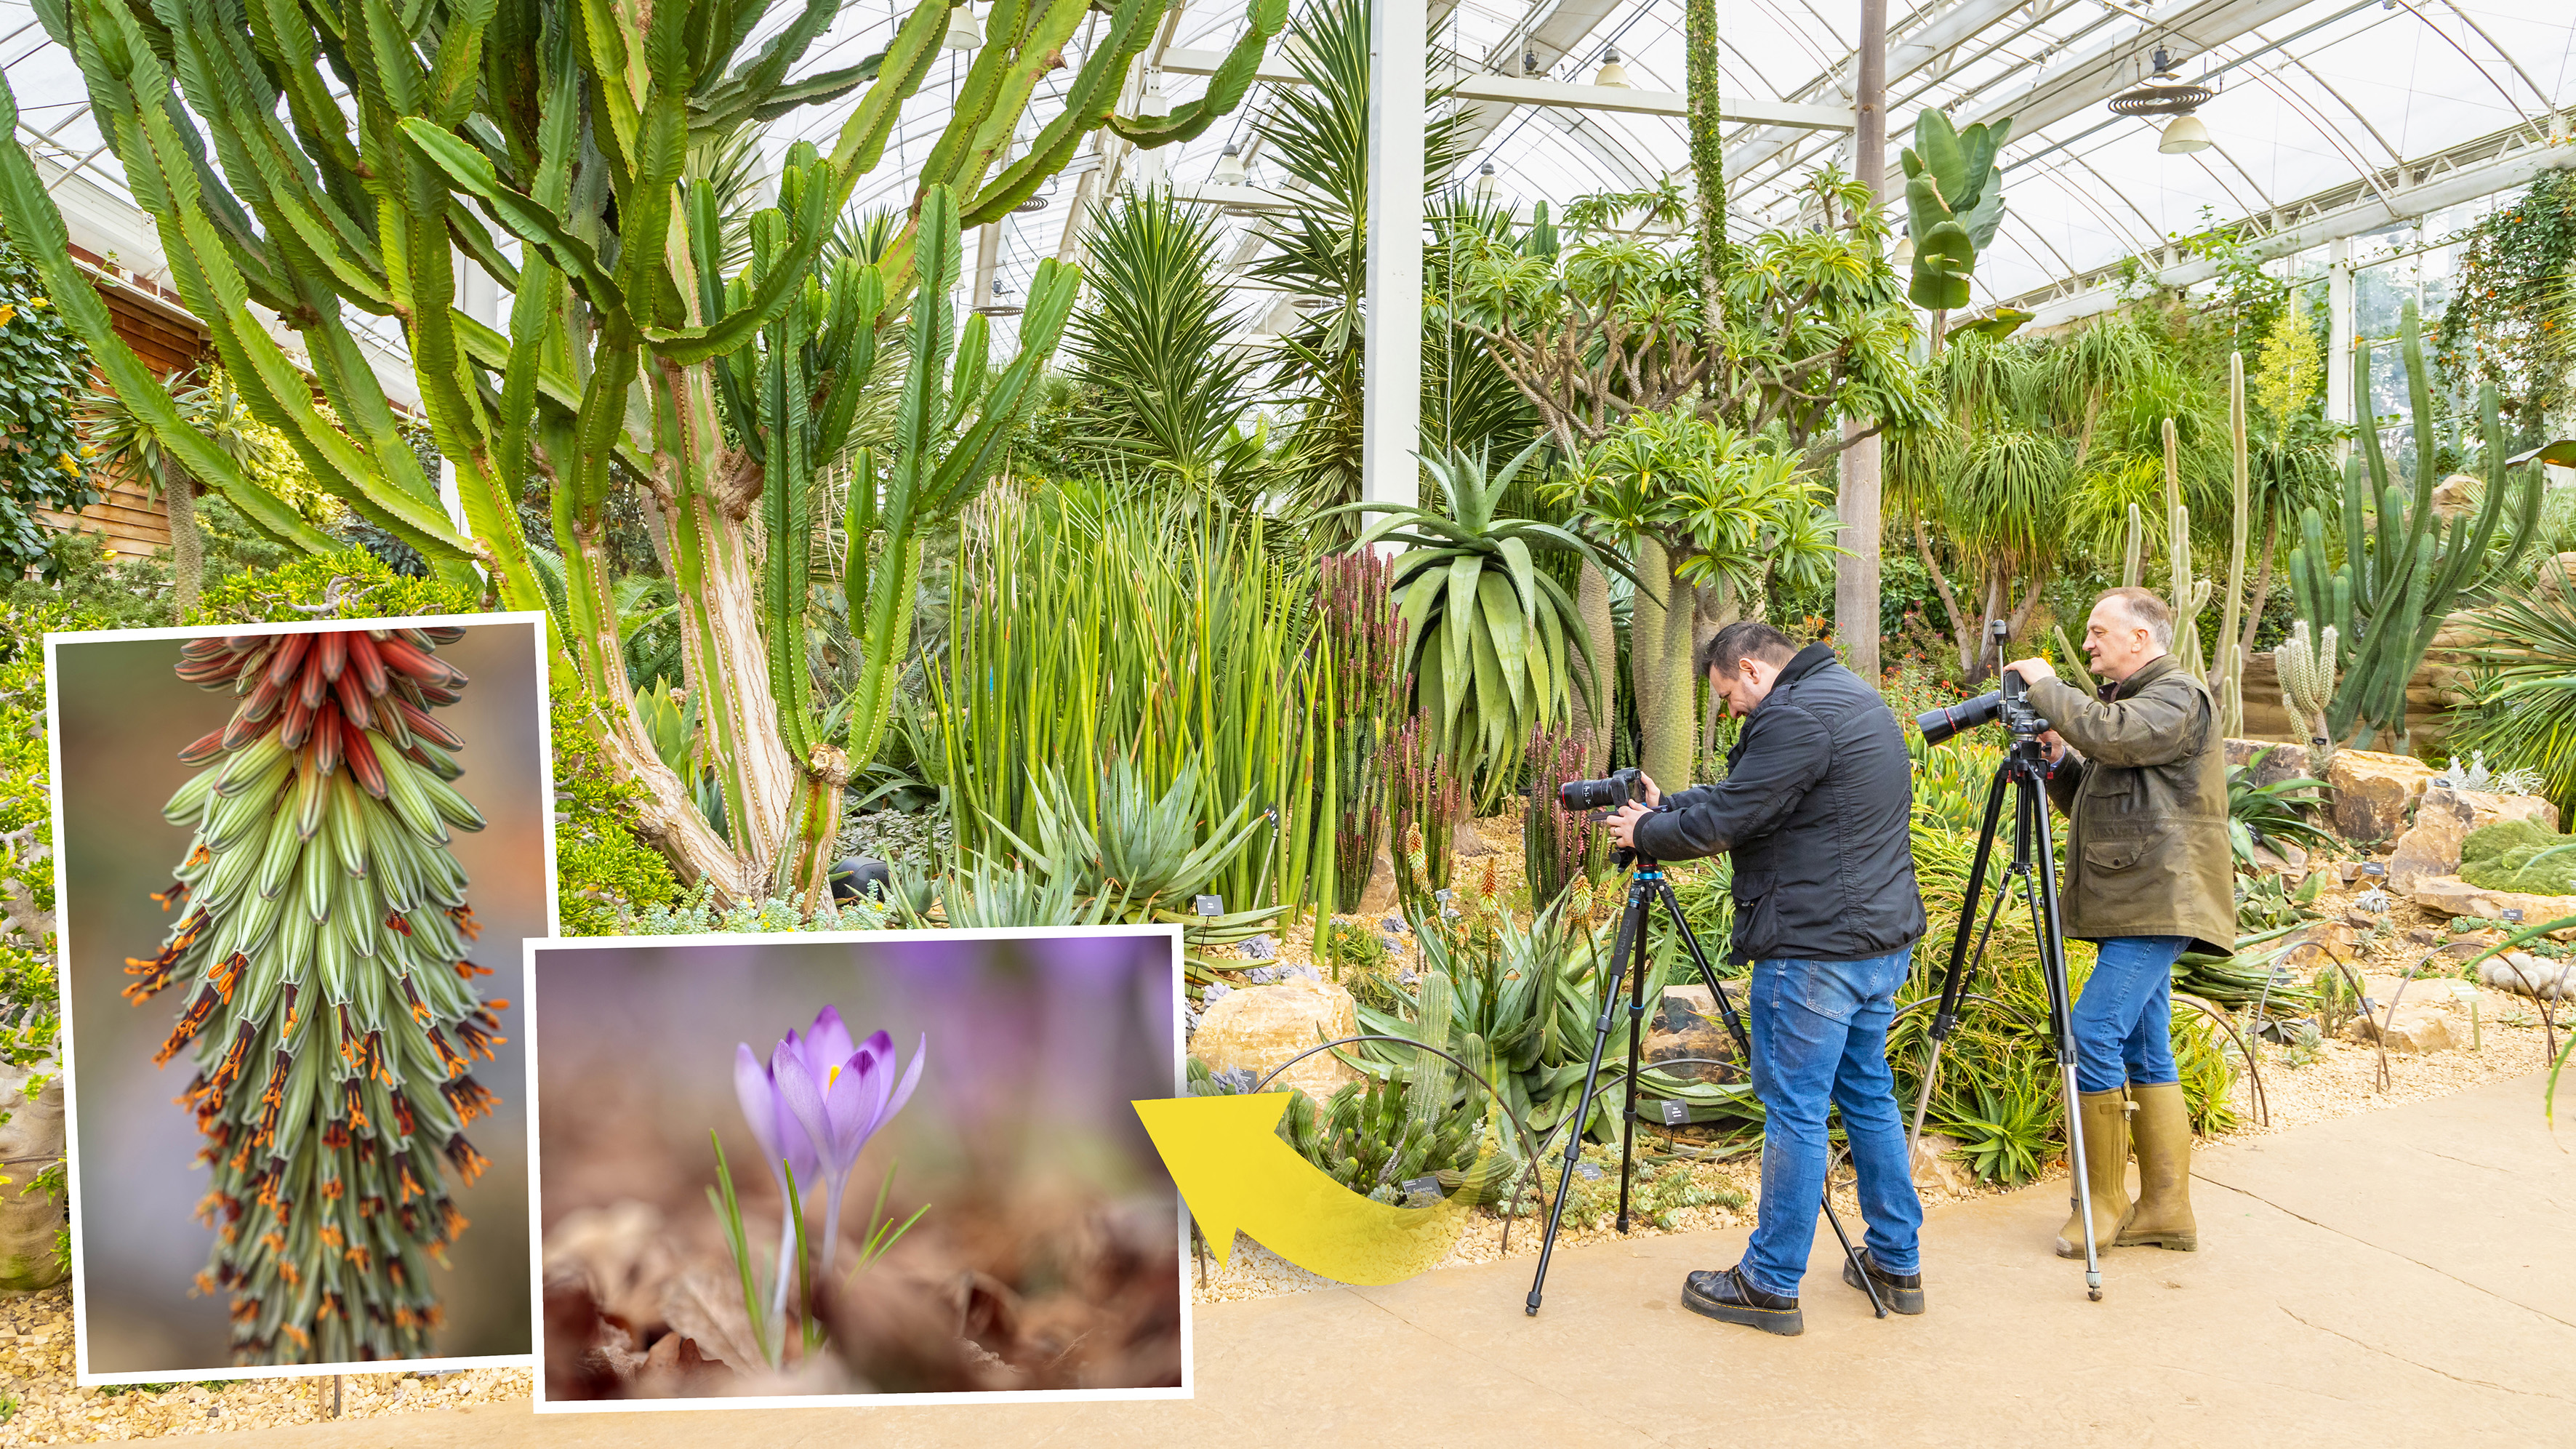
If you're looking for a fresh way to change up your perspective then macro photography is a great genre to try out. With a macro lens you can get extremely close to your subjects and reveal hidden details, otherwise unseen by the naked eye.
However, macro can be a tricky subject matter to master. Any minute vibrations in your camera, lens or even subject will be amplified and recorded as blur in your shots. Then there's the equipment, macro lenses, reversing rings, extension tubes, ring flashes, the list goes on... It can be difficult to know where to begin!
That's why this month we teamed up with a reader of PhotoPlus: The Canon Magazine, Matthew Farrugia, for a macro masterclass with Canon pro Clive Nichols at the fantastic RHS Wisley gardens near Woking, UK.
• To shoot stunning close-up shots of your own, check out the best lenses for macro photography
1. Aperture priority
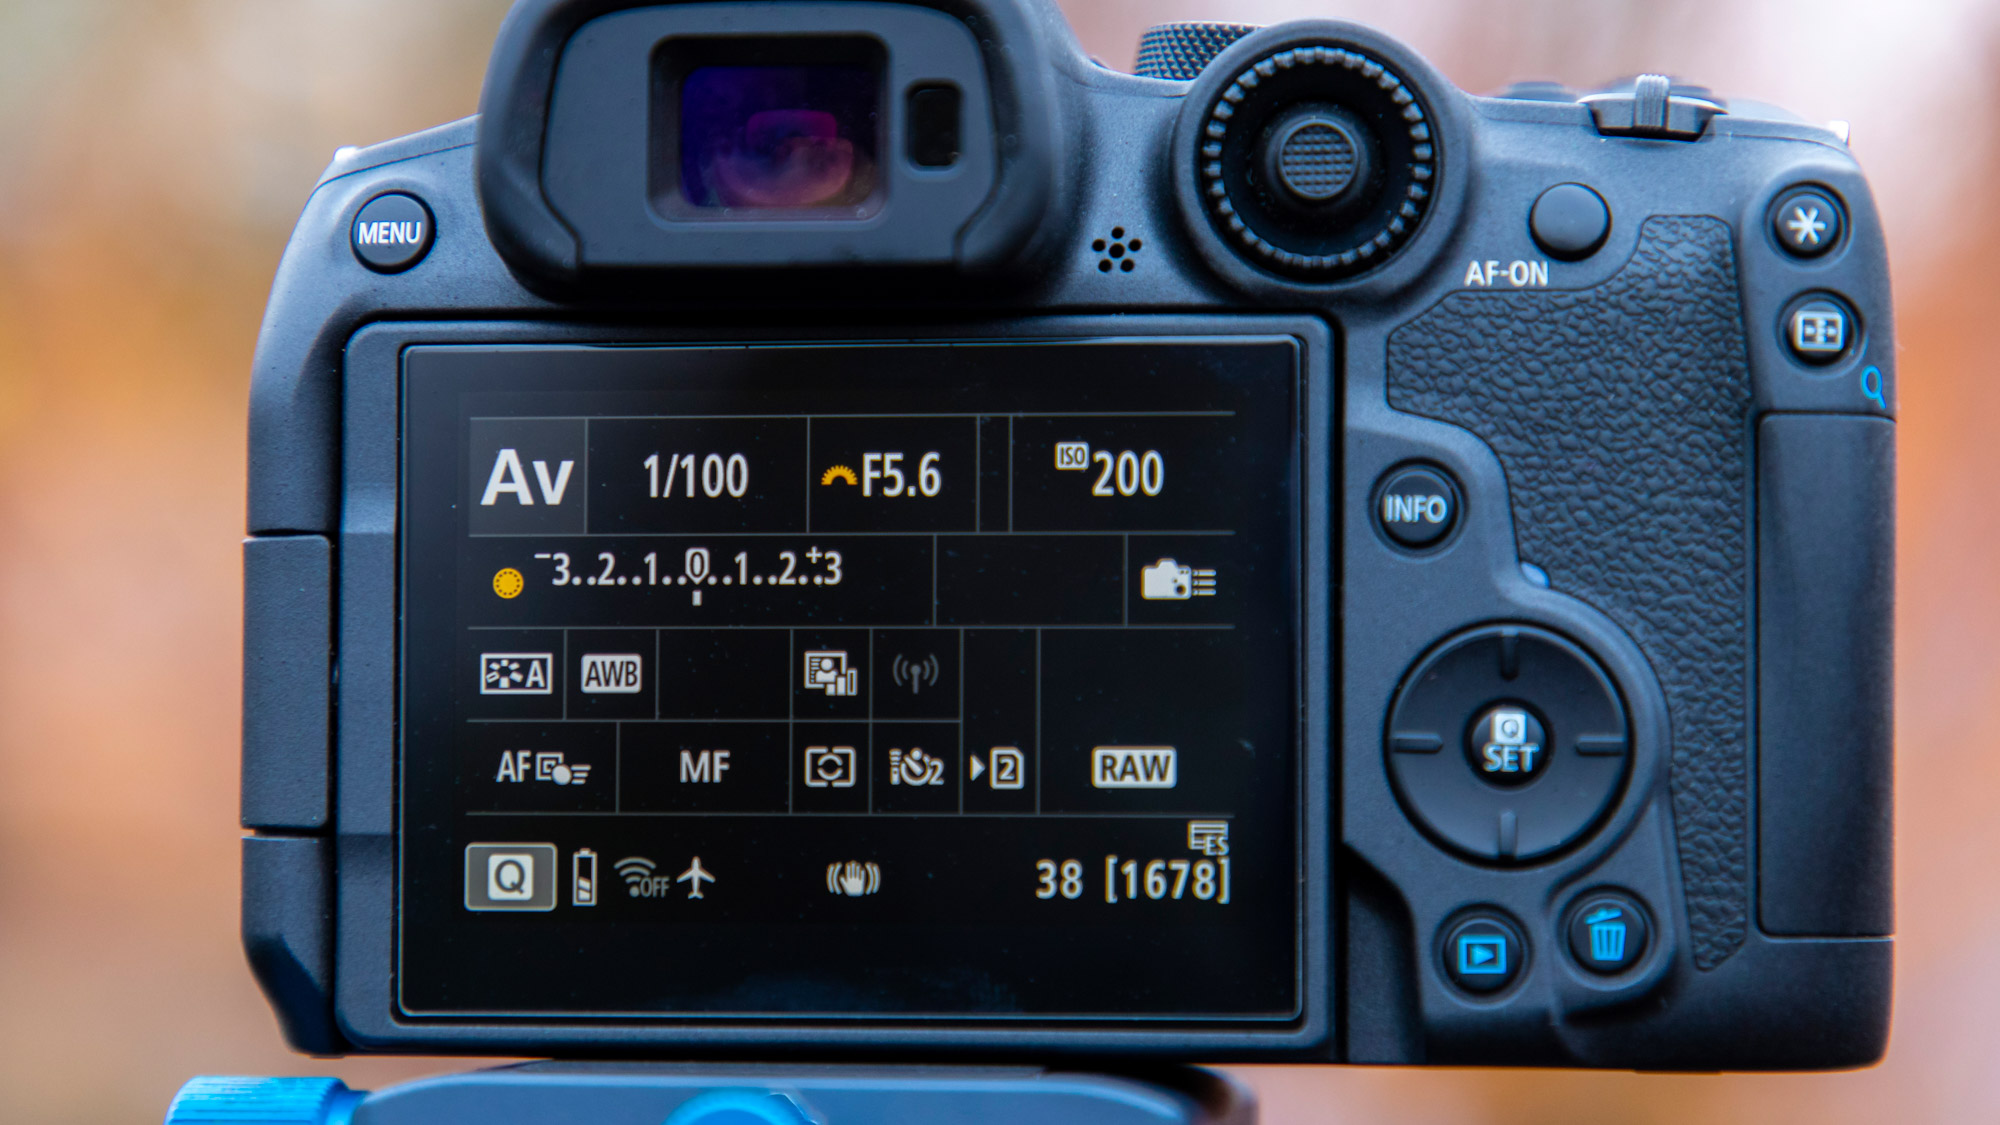
To begin, Clive put Matthew’s Canon EOS R7 into its Aperture priority mode (Av on the mode dial). The aperture is a hole made up by a series of blades inside of the lens and Av mode allows you to make the aperture larger or smaller to let in more or less light. This also affects your depth of field and how much of the scene is in sharp focus. As a semi-automatic mode you set the aperture, and the ISO, leaving the camera to work out the correct shutter speed for you to achieve a perfect exposure.
2. Check the histogram
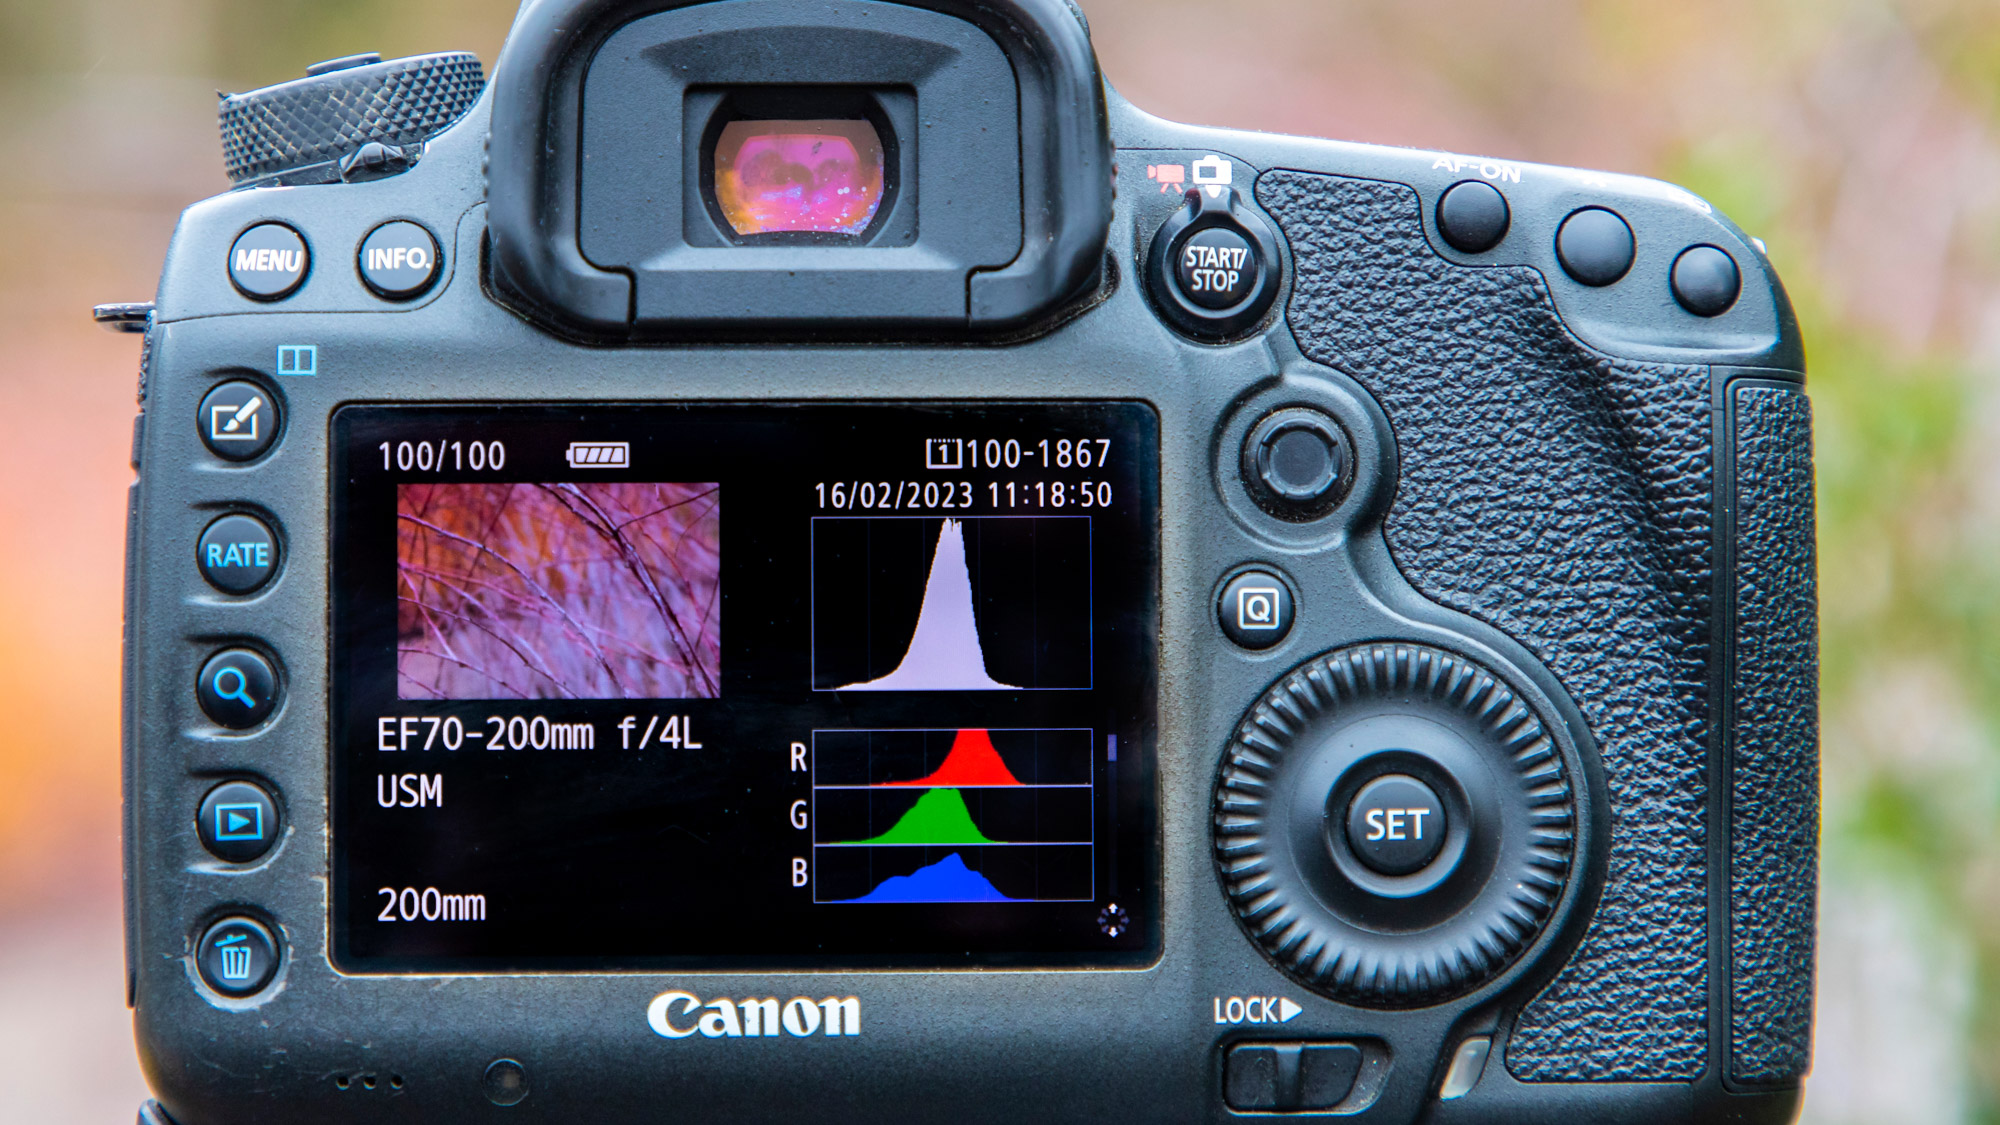
The histogram is a useful graph that shows you all of the tones present in your images from deep blacks on the left to bright highlights on the right, and midtones in the middle. The histogram can be activated on your Canon EOS either while composing in Live View, or when playing images back after you’ve taken them. Be sure to check your histogram so that the tones are evenly spread out and not bunched up to one side as this means your image will be over or underexposed and some exposure information is likely to be lost.
3. Dedicated macro lens
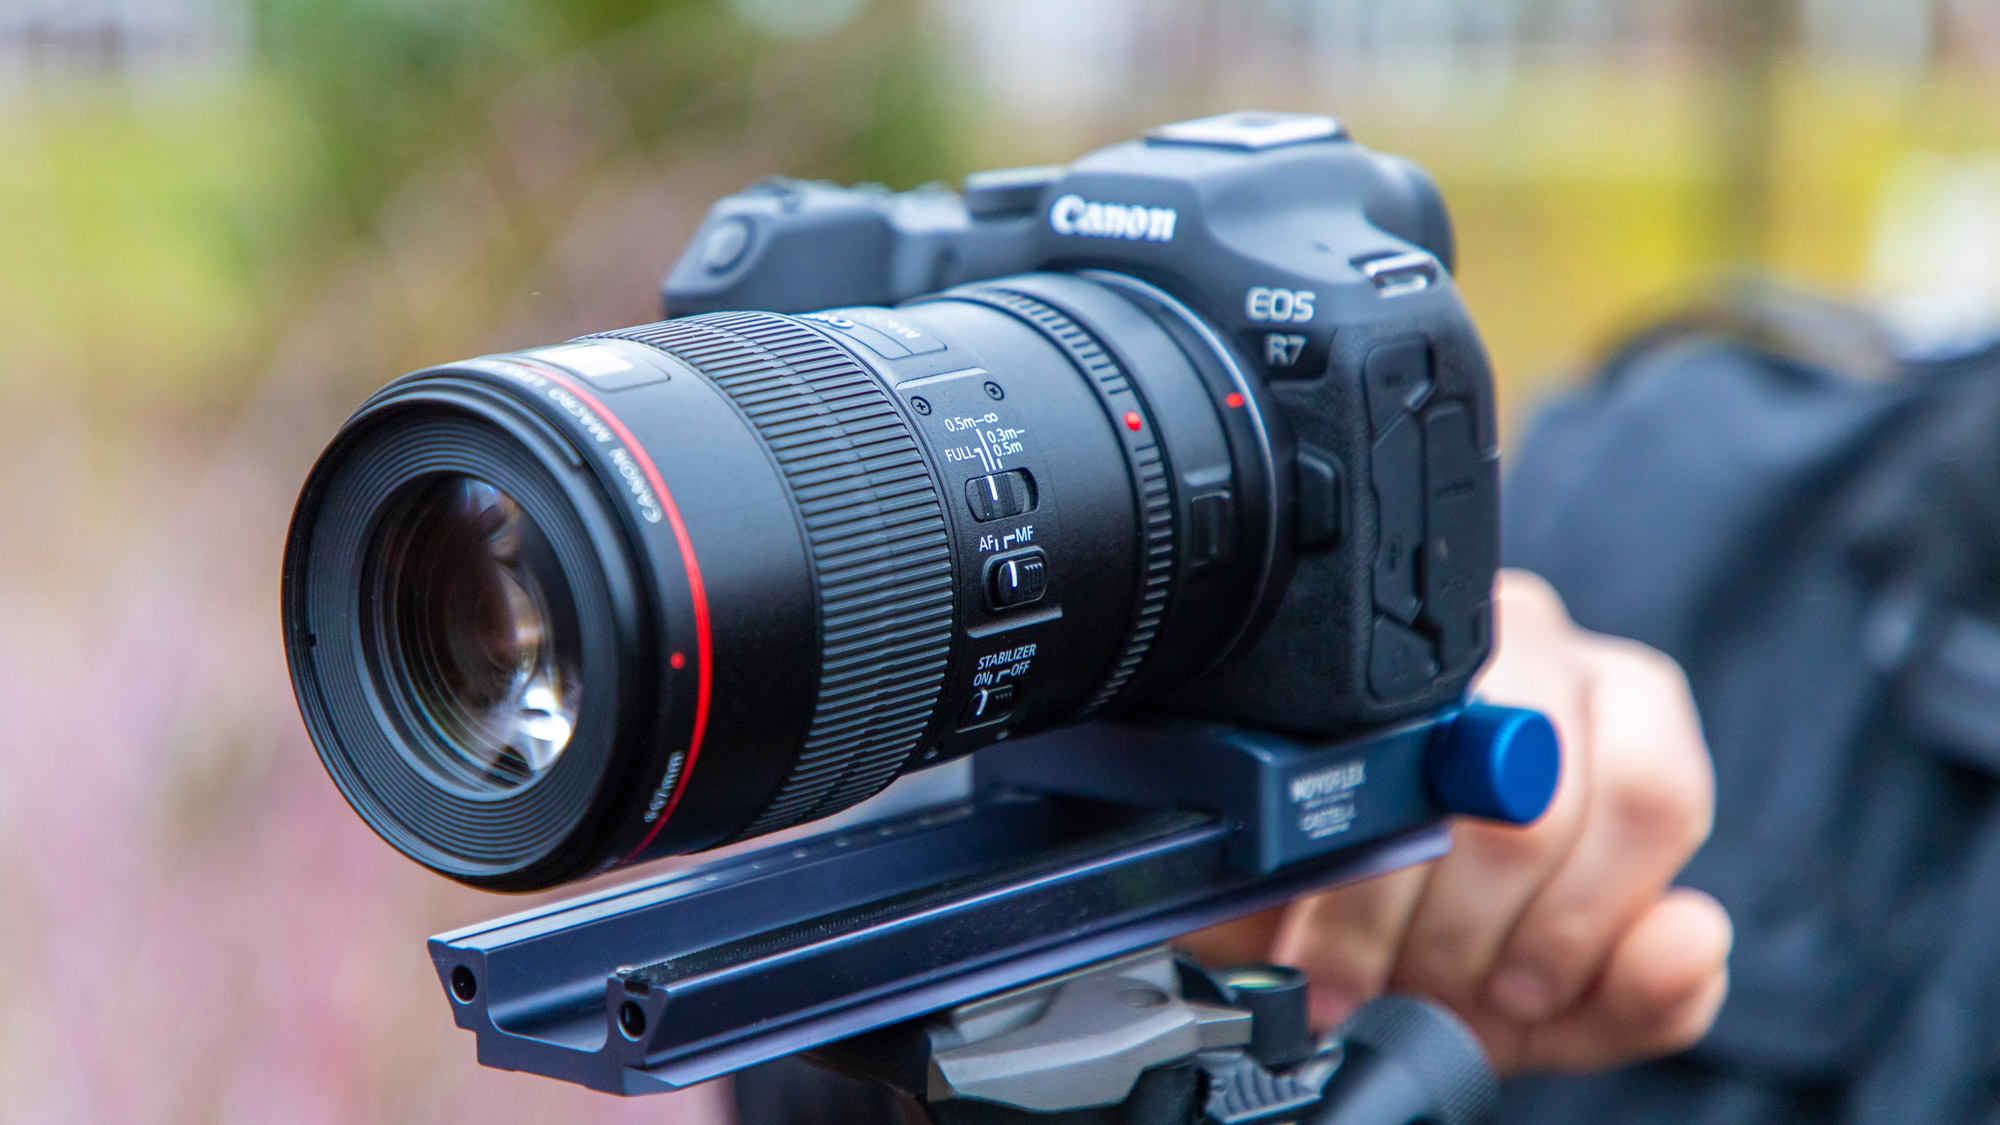
Clive uses a Canon EF 180mm f/3.5L Macro USM while Matthew uses a Canon 100mm f/2.8L Macro IS USM. Both are great options for close-ups, but Clive’s lens has a greater working distance so he doesn’t have to get so close. A true macro lens has a reproduction ratio of 1:1, also referred to as lifesize as your subject, such as a leaf or petal, will be captured at the same size as if it was laid across your camera’s sensor. Canon’s RF 100mm F2.8L Macro IS USM lens has a reproduction ratio of 1.4:1, so can get even closer than lifesize and the legendary Canon MP-E 65mm f/2.8 Macro has a reproduction ratio of 5:1.
4. Zoom in to check sharpness
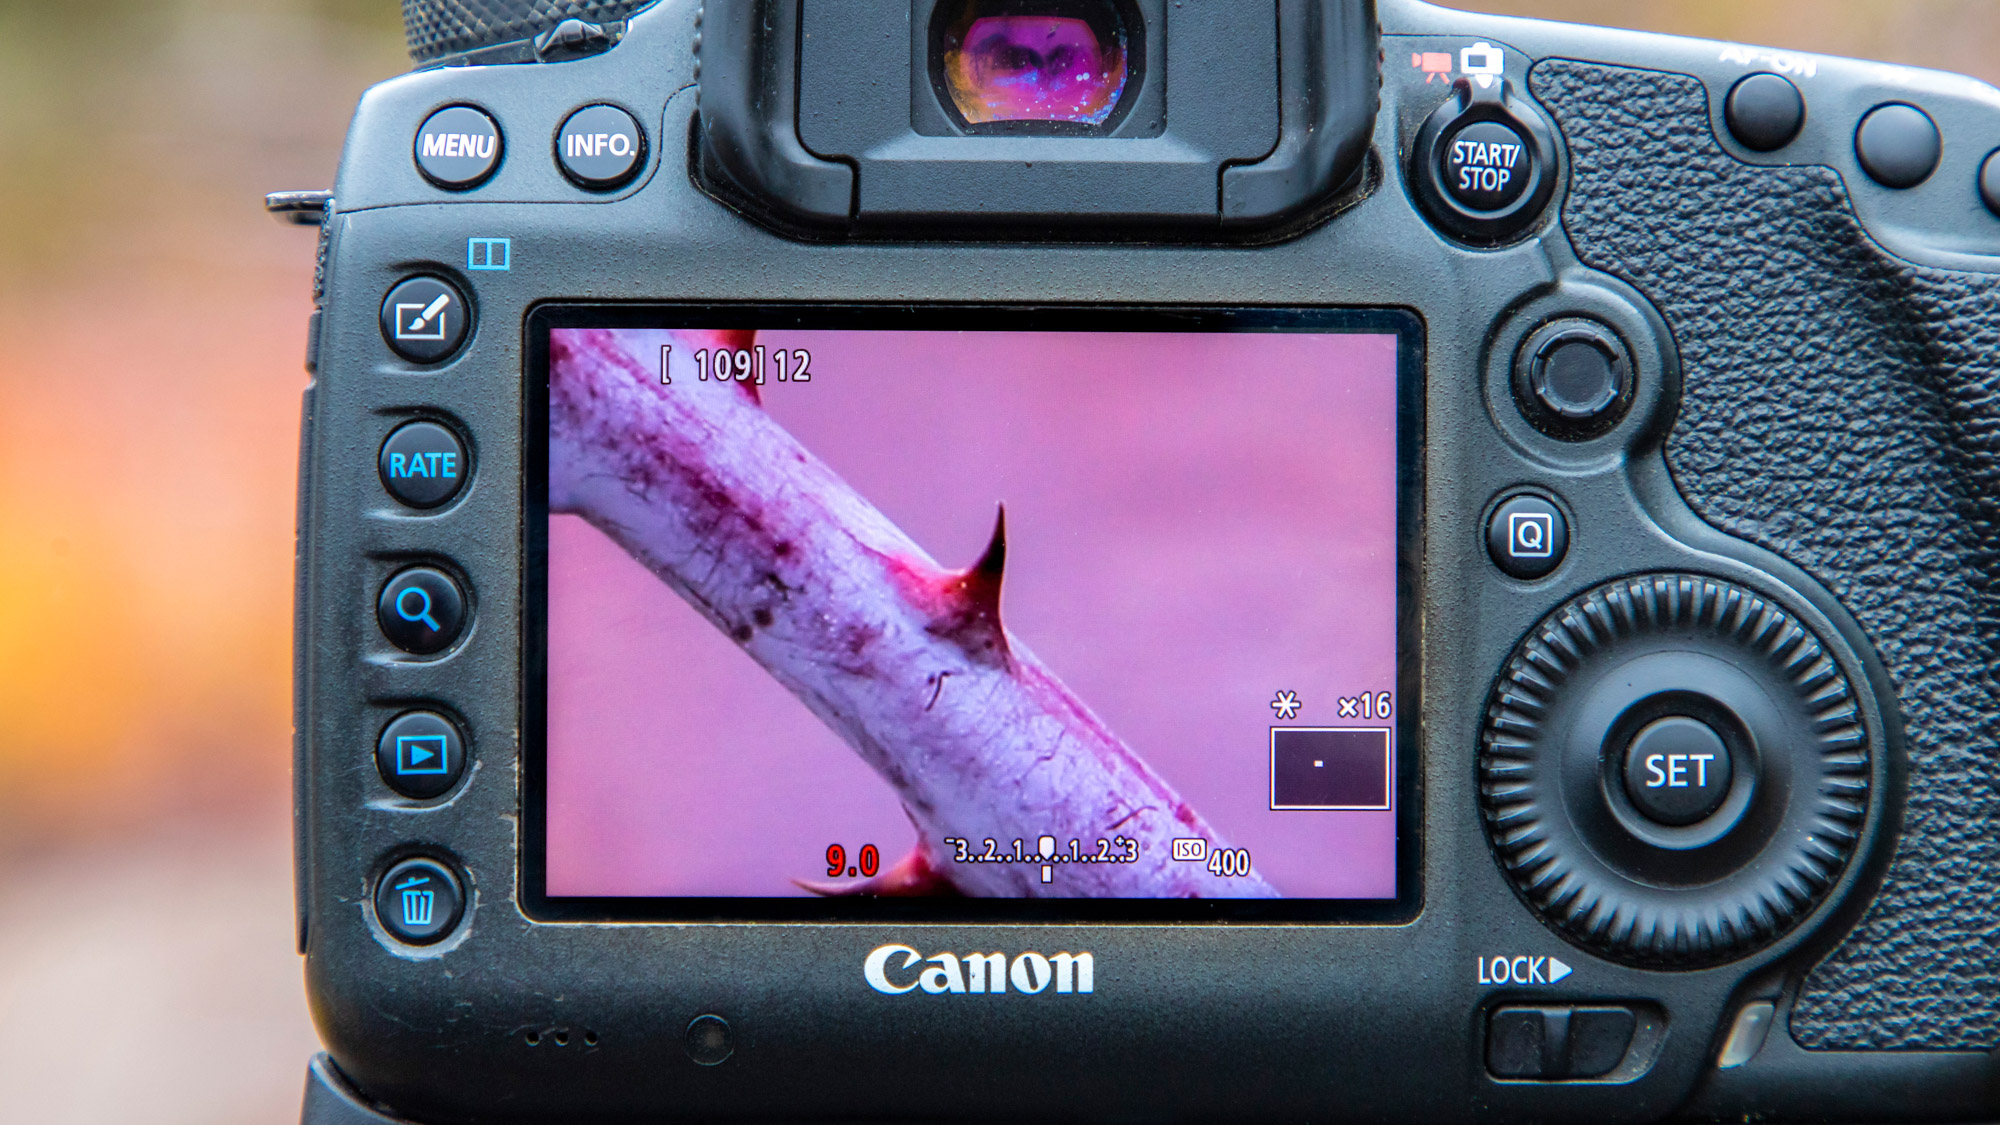
One of the great advantages of digital over film photography is the rear LCD screen you can use to compose your shots and also playback your images instantly. Focus can be very fiddly when shooting close-ups, especially with a macro lens as there is little room for error. To help you ensure that the exact part of the plant or flower you want to be in focus is sharp, use Live View and hit the magnify button a few times, then use the D-pad to bring your subject into view and use manual focus until you can see that it’s perfectly sharp.
5. Highlight alert
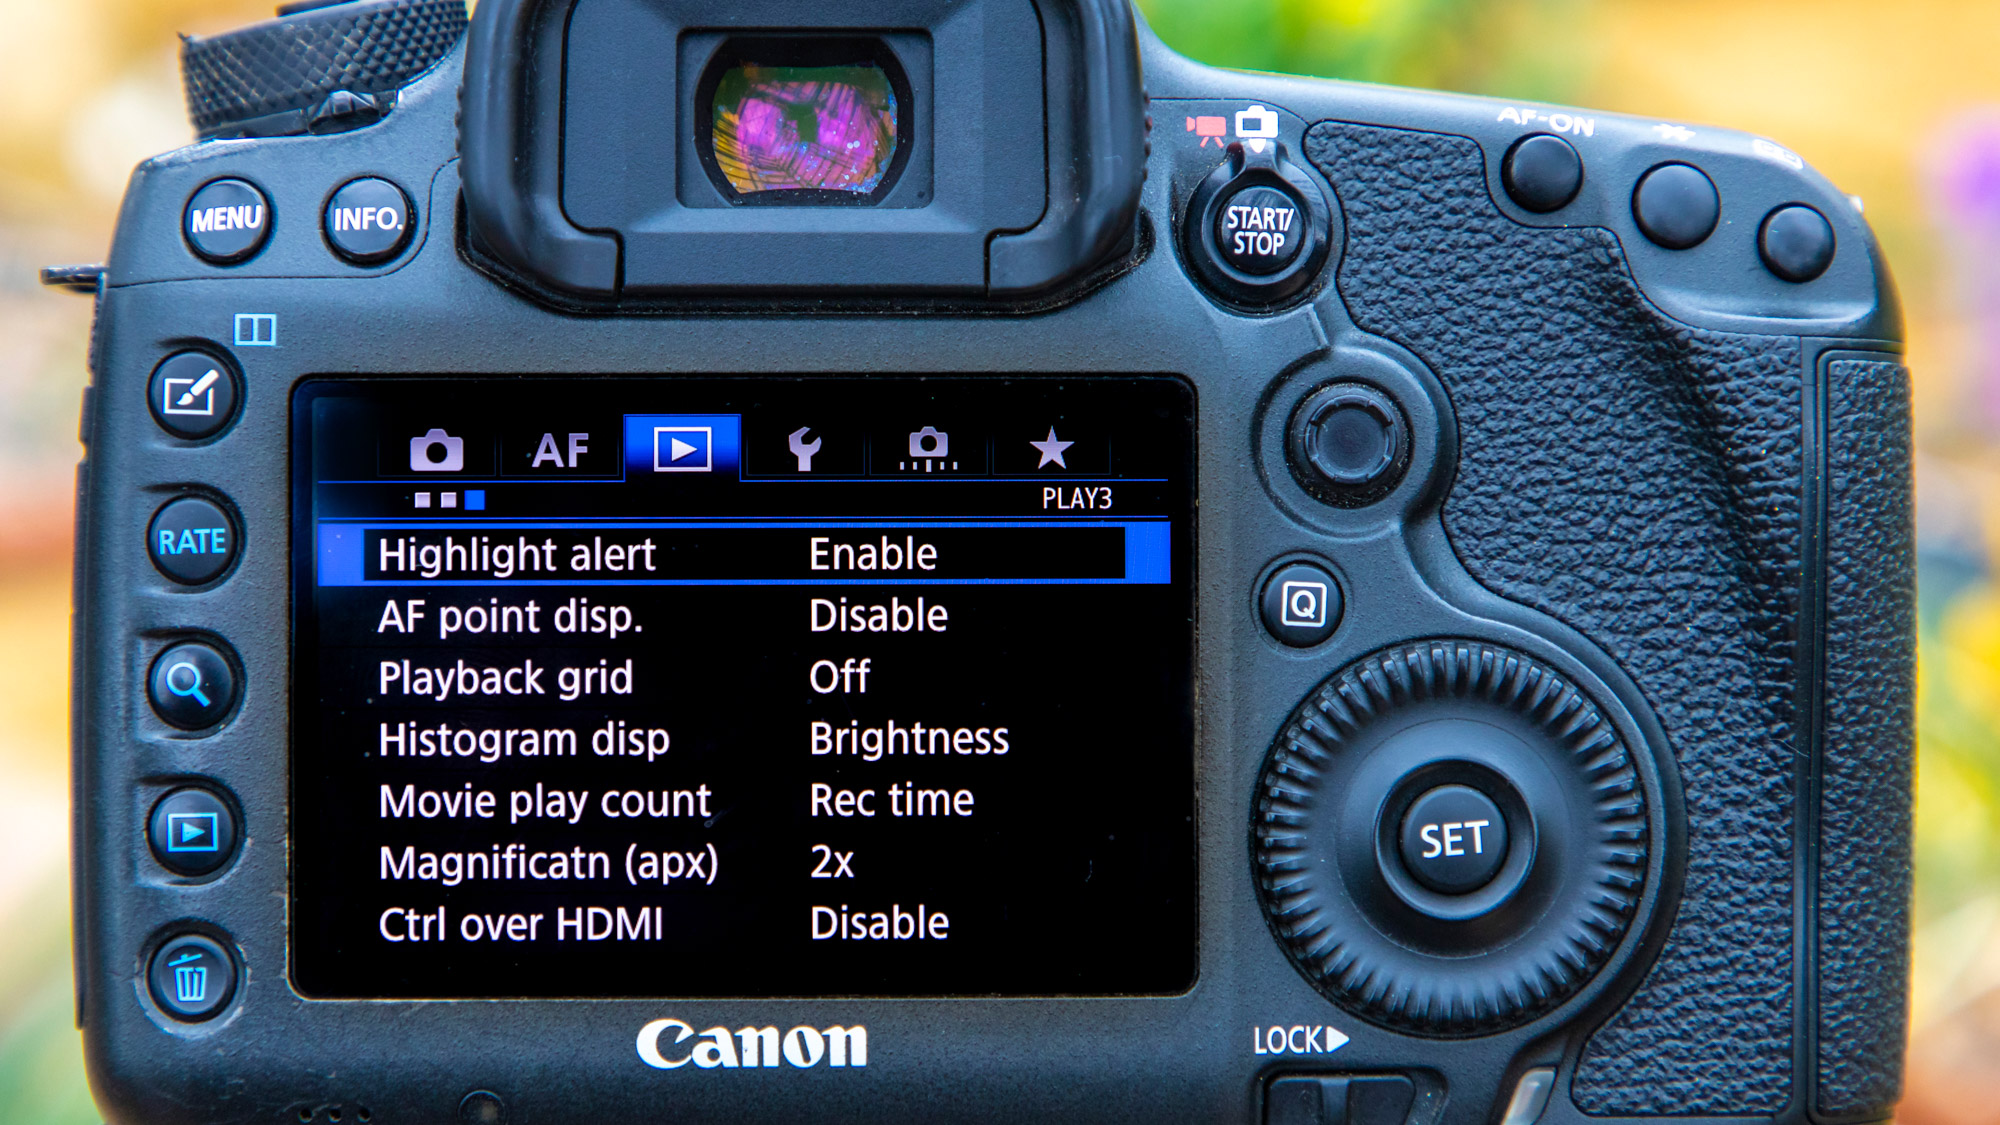
Clive uses the Highlight alert option on his Canon EOS 5DS R to see if any of the bright tones in his images have clipped to pure white. Switching on Highlight alert lets Clive see any burnt highlights briefly flash black when the image is played back on the rear LCD. This tells him that there is no exposure information in these areas and he’ll need to adjust his exposure settings to underexpose and make sure any delicate highlights are retained.
6. Focus bracketing
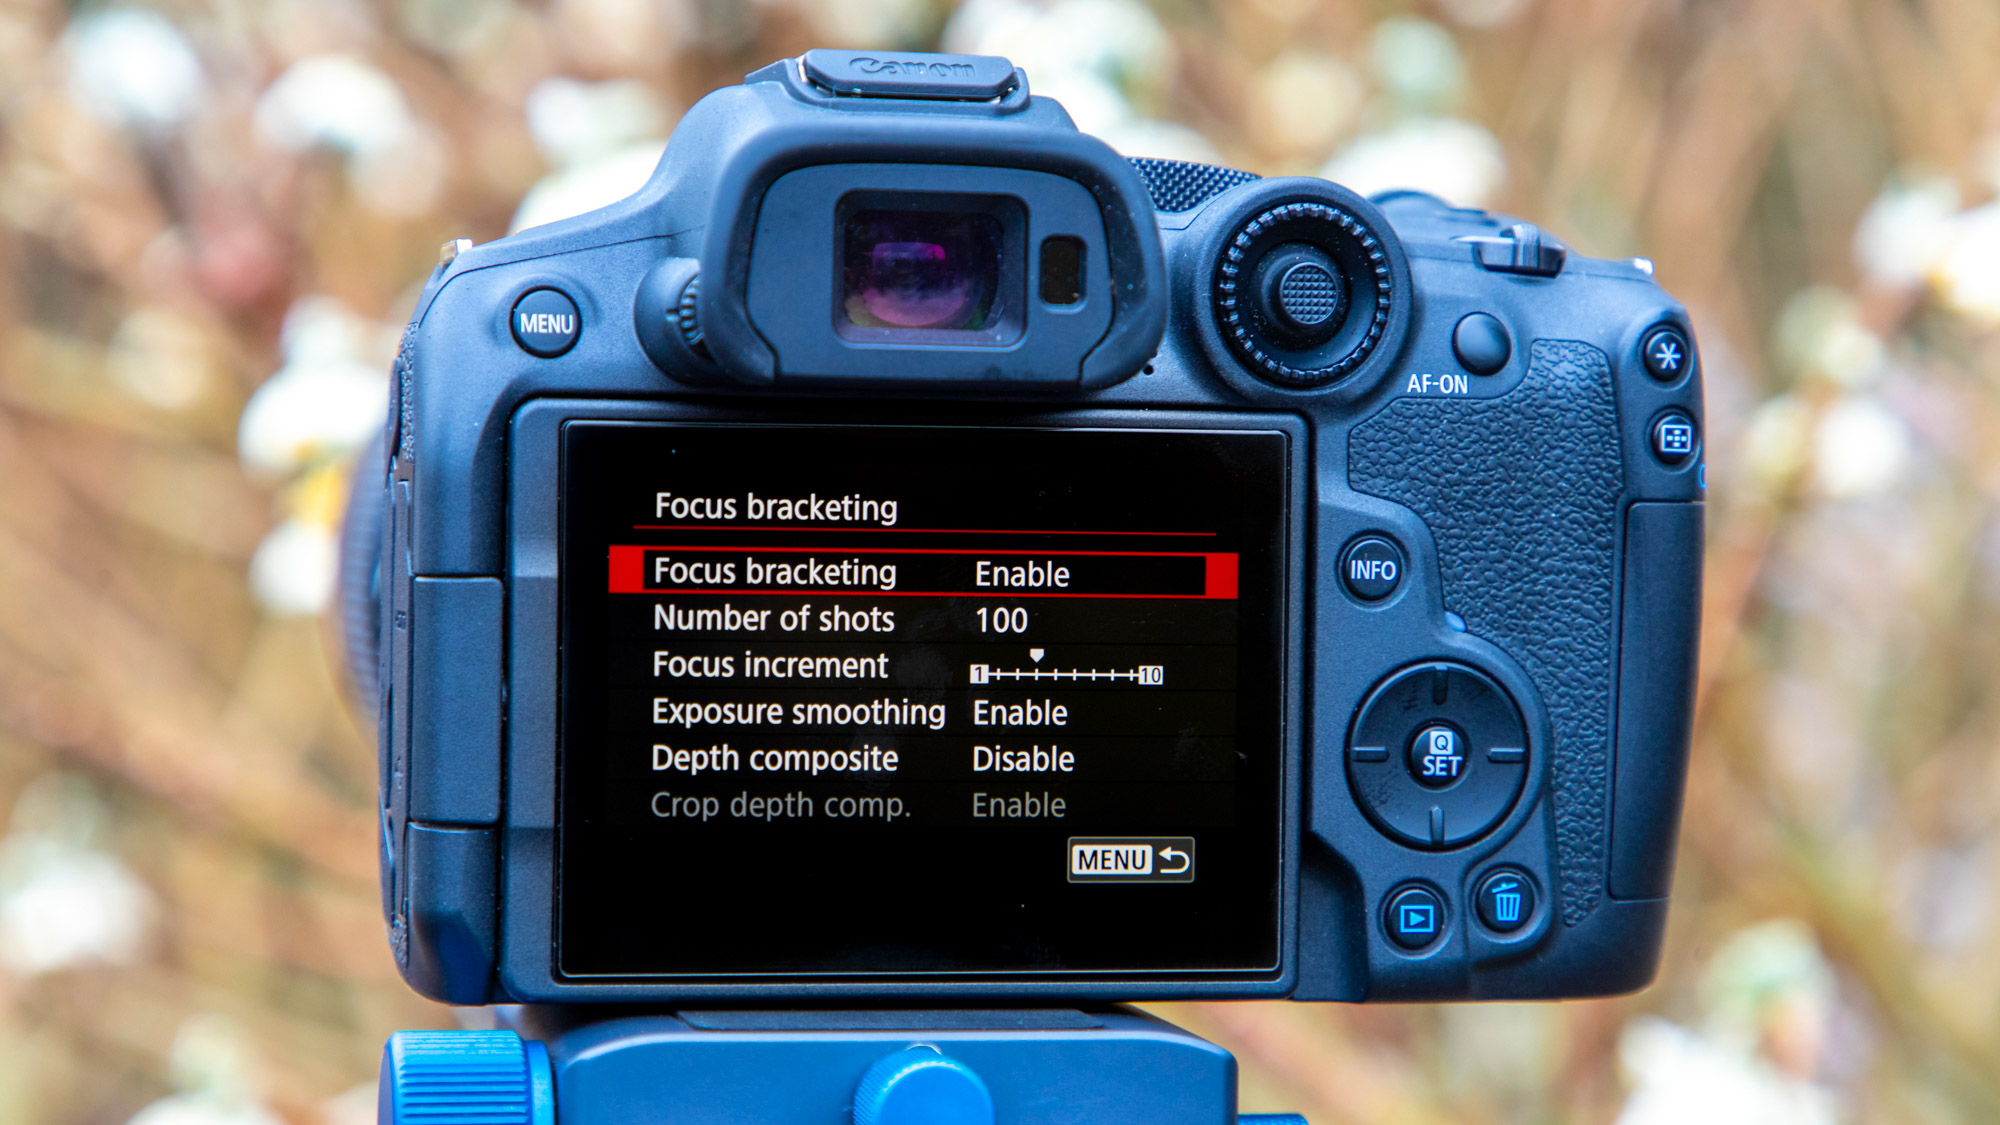
Focus bracketing involves taking a series of images at different focus distances and merging them together to achieve a sharper image with greater depth of field. This is particularly useful for macro work, where depth of field can be frustratingly shallow. While this can be done manually with a macro rail, many new Canons like the EOS R5 and Matthew’s EOS R7 have a Focus bracketing mode that shoots a series of images at different focus distances at a rapid rate, making it possible to pull off focus bracketing without using a tripod or macro rail.
7. Bring your own background
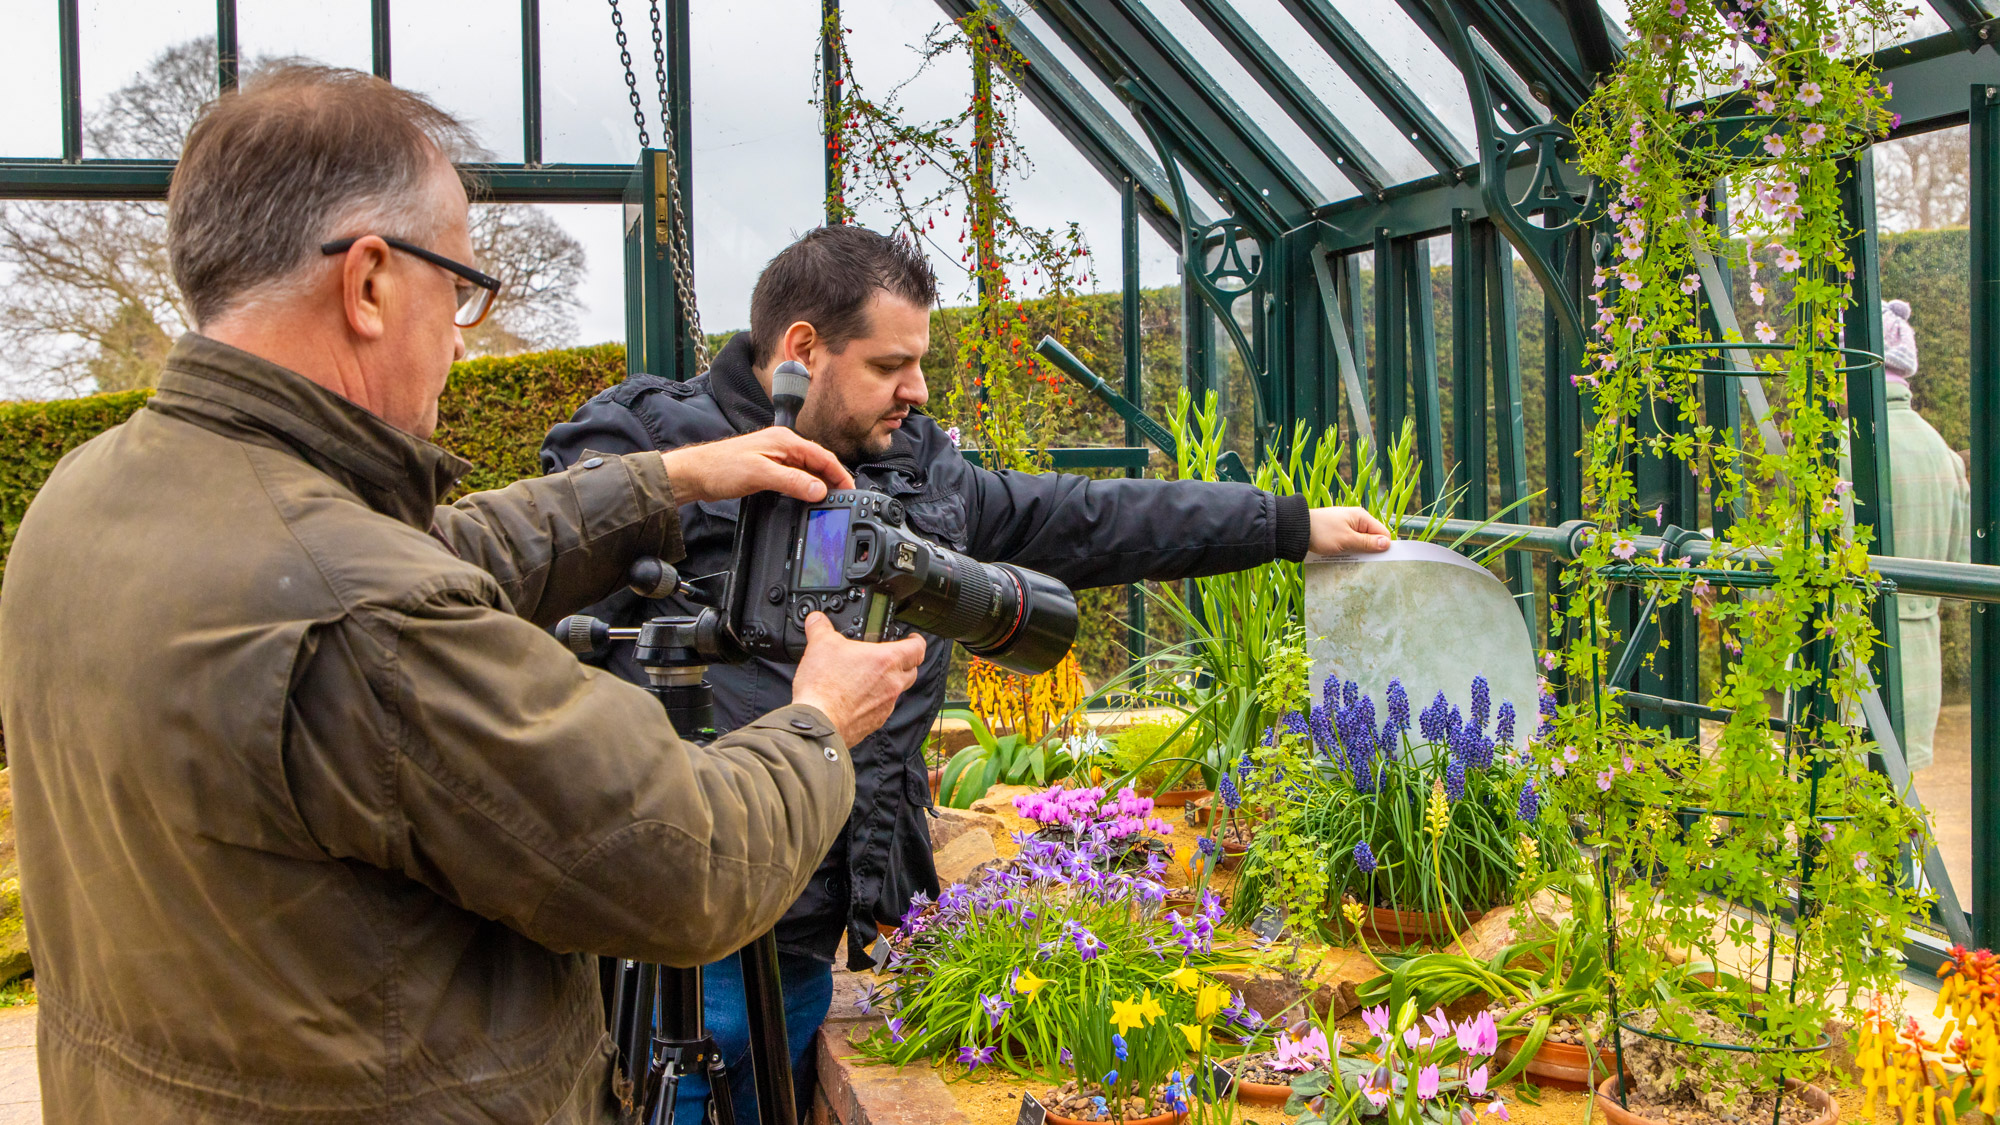
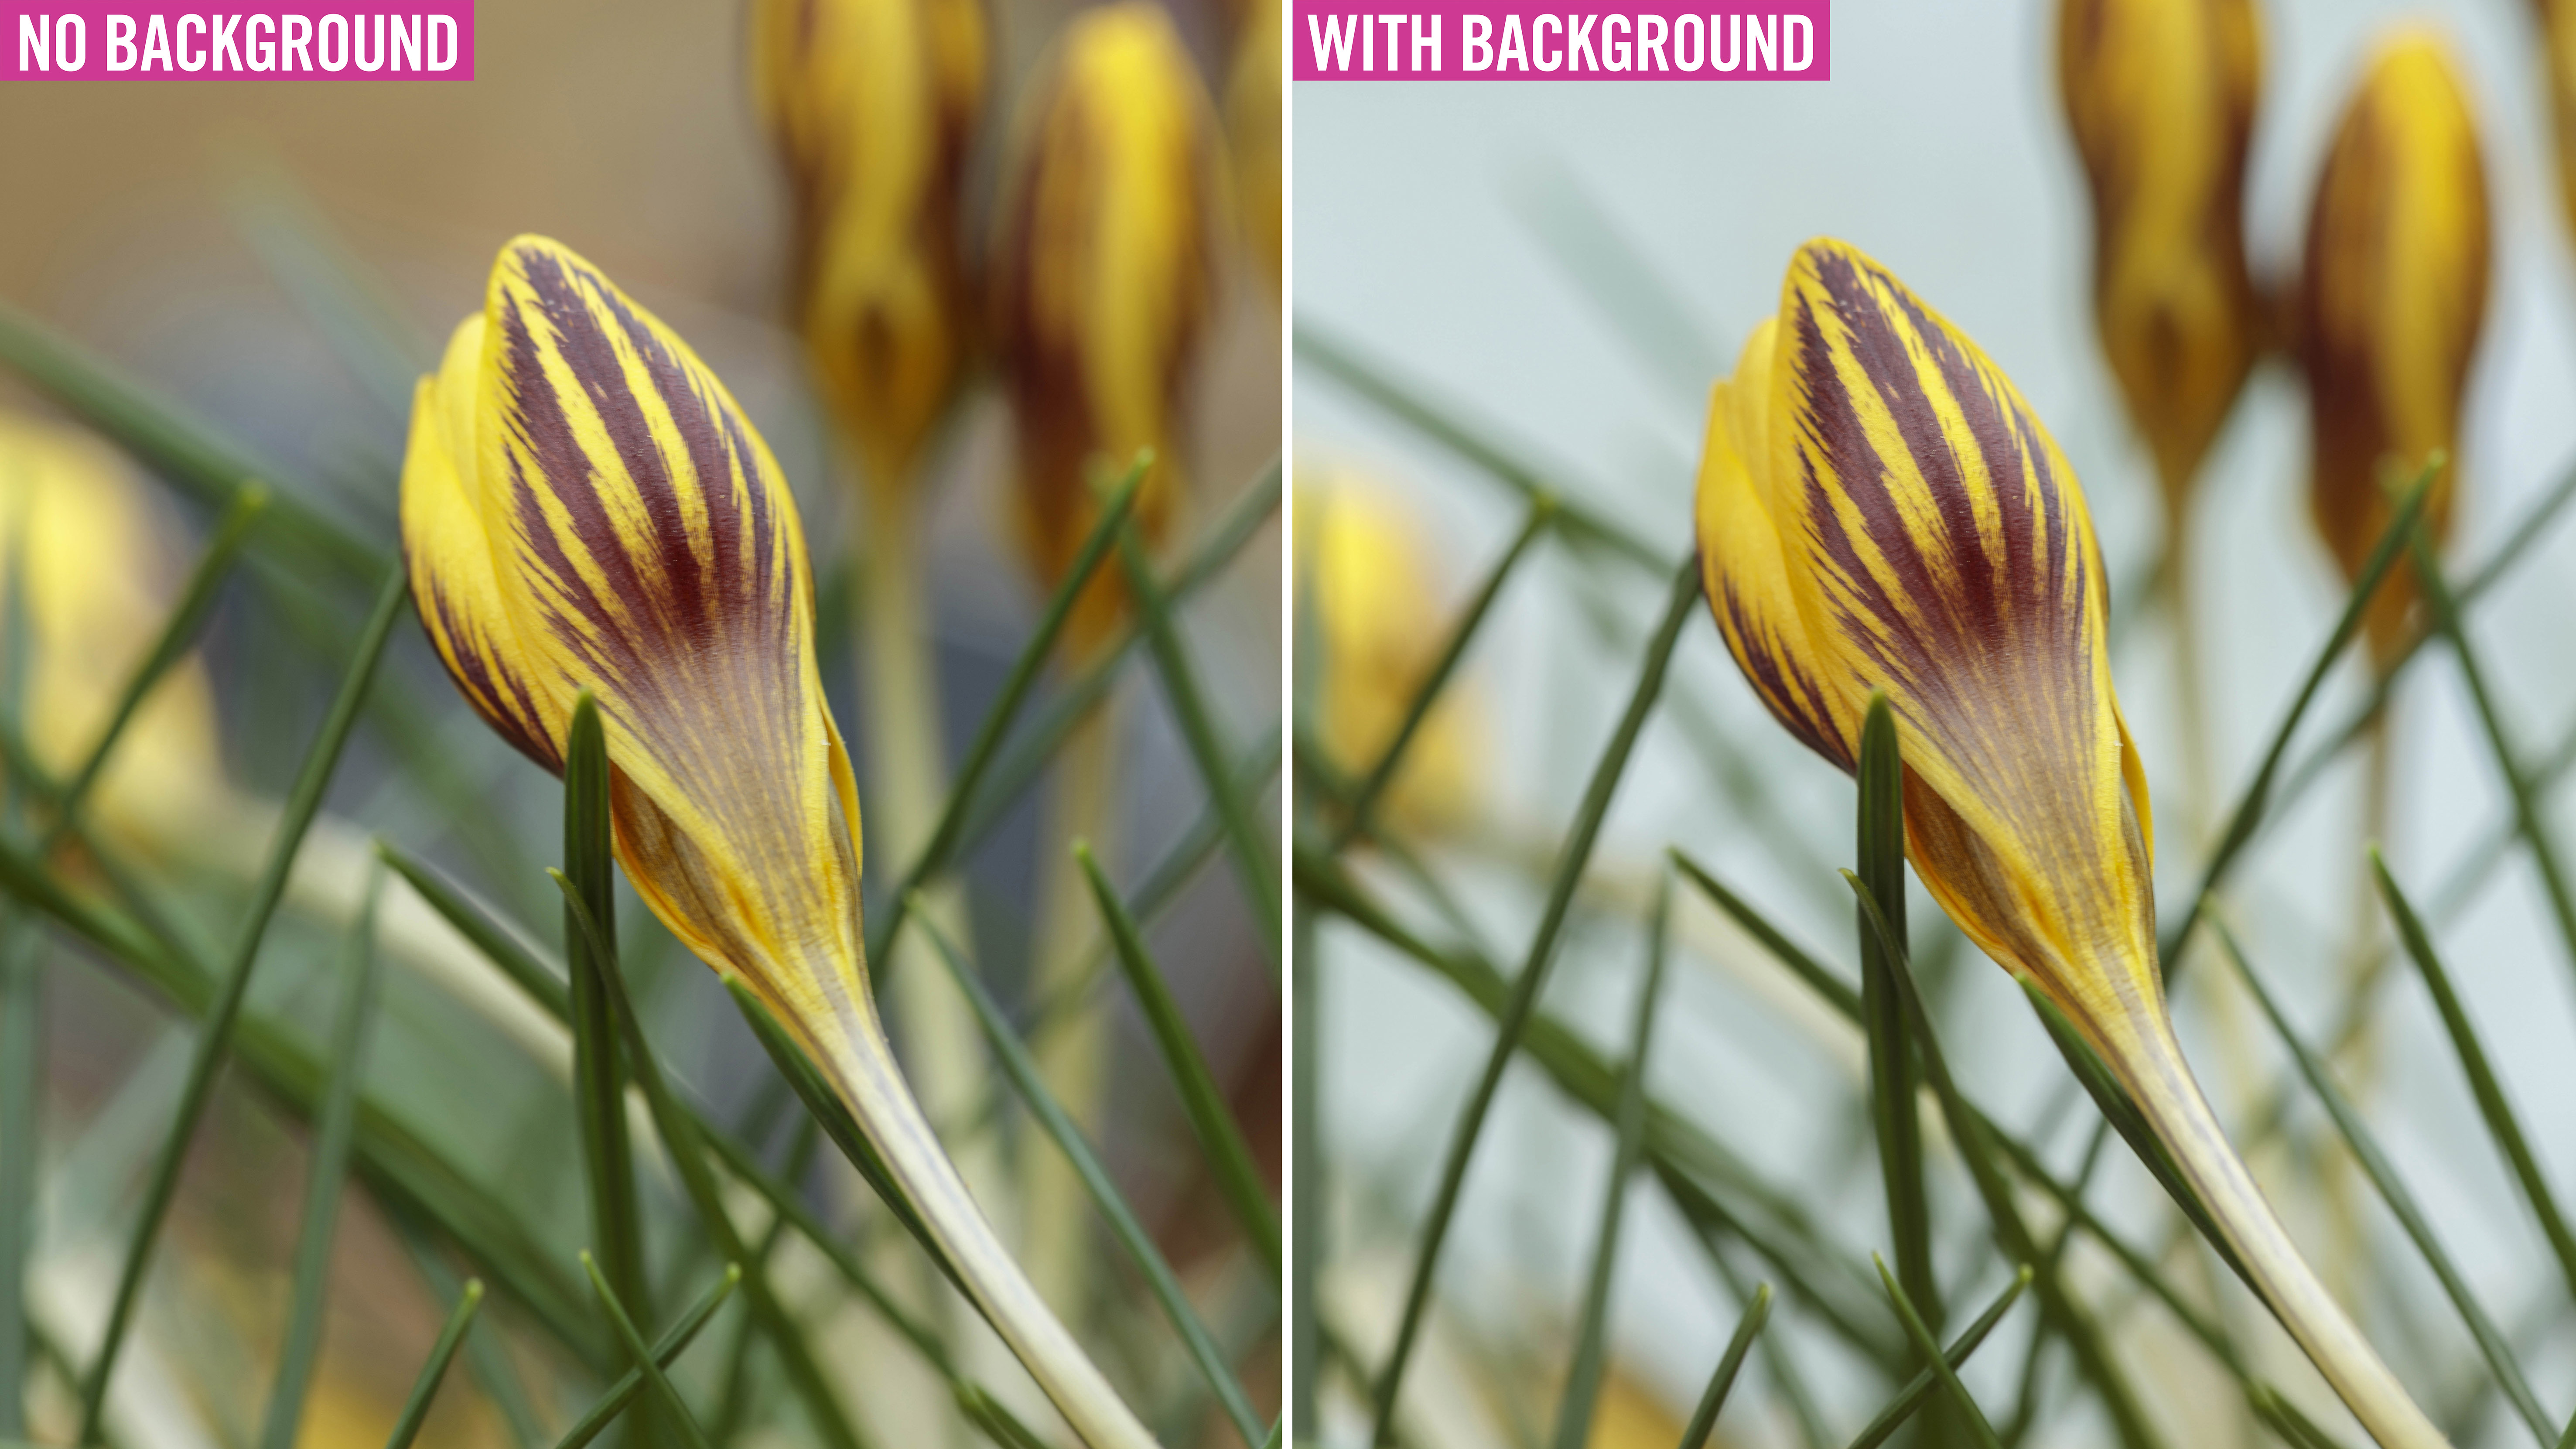
When shooting close-ups, the background can be distracting. Clive always has a selection of vinyl options from Capture by Lucy; he can then prop them up, or have an assistant hold them in place, behind his subject to change the look of the image and make it much cleaner. Different colored backgrounds can also help you add a complementary color palette to your images.
8. Kenko autofocus extension tubes
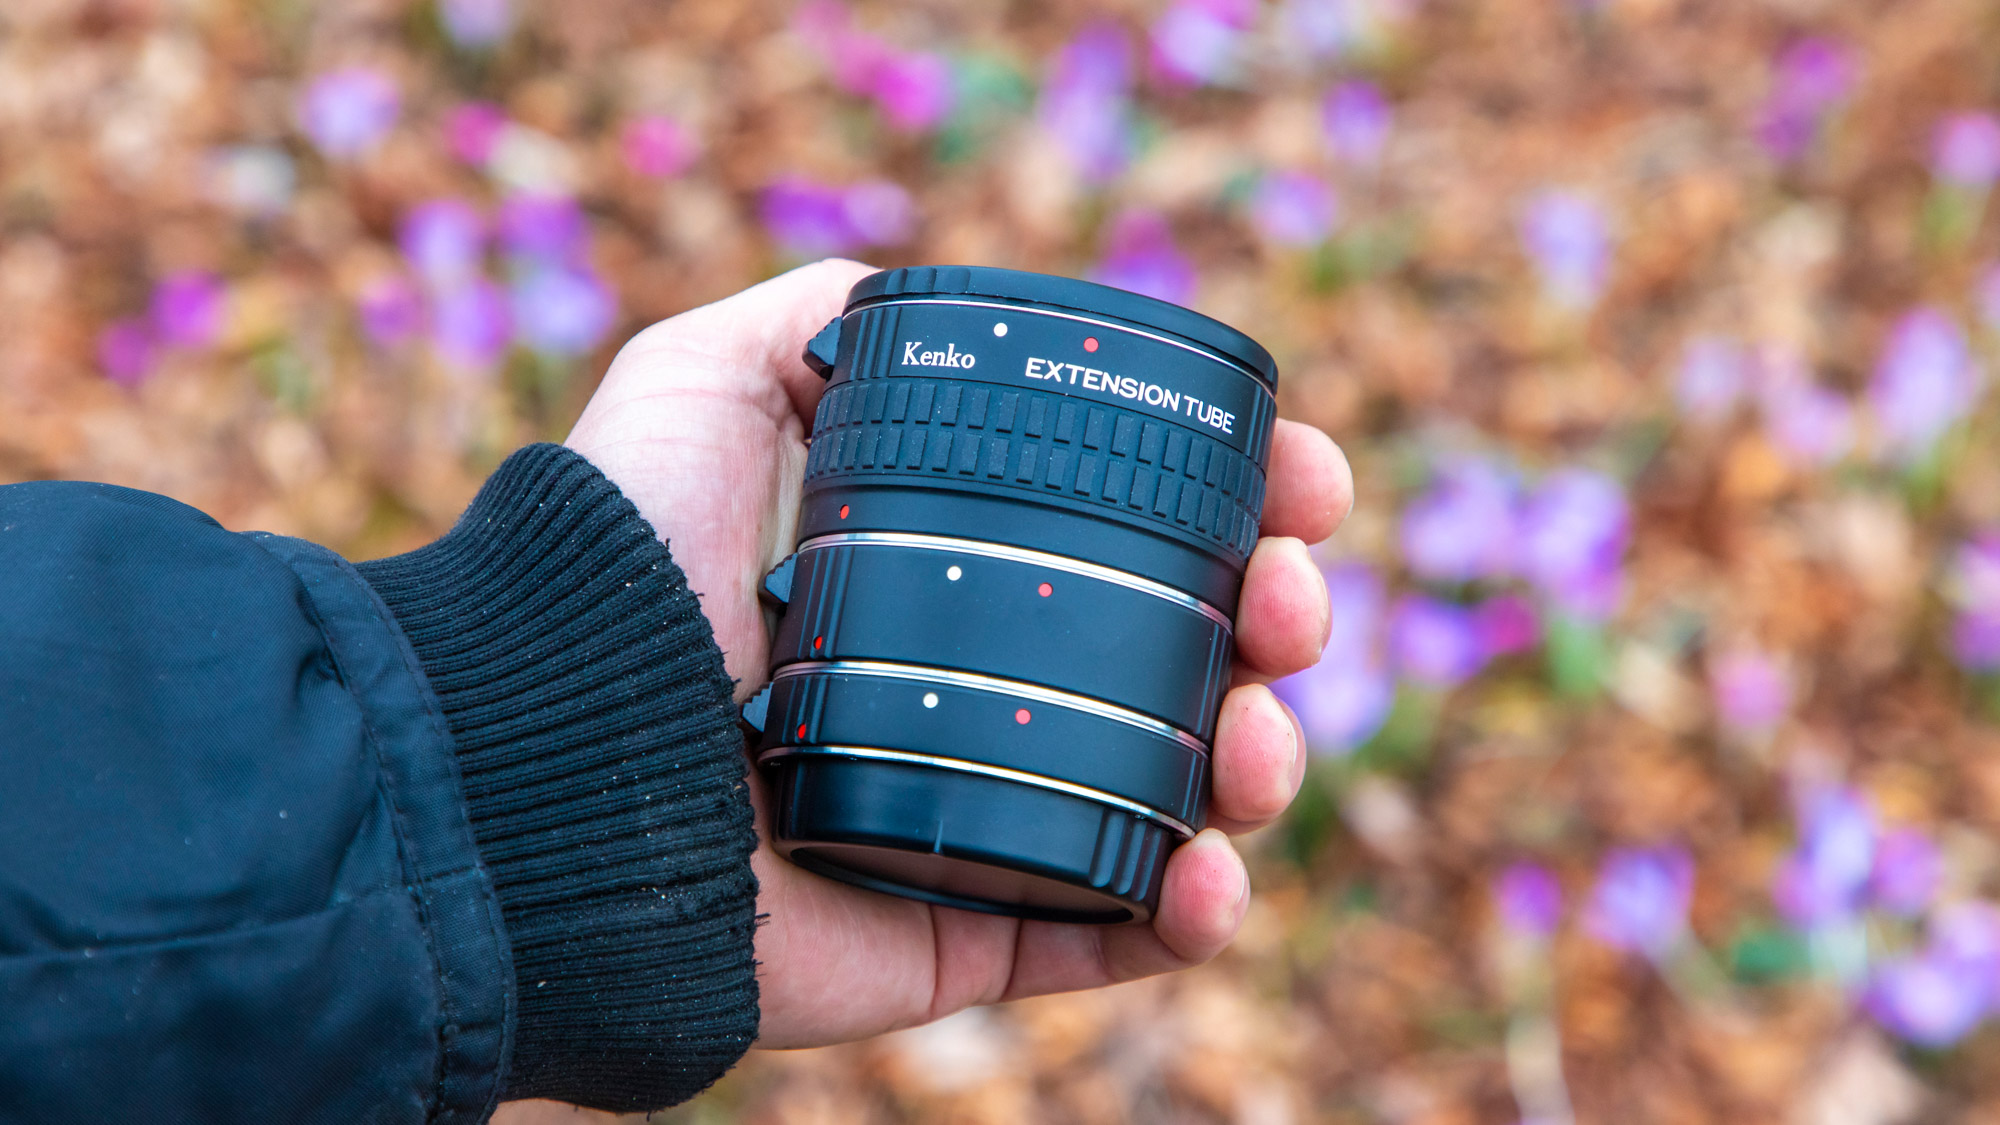
Even with a macro lens you may find yourself needing to get even closer, especially with tiny subjects like a flower stamen. Extension tubes fit between your Canon camera body and lens increasing the ‘flange’ distance, which makes it possible to focus even closer. These will turn a standard kit lens into a macro one, and a macro lens into a super close-up optic! They come in budget manual focus varieties but we do recommend the autofocus type which also allows you to control the lens aperture and autofocus too, like this set of Kenko tubes.
9. Tripod and head
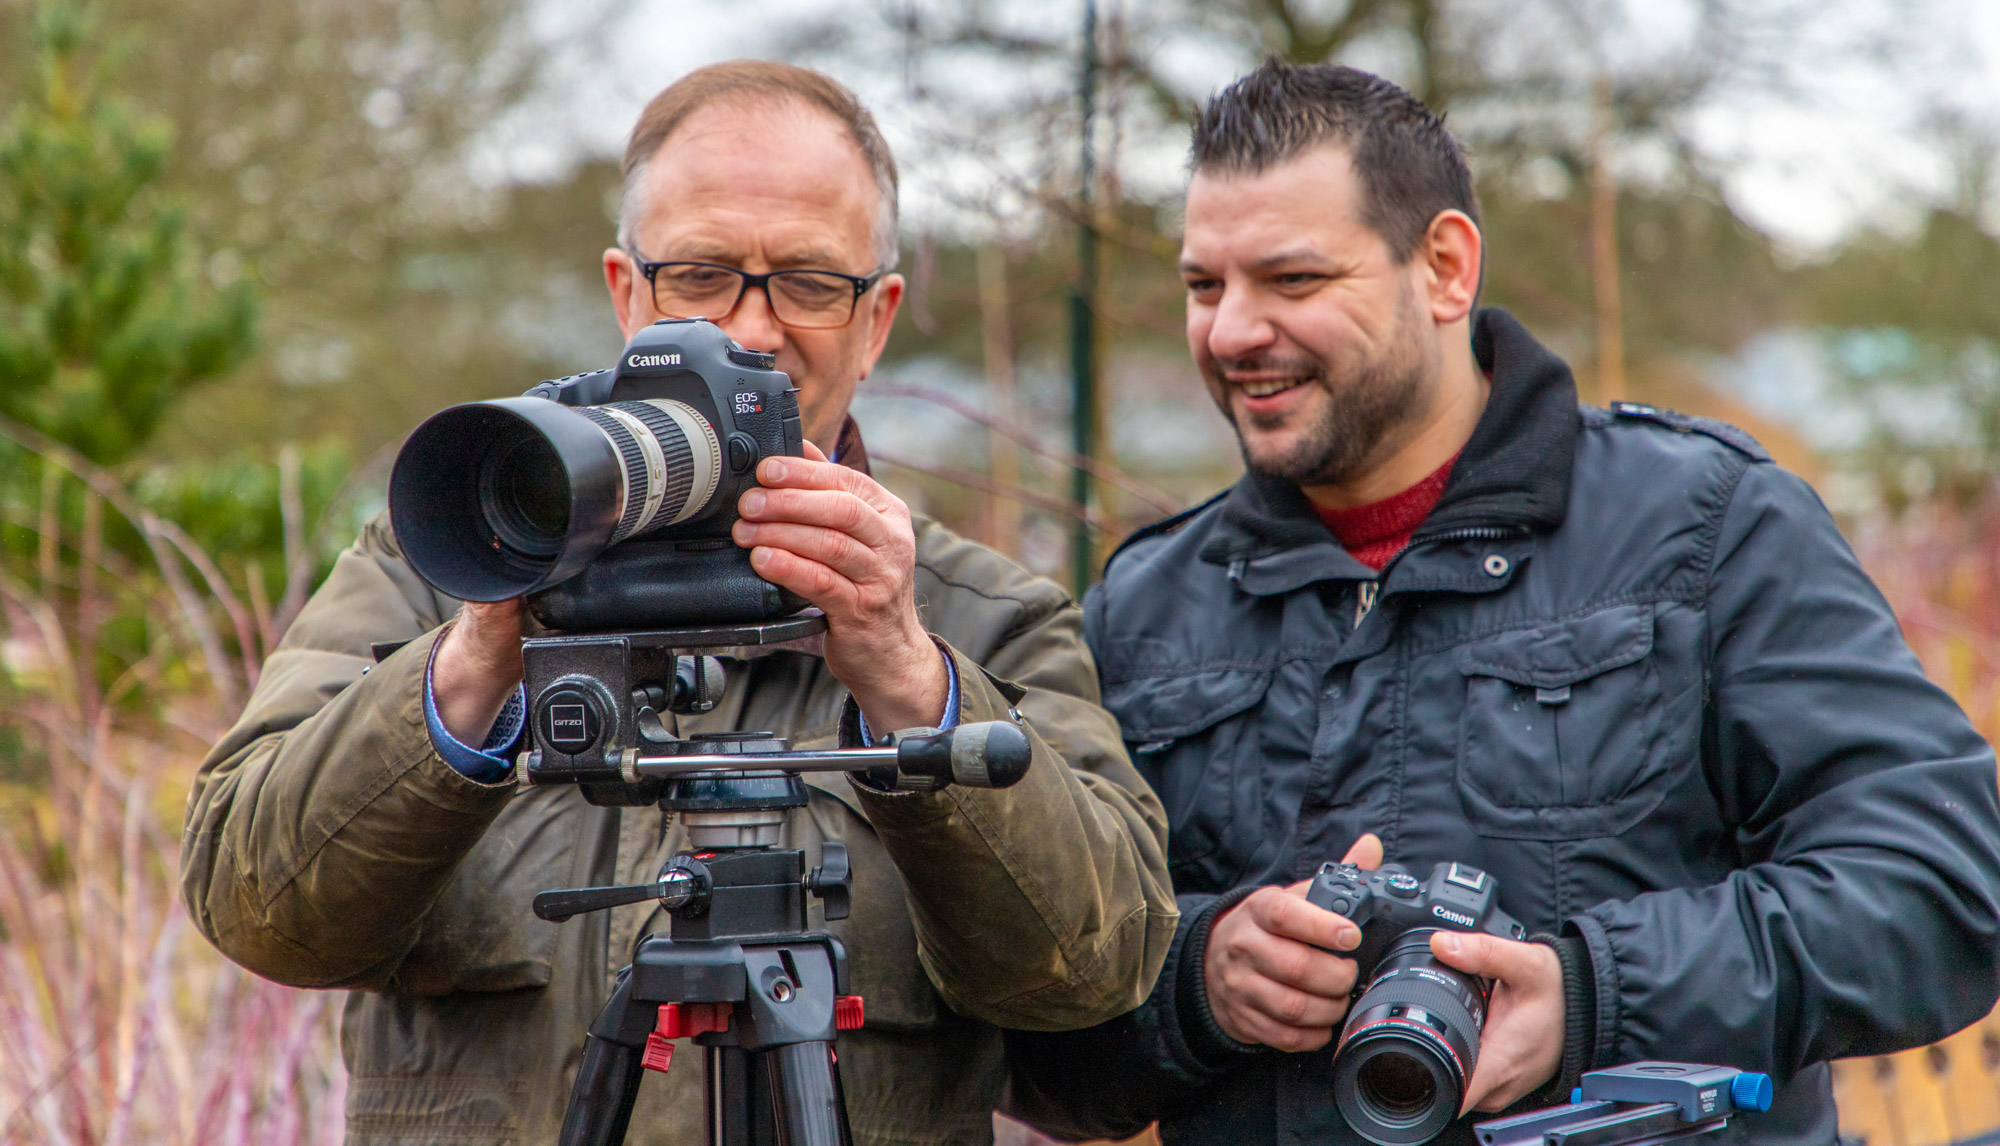
With garden and landscape photography you often have the luxury of time to set up and compose on a tripod. Clive shoots on a tripod so he can fine-tune his compositions. It also eliminates the camera shake you’d get from hand-holding your camera. Clive’s tripod is a Manfrotto 058B Triaut paired with a Gitzo G1570M three-way head.
10. Get down low
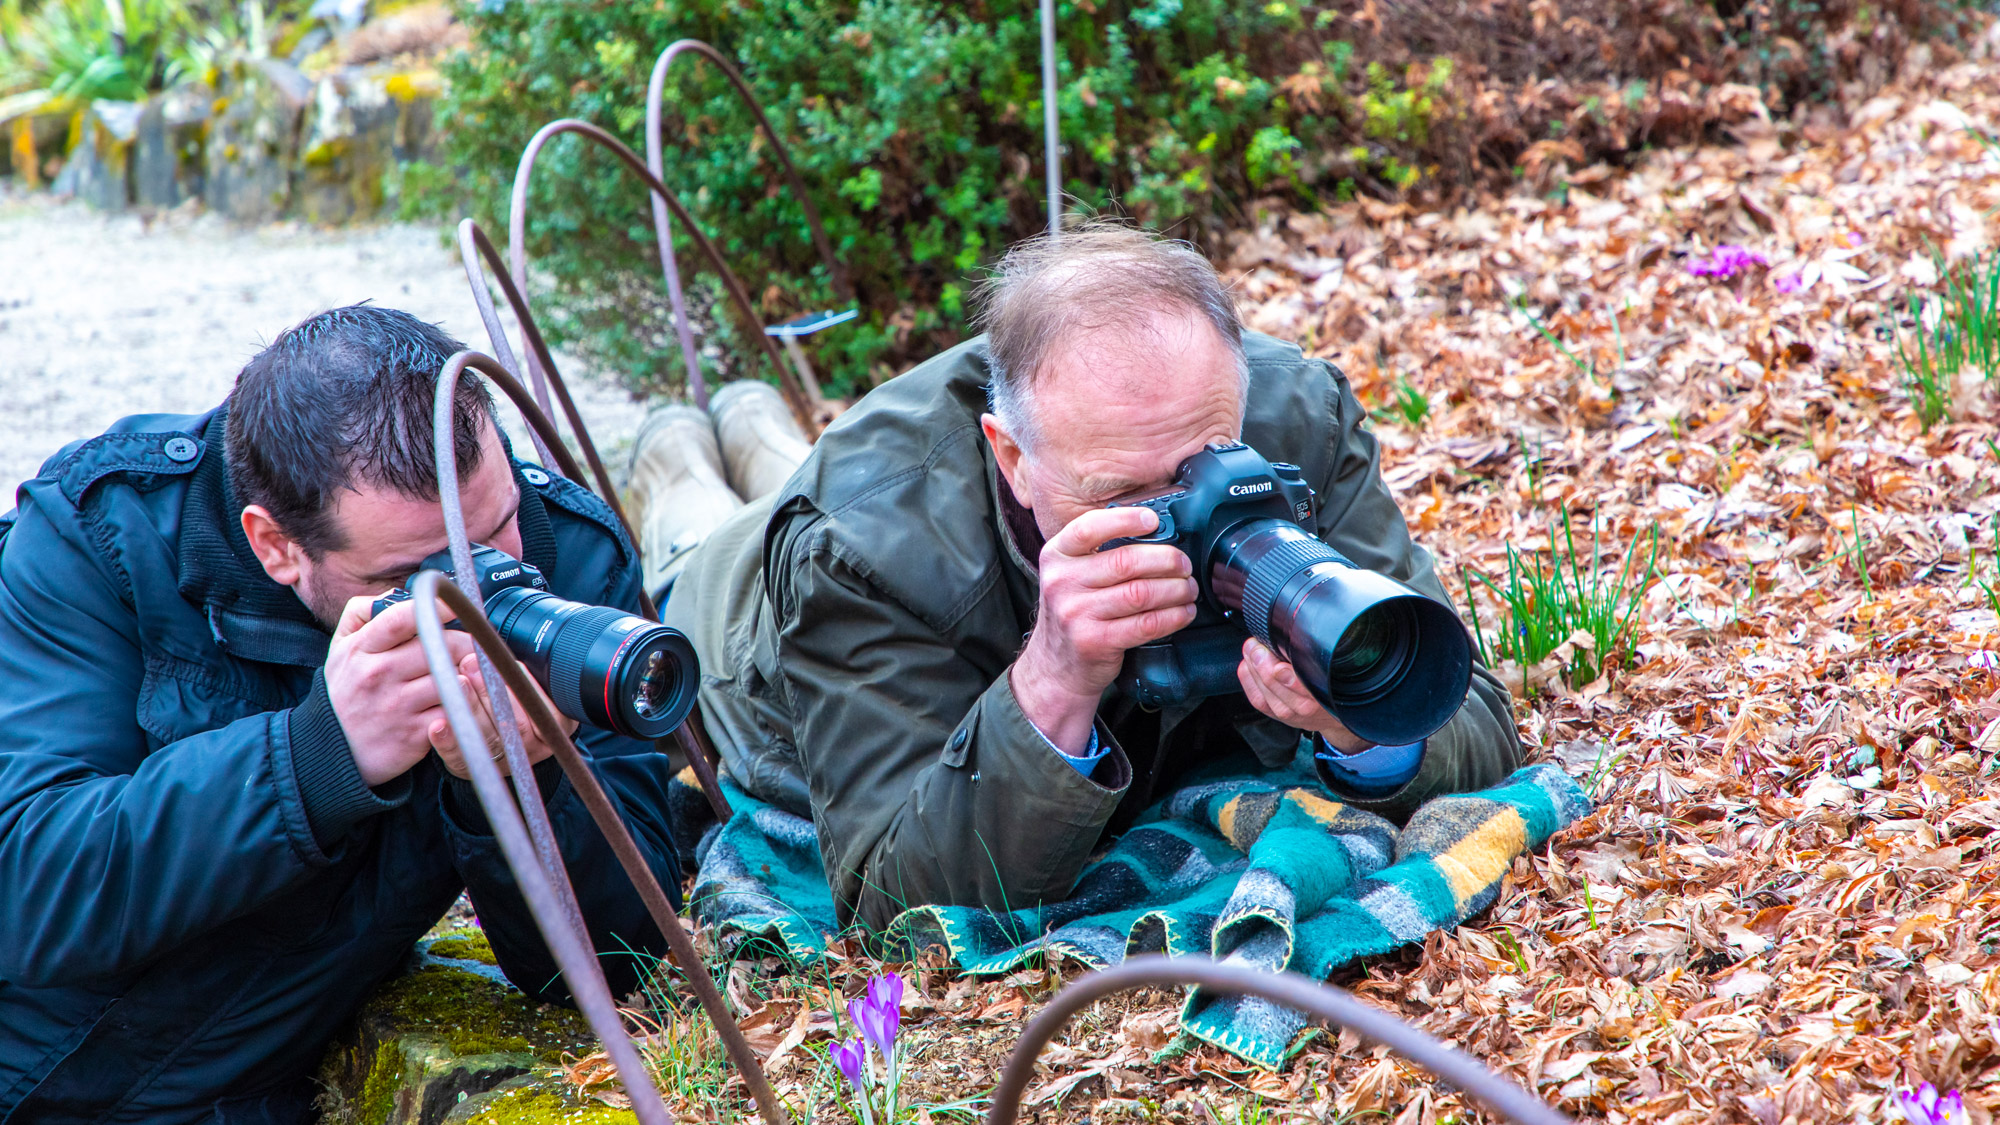
One of the easiest ways you can improve the impact of your plant and flower close-ups is to get down low. This will help you get tighter for intimate worm’s eye-level close-ups, and as backgrounds will be further away, it’s easier to diffuse into a pleasing blur full of bokeh. Clive brings a blanket with him to lay flat on and wears old clothes that he doesn’t mind getting muddy. Getting down low doesn’t cost anything, so try it out.

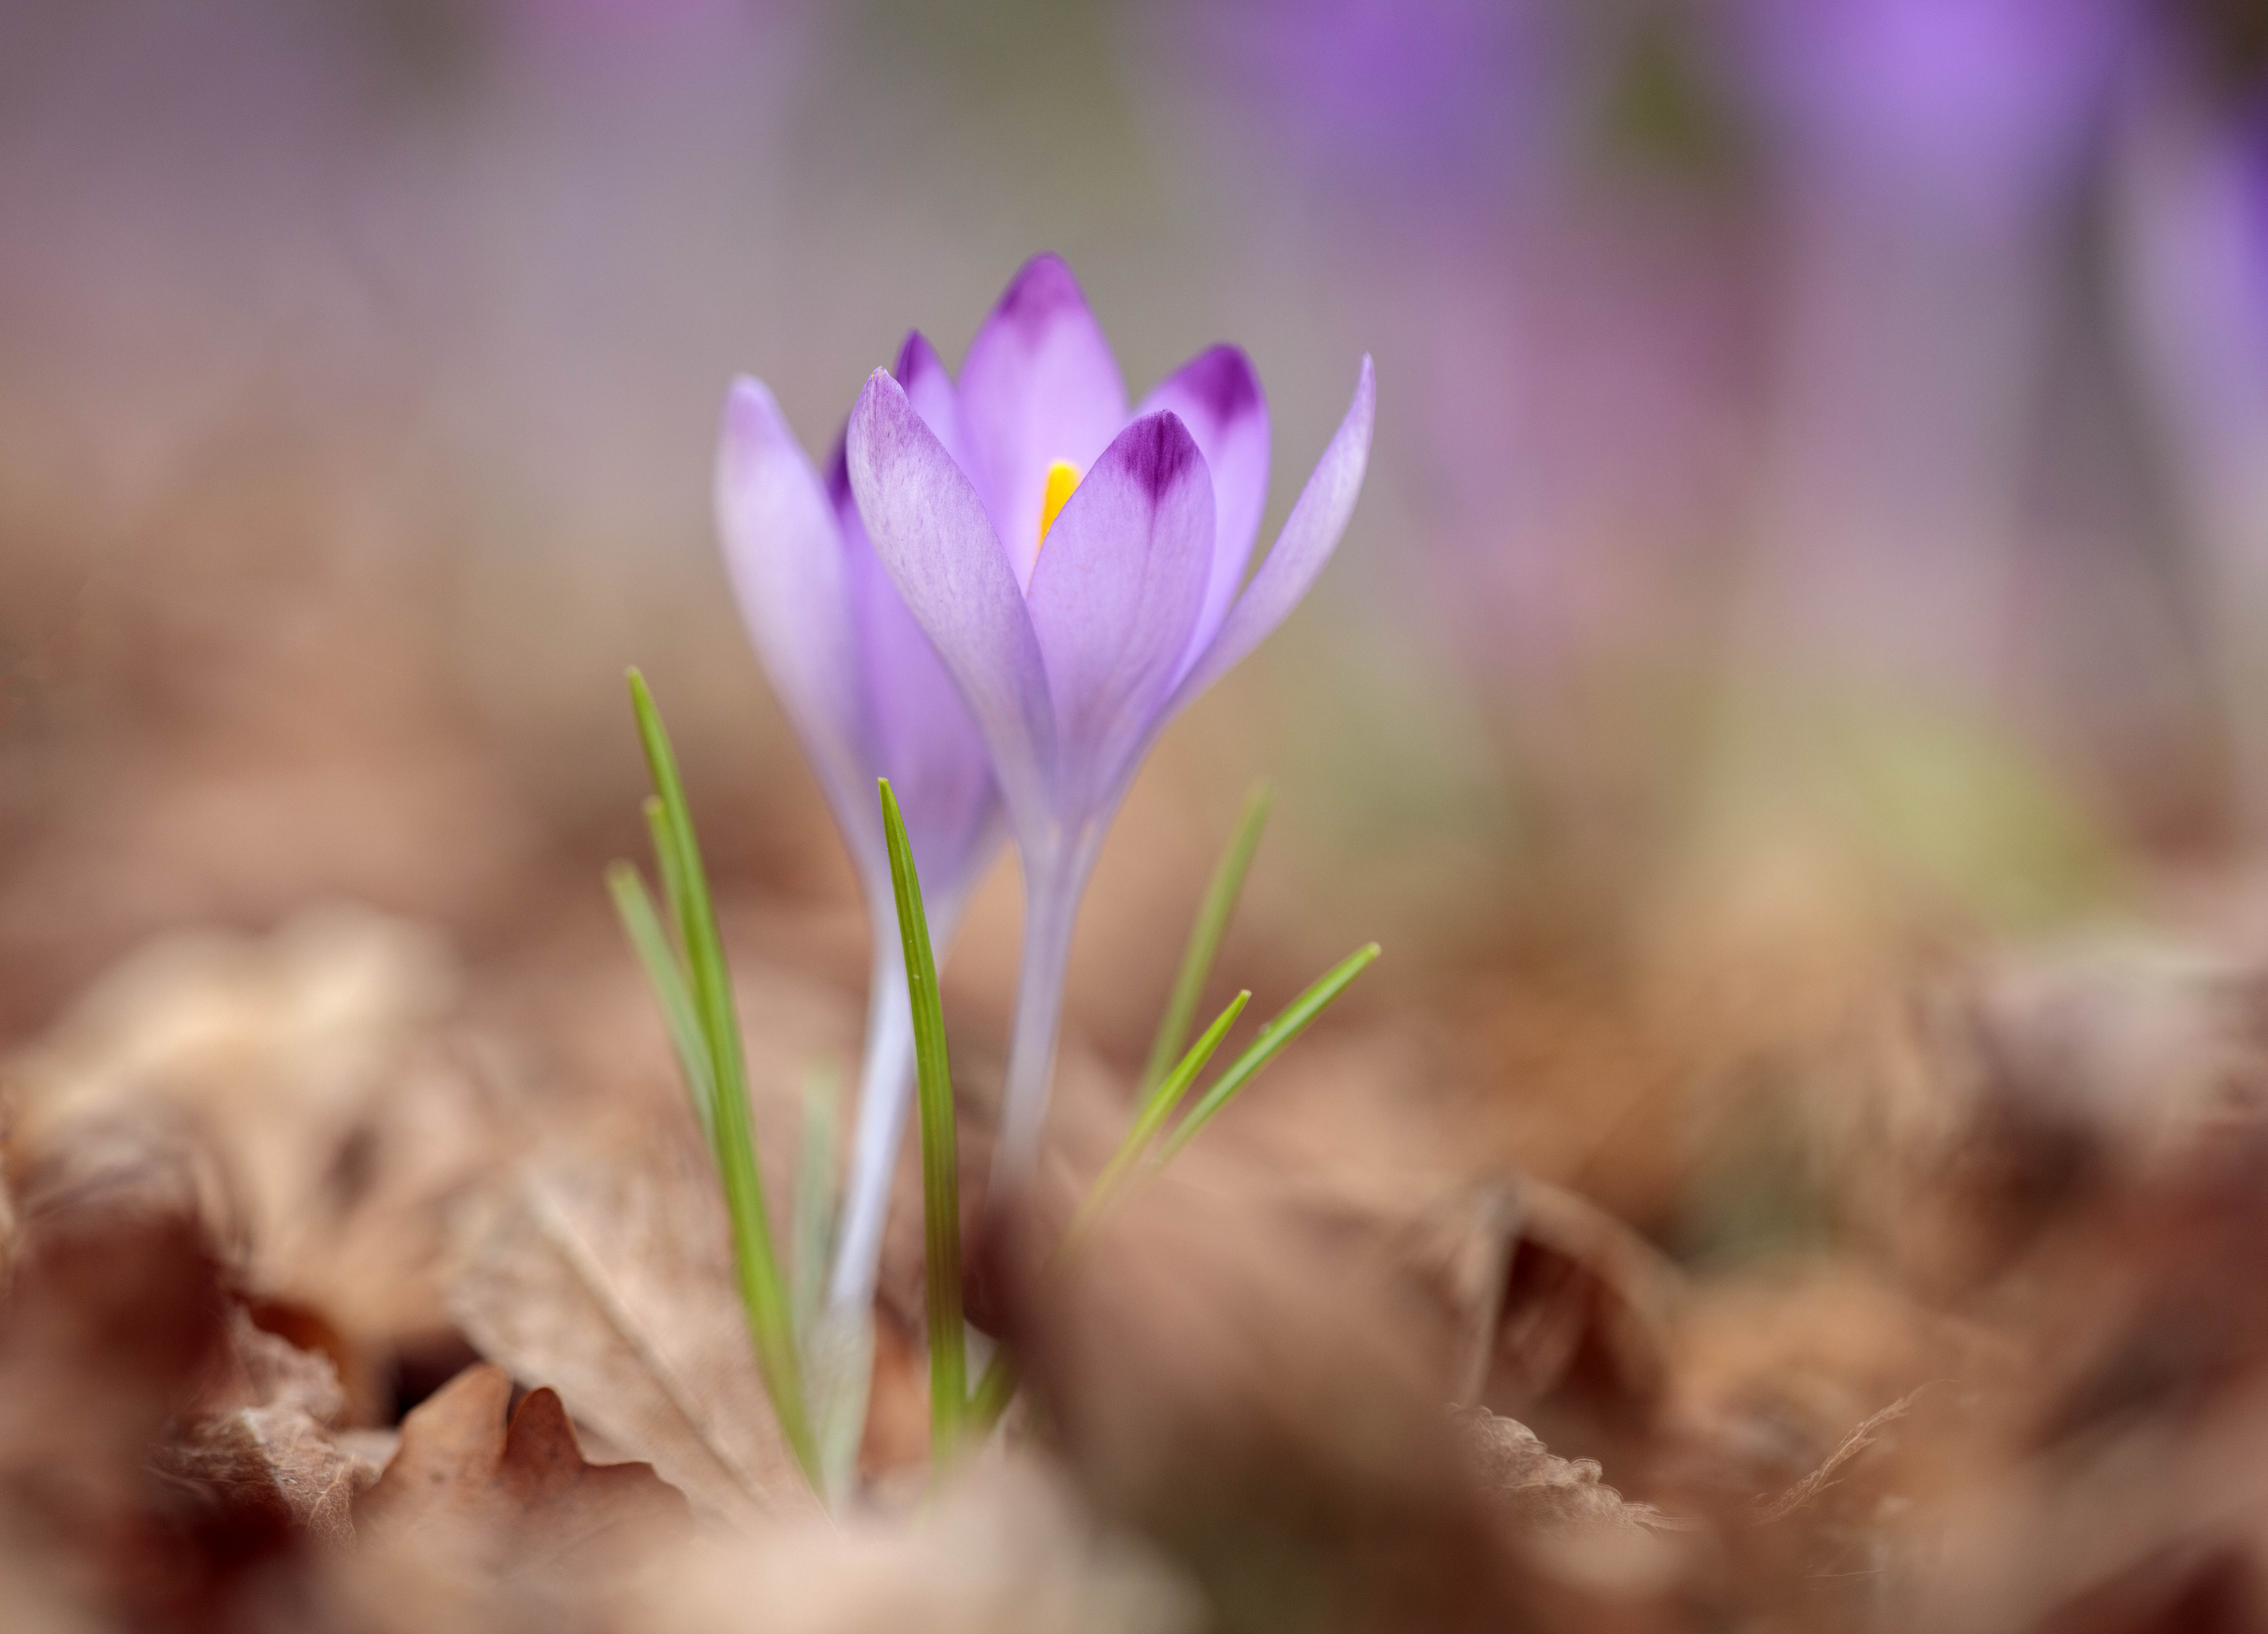
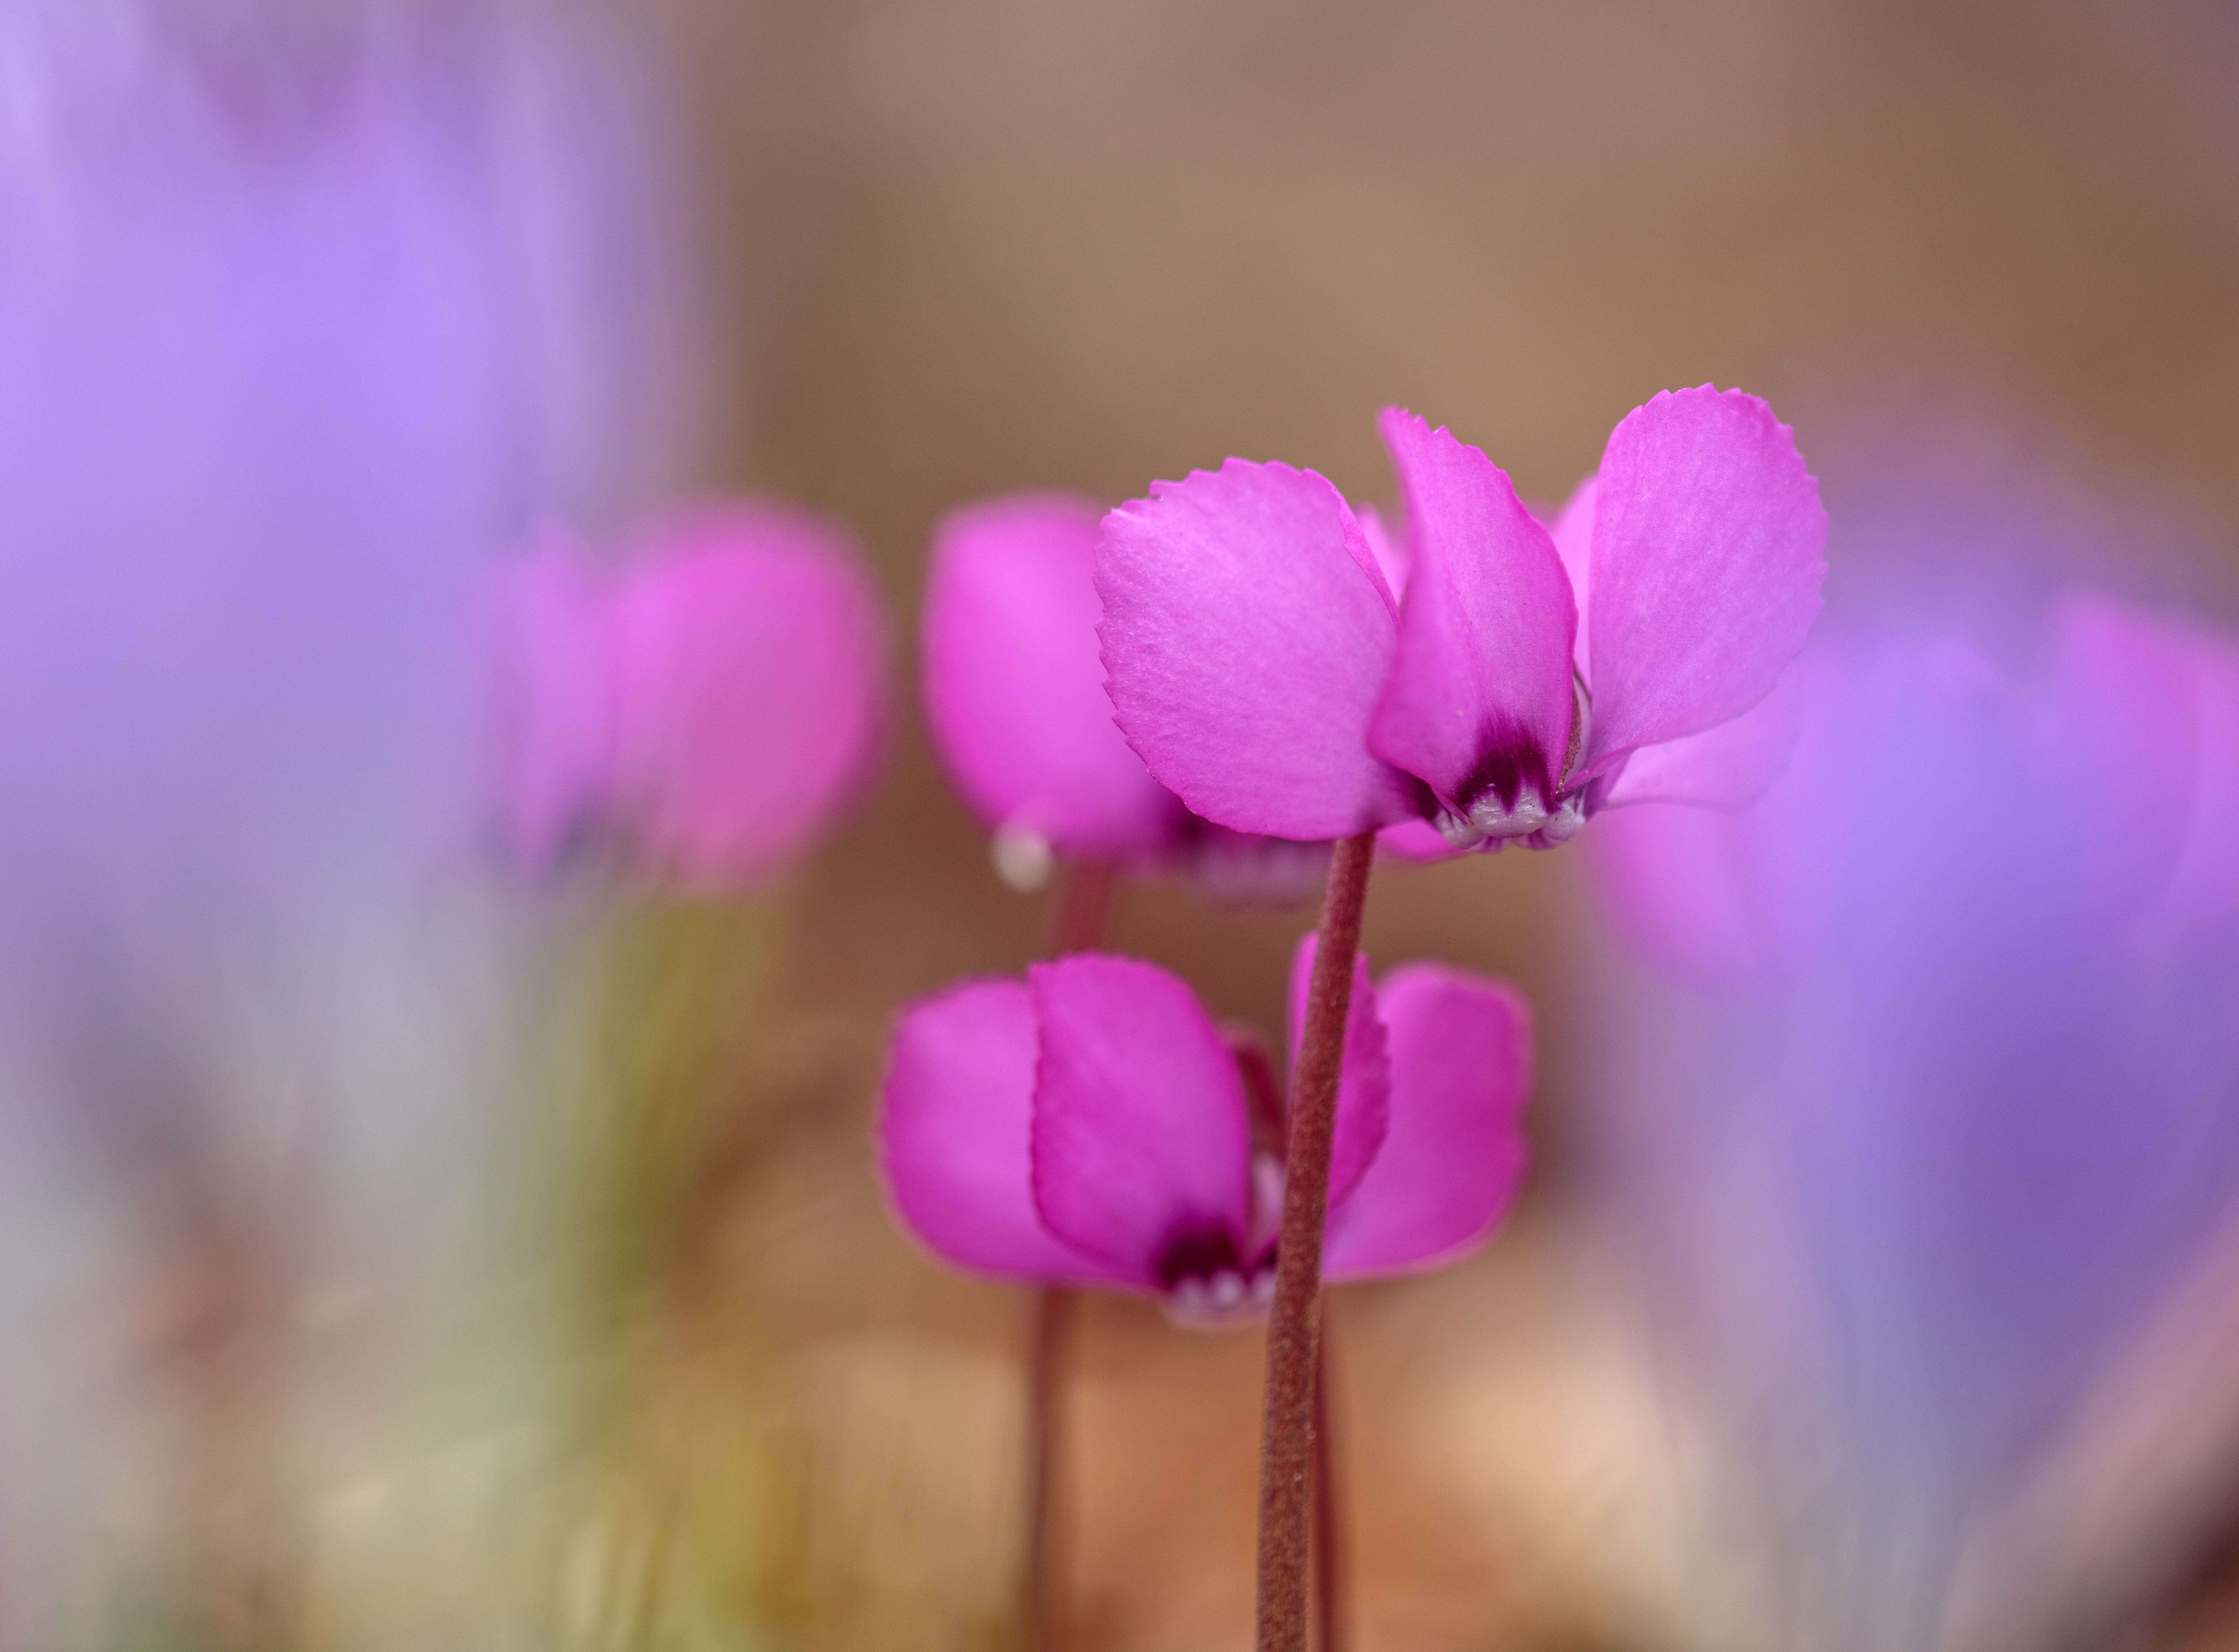
If you're really into close-up photography, you'll want to check out the best lenses for macro. Clive uses a Canon EOS 5DS. To see his stunning portfolio check out his Instagram or to book a workshop visit his website.
