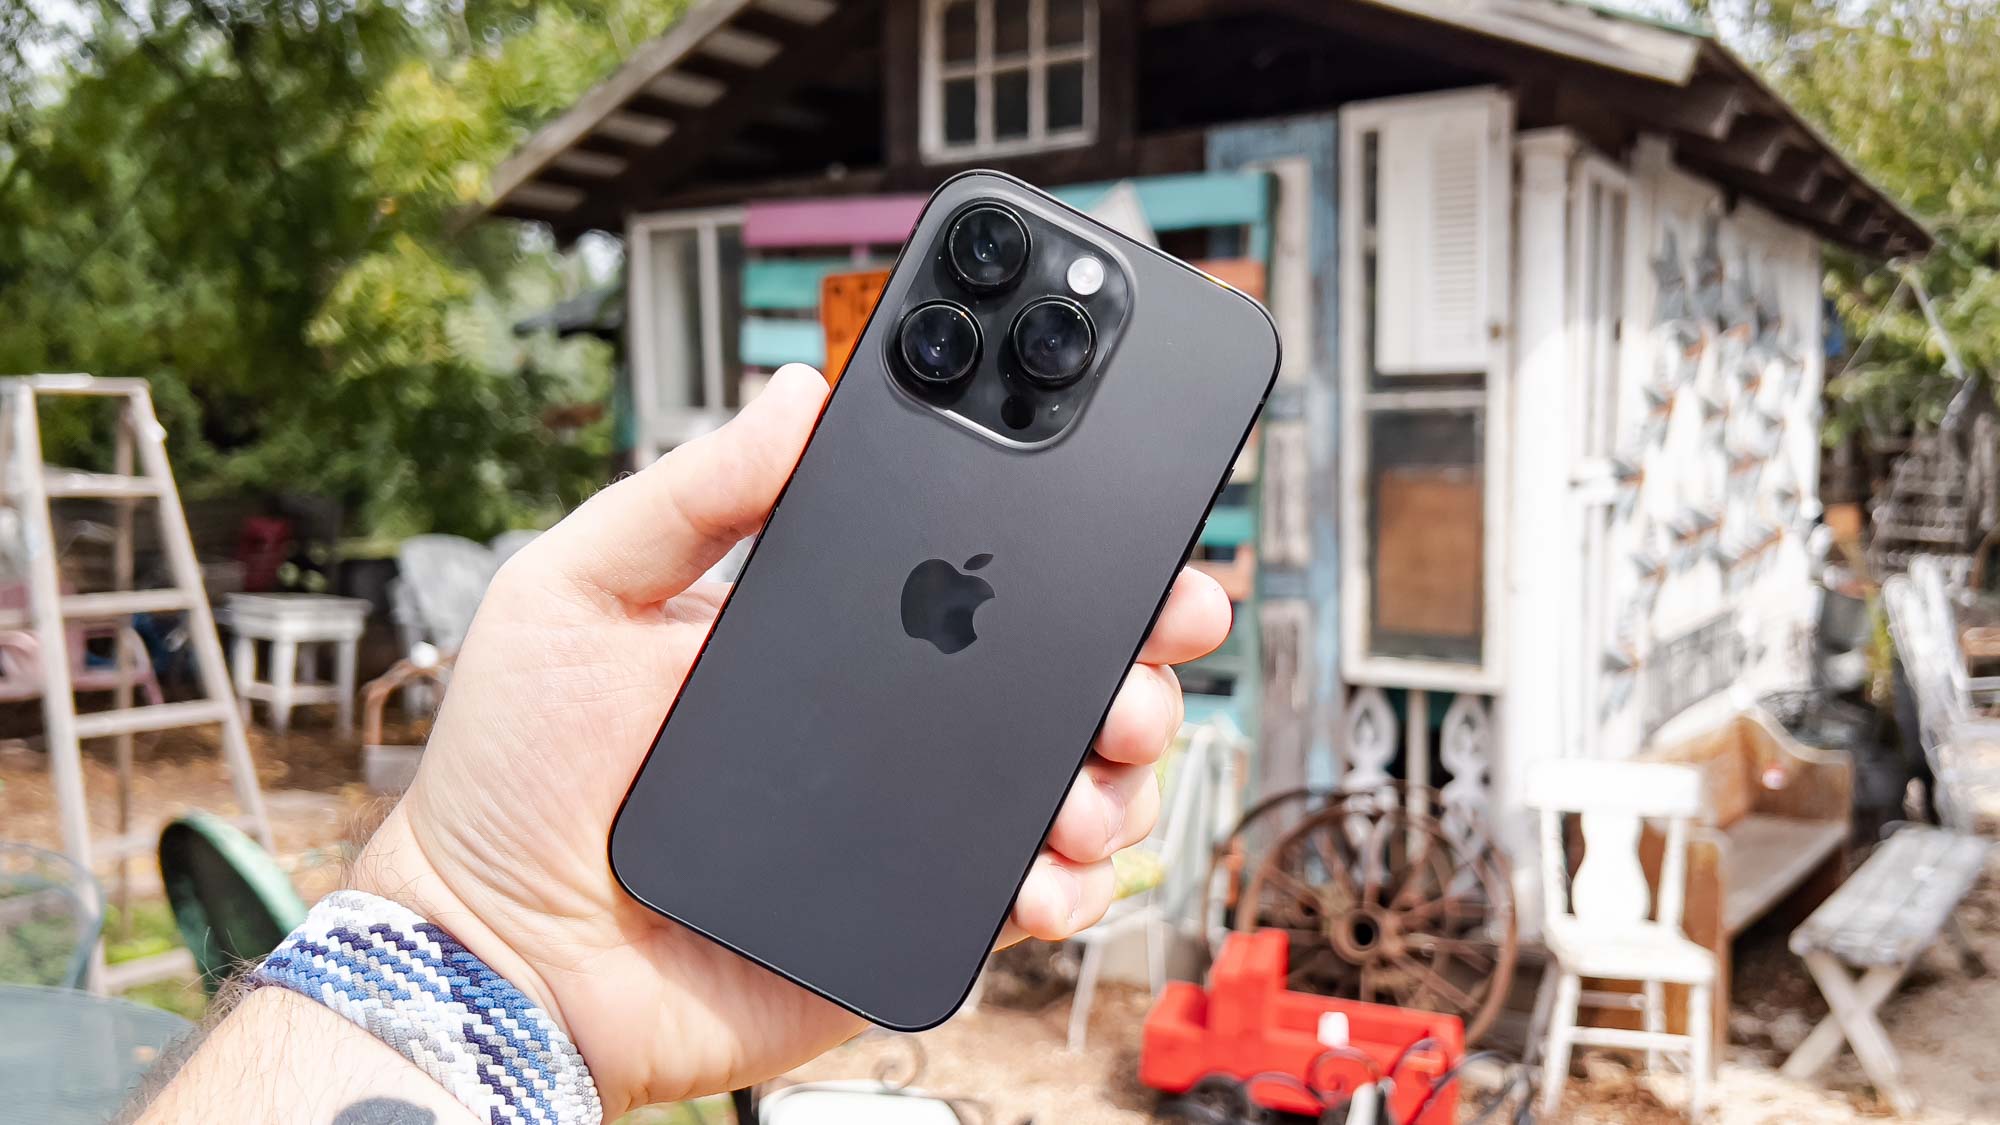
When you know how to take a long exposure on iPhone, you can get really creative with your smartphone photography, adding light trails or intentional blur.
Typically, you wouldn't use a smartphone for long exposures. That's because to take a long exposure you need full control over the shutter speed of the camera. Most smartphones, even the best camera phones, don't give you the option to properly control and slow down their shutter speed, as you can do with the best mirrorless cameras.
Admittedly, the iPhone's long exposure mode still isn't dong that. It isn't slowing down the speed of the camera's shutter; instead, it's adding blur to simulate the effect of doing so. However, it's still a cool feature to have and something that can help you get creative with your smartphone photography. It also produces some pretty cool results.
Better yet, taking a long exposure on iPhone is super easy, but you'd miss it unless you knew precisely where to look. Luckily, this guide is here to show you.
How to take a long exposure on iPhone
To make sure we're all on the same page, ensure your iPhone is up to date. We have a helpful guide to show you how to update an iPhone, if you aren't sure.
1. Open the Camera app and enable Live Photos
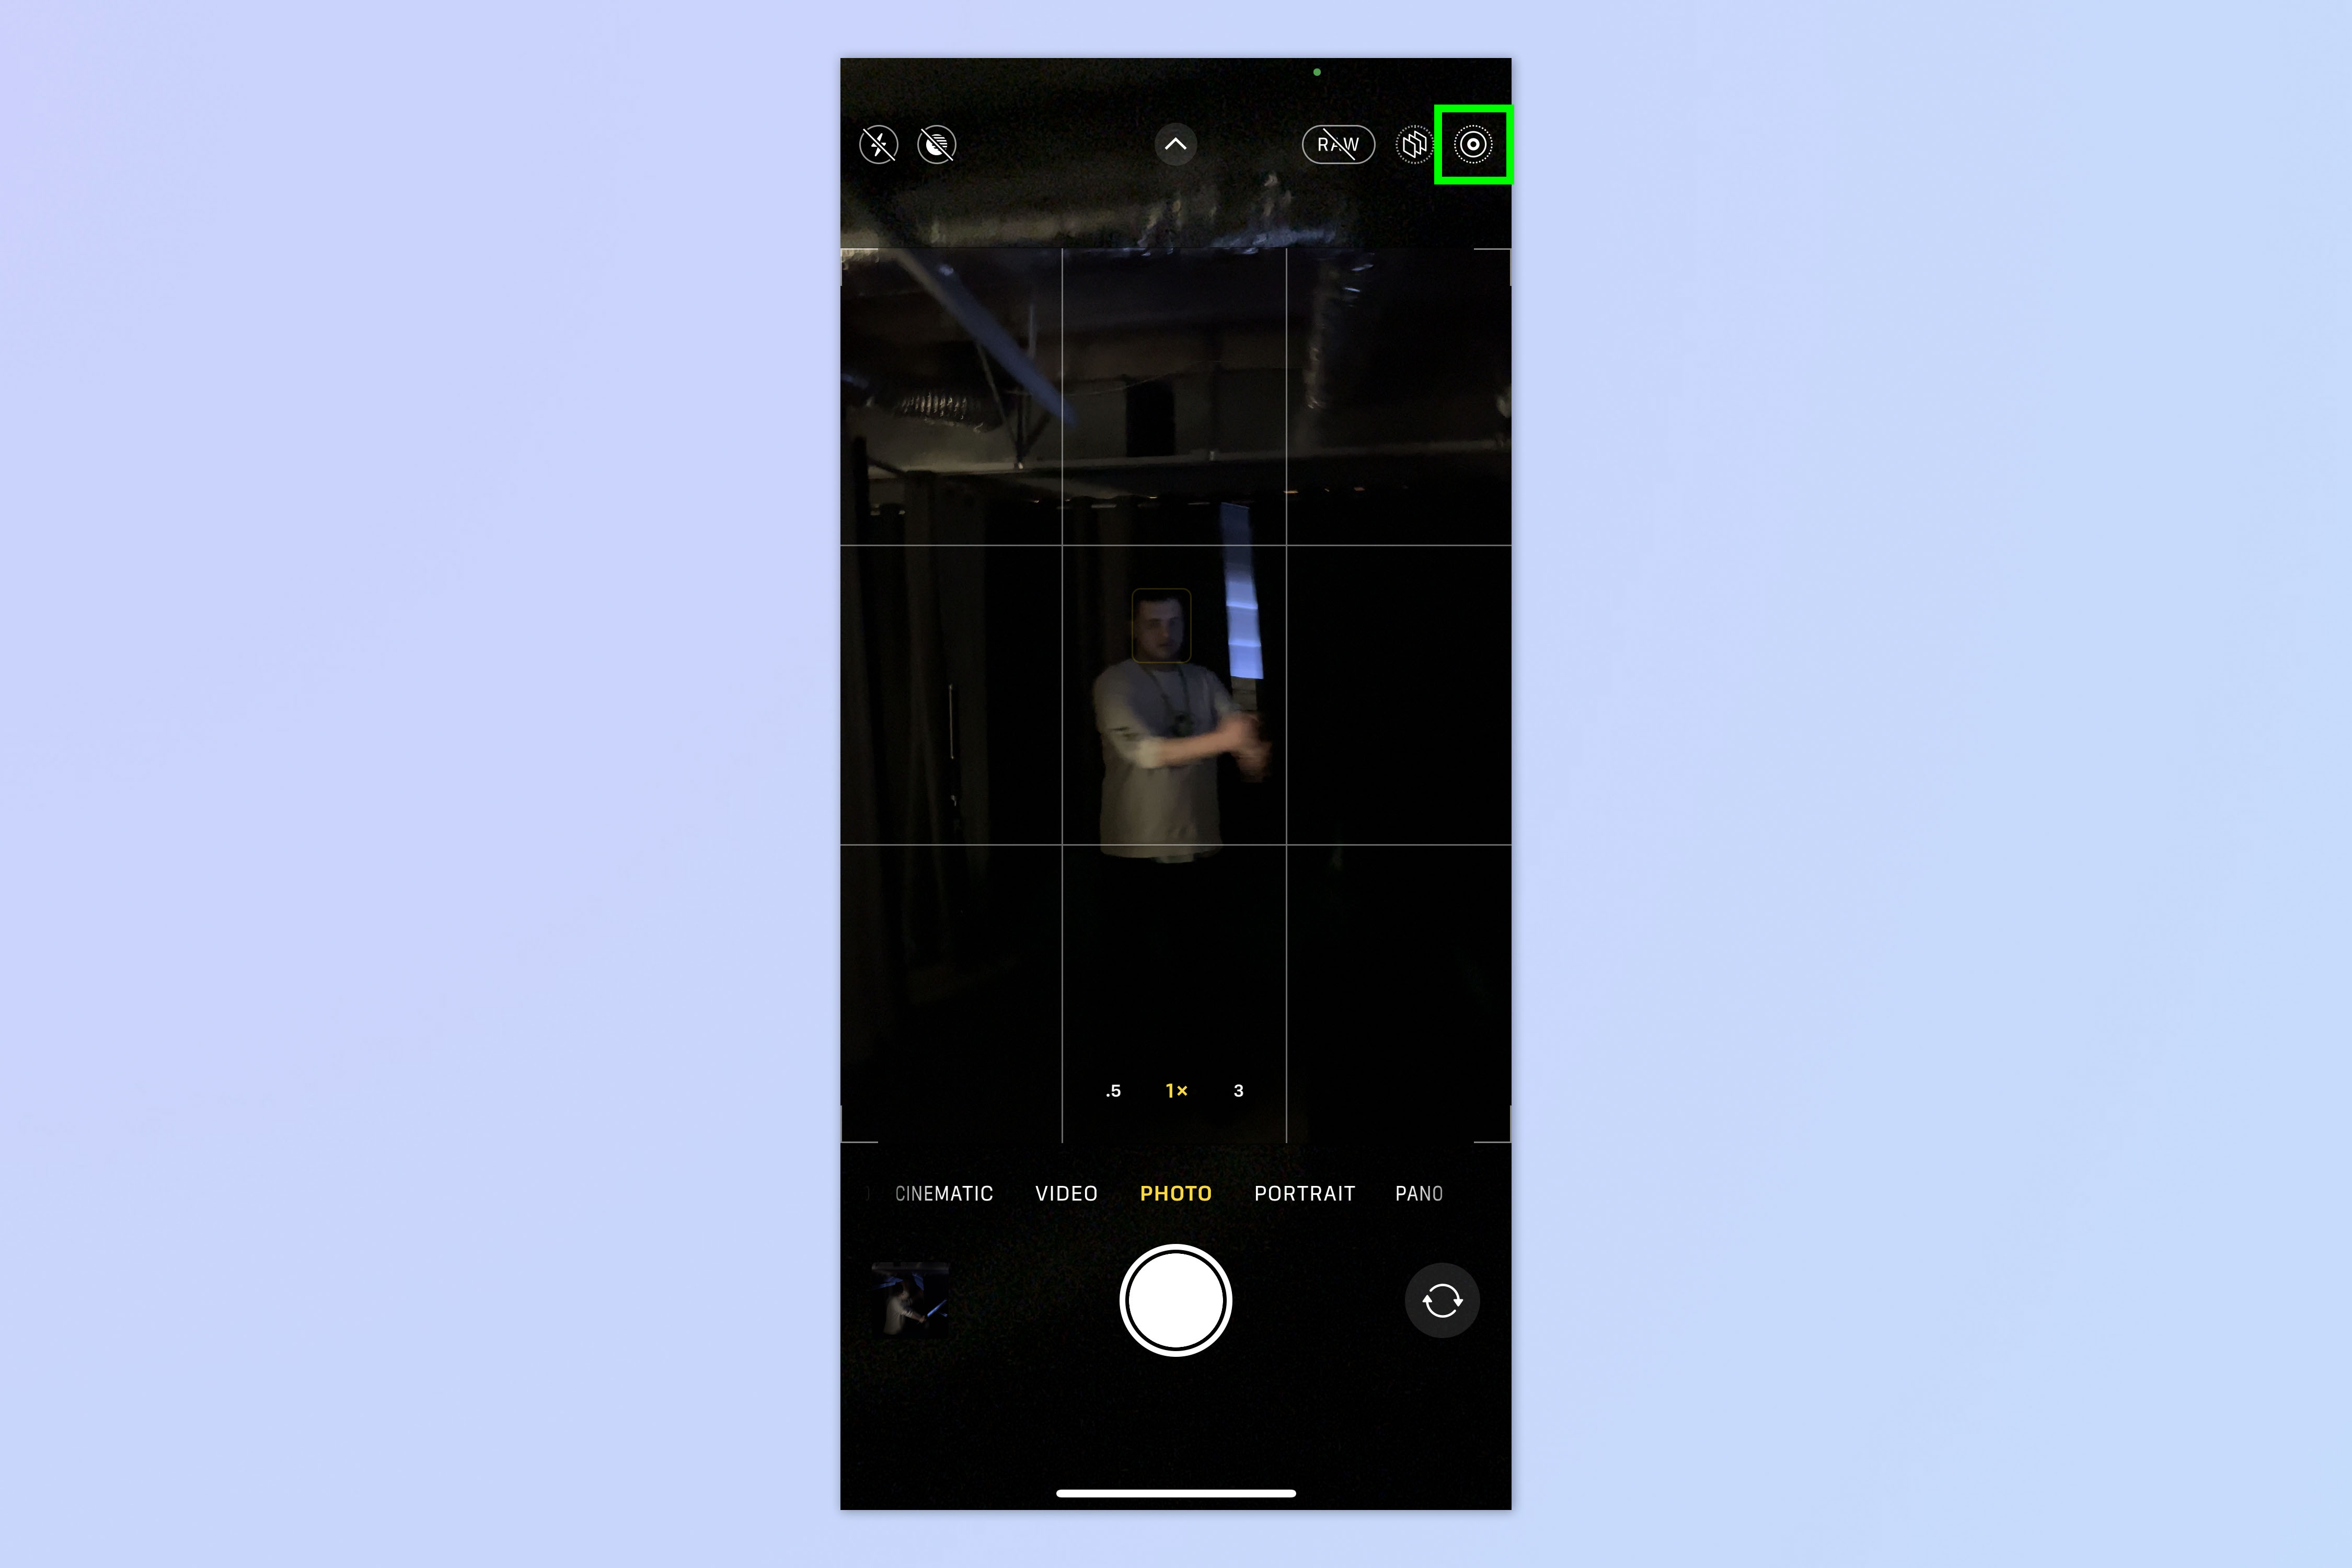
Open the Camera app and tap the Live Photos symbol to enable Live Photos. It will be struck through when disabled.
2. Take a photo
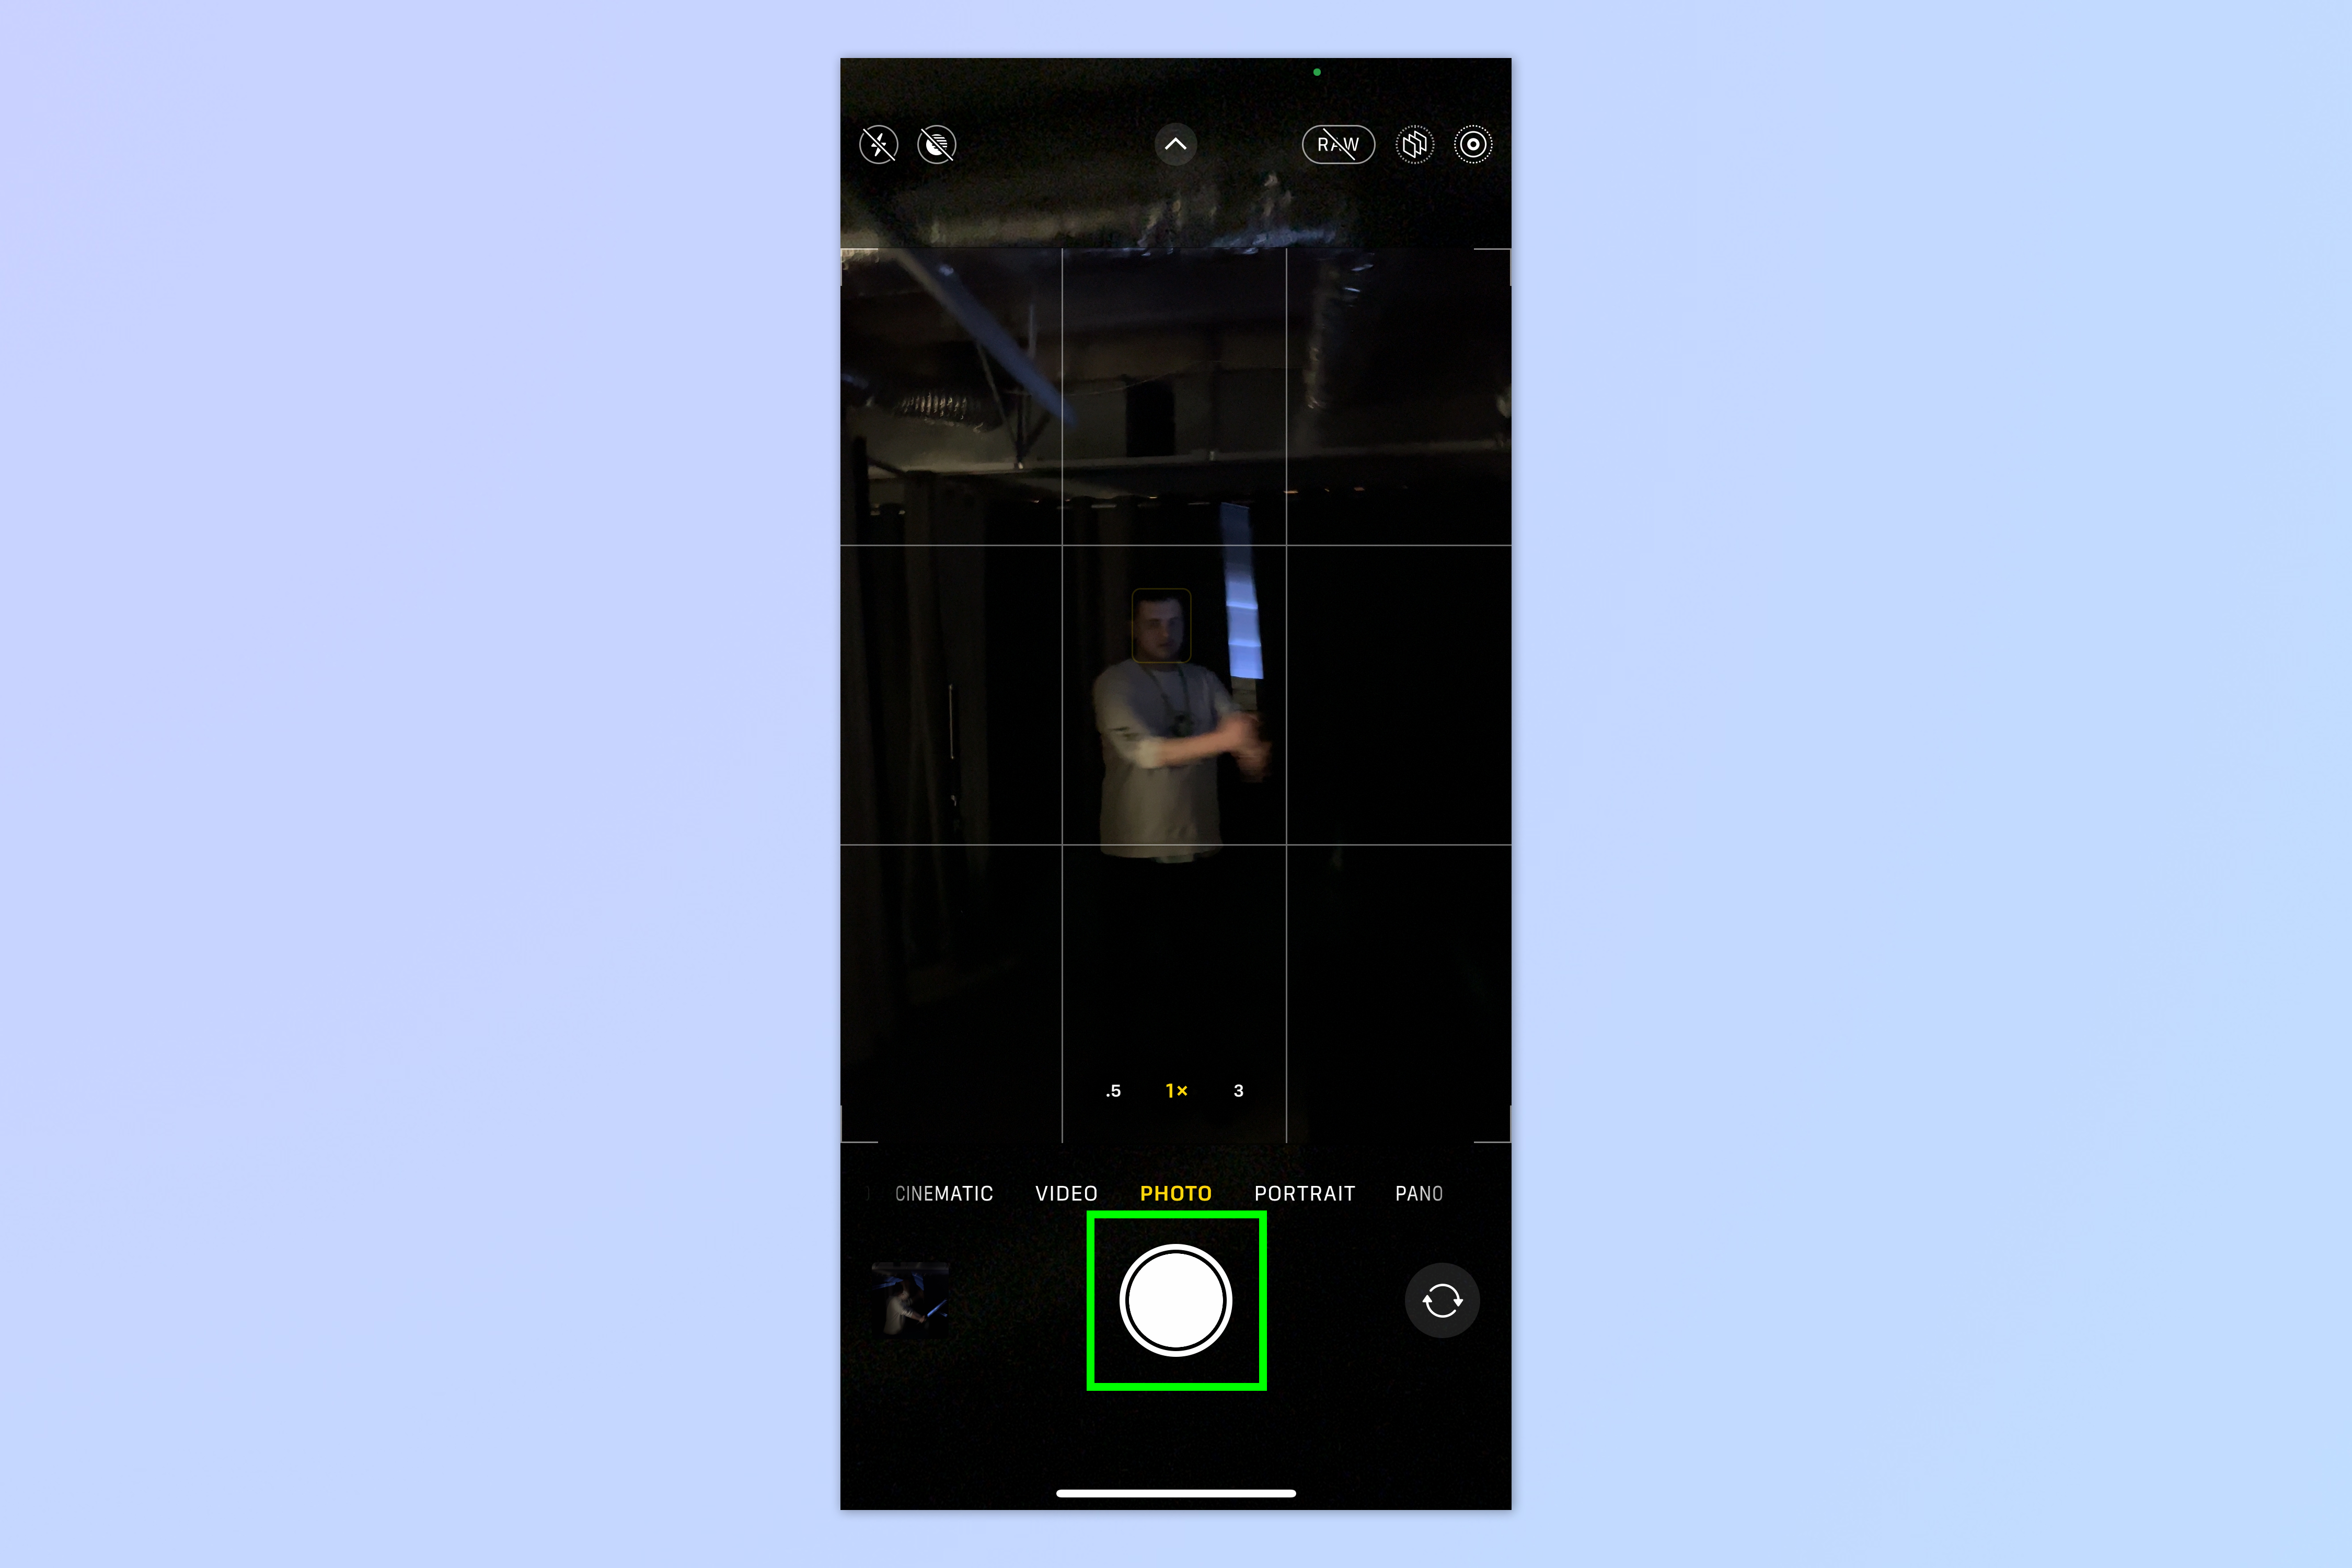
Tap the shutter button to take a photo.
3. Open the image in Photos
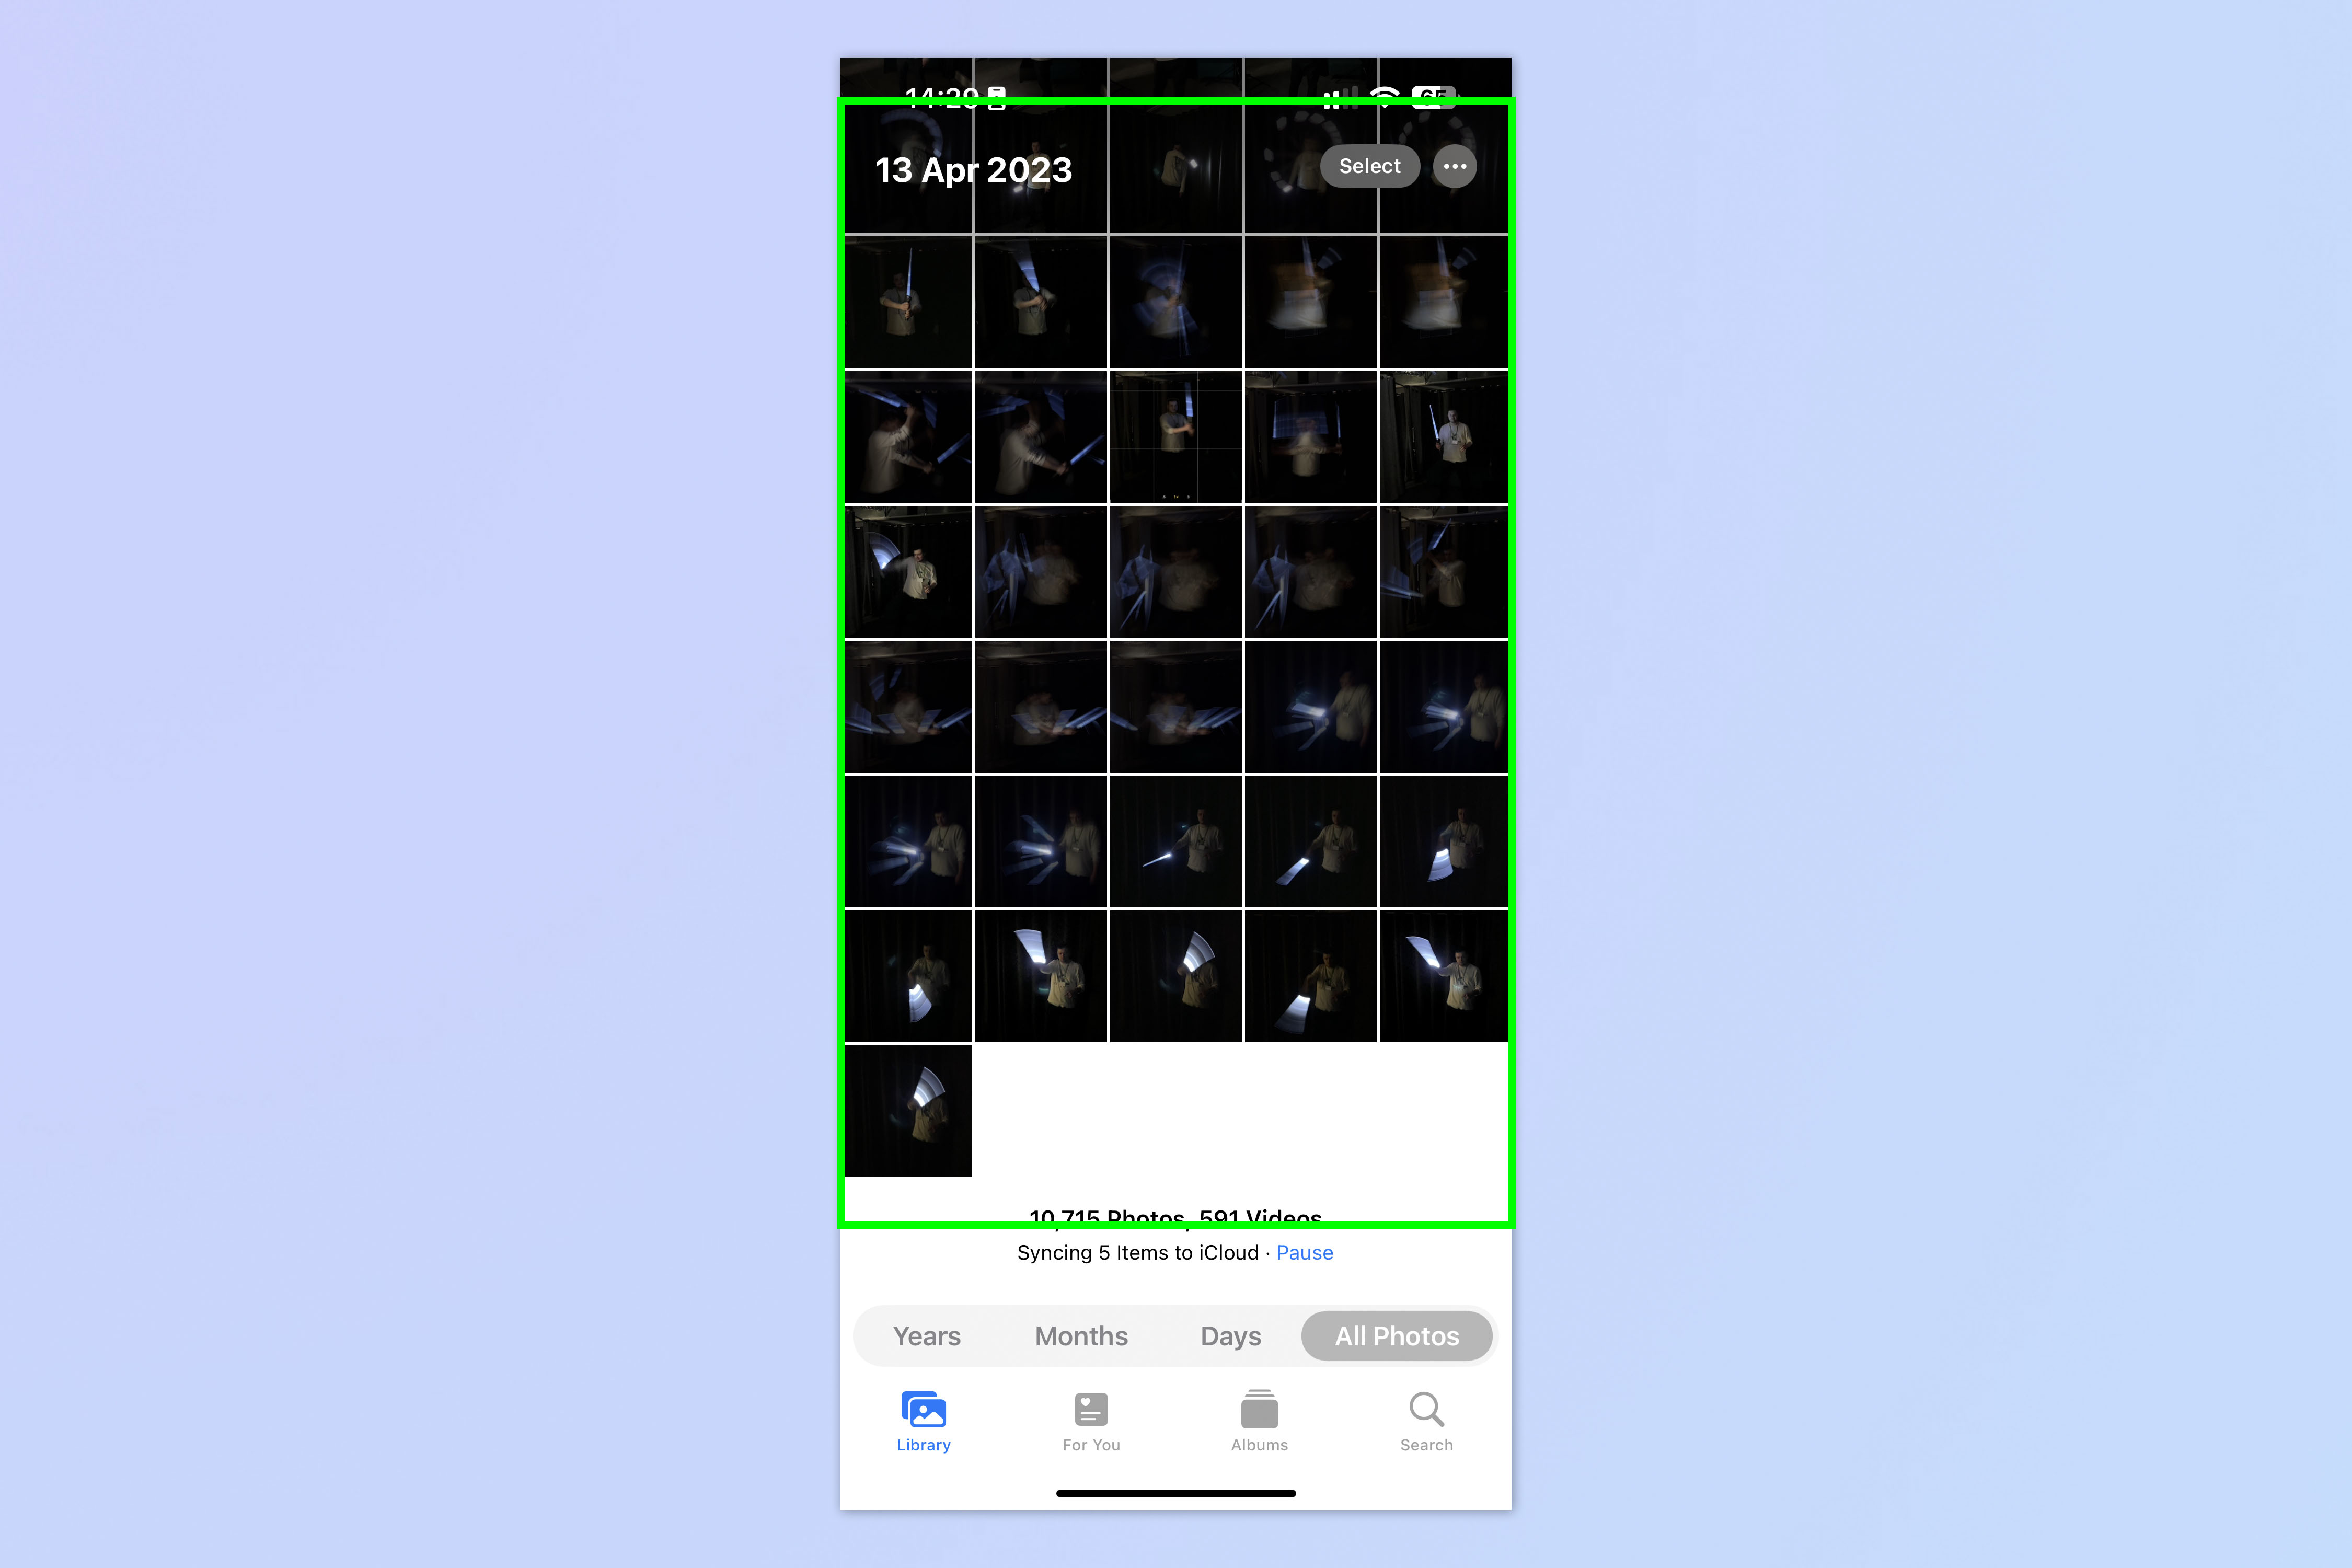
Open the Photos app and tap the Live Photo.
4. Tap the Live Photo dropdown
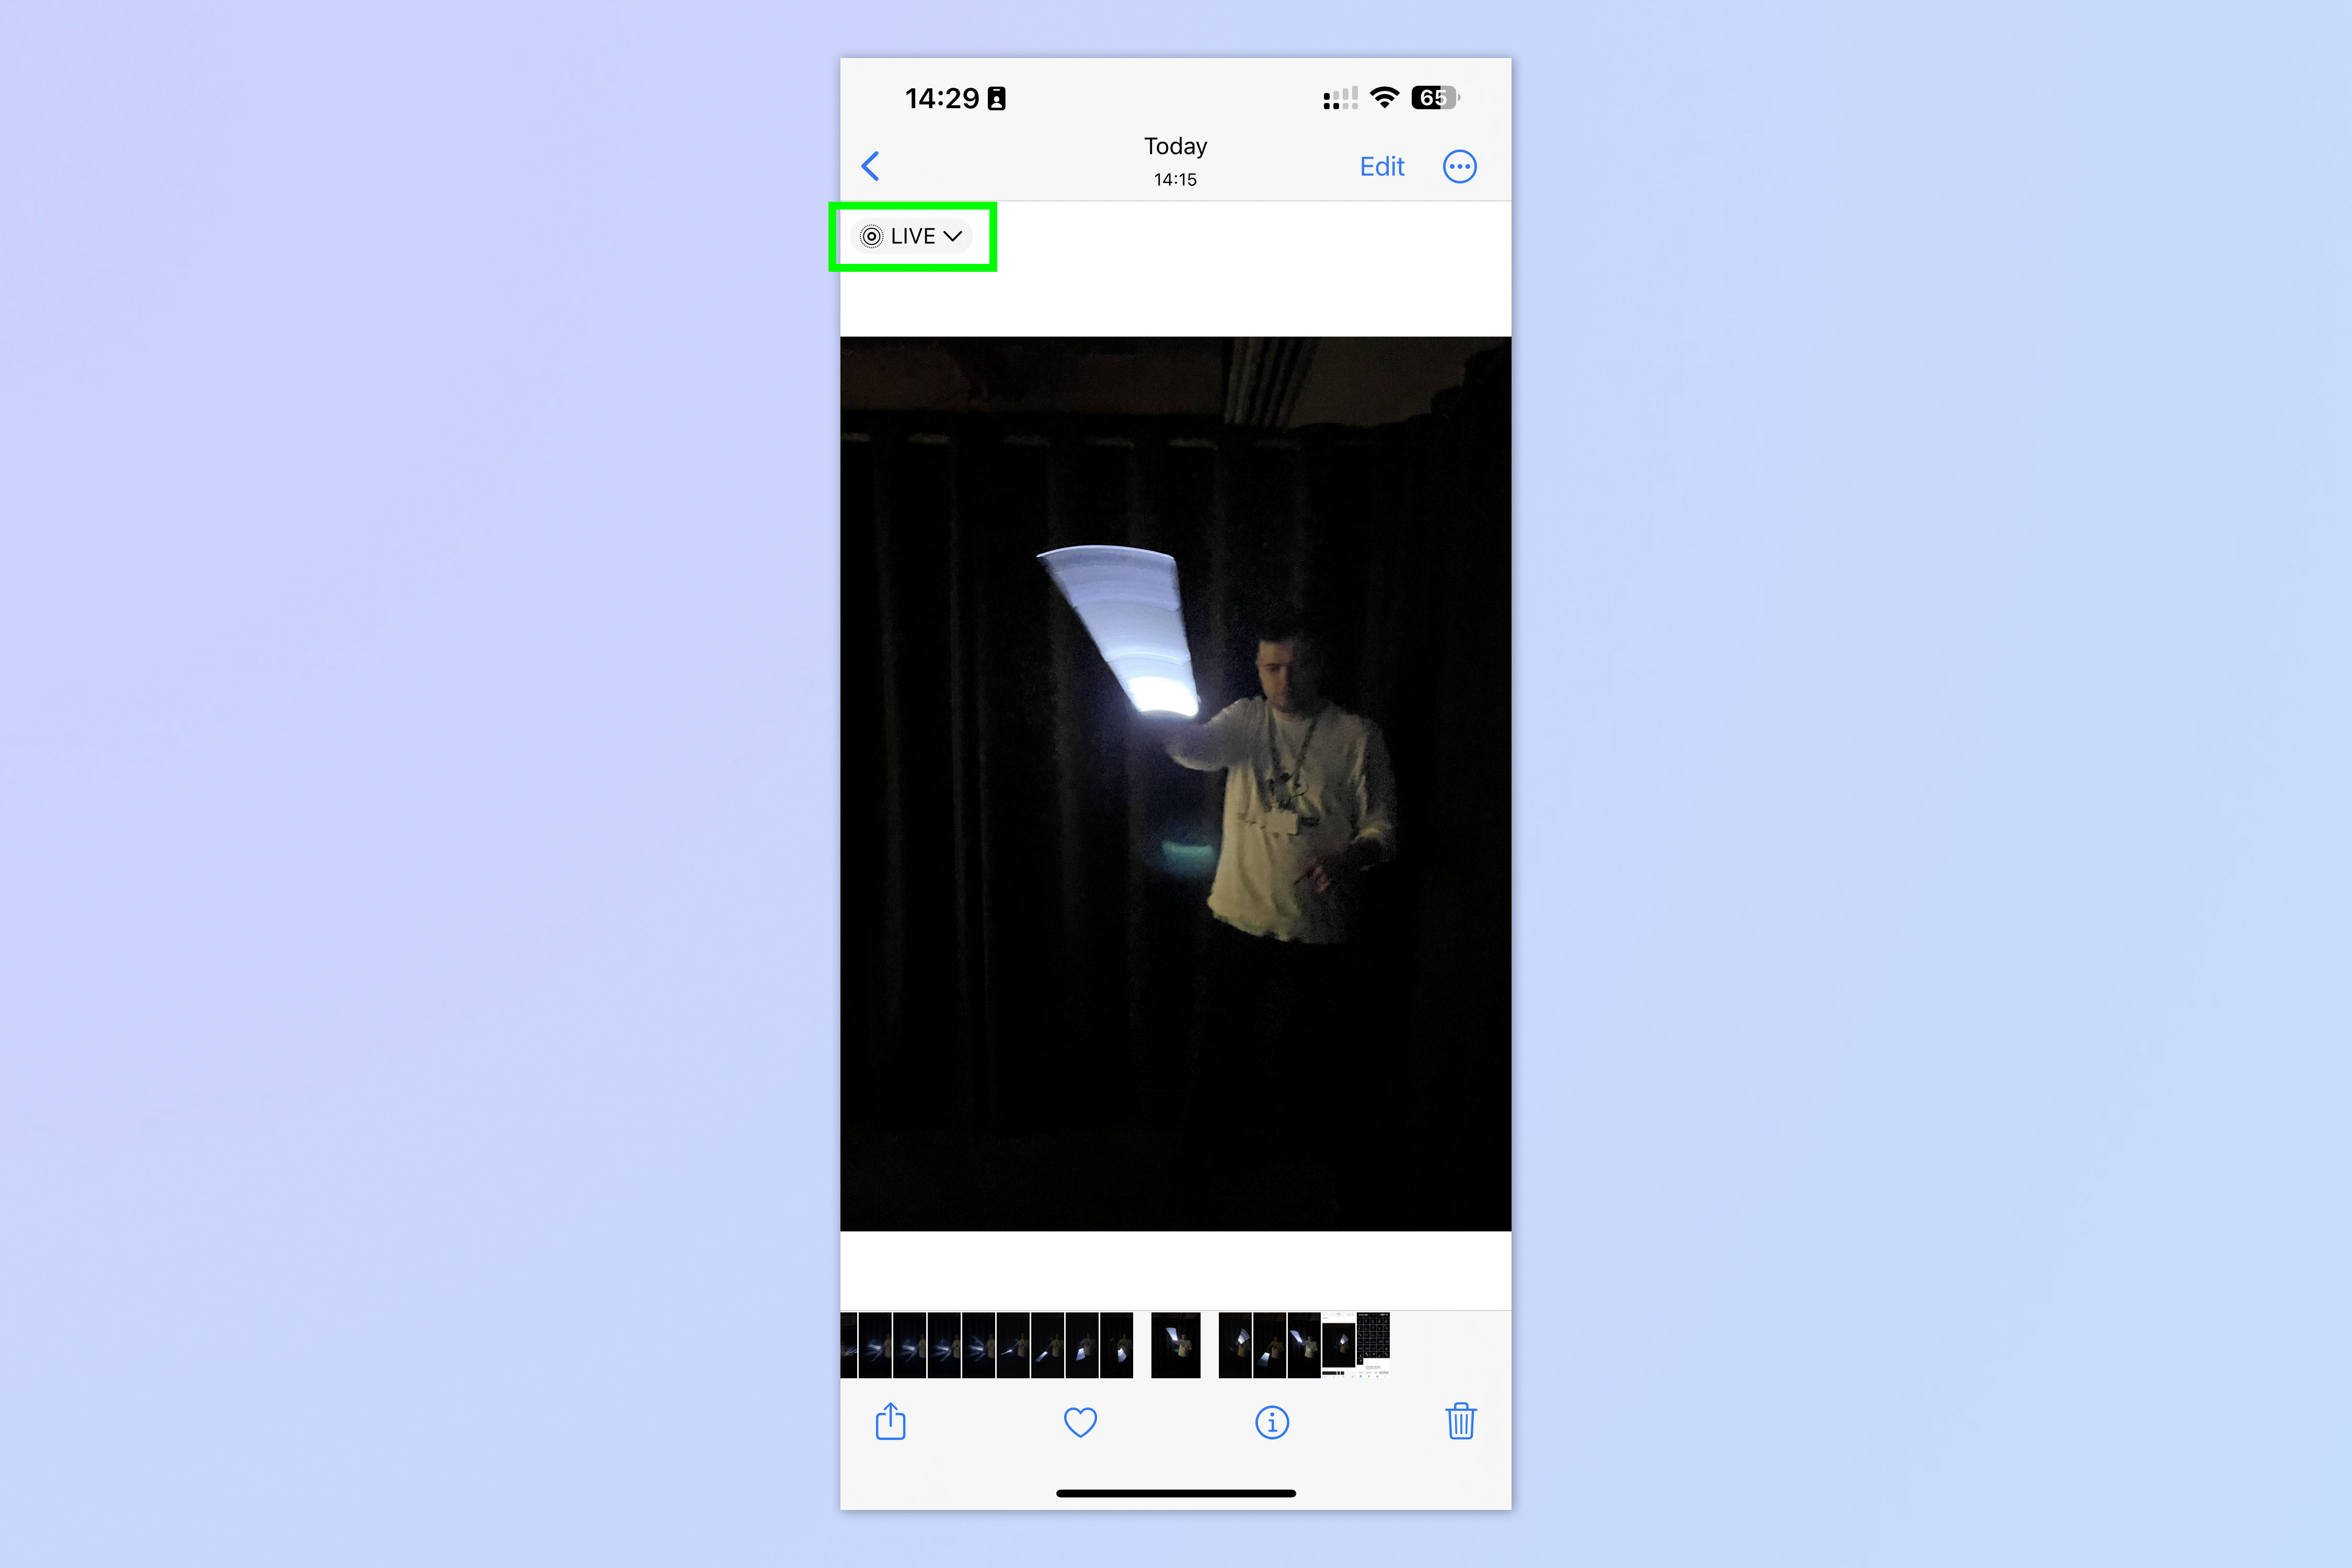
Tap the Live Photo dropdown in the top left of the photo.
5. Select Long Exposure
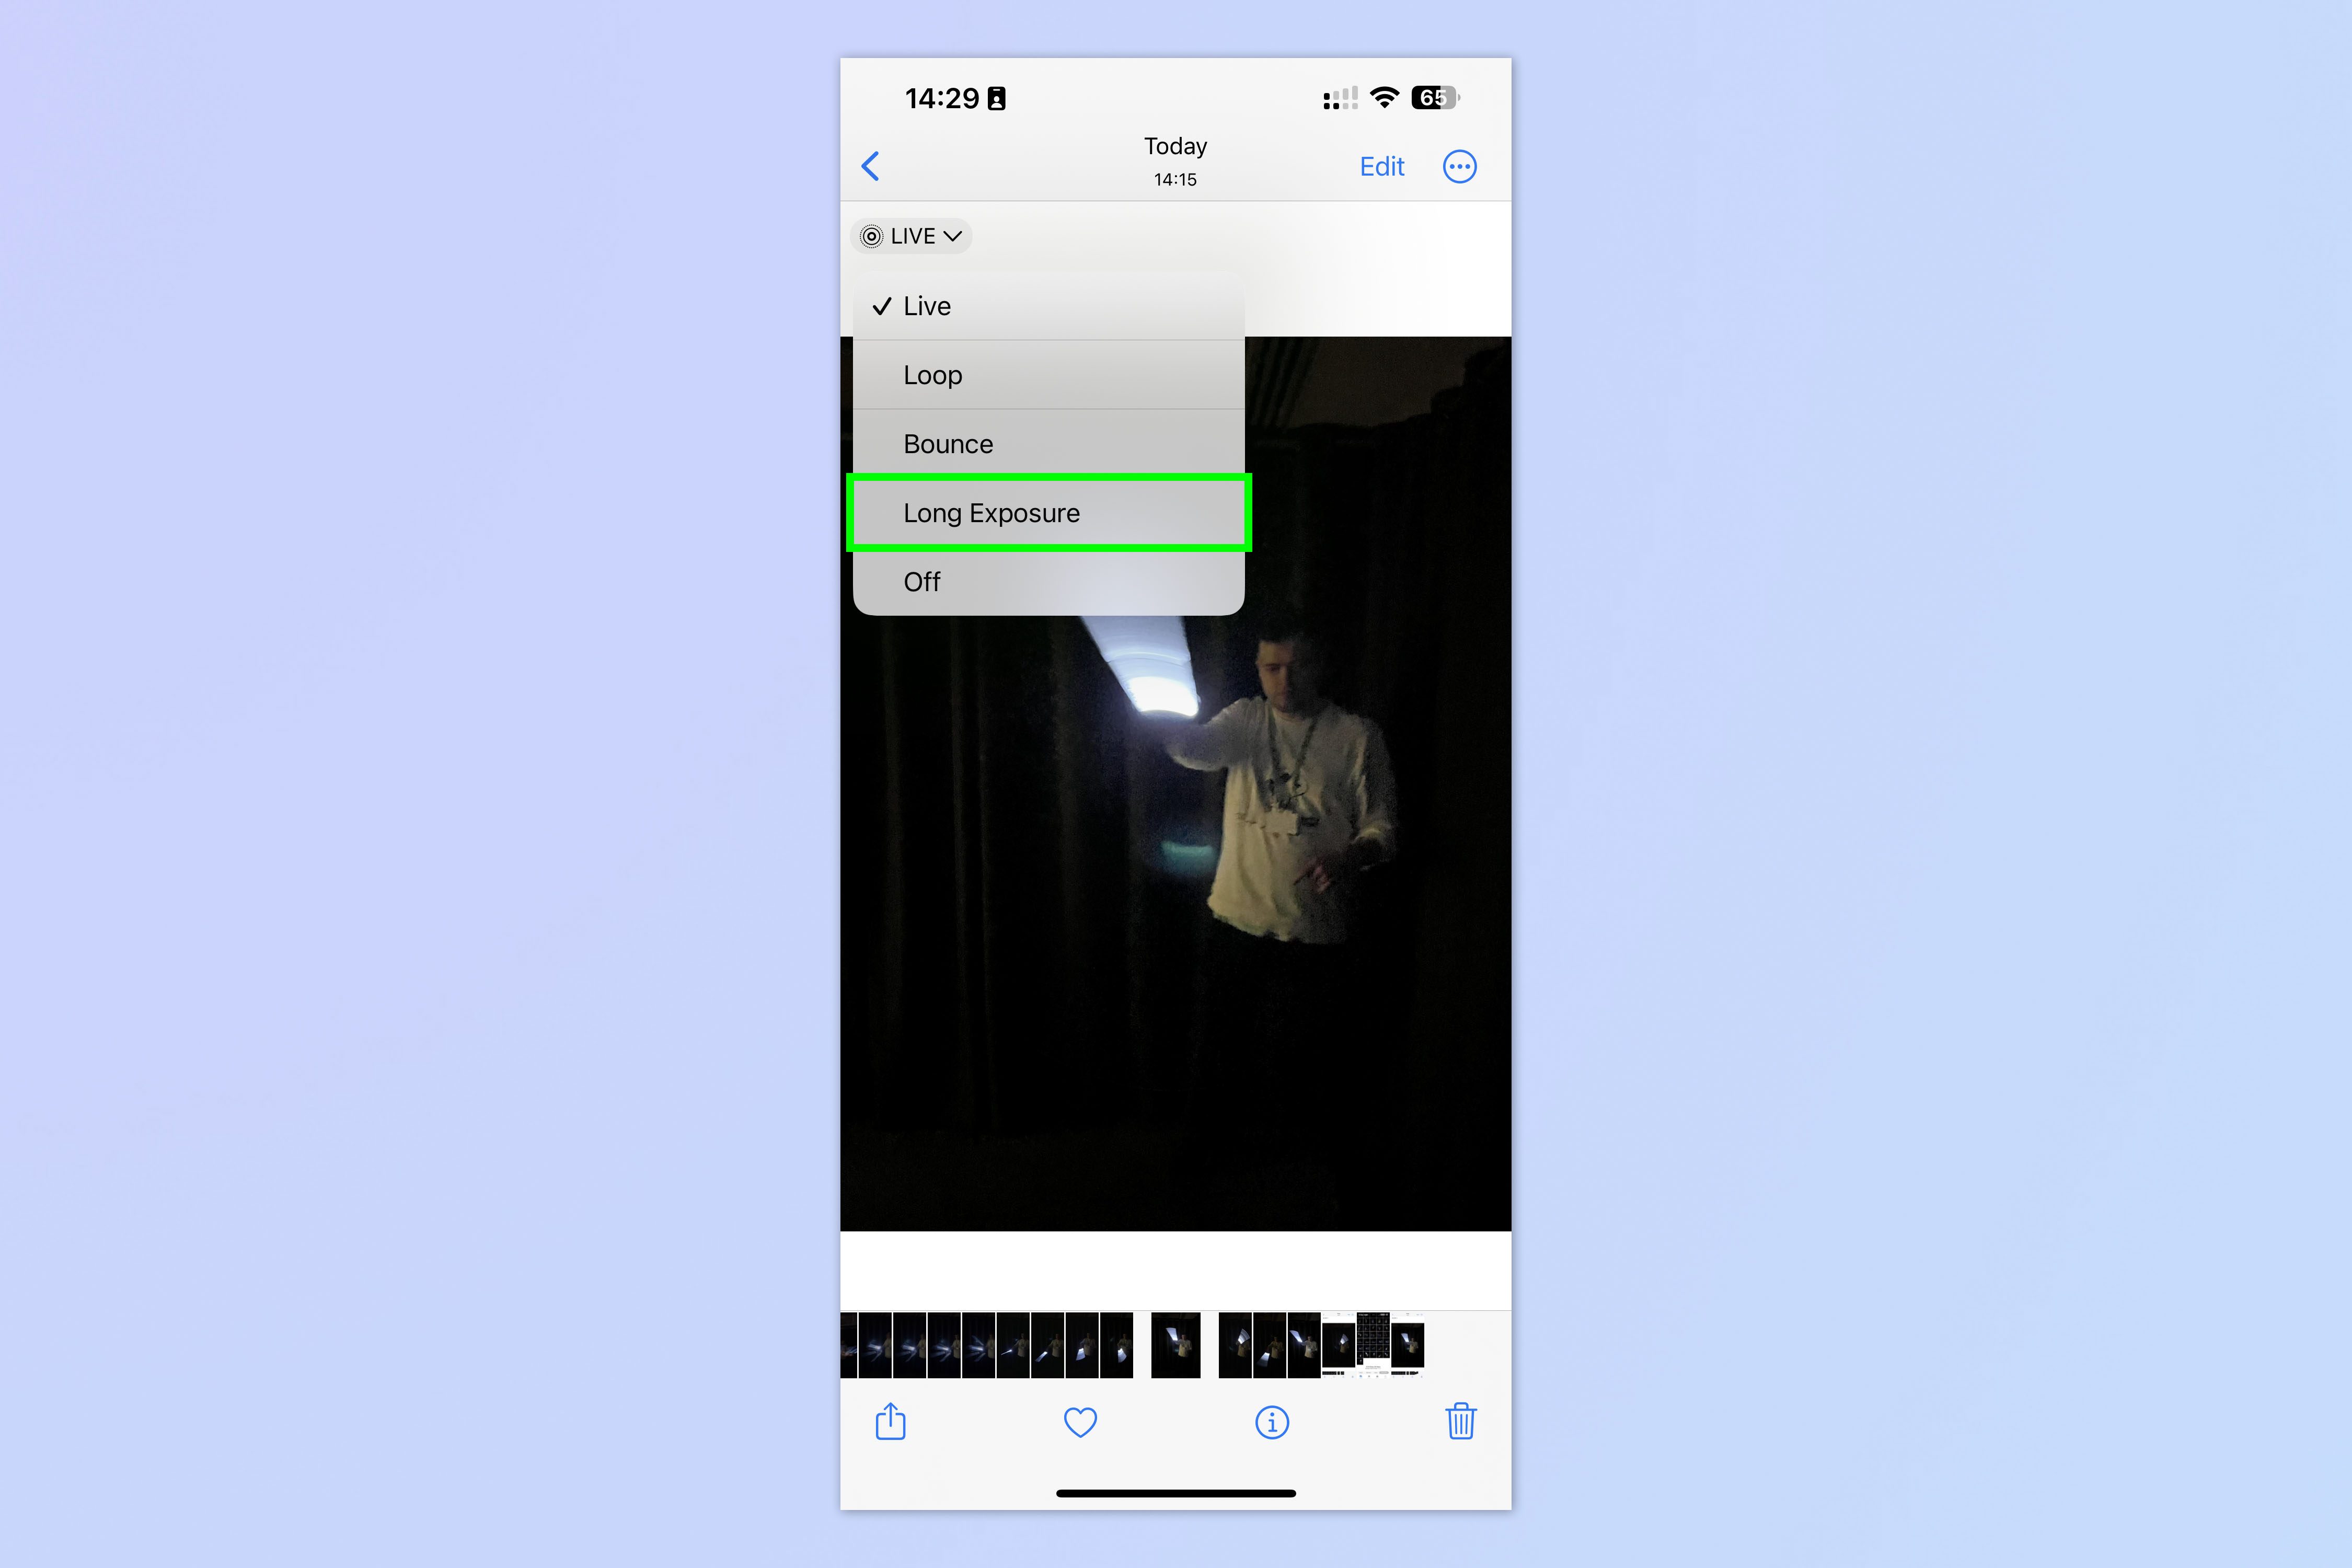
Select Long Exposure from the drop down list. Your Live Photo will be transformed into a long exposure-style image.
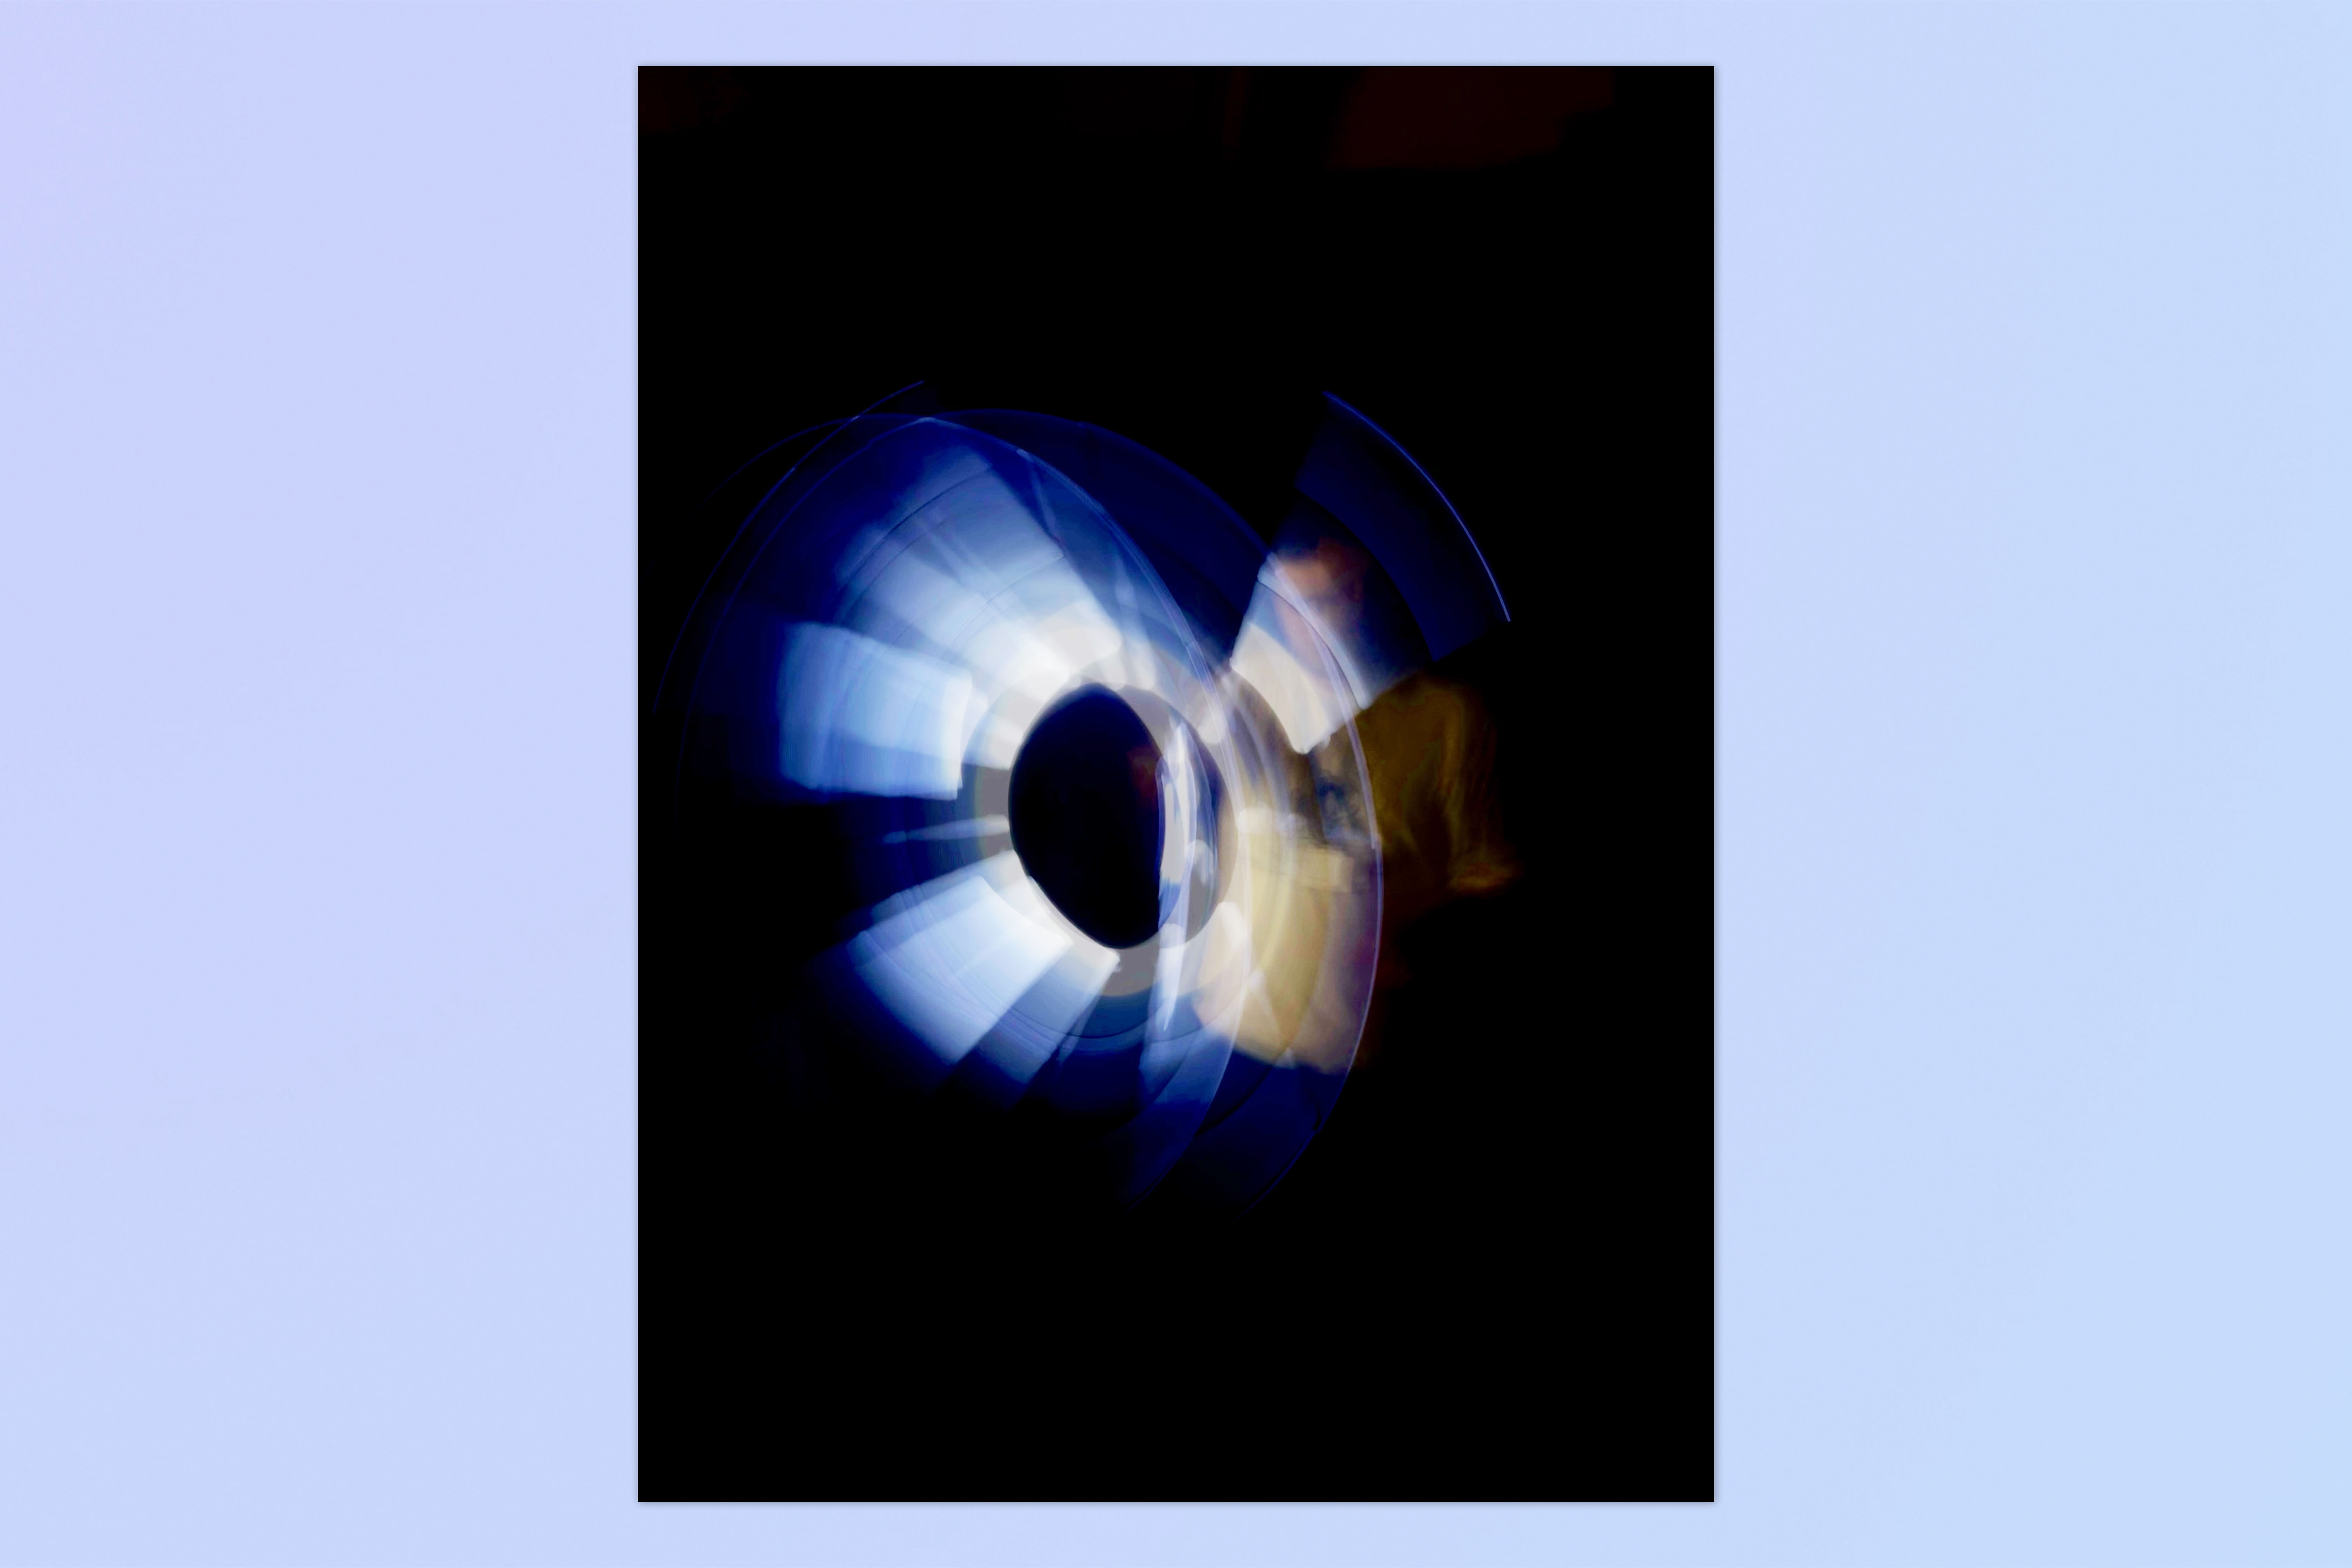
And there you have it. You now know how to take a long exposure on iPhone. The results aren't awe-inspiring, as you might expect given this feature is just simulating long exposures. However, when used in the right circumstances, it can produce some pretty cool blurs or light trails.
We managed to get some fun photos of Staff Writer Andy Sansom wielding a lightsaber! In testing this feature out, we found that long exposures tended to work better in low light, meaning this could also be a good feature to capture the light trails from moving cars. We also found that the results were much smoother when the light source was moving faster. Otherwise, the light trails ended up looking a little staccato.
If you'd like to read more iPhone tutorials, check out our guides on how to unlock your iPhone using Voice Control, how to customize your iPhone's lock button and how to charge your iPhone faster.


