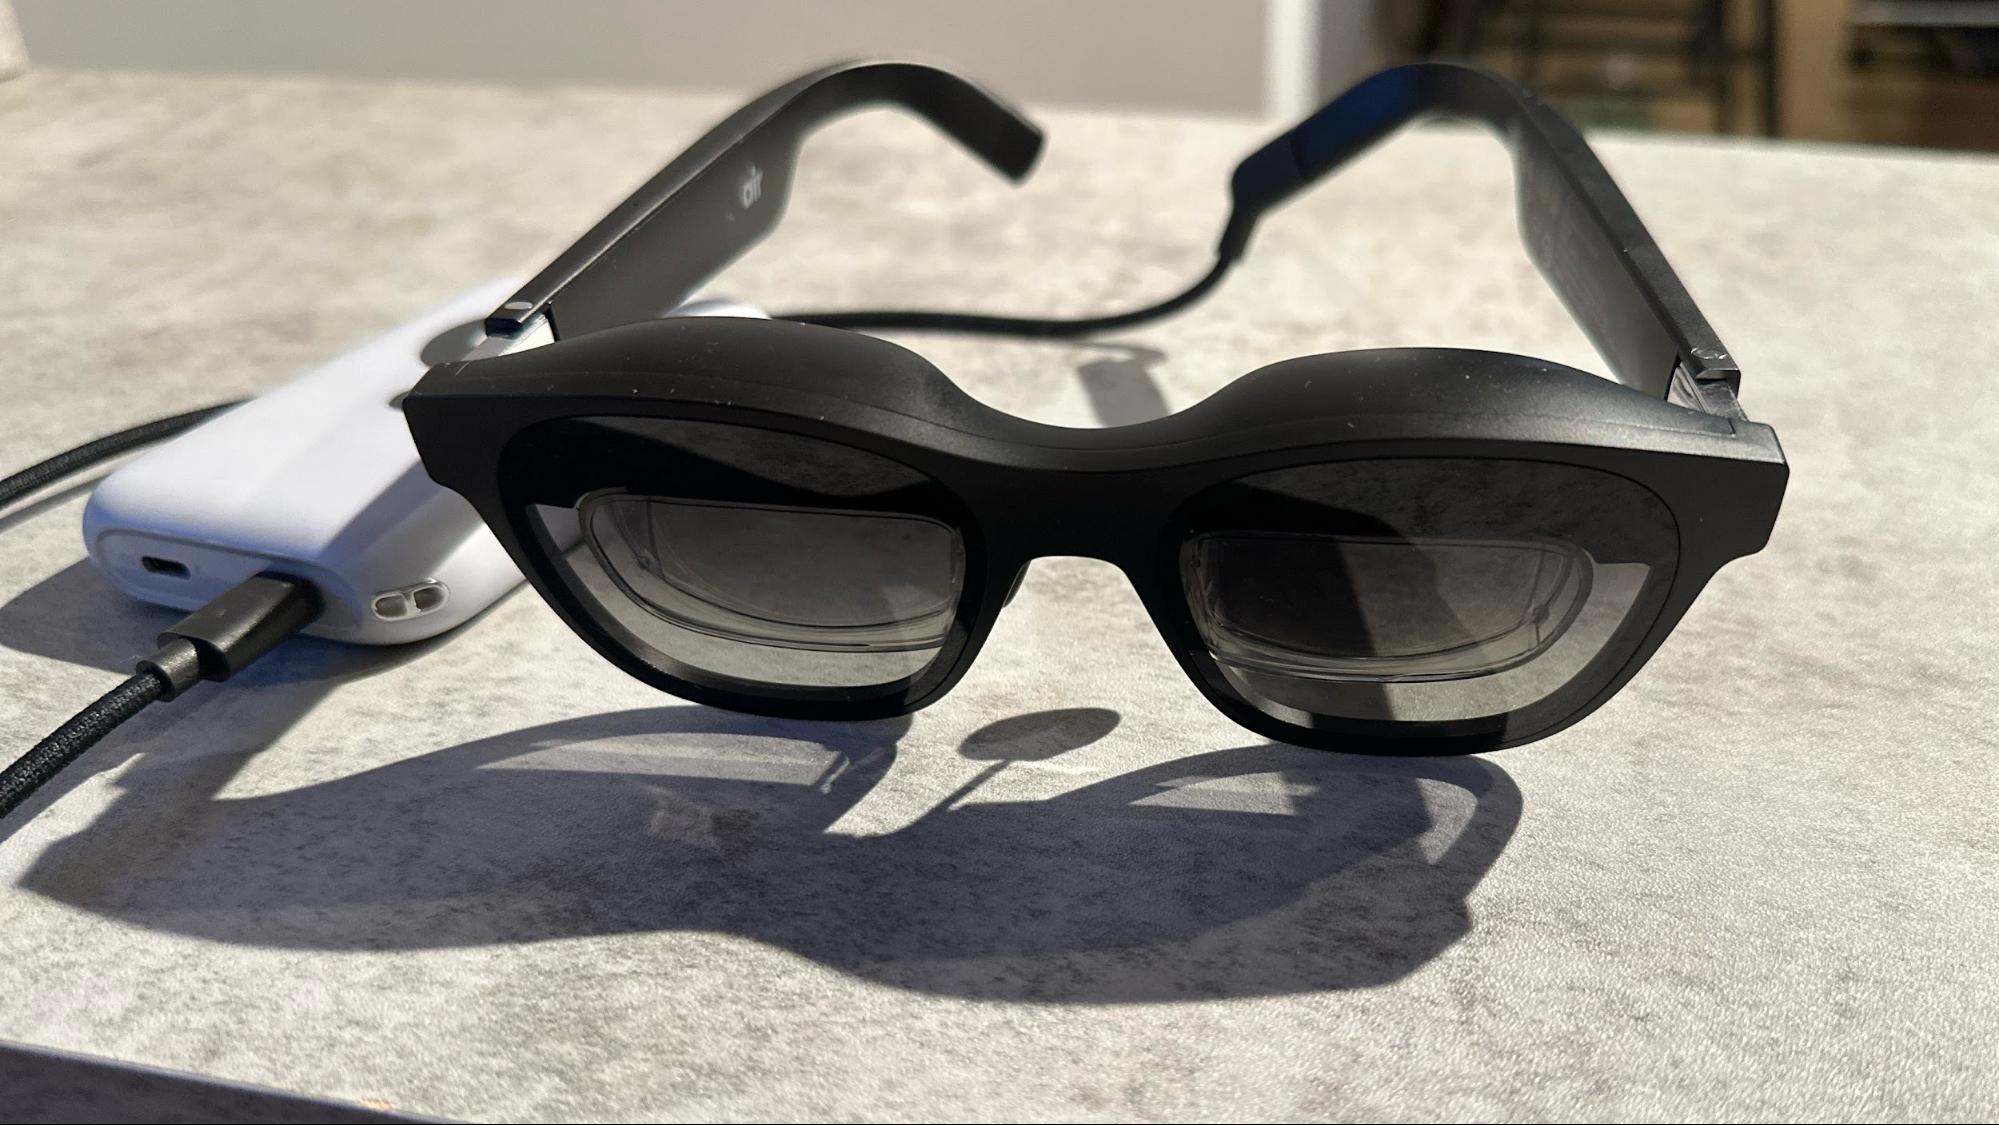
Xreal announced its name change (from Nreal) and a new product, the Beam, in late May. The Beam gives users more freedom when using the Xreal Air augmented glasses on-the-go, and greatly simplifies the mess of cables and adapters that previously complicated my experience.
Thanks to the announcement of the Apple Vision Pro headset, augmented and mixed reality glasses are getting a second look from customers these days. But whereas that device has more ambitious goals for how consumers will interact with computers and media content, Xreal is focused on making the augmented reality experience already present with its Air glasses more convenient and accessible. And whereas the Vision Pro costs $3,499, the Xreal Air + Beam bundle will set you back “only” $488.
Since I’ve already reviewed the Air glasses, I’ll focus this review primarily on the Beam and what it brings to the table.

Specifications for the Xreal Beam
Design of the Xreal Beam
You would be forgiven if you thought that the Beam looks like a reimagined early Apple iPod. From its rounded rectangular shape to its circular navigation wheel with the center action button. The navigation wheel allows you to move up, down, left and right through the Beam's user interface. You then use the center button to select a menu choice.
A blue rocker switch on the right side of the device handles volume up/down while pressing and holding the switch activates mute. The black circular button below the navigation wheel serves as a back button for the Beam’s user interface, while the circular red button on the left side switches between display modes. One final button resides at the top of the Beam; this is the power button.
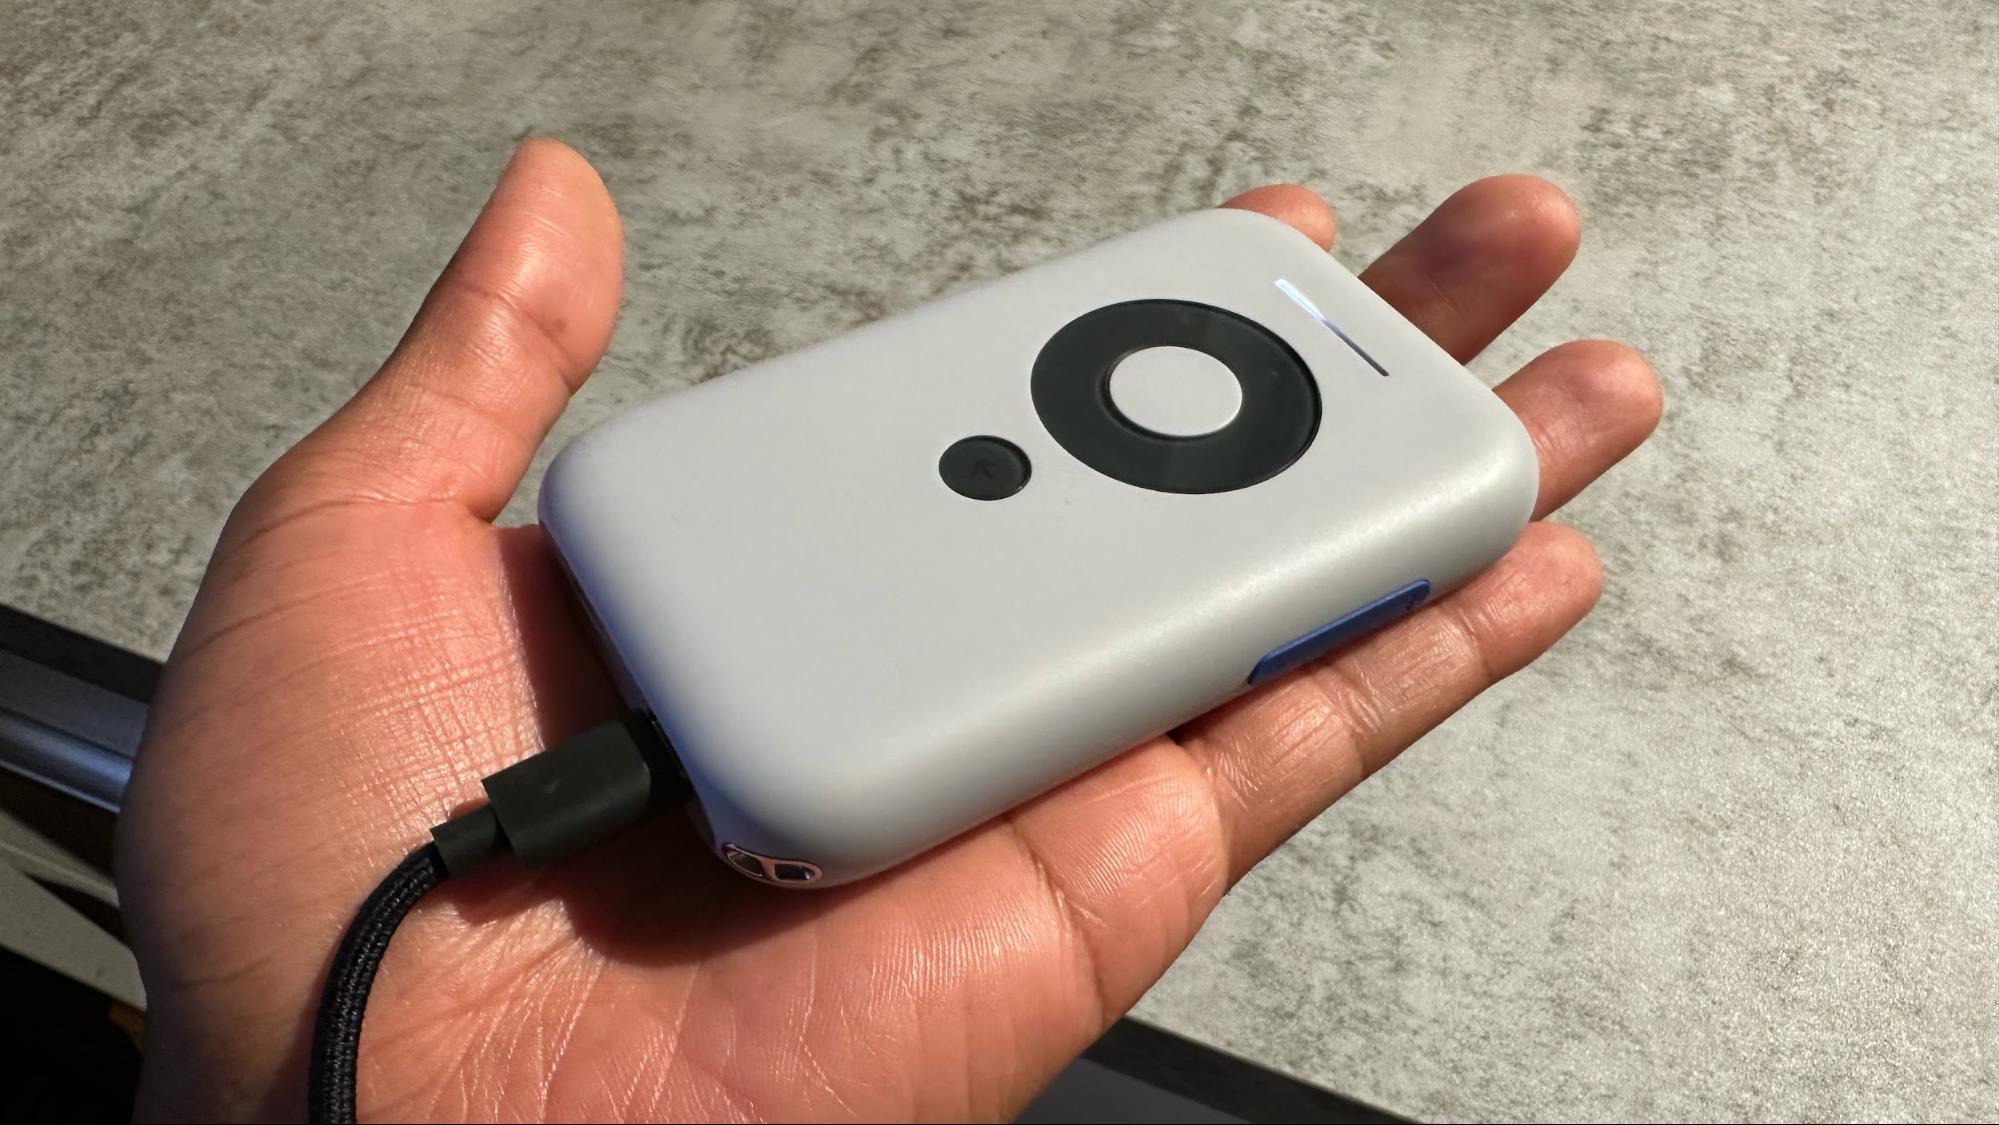
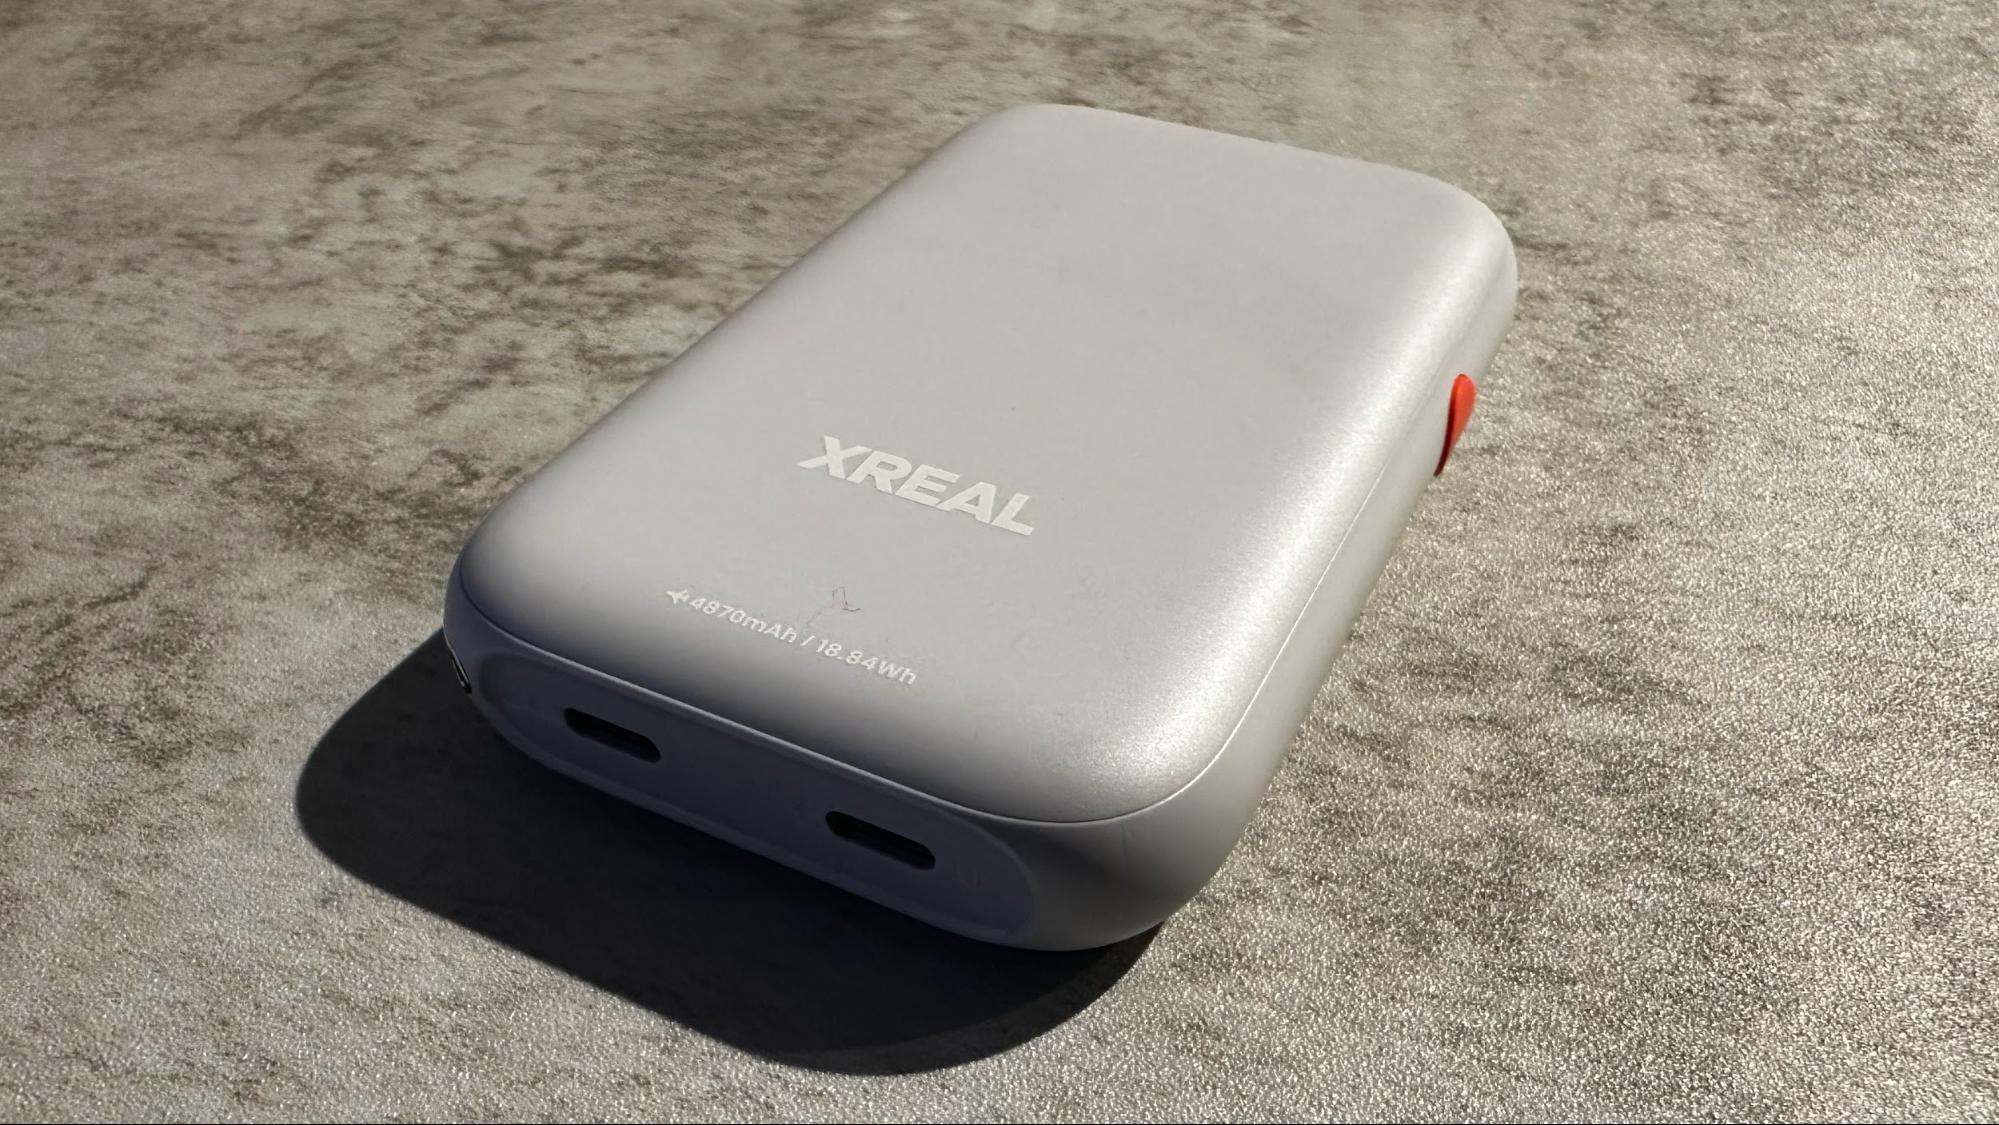
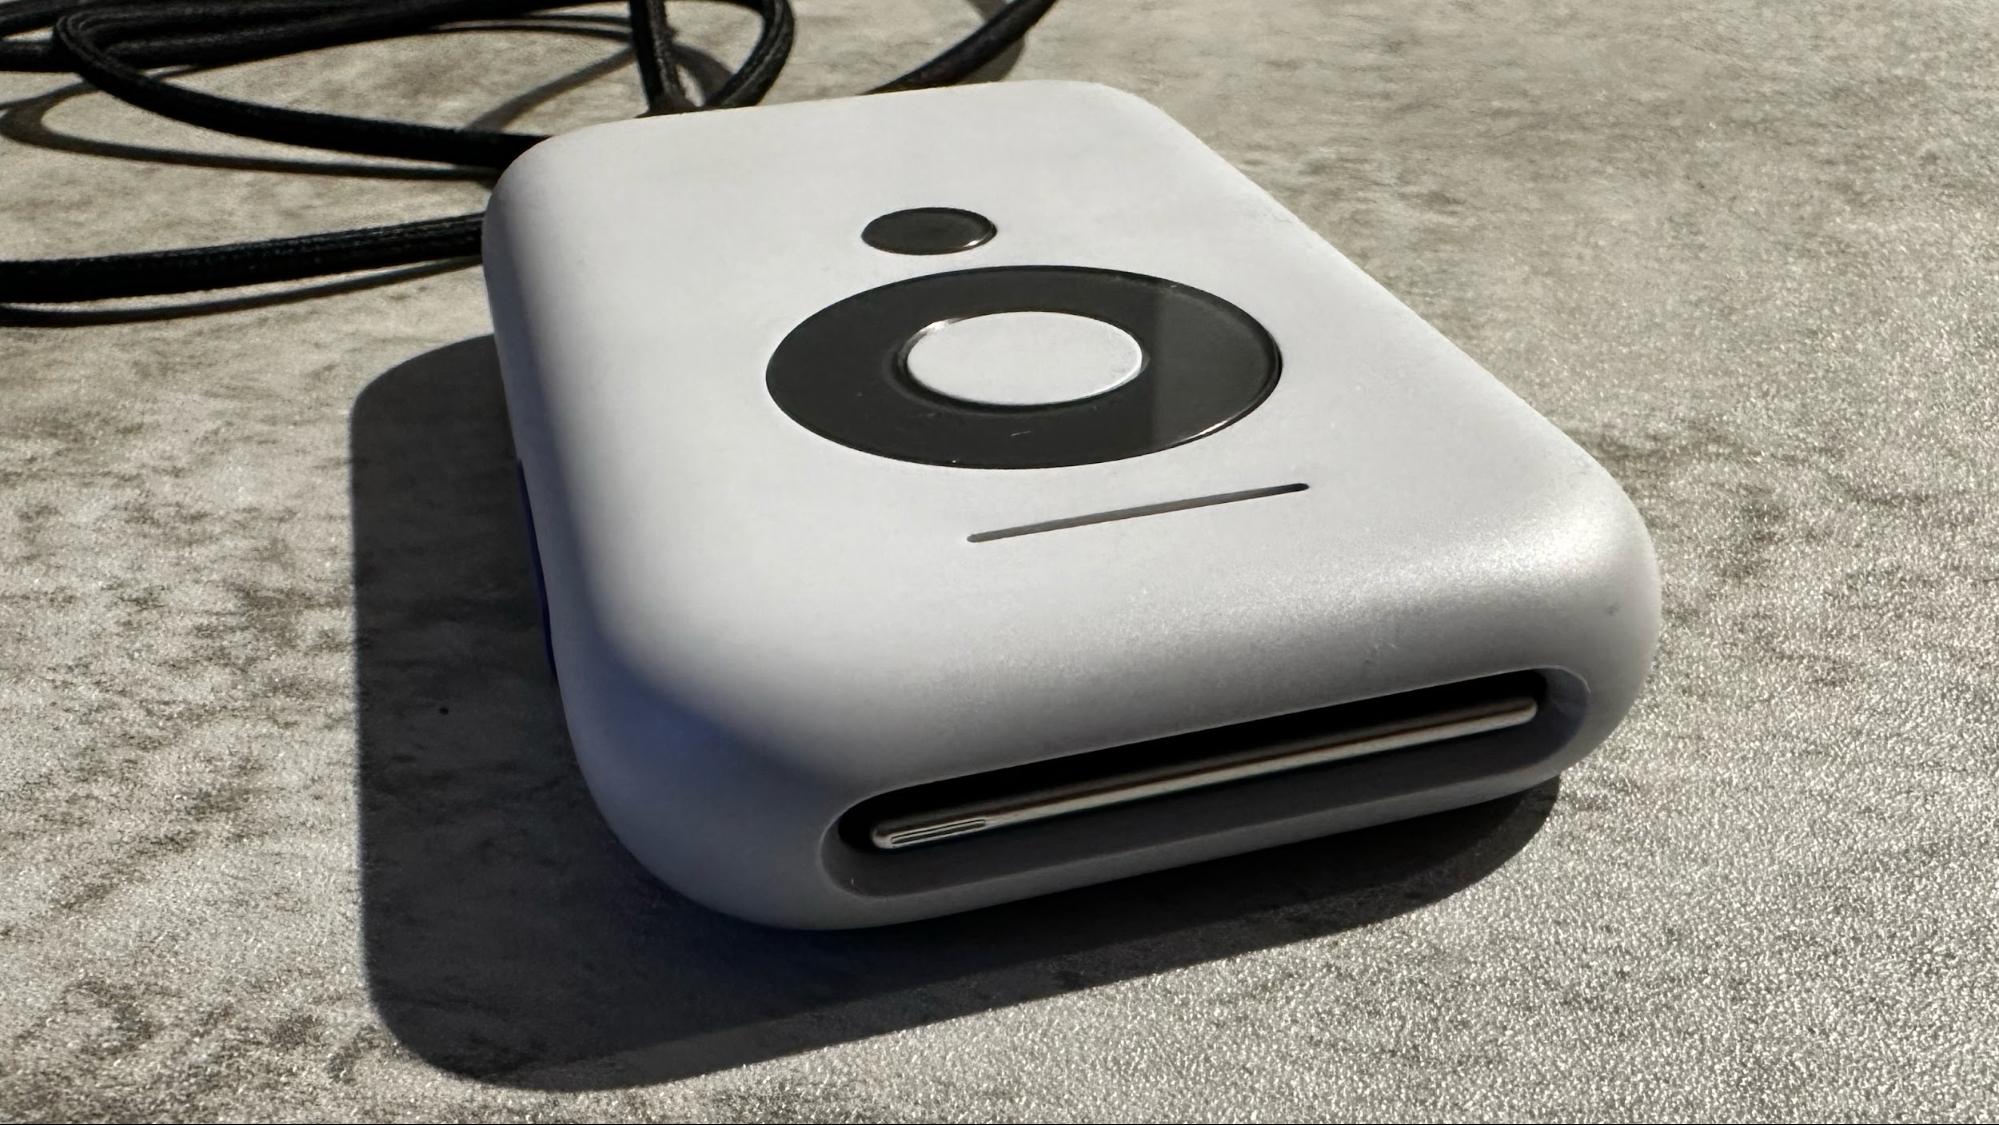
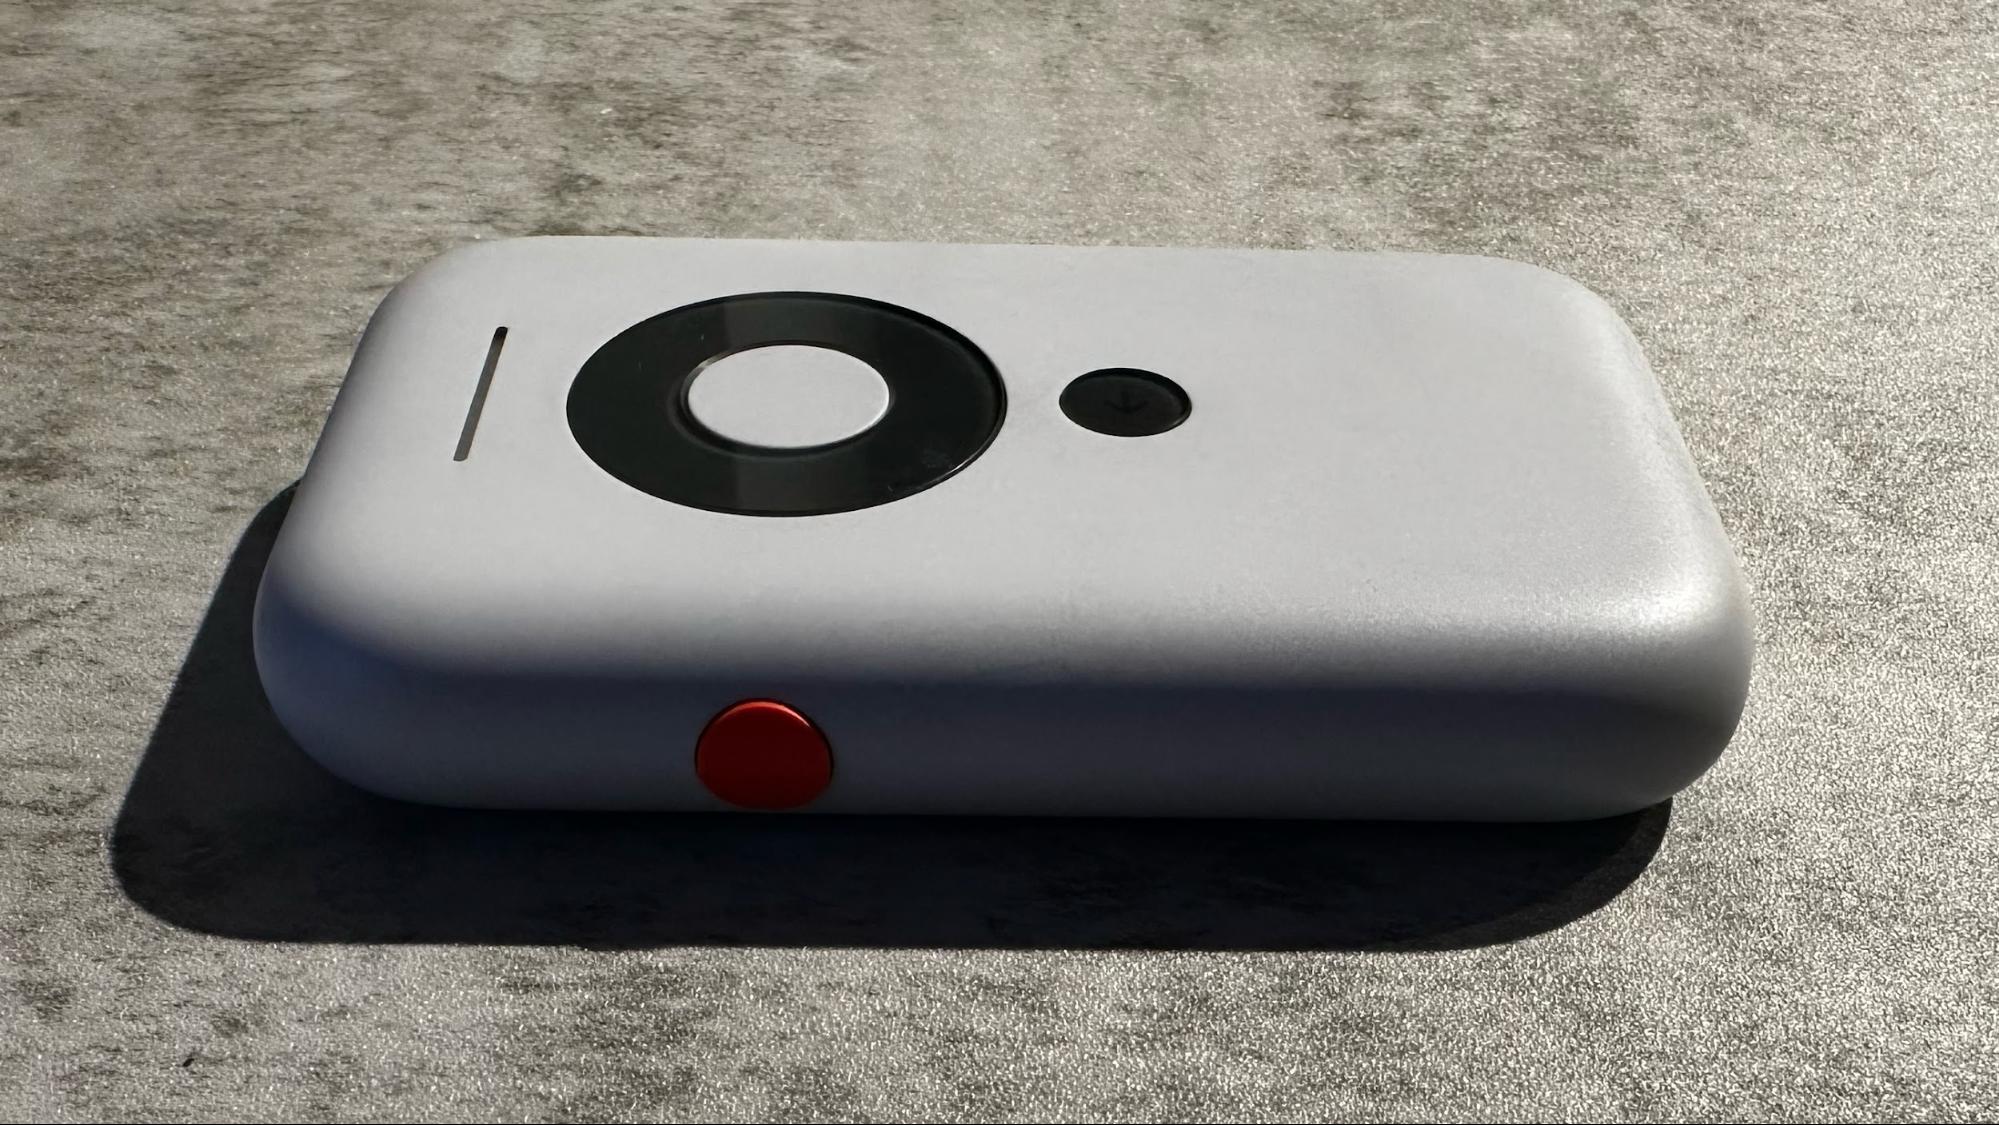
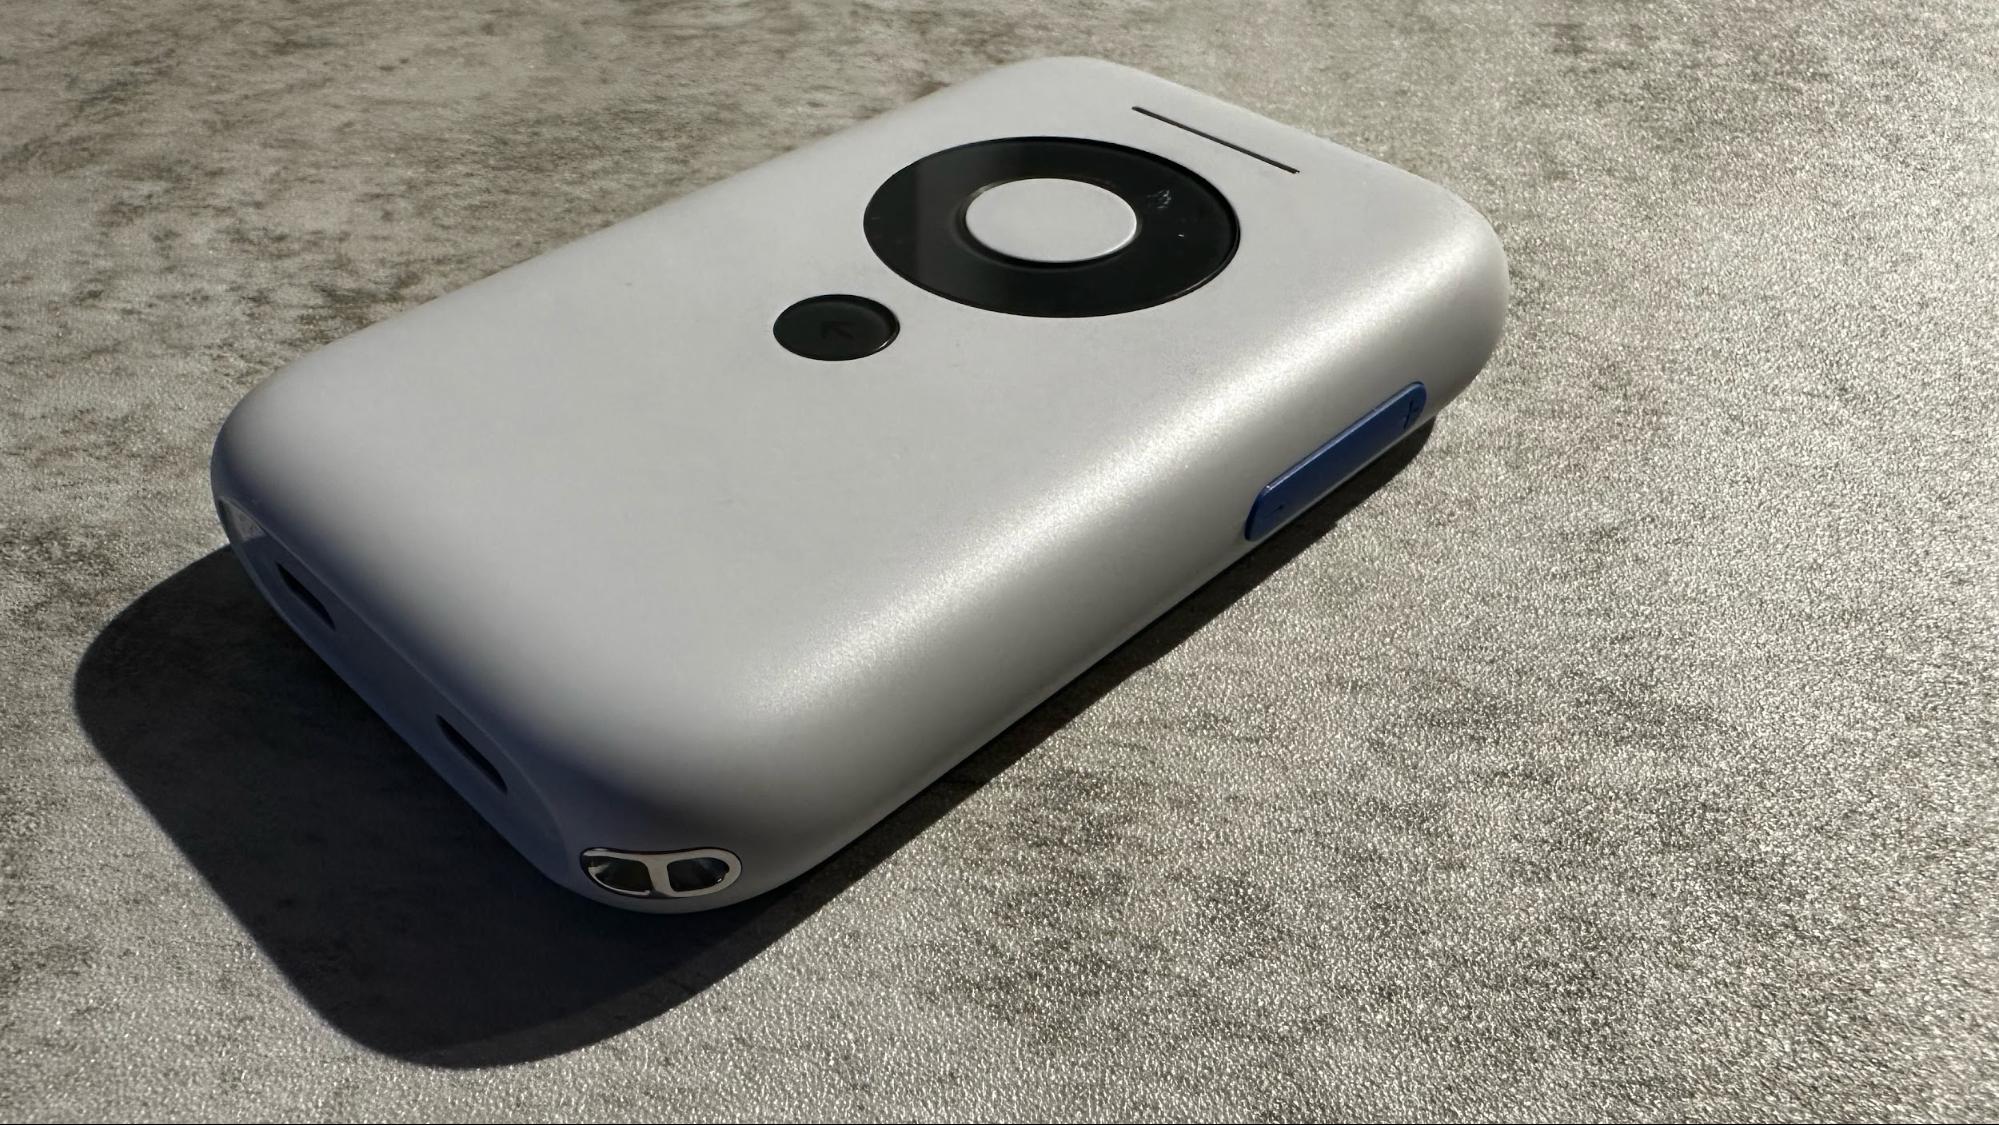

The sheer number of buttons and controls on the tiny device seemed overpowering to me at first. Still, I quickly became acclimated and found myself navigating through the menus by feel with the Beam in my pocket.
An LED bar sits above the navigation wheel. It pulses white from left to right while charging, increasing the bar length as the Beam approaches 100 percent. When battery levels are low, you'll see a small red bar.
You'll find two USB-C ports on the bottom of the Beam. The left USB-C port is for charging the Beam, while the right USB-C port connects directly to the Air glasses. Xreal says that the Beam can last up to 3.5 hours per charge, while a 30-minute charge via USB-C (27-watt support) will replenish 50 percent of the 4870 mAh battery. Thankfully, the Beam can be used while charging.
The Beam measures 4.16 x 2.59 x 18.2 inches and weighs 5.4 ounces. It easily fits in the front pocket of my shorts.
Setting up the Xreal Beam
Unfortunately, getting started with the Beam was an exercise in frustration. The first thing I did was take the Beam out of the box and plug in a USB-C cable to charge it. After about 15 minutes, I returned to the device and turned it on. I plugged in the Air glasses and was greeted with an Xreal animation screen and allowed to choose my preferred language. Next, I was asked to join a Wi-Fi network (the Beam supports Wi-Fi 5 and Bluetooth 5.0). Once the Beam connected to the internet, this is where the troubles began.
First, the Beam asked me to install a v0.3.5 update, which came in at 787.17MB. With my Wi-Fi 6E router (about 3 feet away) and a 500 Mbps internet connection, the download should have taken around 20 seconds. However, the Beam puttered around at approximately 0.5 Mbps. Adding insult to injury, after 25 minutes, the download reached 75 percent completion and unexpectedly restarted the process. The slow download started again until it reached around 80 percent, and it restarted again. This happened multiple times until it finally completed the download after two hours of frustration.
The Beam then took another few minutes to install the update and restart. Once it restarted, it downloaded an update for the Air glasses, which took about 5 minutes from start to finish.
Taking two hours to download and install a less-than-800MB update with a fast internet connection is unacceptable. I talked to Xreal about this experience and was told that my experience was unfortunate and that their engineers would ensure that they would fix things server-side so that incidents like this don’t happen again.
Using the Xreal Beam
Once I got past the cantankerous setup process, using the Beam with the Air glasses was straightforward on multiple computing platforms (AirPlay and Miracast are supported). I first tried the Beam with an iPhone 14 Pro, and the connection process was far more streamlined. When I initially reviewed the Air glasses, I not only needed to use a $59 Air Adapter, but also a $49 Apple Lightning to Digital AV Adapter. This made for a heavy and bulky setup when using the Air glasses.
With the Beam, I only needed to plug in the USB-C cable from the Air glasses. The Beam slipped into my pocket, out of sight and out of mind. Once the Beam is wirelessly connected, there are three options for how images project onto the Air glasses.

Smooth Follow allows the projection to follow your head movements, keeping everything in front of your face whether you’re running, lying down, or bending down to tie your shoes. Body Anchor places the projection at a fixed point of your choosing (three degrees of freedom). However, as you move your head up/down or right/left, the projection will move out of your field of view, just as a physical monitor would as you move your head around. Sideview places the projection in a resizable “window” in the top corner of your field of view. This gives you a fuller view of the world in front of you while still giving access to projected images at a glance.
To wirelessly connect with an Apple device, like the iPhone 14 Pro, I needed to swipe down from the top right of the screen and tap on the screen mirroring button. From there, I selected the Xreal Beam from the list of available devices. Then, the iPhone's screen was presented in front of my eyes on the Air glasses, in portrait orientation. However, opening up a YouTube video or a video I streamed from my Plex Server would automatically place the video in landscape orientation.
It was a similar process with a 14-inch MacBook Pro. I clicked screen mirroring from the Menu bar and selected the Xreal Beam from the list of available display devices. Then my entire macOS desktop was shown on the glasses.
I next tried the Beam with a NUC 8 Windows 11 desktop, which again, couldn't have been any simpler. I navigated to System → Display → Connect to Wireless Display and selected Xreal Beam from the list. I was then given the option to extend my workspace to the Air glasses or duplicate my desktop; I chose to duplicate the workspace for simplicity’s sake.
For fun, I tried Cyberpunk 2077 on an HP Victus 16 with the Air glasses and Beam. After connecting the Beam as a wireless display in Windows 11, I loaded Cyberpunk 2077 and began playing. Overall, the image quality looked good but was slightly washed out in darker game areas. I placed the light-blocking shades over the lenses to combat this, significantly increasing contrast and color vibrance. The audio from the game is also played through the speakers on the Air.
However, I did run into some issues. When the action started picking up or I made quick movements, the picture would stutter, and the audio would cut out. Sometimes it would take a few seconds to “catch up.” This is an obvious deal breaker in a fast-paced game like Cyberpunk 2077. If you instead play games that move more leisurely, these performance hangs likely won’t be an issue.
I also used the extended desktop feature of the Air glasses and the beta version of the Xreal Nebula app (without the Beam accessory, as this feature isn’t supported yet when going wireless). I had success in both Windows 11 and macOS with the Nebula app, although it was much more stable with the latter. As you can see in the clip below, I used the Nebula app in Windows 11 to invoke the Augmented Reality Desktop. This allowed me to string together three desktops by panning my head around using the Air glasses. While the YouTube video clip played fine on my Intel NUC 8, it stuttered a bit on the Air glasses using the Augmented Reality Desktop.
One thing I noticed when using the Beam is that it can get very hot. The second revelation was that I soon realized that the Beam has an internal fan, which exhausts through a vent behind the power button. I didn’t notice the inclusion of the fan until I turned off my TV and heard a fan noise that I didn’t recognize from my MacBook Pro or NUC 8. Instead, the Beam was blowing out a surprising amount of hot air for such a small device.
Bottom Line

The Air + Beam combo is a boon for iPhone users, as you no longer must deal with the clunky adapters and wires that were previously required. Now, you can plug the glasses into the Beam and enjoy wireless streaming.
Wireless streaming from a Mac, Windows, Android or iOS/iPadOS device is simple. Sitting back on the couch watching YouTube wirelessly with my iPhone 14 Pro, Air glasses, and Beam was a hoot.
The Xreal Beam is now available at $119, which is a hefty price to pay for wireless connectivity, especially considering that the Xreal Air glasses already cost $379. However, Xreal offers an Air + Beam bundle for $488, representing a tiny $10 savings.
The big question, though, is, should you buy it? If you aim to play fast-paced games on your Windows PC with the Air glasses, then the answer is no. The stuttering, lag and audio cutouts confirm this isn’t a gaming device. However, the Beam opens some pretty intriguing possibilities if you want to watch movies and TV shows or play slower-paced games wirelessly. The Xreal Beam is an excellent little accessory for those that already own a pair of Air glasses. And even if you don’t already have Air glasses, the Beam might add just enough functionality to make you want the glasses.


