Do you spend a lot of time in your trail running shoes and suffer from outer knee pain as a result? If so, you might be blaming your IT band. As I recently wrote, however, you can finally stop rolling your IT band, since there’s no science to show that it’s effective. You might be pretty happy to finally be free from hours of pointless pain while you’re rolling, but how do you deal with that pain that persists in your knee? If you’re experiencing pain and discomfort in your outer knee and your IT band feels tight, you’re probably going to want to get to know your TFL.
What is your TFL?
Your TFL, which is short for Tensor Fascia Latae, is a small muscle located in your outer hip that can have big ramifications for how you feel if you’re a runner. If you place your hands on your hip crests now, you should be able to slide your fingers forward until you find the bony protrusion at the front of each hip, known as the ASIS. Your TFL originates from the outside of this bone and travels down the outside of your hip to where it inserts right into your IT band at the very top of your outer thigh.
In terms of functions, your TFL primarily works with your glutes to help stabilize your hip and, secondarily, your knee. It also functions as an abductor for your hip, so you’ll recruit it when you’re swinging your leg up over a style on a country walk.

Why do you need to release your TFL?
If you were paying attention, you’ll have noticed that your TFL inserts into your IT band, that strip of fascia which runs down your outer thigh that often feels tight if you’re a runner or hiker and can be blamed for knee pain in conditions like IT band syndrome.
However, the pain that you might experience in your outer knee that you attribute to your IT band being “tight” may actually be the result of a hypertonic (“tight”) TFL effectively pulling on your IT band, which can be caused by prolonged periods of sitting as well as repetitive activities like running. As my friend Gina says, your TFL tenses your fascia. A lotta.
As we now know, there isn’t any science to foam rolling your IT band, but because your TFL is a muscle, you might actually be able to release it which might free up some tissue tension in your IT band and relieve your hip and knee pain.
Of course, tightness in your TFL could also be caused by tightness in other surrounding muscles like your Illiacus, and this article could keep going for rather a long time as we address each connecting muscle, but for now, it’s safe to say that if you’ve been having pain that you attribute to your IT band, see a physical therapist to find out if you should start with your TFL.

How to release your TFL
While foam rolling hasn’t been scientifically proven to have any benefits for your IT band, some research such as a 2020 study is favorable towards using the recovery technique on muscles such as your TFL. The same study also found that self-stretching is as helpful as rolling and these are two of the best ways to release your TFL, while a sports medicine professional might implement more invasive techniques such as dry needling.
Massage
When a muscle feels tense, massage is a great way to release it. Your TFL is a pretty small muscle so it is possible to foam roll it, but a softball (or massage ball) is probably better to target it.
Lie on your right side with your knees bent and prop up on your right elbow, resting your head in your right hand. Slide your top (left knee) forward so it’s resting on or near the ground in front of you. This is the best position for rolling your TFL. Place the softball under your right hip and move your body up and down a little until you find a pressure point. When you find one, stay there and relax for 30 to 90 seconds. When you’re finished with your right hip, do the same on your left side.
If your case is quite acute, it might be worthwhile paying a professional for a sports massage and asking them to focus on your TFL and surrounding muscles like your glutes and hip flexors. However, if you’re trying to save on money or want more regular treatment, you could also consider using a massage gun.
To use a massage gun on your TFL, come to seated with your knees bent and your feet flat on the floor and a little wider than your hips. Let both knees drop to the left then use the massage gun on your right side TFL. After 3-5 minutes, change sides.

Stretching
Though research on stretching can be varied, there are actually some studies that show it can be effective for your TFL. In addition to the study cited above, 2017 research found static stretching to be effective for the TFL in reducing low back pain. If you’re not regular about stretching after running, start incorporating our yoga for runners sequence into your routine.
As a yoga teacher, these are my three favorite ways to stretch the TFL muscle:
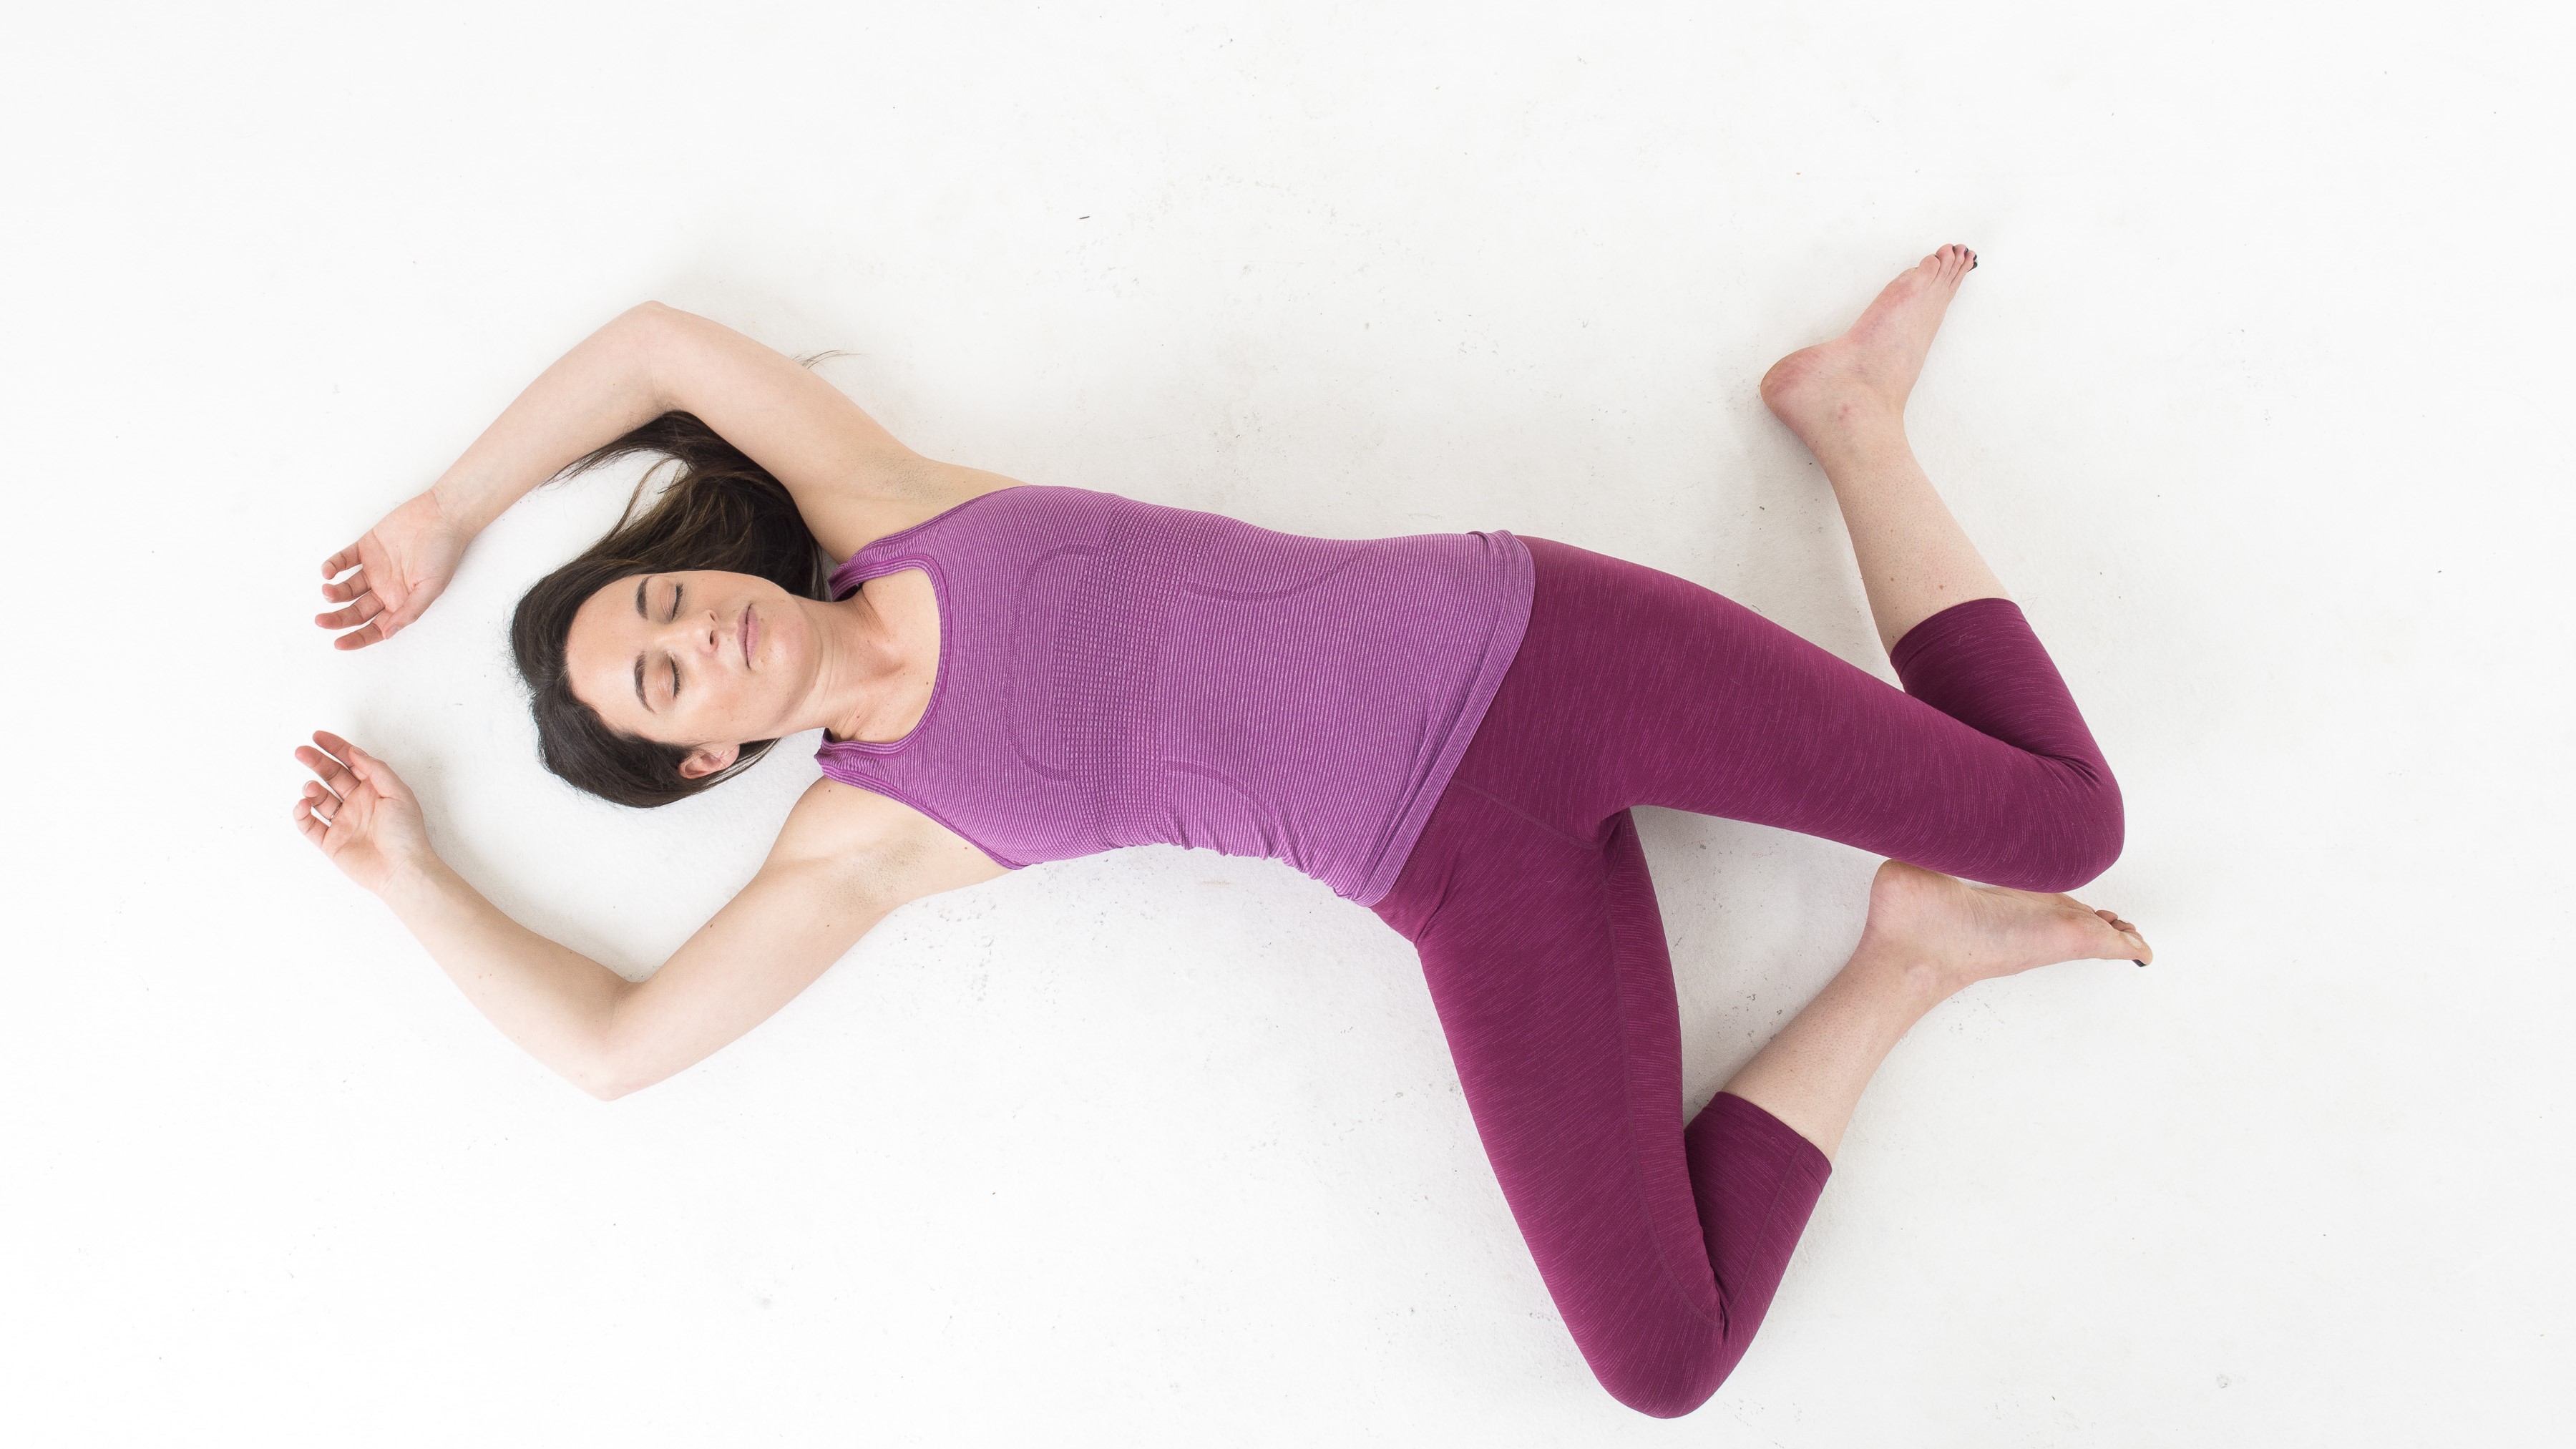
- Windshield wipers: Lie on your back with your knees bent and feet flat on the floor. Make sure your feet are wider than your hips, relax your arms overhead then drop both knees to the right. Stay here for 30 to 90 seconds, then change sides. Repeat several times.
- Standing side bend: Come to standing and cross your right leg behind your left, placing the pinkie toe edge of your right foot on the floor. Reach your arms up overhead and take hold of your right wrist with your left hand. Arch your body over to the left in a big side bend, pressing your hips gently to the right. Stay here for 3 - 5 breaths then change sides.
- Side lunge: Come into a lunge position with your right foot forward. Place your left palm down on the floor (or a yoga block) and turn your right toes out to the side, moving your foot a few steps down your mat. Roll onto the pinkie toe edge of your left foot, press your left hand down then lower your left hip towards the floor whilst keeping your left leg straight. Stay here for 30 to 90 seconds, then change sides.


