Yoga is often thought of as a way to gain flexibility and not something that can build strength. But there are many yoga postures that can help build your strength and stamina, especially if practiced before working out. Yoga warms up your whole body so you’re more supple and energised for your workout. It can also be a good way to get moving, even when you don’t feel like it, as yoga postures are typically more gentle than other forms of exercise.
The way to build strength and stamina through yoga is to slowly get used to holding the postures for longer, or practicing more repetitions of them. You can also build strength through yoga postures that involve weight bearing. This strengthens your bones and builds your muscular strength all in one.
We’ve picked out three of our favourite yoga postures that are great for building strength and stamina to support your workouts. So, grab your best yoga mat, pull on your best yoga pants and consider adding this short sequence to your workout beforehand and see if you feel the difference.
1. Single & double leg raises

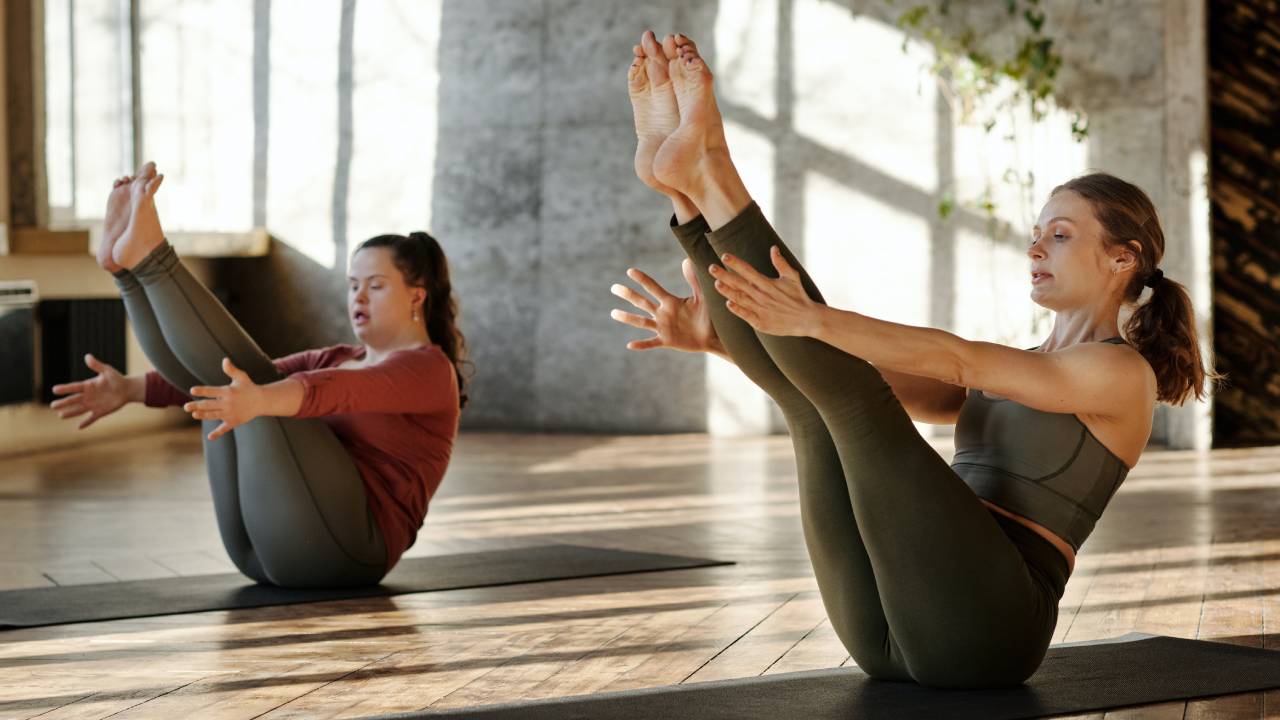
You can’t beat a core warm-up for helping to build your strength and stamina for workouts. Yoga is about the spine and all the various ways it can move to keep you strong and supple. One way you can support your back is through core exercises, and this is where the single and double leg raises come in.
Step 1: Start by lying on your back, legs together and heels pressing away from you with your toes pointing towards the ceiling.
Step 2: If you have a sensitive lower back, consider sitting onto the back of your hands, palms onto your yoga mat and both hands flat (not stacked on top of each other). Otherwise, you can place your palms down next to you, pressing down all of your arms and spreading your fingers.
Step 3: On an inhale, lift the right leg up and exhale, release it down. Swap sides so as you inhale you lift the left leg up and exhale to release. Repeat this so you have done six raises on each leg, alternatively.
Step 4: Now, squeezing your legs together and keeping the heels pressing away from you, inhale and lift both legs up together. As you exhale, release them down. For an extra challenge, you can hover your heels above the floor before lifting back up again. Repeat this six times.
2. Bridge pose

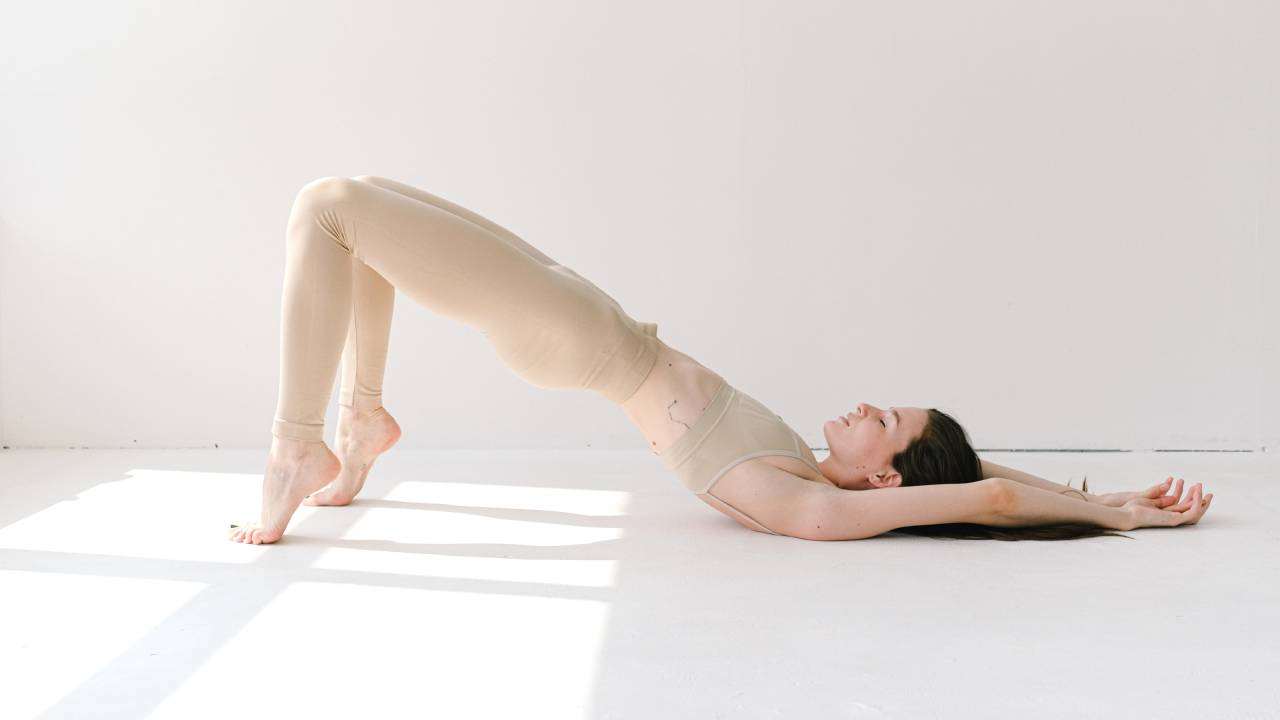
One of the areas that can power you in your workouts are your thighs. The bridge pose is great for building strength and stamina there, and encouraging a longer hold here will also help. Not only does it wake up your legs, it’s also great for spine flexibility which can make your movements in your workout easier.
Step 1: From lying on your back, bend your knees and bring your feet close to your buttocks. You want to be able to touch your heels with your middle fingers, roughly.
Step 2: Bring your feet so they’re hip distance apart and your knees are in line with your hips, so they’re not too wide or too close. Keep this as we come up. Your arms should be next to you, palms down. Make sure you press your upper arms firmly into the floor.
Step 3: On an inhale, press into your feet, and upper arms, and lift your hips off the floor. Continue to breathe and lift your pelvis higher, ensuring your thighs are working. If you have the shoulder flexibility you can bring your arms underneath you, interlocking the fingers.
Step 4: After a few deep breaths here, make sure your arms are either side of you before you exhale and lower your hips back to the floor. There’s the option of bringing your knees into your chest to release the back.
3. Dolphin pose

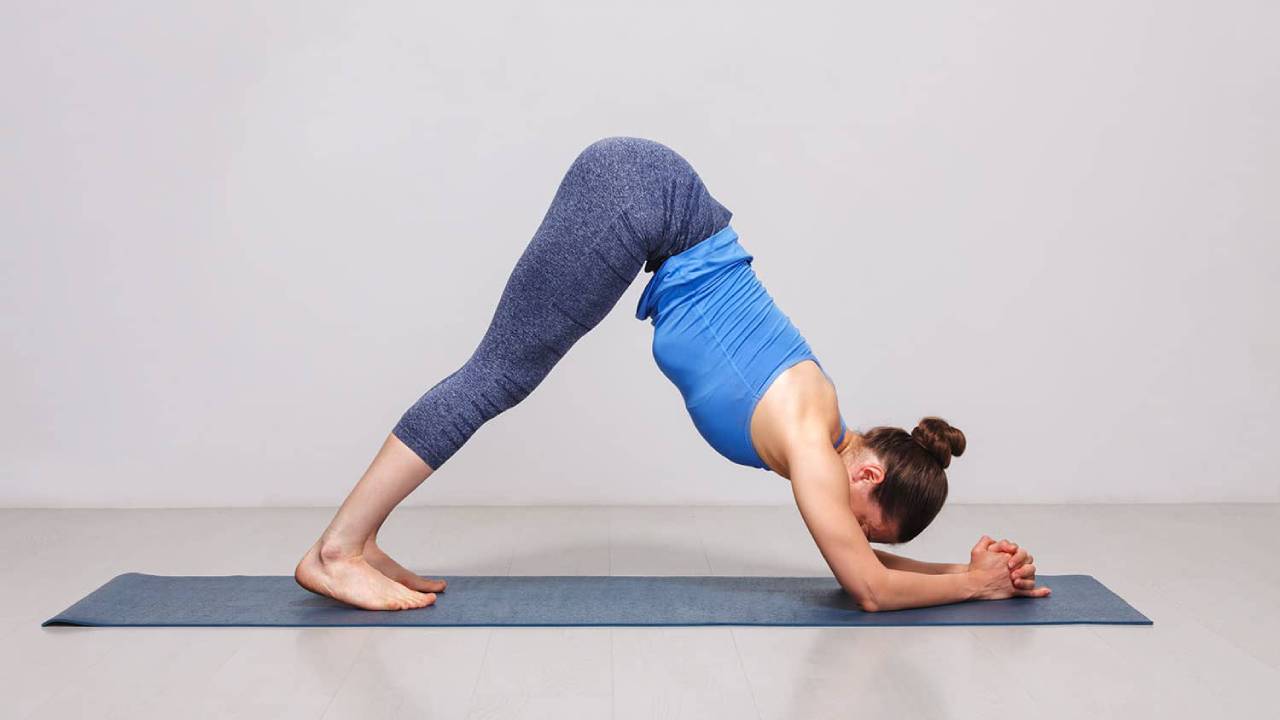
This move is one for your shoulders. Dolphin pose helps to build upper body strength while also loosening any tension you might have around your neck and shoulders. It’s wonderful to do before any weight lifting or anything that involves power in the upper body. For anyone with a neck or shoulder injury, consider doing this movement with your knees on the floor.
Step 1: Come to an all fours position. Take your forearms to the floor in front of you, so there’s an angle between your shoulders and elbows. You can either bring the hands togethers into a clasp or have your palms on the floor. This will depend on your shoulders and what feels best for you, so play around with it.
Step 2: Tuck your toes and begin to lift your knees off the floor. Keep going until you have straight legs. It’s also OK to keep the knees bent if your legs feel a little stiff.
Step 3: On an exhale, look forward and rock your body forward with your core engaged. The aim is to send your shoulders forward, lower your body towards a forearm plank position (but not as low) with your chin moving over your hands.
Step 4: On an inhale, use your upper body strength to press back up into the inverted ‘V’ position you started in. This is a tough one so take it easy and only do a few if that’s all you can manage. Build it up slowly over time and it does get easier, I promise!


