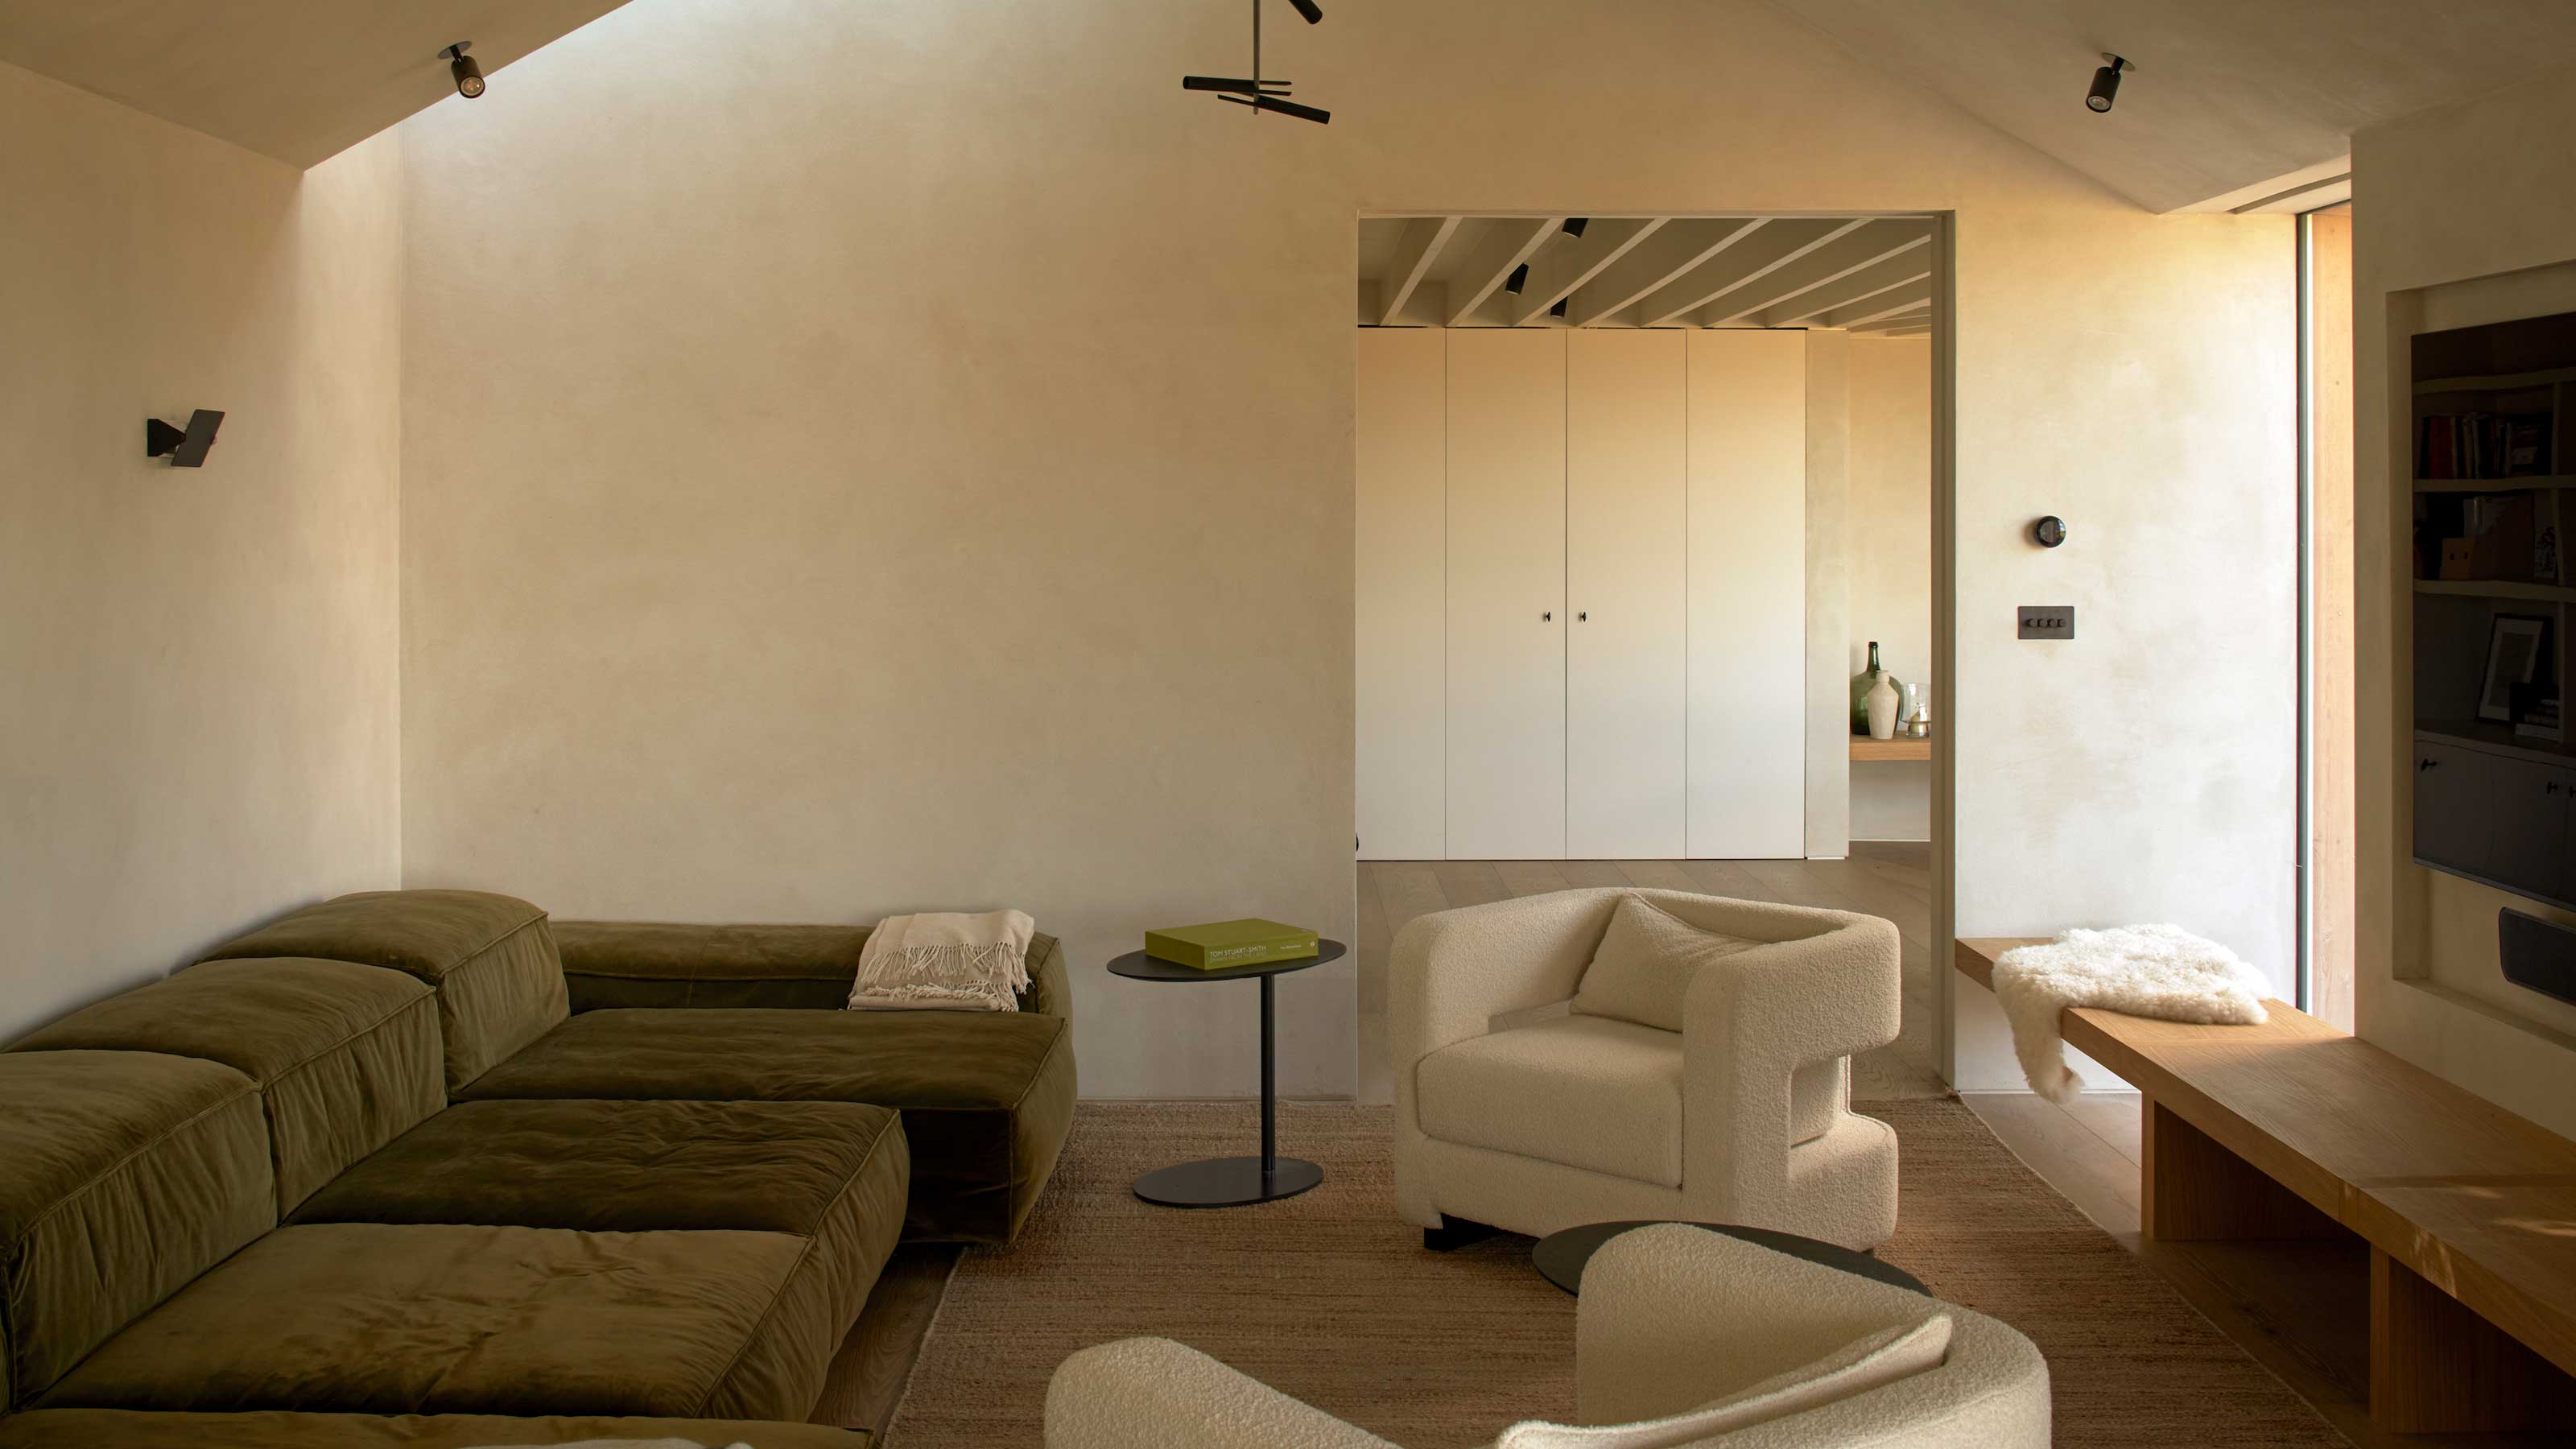
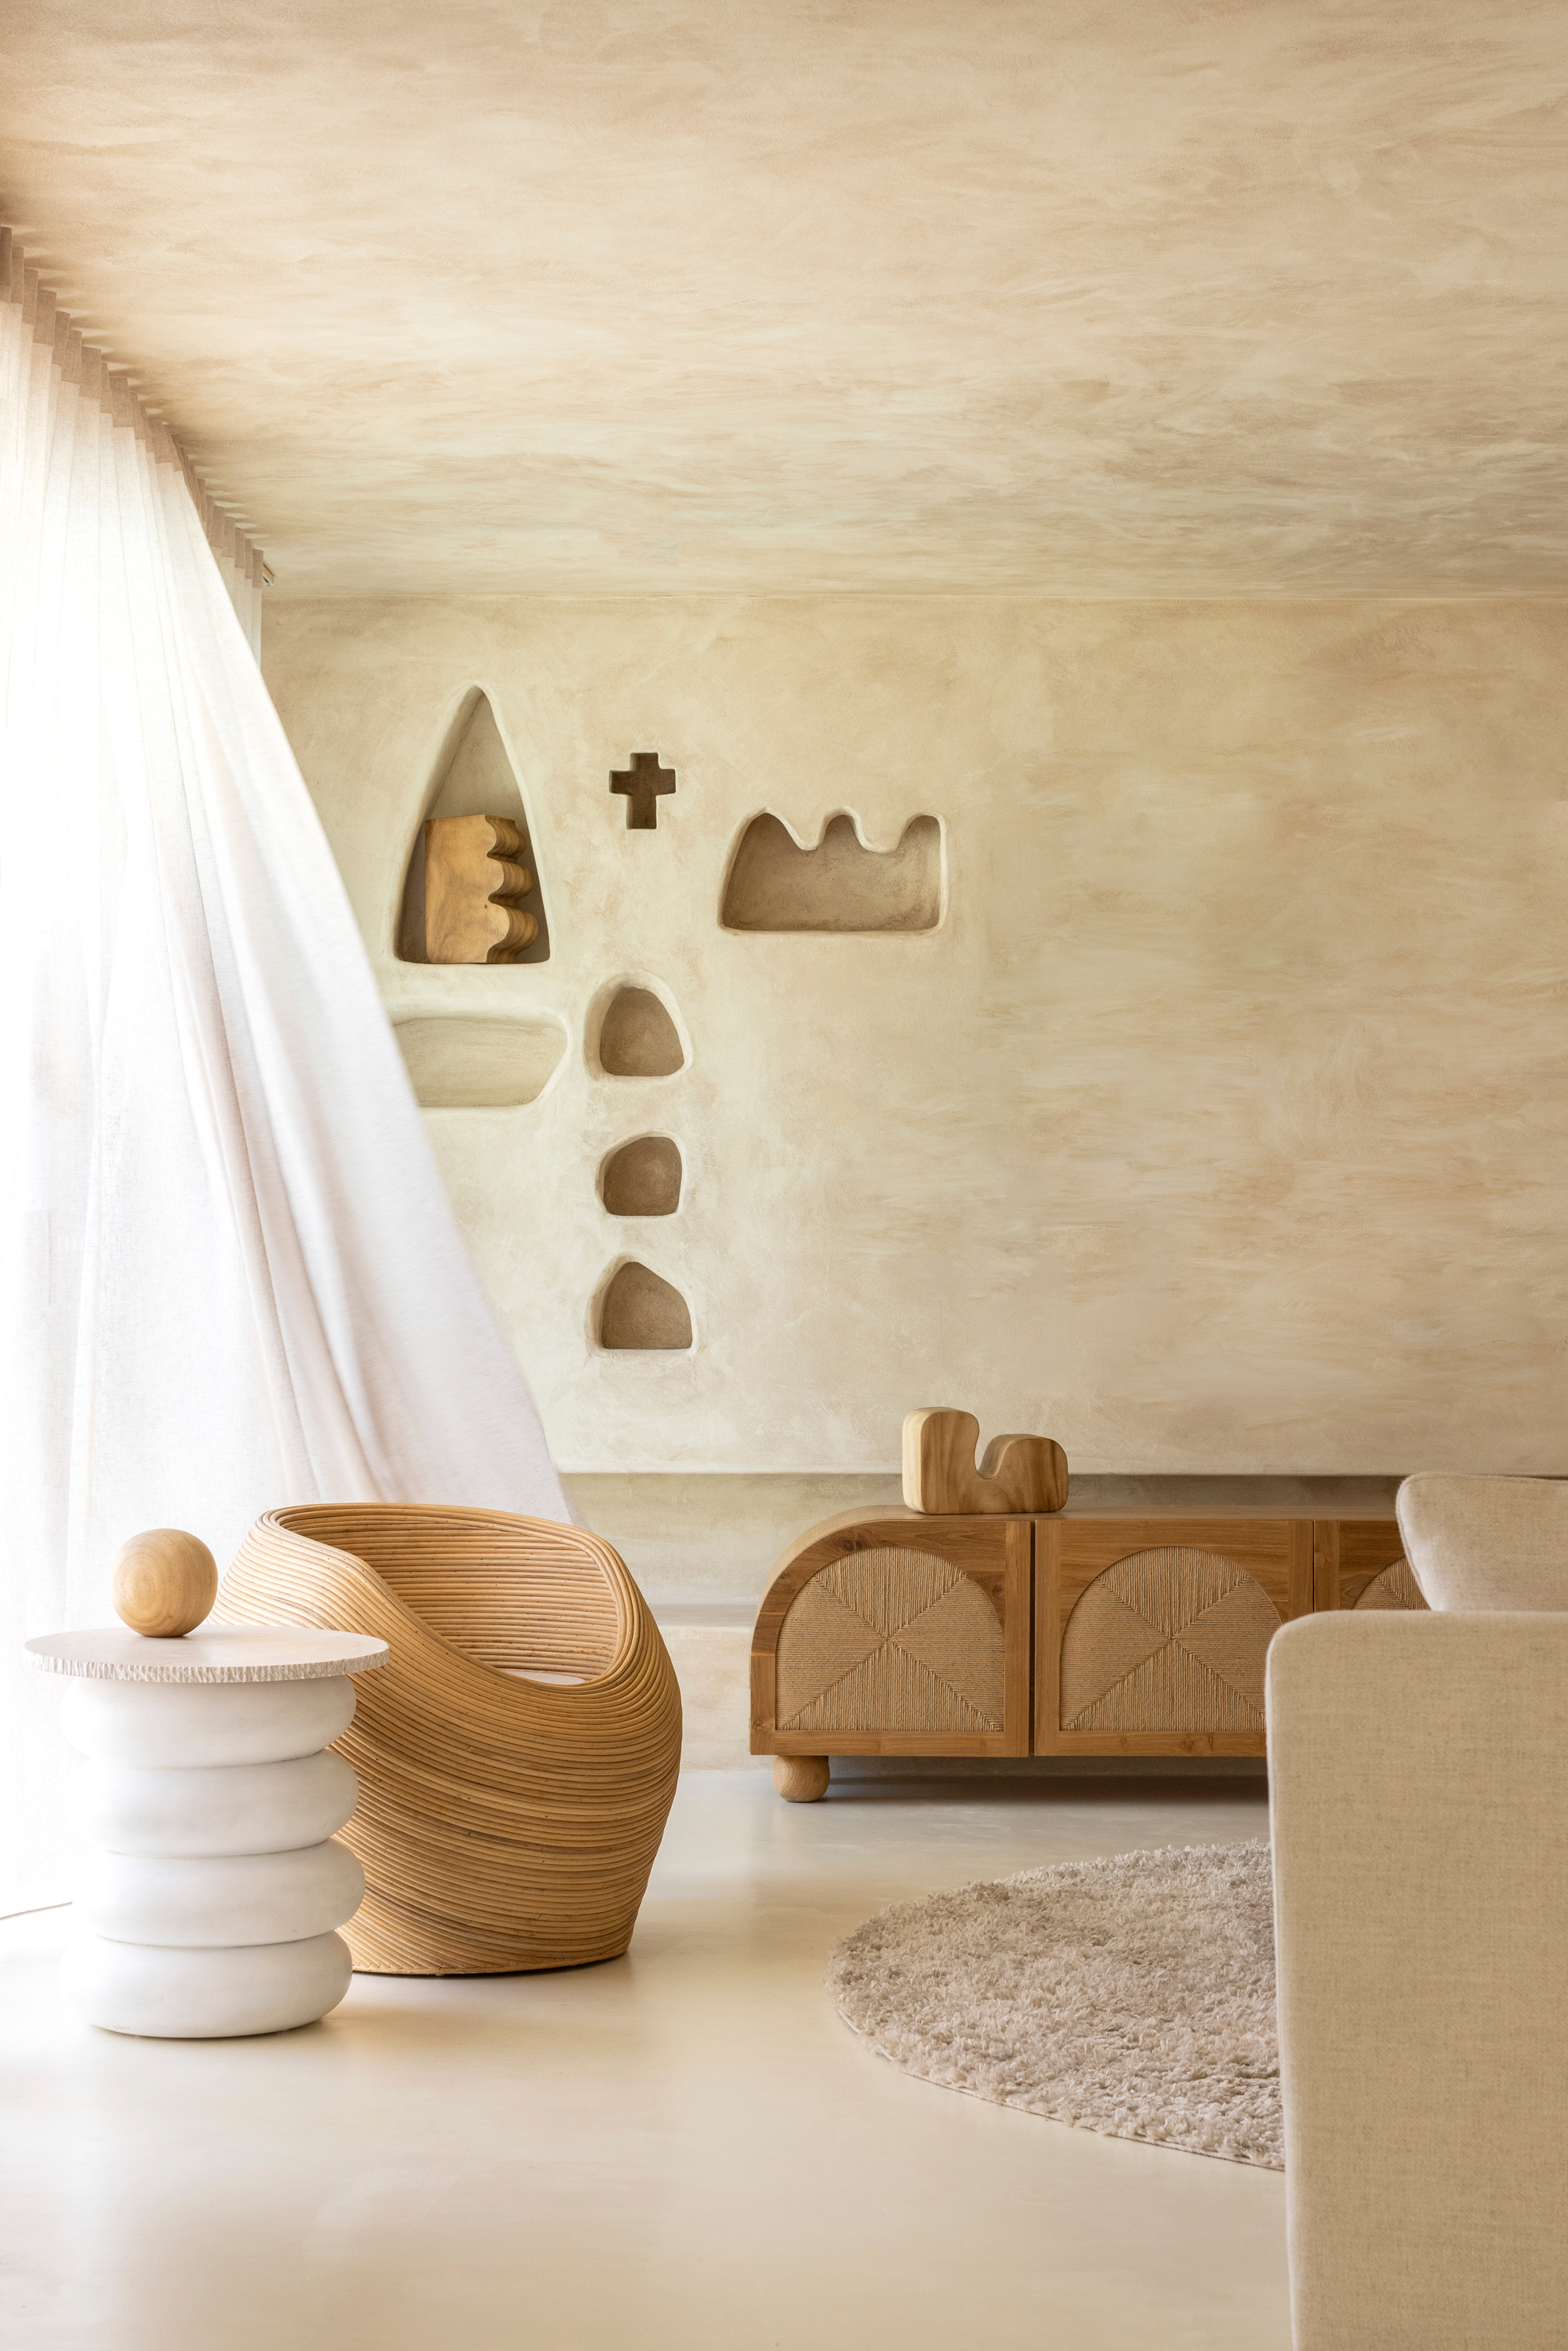
Limewash paint has an inherently grounding effect. It's tactile and full of character, and can quickly add new dimension to a space.
The centuries-old wall covering is composed of crushed limestone and was originally used as a protective coating for buildings given its breathable and water-resistant quality. These days, limewash is embraced for its organic and calming profile. The drawback is that it only comes in a limited range of colors and can be pricey. For reference, a gallon of limewash paint costs just over $90 at Walmart and requires additional supplied to apply, including a primer, limewash densifier, and a sealer on top of that.
With that in mind, it isn't surprising that DIY limewash paint hack would go viral on TikTok — especially when the technique reportedly costs less than $20. It's one of the best limewash paint ideas we've seen, and the result looks incredibly luxe. So luxe, in fact, one of our editors couldn't help but give it a go in her own home.
Below, we've broken down a step-by-step guide to creating your own DIY limewash paint, along with some helpful guidance on how the technique differs from regular paint jobs, as well as where to buy limewash paint (if DIY is not really your style).
How to Make DIY Limewash Paint
Limewash paint is known for its chalky appearance. This DIY limewash paint technique cleverly mimics the characteristic suede-like effect by thinning various paint colors with water and applying them to the wall in circular motions with a cloth.
Here's a quick overview of the 4-step process:
- Buying paint sample pots in complementary neutral shades
- Prepping your walls for the limewash — sanding, priming and painting a base layer
- Mixing a bit of each paint color with water, separately
- Dipping a rag or cloth into the mix and rubbing on the wall in circular motions
TOOLS REQUIRED
Price: $11.99/12 pack
These cloths are perfect for prepping your walls, as they're designed to pick up any particles that may have been left behind — dust, dirt, lint, sanding residue, sawdust, etc. They also work for applying the watered-down paint. Win-win!
Price: $29.99/22 trays
Considering that you'll be using a number of different paint colors and will need separate containers to mix each with water, it's worth getting yourself a few paint trays. This set is just over $1 per tray and you'll likely have left-overs if you're inspired to tackle other walls.
Price: $13.72/three rolls
Painter's tape comes in handy with any painting job, helping to protect details like your baseboards, trims and ceilings that you don't want to paint. While you're going to the effort to get some, you may as well stock up as you can find uses all over the home for this stuff.
STEP BY STEP GUIDE
1. BUY YOUR PAINT COLORS
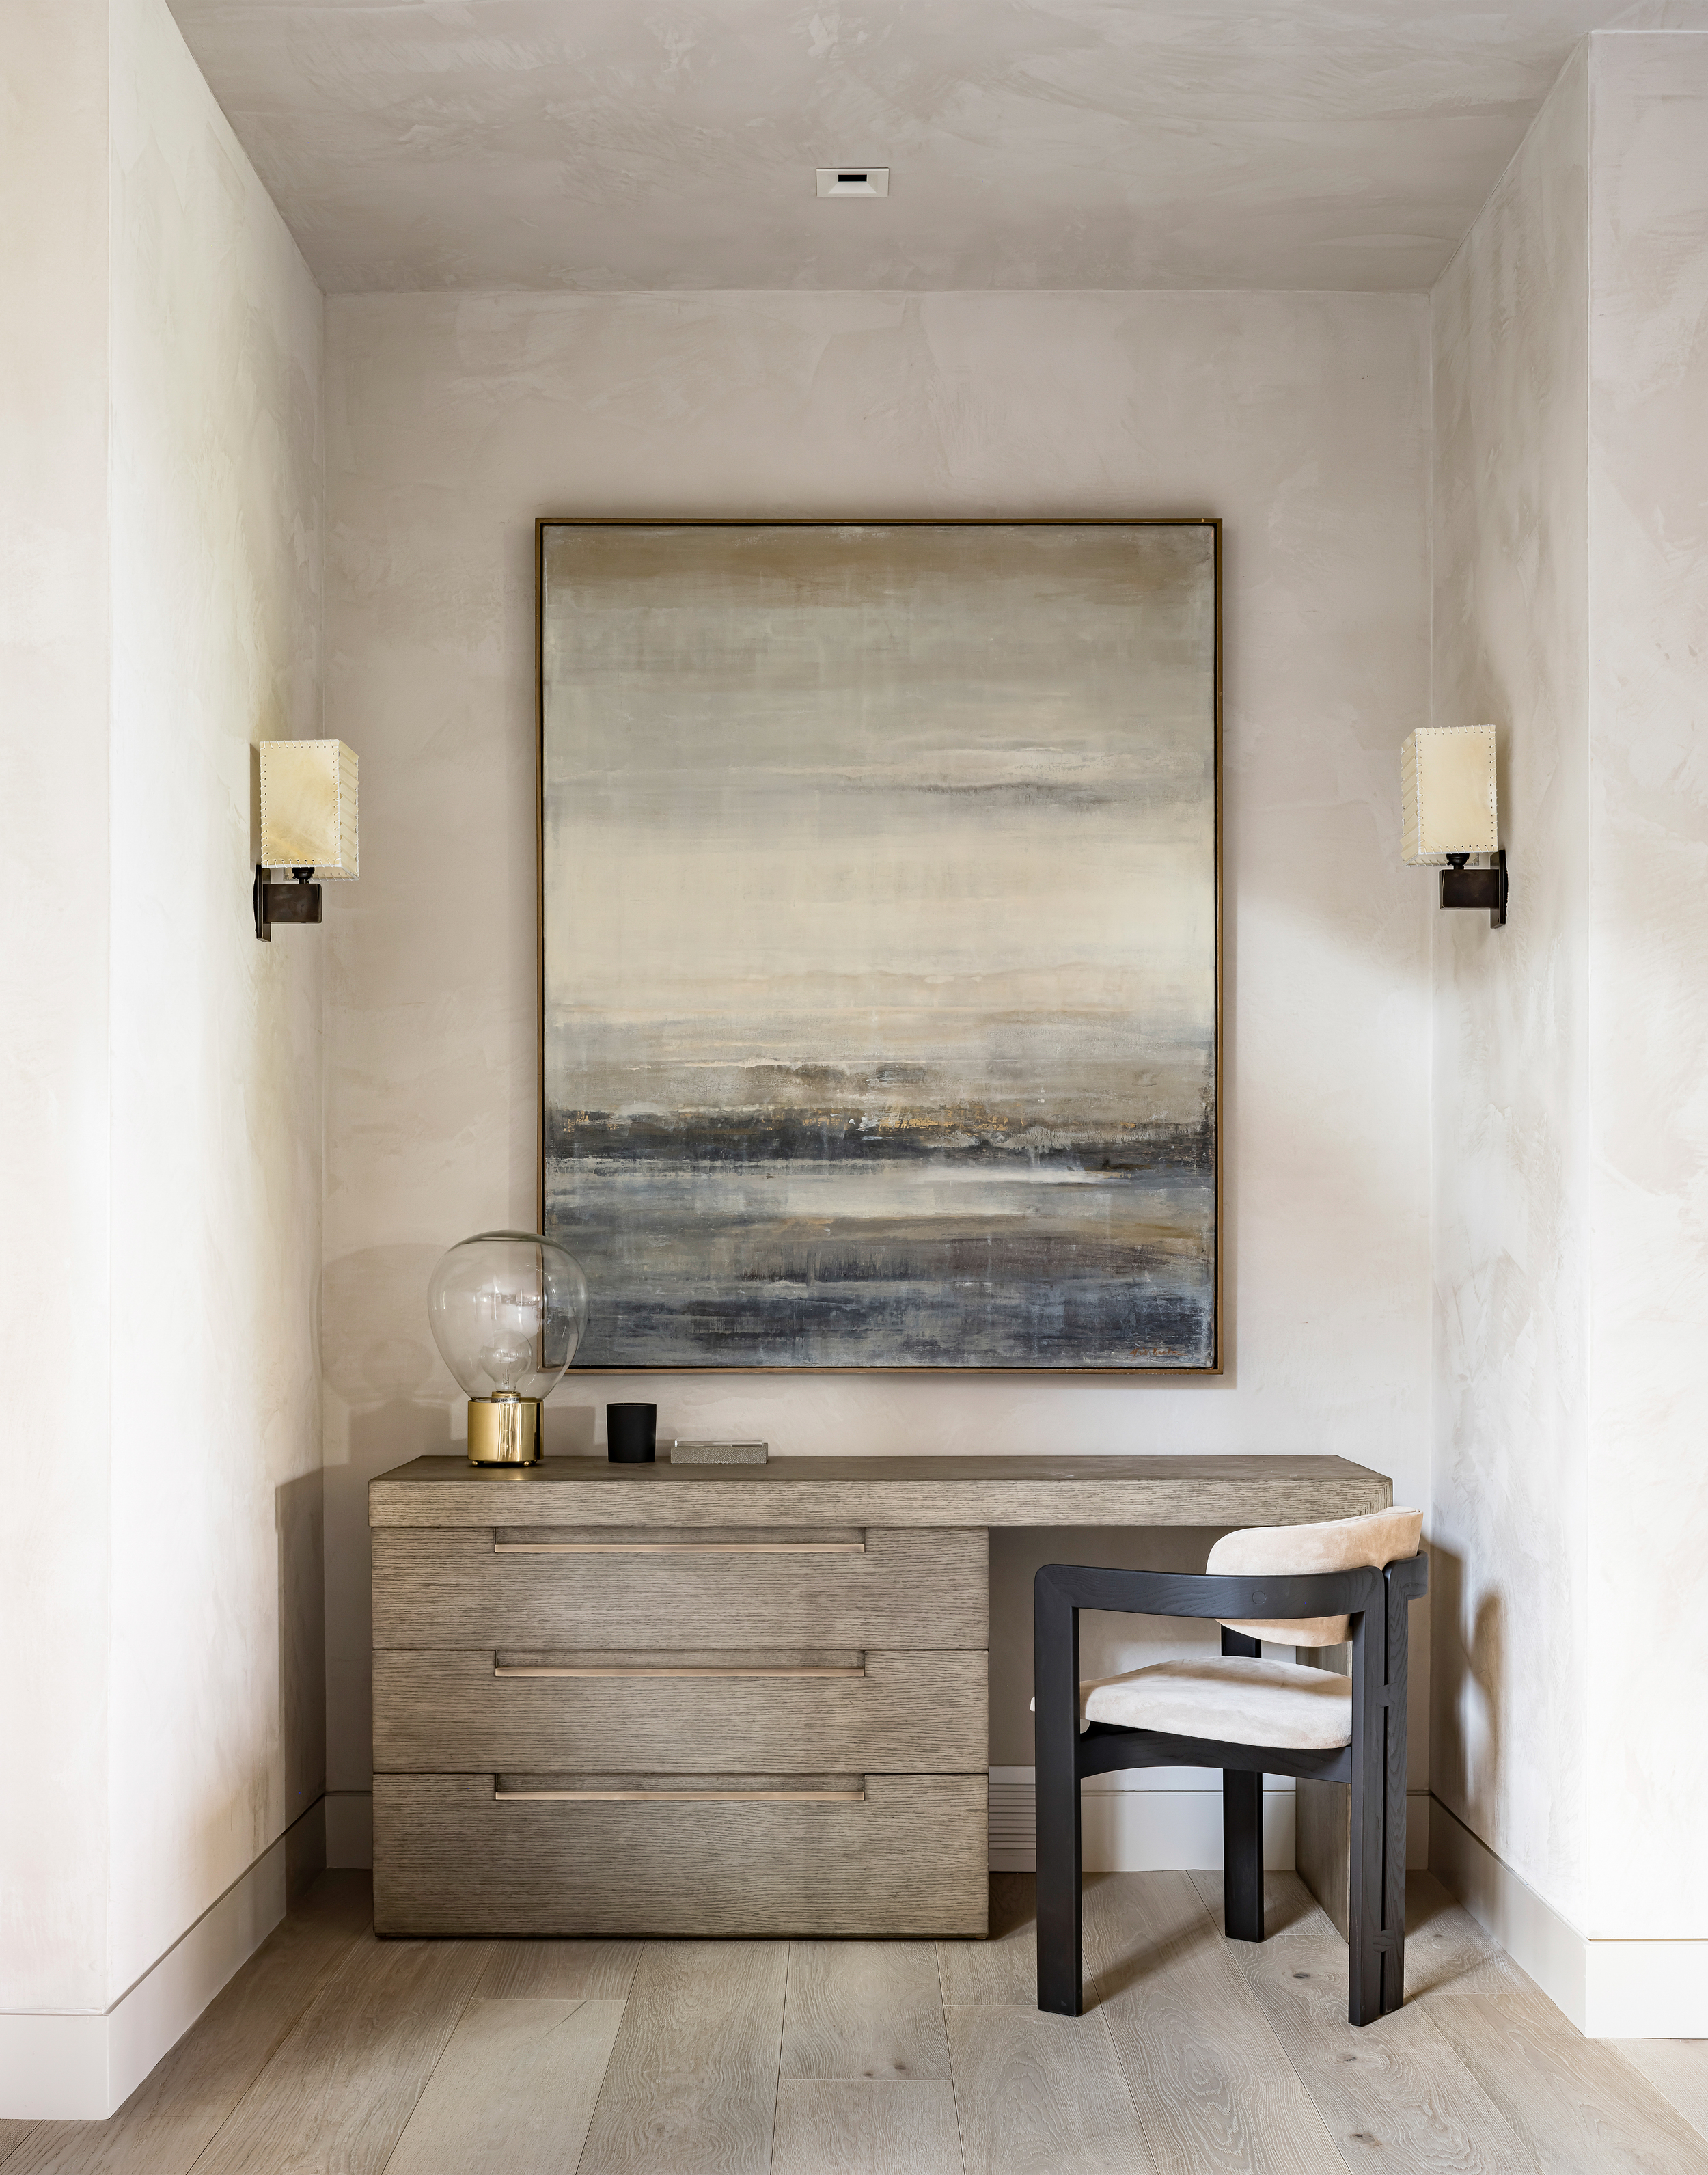
True limewash paint draws from the neutral, earthy tones it's made from, so we'd recommend sticking to a similar color palette when recreating the look. The lighter colors also help bring out the nuanced shades that add depth to your wall.
The DIY limewash paint TikTok tutorial by @chrystalspalace recommends buying five or six paint shades to create a more complex effect. Don't worry — it's not as expensive as it sounds! This is where paint tester pots come in handy. From experience, we've managed to secure a range of tester pots from local hardware stores for only a few dollars each.
You'll also need to factor in the size of the wall (or walls) you're planning to paint. For example, living rooms with limewash walls will require much more paint than a bedroom.
2. PREP YOUR WALLS
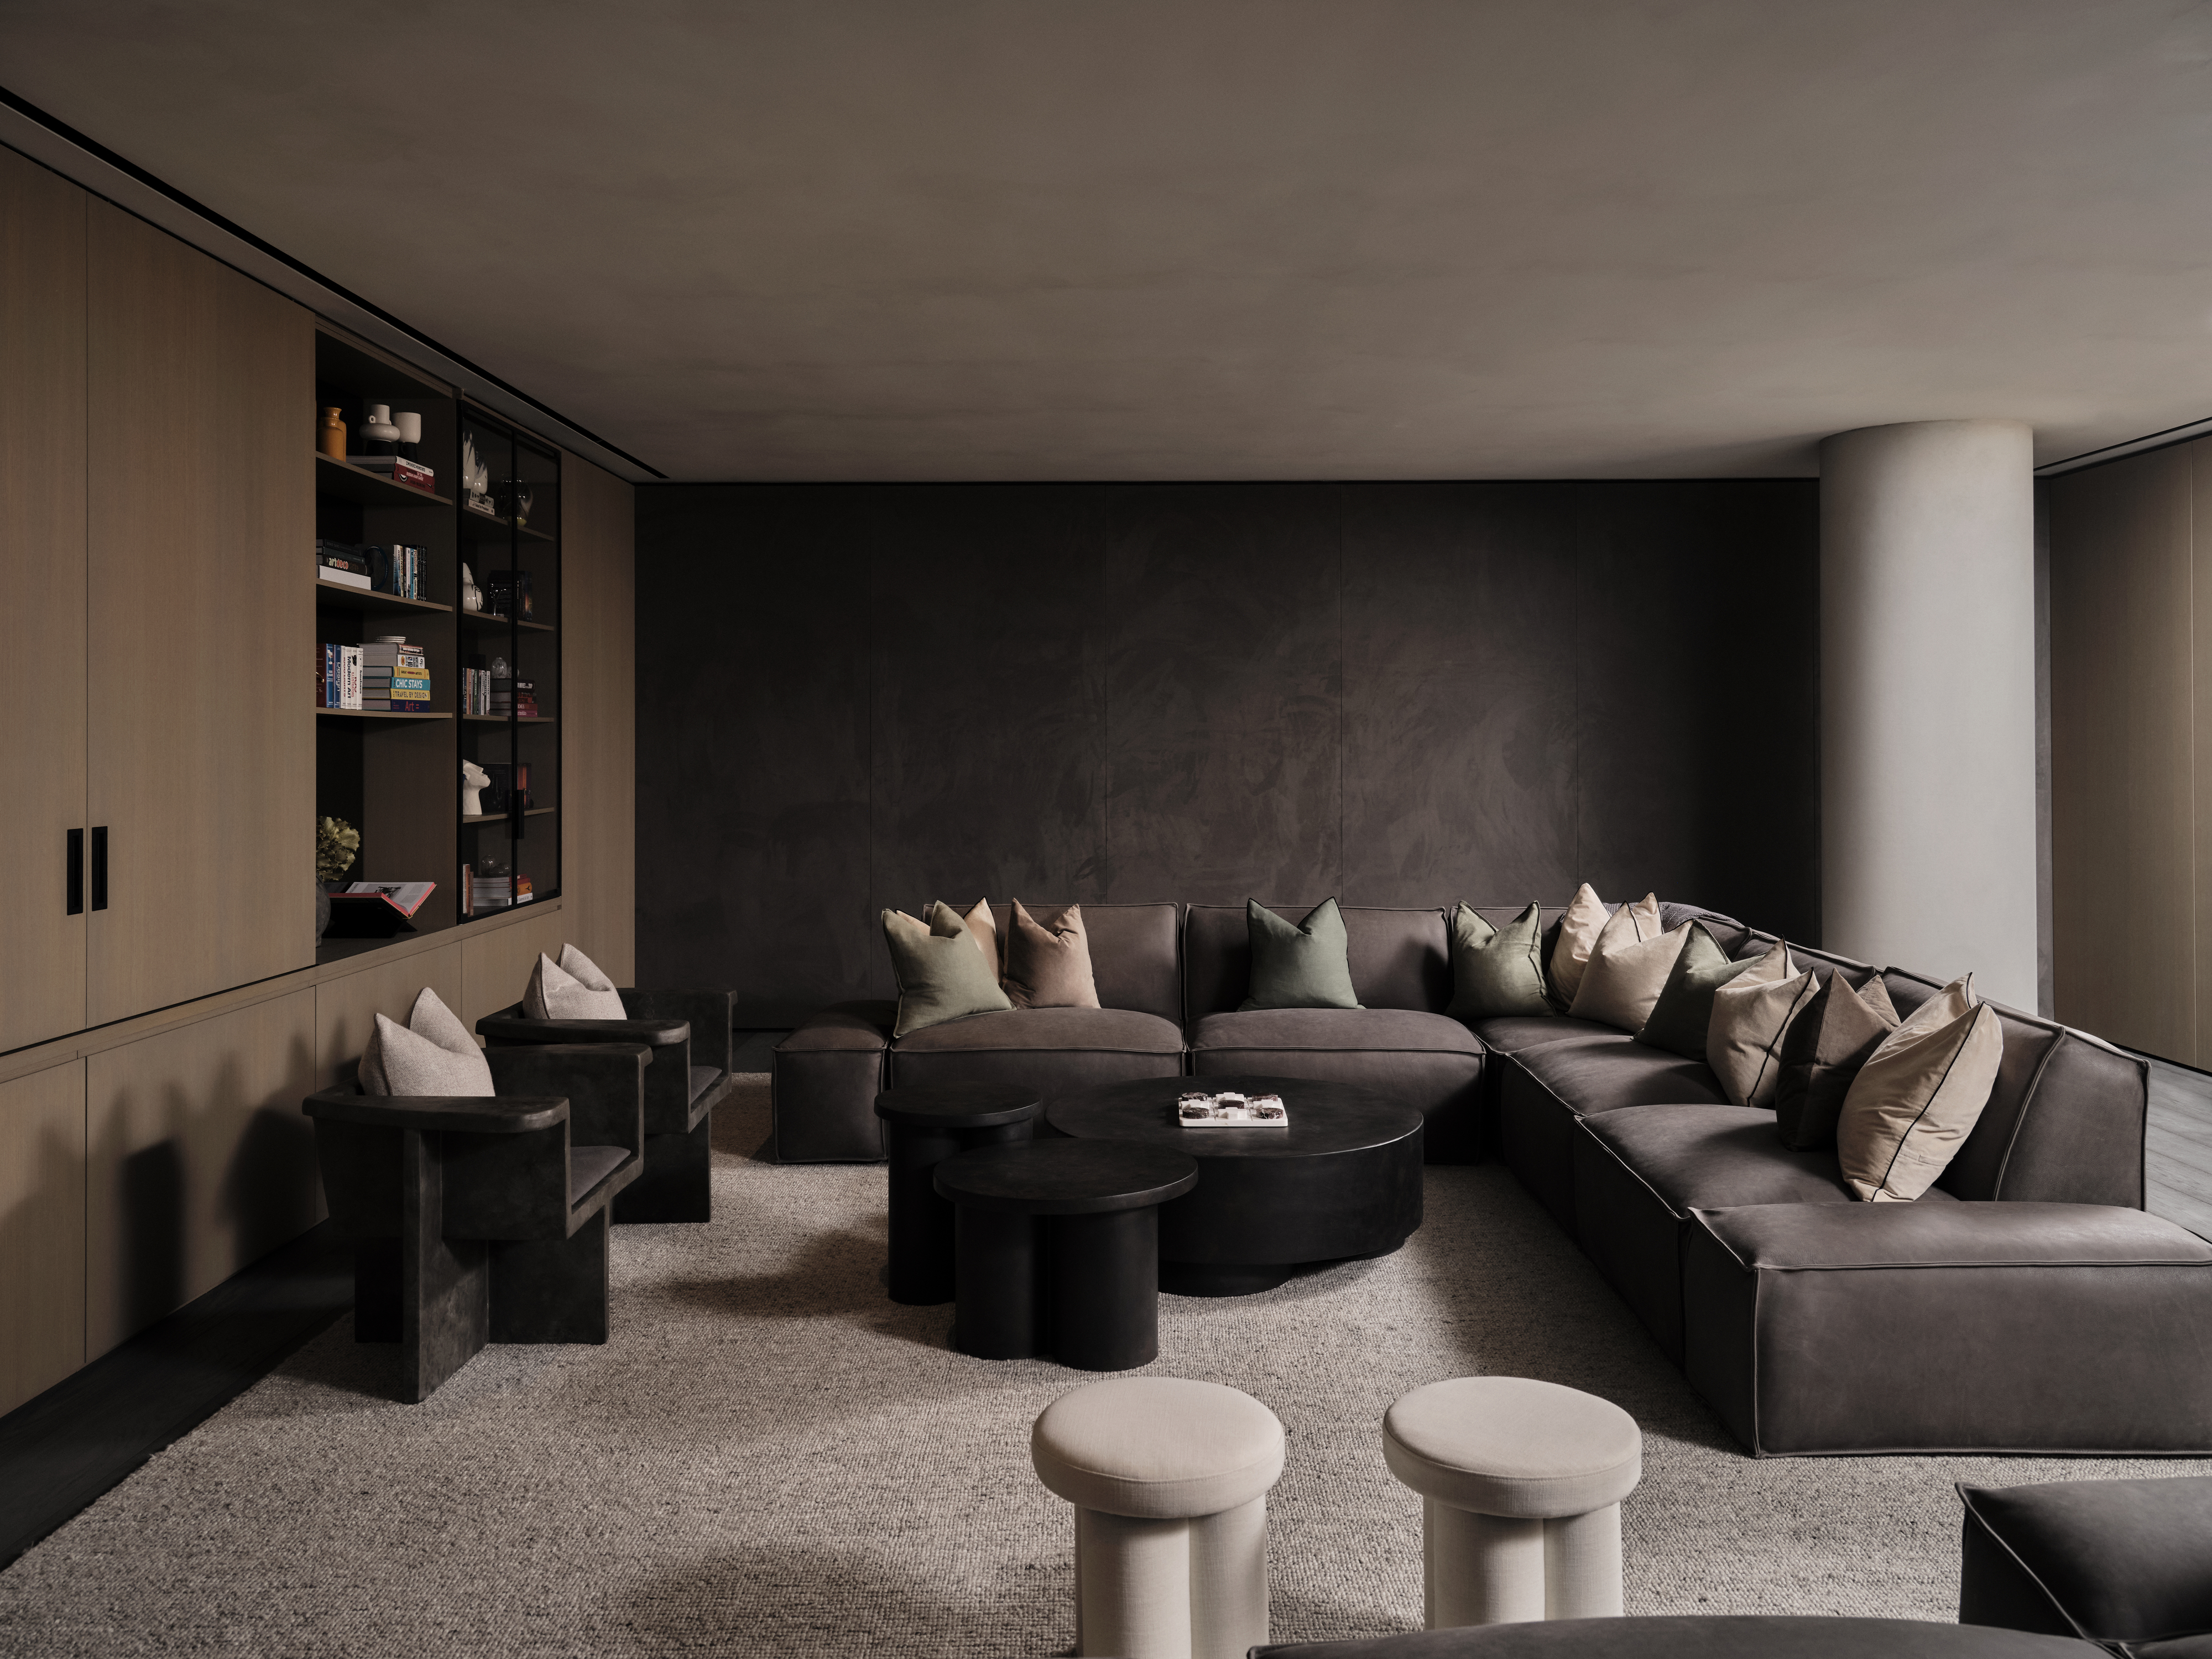
It's always best to start any paint job by sanding your walls before painting. Prepping is an important step with this DIY limewash paint hack to help you get the best final product.
"Limewash naturally has texture and any scratches and marks naturally blend into the texture which adds to the character," explains interior designer Kashi Shikunova, founder of London-based YAM Studios. "Its subtle texture and soft shades give it a timeless look. Plus, it changes with light as the day goes on and works well with old or new furniture styles."
Another benefit to this DIY technique over traditional limewash paints is that if you ever get sick of it, you can simply prep the wall and paint over it, as it's just standard paint. This is not as easy to do with limewash paint, but more on that later.
3. PAINT A BASE LAYER
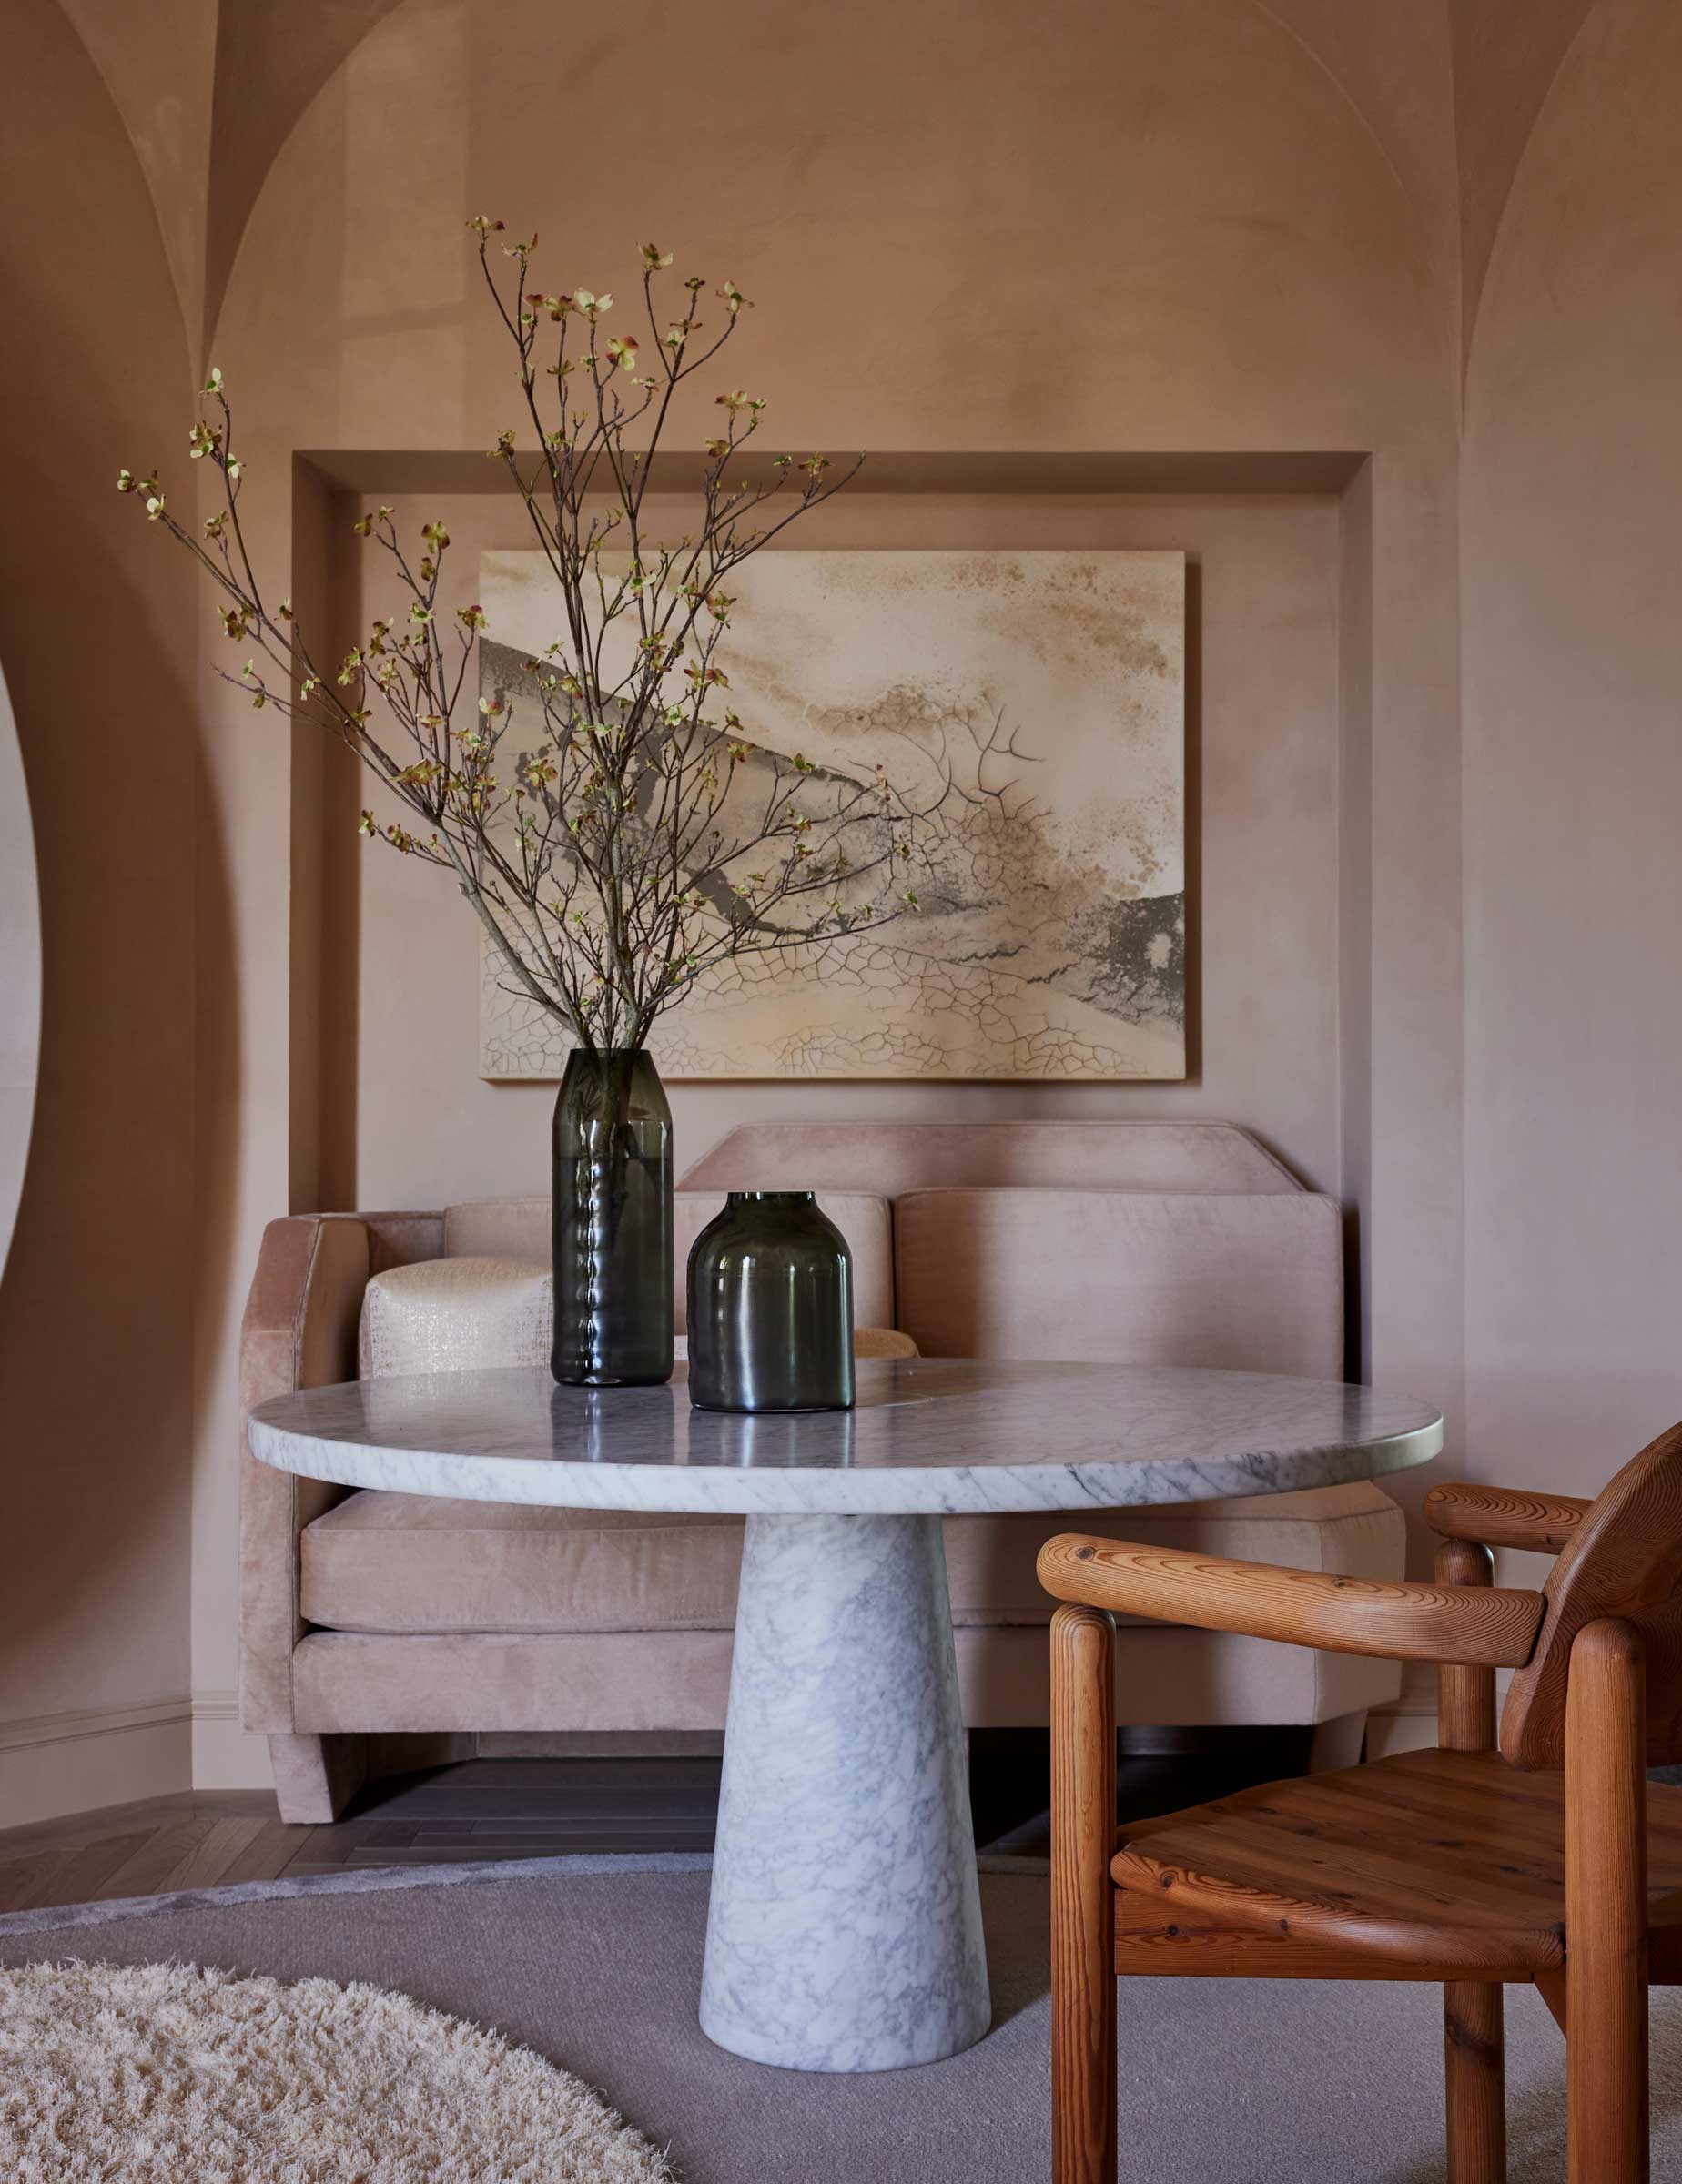
"I've used this technique many times over the years because I've always lived in old homes with uneven walls and it's a great paint effect for hiding lumps and bumps. Plus, of course, I love the finished look," says Lucy Searle, content director at Livingetc. "If the walls you're applying the limewash look to are already painted or papered in a neutral background, then you are fine to start with the actual paint effect."
However, if the walls are a dark color or have a patterned finish, you will save yourself a huge amount of time and effort by coating them first with a base color. I would choose one that's a shade lighter than all the limewash colors you plan to apply so you don't have to use the effect as a cover-up. Instead, build on that base color to create the look you want.
4. MIX YOUR PAINTS WITH WATER
Next, you'll need to mix your paint with water. You can either use a paint mixing tray or any old container deep enough that it won't spill. It's better to put the paint in first then add the water bit by bit to get the right consistency, stirring thoroughly to prevent your paint from sticking to the bottom of the container.
In terms of the ratio, use one part paint (30%) to three parts water (70%). The measurement doesn't have to be exact, but it's always best to start with a little bit and gradually increase. (You can always add more water, but you can't remove it!) Getting the right consistency also depends on the paint brand you're using, so easy does it.
The goal is a thin, watery consistency.
5. APPLY YOUR PAINT TO THE WALL
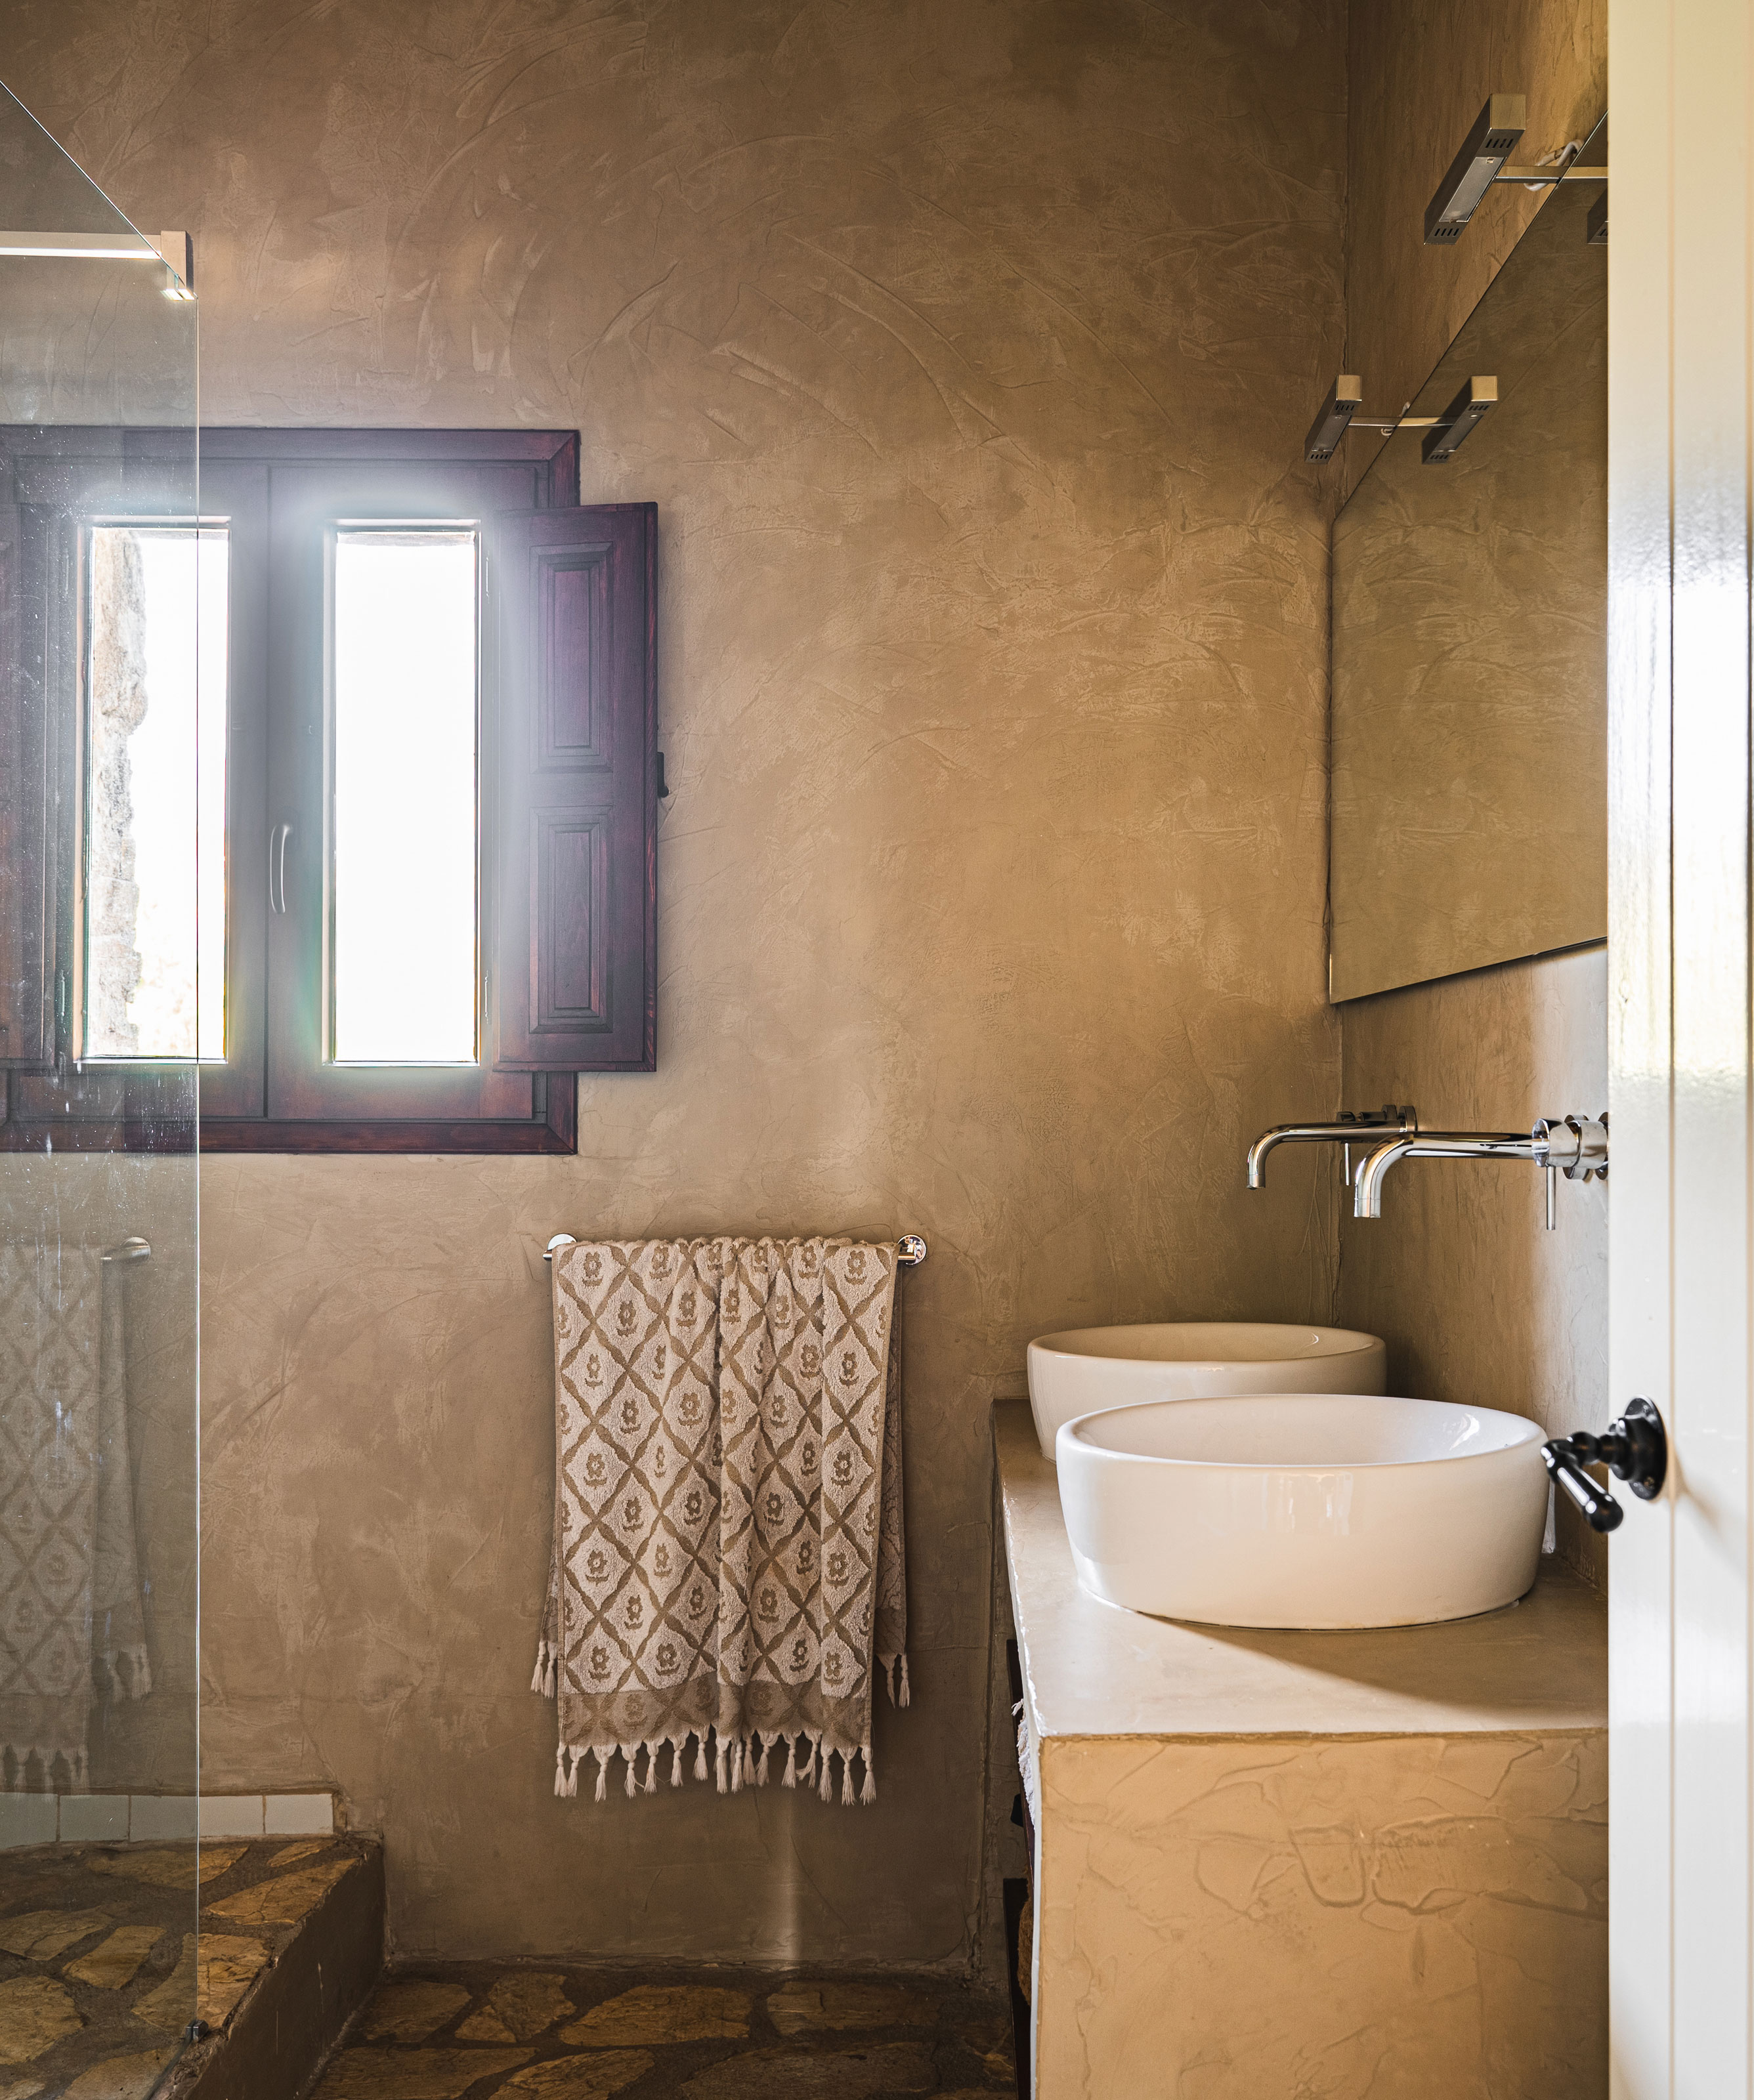
Once you've got your paints prepared, it's time to apply them to the wall (or any other surface you'd like). One of the things people never tell you about decorating with limewash is how it isn't limited to one surface. Did you know you can use limewash on wood, ceiling beams, and furniture, for instance?
Unlike with other paints, you won't need a brush for this step (although traditional limewash paints are applied with an extra-wide masonry brush, from Amazon). Instead, find an old rag or lint-free cloth (these tack clothes, from Amazon, work well), dip it into the thinned paint solution, and rub it on the walls in circular motions, blending outwards to achieve a marbled look.
"Ideally, I would practice on a small, well-lit area first — perhaps just 5ft x 5ft — noting the colors you have used and their proportions, let it dry, and live with it overnight," advises Lucy. "That way, you can be sure to get the finished result you want rather than hoping it works out."
Once you're happy with the color combination and the effect, you can work your way across the entire wall. "I would advise starting at the top of the wall where it meets the ceiling, working from the top right-hand corner of the room to the bottom left-hand corner (if you are right-handed) and from the top left-hand corner of the room to the bottom right-hand corner (if you are left-handed), always working at a diagonal," says Lucy. "Were you to work in straight lines from left to right (or right to left), you're much more likely to end up with visible horizontal lines that you then have to really work hard to eliminate. Working diagonally should mean that doesn't happen."
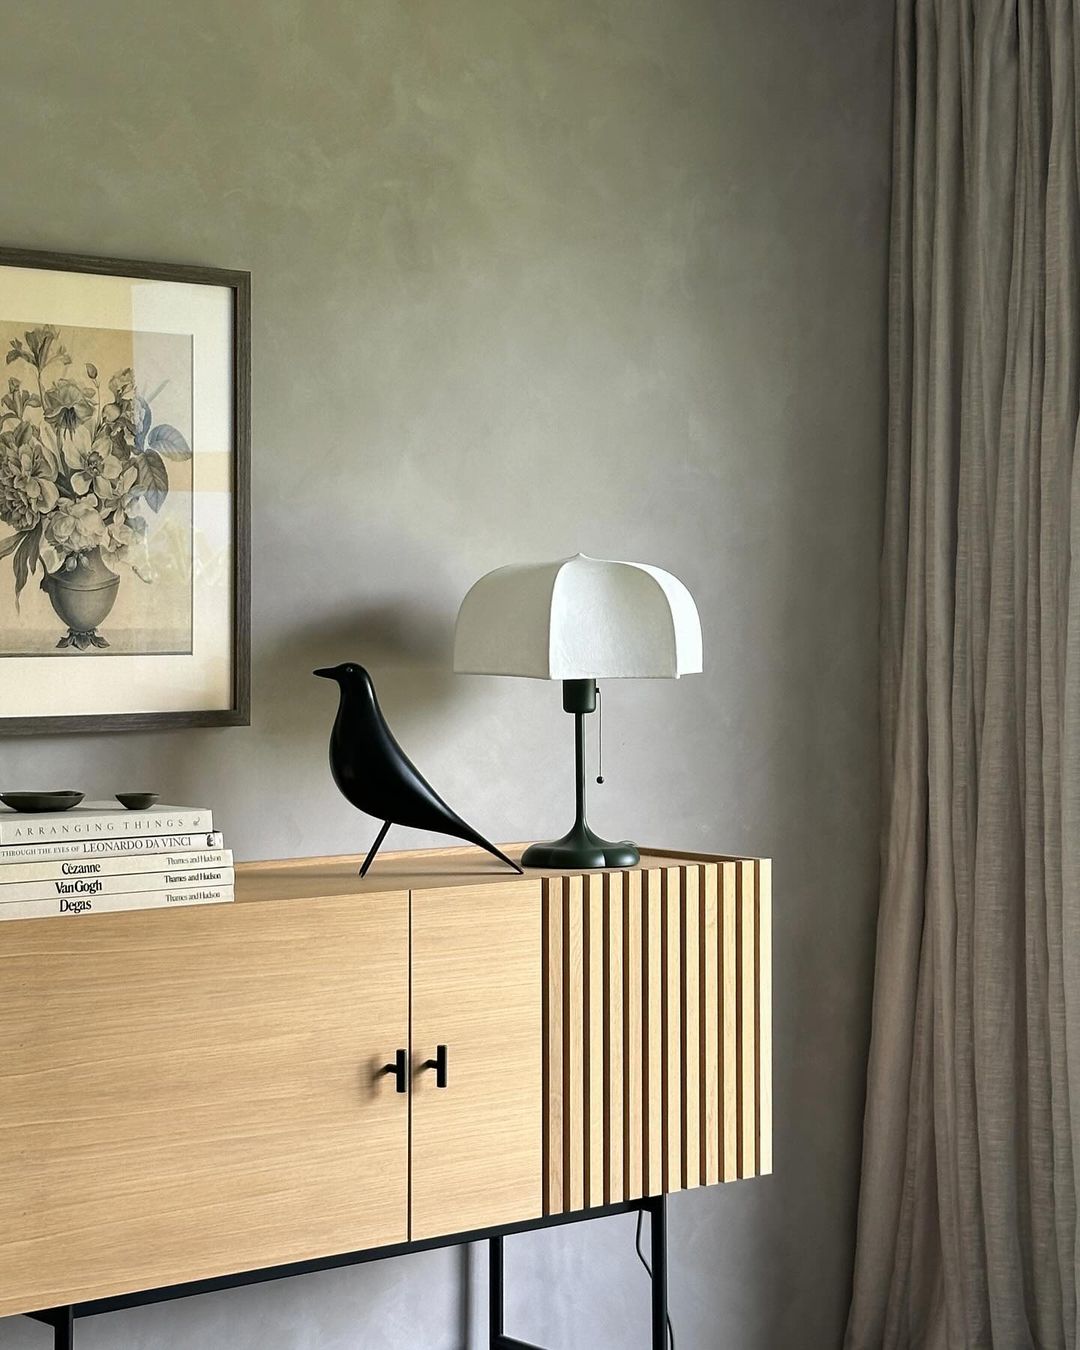
To ensure the best coverage, you'll likely need to do two or three coats. This will also give you a chance to buff out any areas that stand out. Since you aren't using traditional limewash paint, make sure you don't do too many coats or you'll end up with a solid wall color.
It's certainly a time-consuming process that demands patience, but the results are worth it. "Take the time to map out and plan your limewash application to your space," says Brooklyn-based interior designer Julia Mack, founder of Julia Mack Design. "Careful planning will ensure that the application is effective without any disruptions to the beautiful texture that you are working to create."
FINAL THOUGHTS
All in all, creating a DIY limewash paint accent wall in my bedroom took less than a day and cost about $15, making it the perfect weekend project. Not only is it a far cheaper alternative to traditional limewash paints, but it's far less commitment, too. And if you get tired of it, you can simply paint over it.
Here's the original TikTok tutorial, if you'd like to see the process in action.
@chrystalspalace ♬ Aesthetic - Tollan Kim
FAQs
HOW IS LIMEWASH DIFFERENT TO OTHER PAINT FINISHES?
Interior designer Julia Mack says the appeal of limewash is to do with its romantic old-world charm, and how it makes a space feel cosy with its subtle texture and color. "Unlike its more formal and shiny cousin called Venetian plaster, limewash is a matte finish that relies upon consistent brushstrokes and tonal hues to make a soothing and subtle impact upon a space," she says.
This ancient painting method uses a centuries-old technique, large strokes, and a wide, long-haired masonry brush to achieve that distinctive textured and cloud-like effect.
Very different from regular paints, limewash paint penetrates the substrate and forms a chemical bond with the material (which is what makes it harder to paint over — another benefit of our DIY approach). It also has a more translucent and textured finish, rather than a glossy effect.
Before applying a traditional limewash paint, you will need to use a mineral-based primer, such as an acrylic primer. This creates the perfect surface for the paint to adhere to.
WHAT IS AN ALTERNATIVE TO LIMEWASH PAINT?
Apart from this DIY limewash technique, you can also use a mineral-based silicate paint to achieve a similar look, although they're significantly harder to source and can be quite expensive. These paints soak into the substrate (the wall or surface you're painting) — rather than creating a film over it — chemically bonding it to the surface in a process called silicification. The finished look is tactile and two-dimensional, giving you a similar look to limewash.
And then there is Roman clay, the finish some claim to be replacing limewash in modern interiors. It has a more matte, plaster-like look that is less chalky and has a subtle sheen. You can also paint over it, which allows for more versatility than limewash paint.
THE BEST LIMEWASH PAINT TO BUY
If this DIY limewash technique seems like too much trouble and you'd prefer to go with the real deal, we've worked out where to buy limewash paint from a number of online retailers, so you can have it delivered straight to your door. Here are some of our favorites.


