Picture this: you've just painted your dream stripe design on your bedroom walls, marking the lines with painter's tape for crisp, sharp edges. Color complete, you go to remove it, carefully pulling it away from the wall with a steady hand; but alas, your paint has bled beneath the tape, leaving a smudged line in its wake.
We've all been there, and we can all universally agree there's no painting mishap more frustrating. The question is, how do you remove painter's tape properly to avoid wicking? No matter how precisely you apply your paint or how carefully you remove the tape afterward, somehow, smudged lines seem unavoidable.
And yet, when it comes to how to paint a wall, tape still remains the easiest way to cut in edges and keep your paintwork tidy. Unless you're a decorating veteran, going freehand should be avoided at all costs. To solve your painting woes and give you the crisp, clean finish of your dreams, we've spoken to some painting experts to learn their tips and tricks for removing painter's tape properly.
1. Start with the right tape

First things first, you'll need to ensure you're using the right tape for your sharp-edged paint ideas. I hate to say it, but your bog standard masking tape just isn't going to cut it. You'll need a heavy-duty, industry-standard painter's tape for proper adhesion.
'Let's start by saying not all "painter's tape" is created equally,' says Tila Lee, painter and decorator at Pretty in Paint School. 'There are tapes specifically designed to attach to freshly painted surfaces without damaging them, others just for applying to floors. There are also tapes for exterior work. You must have the appropriate type of tape for the goal, which is to create a crisp and straight line without any "bleed" through onto the other side/behind the tape.'
The most-loved tape by professionals in the industry? Frogtape. As Tila explains, 'it has a chemical technology that they call "PaintBlock Technology" to stop bleeding'.
2. Clean the wall with a damp cloth
Before you dive straight in and stick your tape to the wall, an important painting tip is to wipe the wall to remove any dust, dirt, or residue that could prevent proper adhesion. This should be done with a damp cloth and left to dry properly before you add the tape. Avoid any harsh chemicals that could damage the existing paintwork and cause further problems down the line.
'The best way to prevent bleeding paint under tape is to first make sure the surface is clean and free of debris that you are taping,' says Anthony Kulikowski, owner of Five Star Painting of South Bend. 'Once the tape is applied it is best to run your fingers across the tape pressing it down firmly and making sure it's sticking well. This will ensure a sealed edge and run less of a chance to allow paint to bleed through.'
3. Activate the adhesive
Although ensuring you have the right tape for the job and a clean fresh wall to adhere to is vital, no tape alone will be 100% effective at creating a crisp line unless you activate the adhesive properly, a step most of us are unaware of.
'When activated, the chemical binder turns into a gel that creates a barrier along the tape line,' explains Tila. One of the best ways to do this is using a clear caulk. 'This works best if the line you are trying to get straight is against the baseboard or in the corners of walls, or for painting trim.'
Once your tape is stuck to the surface, all you need to do is apply a small amount of paintable caulk along the edge of the tape. A clear acrylic or latex caulk is best for the job as these bind to the surface, allowing you to paint over it with a seamless finish. 'Make sure to wipe the caulk smooth with a damp rag,' says Anthony. 'Once the caulk is dry it's safe to paint and you will have an incredibly crisp straight line.'
4. Wait an hour for paint to dry

When it comes to removing the painter's tape from the wall, timing is key. Remove it too soon and wicking is almost always inevitable as the paint will be too viscous. Leave it on for too long and your paint will cure, increasing the chances of cracking upon removal (although for this later point, we're talking a case of days). You also want to avoid a heavy application of paint as this will affect the trying time. Stick to two thin coats for the best results.
'It's actually best to remove tape while the paint is still wet,' says Tila. 'The trick here is to use your judgment and not take it off too soon when the paint is too fresh. It can also be tricky to peel off the tape without making a further mess with the paint on the tape itself.' As a general rule of thumb, waiting at least an hour gives the paint enough time to dry slightly while still being wet enough for an easy removal.
5. Pull the tape off gently
Removing the tape is a whole other can of worms. You should avoid ripping it off like a bandaid as quick removal is a common cause of wicking. Start by gently lifting a corner at one end, and if you notice any bleeding, stop completely and try waiting another half hour.
If all looks good, pull the tape back on itself, 'always pulling very gently at a 45-degree angle,' adds Tila. This will prevent damage to the surface and allow for the sharpest paint line. If you're painting stripes on a wall, make sure you remove the tape with the same level of force the entire way along your wall to avoid any smudges.
What's the best alternative to painter's tape?
If using painter's tape is a risk you're not willing to take, you'll be pleased to hear that there are some alternatives. In fact, when it comes to simply painting a room, Tila's advice is to avoid tape completely. 'Get good with your cutting skills and you can get a pretty dang good line,' she says. 'Other than tape, there are some tools such as paint pads that claim to leave perfectly straight lines, but unfortunately, they don't always work as advertised,' adds Anthony.
If you're painting baseboards and you want to protect the floor, you can use a piece of card and slide it under the skirting, using it as a shield to paint the boards. This is great if you're looking for a quick and easy way to apply paint to any type of molding or trim, such as door frames, but it isn't a reliable method for walls.
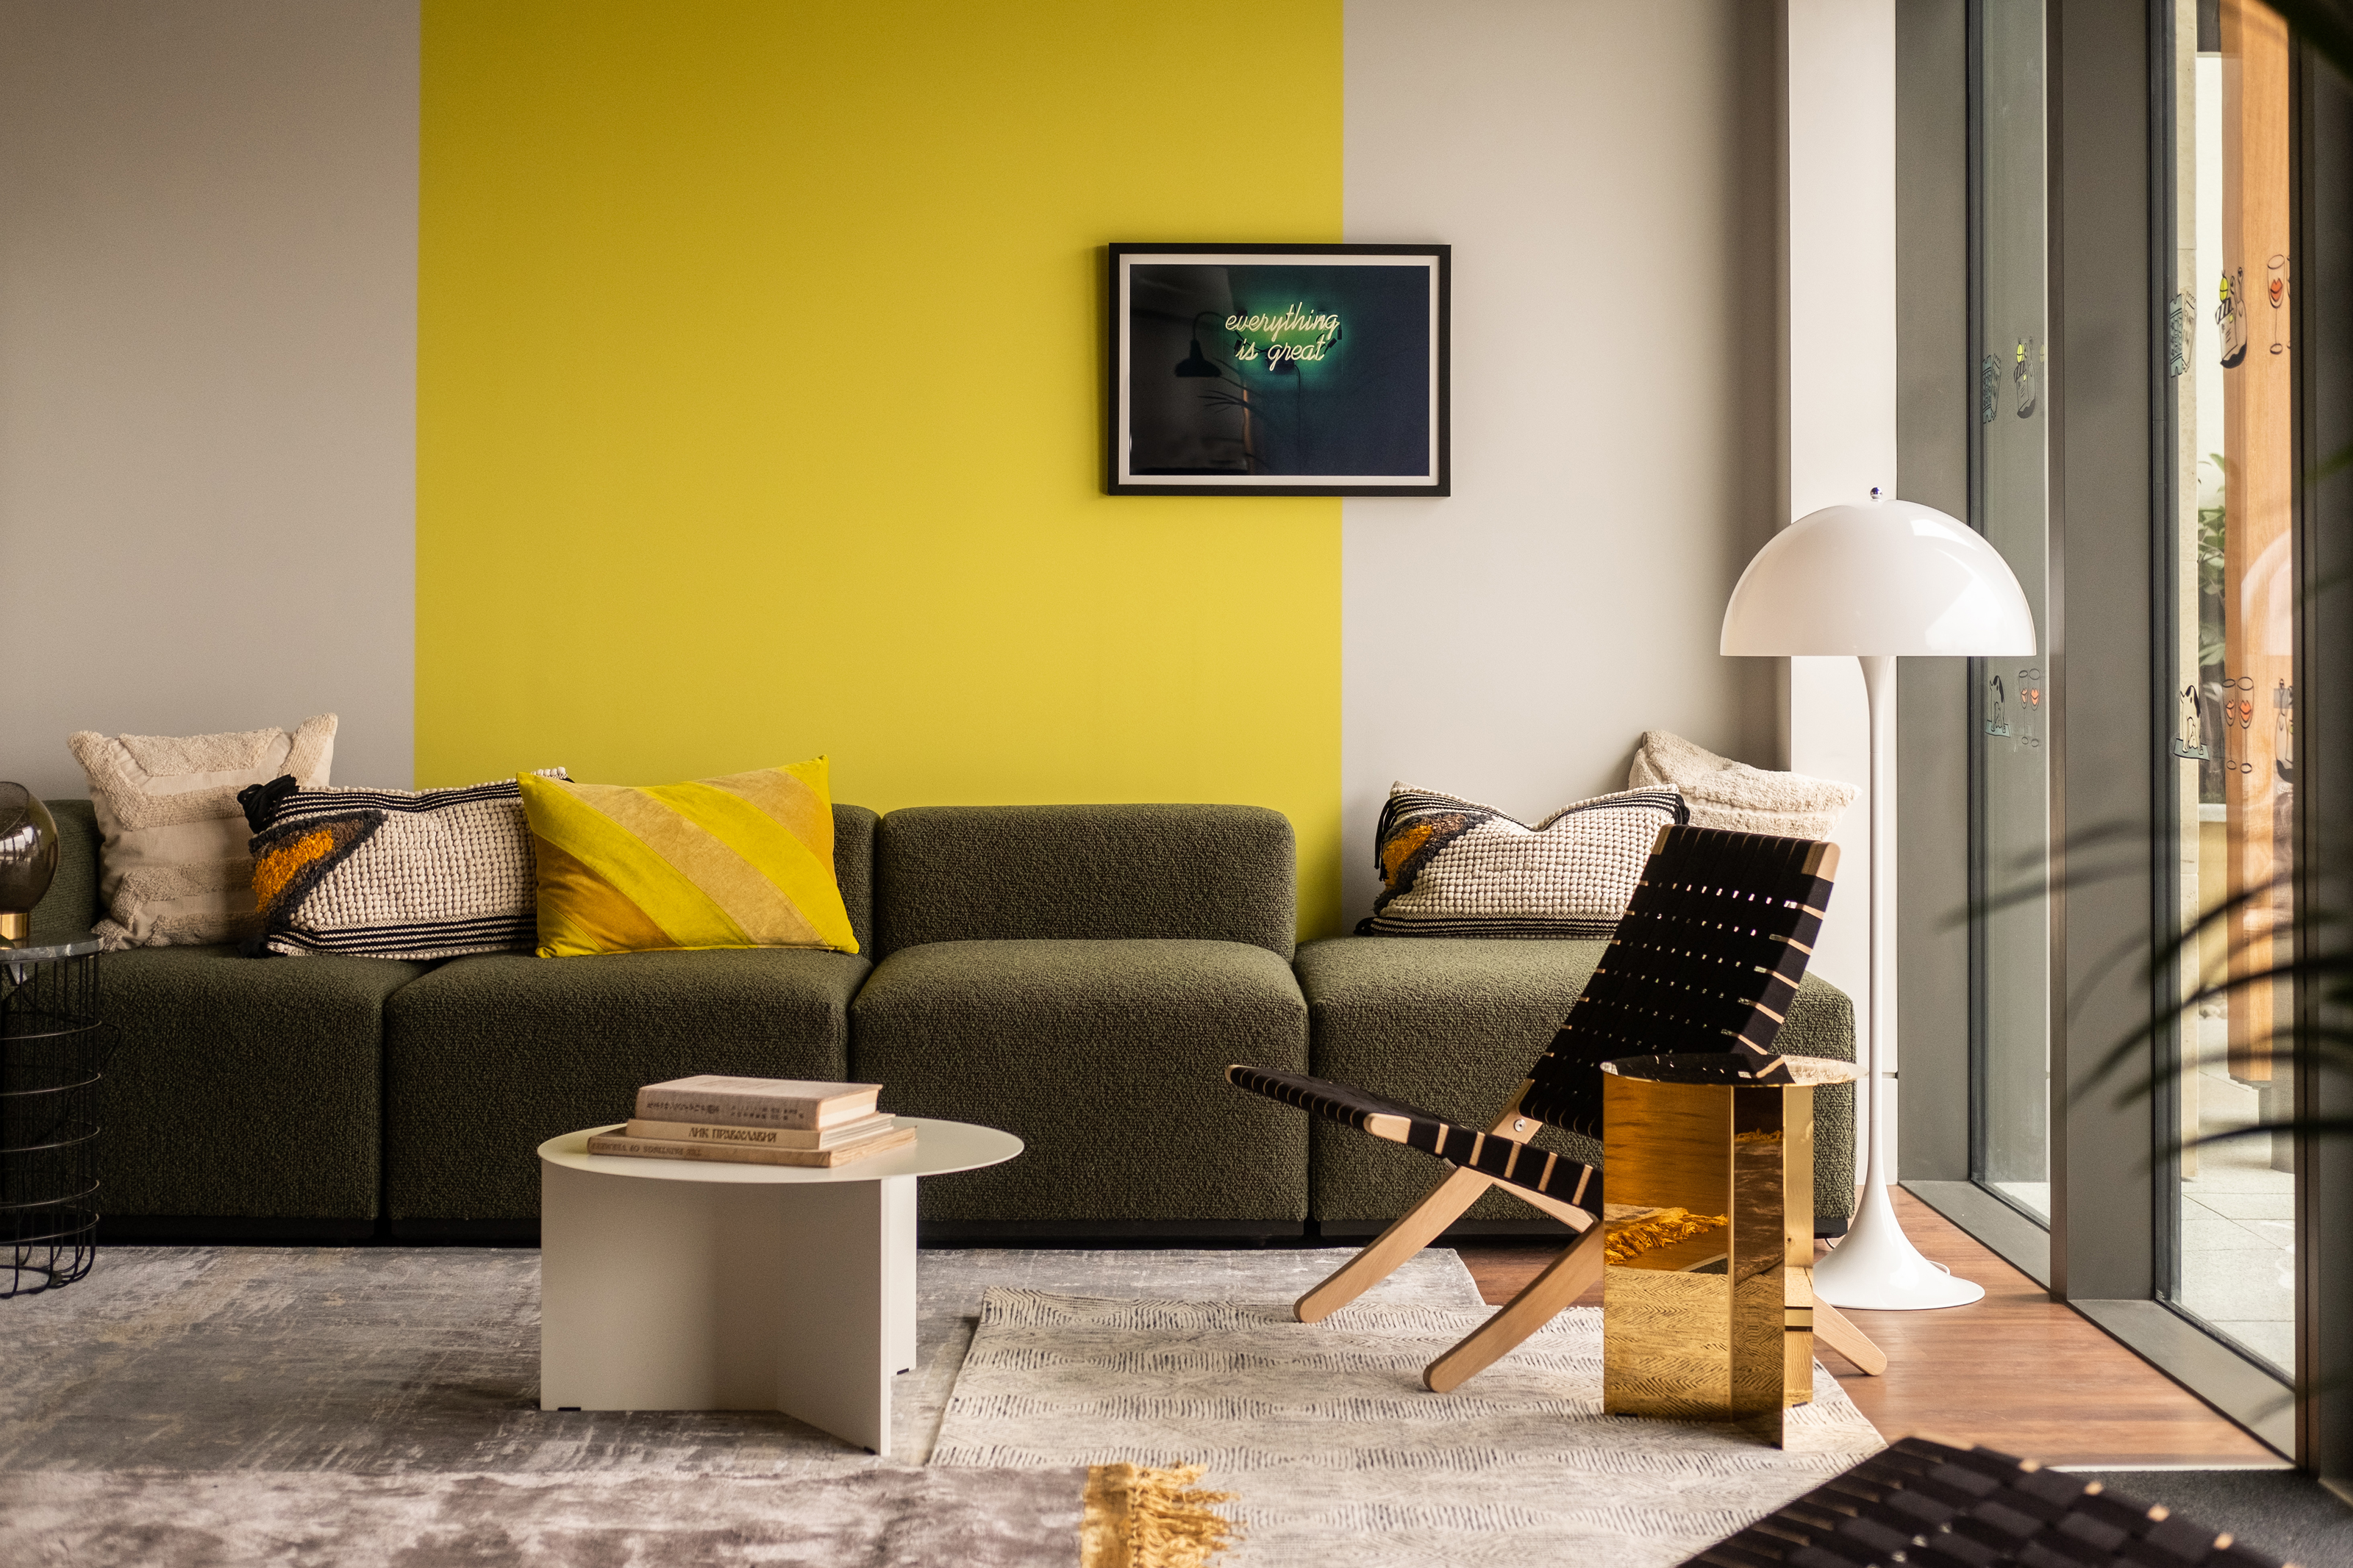
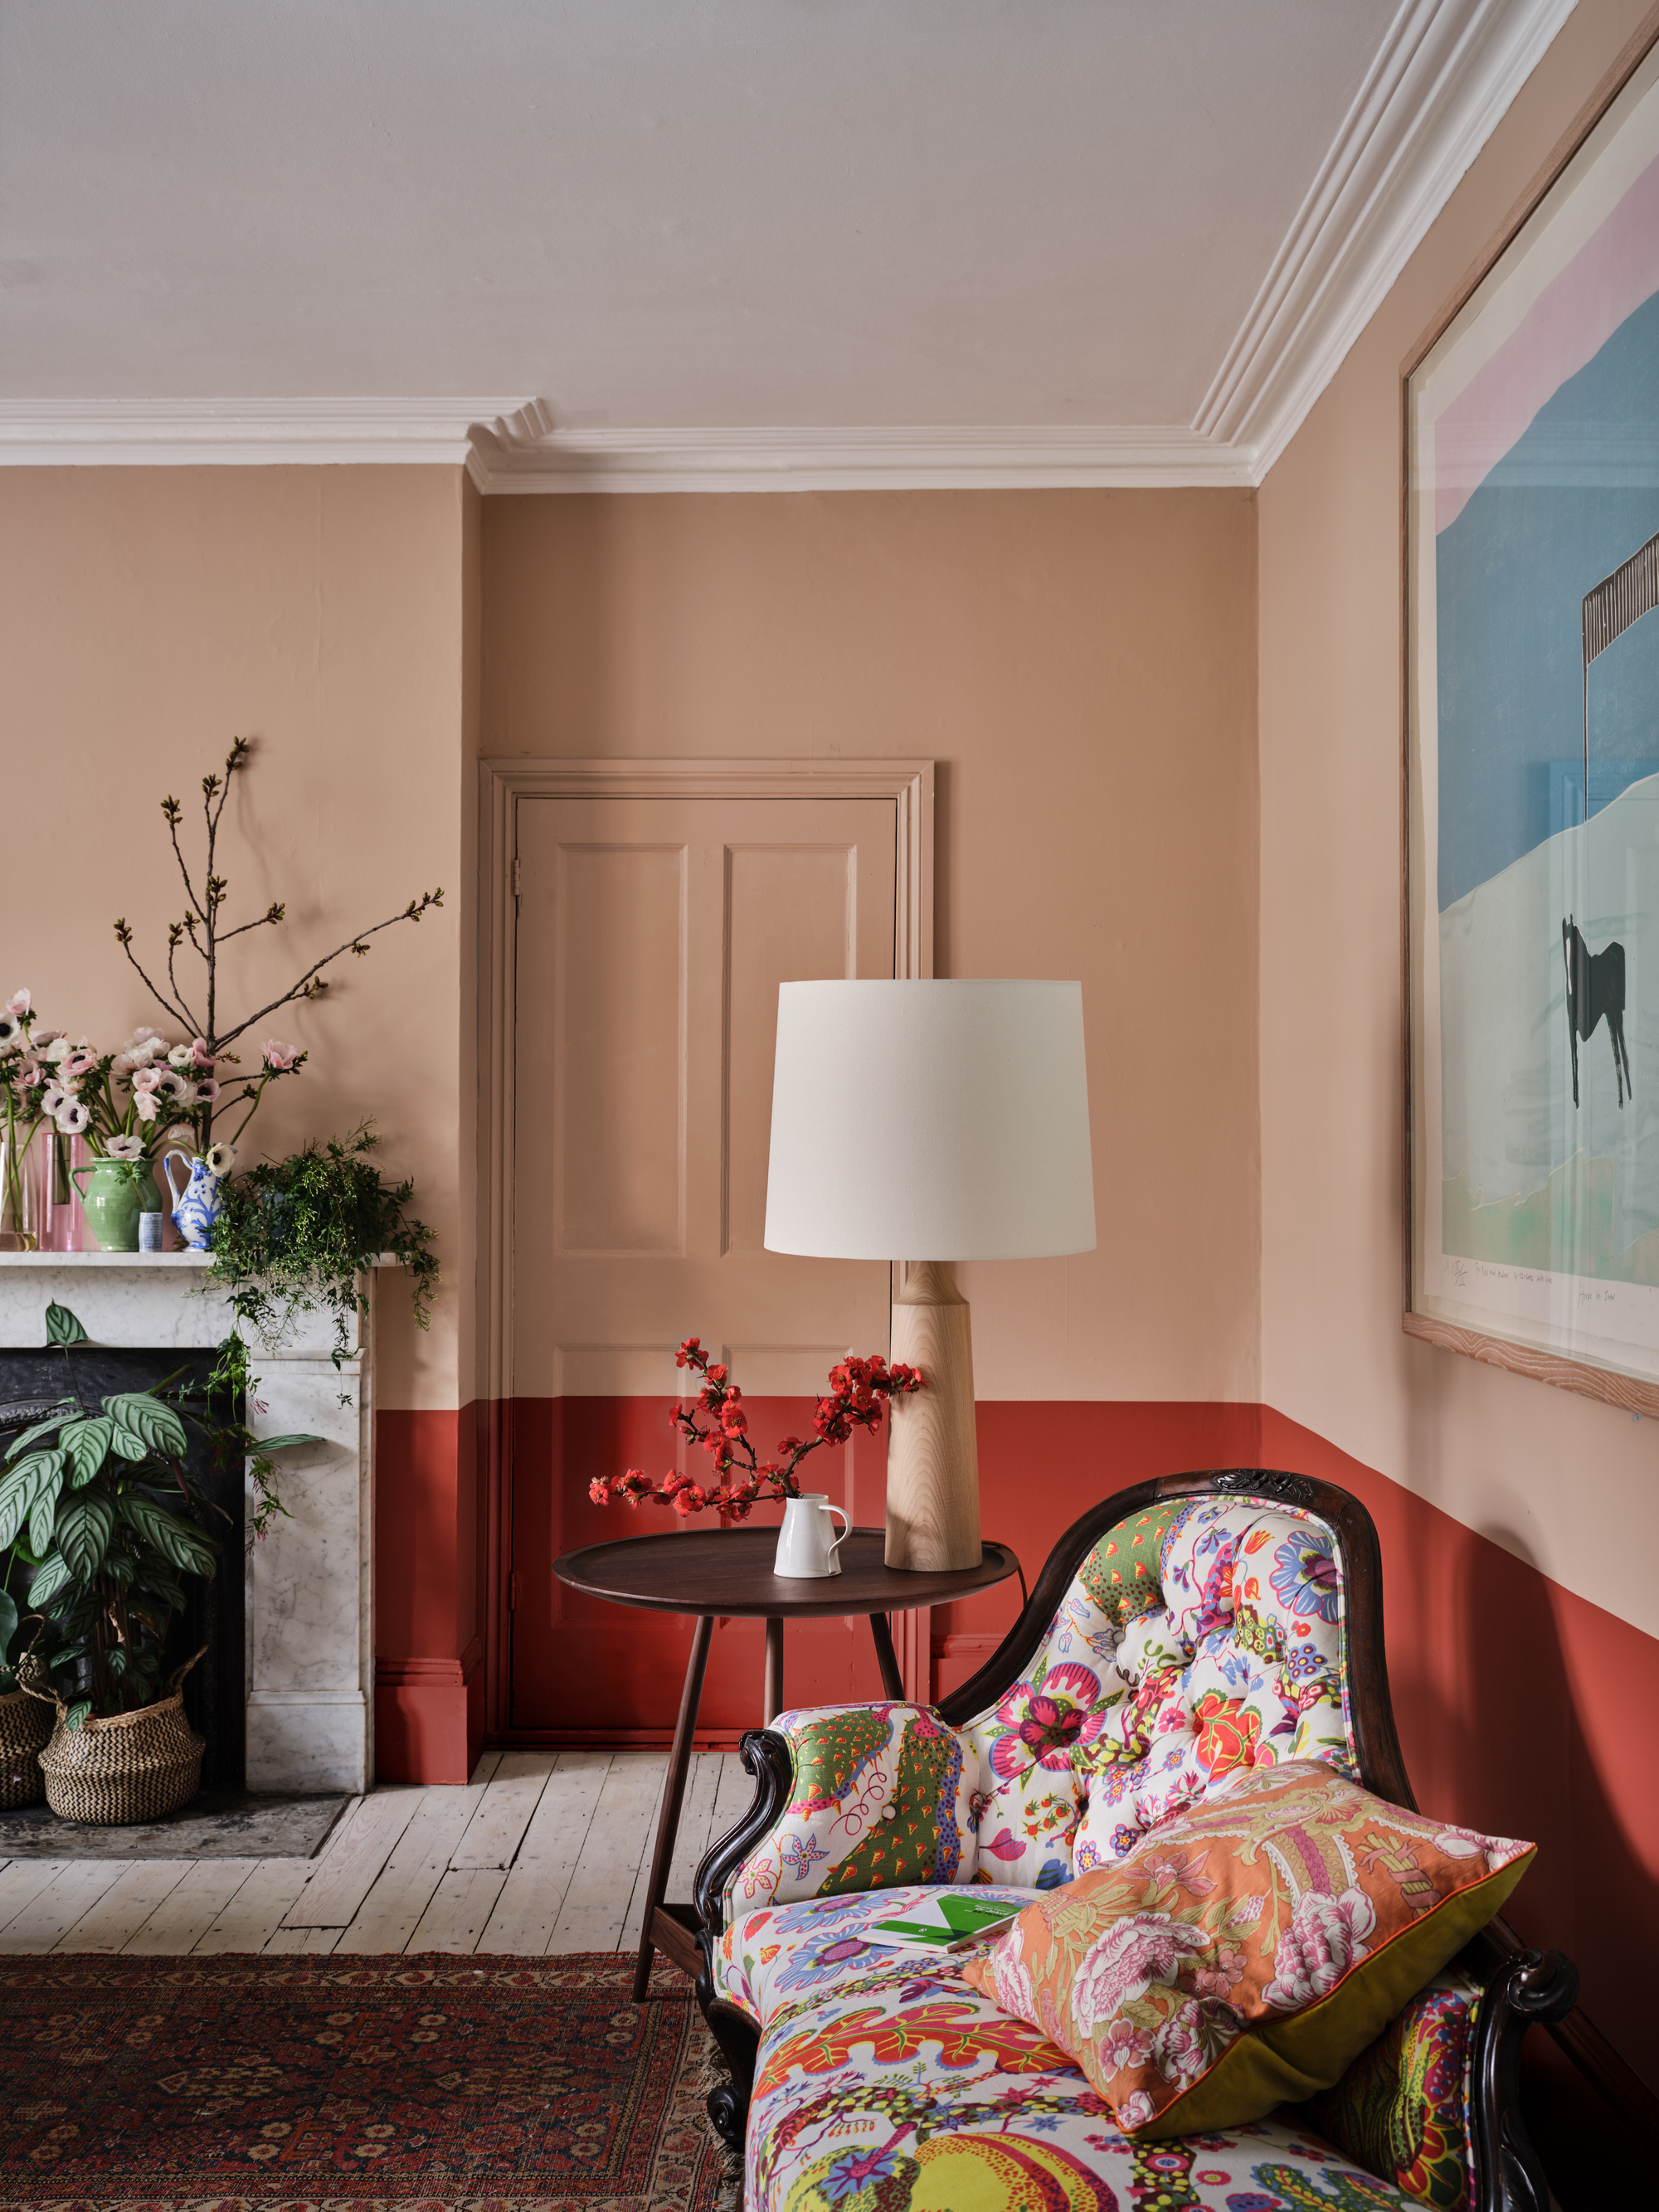
When it comes to inventive paint techniques such as stripes, color blocking, or painted headboards, painter's tape is really the only option. If all else fails, you can use your alternative color to touch up any smudges. You'll need to do this freehand with a small paintbrush, and it helps if you're using a darker color as it will prevent any color from showing through. It's not rocket science, but it's a cheat trick that many professional painters and decorators will still use themselves, no matter how experienced they are.
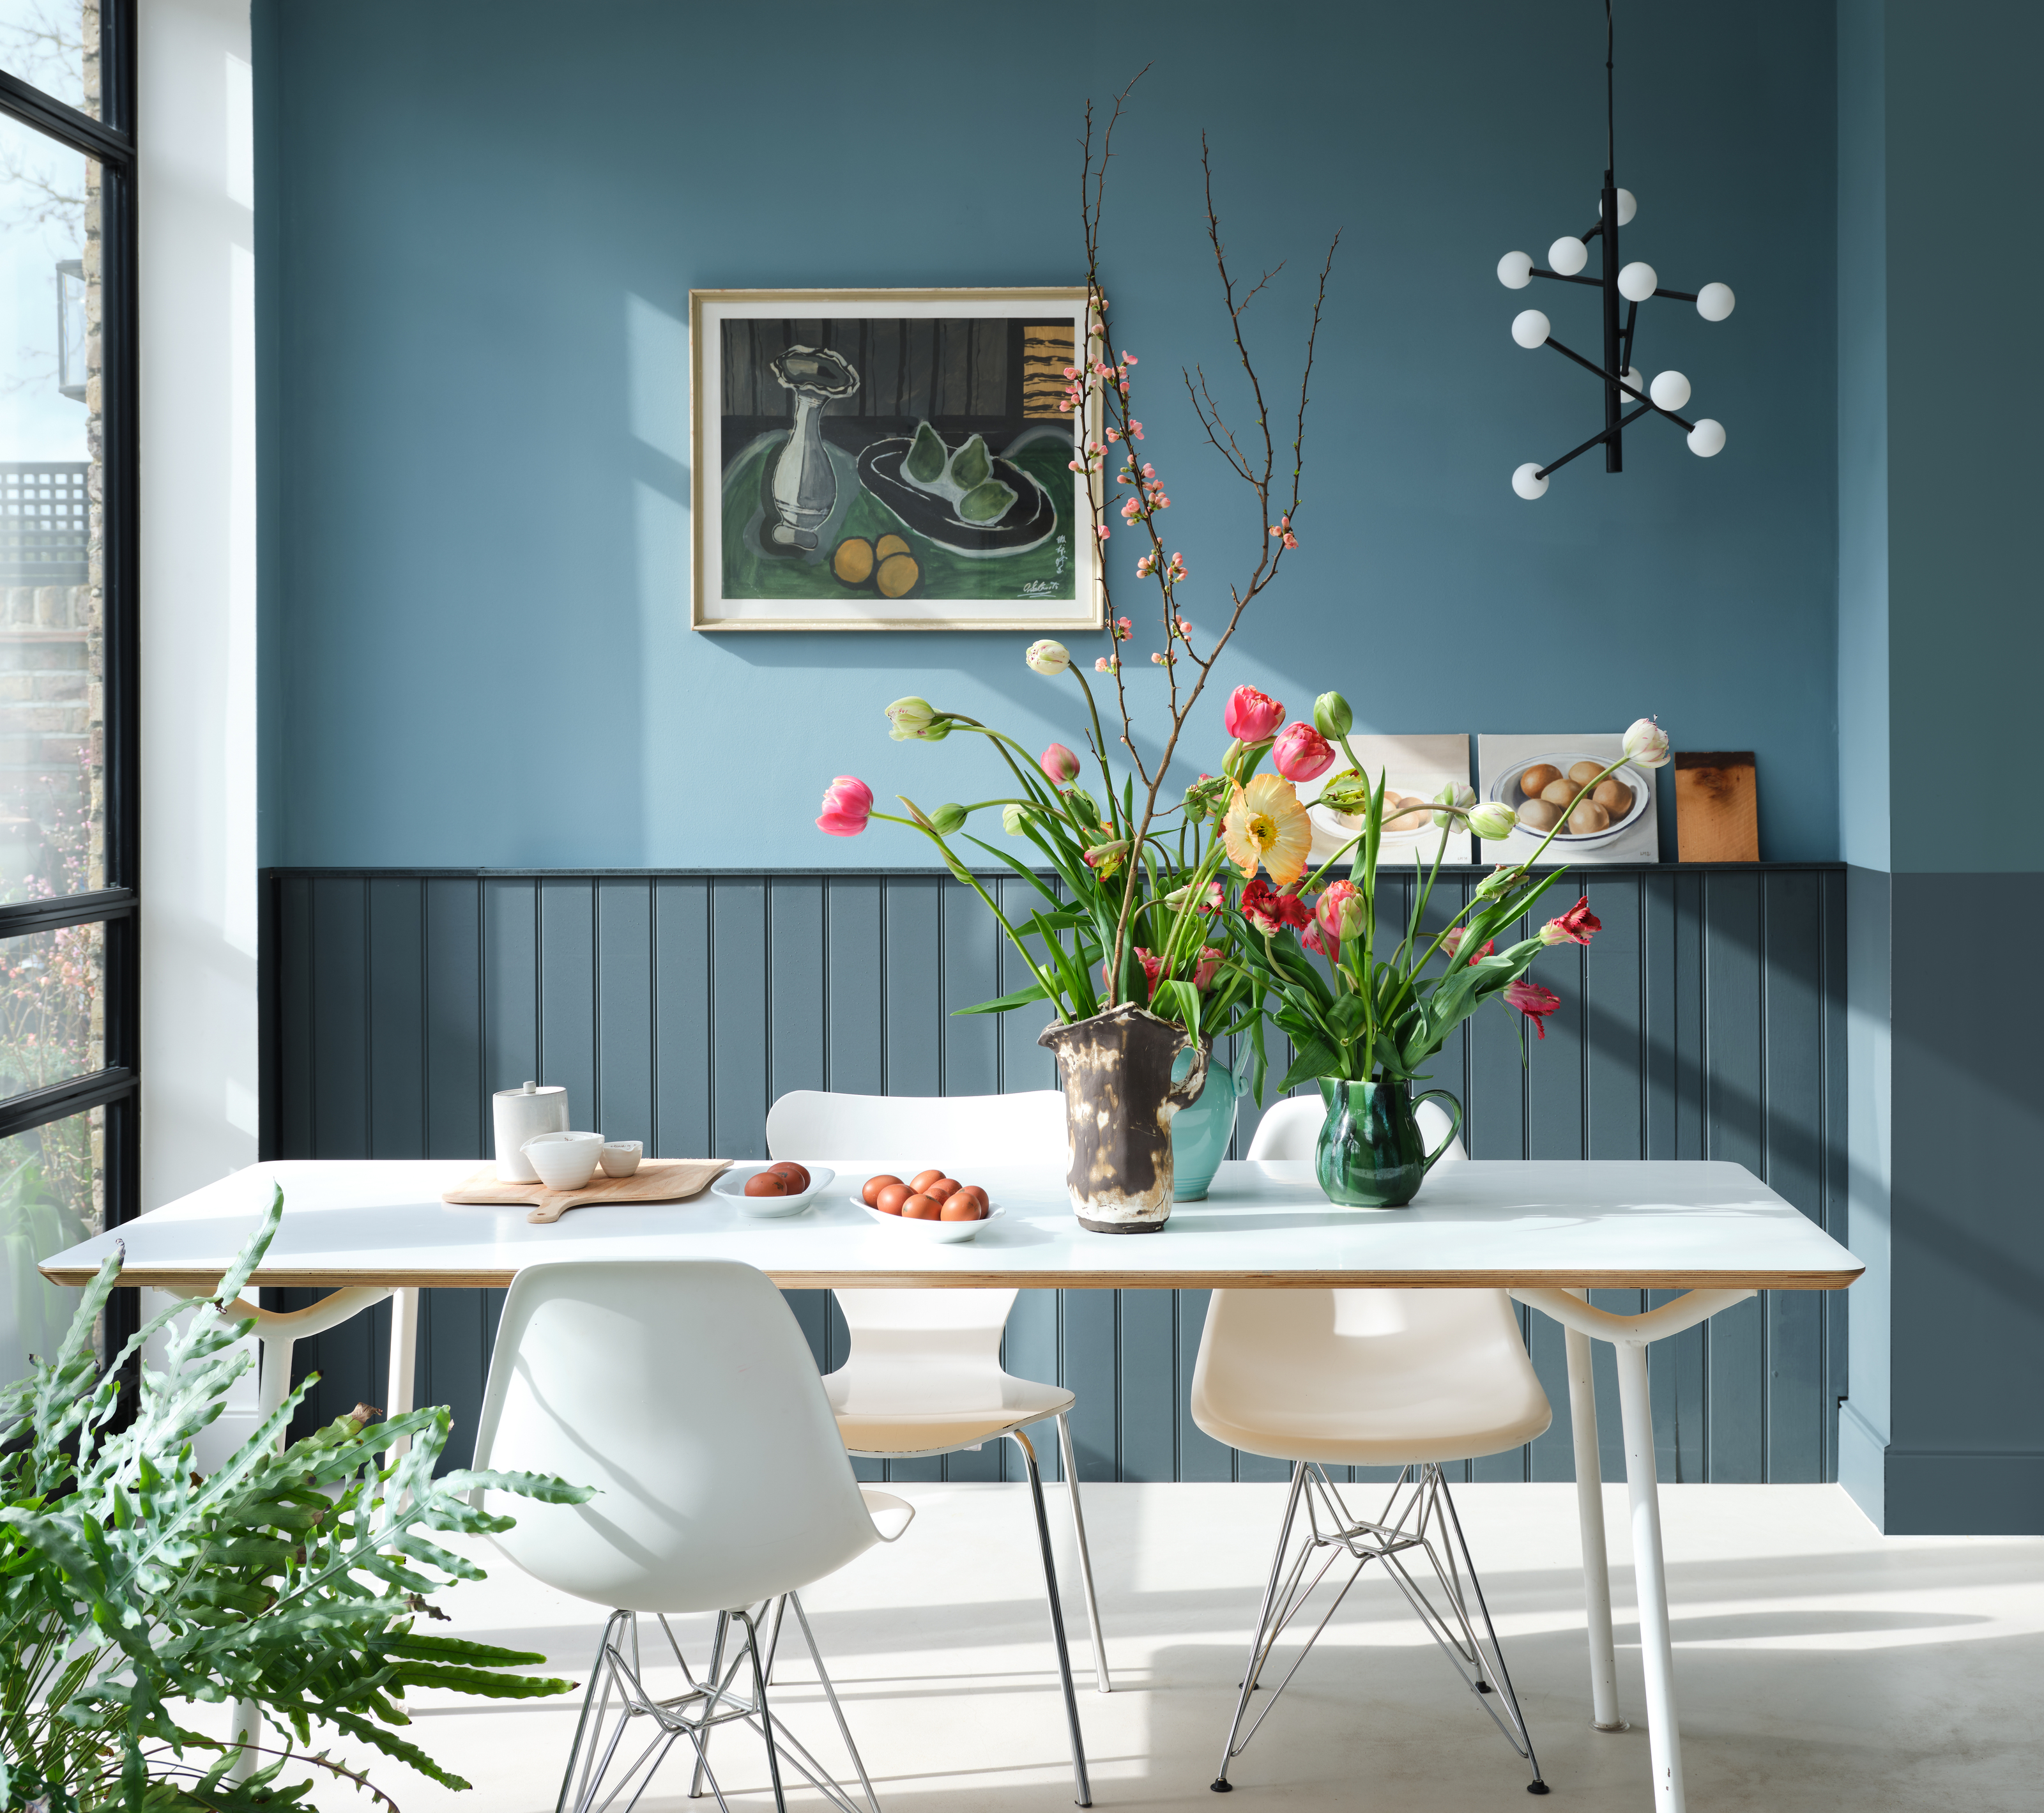
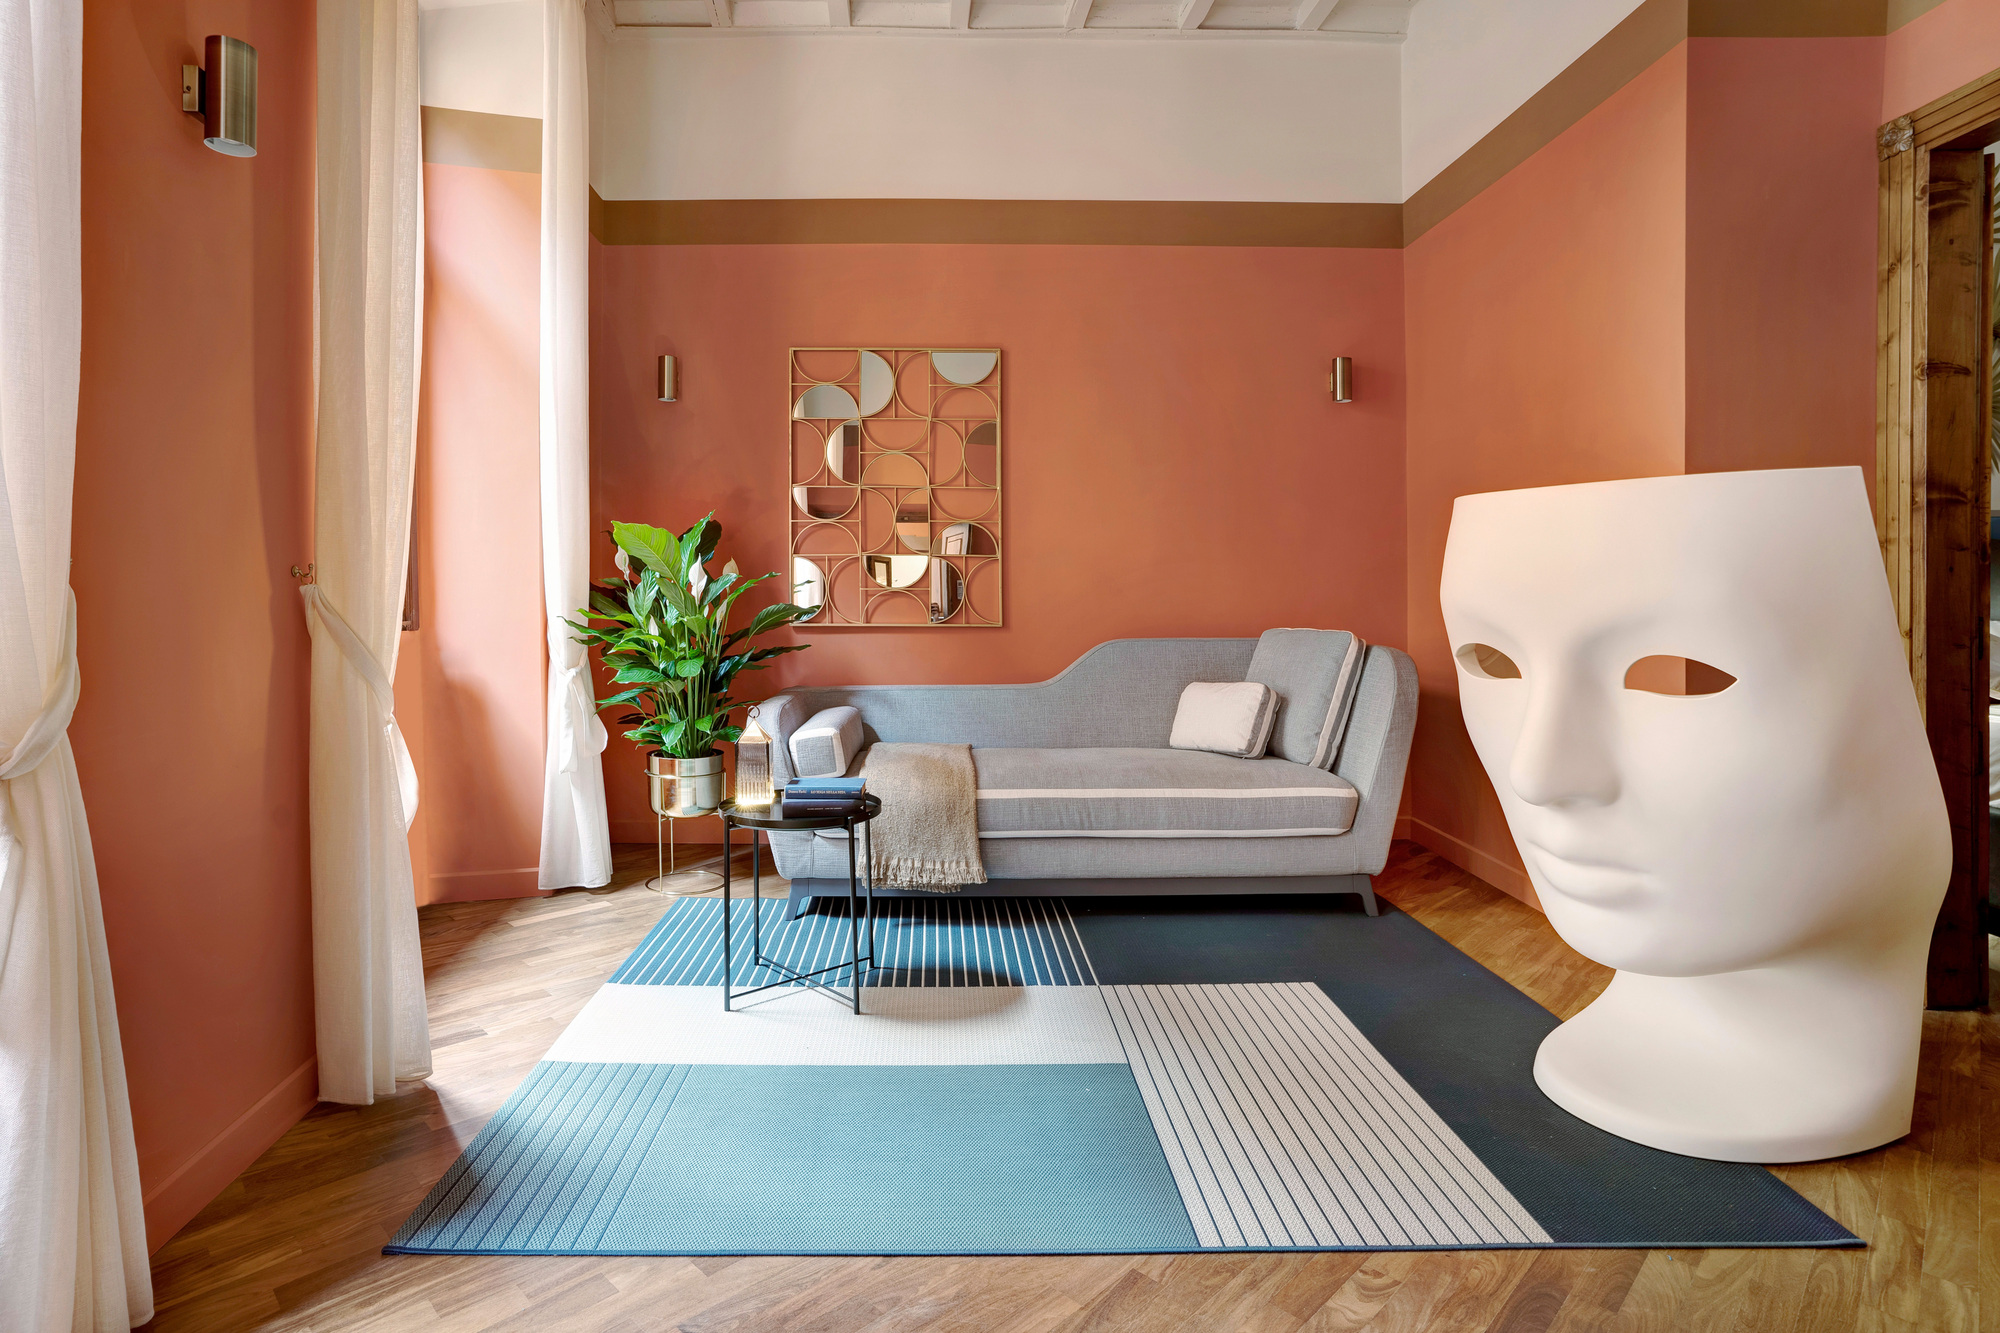
There are no doubt some risks involved with two-toned paint ideas that feature sharp lines, but follow this guide and you should end up with crisp, clear, and professional-worthy edges that make all that added stress worthwhile. Now it's time to take to the walls and let your imagination run wild!
@su.zeee ♬ She Share Story (for Vlog) - 山口夕依