The sea is such an amazing subject to photograph, and its movement is one that many photographers like to capture, whatever the time of day. During the winter months, the sea can be photographed in many different states – from pancake-flat to ferociously stormy – and also, surprisingly, in pitch darkness.
First, though, a word of warning. Take care! It’s easy to get caught out, become cut off from the tide or get that bit too close to the edge and suddenly be out of your depth. It isn’t worth the risk to your kit – or, more importantly, to yourself. Always do your research and visit each location in the daytime, to do a recce and a risk assessment. Also, if you want to follow in our footsteps and shoot in the dark, we’d recommend you do so with a companion. For one, it’s better to share your photography experience and, secondly, we’re not ashamed to admit that we find the dark a little scary. Safety in numbers!
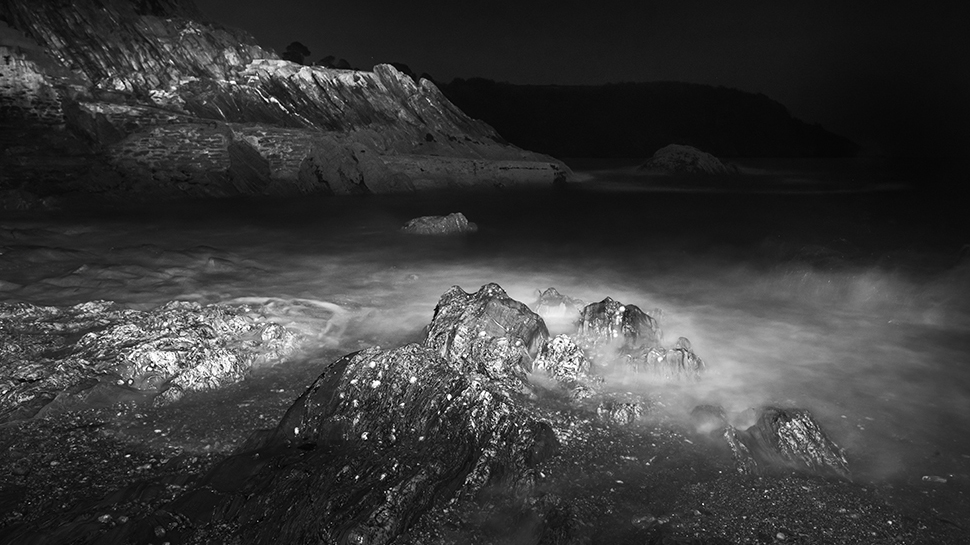
For this photo project, we shot our image using a full-frame camera with a 16-35mm lens. We came down as low as we could for our composition, and as close as we could to the shoreline without putting ourselves at risk. Our image was taken in a small cove just outside Dartmouth in Devon.

Shoot from a tripod
A support is an essential piece of kit for this project as any movement will blur and ruin your image. Before you expose your scene, secure the tripod in place, looking for rocks or other sturdy bits of beach or land to rest it on. Also, to avoid the catches seizing up, remember to rinse your tripod’s legs with fresh water as soon as you can.
Use a head torch
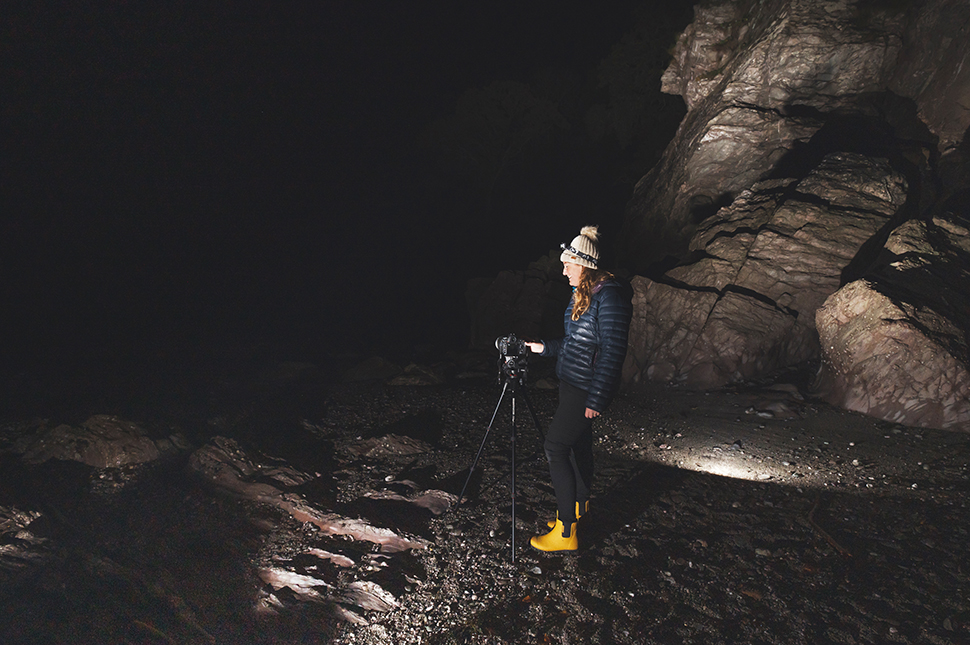
As it was pitch black on our shoot, I wore a head torch to see what I was doing. However, it also served another purpose – to light up the scene. Experiment with your shutter setting (we took our shots at 30 seconds at f/8); if you need an exposure longer than 30 seconds, you may need to use the Bulb setting with a remote shutter release. With the shutter open, paint light around the scene.
Focus the shot
With no natural light, you’ll need to use your head torch to focus your shot. Shine it in the foreground, then set your AF point on a rock or wherever you want the focus to be. The other option is to manually focus your lens and rotate the focus ring to infinity.
Composing in the dark
It is incredibly hard to compose a photo when it’s dark. For this reason, we suggest visiting the area in the daytime so you have an idea of what you want to include in the scene. Think about how the dark is going to work in your scene and what you want to reveal. In our image, both the layers of rocks in the front of the frame and the bank of land in the background hold the viewer’s interest.
Blend multiple images
With this technique, it can often be tricky to get the effect you’re after in just one shot. When this is the case, shoot multiple exposures of the same scene, concentrating your light in different areas for each one. Our photo is the result of three 30-second exposures combined together. The easiest way to blend your images and edit them is in Photoshop, using Layer Masks to hide and reveal isolated areas accordingly.
You can also use the Dodge and Burn tools in Photoshop to make the rock texture pop. When using the Burn tool, set the Range to Shadows with the Exposure low at around 5%. With the Dodge tool, set the Range to Highlights, again with a low exposure percentage.


