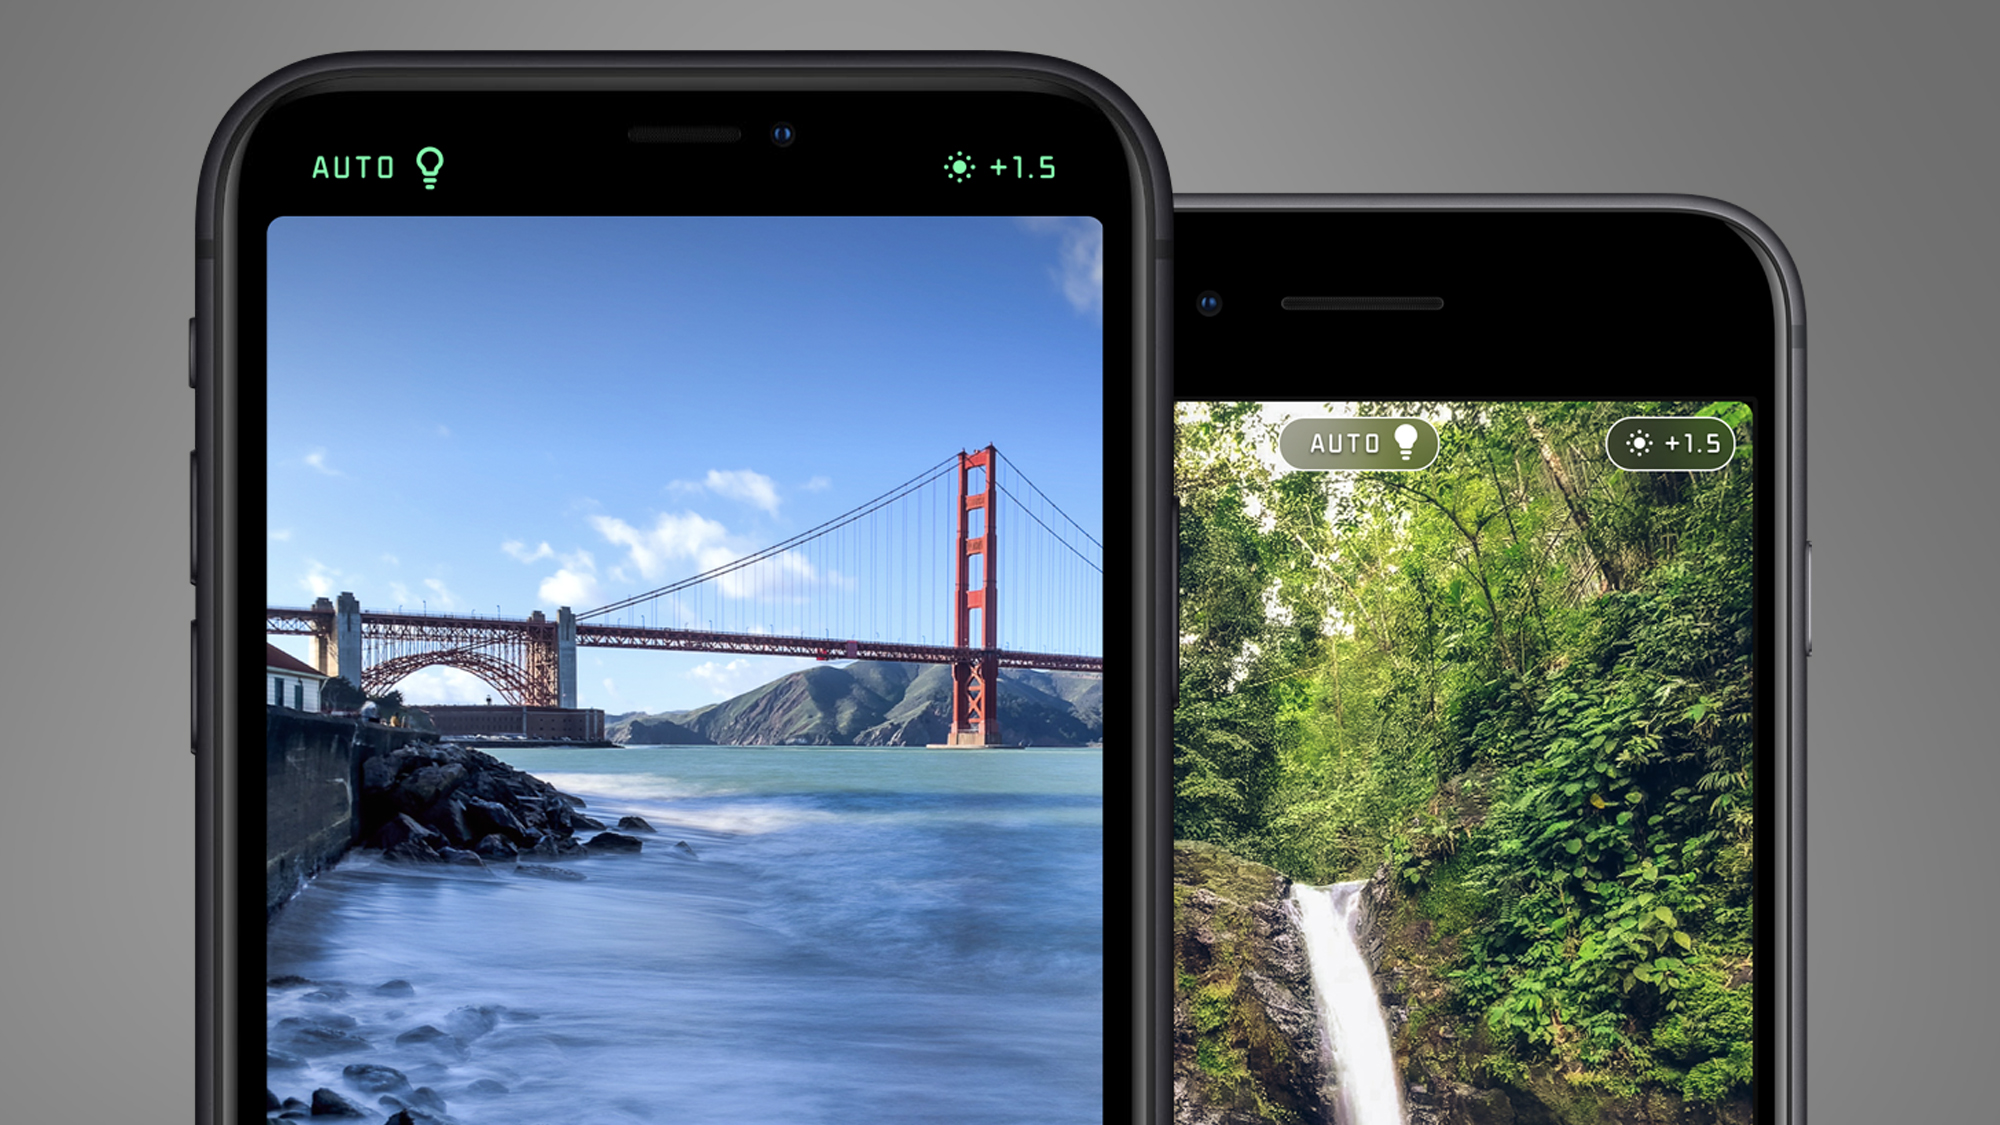
If you fancied adding long exposure photography to your arsenal iPhone camera tricks, now is a good time to do just that – the best app for shooting light trails and wispy waterfalls, Spectre, has just been made free.
Originally costing $2.99 / £2.99 / AU$4.49, Spectre has now been made into a free download because its maker has introduced a new Spectre Pro tier. Sure, you have to pay for the latter ($4.99 / £4.99 / AU$7.99, to be precise), but the original app and the ability to shoot three-second long exposures is now open to all. The Pro version simply unlocks longer exposures (up to thirty seconds) and more.
What is long exposure photography? It's a technique used by photographers who want to add some additional drama or atmosphere to a scene by opening up the shutter and allowing movement to become blurred.
When using a DSLR or mirrorless camera, shooting long exposures usually involves tripods, ND (neutral density) filters to avoid over-exposure, and a whole lot of experimentation and patience. But Spectre naturally uses AI tricks to turn the effect into a point-and-shoot experience.
Mastering the app involves little trial-and-error – in particular, with recognizing which scenes will actually benefit from 'dragging' the shutter, as long exposures are suited to particular scenes (think night-time traffic, scenes with moving water, or busy shots where you want to remove people or other moving subjects).
But fortunately, back when Spectre won Apple's App of the Year in 2019, we spoke to Sebastiaan de With (co-founder of Spectre and its sister app Halide) to get some insider tips on how best to use the long exposure app and get some good results from it on your travels.
How Spectre works
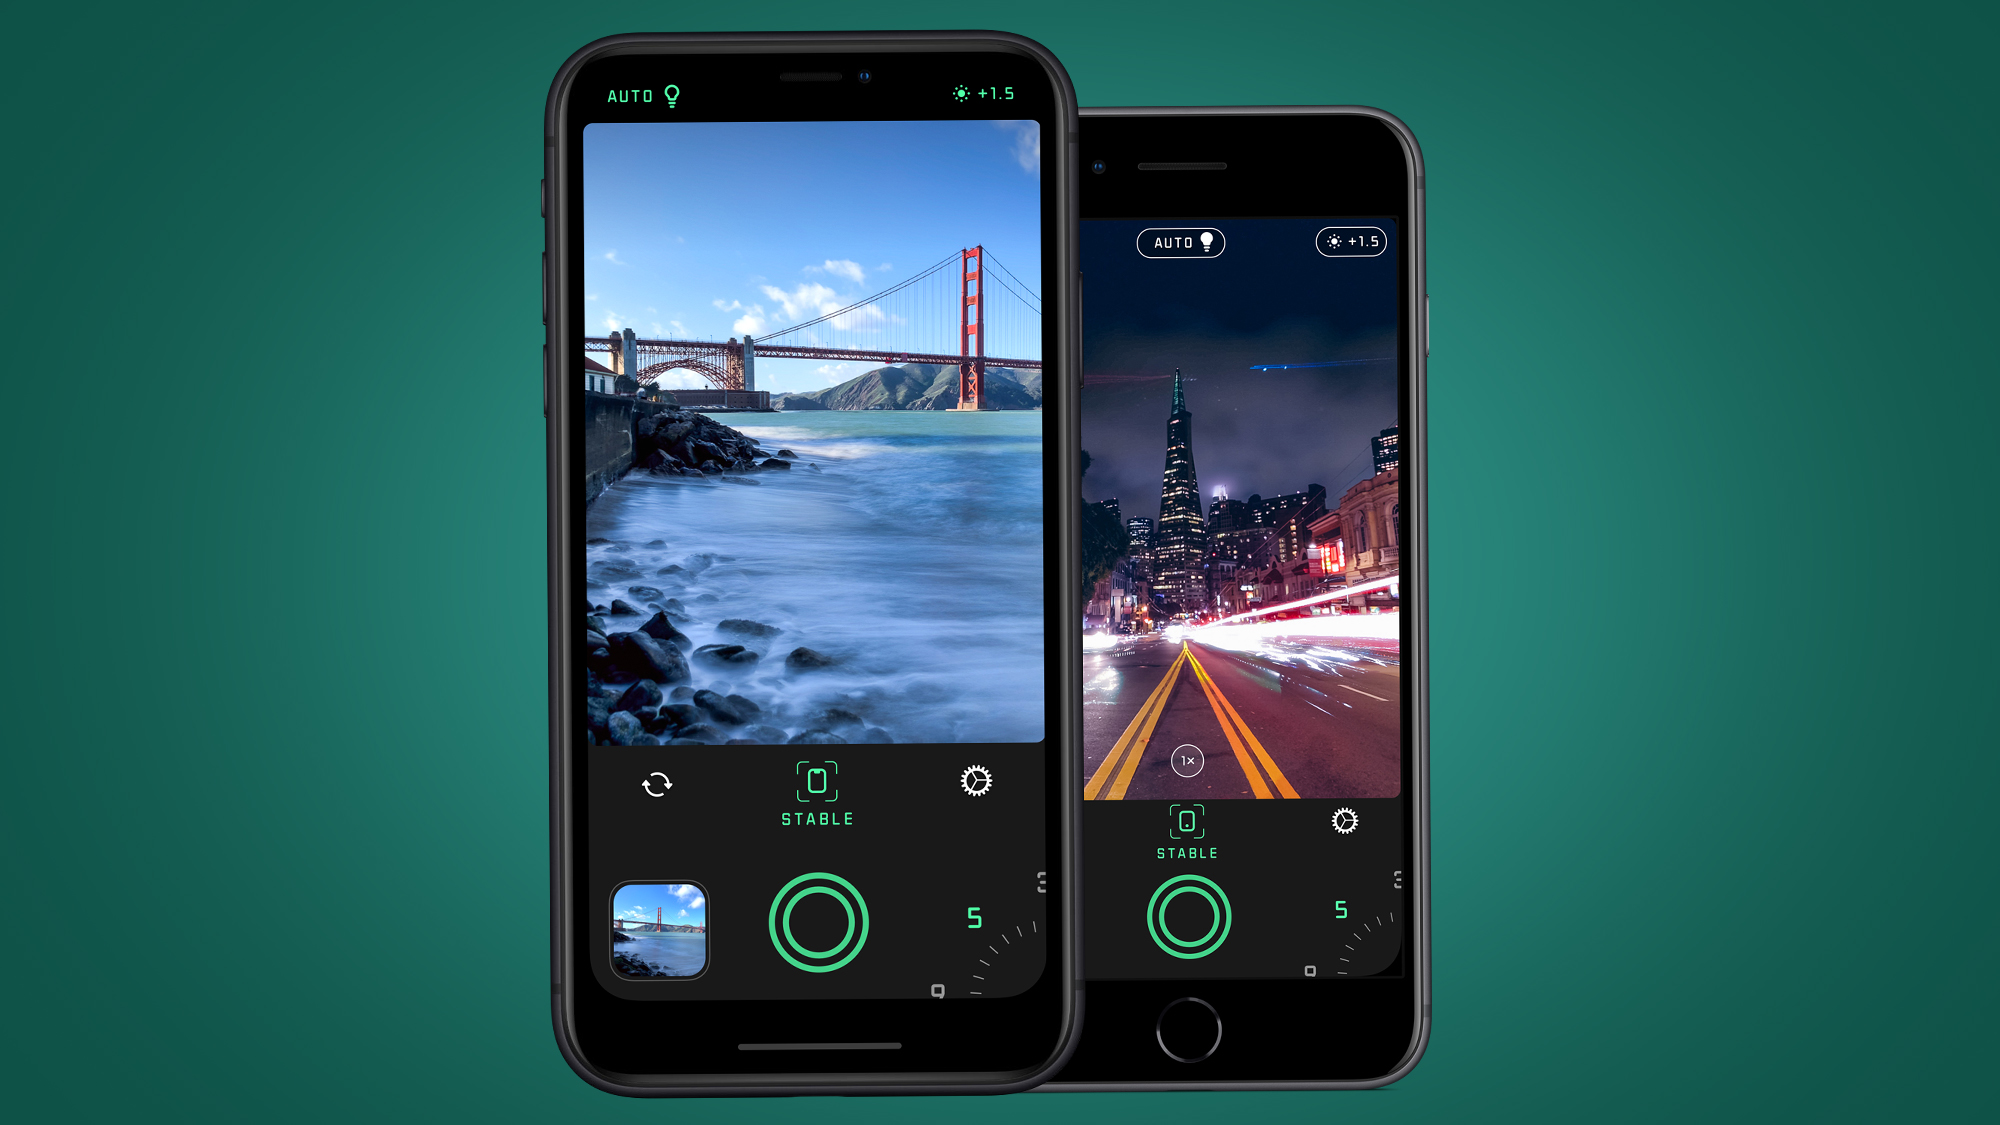
How does Spectre differ from traditional long exposure apps and camera techniques? Typically, both cameras and apps have created the long exposure effect by using long shutter speeds of several seconds. Hence the need for a tripod or ND filter to prevent camera shake and overexposure when shooting in daylight.
But Spectre employs a computational technique that’s similar to the likes of Apple's Smart HDR to help overcome your iPhone's physical limitations, like its small sensor size and limited shutter speeds. It's no longer unique in doing this – alternative apps like Even Longer and ReeHeld use similar techniques – but we've still generally got the best results from Spectre.
As Sebastiaan de With explained to us: “Phones can’t actually take photos for five seconds, so we thought we’d ‘cheat’ a bit: we take hundreds of fast photos, which are also sharper, and then blend them together with some AI that compensates for the natural movement in your hand and arm.”
Like many HDR modes, you then get a mix of all these snaps. “The resulting image is a composite of all those photos we take," says de With. "And since we save it as a Live Photo, you even get a little video of the exposure as it happens.”
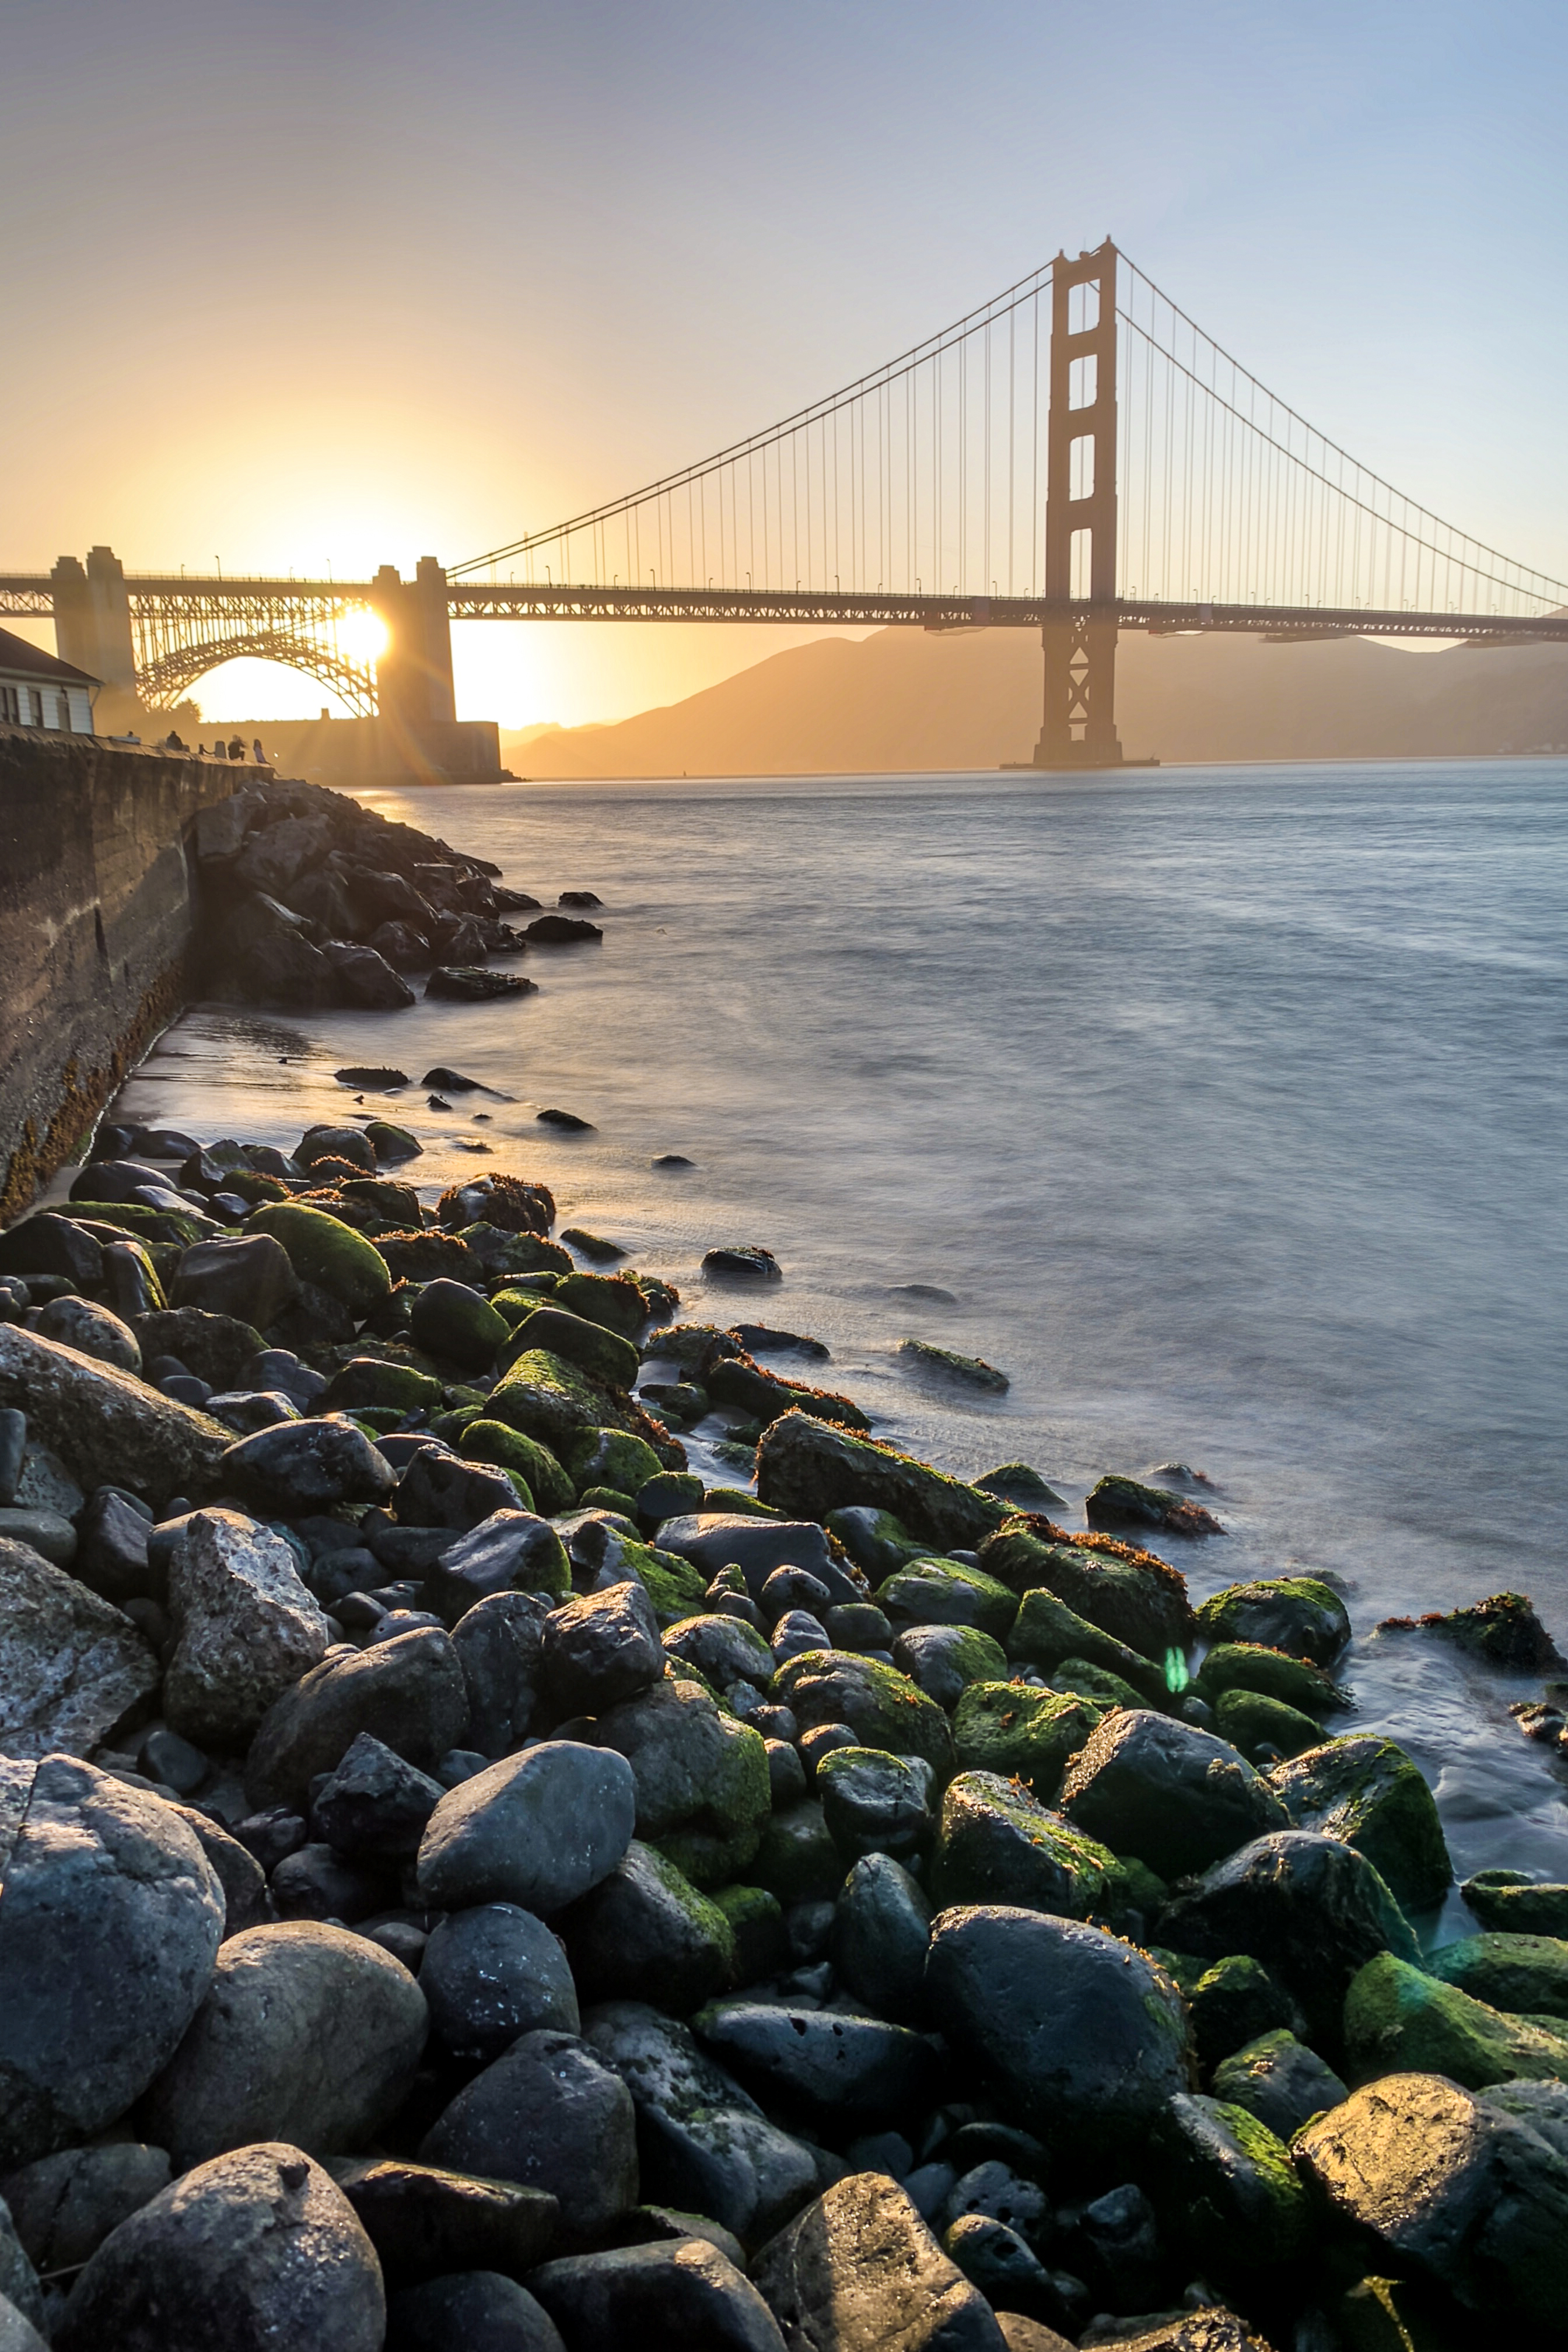
But it isn't quite as simple as that. Early users of Spectre back in 2019 found that their results were often blurry, and the app’s initial App Store reviews weren’t exactly glowing. “Yes, we also saw this,’” admitted de With. “The reason is actually pretty simple. Taking so many photos is very hard on older iPhones. We thought we’d still accommodate users of older iPhones by telling them to use a tripod, but this didn’t really communicate well to users.”
The solution was to figure out a way to help stabilize older iPhones. “We went back to work nights and weekends to find a way to add our AI stabilization to older phones, at the expense of image size,” says de With. “We now offer it on older phones too, that’s why the reviews got a lot better. Lessons were learned.”
Spectre's stabilization works on iPhones going back as the iPhone 7, 6S and SE, but you do need to be running iOS 15. If you fancy giving it a spin, here are five tips on mastering Spectre from one of the app's co-founders, Sebastiaan de With:
How to master Spectre
Spectre’s computational photo-crunching doesn't mean it's a completely point-and-shoot experience – knowing when and how to use the app will massively improve your results. Here are five good places to start:
1) Keep it steady
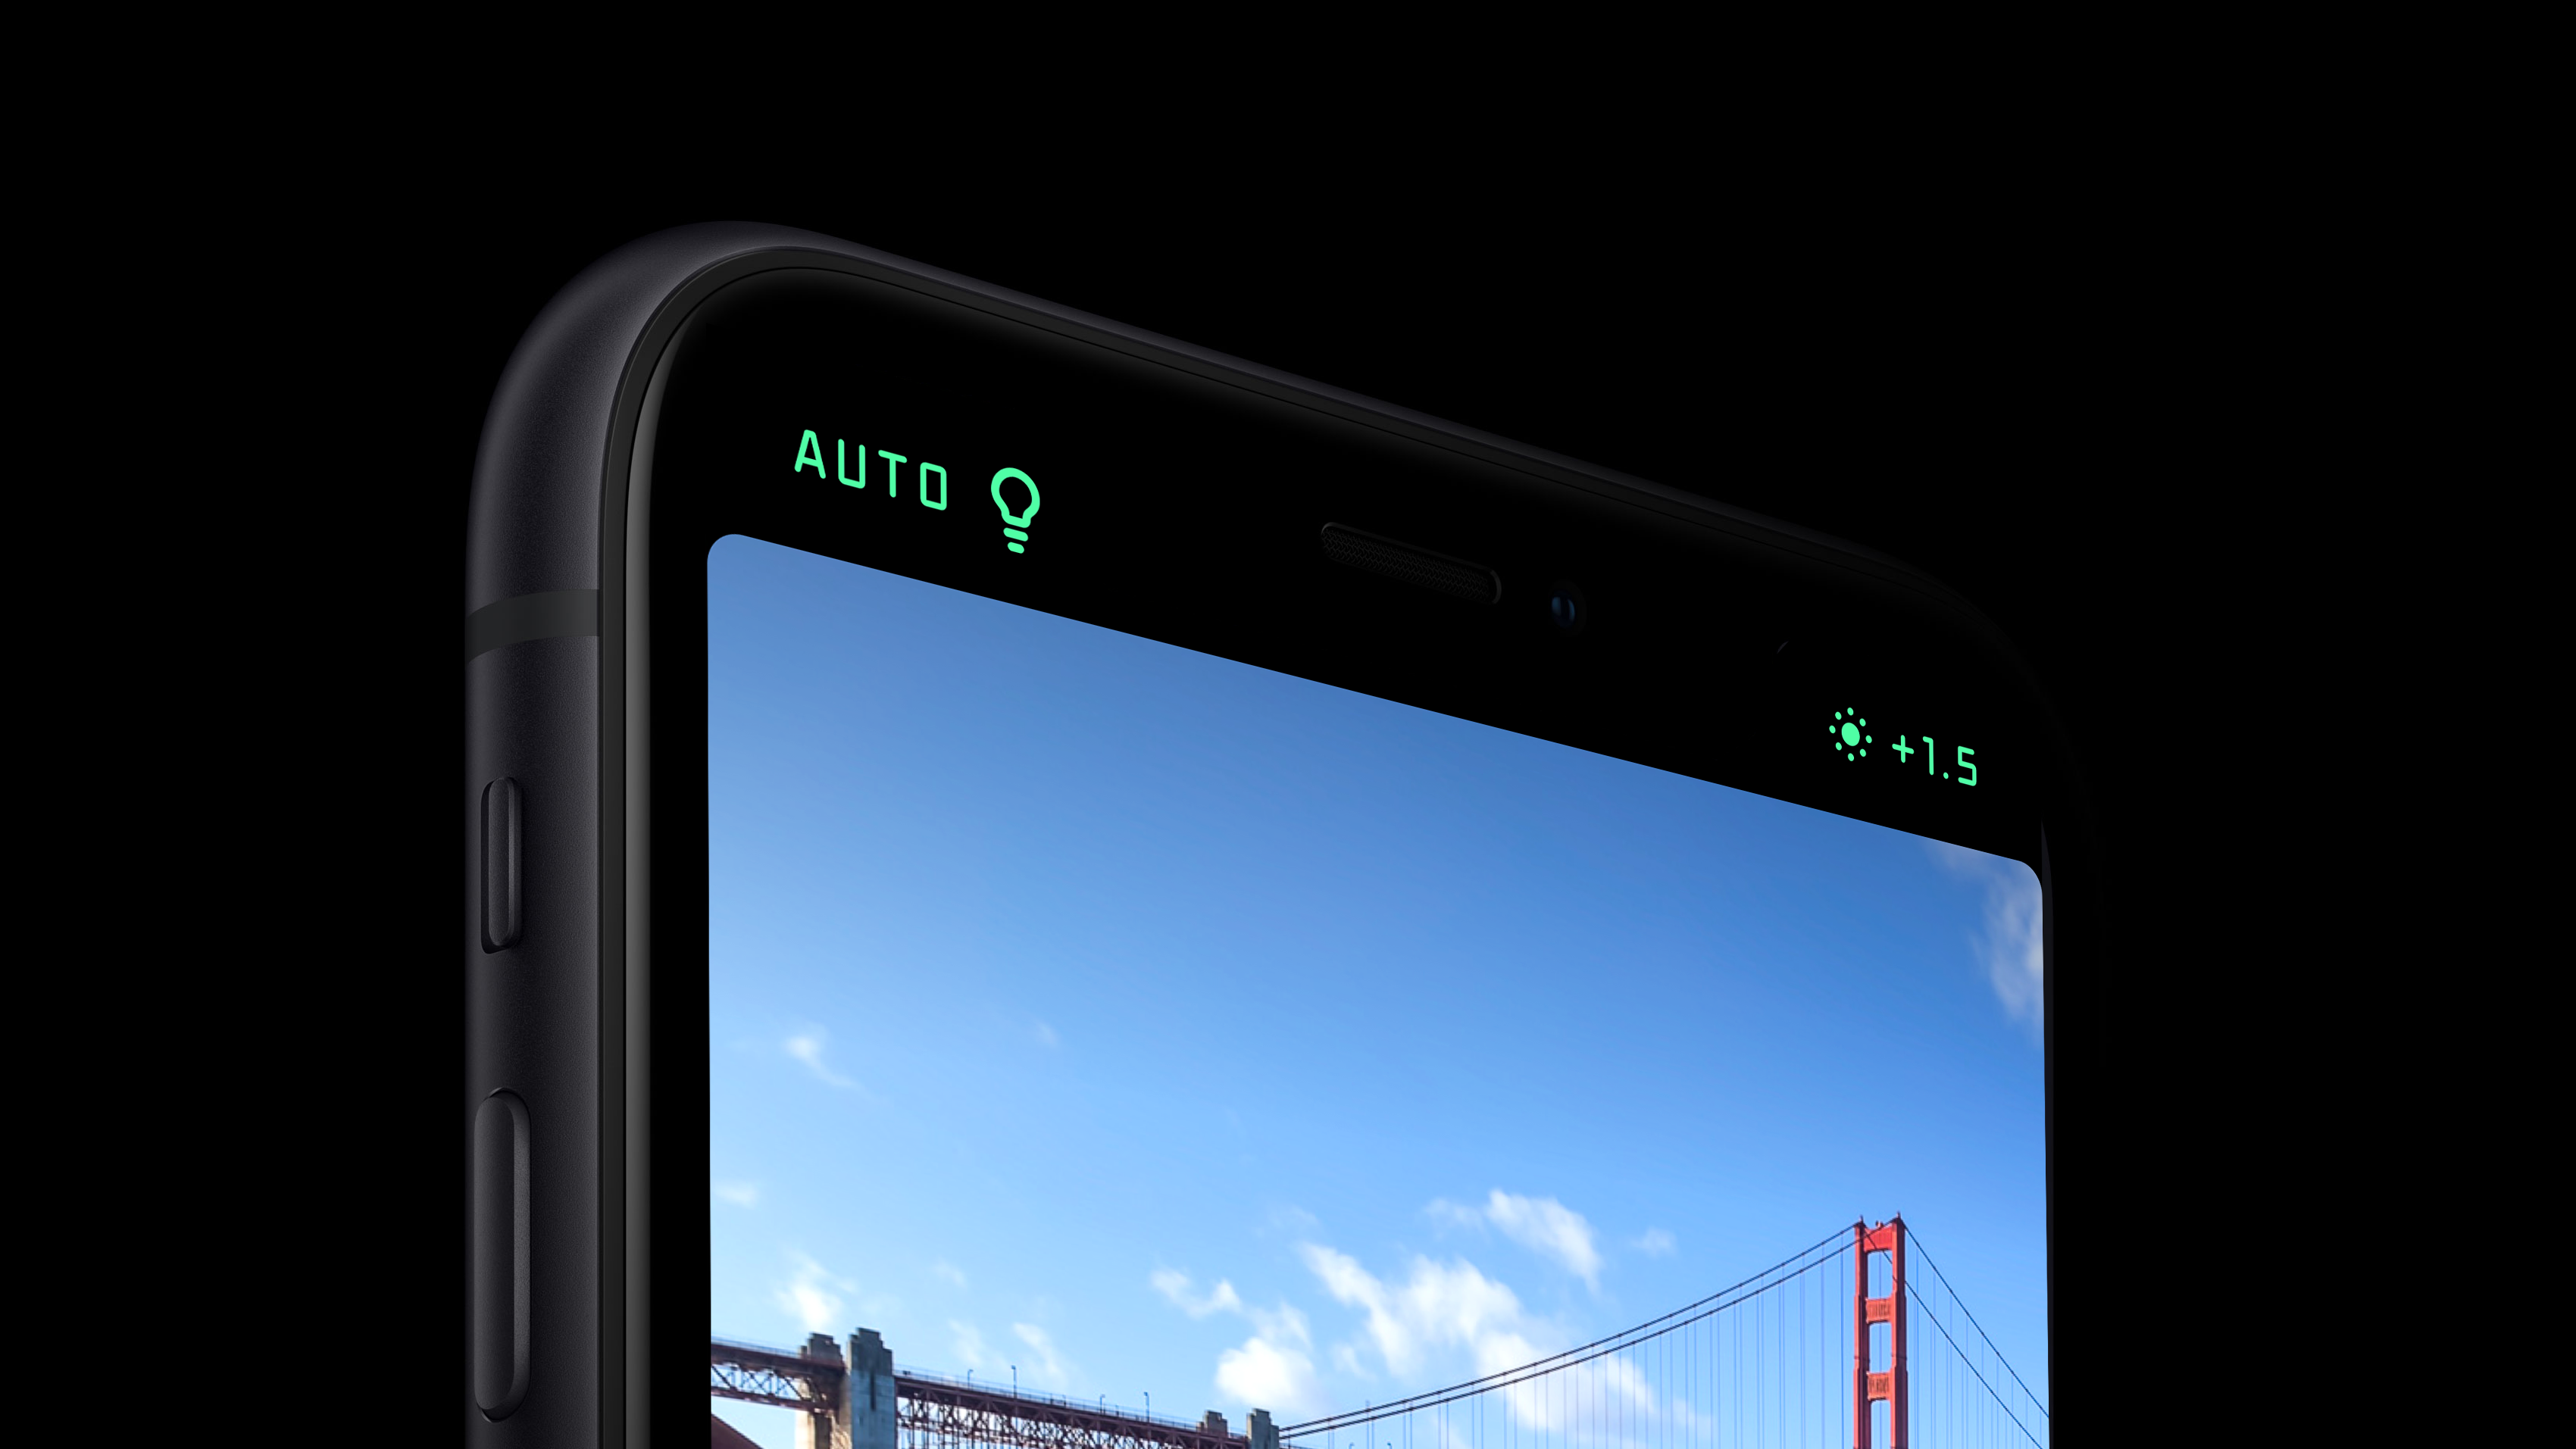
Today's phone cameras might be capable of photographic wizardry, but you do still need to lend them a helping hand. “It’s important to remember that Spectre’s A.I stabilization is not a magic tripod: you do have to hold your phone steady,” says de With. “And while we can compensate for a lot of movement – I have taken nice shots on moving boats, bridges that were swaying, windy days and more – you do have to keep the phone steady.”
If your shots keep turning out blurry, de With has a couple of tips. “First, disable our AI-based scene detection by tapping the lightbulb above and turning “off” light trails. Light trails are used at night and require a much steadier device.”
And if that doesn’t work, then you’ll need to try the good, old-fashioned approach. “If shots keep coming out blurry, it might require you to stabilize your iPhone by putting it on something like a table or a ledge when it takes the photo.”
2) Use the exposure slider
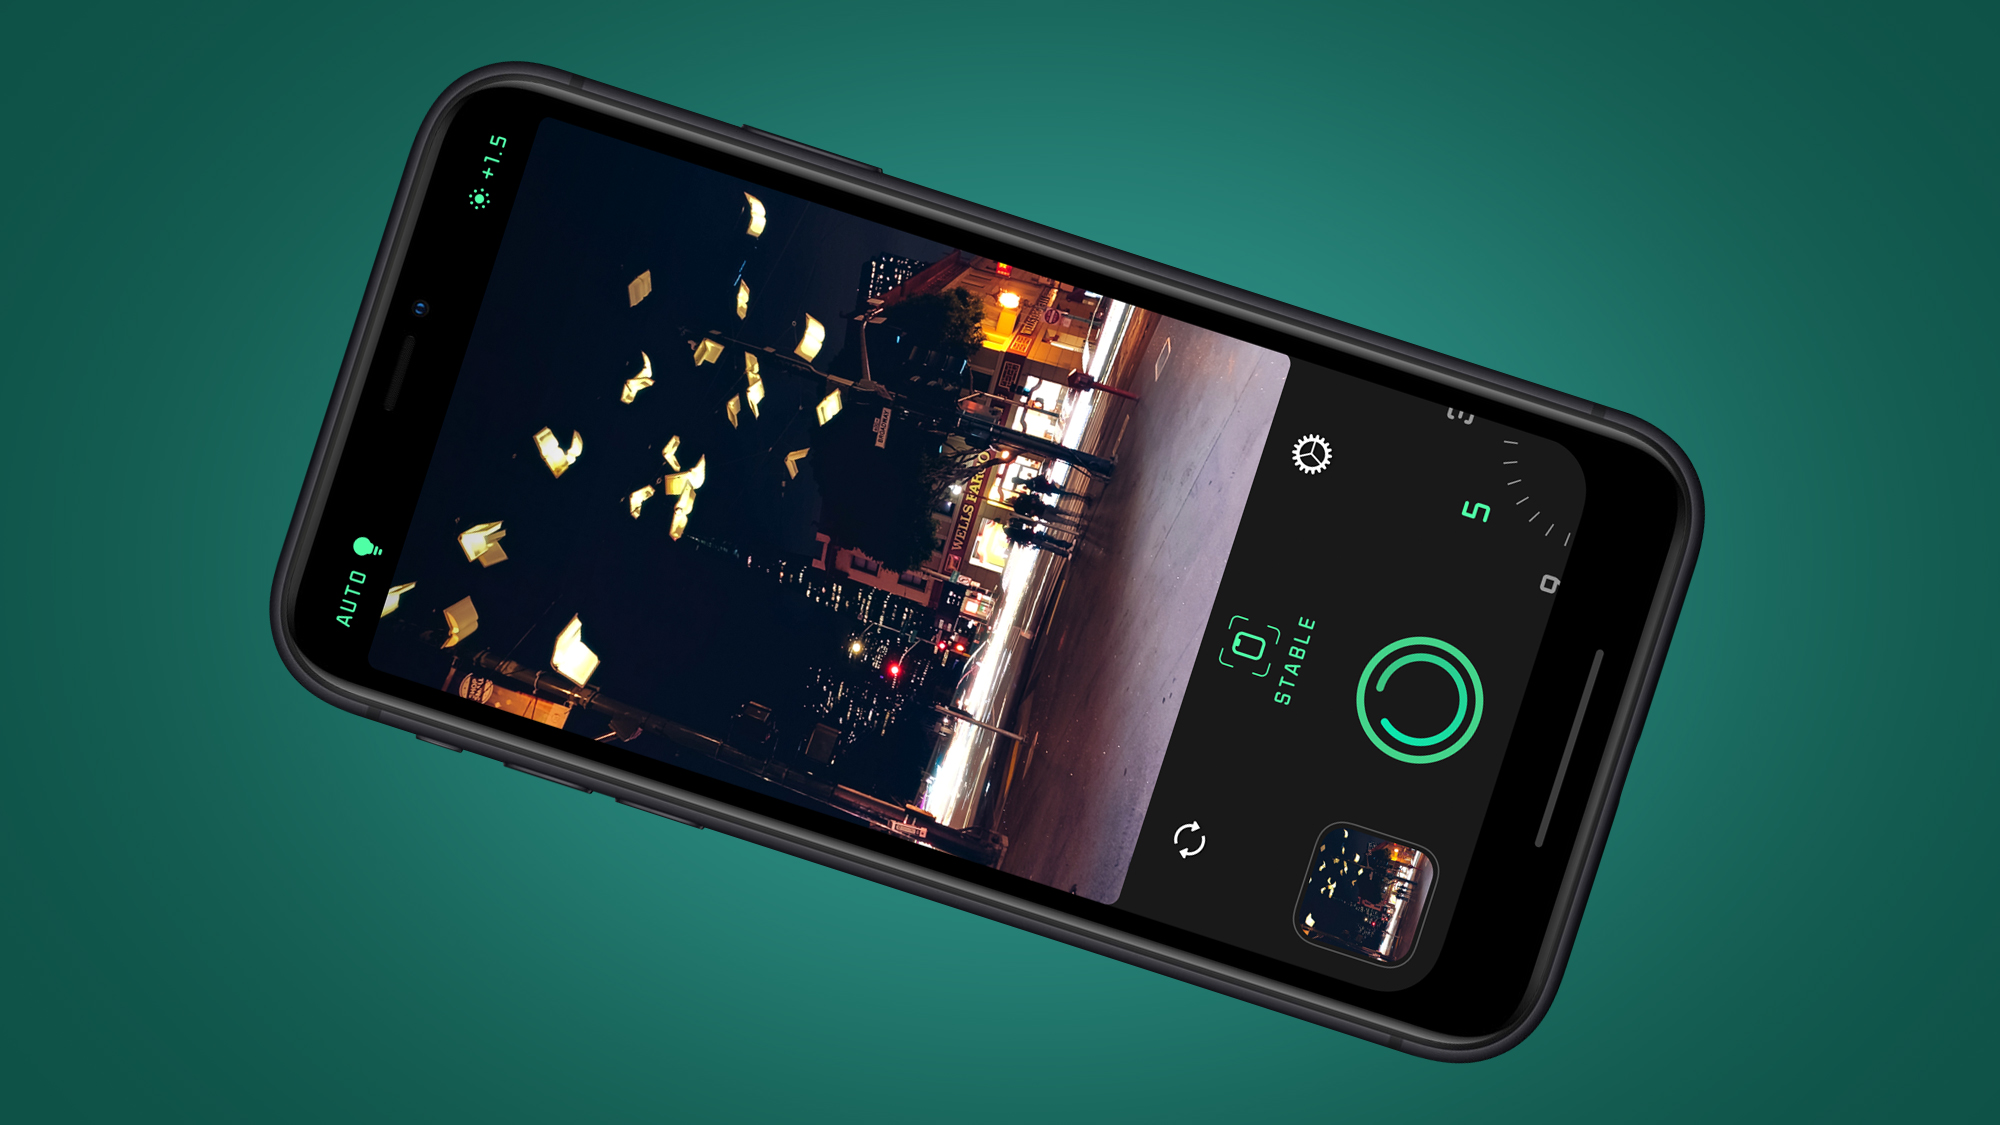
While its interface might be a bit too simplistic for some, Spectre benefits from many of the neat design touches seen in its sister app, Halide, which we still think is one of the best camera apps around.
One of these is the exposure slider, which is available anywhere in the app rather in a fixed control. "You can swipe anywhere on the screen in Spectre to make the image lighter or darker. It’s one of those things that’s super nice when you are fiddling with keeping the phone steady; it saves you poking it with your hands or looking for a slider," says de With.
This is particularly useful when shooting cities at night, because the intensity of artificial light and hand-shake can easily lead to blown or blurry highlights. If you're finding this, try bringing the exposure down by sliding your thumb down the screen.
3) Go Live
Another benefit of Spectre’s computational approach, compared to a traditional long exposure, is that you have more than one frame to choose from.
So if you’re still having issues with image blur, then using the Live Photo is an option. “Since it’s a Live Photo, you can often tap ‘Edit’ in Photos, go back to the last Live Photo frame that was sharp, and save it as that.”
To do this, press the 'edit' button in the top-right corner of the Photos app, then press the Live Photos symbol (concentric circles) on the left. Scroll through the frame then choose 'Make Key Photo'.
4) Start ghosting people
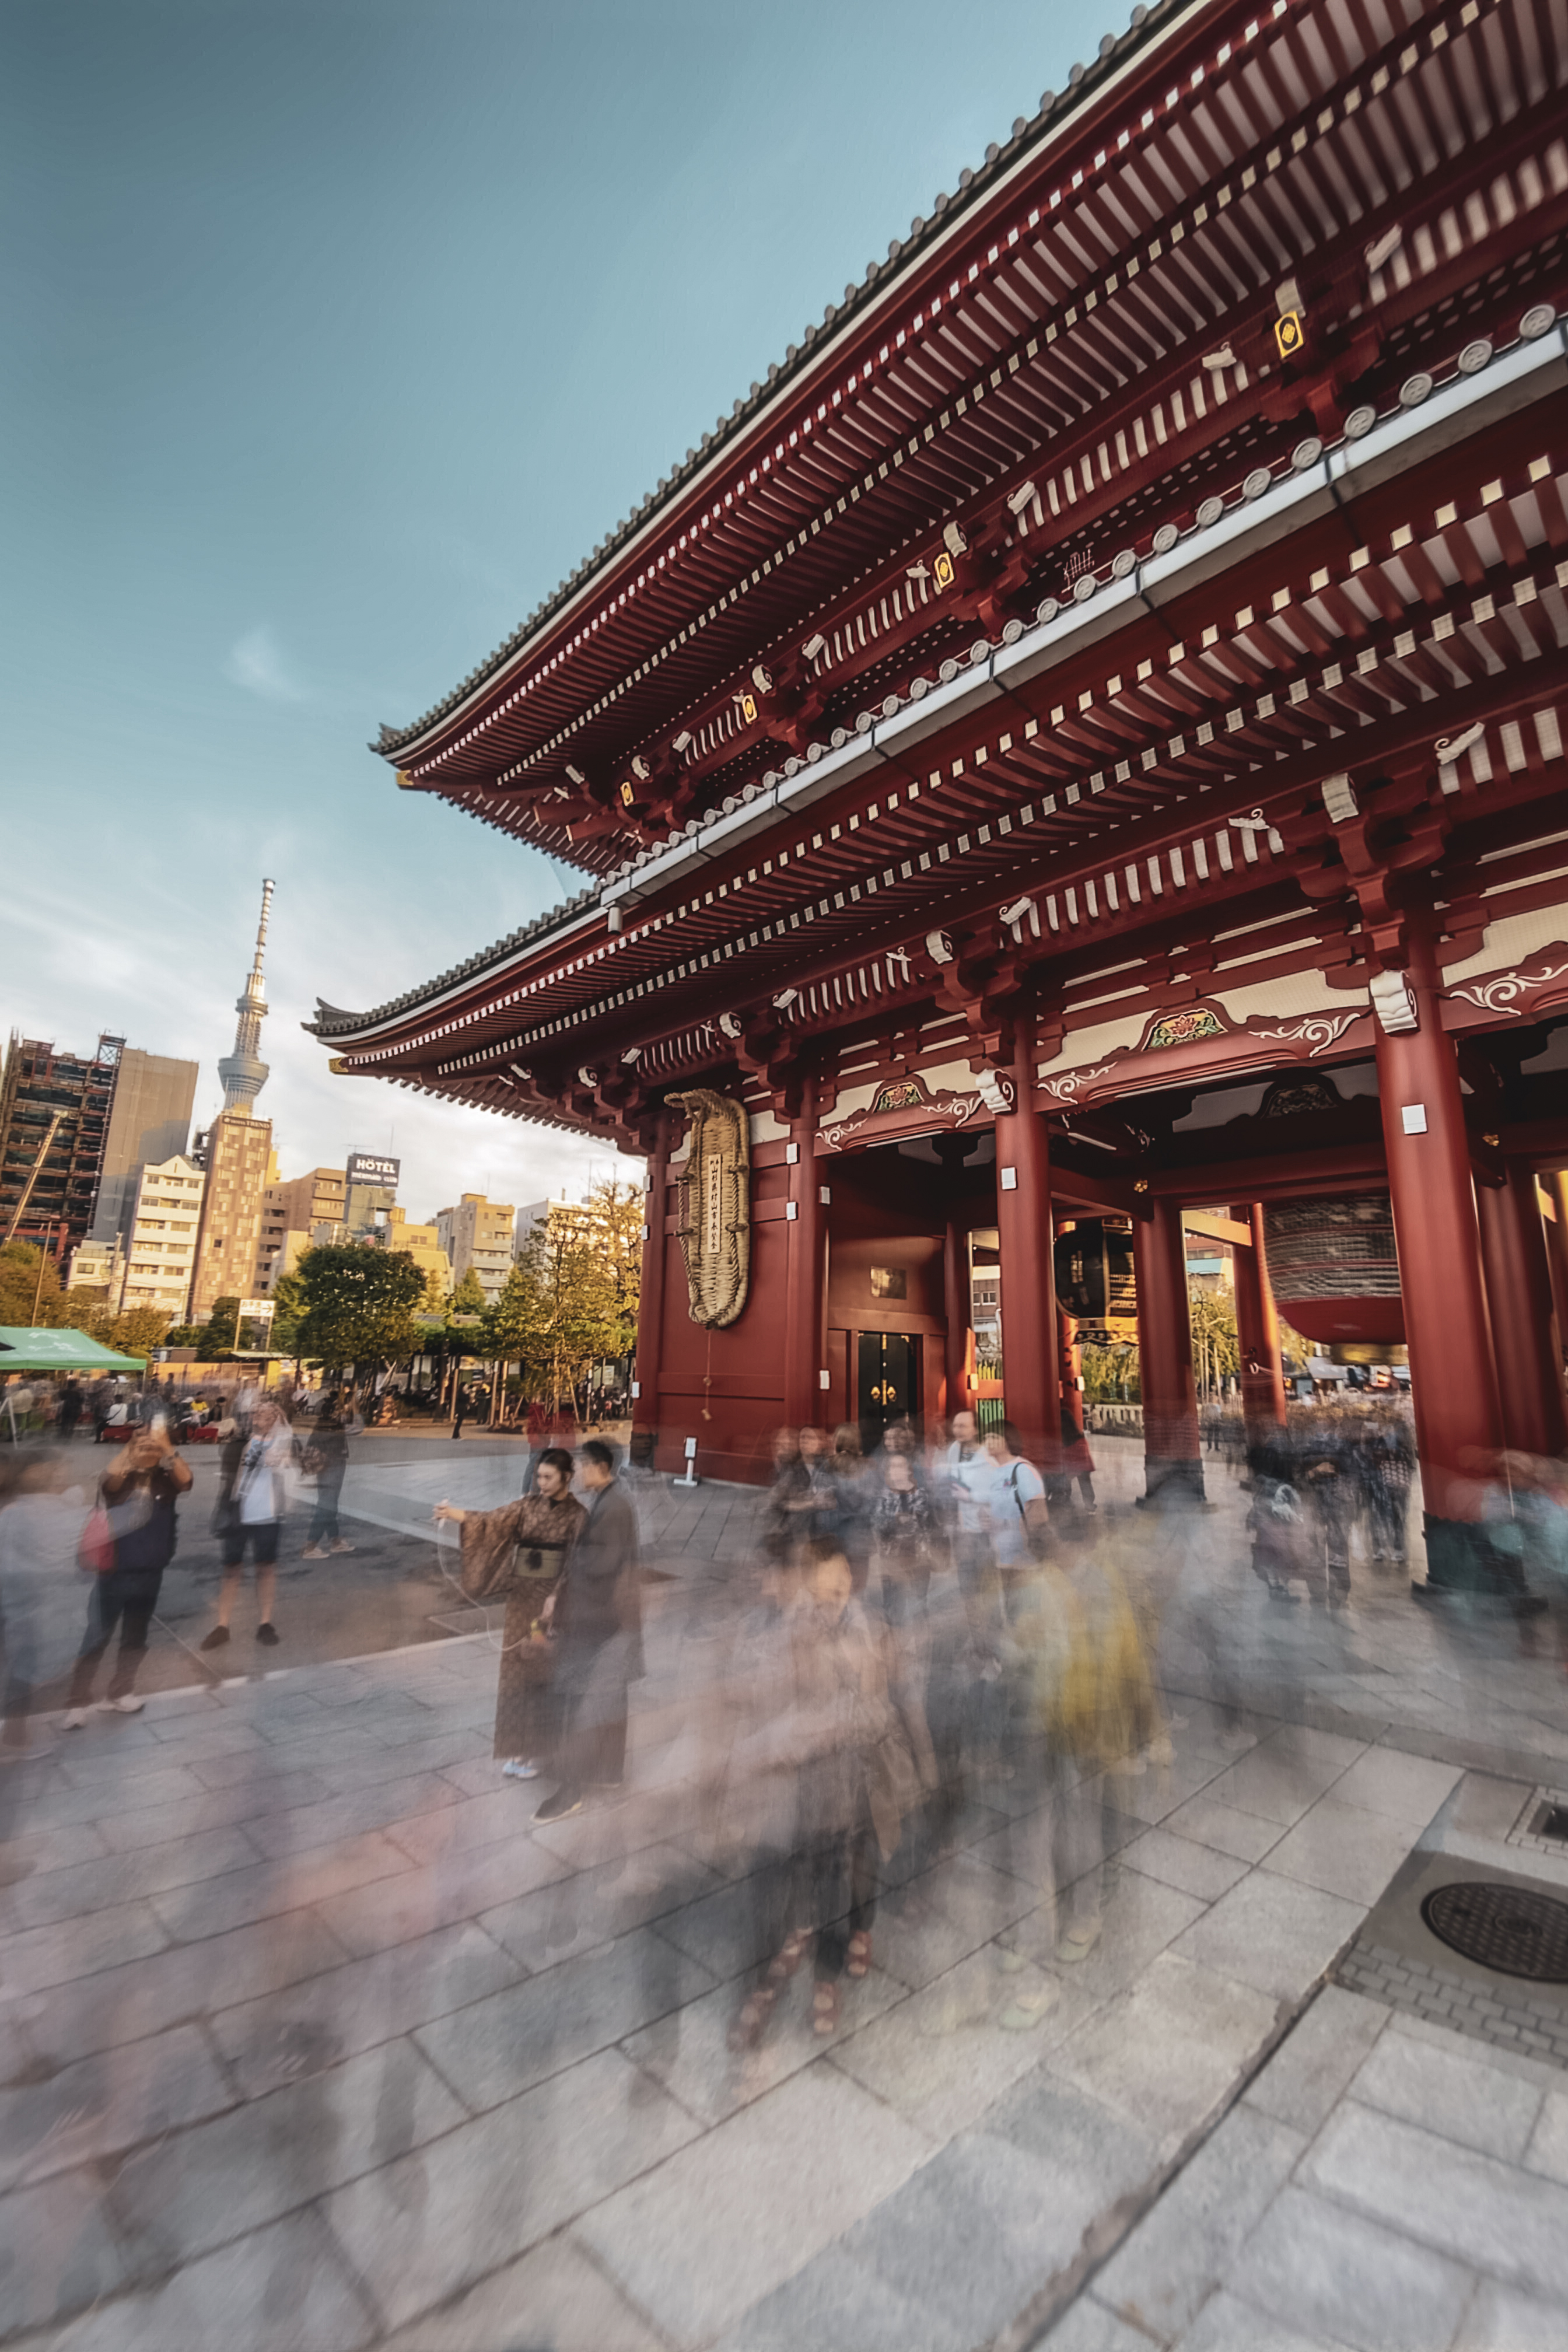
The three main long exposure effects you can create with Spectre are silky water, light trails and blurring moving people in busy scenes.
For the latter, it’s best to have a focal point for the action to move around. “Ask someone to stand still in a crowded place - very still! - and then take a photo of people moving around them," says de With.
"If you keep the shutter speed lower (for example, three seconds) the people don’t fully ‘disappear’, and you get the effect of busy crowds blurring or ghostly images," he adds.
5) Recreate 28 Days Later
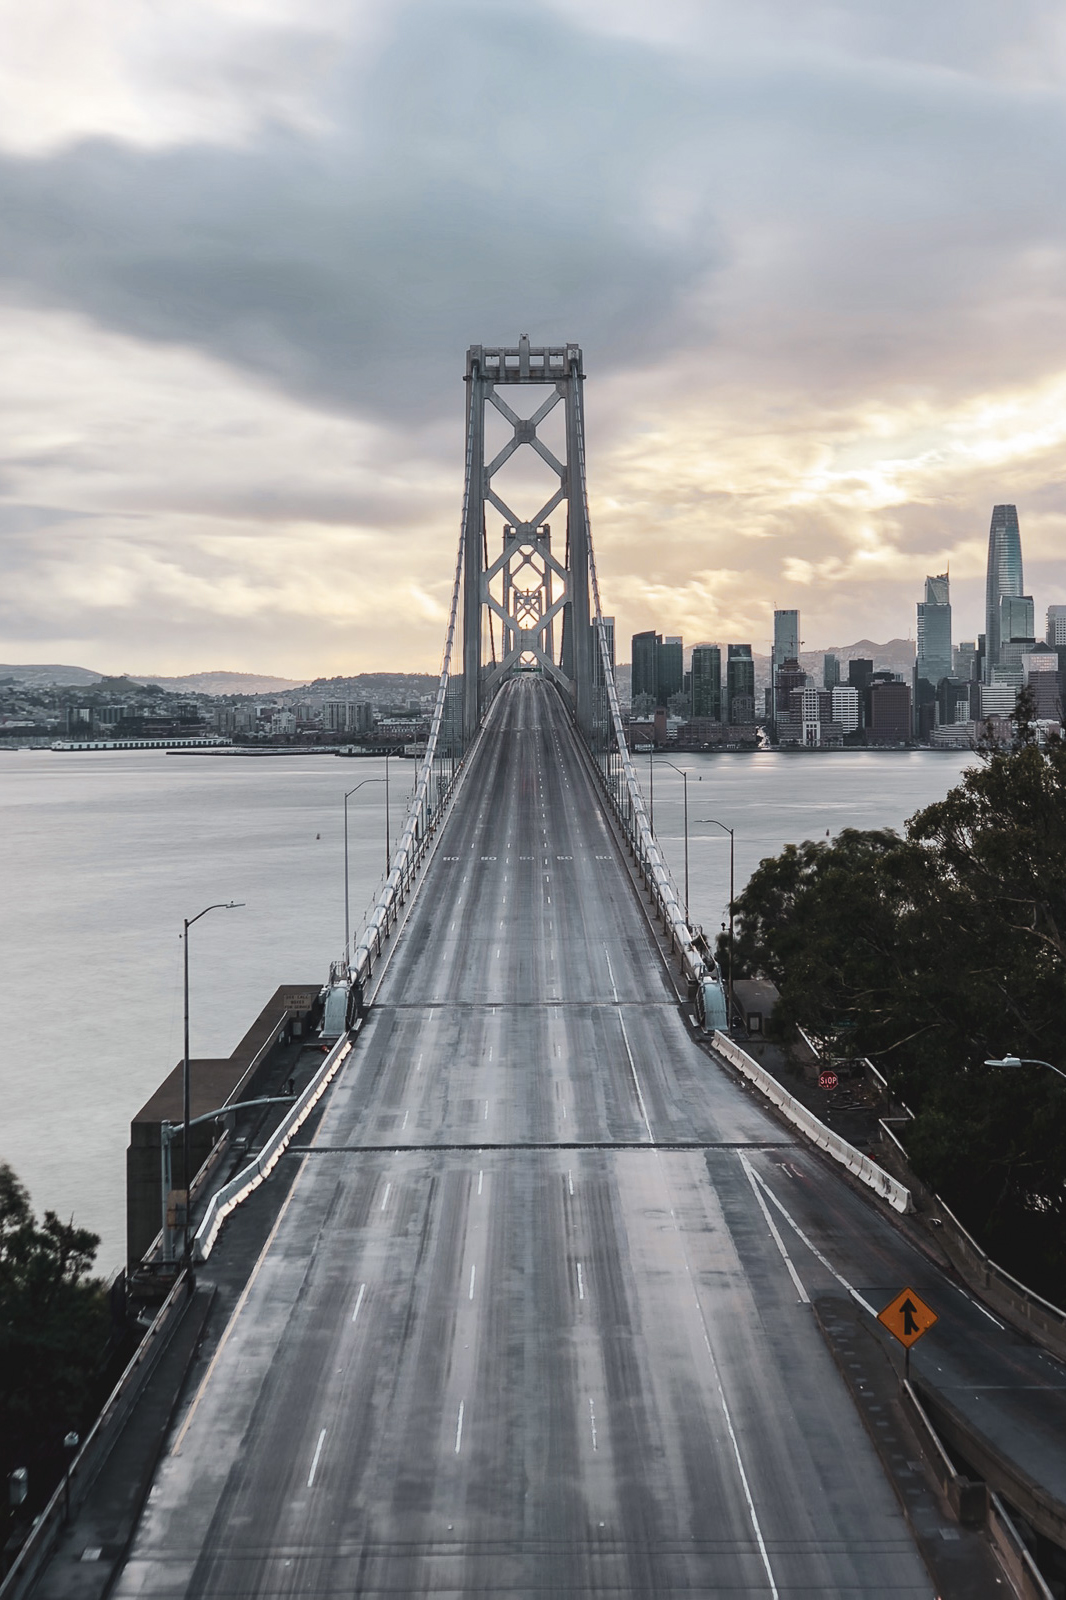
Long exposures are mostly used to introduce motion effects or light trails, but Spectre's extra dash of computational trickery means you can also use it to remove moving subjects entirely. For this one, you'll likely need to upgrade to Spectre Pro's longer shutter speeds, but with a practice you can recreate deserted, 28 Days Later-style city scenes.
"Another thing I love to do is to make traffic vanish on highways. You can see your city in a whole new light by going to an overpass or busy intersection in the day when traffic is moving at a good clip and using the 9-second time," says de With.
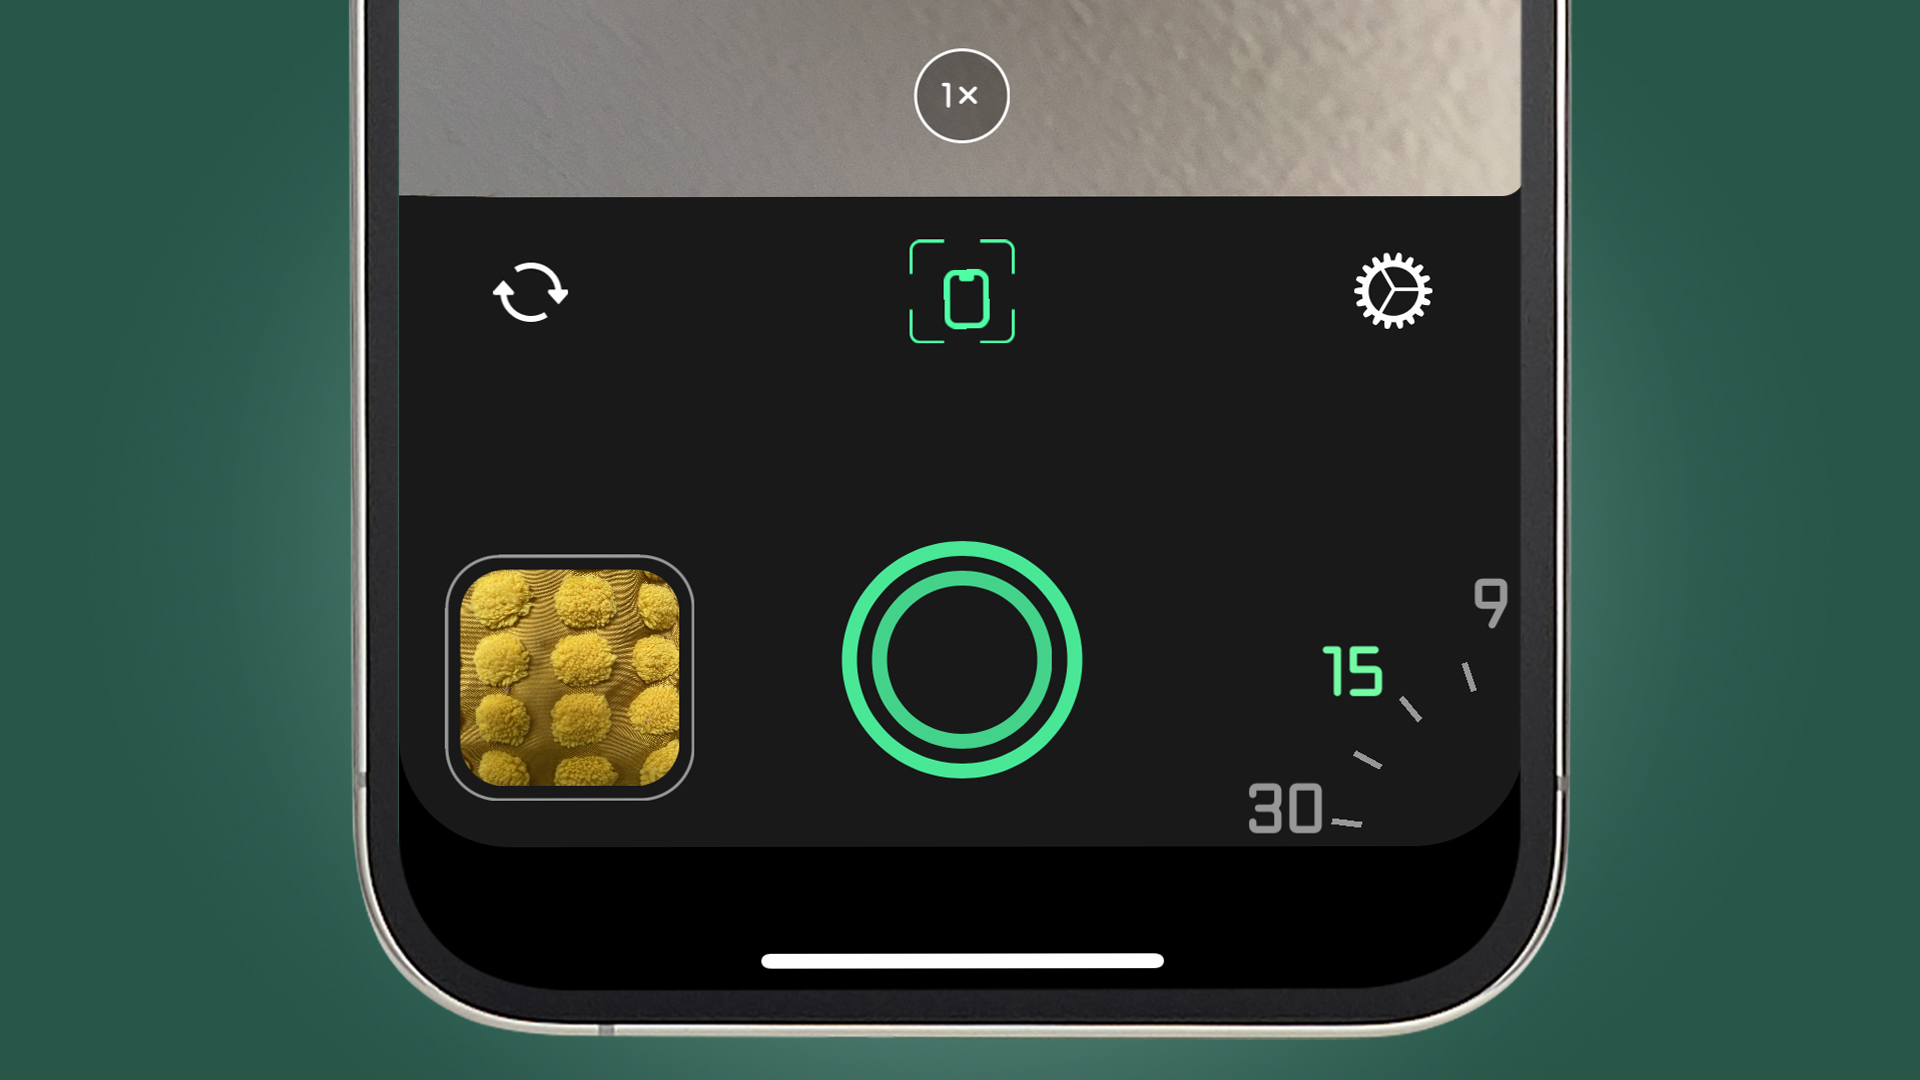
One of the few manual controls in Spectre is 'exposure time' in the app's bottom right-hand corner, which is more a guide to the effect it'll create rather than actual shutter speeds.
In the free version of Spectre, this tops out at three seconds – long enough to some silky water or creatively blurred moving crowds. But in Spectre Pro, you'll find options that include 9-second, 15-second and even 30-second exposures. To make traffic or people disappear, make sure the light trails options (in the top left-hand corner) is switched off, too.


