Above: watch our video guide
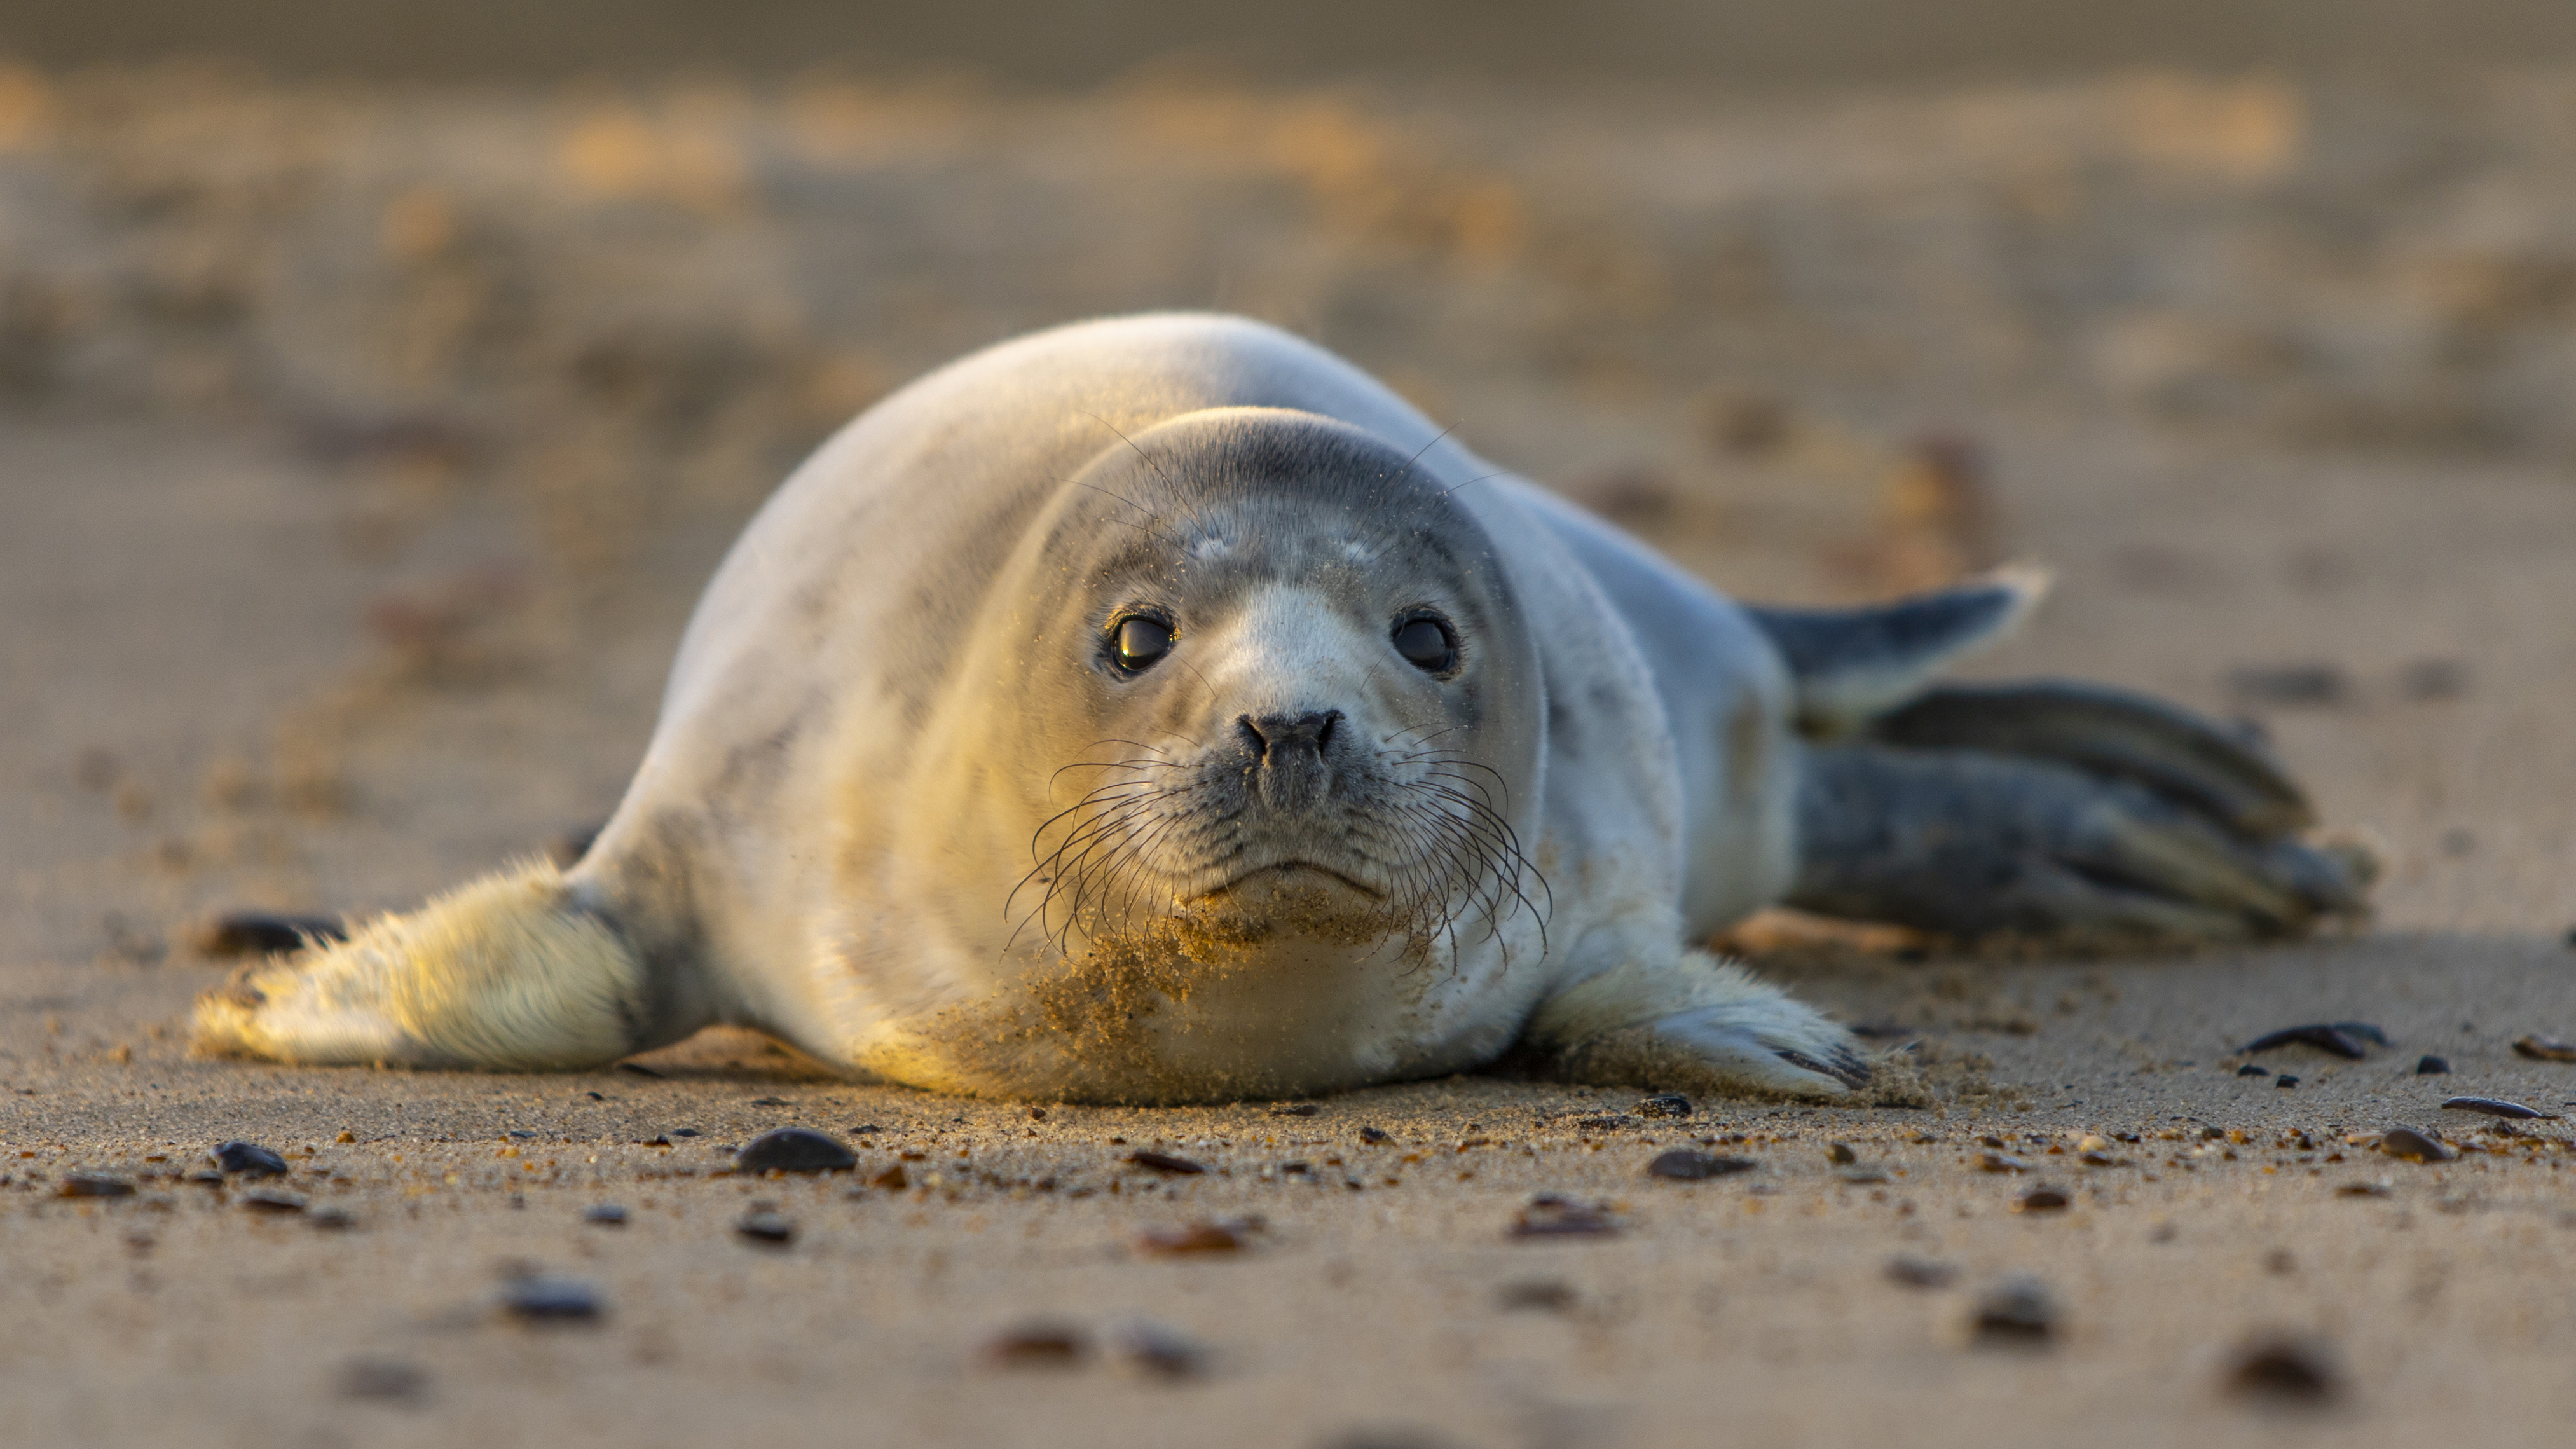
Wildlife photography can be one of the most challenging genres the medium has to offer, but it can also be one of the most rewarding! Around the British Isles you’ll find incredible coastal wildlife; the UK is home to about 5% of the world’s population of harbour seals.
In this project I’ll dive into some core settings and techniques you can try when photographing coastal wildlife. While we’ve photographed seals here, you could also try out the techniques on other coastal wildlife such as crabs, or brilliant seabirds like puffins, gannets and razorbills.
Luckily, my local Norfolk coastline is a brilliant area to spot seals in the summer, such as Blakeney Point, Horsey Gap, and even Happisburgh where we took these seal shots. Type ‘Seals’ into Google Maps and you should be able to find a site where you can spot seals close to you, or alternatively find a good RSPB nature reserve to visit instead to practise our wildlife tips on birds and mammals.
When photographing seals, or any wildlife for that matter, stay at a respectful distance and never encroach on the animal or make it change its behaviour. If the seal is on land you also don’t want to get between it and the sea, so that it has an escape route if it feels it needs to use it.
As the saying goes, the early bird catches the worm, or seal in our case. Getting up early so you’re on location to shoot at sunrise can reward you with beautiful golden light and make your animal photos look more professional. Be on the lookout for reflections, too, as you may be able to creatively include them in your compositions at the coast.
When it comes to your camera settings, start with Aperture priority mode (Av on the mode dial) and set your widest lens aperture, such as f/5.6, or f/2.8 if your lens can open that wide. Then boost the ISO, or use Auto ISO until you get a rapid shutter speed of around 1/2000 sec, fast enough to eliminate camera shake and freeze any water splashes in the sea. Here’s how to get stuck in...
1. Animal detection autofocus
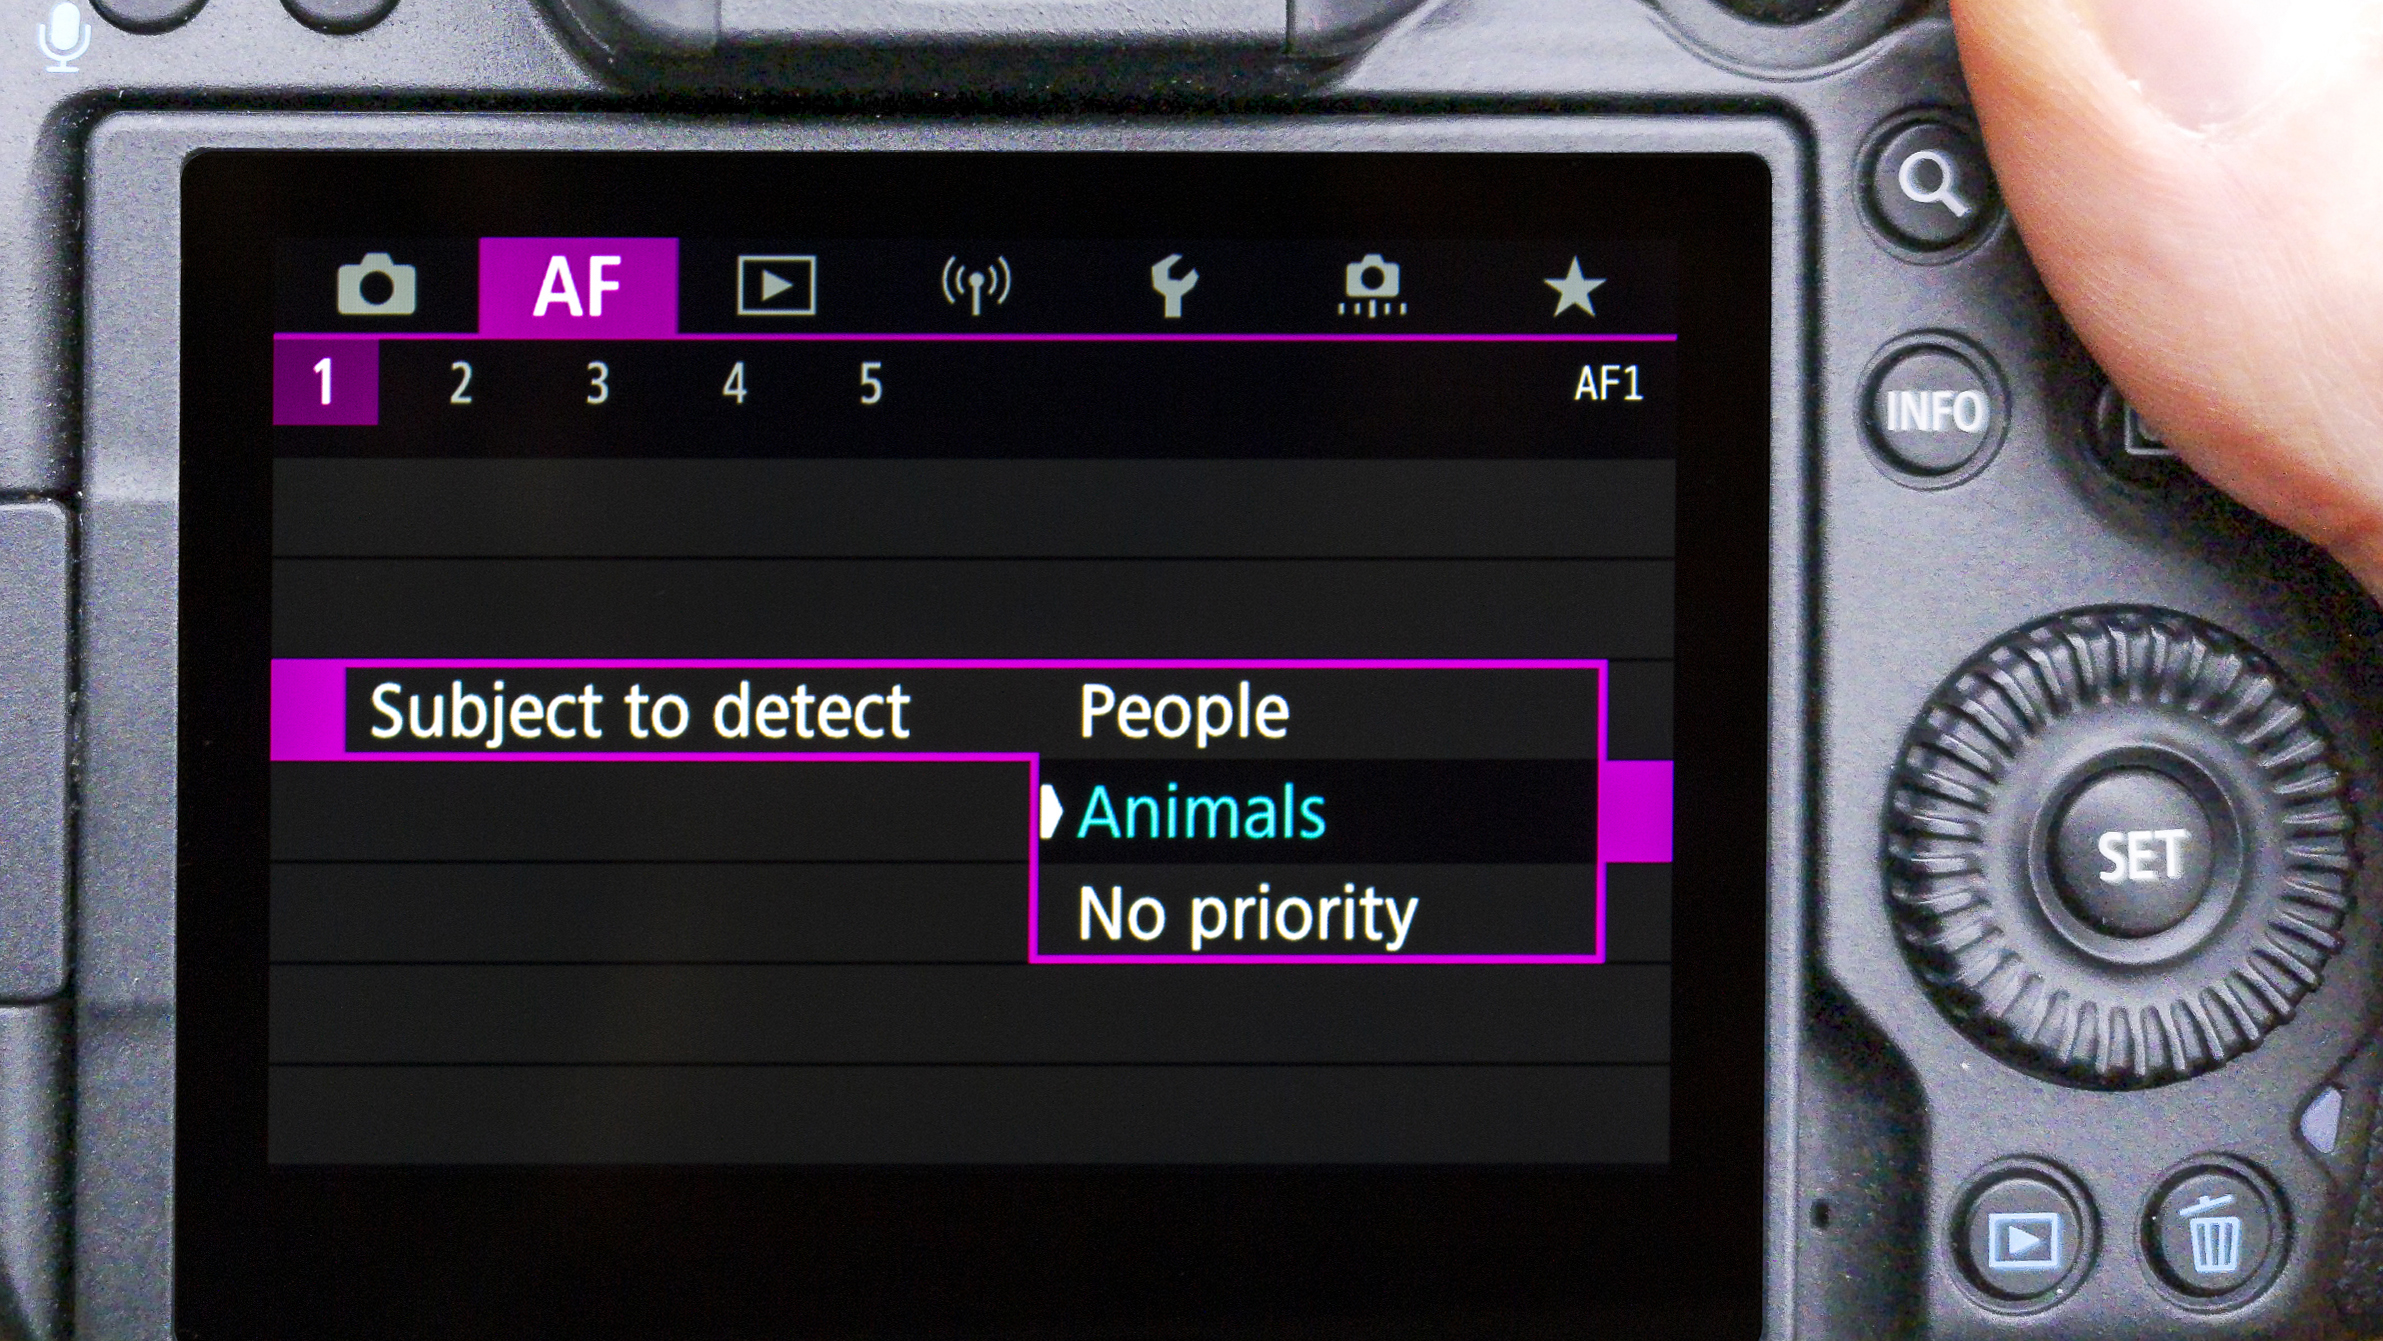
Newer Canon EOS mirrorless cameras such as the R5, R6 and R7 have Animal Eye Detection so be sure to use it if your Canon has this handy feature. It automatically locks onto your subject’s eye and tracks it so you can concentrate on composition.
2. Get down low
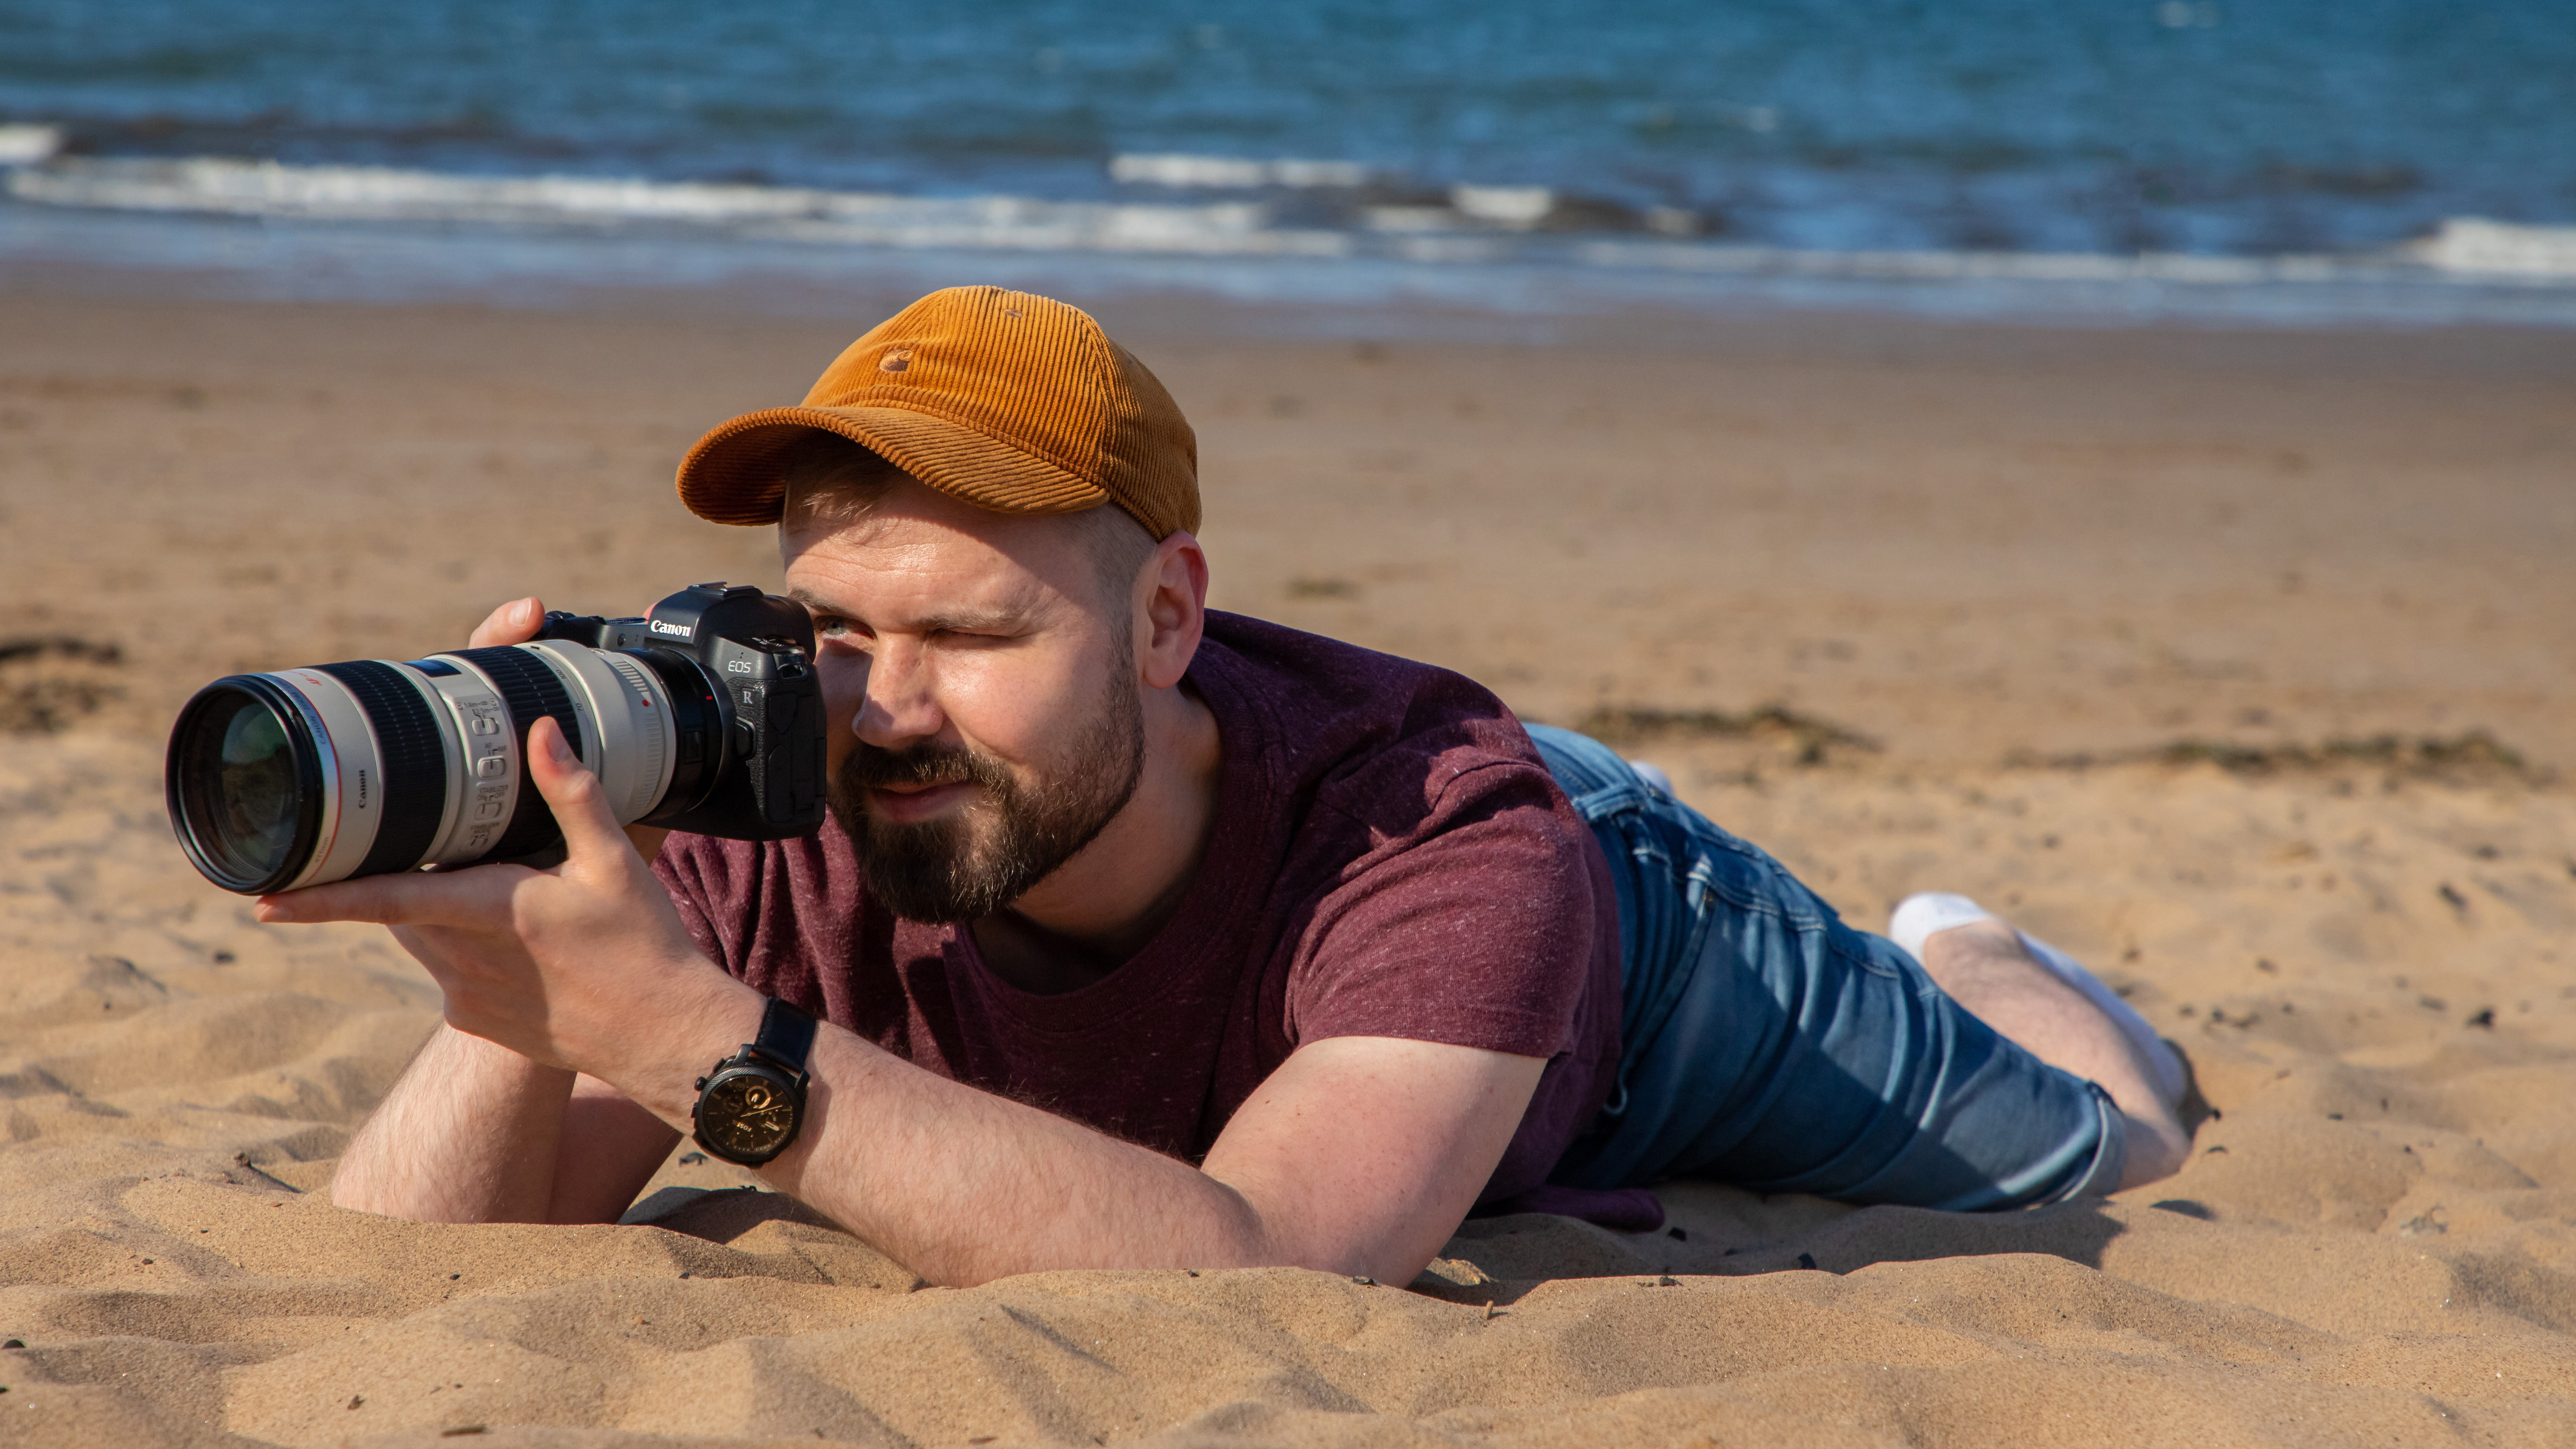
One of the easiest (and cheapest) steps you can do to take better wildlife shots is to stop shooting at head-height and get low to the ground. Get down so that you’re eye level with your subject for more intimate portraits and to make it easier to blur the background.
3. Shoot in the golden hour
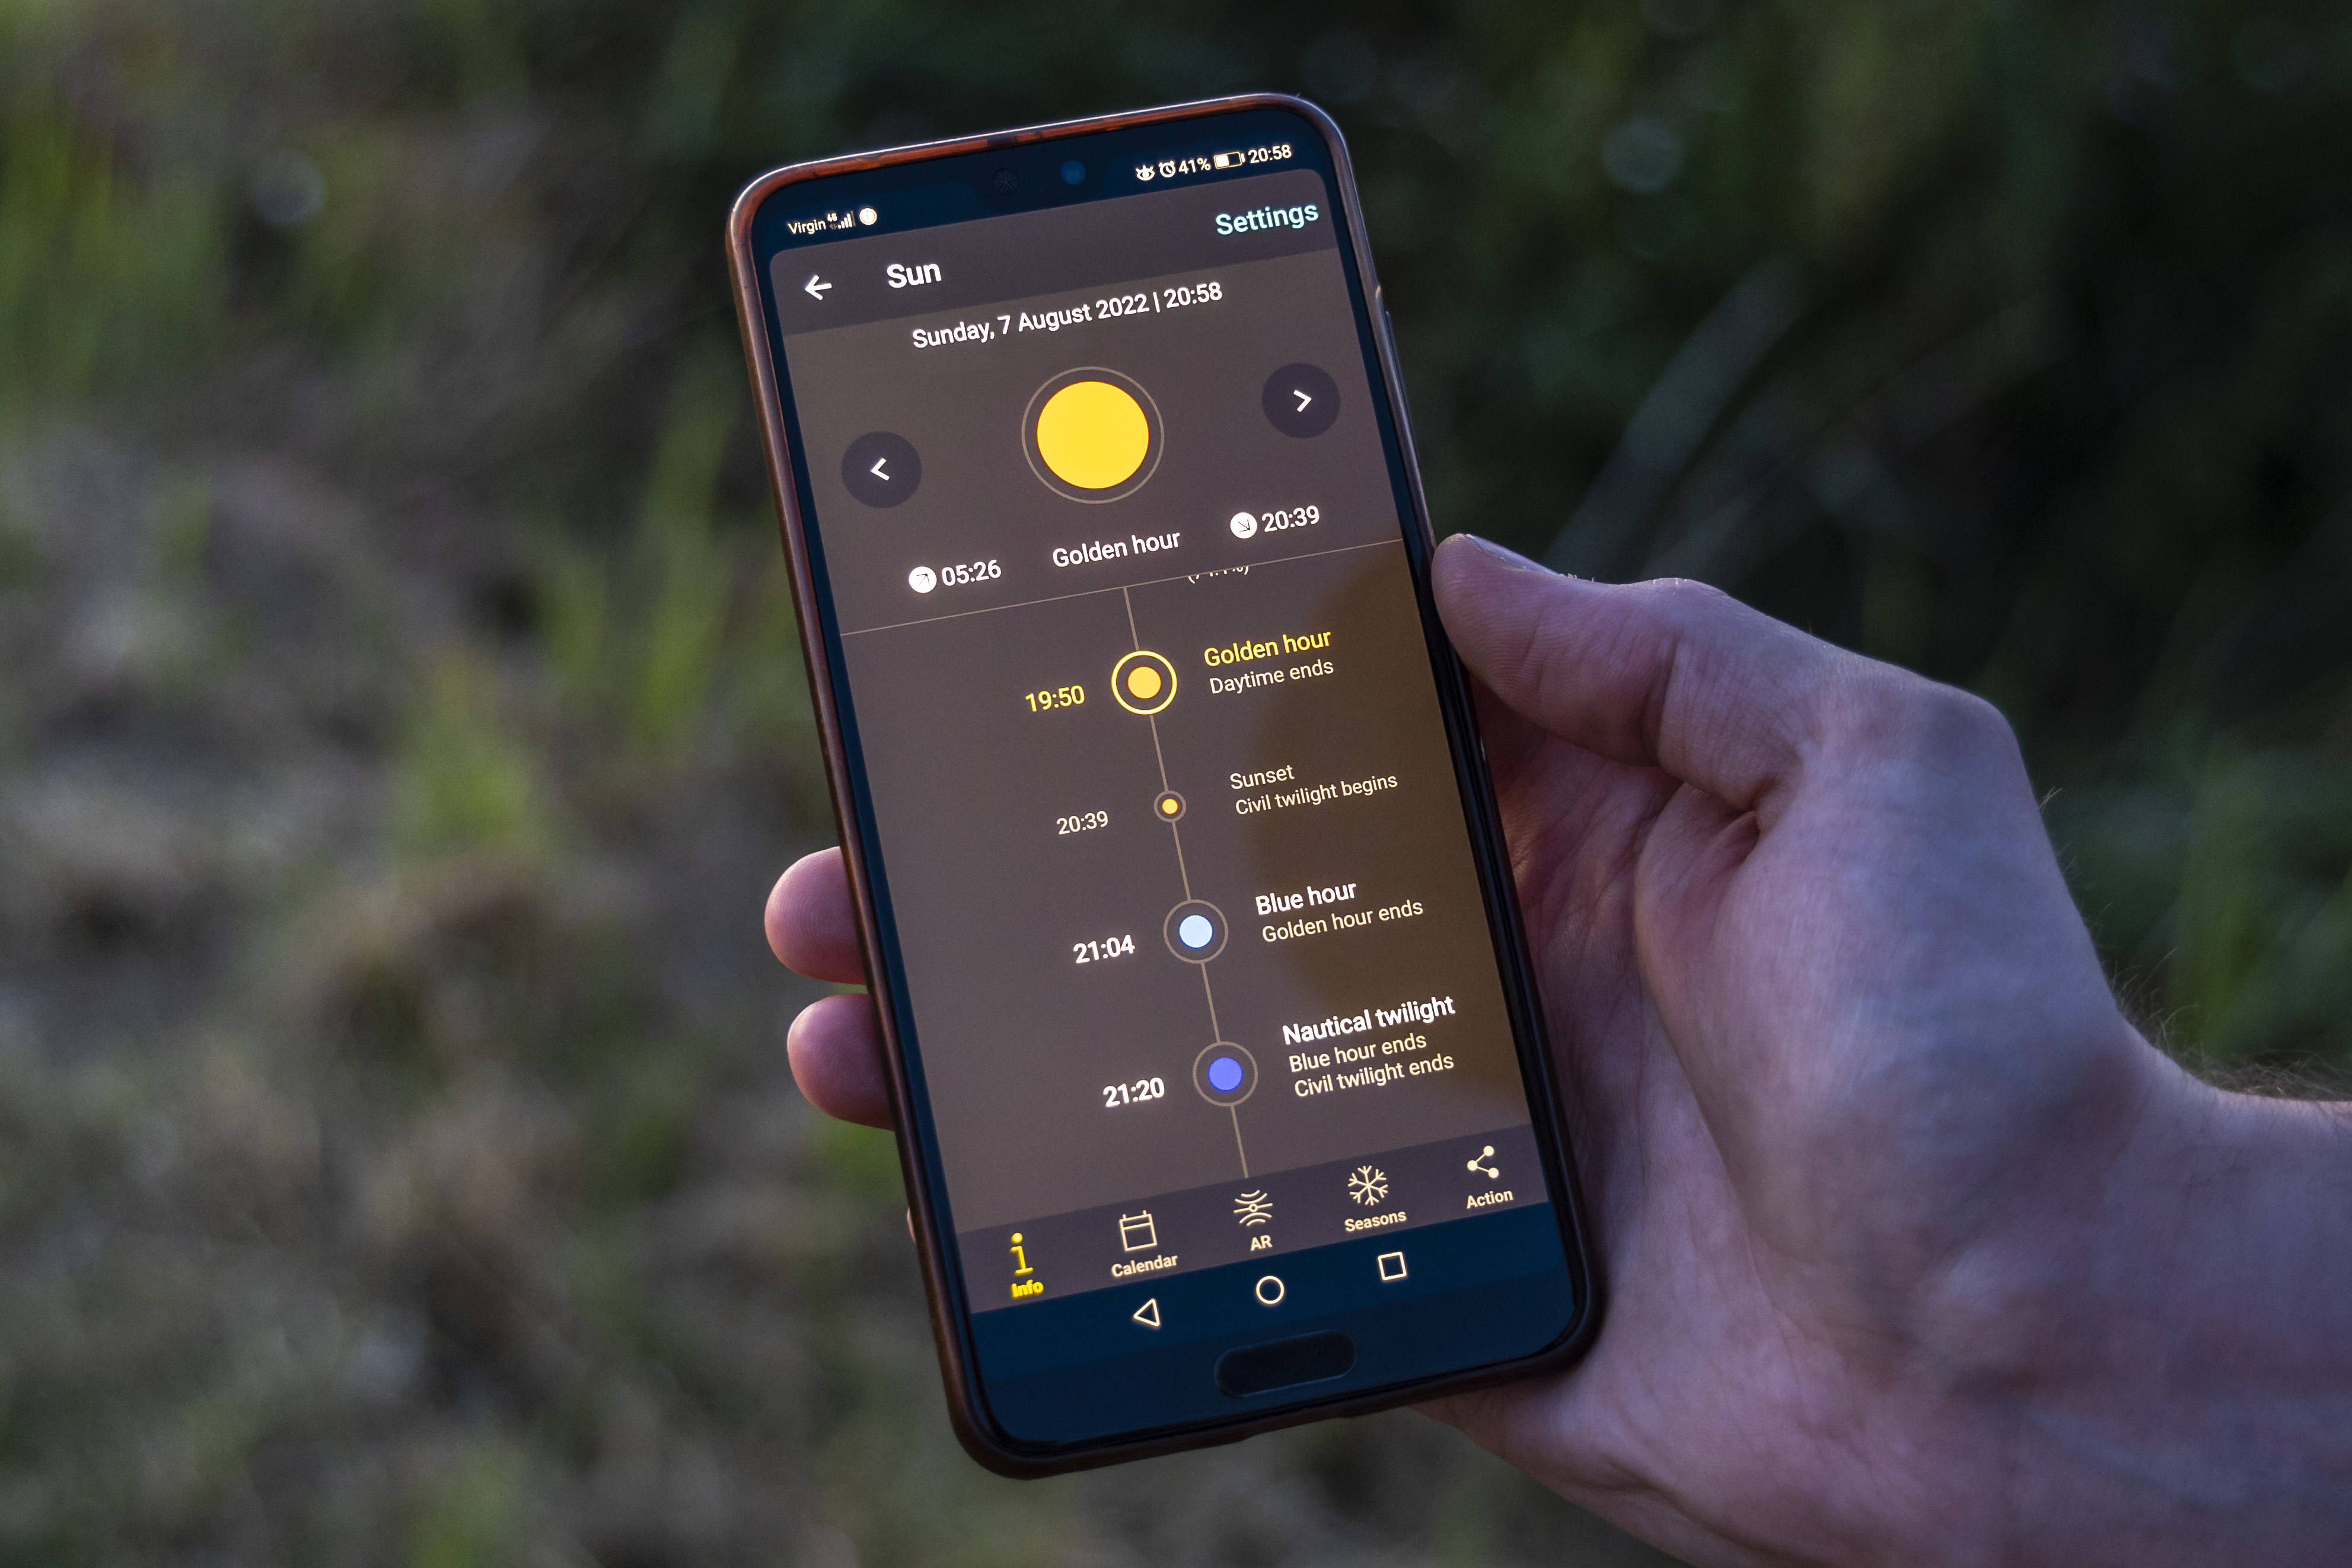
We use the PhotoPills app to plan our shoots. It allows you to drop a pin on a specific location to see what angle the sun will be coming in at sunrise or sunset, which helps you know where you’ll need to be to get the best light.
4. Catchlights & eye contact
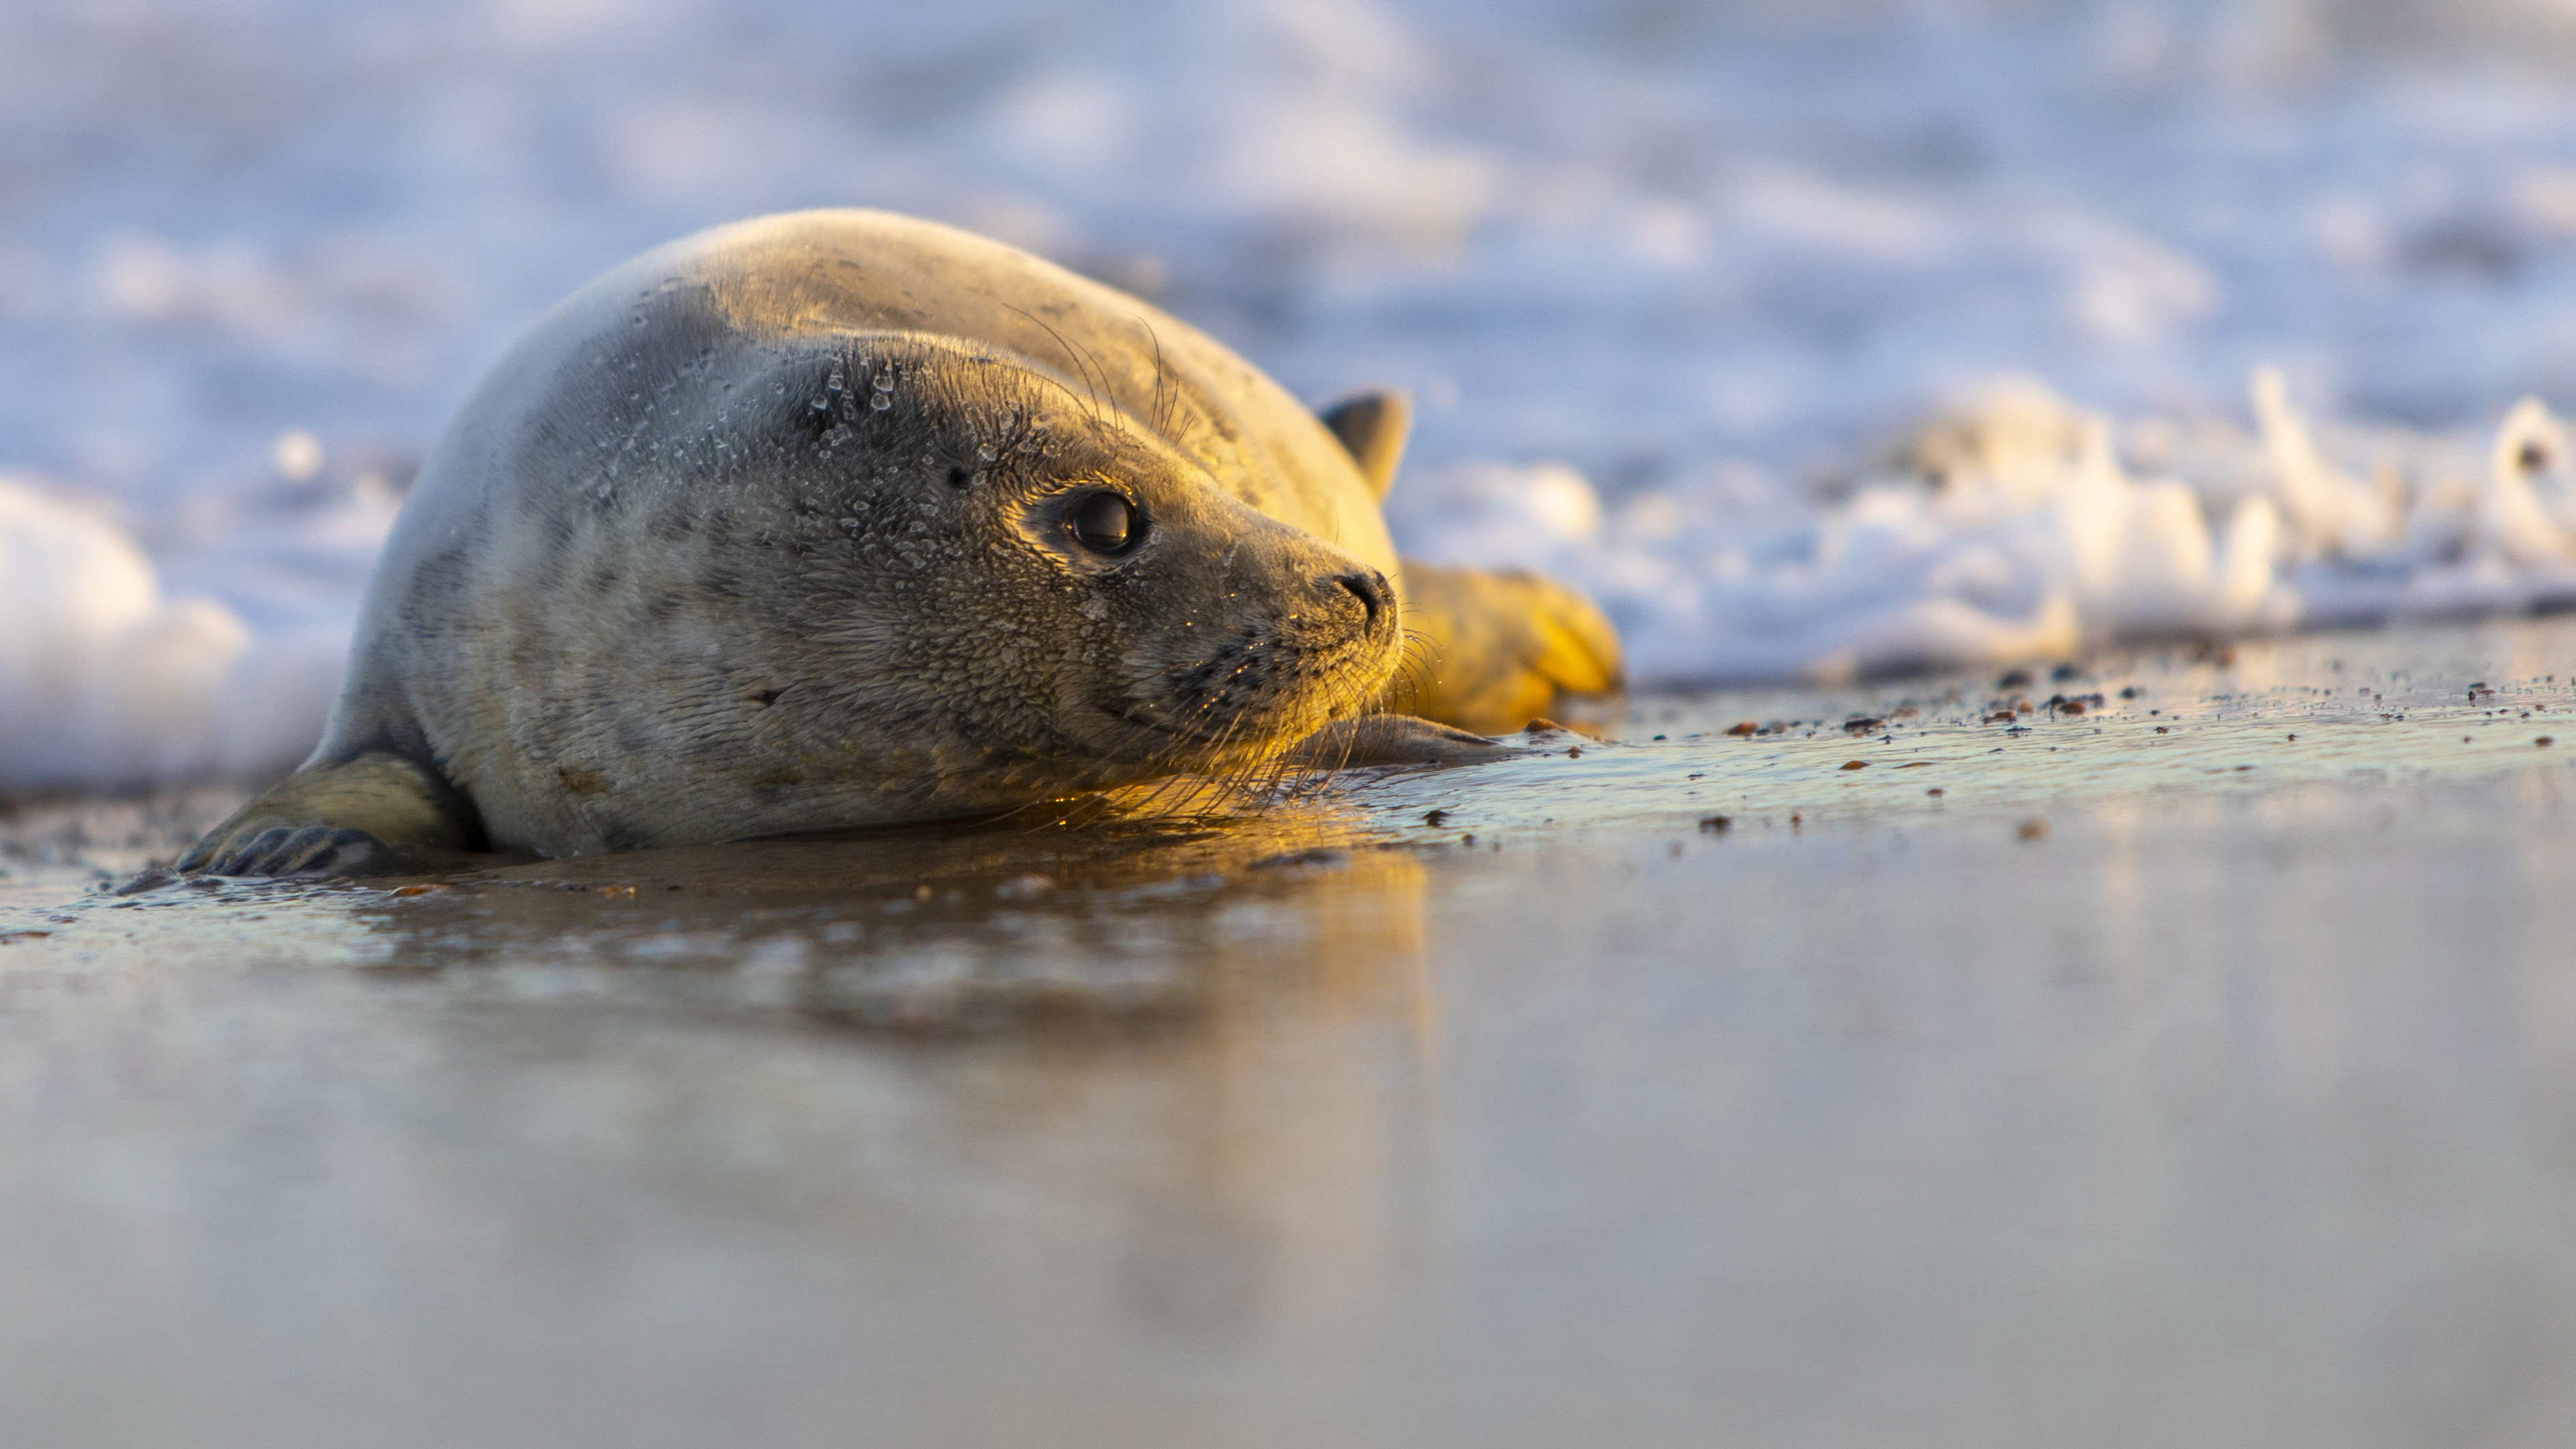
The eyes are an important part of any portrait and that goes for wildlife too. Make sure you have strong eye contact with your subject and focus on the eyes to make sure they’re sharp. Reflections from the sun create ‘catchlights’ in the eye which add a glistening sparkle that looks fantastic.
5. Try backlighting
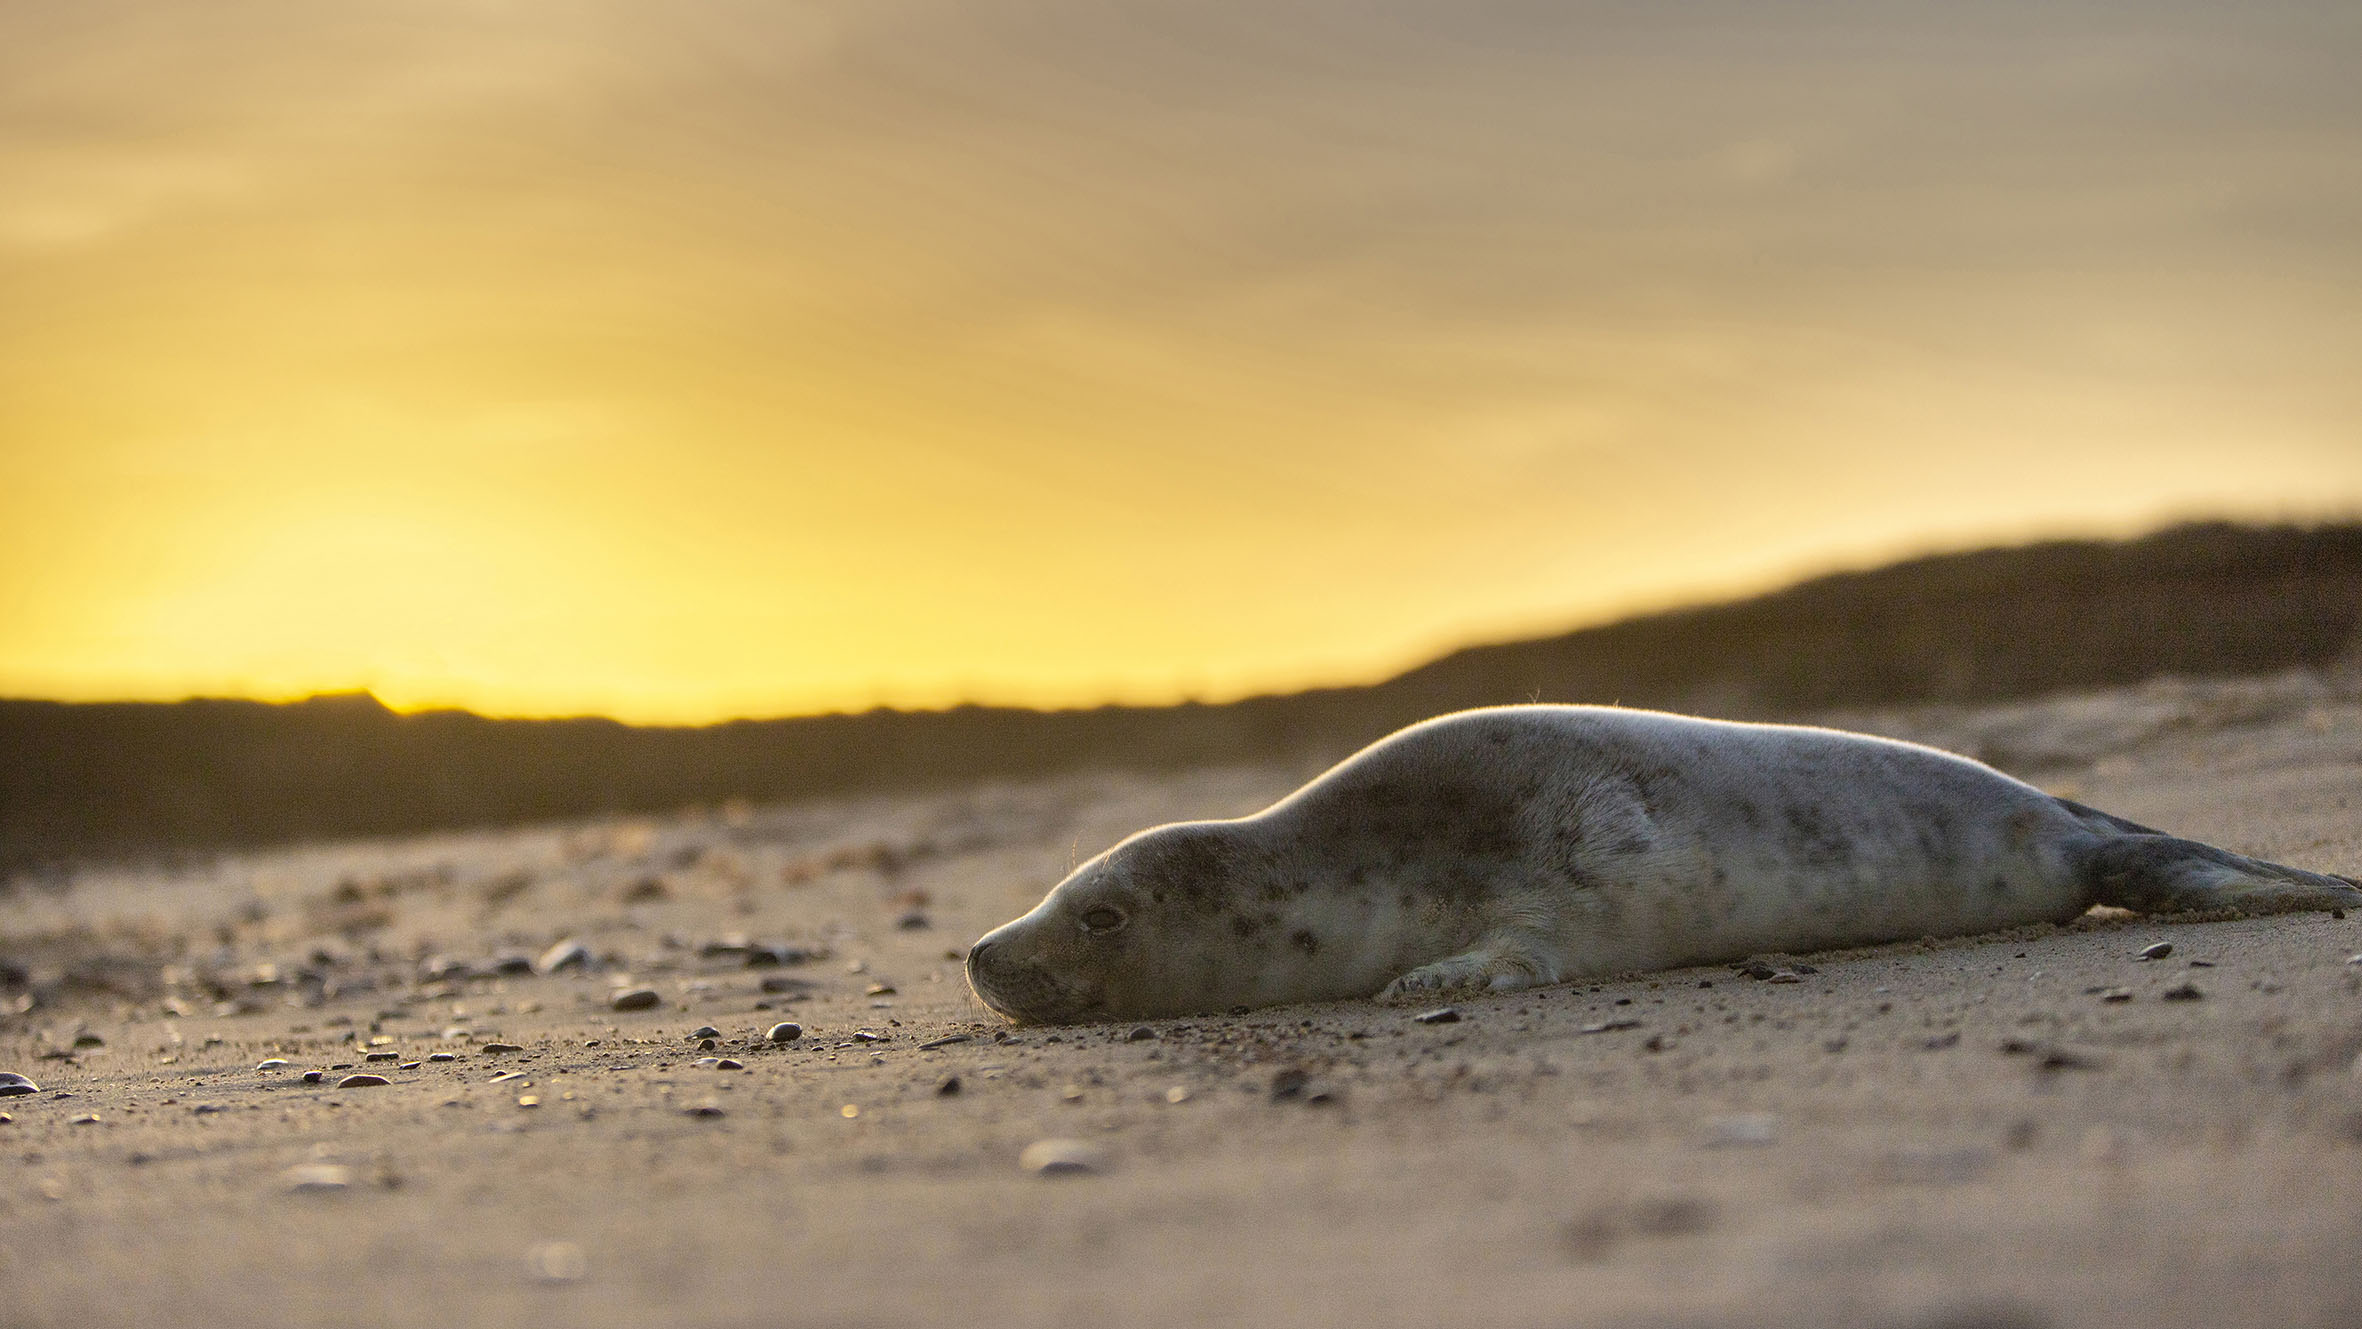
If you get a decent sunrise or sunset it’s worth getting into a position where the sun is behind your subject to ‘backlight’ them. This will make them more of a silhouette and give them an incredible rim lighting which highlights their shape and picks out details such as the seal’s whiskers.
6. Crop factor
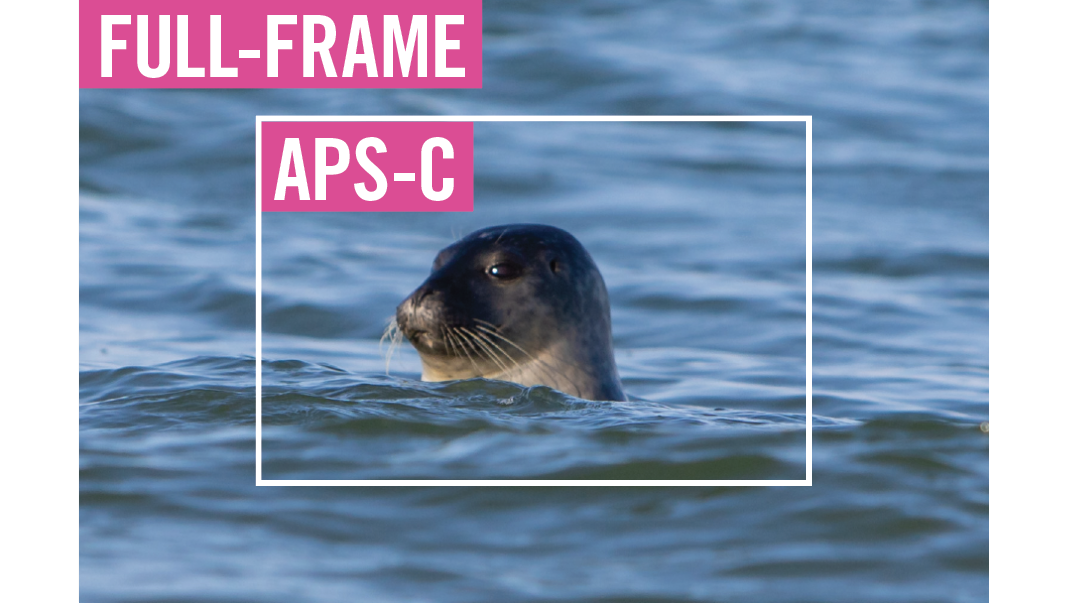
If the seals are far away, such as playing in the sea, you may have better luck with a Canon EOS body that has an APS-C sensor. Canon’s APS-C sensors are smaller so you have a 1.6x crop factor, meaning a 300mm actually feels more zoomed in, like a 480mm! So can help you get a frame-filling shot of distant subjects.
These are the best cameras for portraits and the best portrait photography tips. You might also like the best photo editing software and the best photo-editing laptops.


