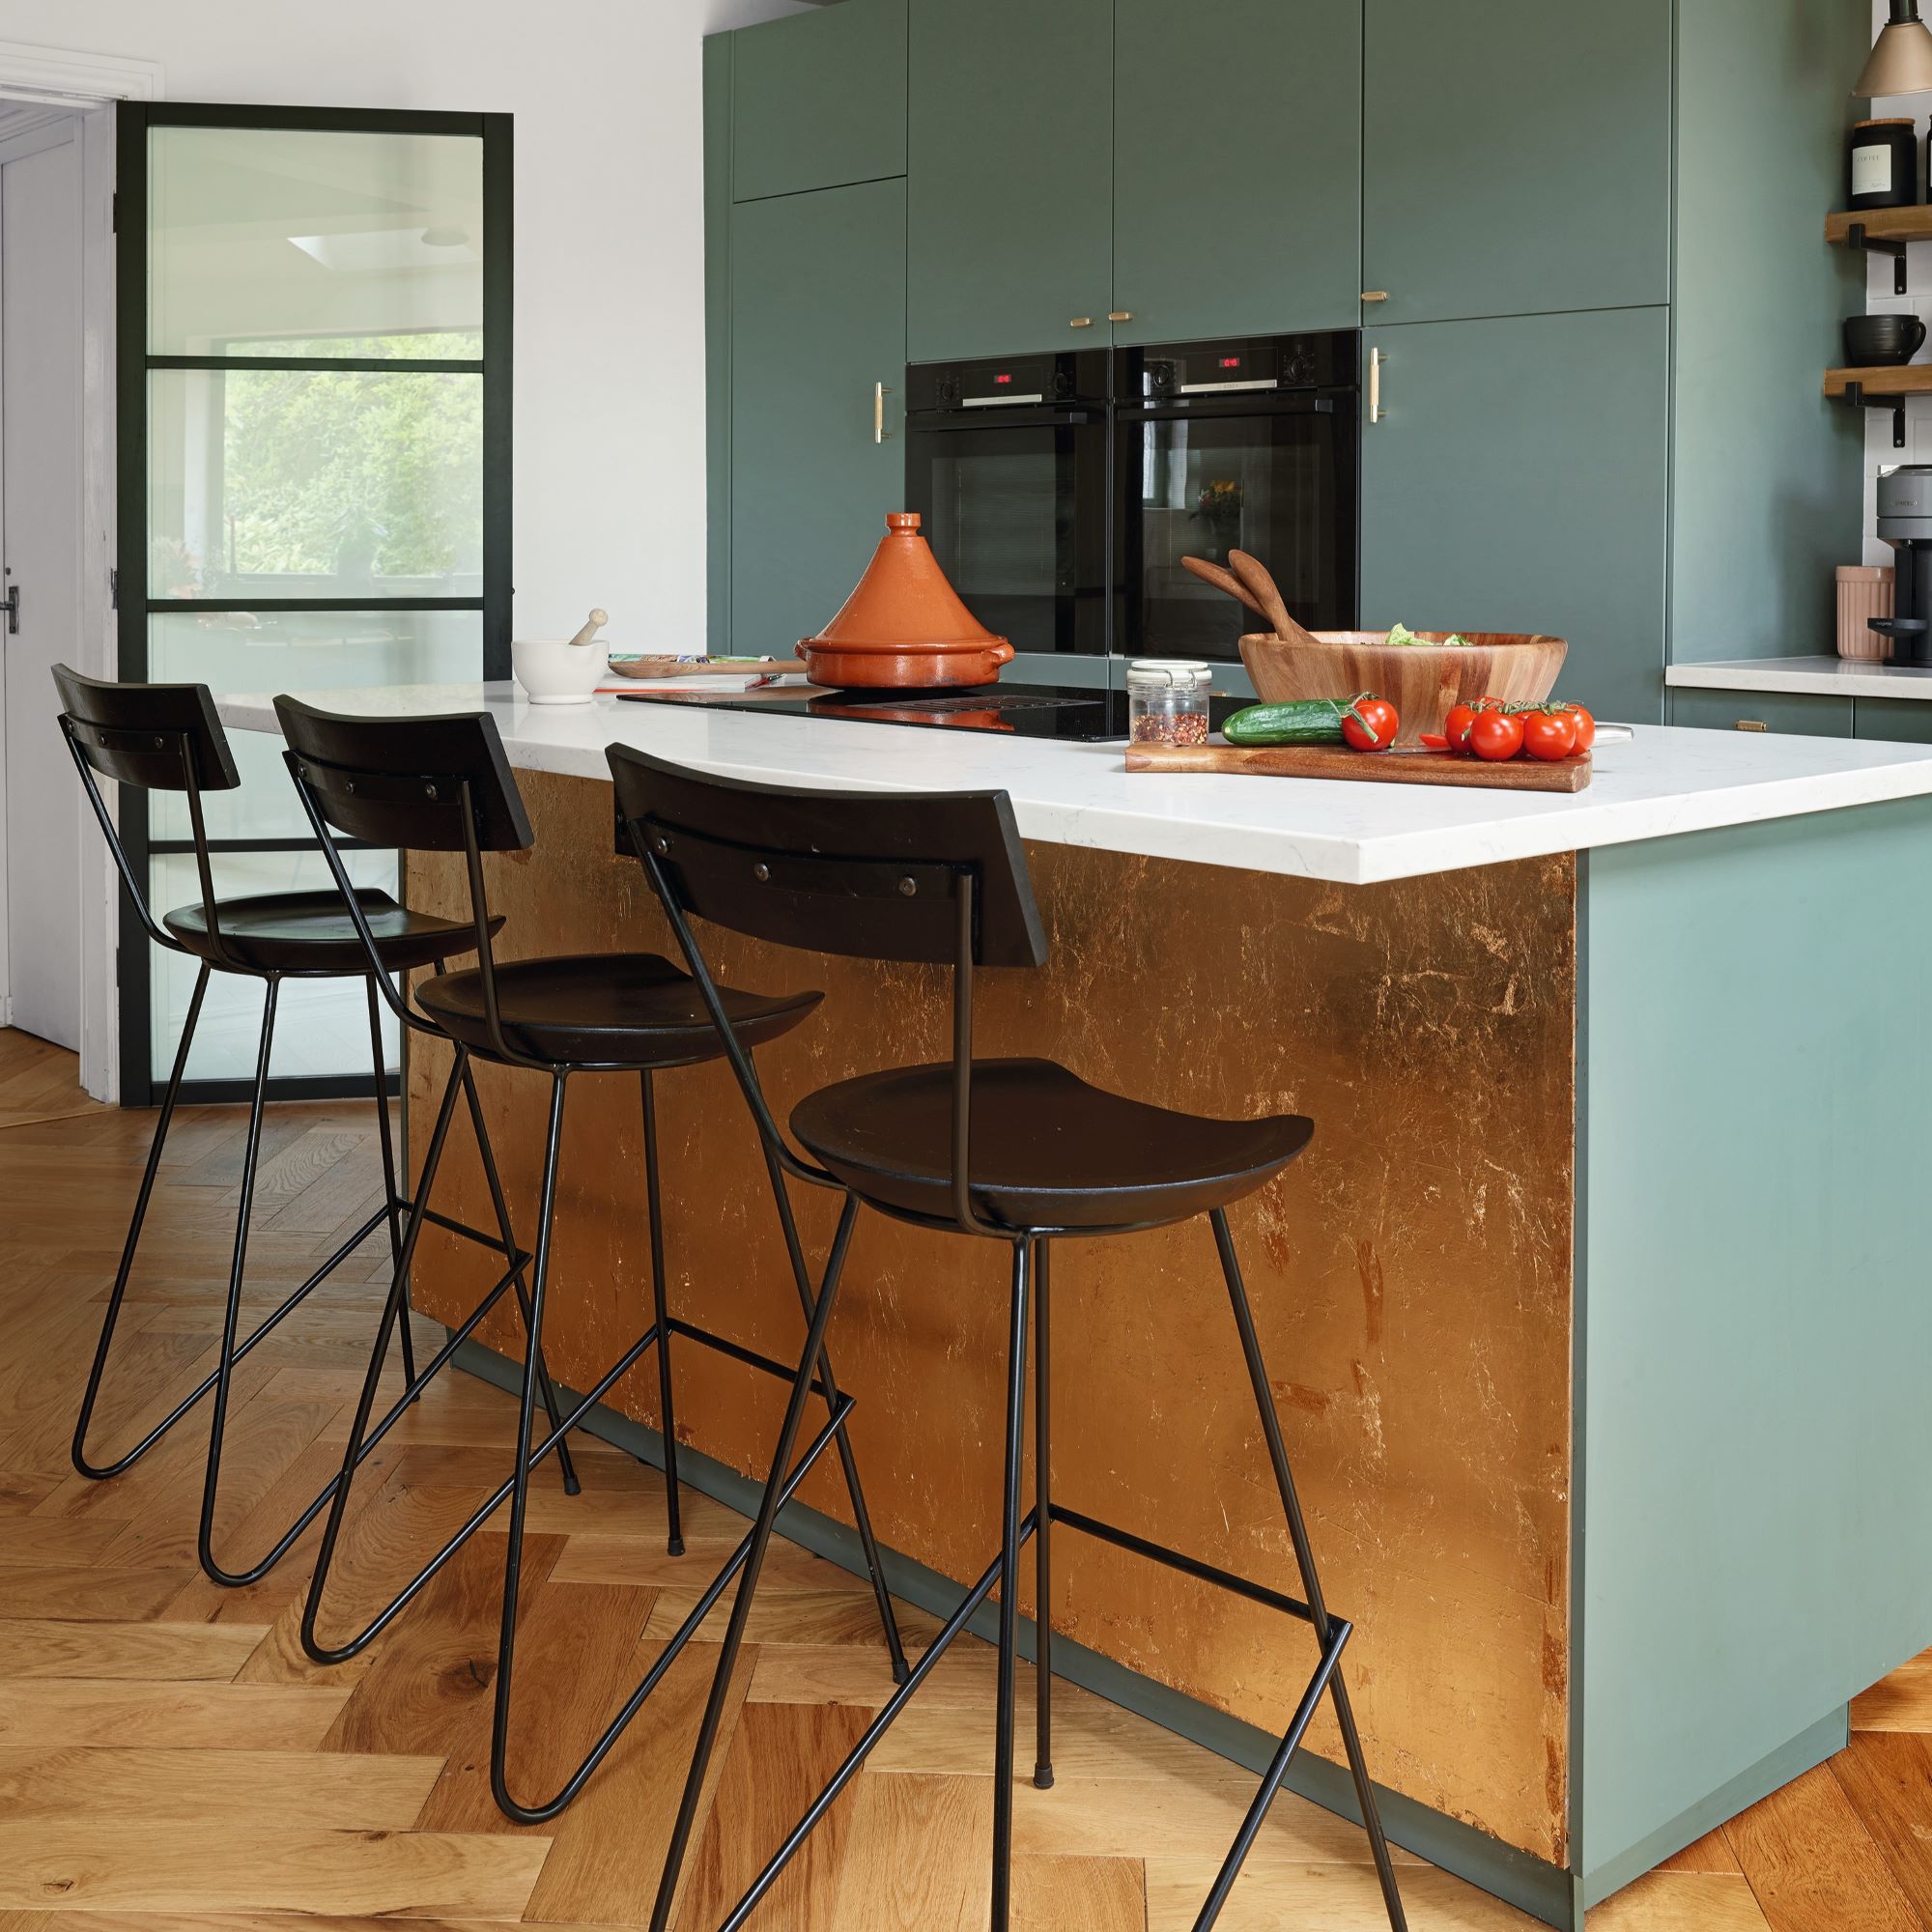
Beautiful kitchens don't just materialise, they are often labours of love and hours totting up bills and balancing budgets. This open-plan kitchen renovation was just that, using clever budget hacks to keep prices low and within budget.
This beautiful Nottingham home is owned by Karen and Phillip Moseley, who embarked on the kitchen renovation to bring their kitchen ideas to life, turning two rooms into an open-plan space, leading onto a utility area.
The total cost of the project came to £32,000, including all building work, kitchen and appliances). We were given the grand tour and got to hear all the glorious details on how the couple designed their kitchen within a very reasonable budget.
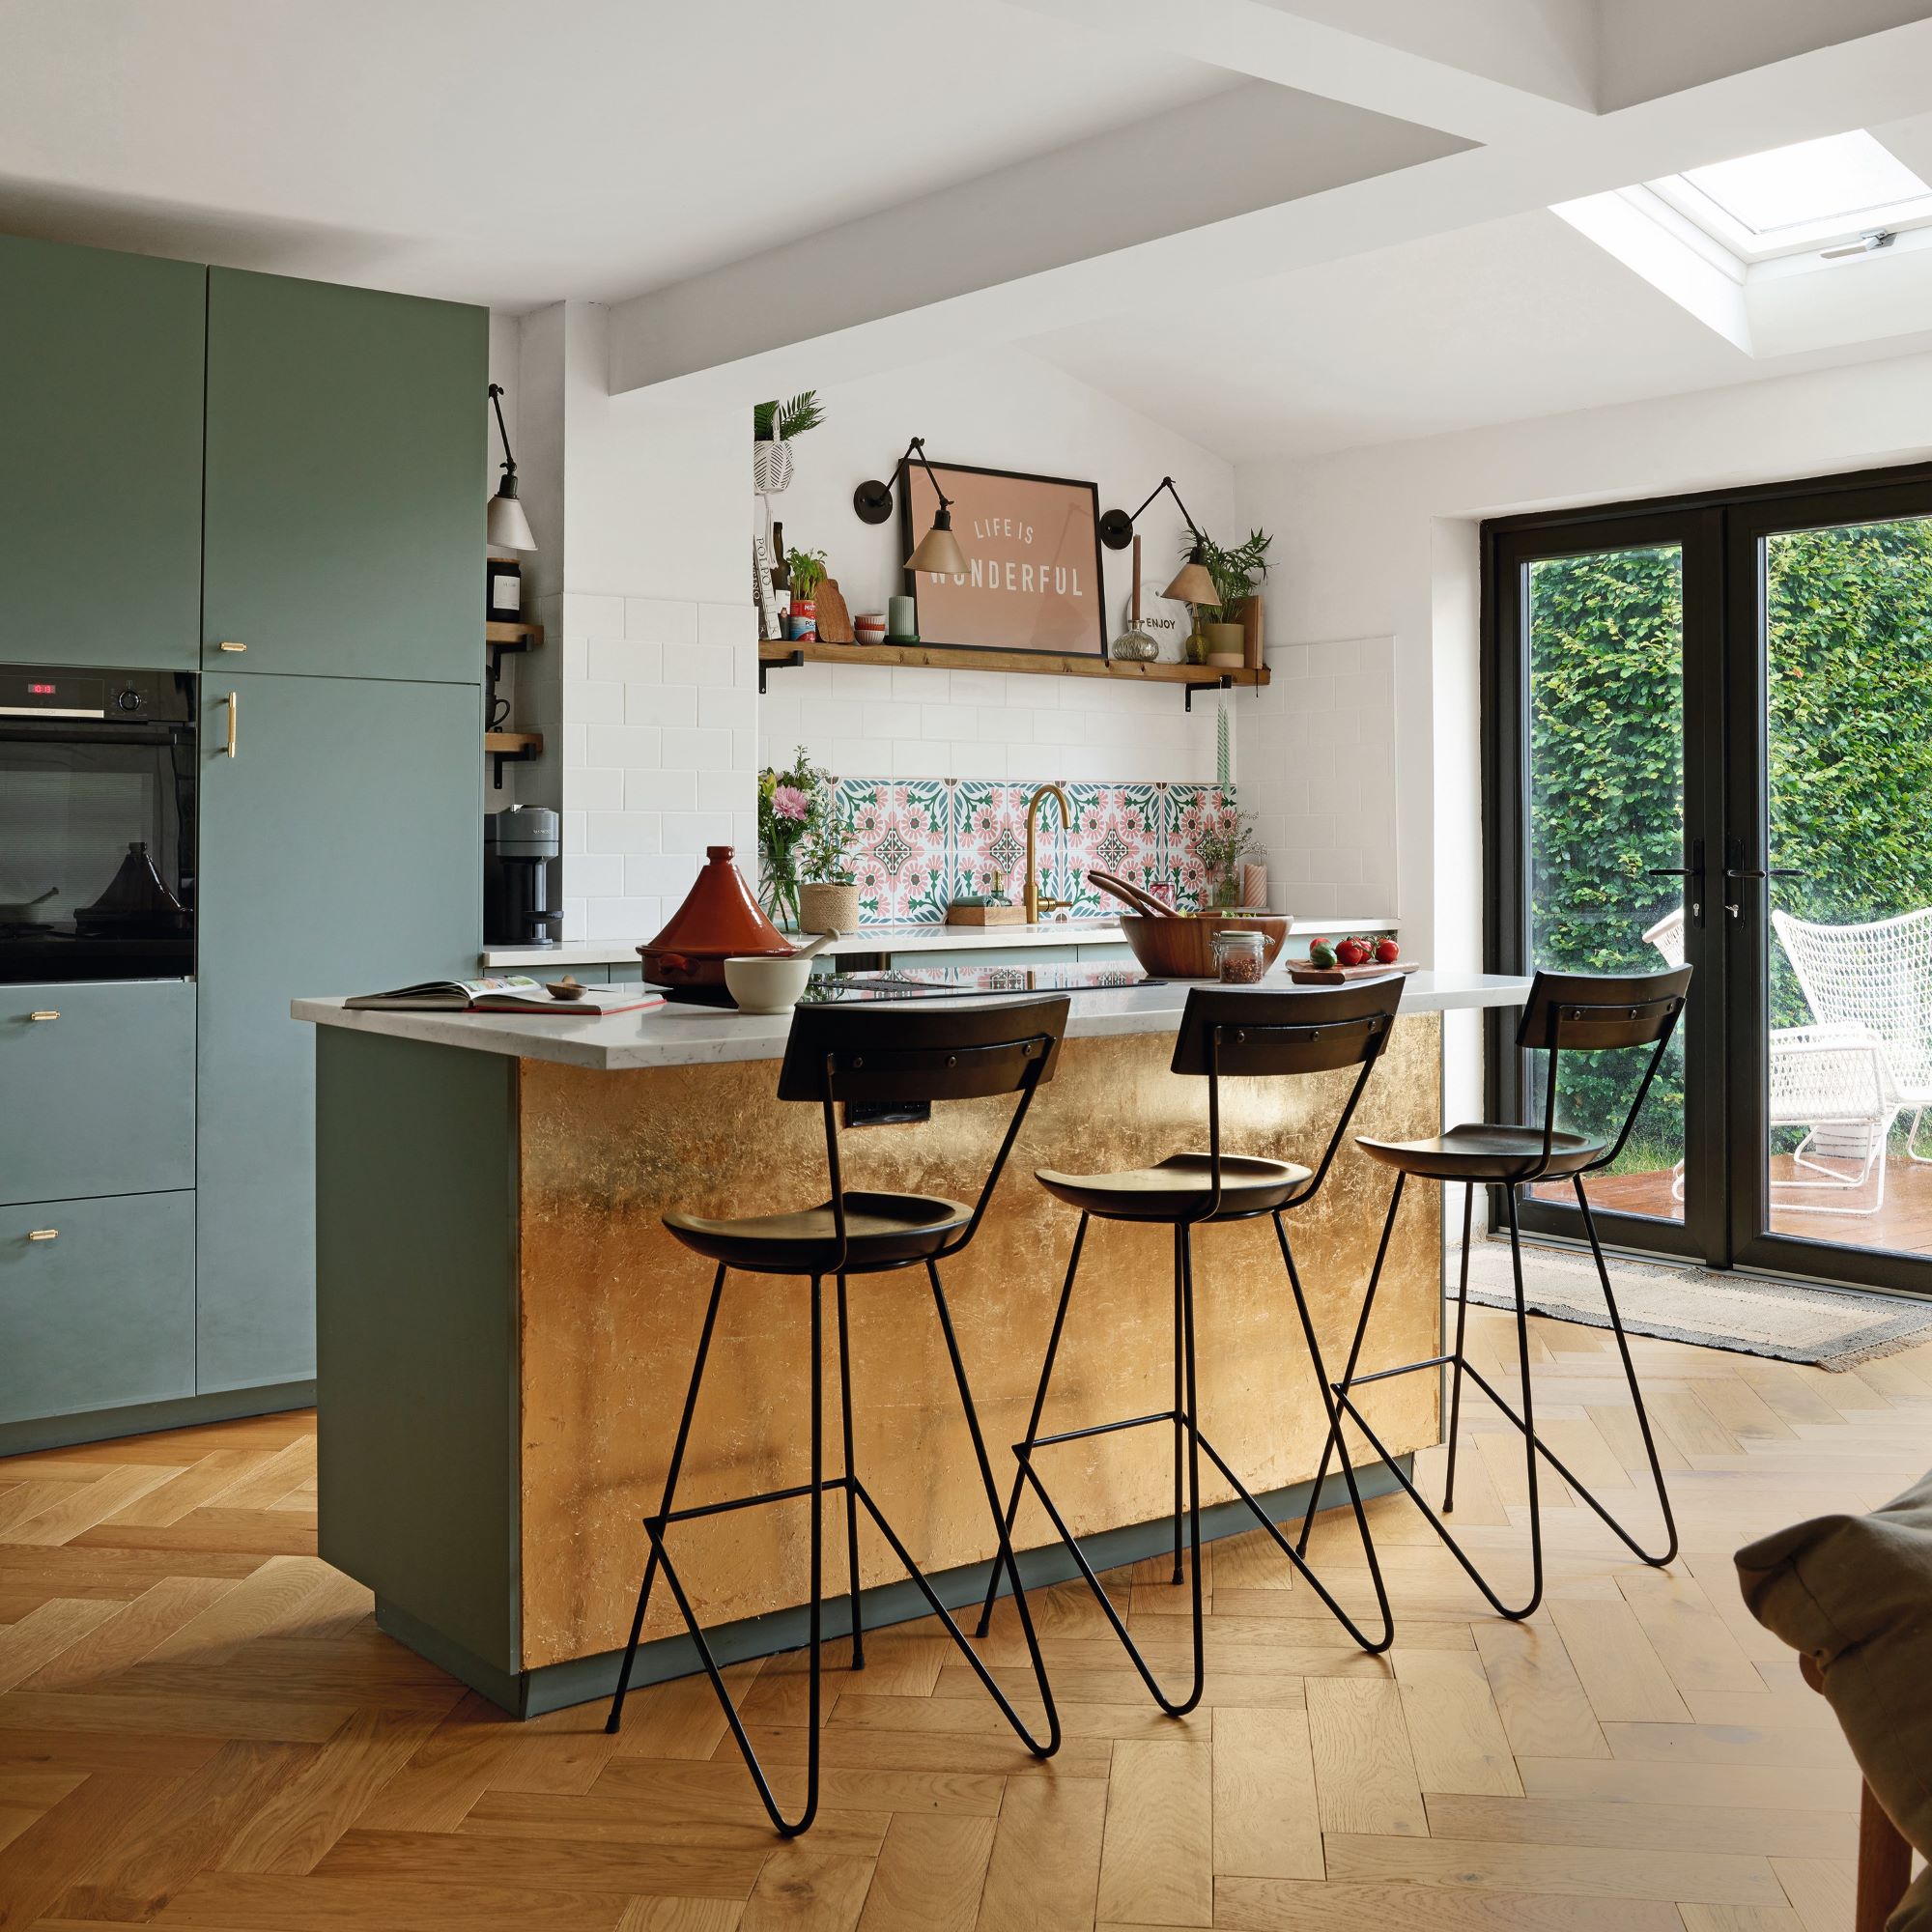
Karen and Phillip weren't happy with the existing kitchen-diner, as it was dated and cut off from the main living space. 'We designed the space ourselves, removing a wall and pitching the roof to make the room feel larger,' Karen tells us. 'To help with planning, we created a scale drawing and played around with cut outs of units until we found the perfect kitchen layout.
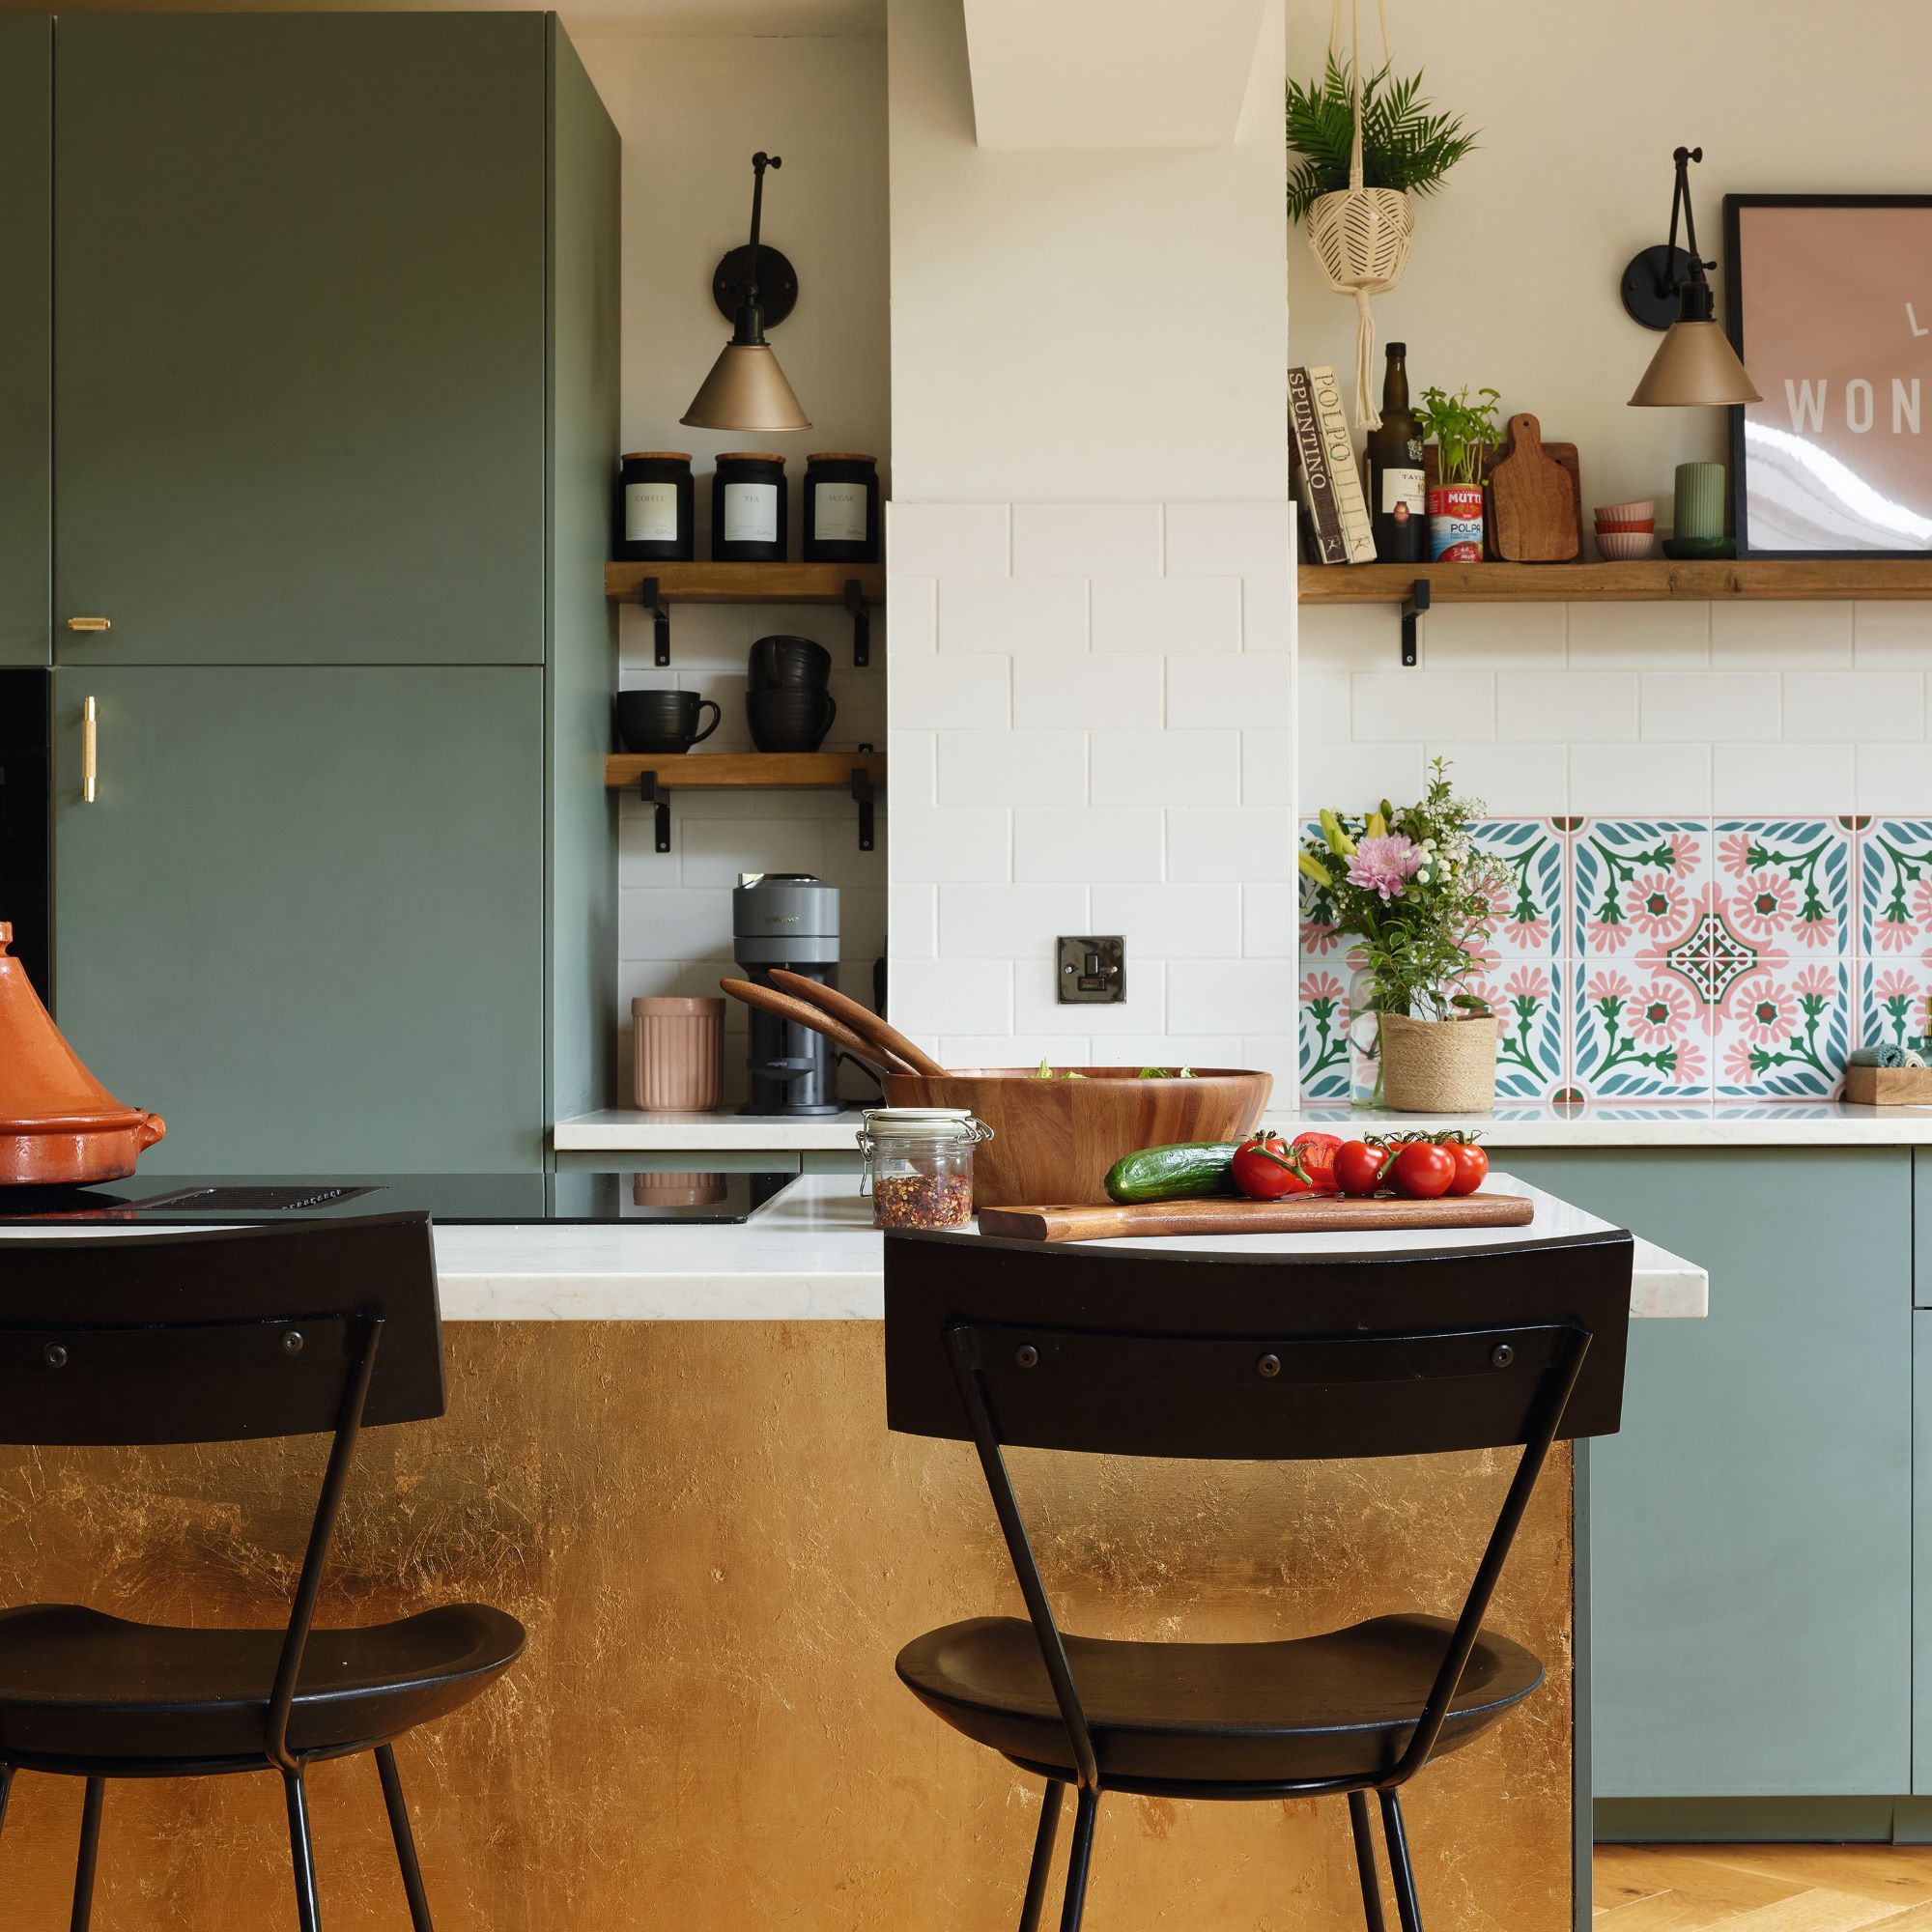
Phillip was able to fit the kitchen and flooring, which helped with the budget. When it came to the materials, the couple kept mainly to budget choices, but splashed out on a few key pieces. 'The units are Ikea’s Bodarp, but I chose expensive tiles for the splashback, a gold sink, taps and handles,' Karen says.
The finer details
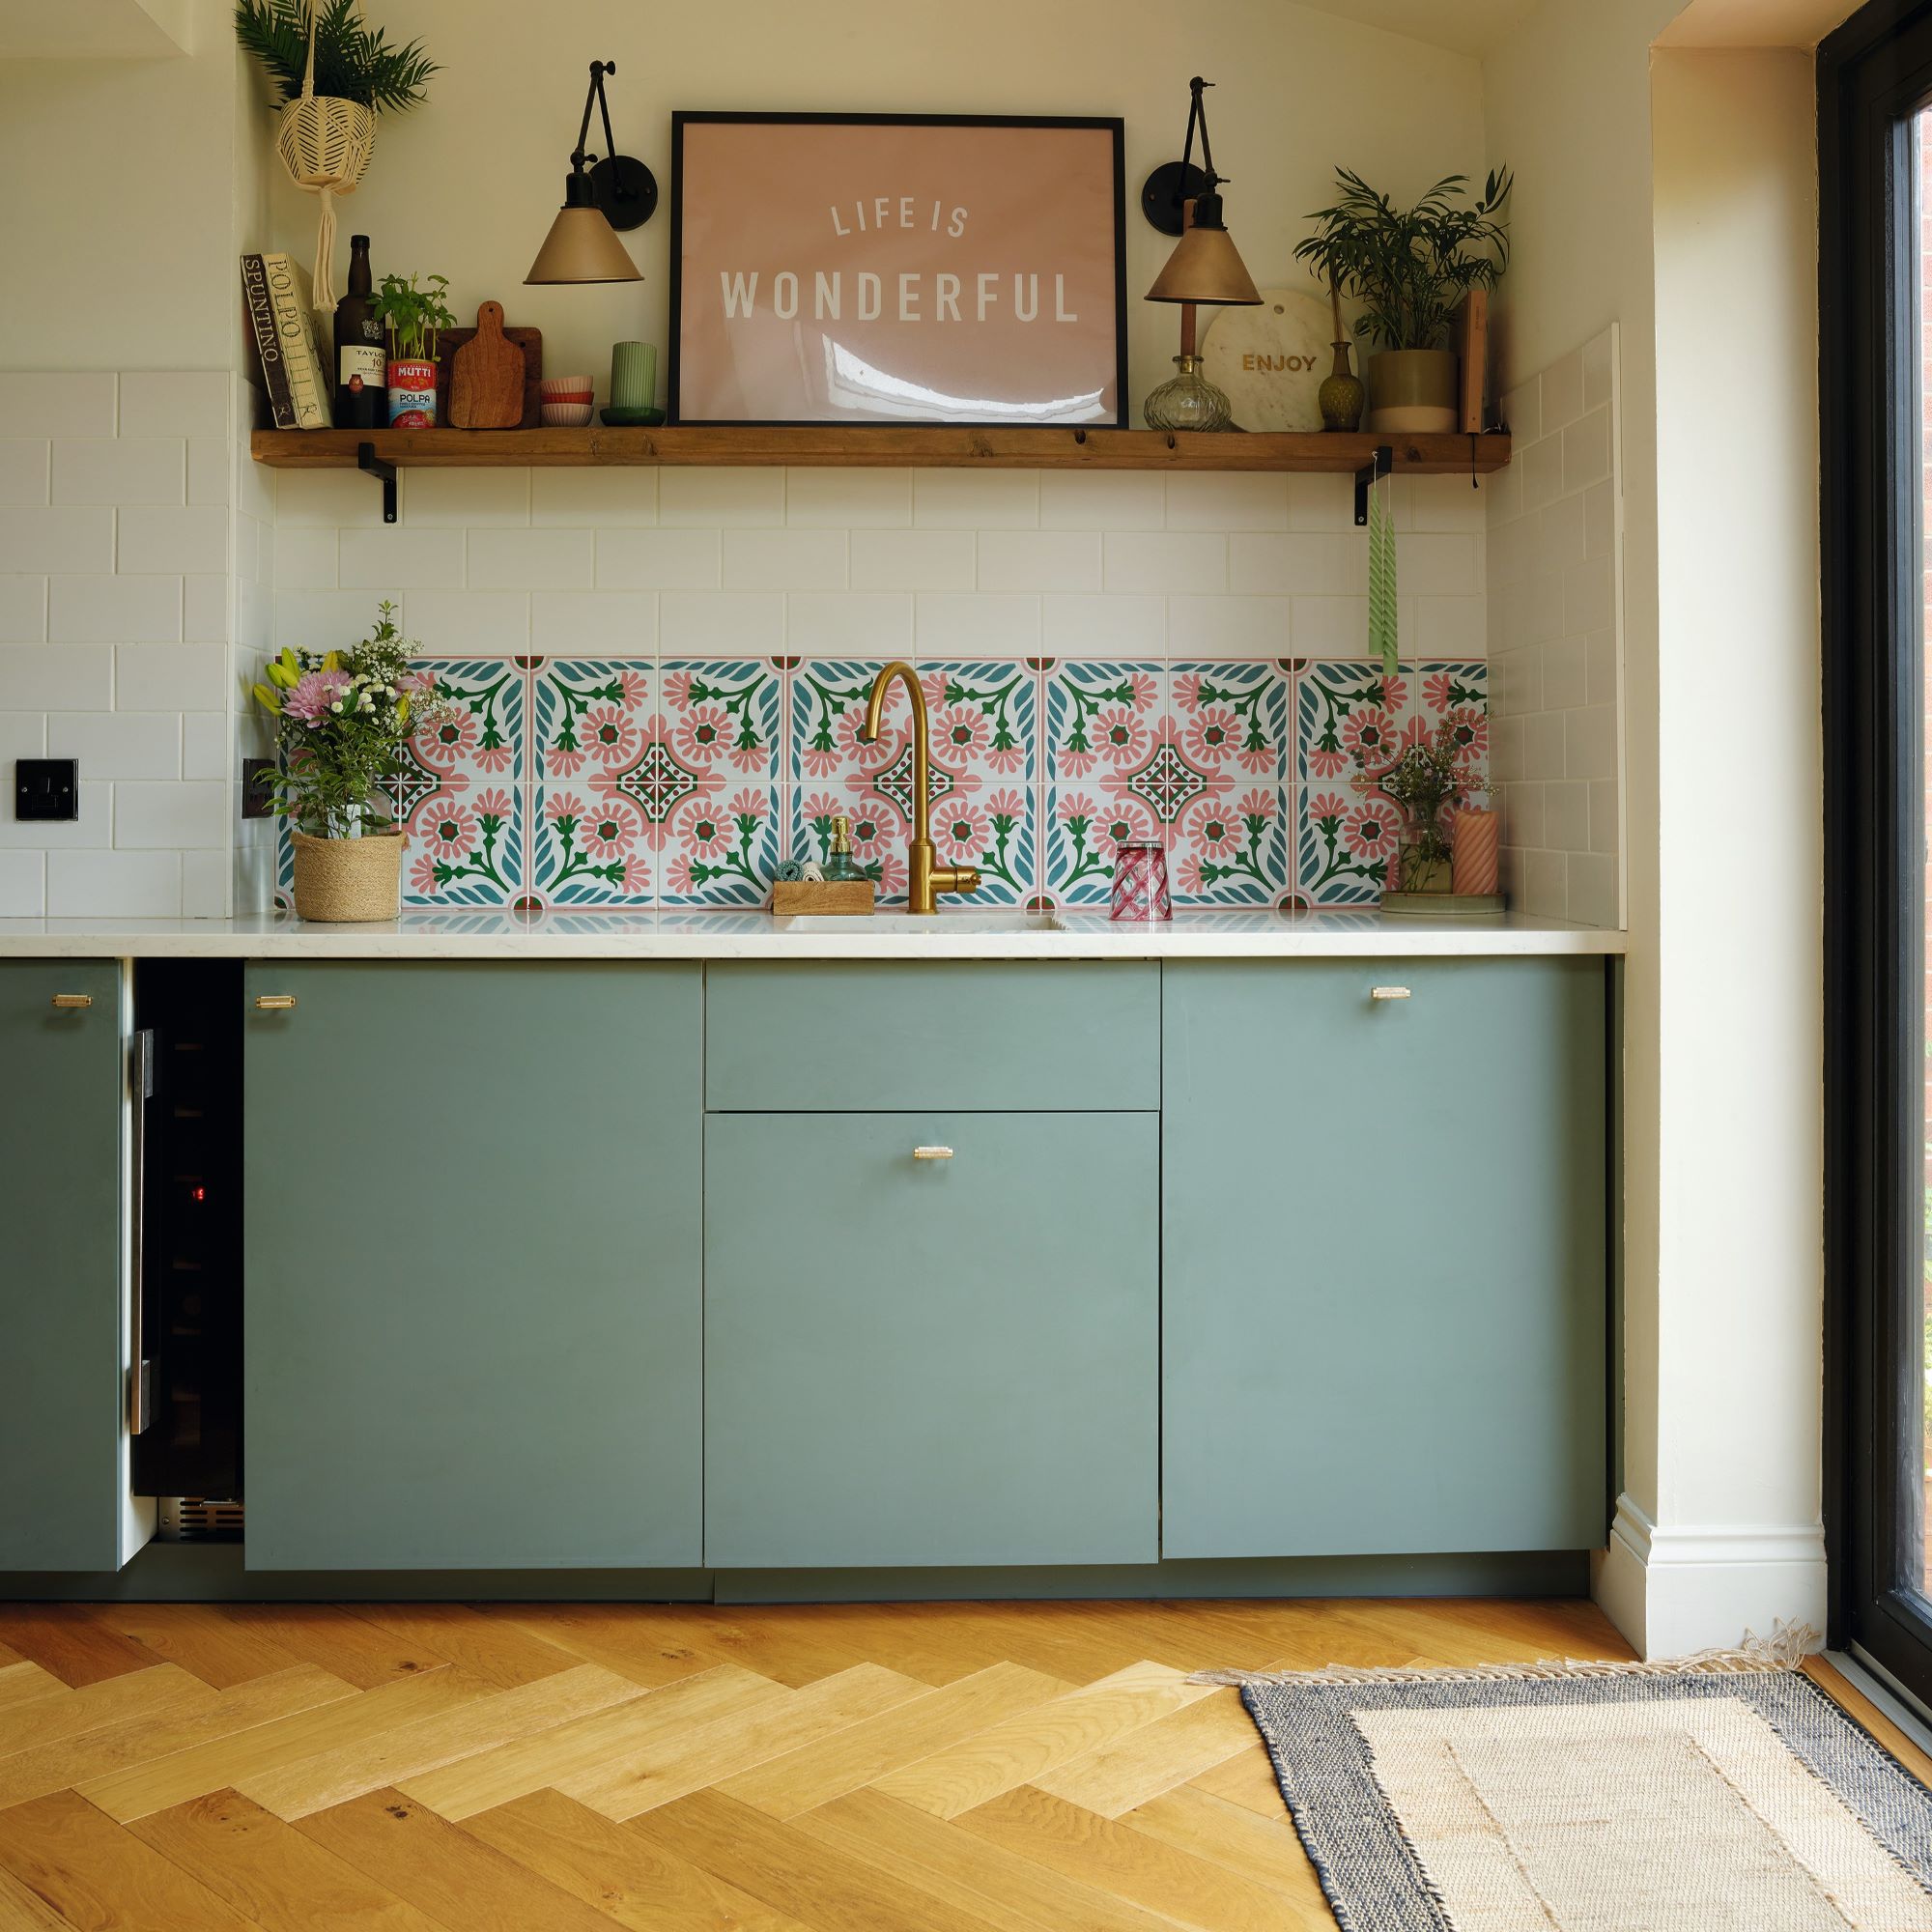
The colourful tiled kitchen splashback softens the look of the modern units and draws the eye to the statement gold sink and taps. Wall lights provide practical lighting throughout the space.
The stunning island unit is wide and deep enough to provide space for a large induction hob with prep and serving space either side and a breakfast bar at the front. Karen covered the back of the island in gold leaf for a luxe look and added a protective resin to make it hardwearing.
'I saw someone doing up a bar on TV with gold leaf squares,' she tells us. 'I tried the same method on the island and I’m thrilled at how it looks.
And in terms of the utility units, these were chosen to match the ones in the kitchen for continuity, and the shelf was made with an old rafter left over from the building work. Being resourceful and using materials that would have otherwise gone to waste is an easy way to make your kitchen look expensive on a budget.

Summarising her thoughts on the project, Karen tells us: 'I love finding affordable ways to create an interesting interior and have been sharing our renovation on Instagram (@athomewiththemoseleys). I’m really happy with how the project turned out. It’s calm but practical and each of the areas are defined yet flow into each other.’
Focus on: engineered wood flooring
Hardwearing and easy to install for DIYers, engineered flooring is ideal for kitchen-diner flooring ideas. It consists of a real wooden top fixed on top of a core board, which typically consists of layers of plywood or other wood combinations.
Engineered wooden flooring can be purchased in planks of wood for a floorboard-style effect, or as parquet blocks that can be arranged into patterns, but these are trickier to lay. Each piece of engineered wood comes with tongue and groove sides or a click system so that they can be easily slotted alongside each other when it comes to fitting. Once the surface is primed for them, they just need to be glued or nailed into place, which is what makes this type of kitchen flooring an easy DIY project.

Engineered wood comes in different thicknesses. The thicker that top of real wood, the longer your engineered wooden flooring will last. A thicker top of real wood will still be susceptible to scratching, but it is unlikely to cut through into the core. n Whether you are looking for a light oak or a rich walnut, engineered wood is available in a host of real woods and finishes.
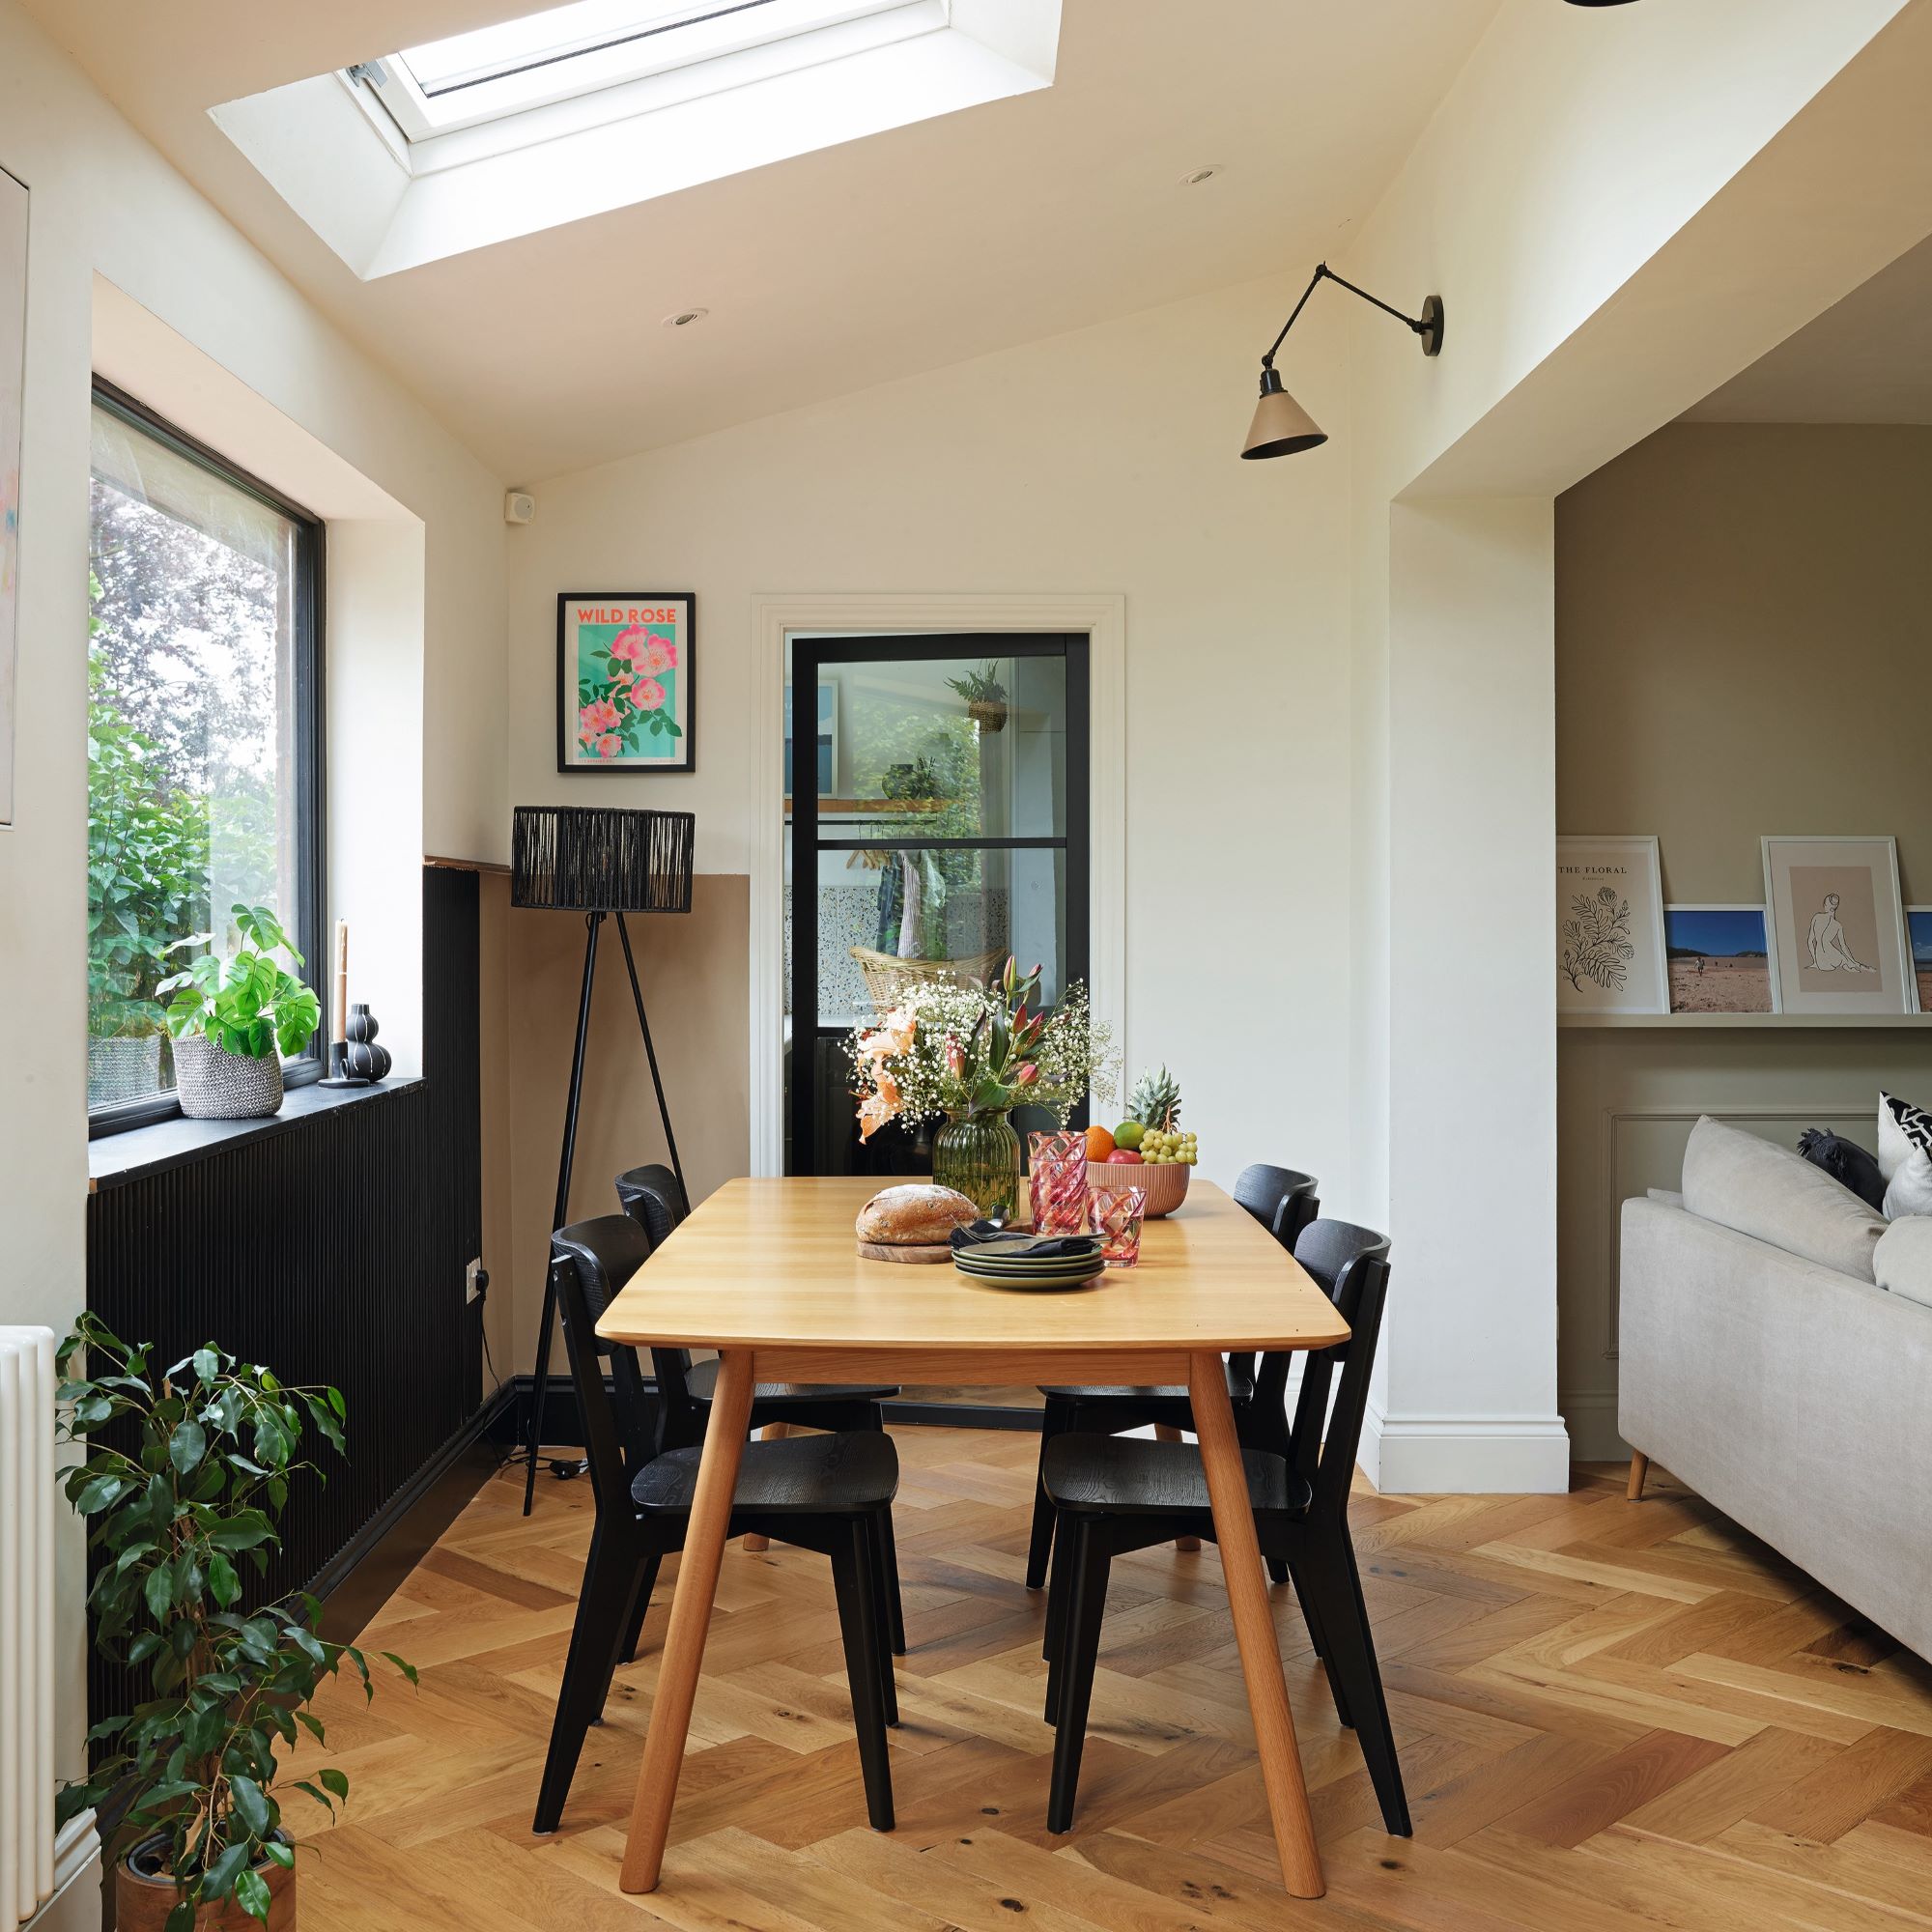
In Karen and Phillip's kitchen, the parquet design of the wooden flooring gives natural warmth to the modern space. And using engineered flooring throughout the open-plan space pulls the different zones together harmoniously.


