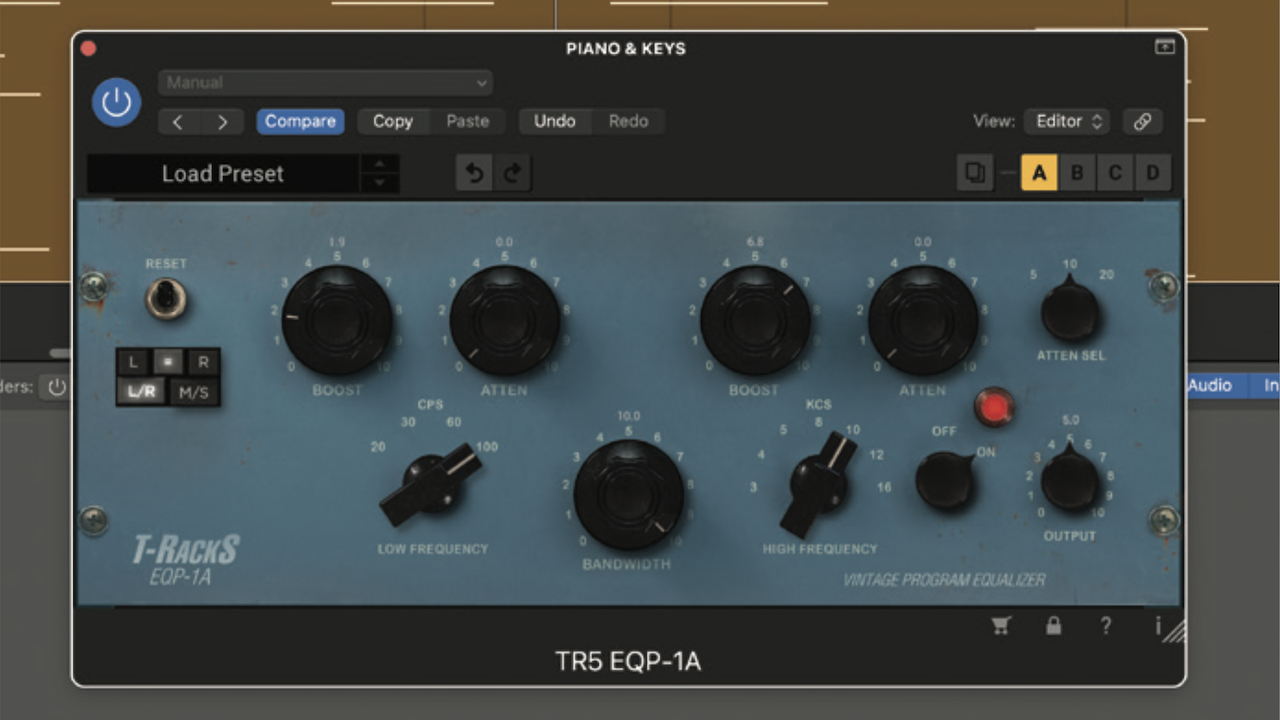
With piano, synth and keyboard chains, we can be a bit more ambitious with the creative effects. That said, our mixing chain still needs core EQ and compression plugins. Typically, these play a sweetening role, and to that end we’re using a hardware emulation EQ to add glossy air to the high frequencies.
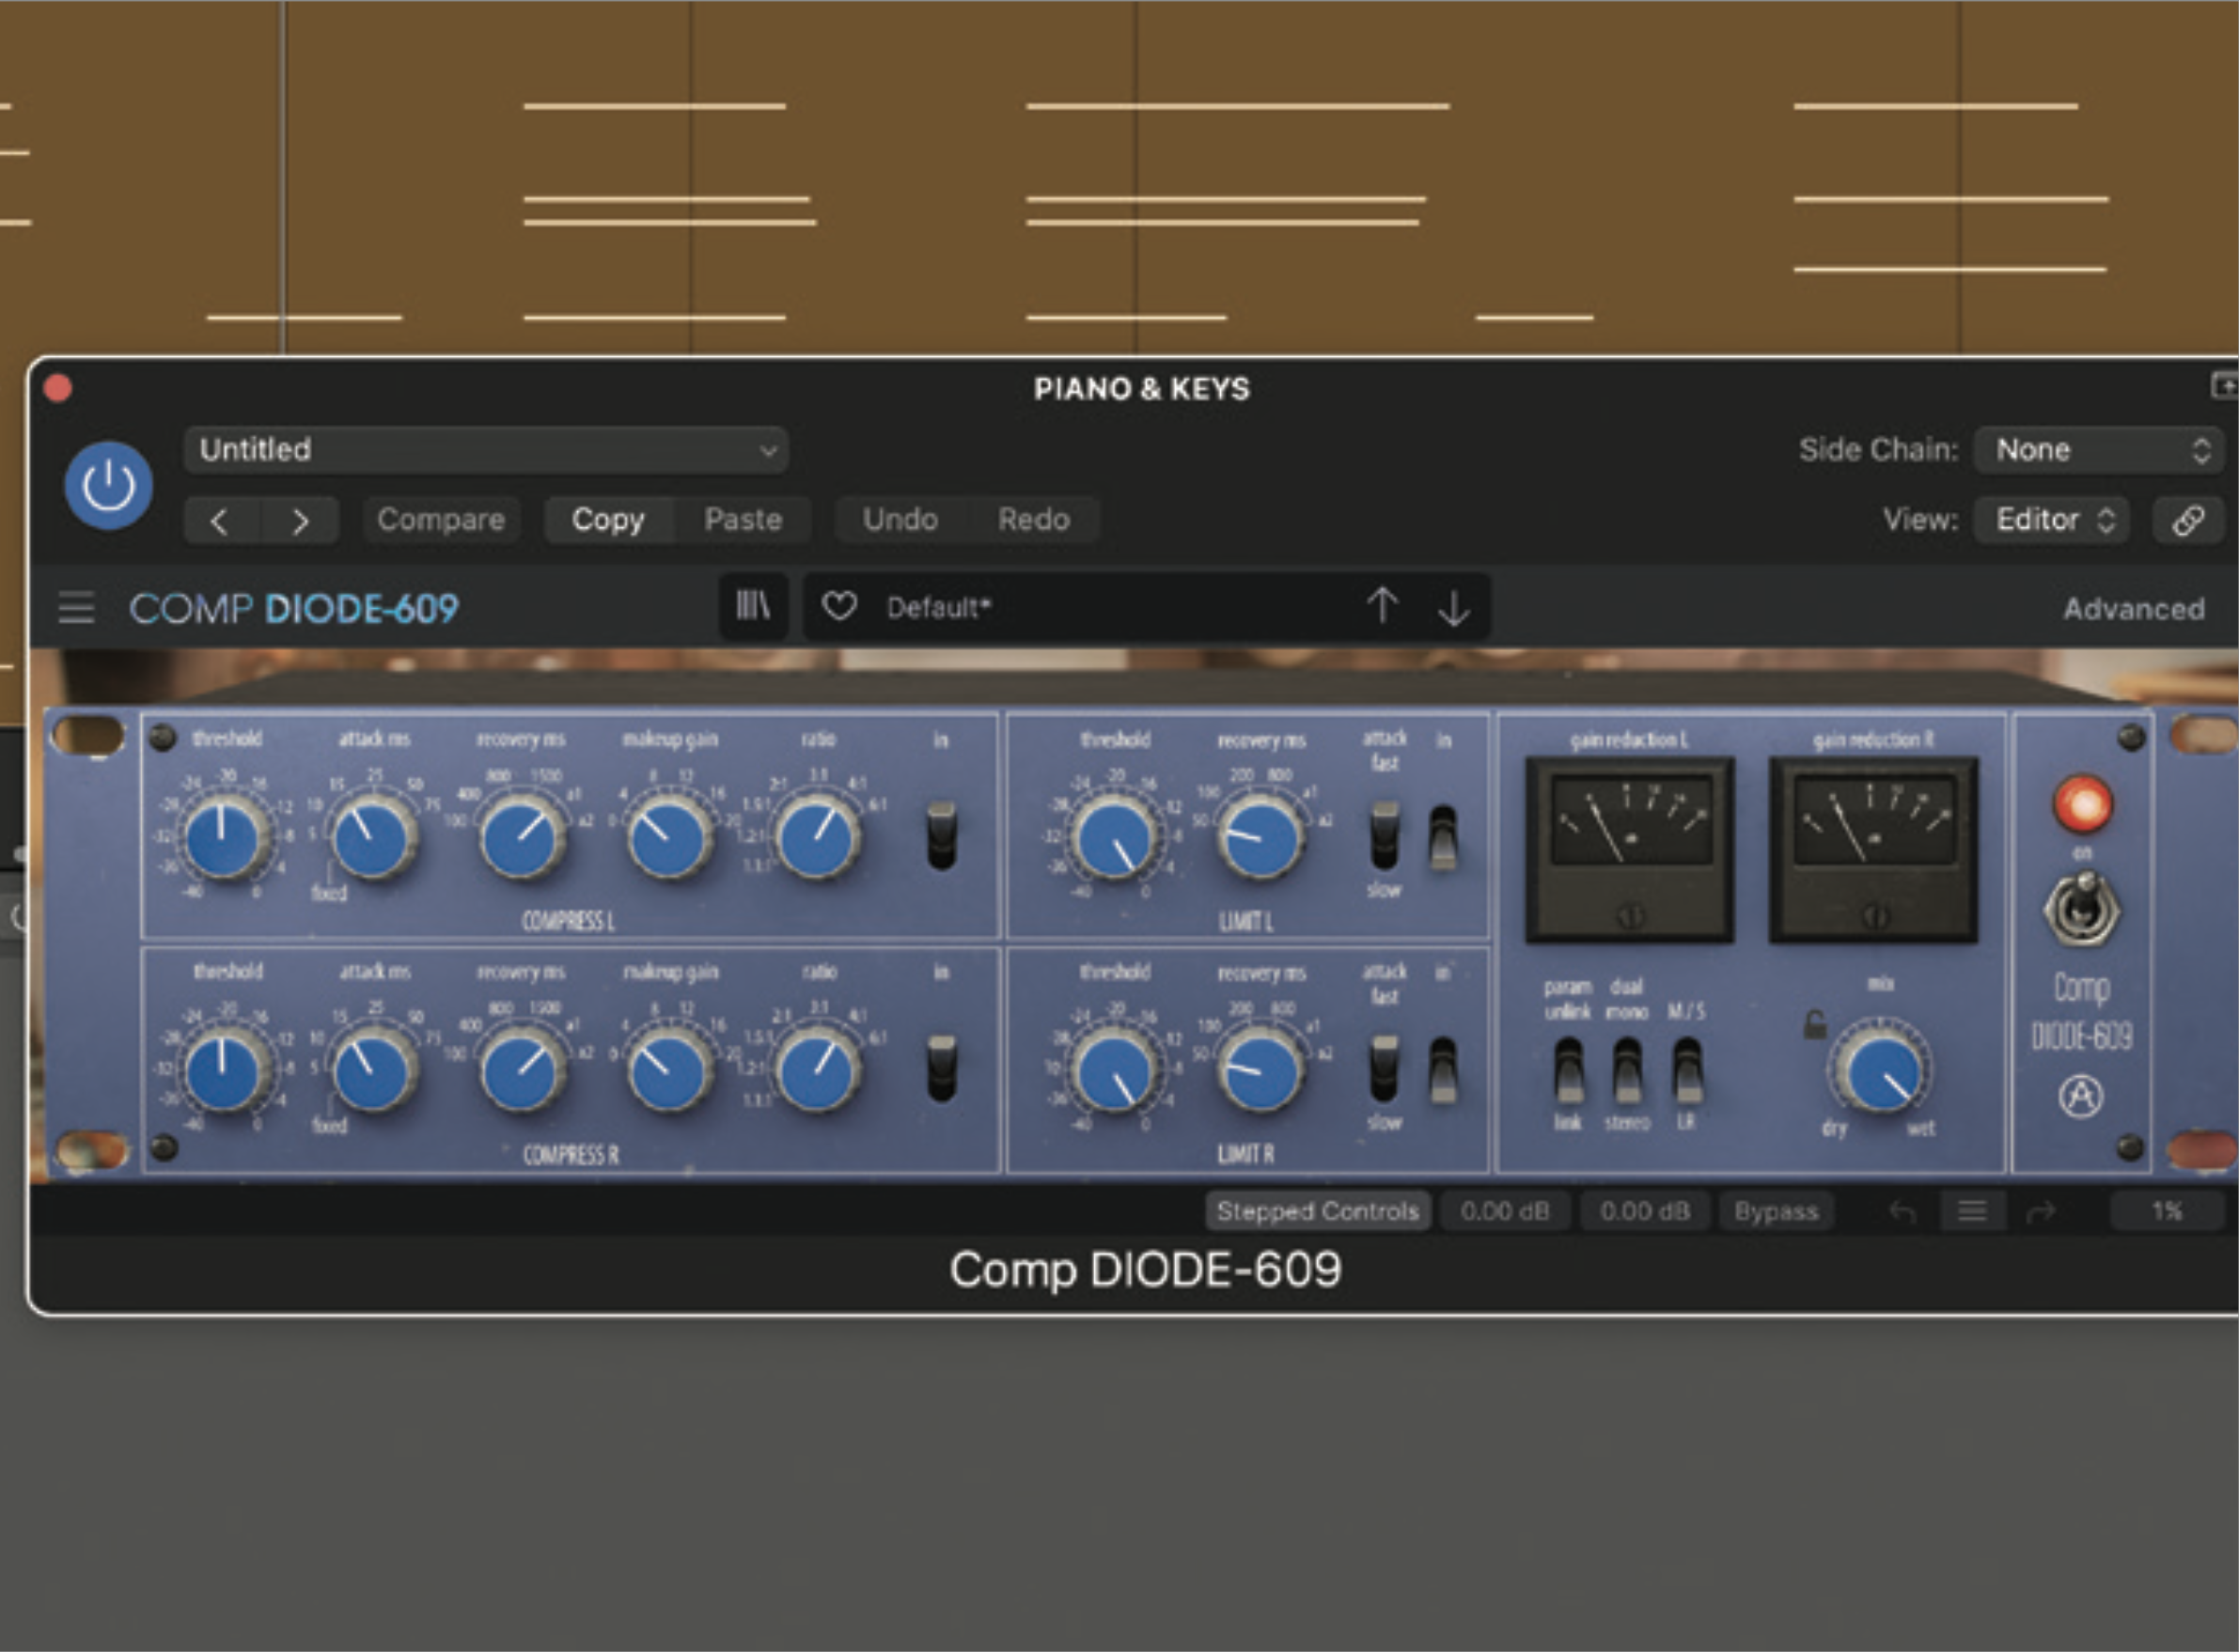
Hard compression can work well with some club piano sounds, but with piano we’re mostly after a glue effect, so a quality mix bus compressor is best. For most applications, a medium attack, automatic release and low ratio (2:1 or 4:1) does the trick, but adjust the release if the compression is too audible.
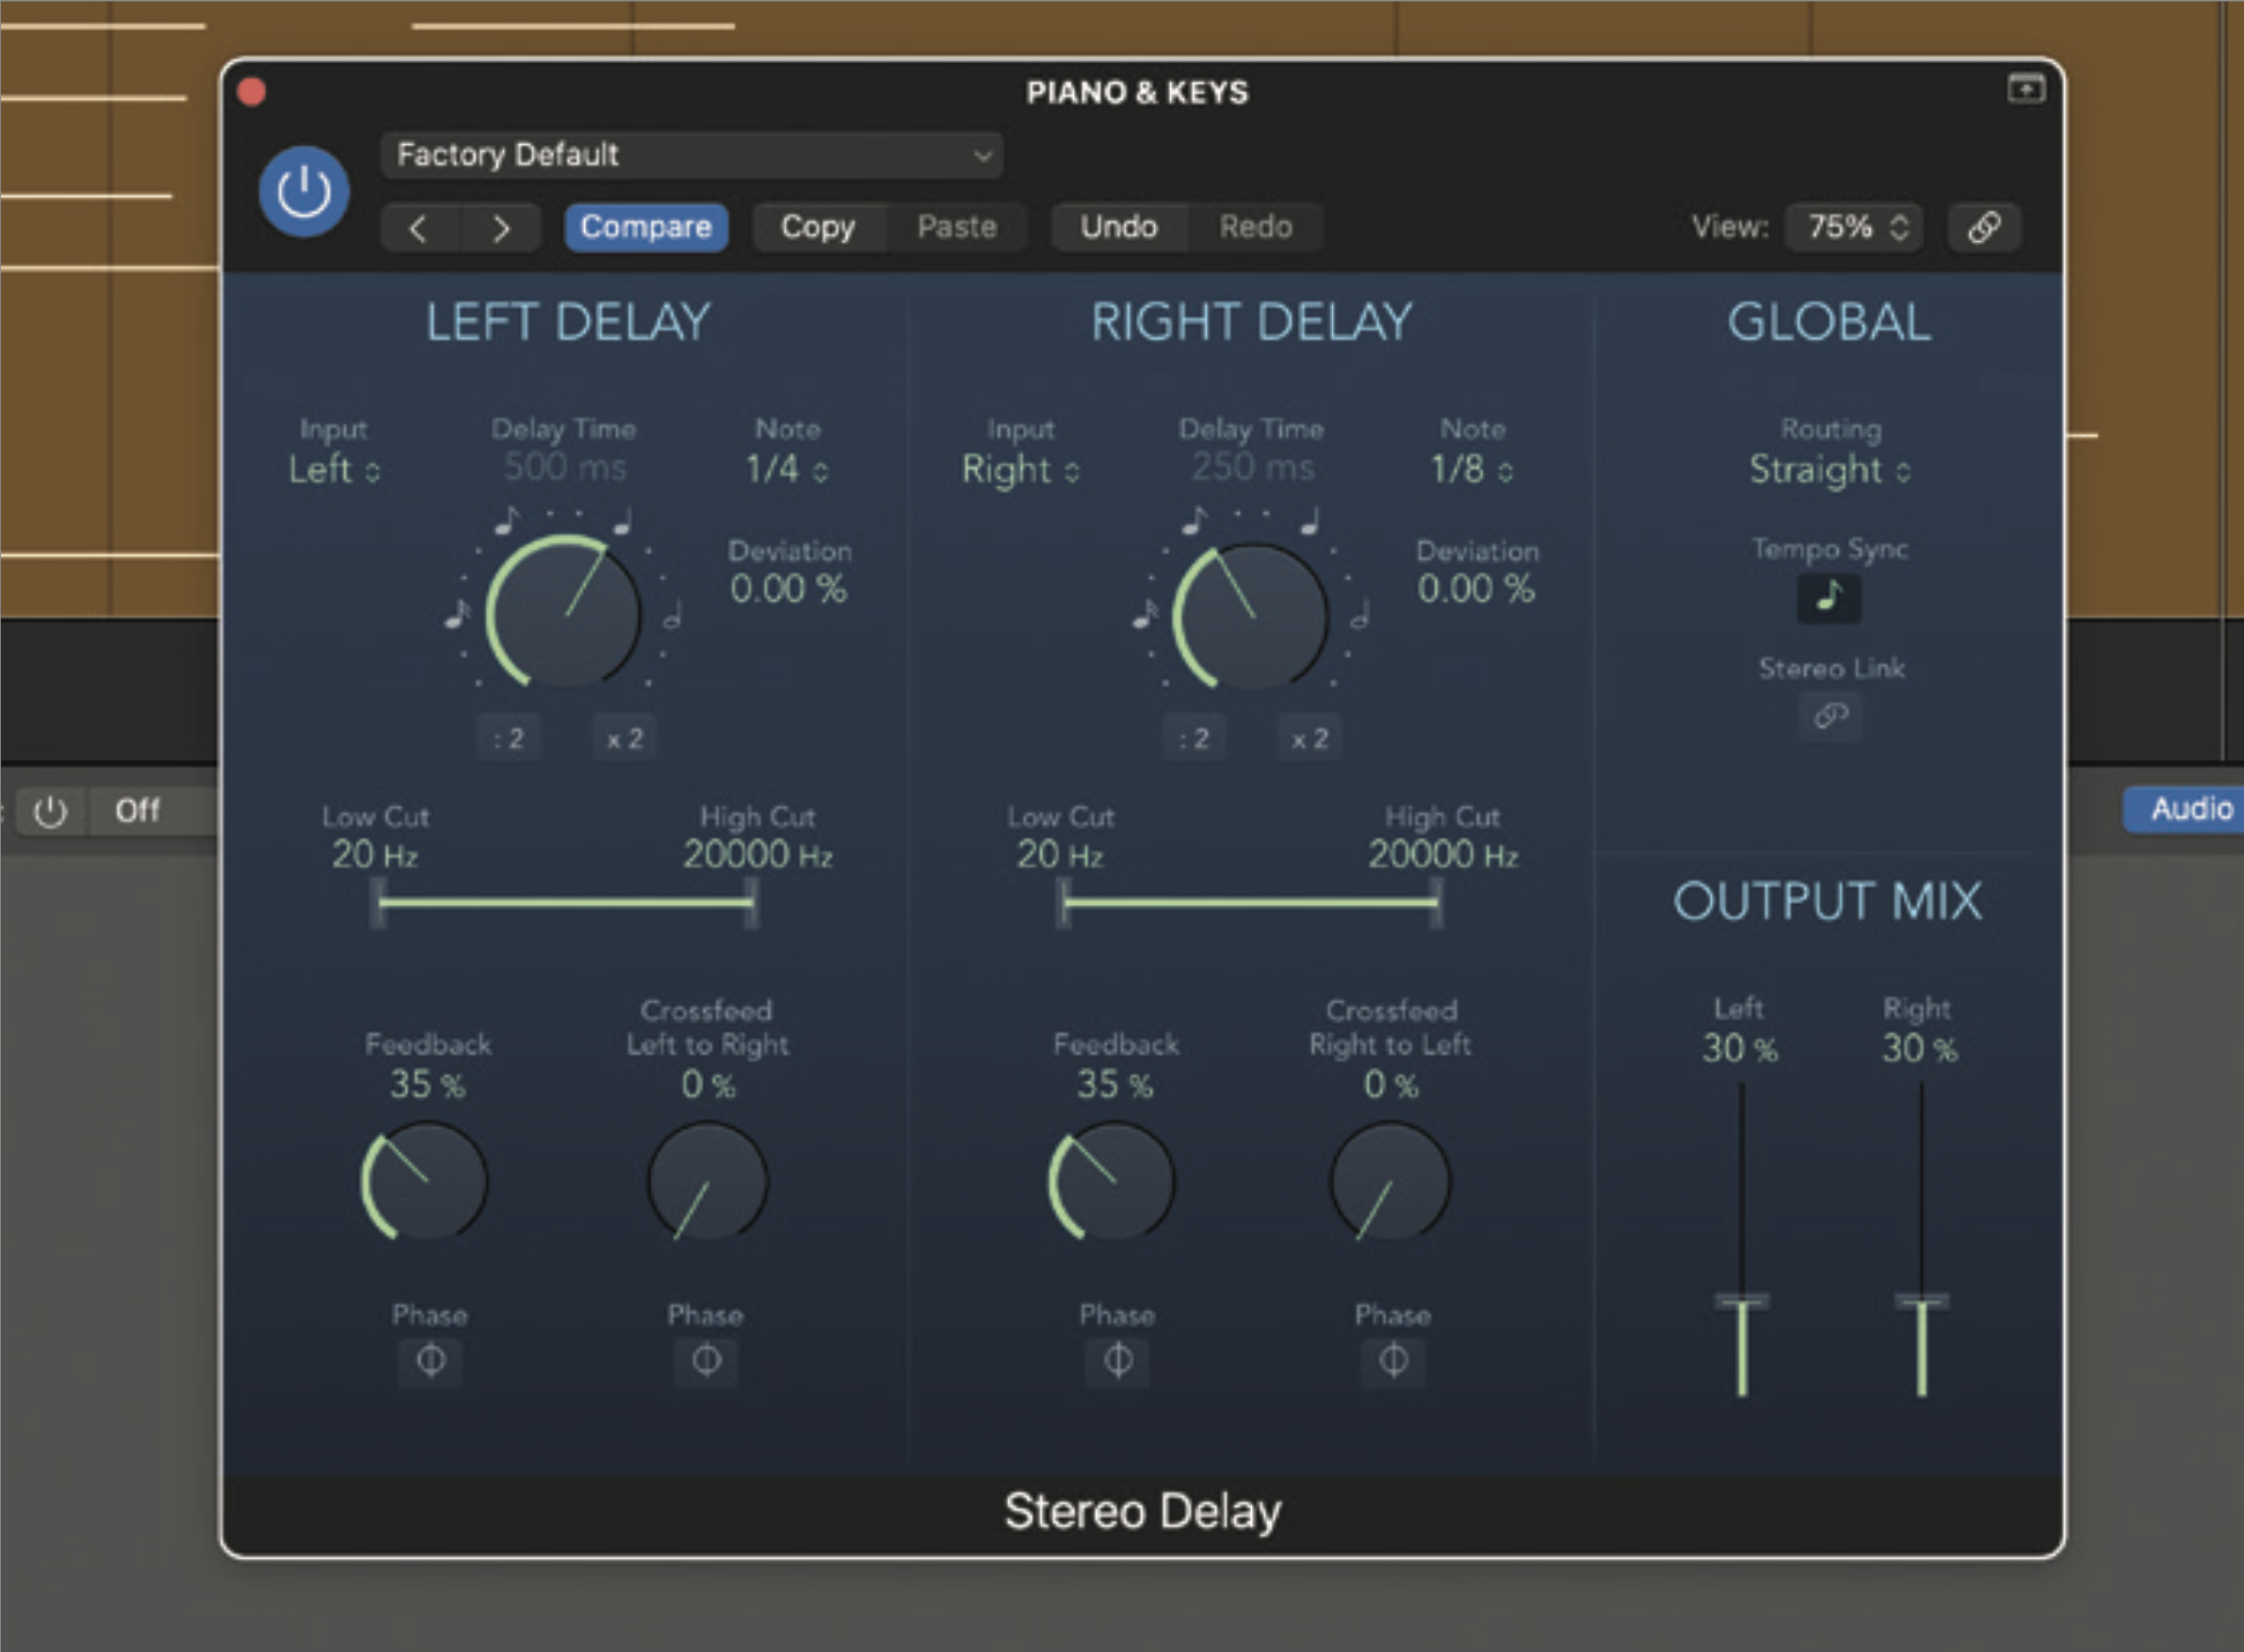
Next in the chain is a stereo delay. This is designed to add some subtle space and movement to the sound, and to that end we’ve set tempo-synced timings of 1/4 note on the left and 1/8 note on the right, though you can choose whatever timings work for your track.
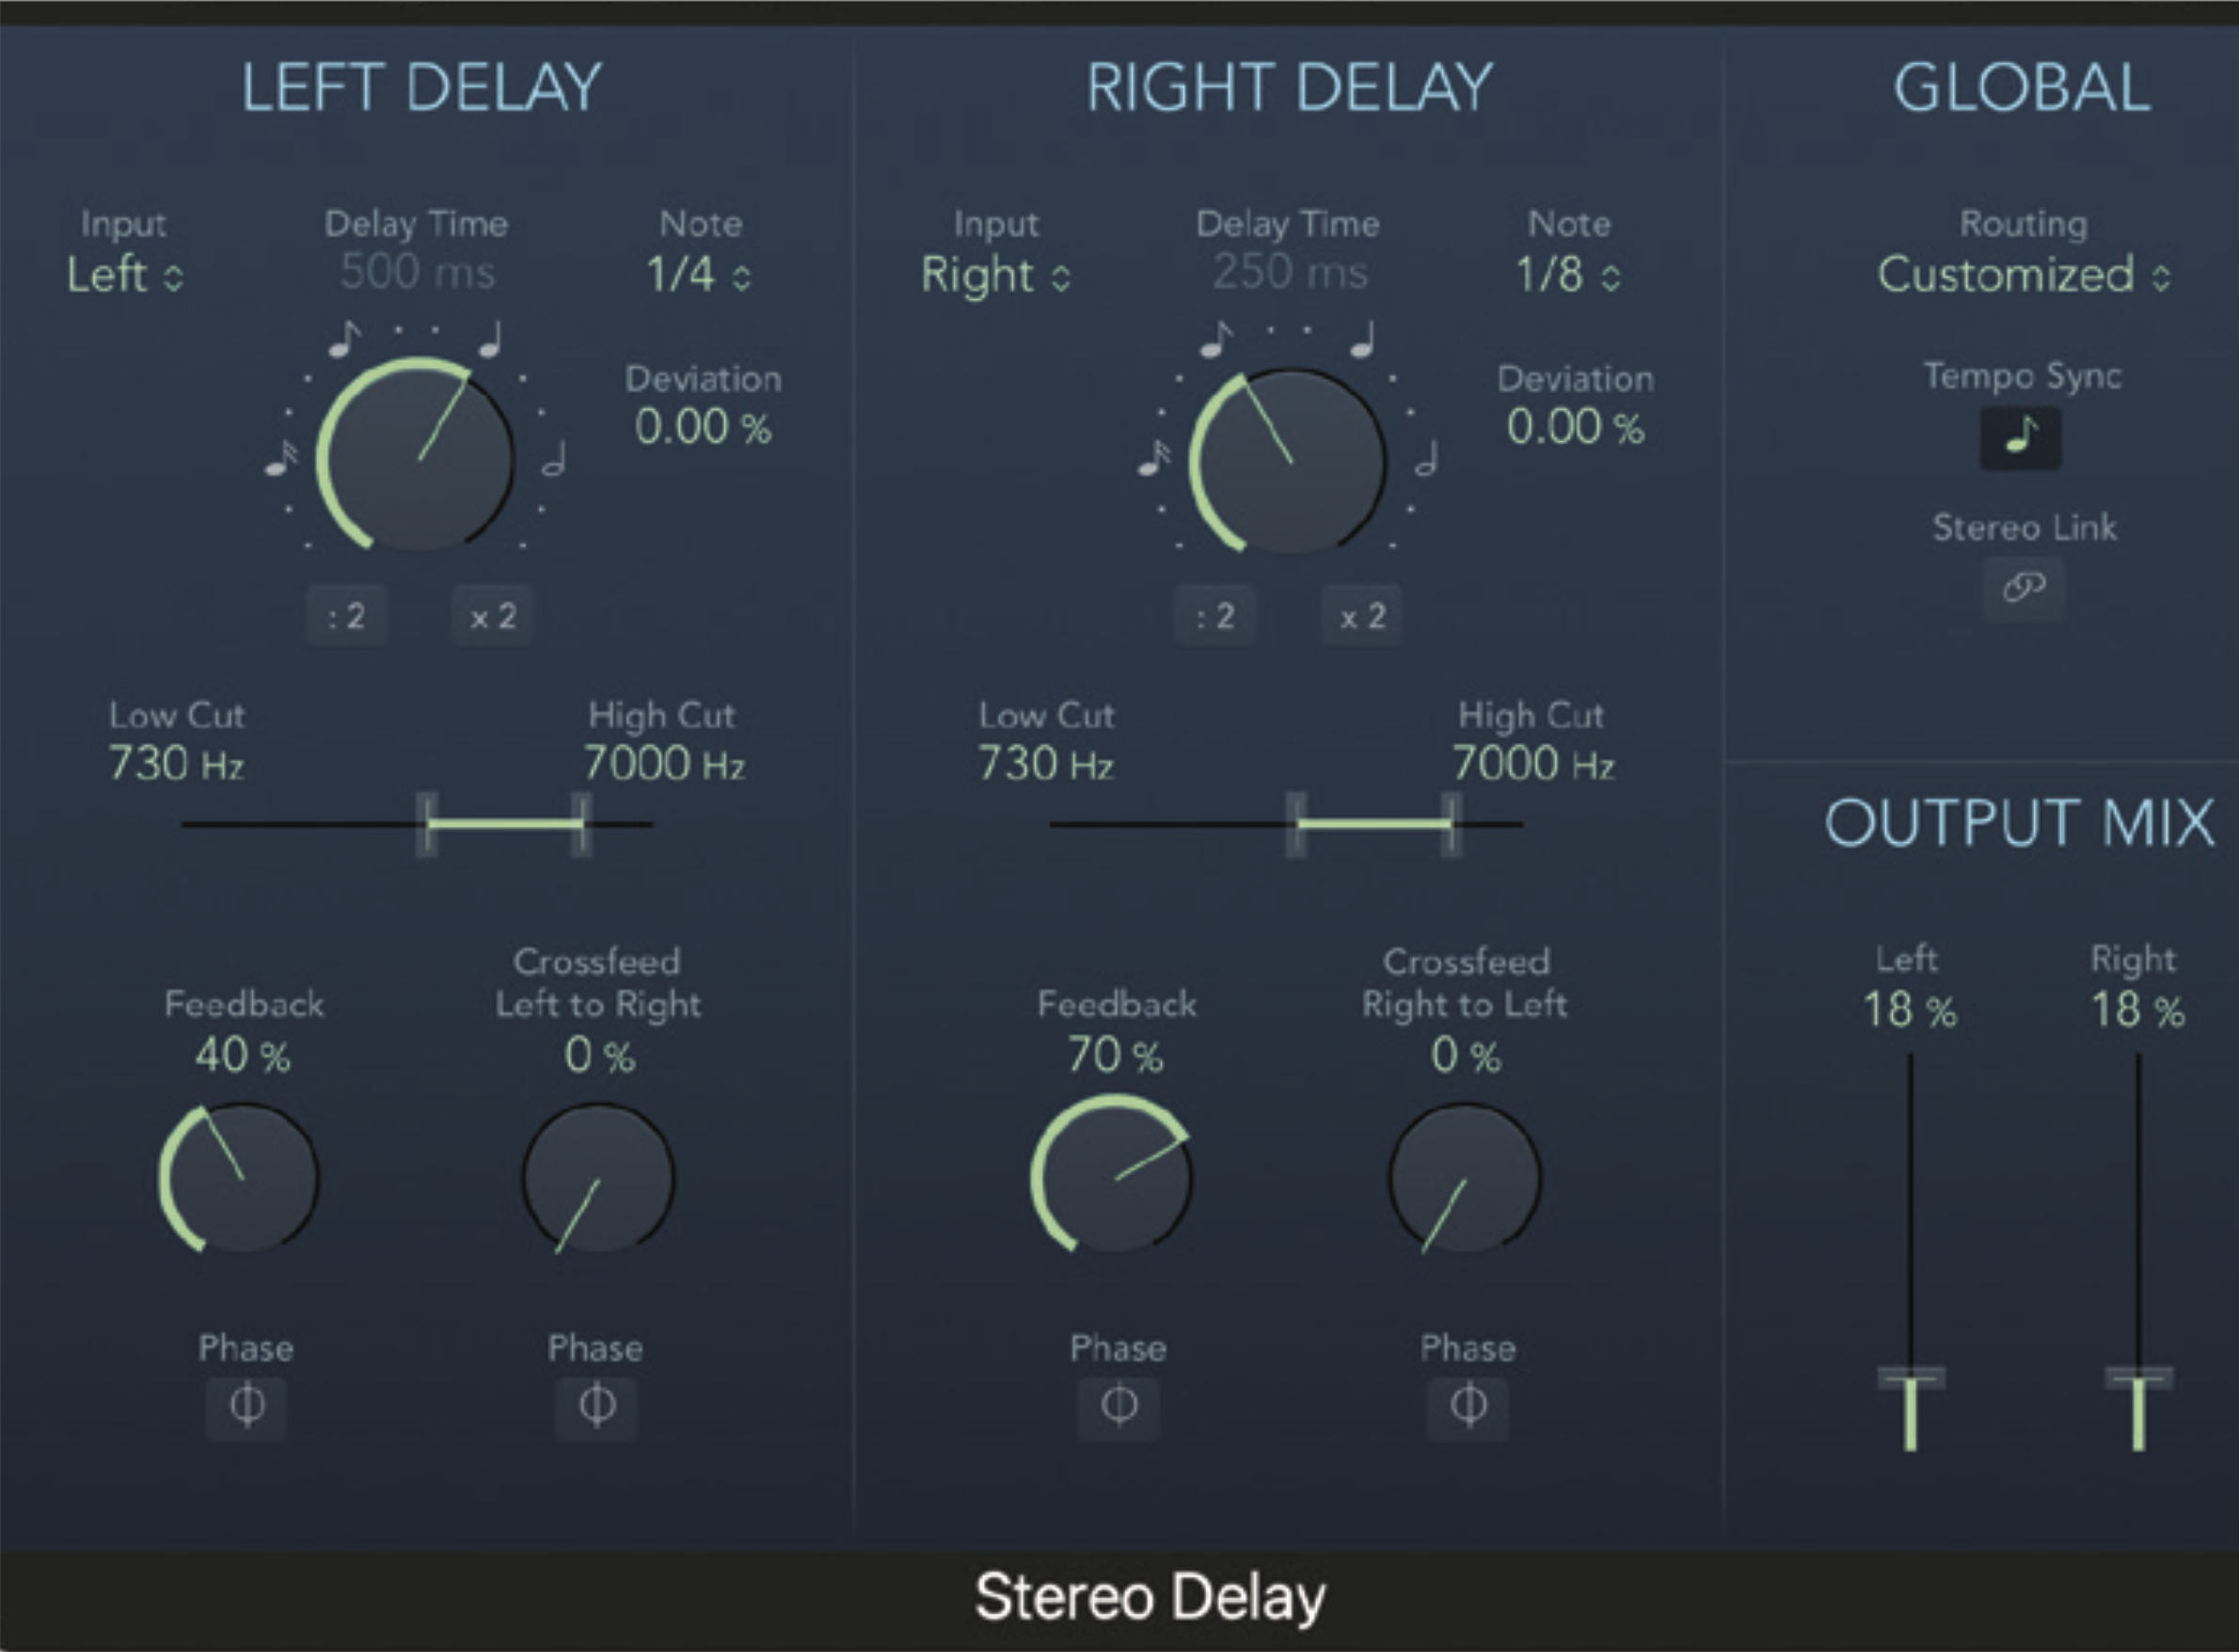
Continuing with the less is more approach on the delay, we’ve used the filters to focus the feedback on a small frequency range. Again, this is something you can tweak to taste. The wet delay blend is low, but we’ve set feedback reasonably high, so the effect adds subtle depth to the keyboard sound.
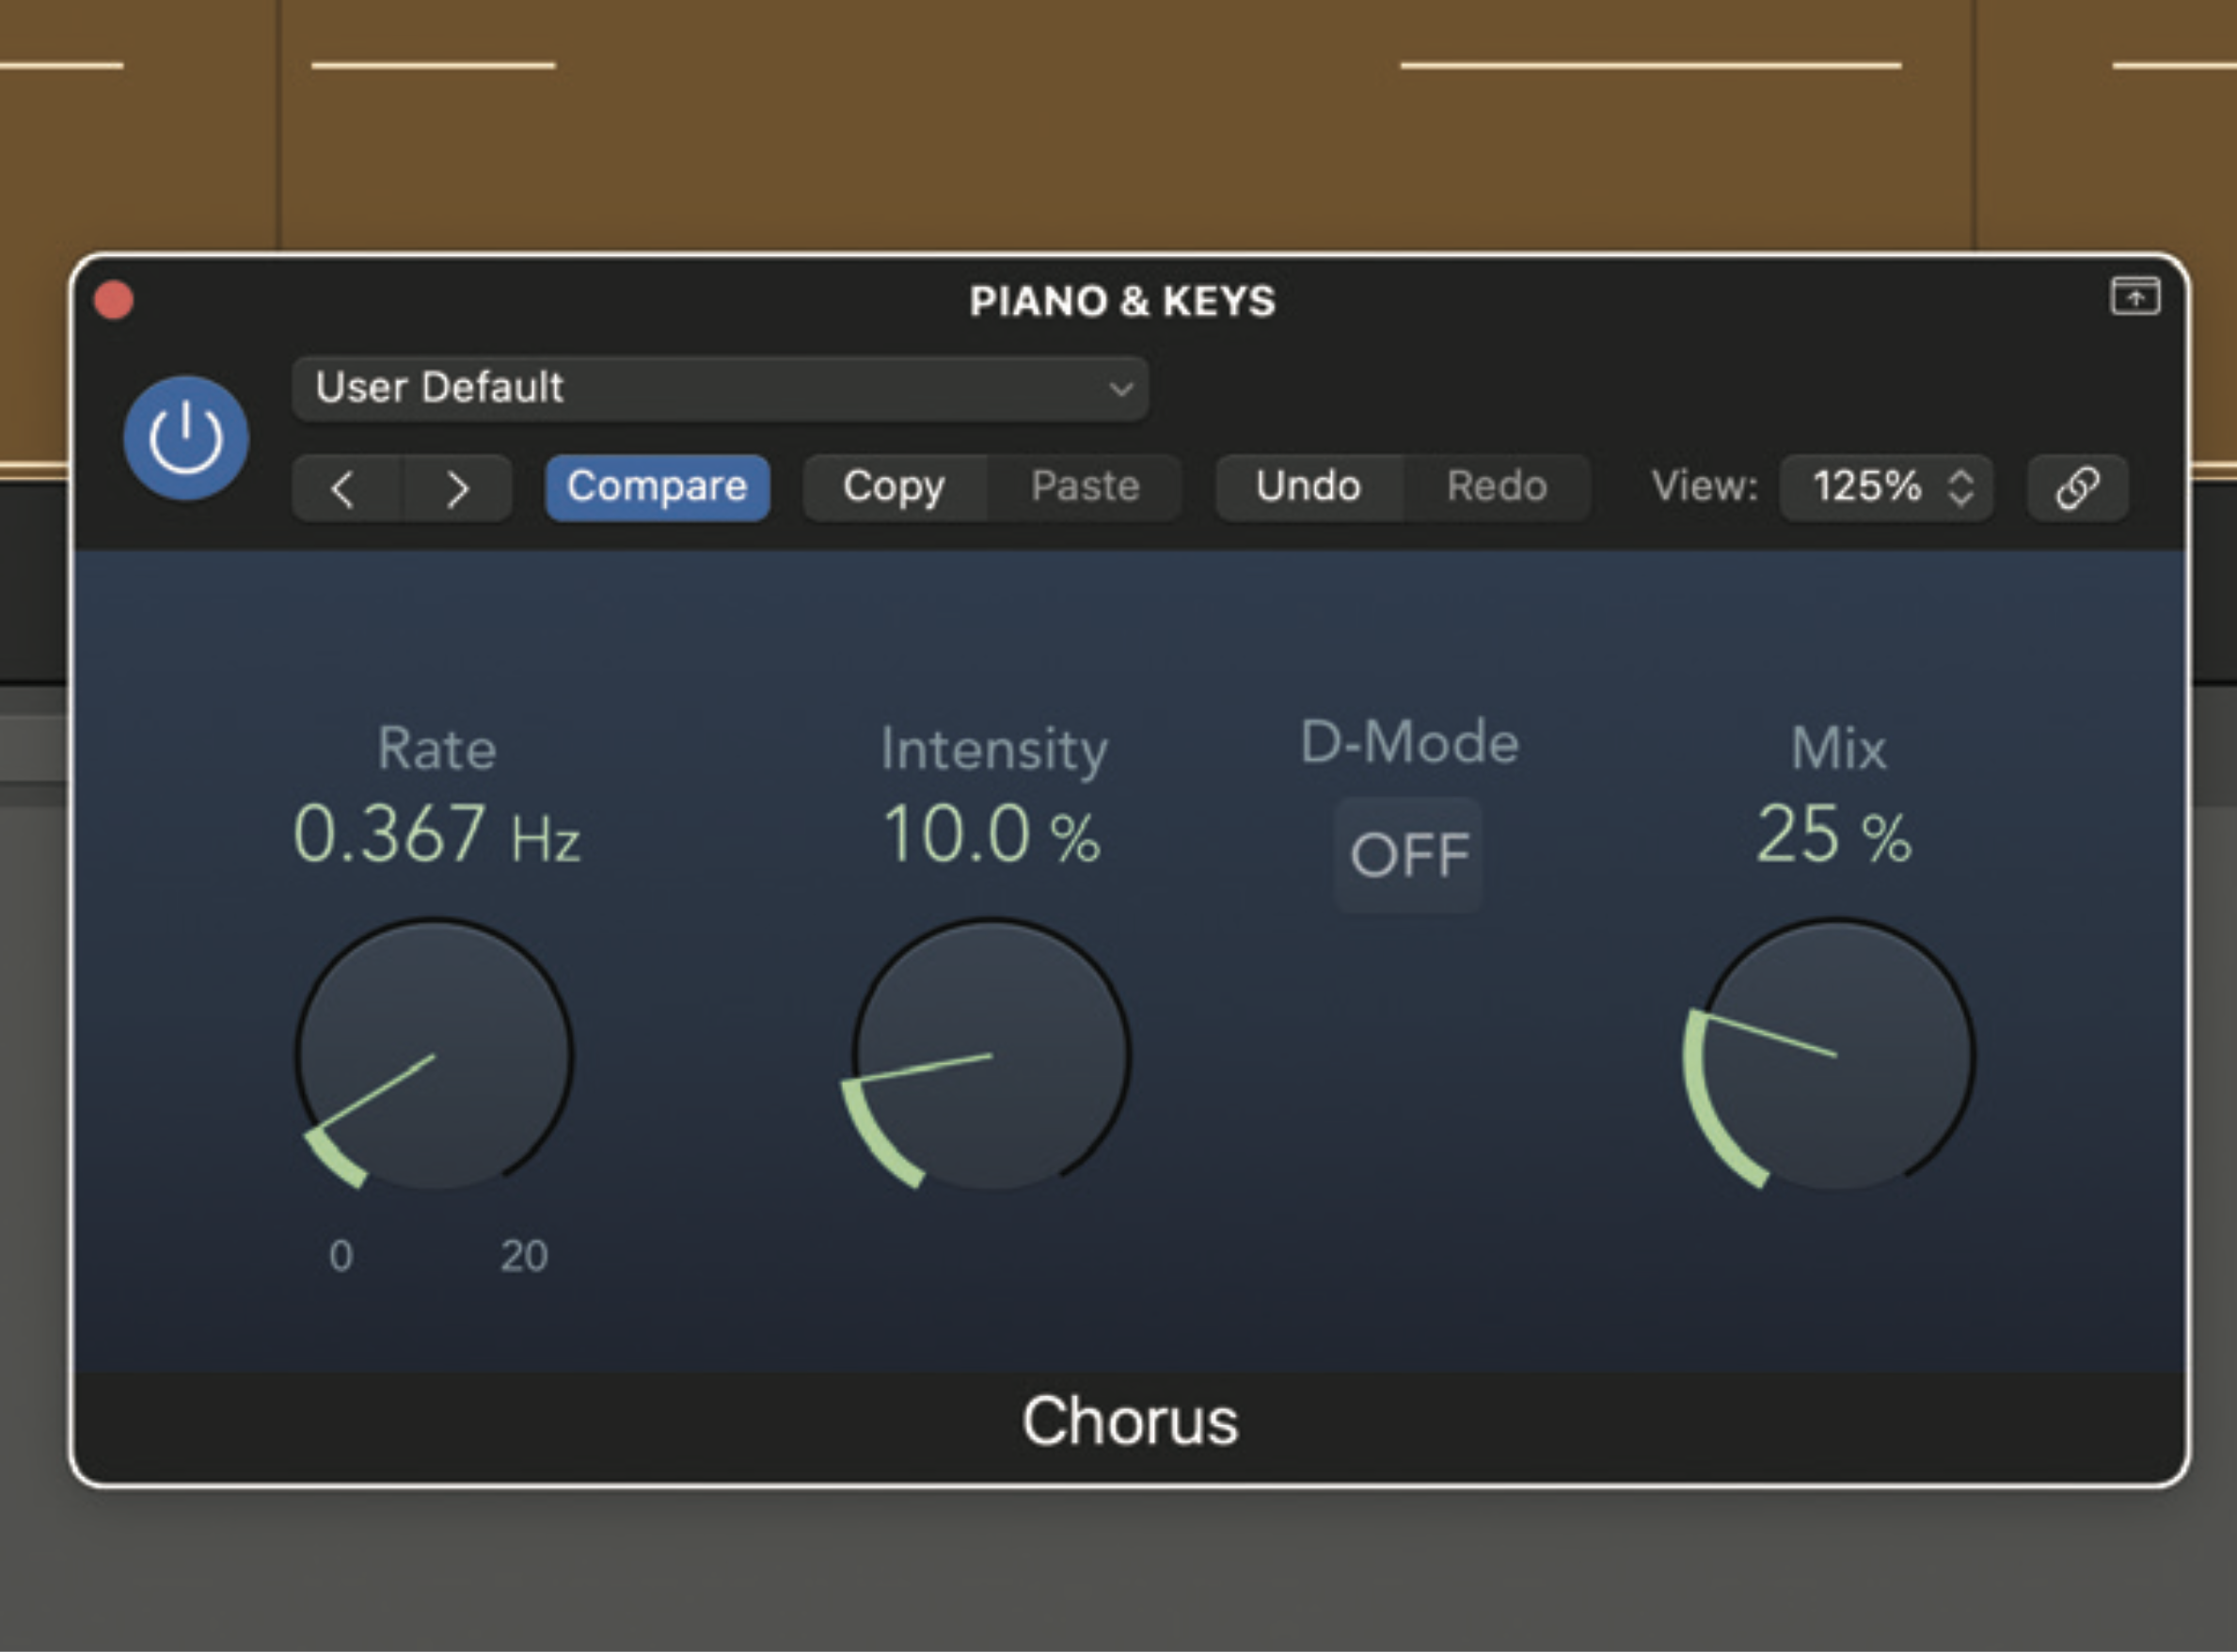
Next, to add some richness, load up a chorus. Obviously you can set this to whichever depth suits you, but for our default the depth is quite modest (about 25%) and the speed quite slow. Again, this is a subtle effect that adds another layer of interest and the mix blend can be easily reduced or the plugin bypassed.
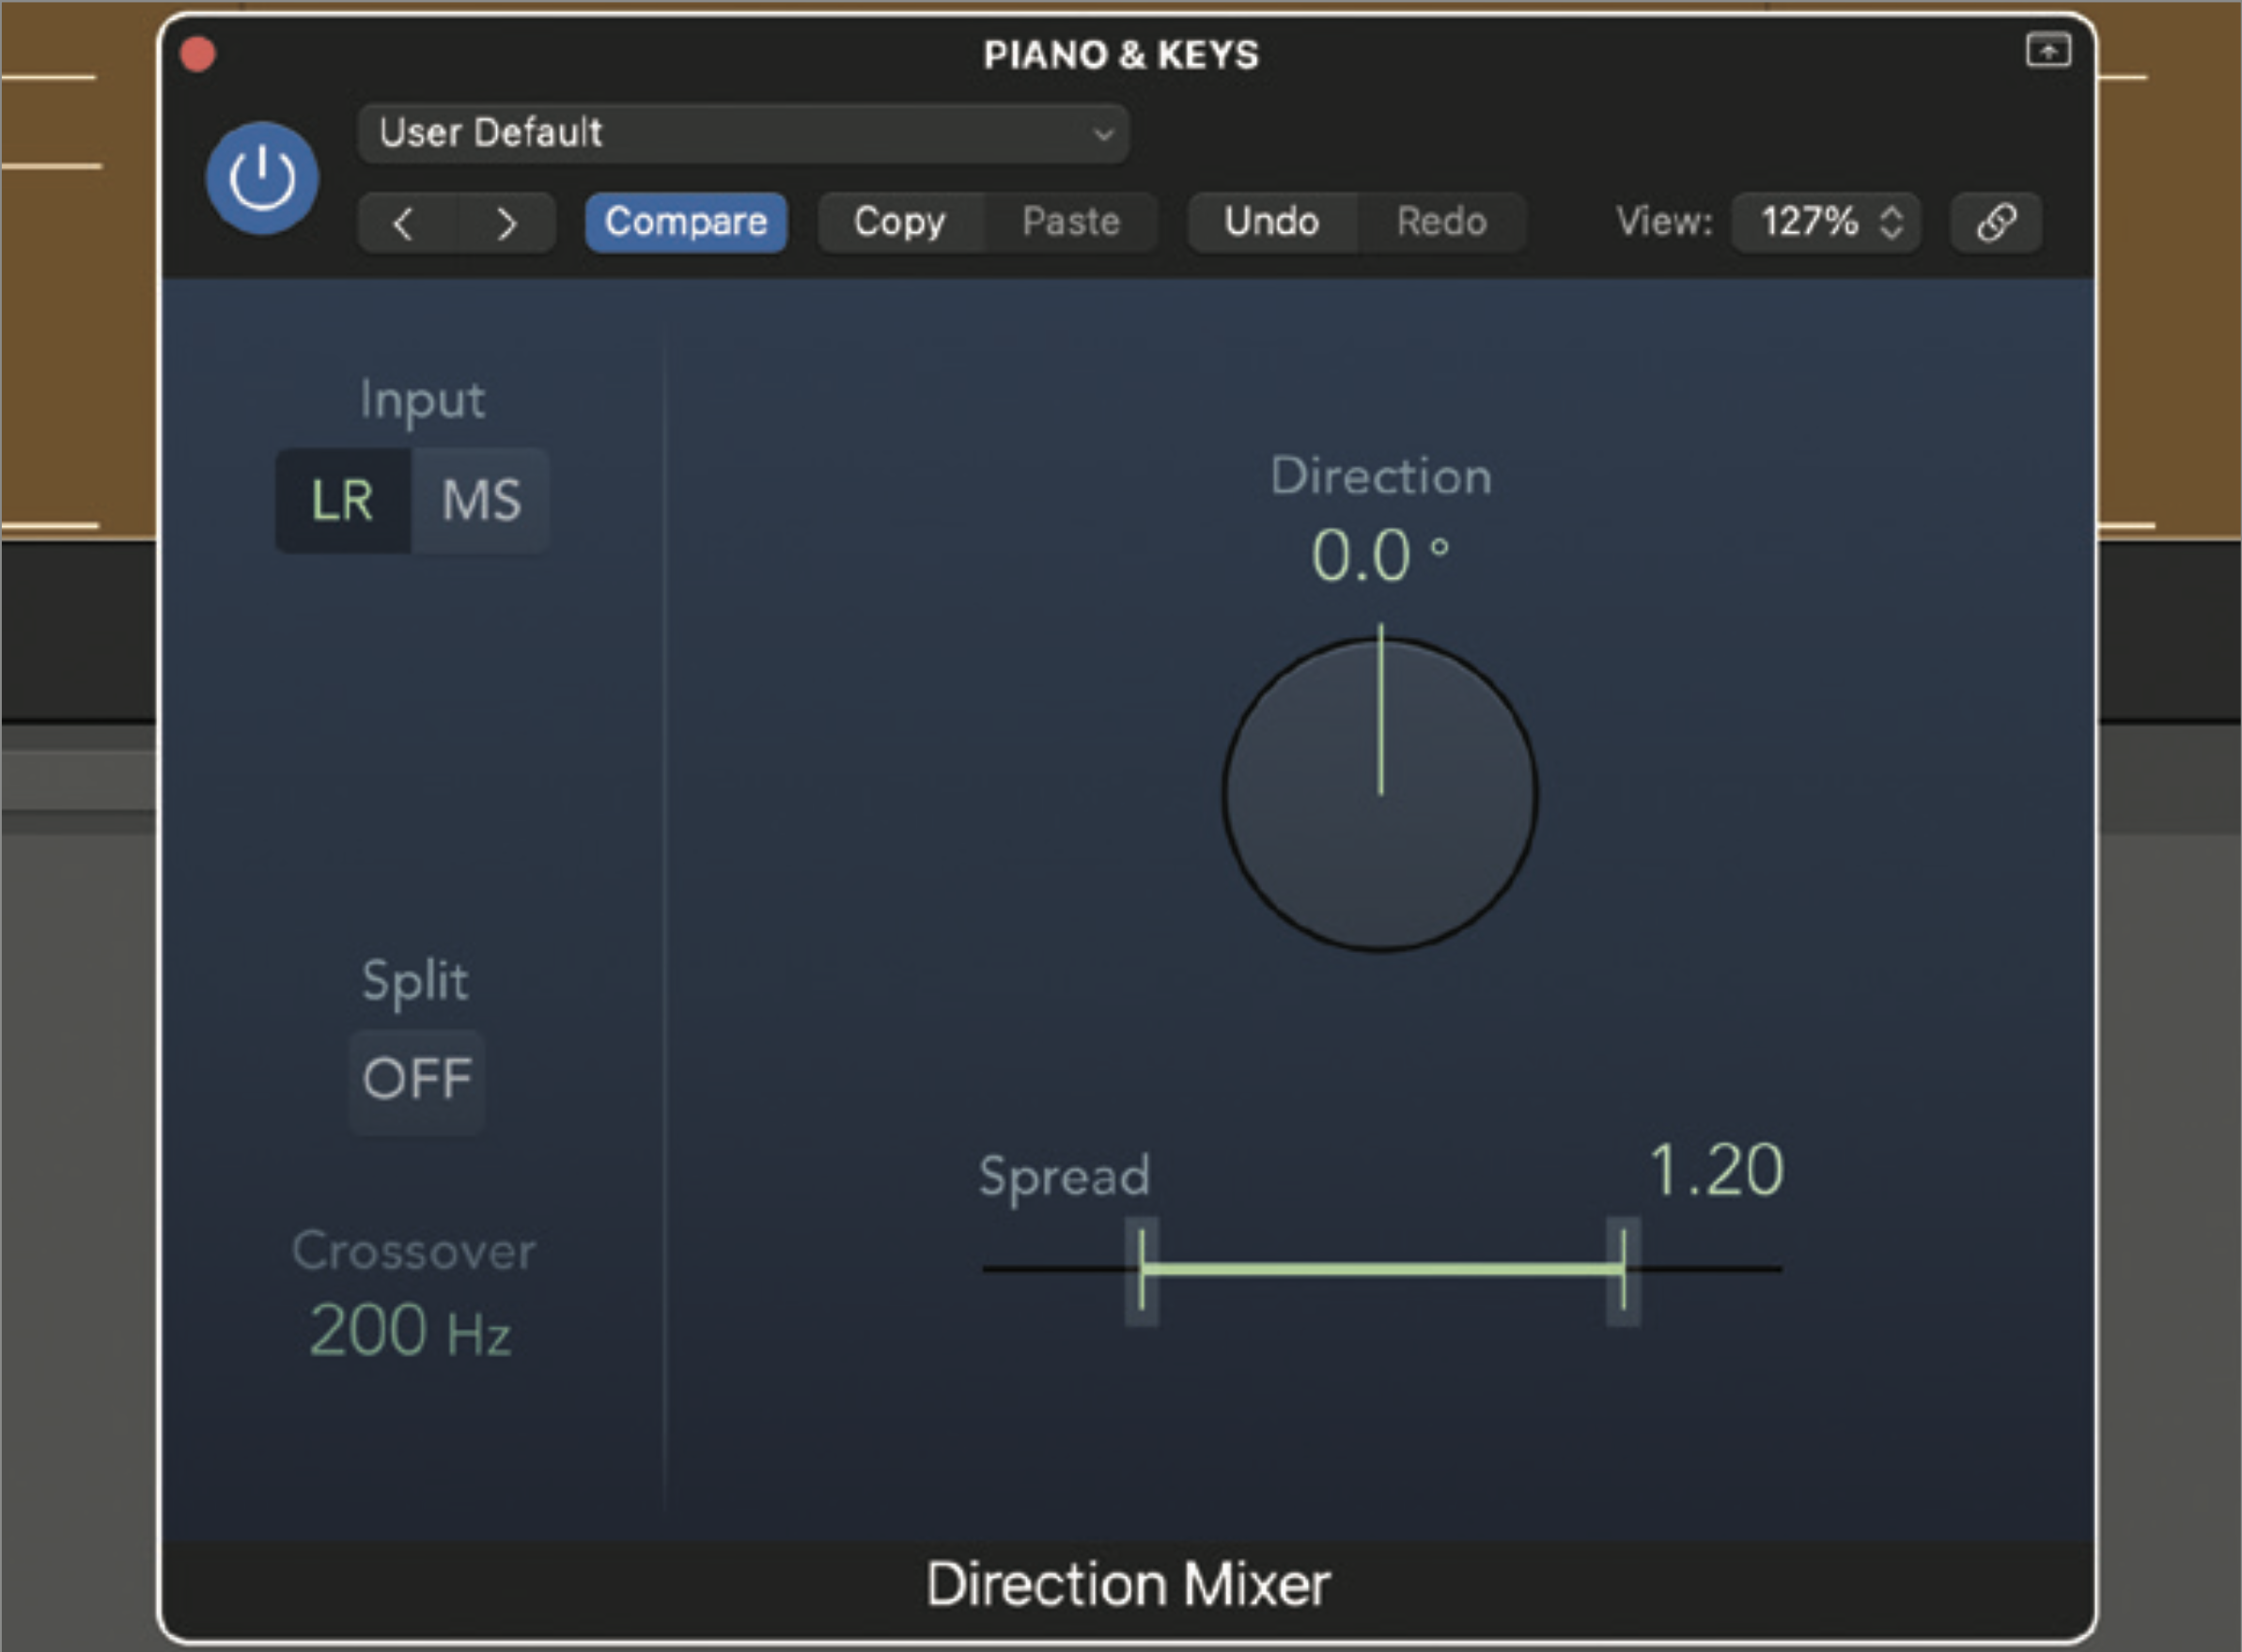
Finally, to allow us to control the overall width, load up an image control plugin. This isn’t designed to artificially change the stereo image, rather it allows us to rebalance the mono and stereo components. We’re setting the default in a neutral position with a view to changing it to taste.


