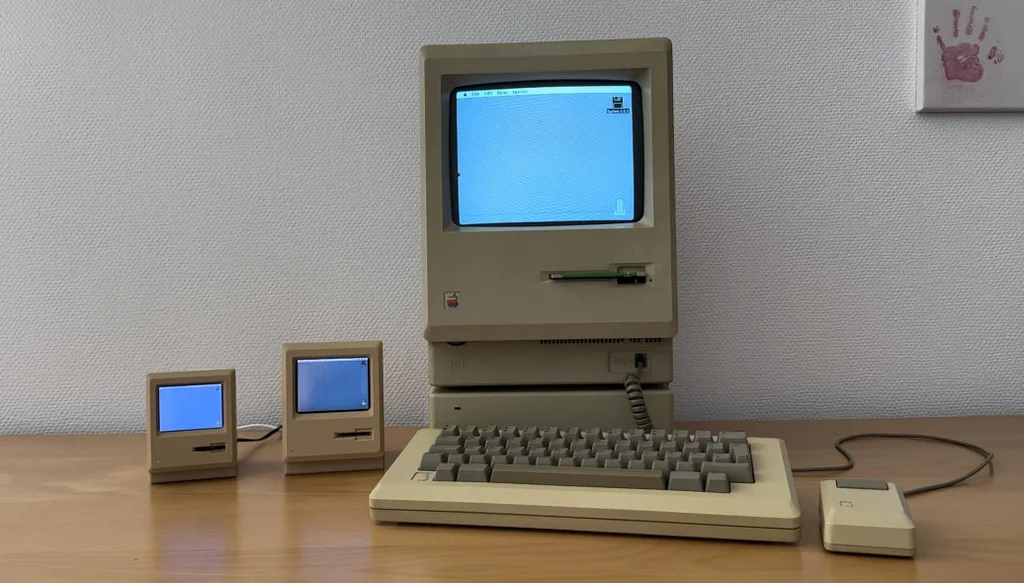
Emulating old computers is cool but building tiny versions of old computers is even cooler! Instead of just running an old OS on a modern machine, this maker, known online as The_Old_Wolf, is using our favorite SBC—the Raspberry Pi—to power tiny versions of some classic Apple desktops. These tiny Mac projects are super small and super cute, fitting easily in one hand.
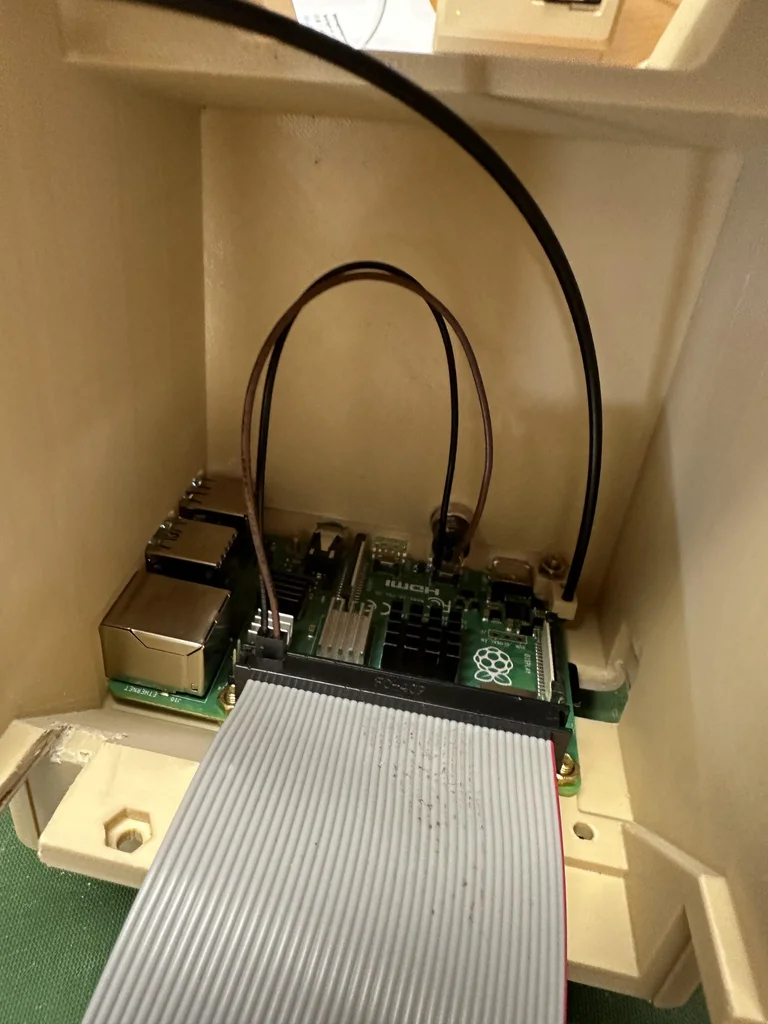
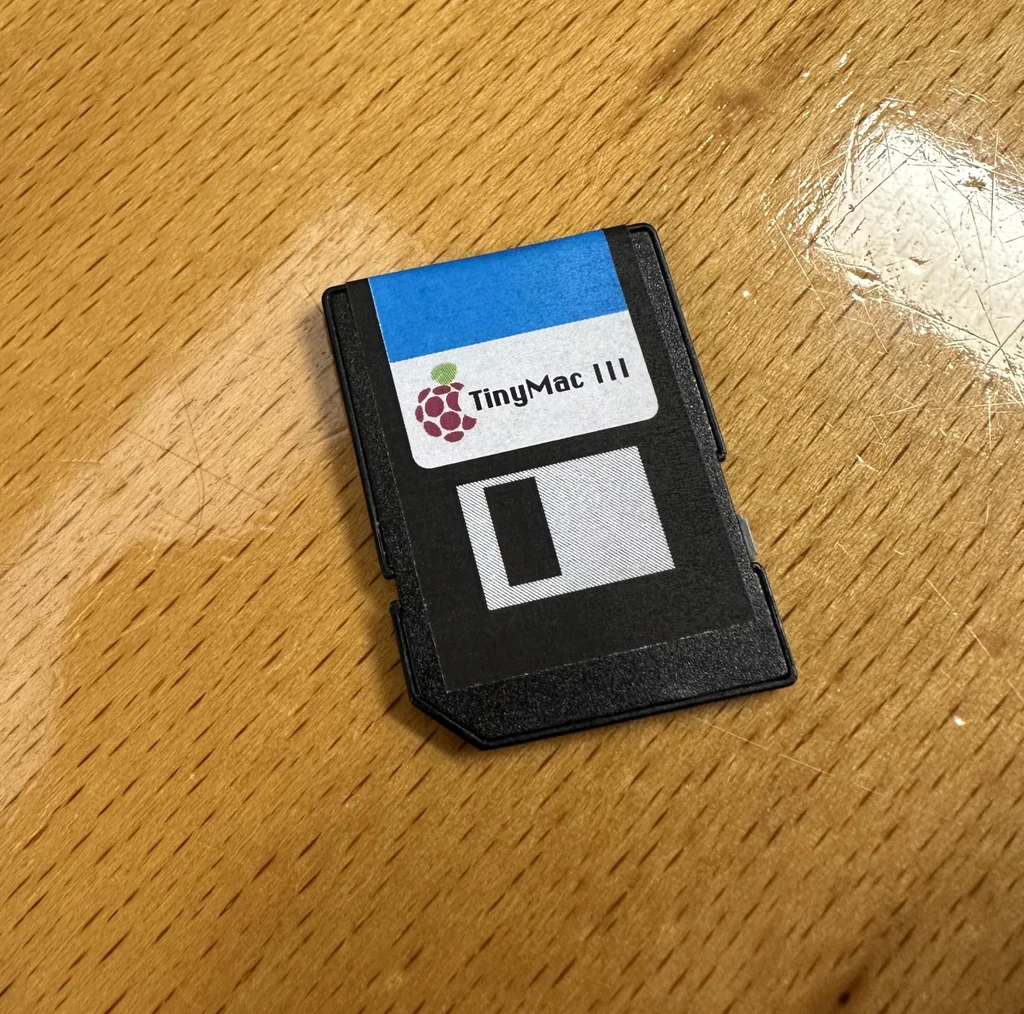
The first model is dubbed the Tiny Mac III. It sports a Raspberry Pi 4 but you could get away with using a Raspberry Pi 3 inside. The other one is a little bit smaller and uses a Raspberry Pi Zero 2 W. Both are designed with advanced features that mimic the behavior of the original Apple desktops.
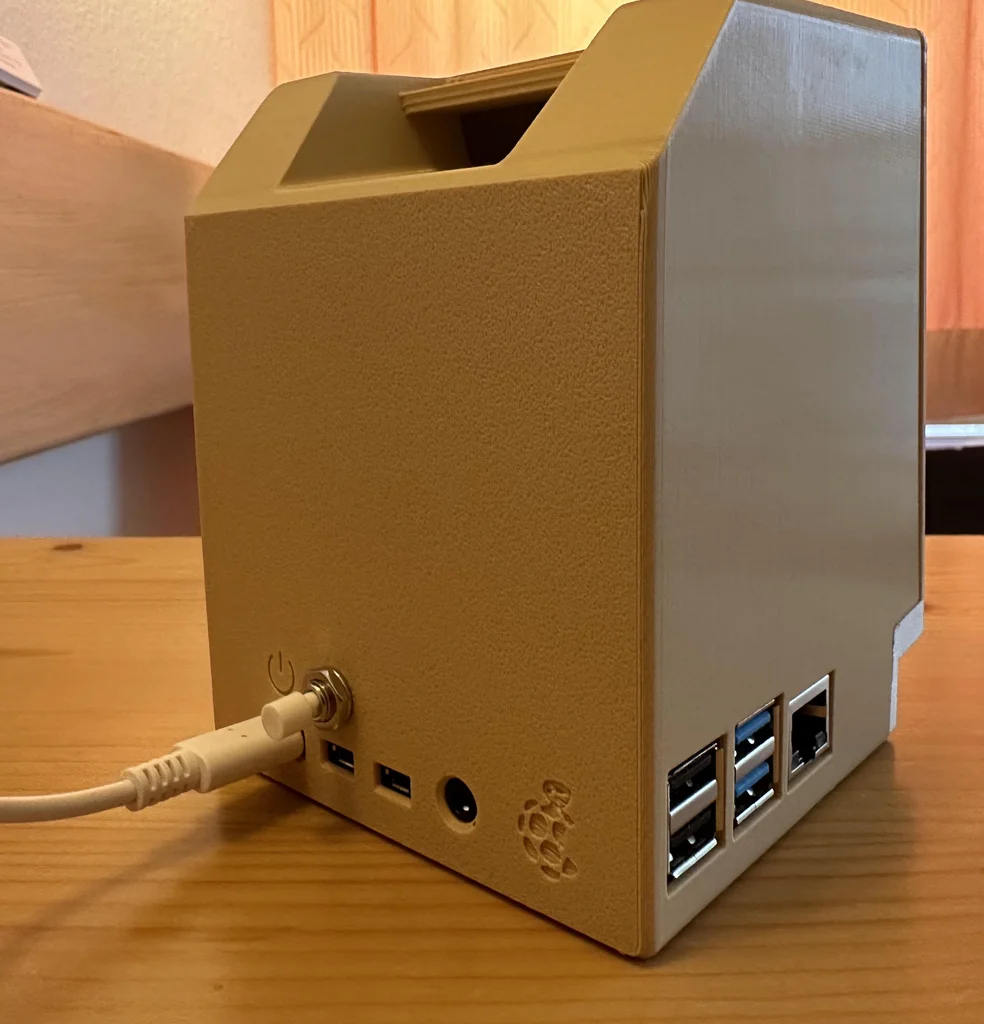
The projects were inspired by this tiny Mac project created by Cgenco which uses a Pi Zero. The_Old_Wolf decided to spice things up by adding things like an activity LED that flashes based on certain processes in real-time as well as a safe shutdown button that works when you don’t have a keyboard or mouse on hand. He also saw this as an opportunity to create a slightly bigger version that uses a full-sized Pi.


Both tiny Macs are housed inside custom 3D-printed shells that were printed using beige PLA filament for that weathered retro plastic look. All of the STL files are available for download over at Instructables. The Tiny Mac II uses a 2.8-inch Waveshare DPI LCD screen for the monitor while the Tiny Mac III uses the 3.5-inch version. There’s a complete parts list which includes everything you need from the LEDs to power switch buttons and every other component you need to pull it all together.
Software-wise, it runs Raspberry Pi OS with a few changes thrown in to mimic the feel of computing on an old Mac. The background was changed to a custom one and the taskbar has been moved to the top of the display. The_Old_Wolf also enabled silent boot and included a custom splash screen that loads when booting. All of the steps for making these adjustments were included in the guide.
You can find additional details about this Raspberry Pi project over at GitHub and see a full breakdown of the assembly process at Instructables.


