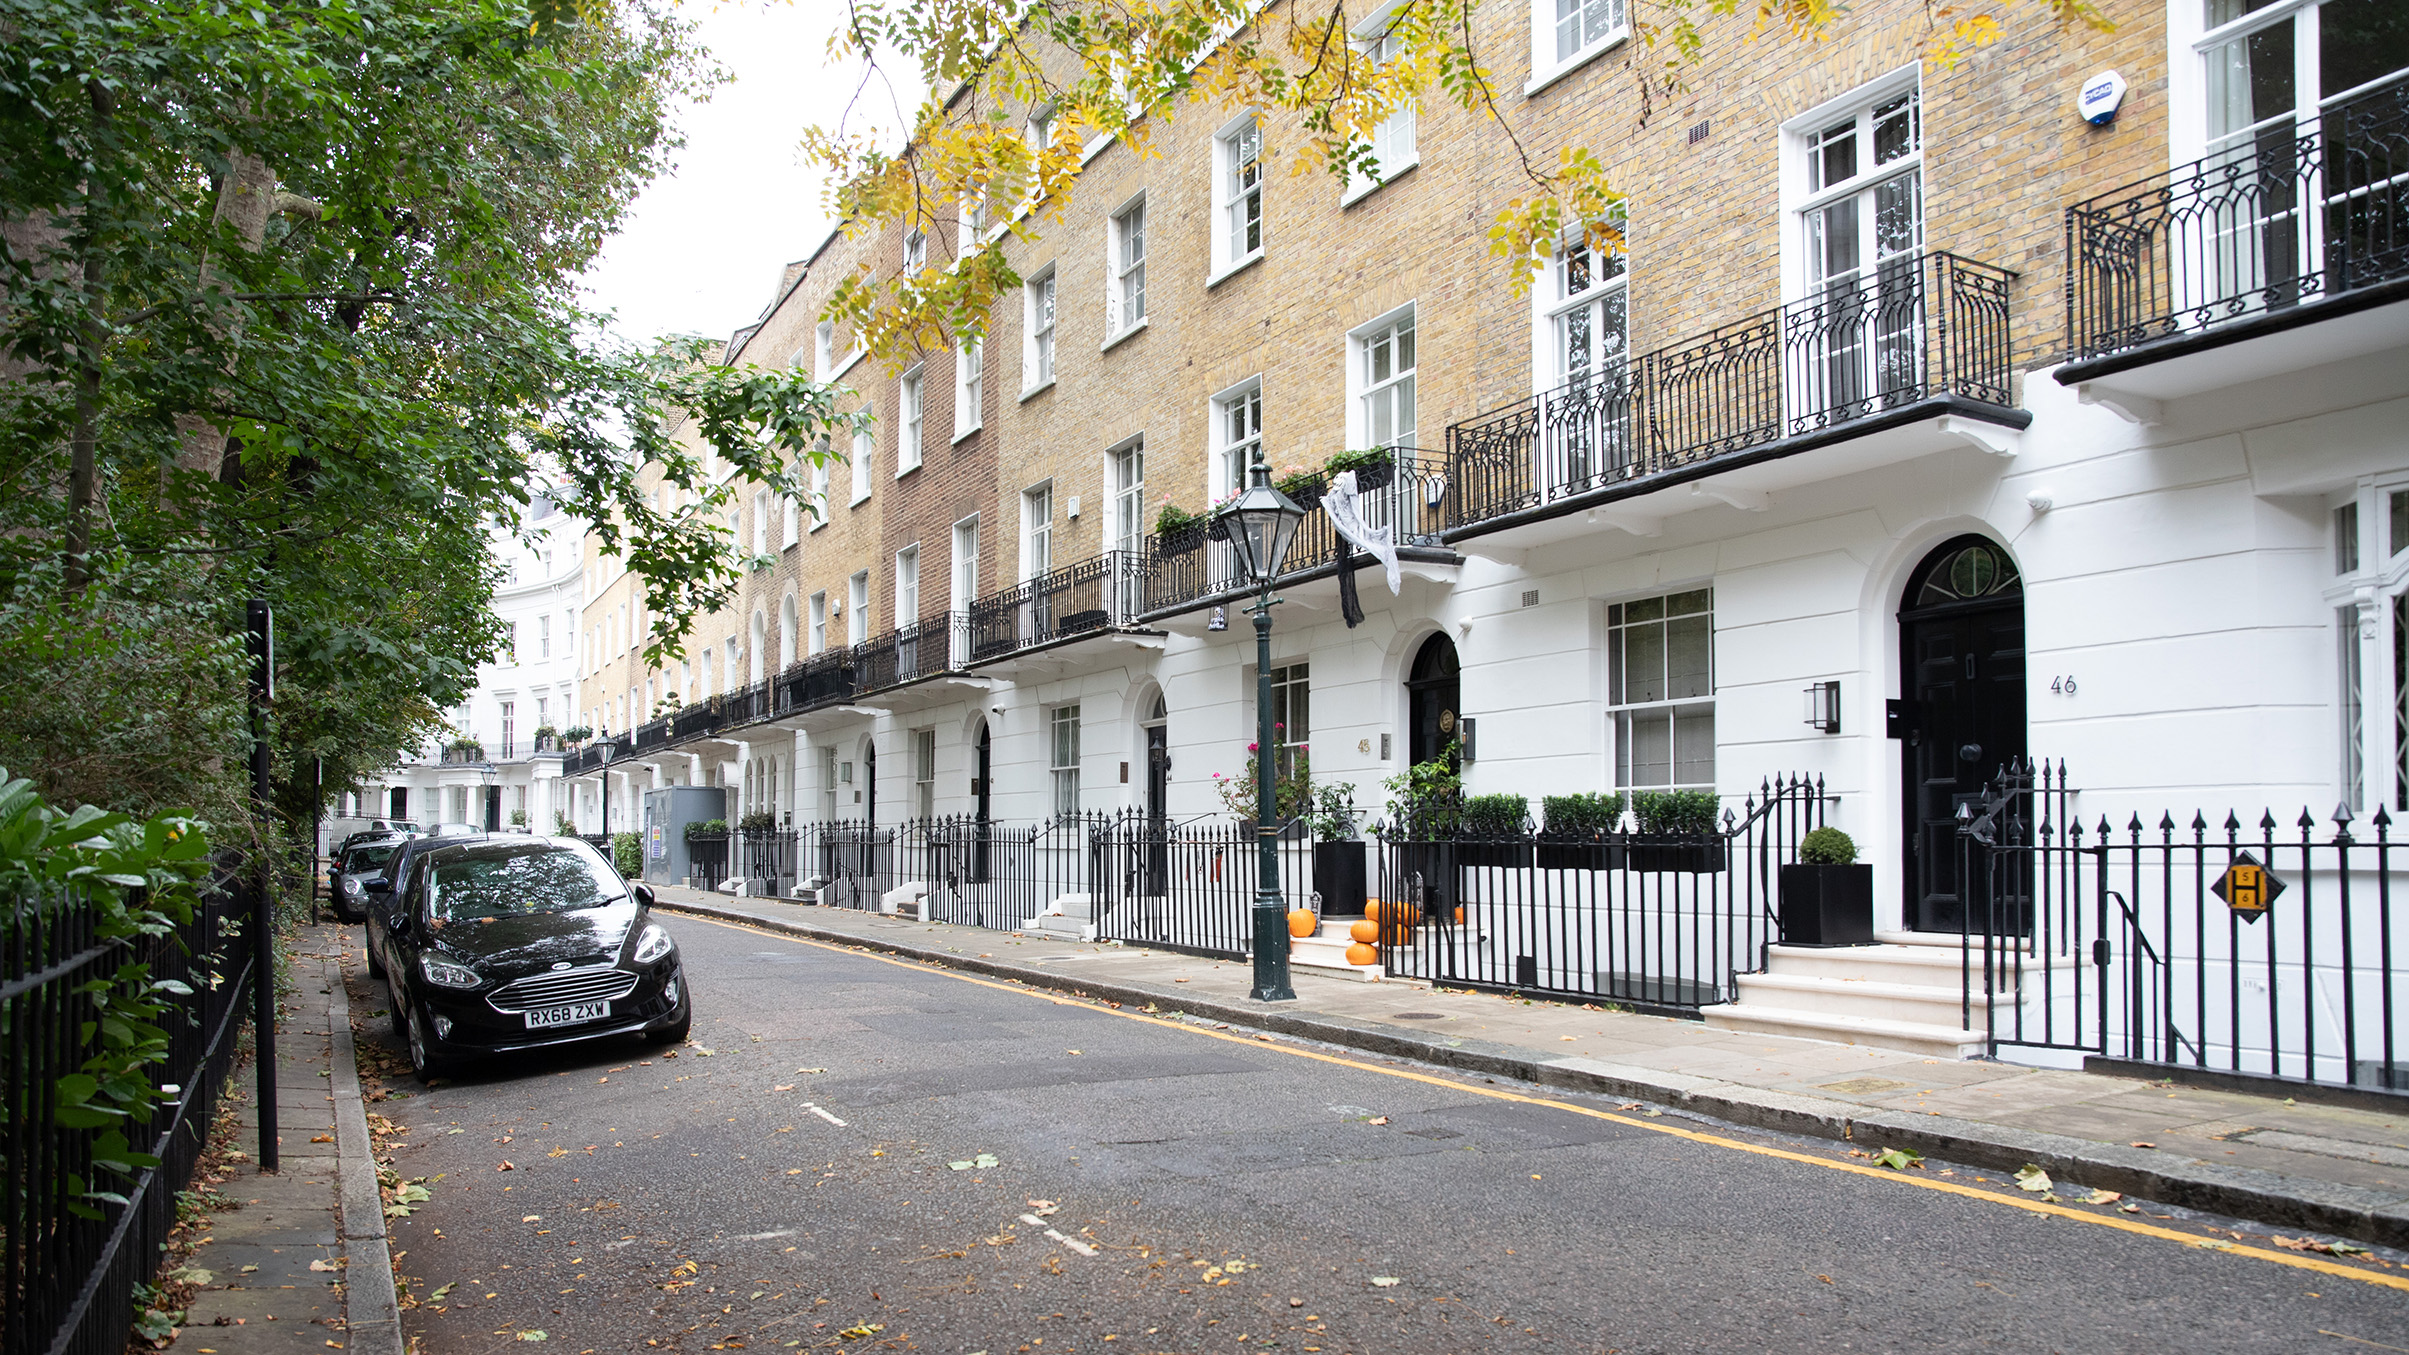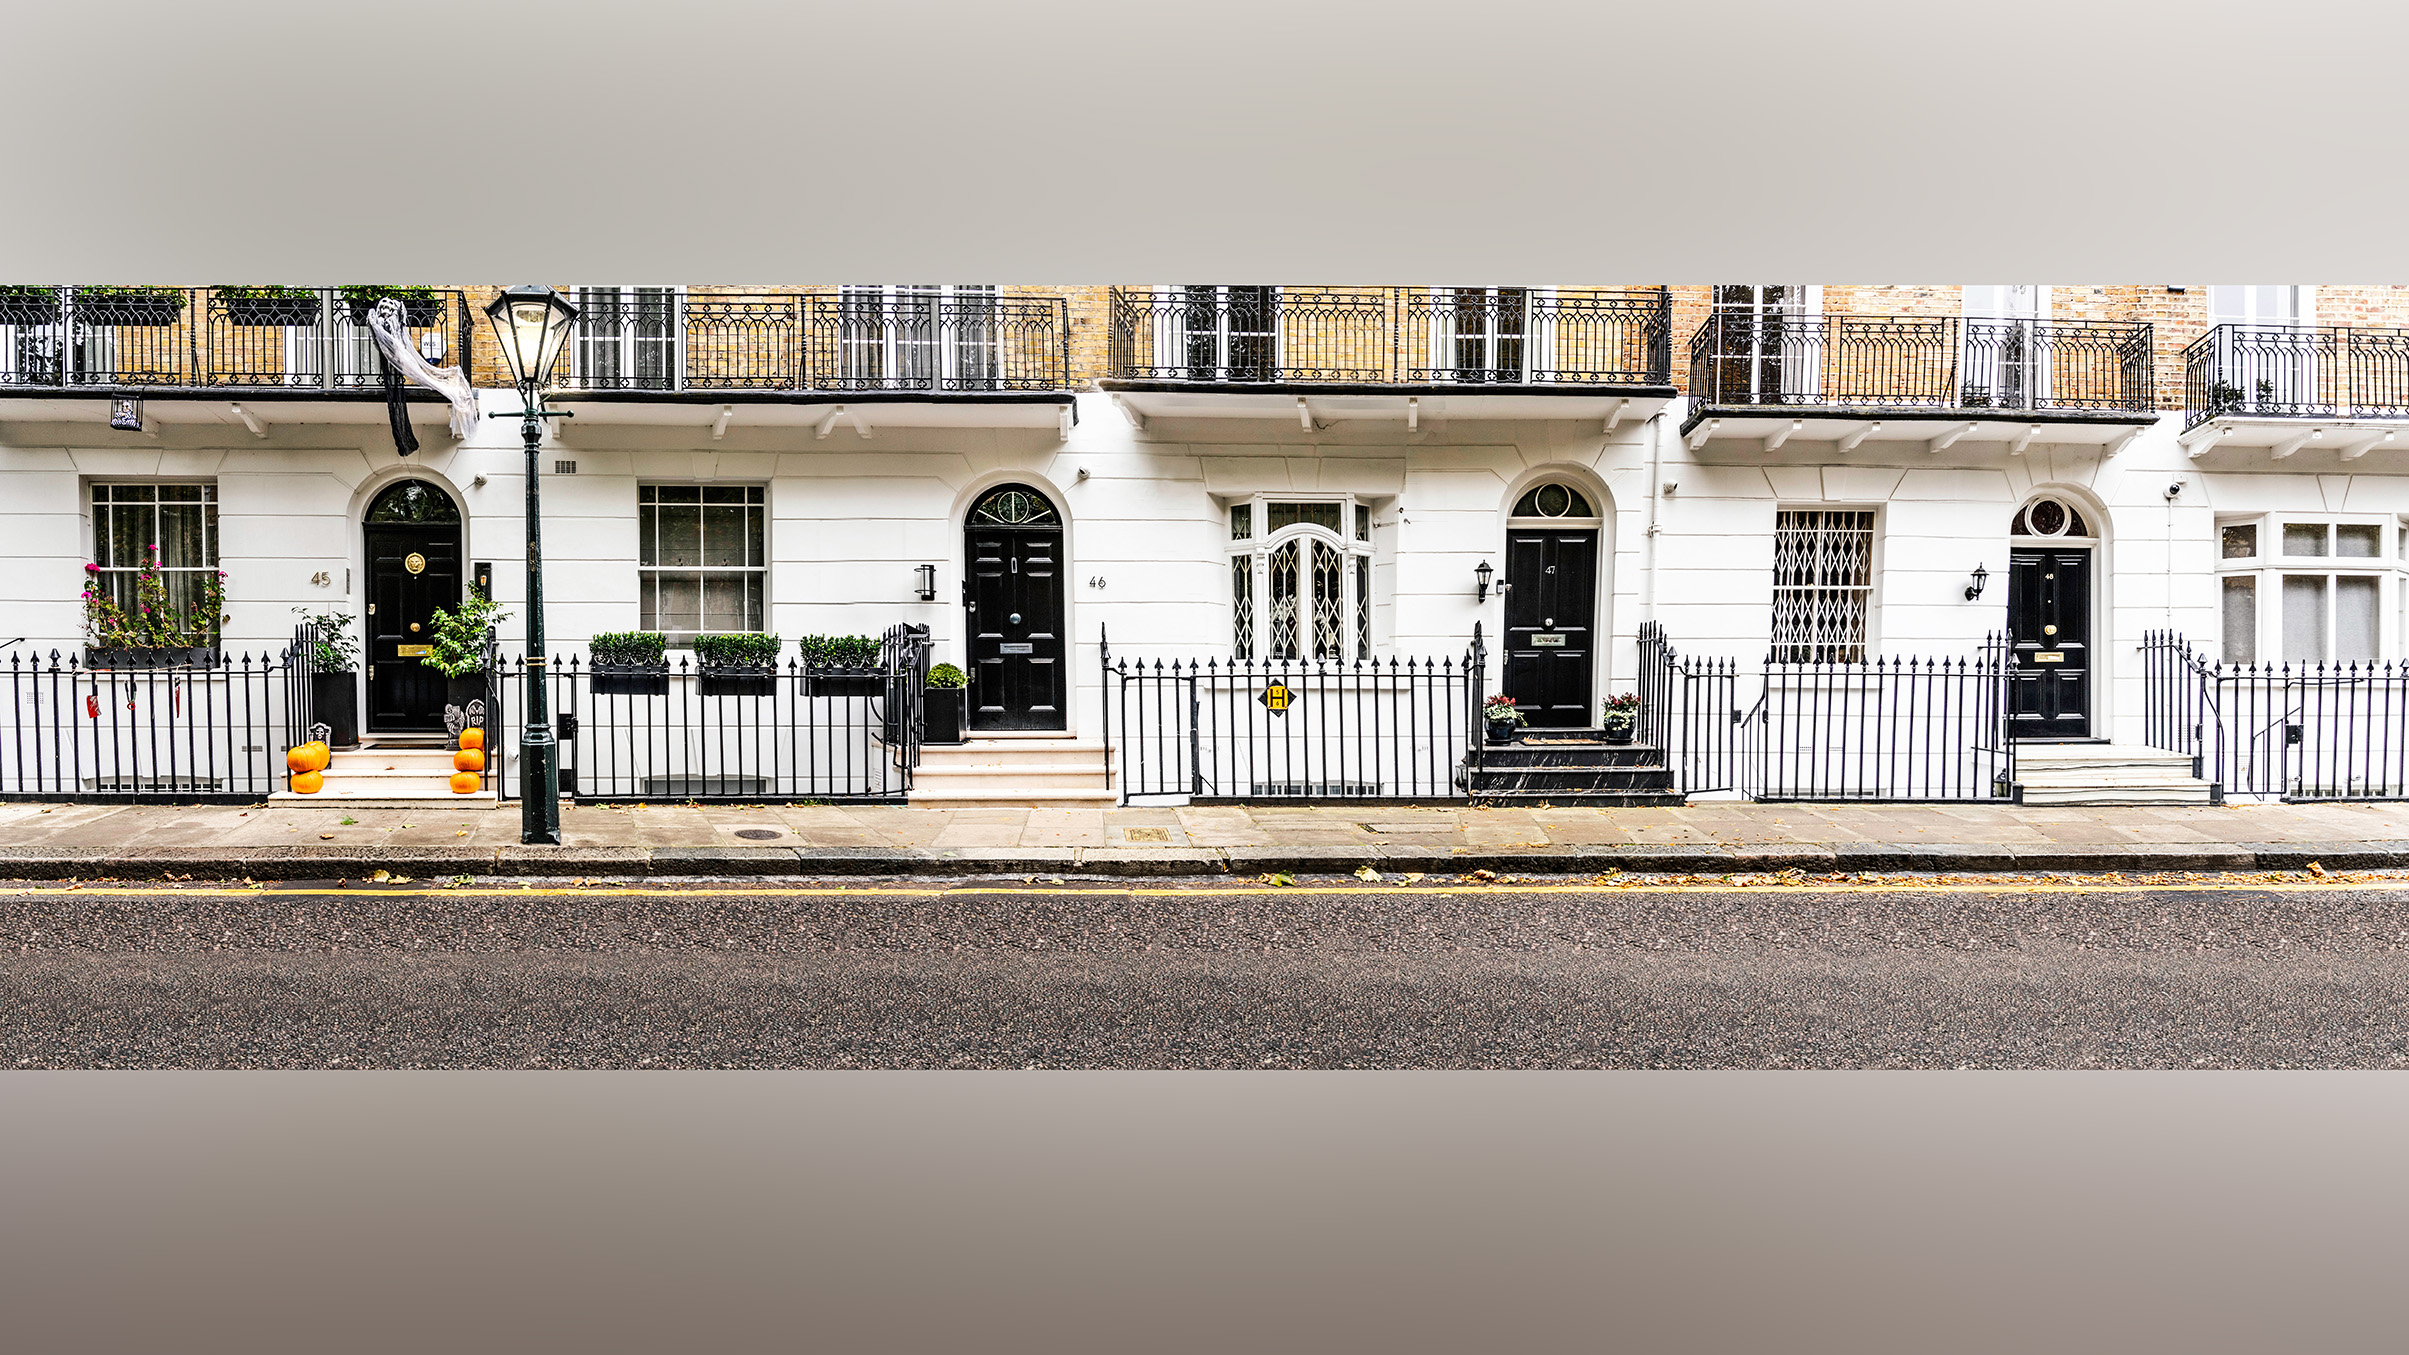
Panoramas – a wide-angle view or photograph of a physical space – open up new ways of viewing a scene that go beyond simply being wide. Images in a panoramic aspect ratio allow us to capture long, thin subjects without incorporating too much empty space in the frame. For the urban scene captured on these pages, which is
a common shot required by estate agents where more than one property needs to be shown in the same composition, using a wide-angle lens would have been impractical.
Shooting this row of townhouses with an optic between 14mm and 20mm would include excess sky and road at the top and bottom of the shot, while the buildings would become merely a strip across the middle of the frame. On the other hand, a panoramic shot captures plenty of detail in each house front while minimizing the negative space. The main challenge of this type of panorama stitch is the overlapping and repeating patterns, which can confuse software and cause failure in blending the multiple image segments.
Over the next few pages, we’ll explore methods of stitching complex panoramas using a mix of automatic and manual techniques, for real-estate shots with a difference. By the end of this tutorial, you should be able to capture effective panoramas in any location, without a tripod or even advanced editing software.
Set up
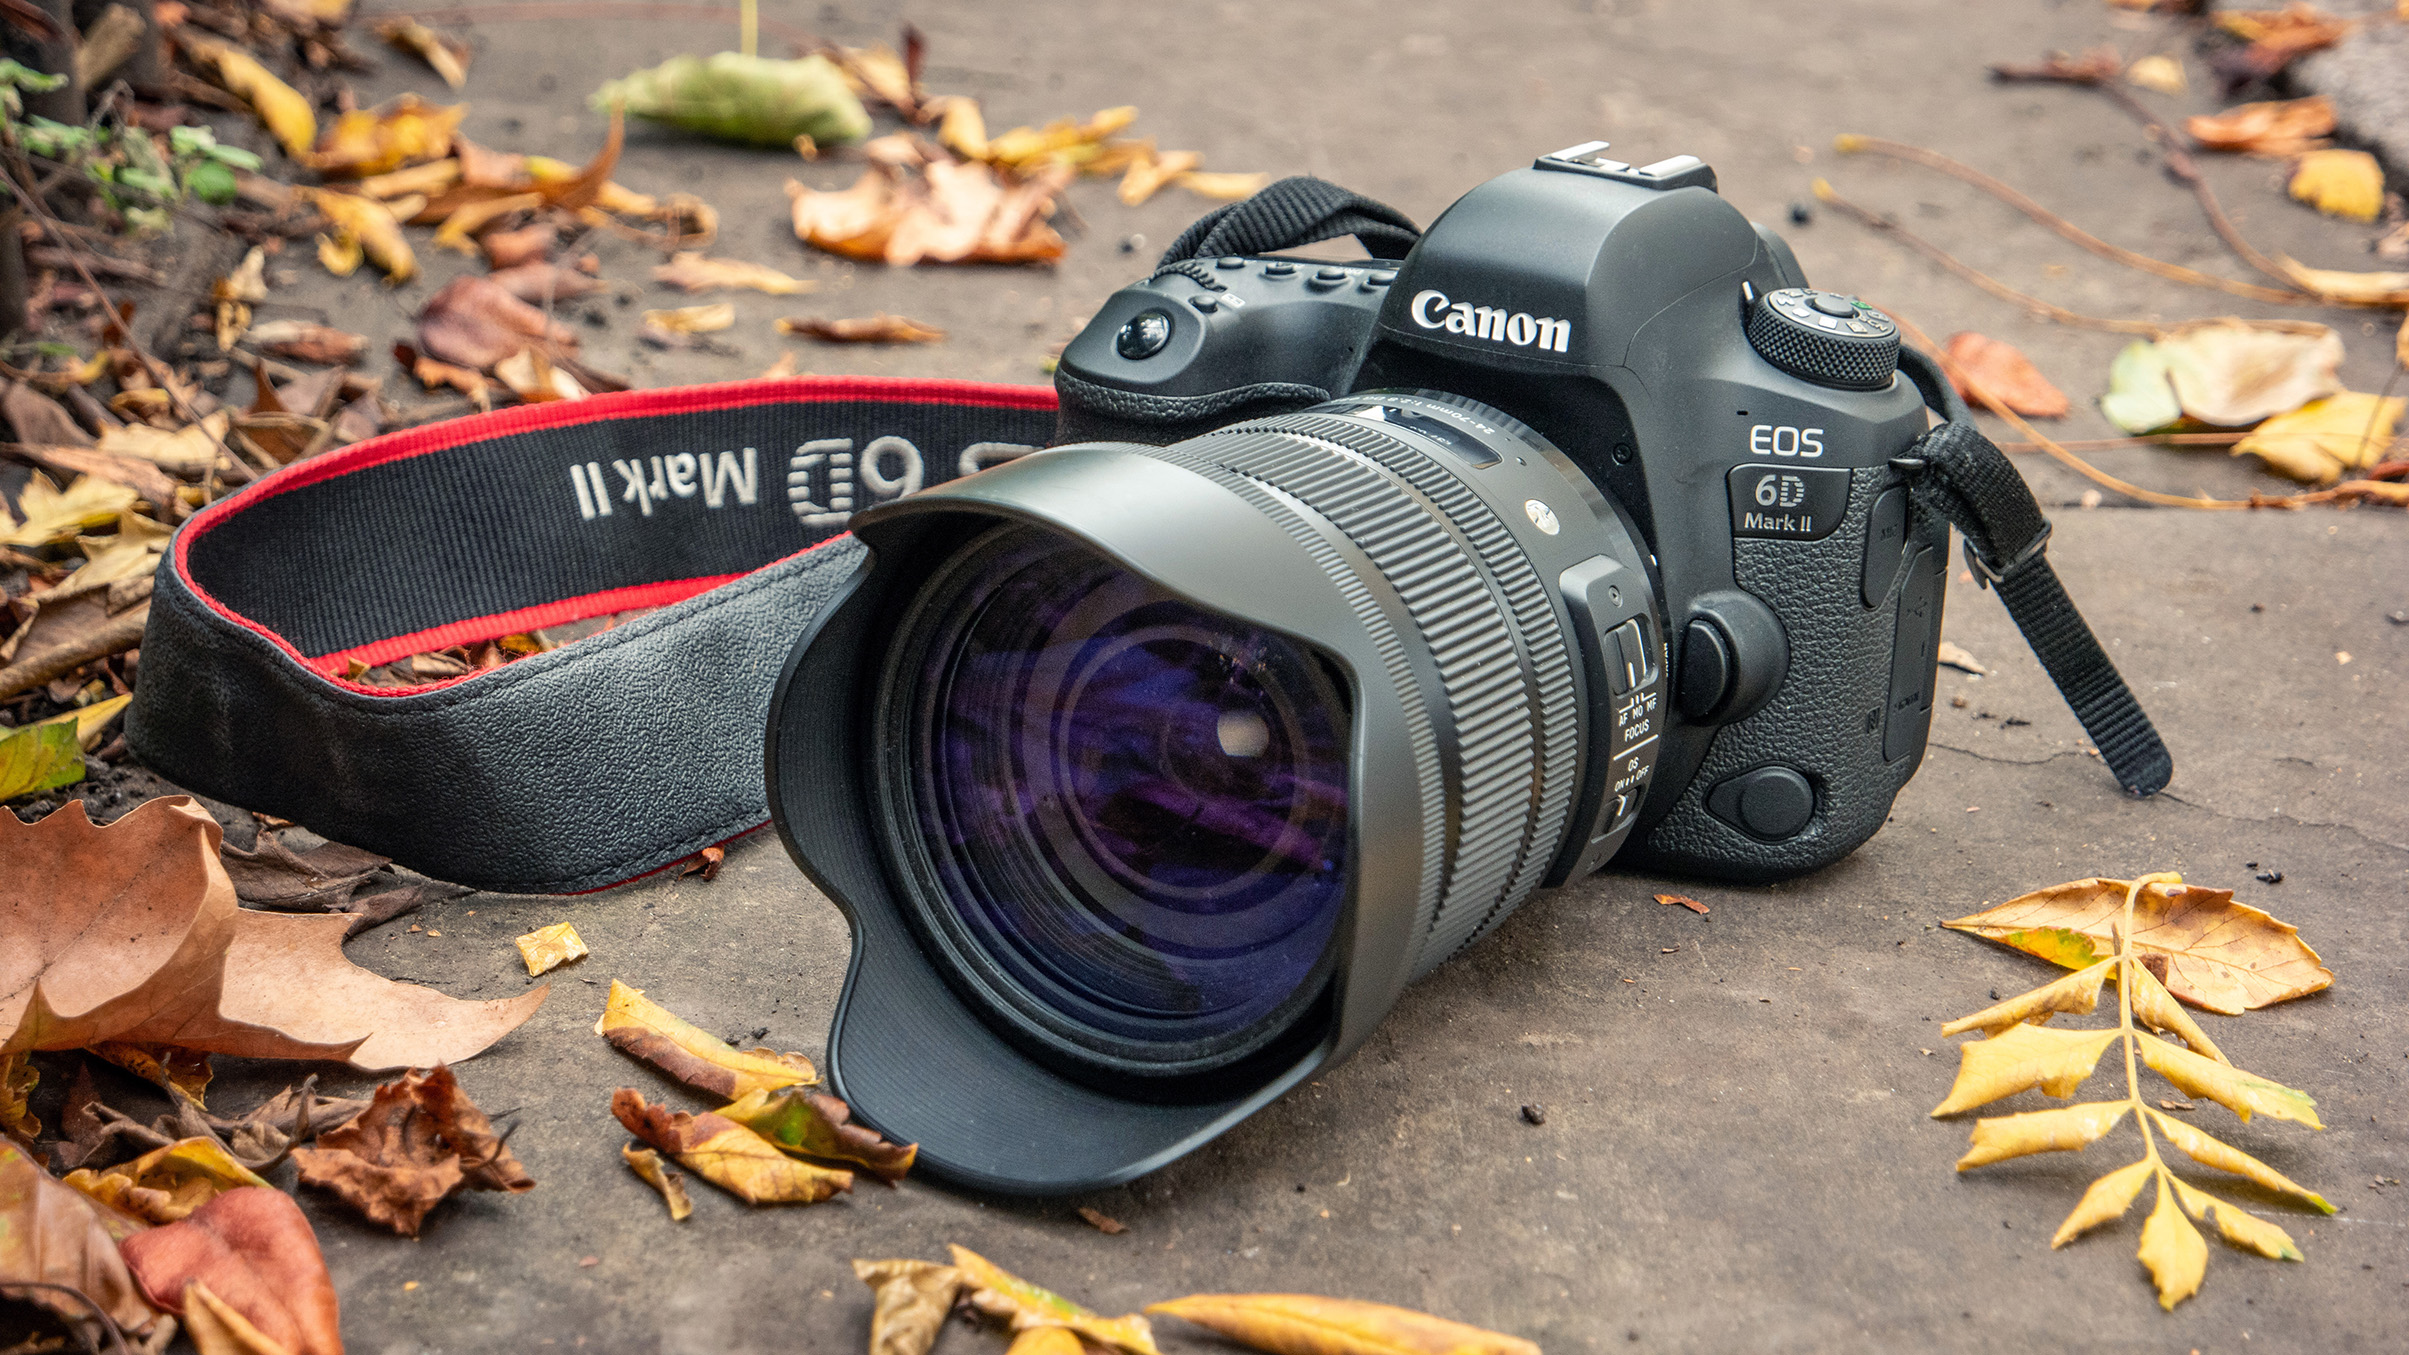
1. Clean camera
A body with good high ISO performance is useful for handholding segments of the pano
2. Standard zoom
A zoom lens allows the greatest control when working in tight conditions
3. Polarizer
While it isn’t advisable for wide panos, using a Cir Pol filter reduces reflections in windows
Shooting steps
1. Plan start/end points
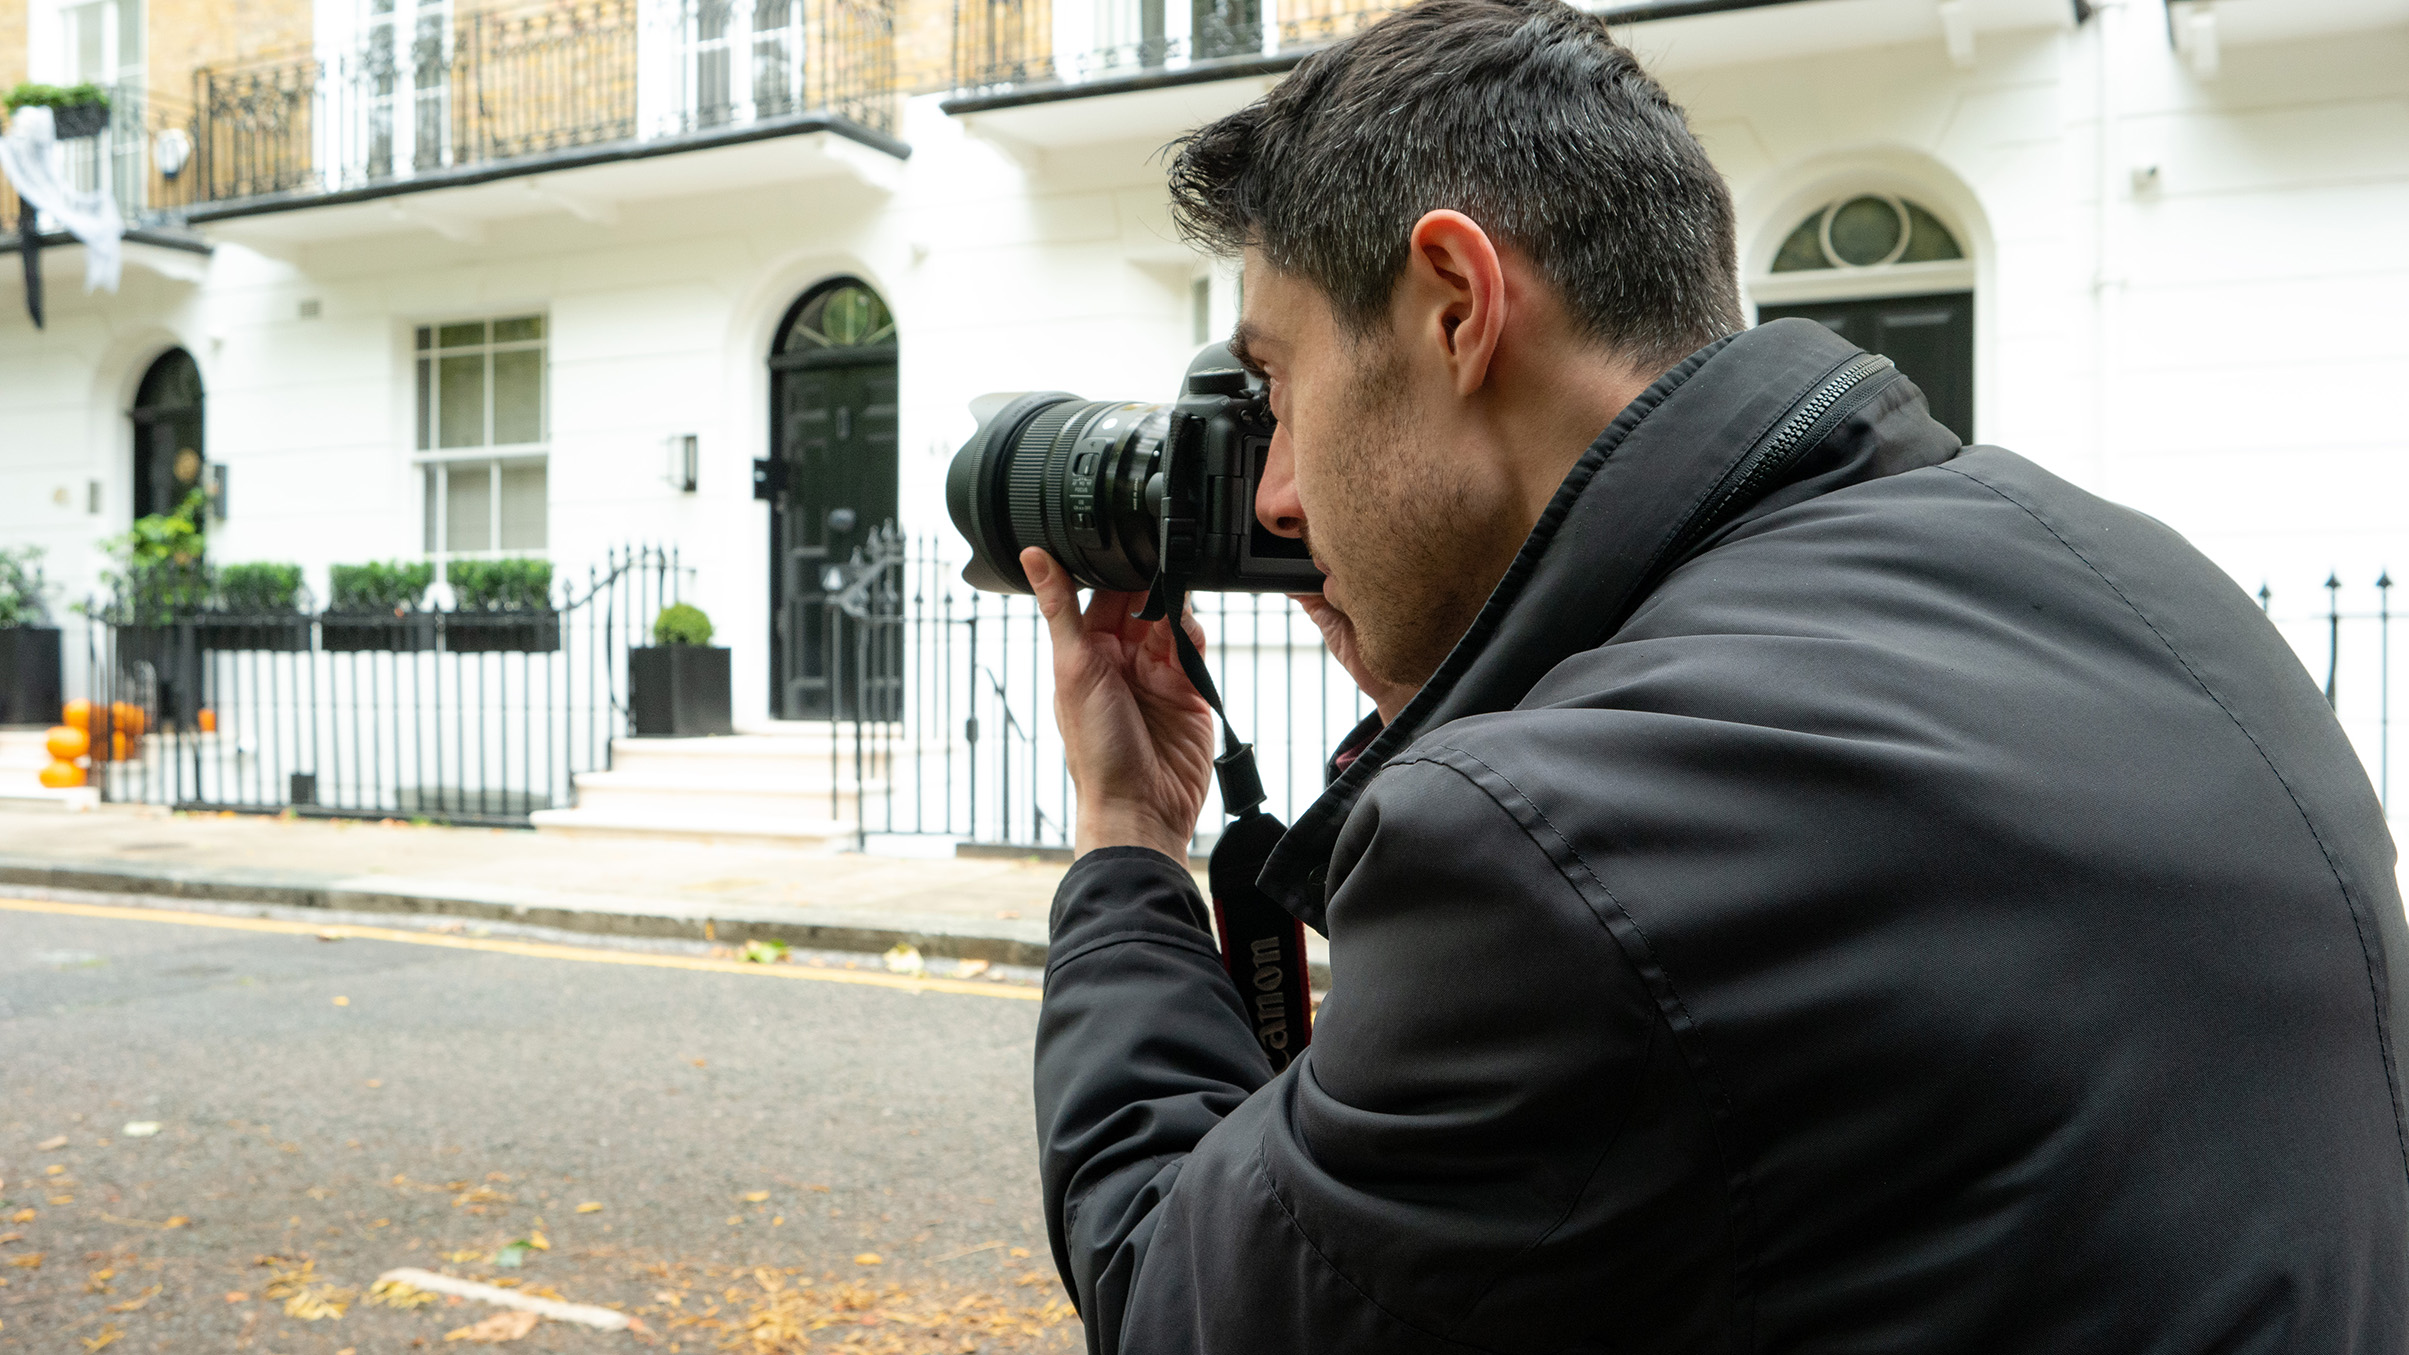
Define the boundaries of your panorama, making sure you leave room for the removal of lens distortions and other cropping at the editing stage. Try shooting an image at your lens’s widest setting to visualize how much of the scene you want or need to include to get all the relevant details into the composition.
2. Find a clear foreground
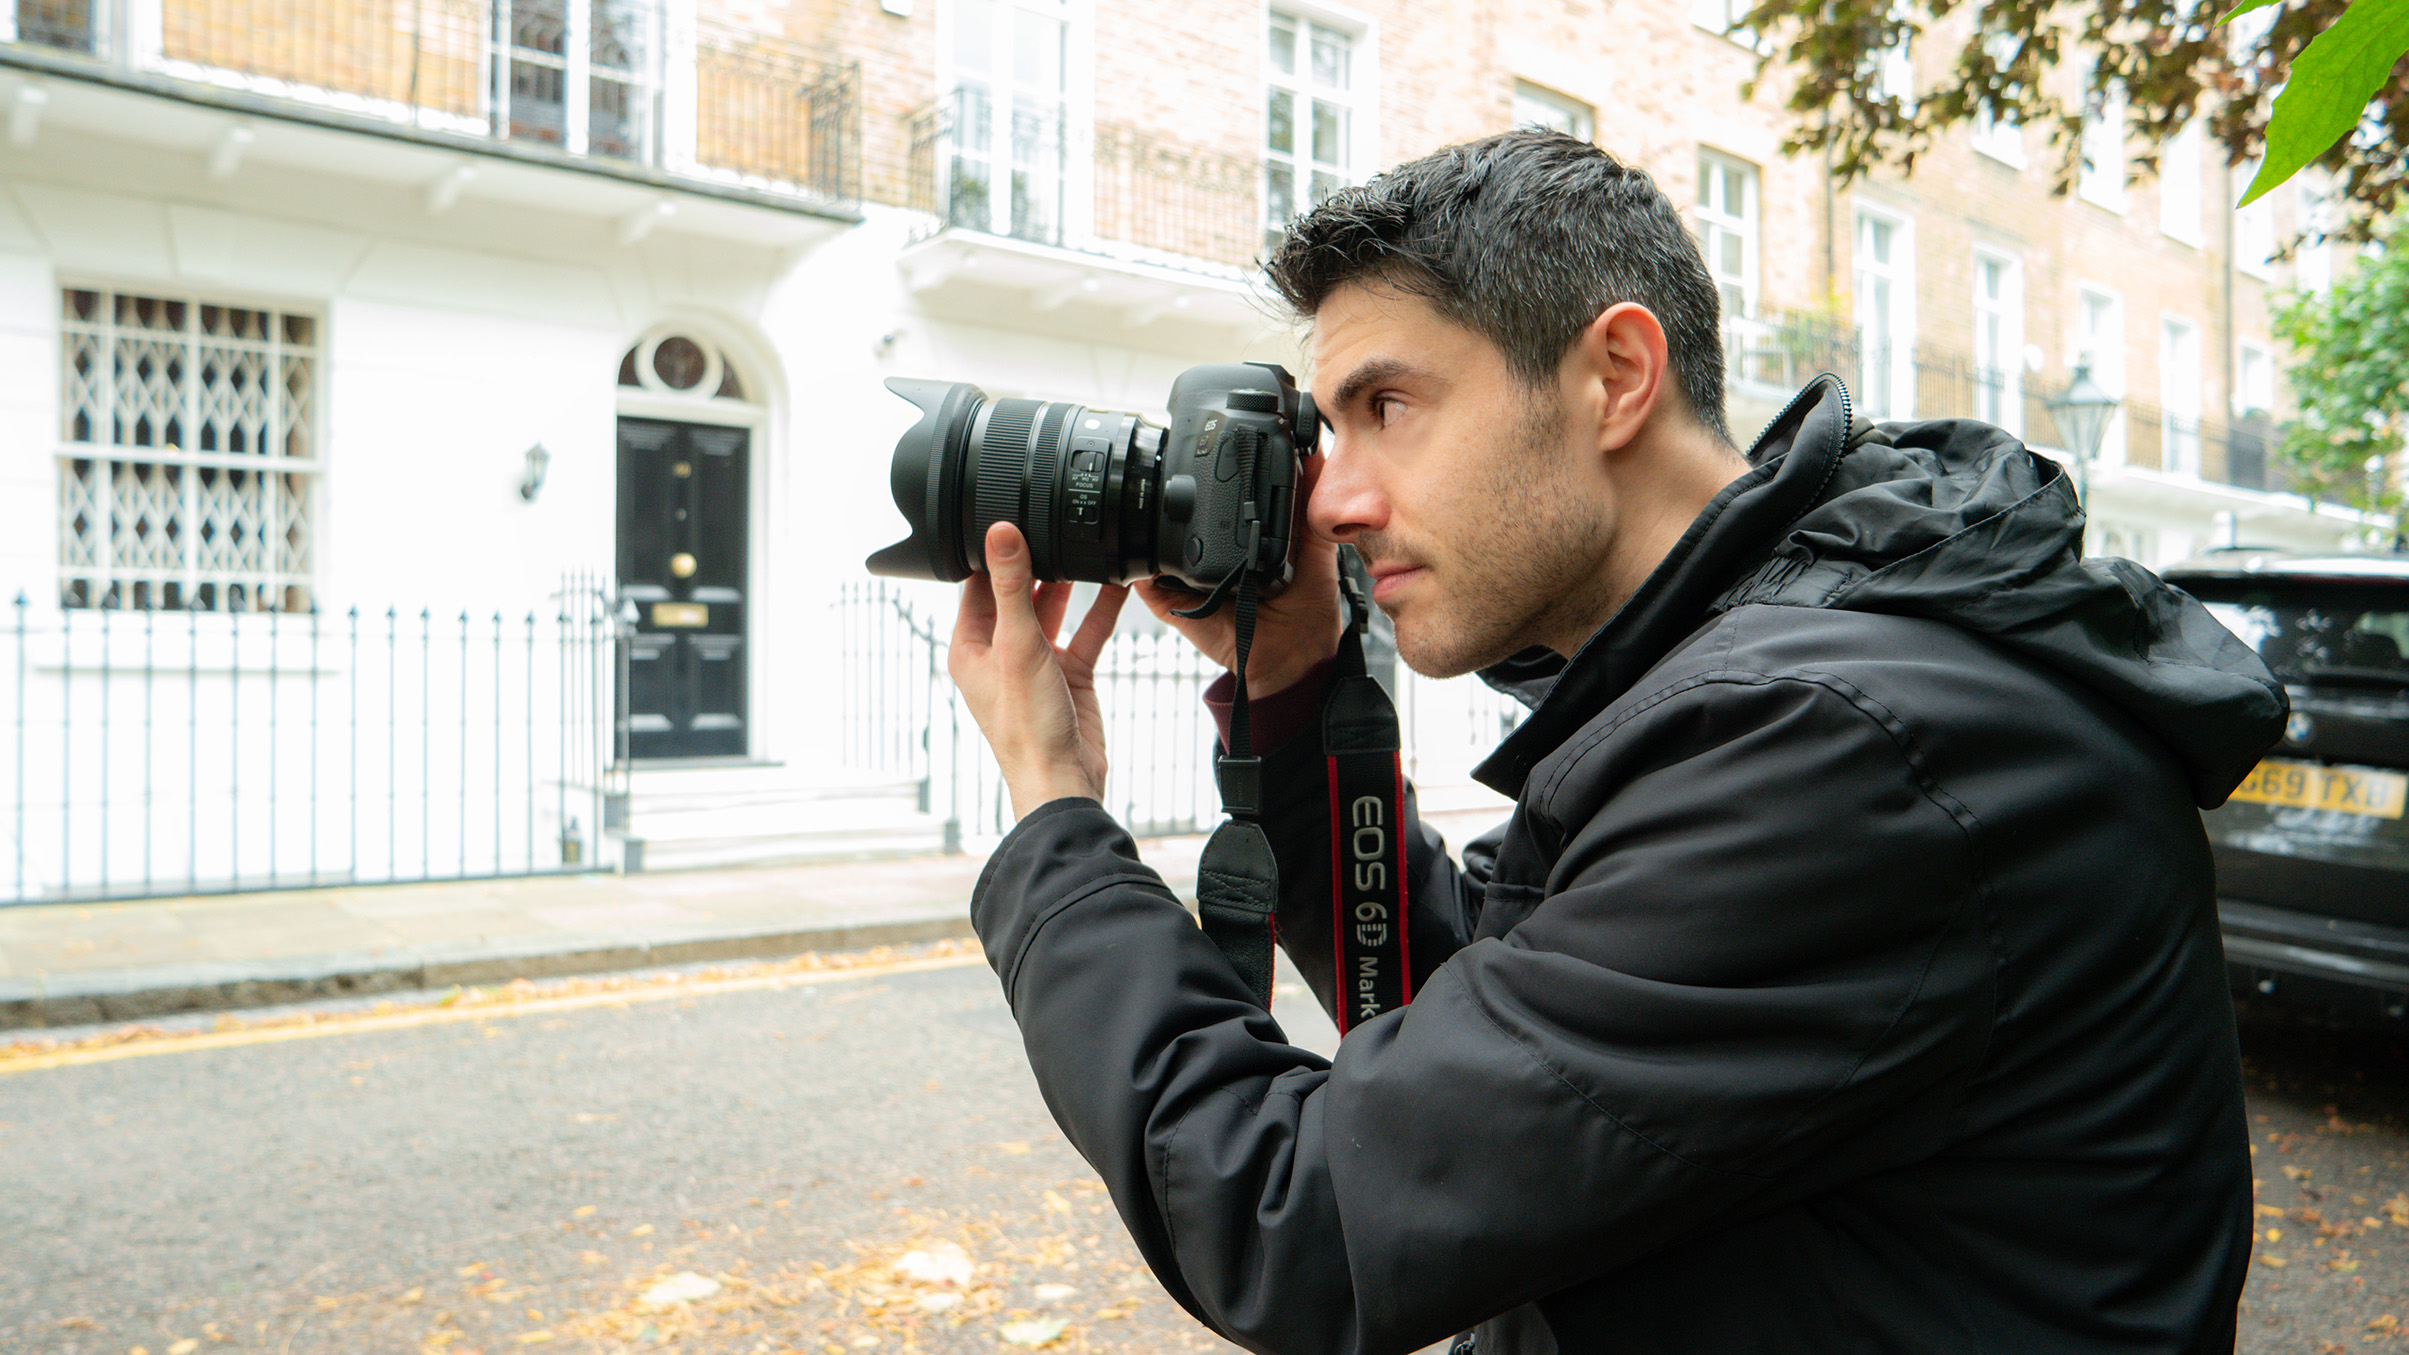
When shooting in streets or other busy environments, it helps to minimize the overlapping objects in the foreground as these can cause the greatest issues in software. For this scene, we chose an area with the fewest parked cars in the foreground so that the ground texture was fairly uniform and flat.
3. Balance detail and distortion
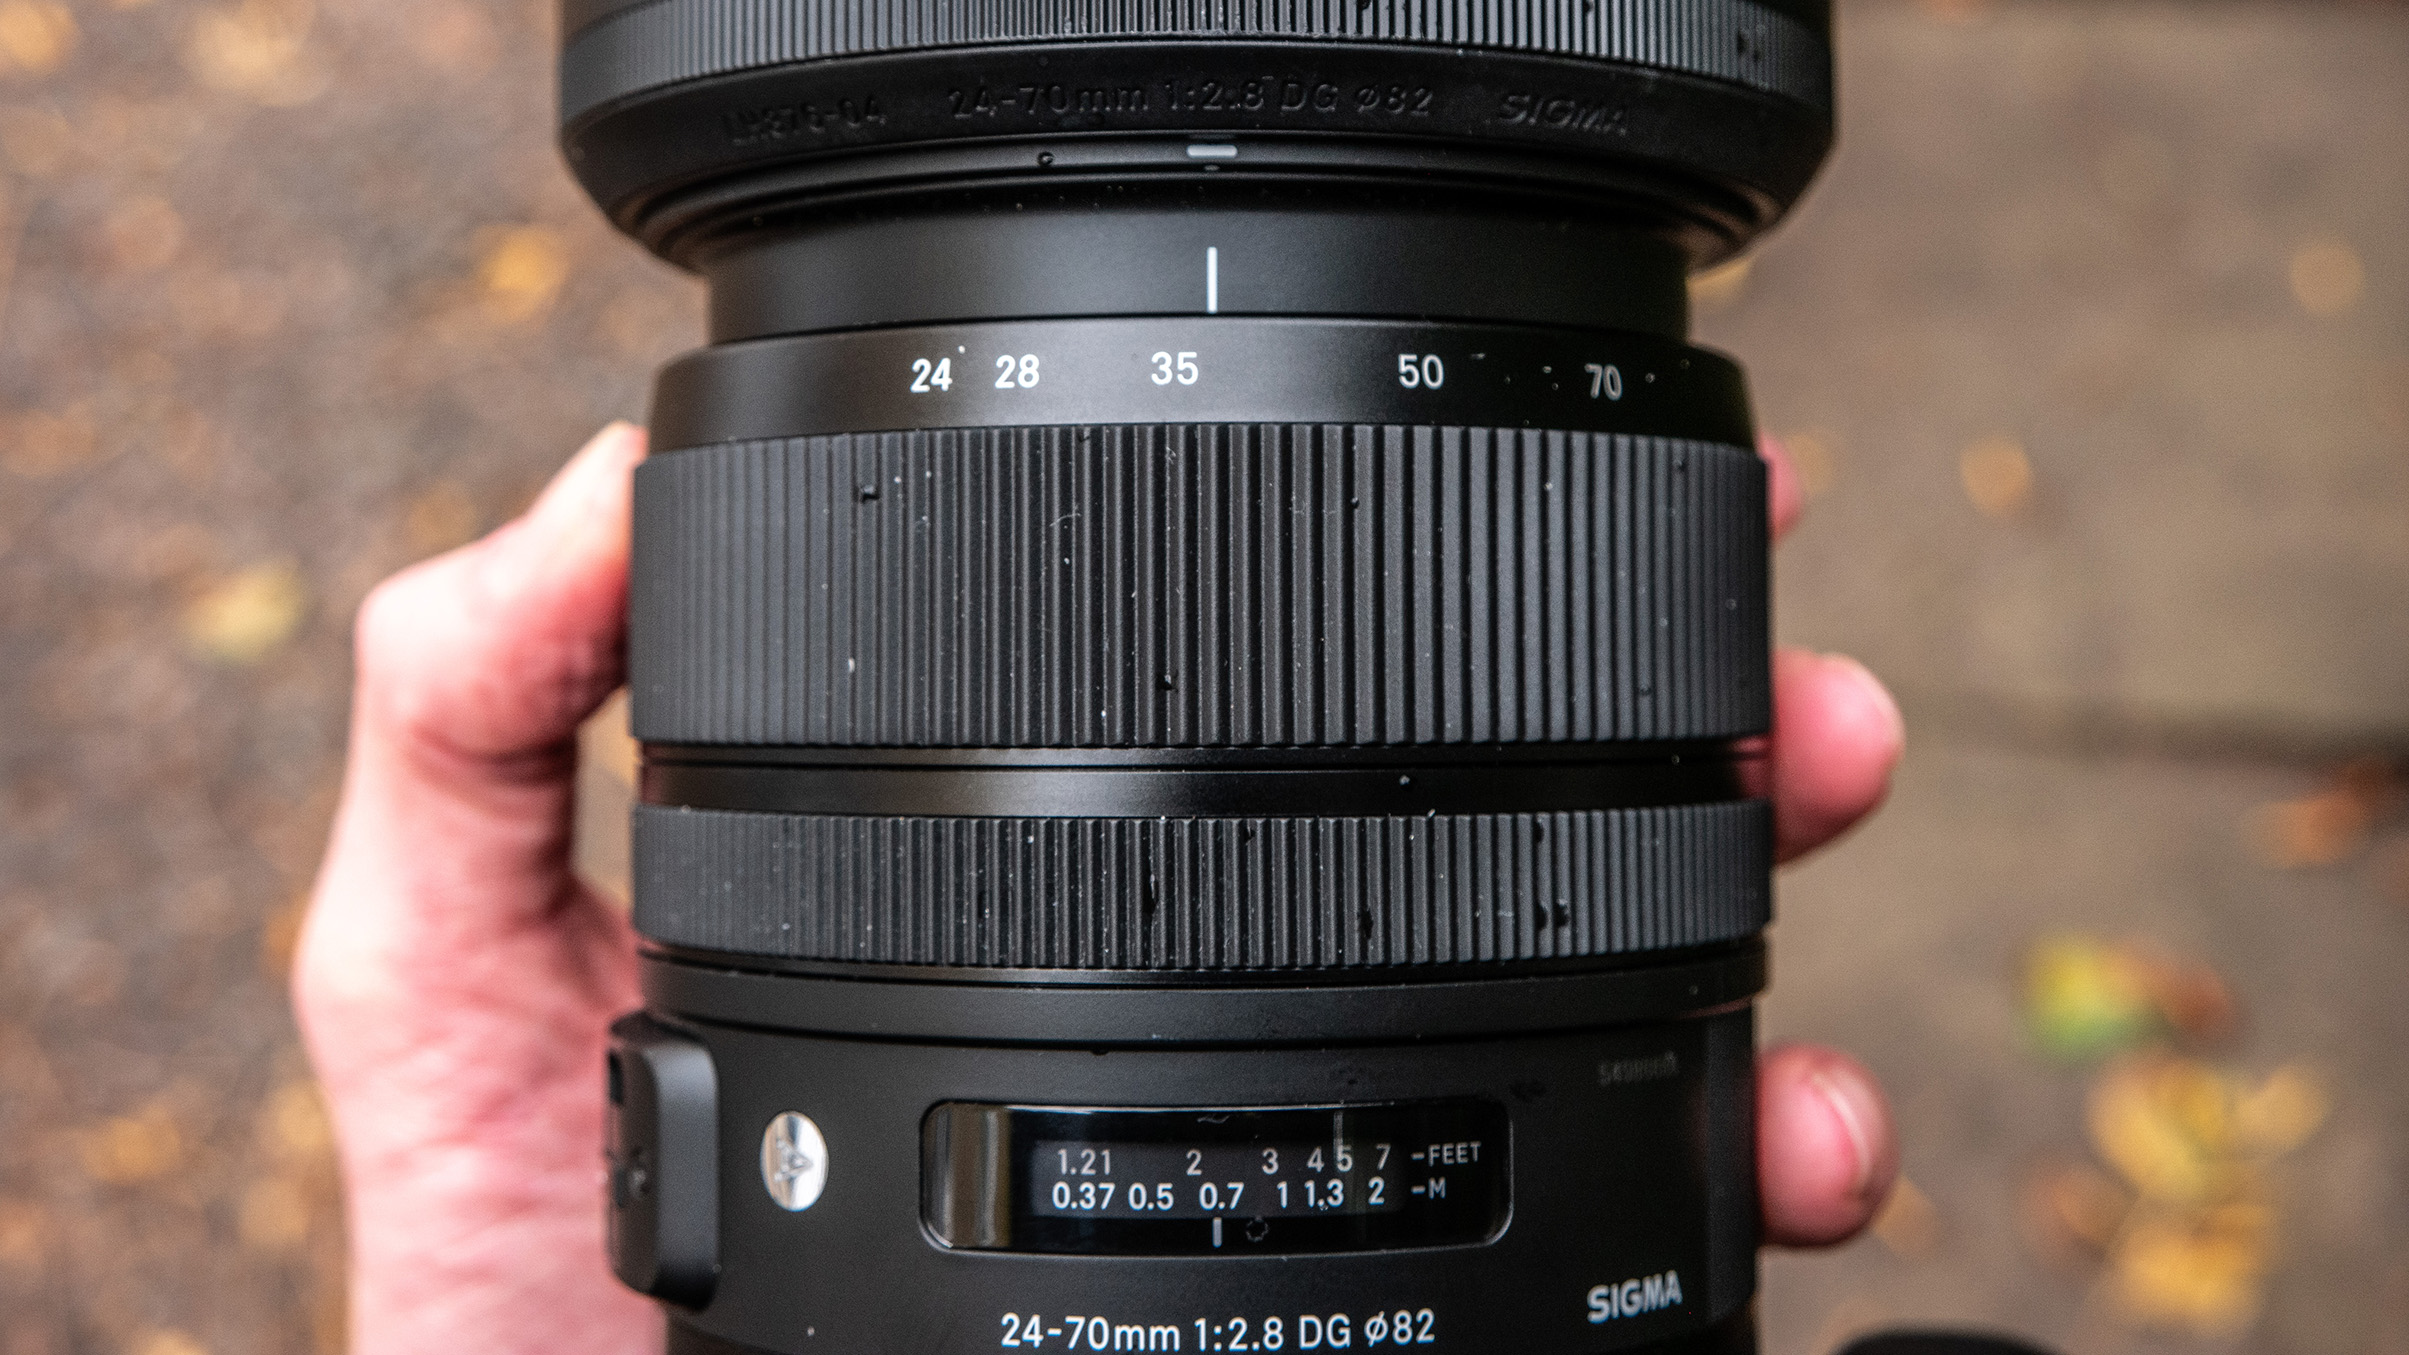
We need to capture some detail around the edges while accepting that much of this will be lost when we blend and straighten out the segments at a later stage. For this scene, 35-50mm offered the best balance of croppable space and wide-angle lens distortion, which could confuse the editing software.
4. Turn off AF
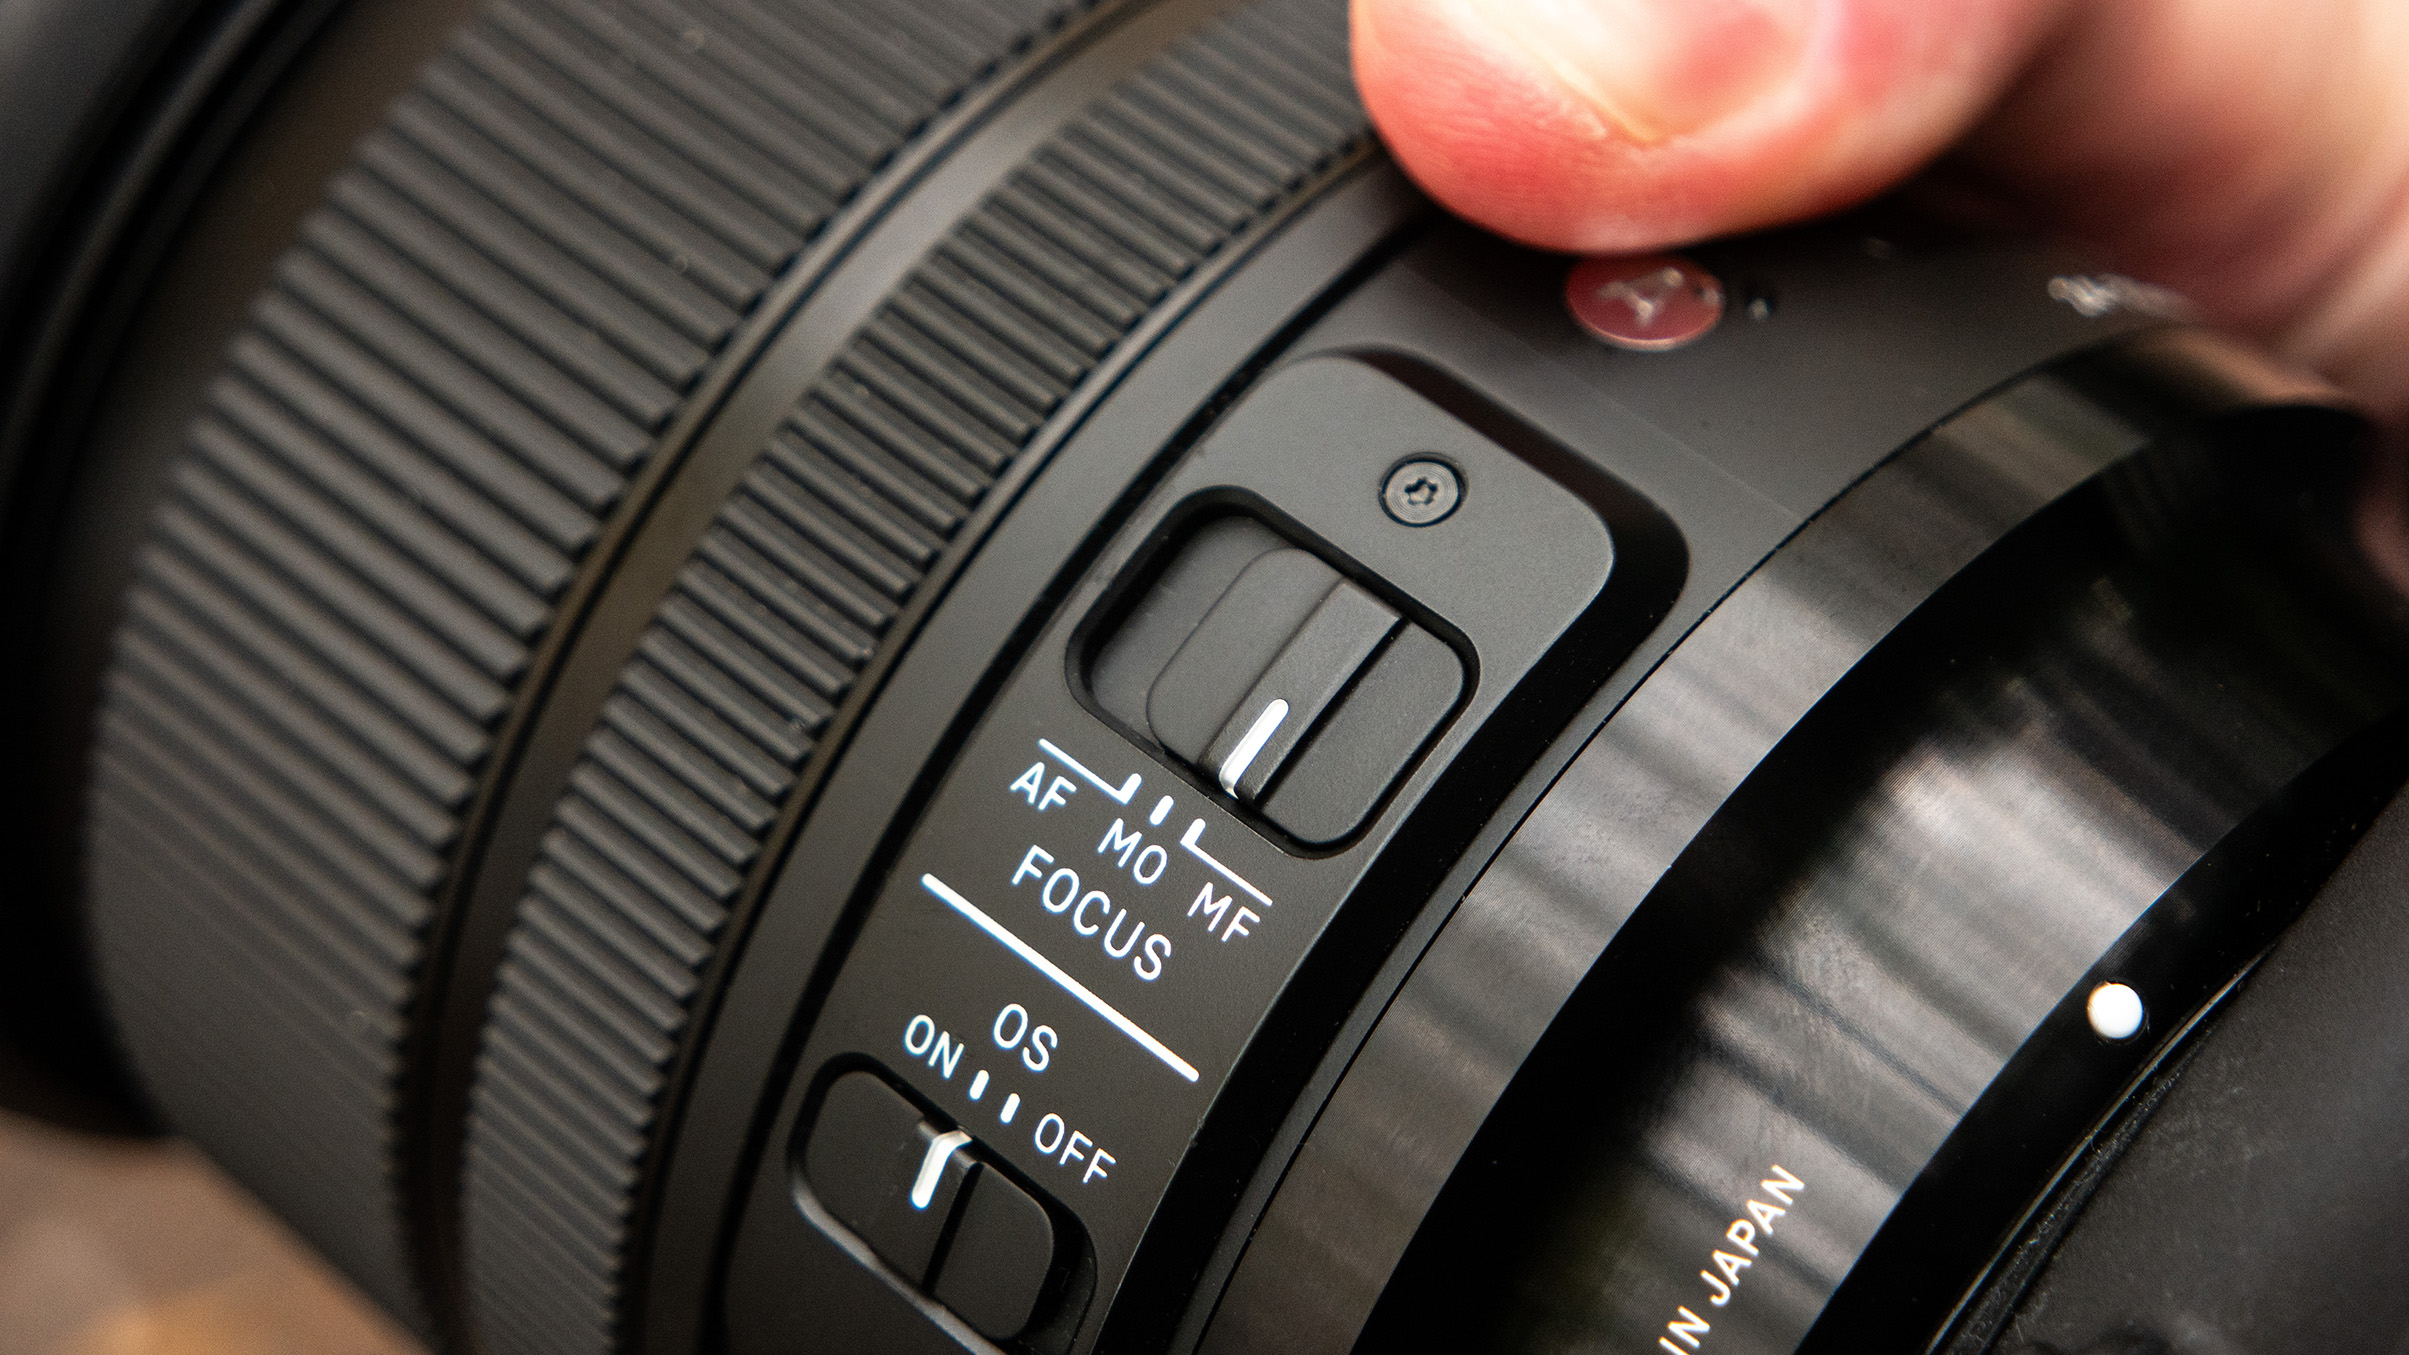
Focus your scene, take a test shot and then deactivate the autofocus mode to prevent the lens from re-focusing between panorama segments. Shooting at an aperture of f/8 to f/11 is advisable to get the whole scene in focus while allowing handholding of the camera without excessive motion blur.
5. Lock settings
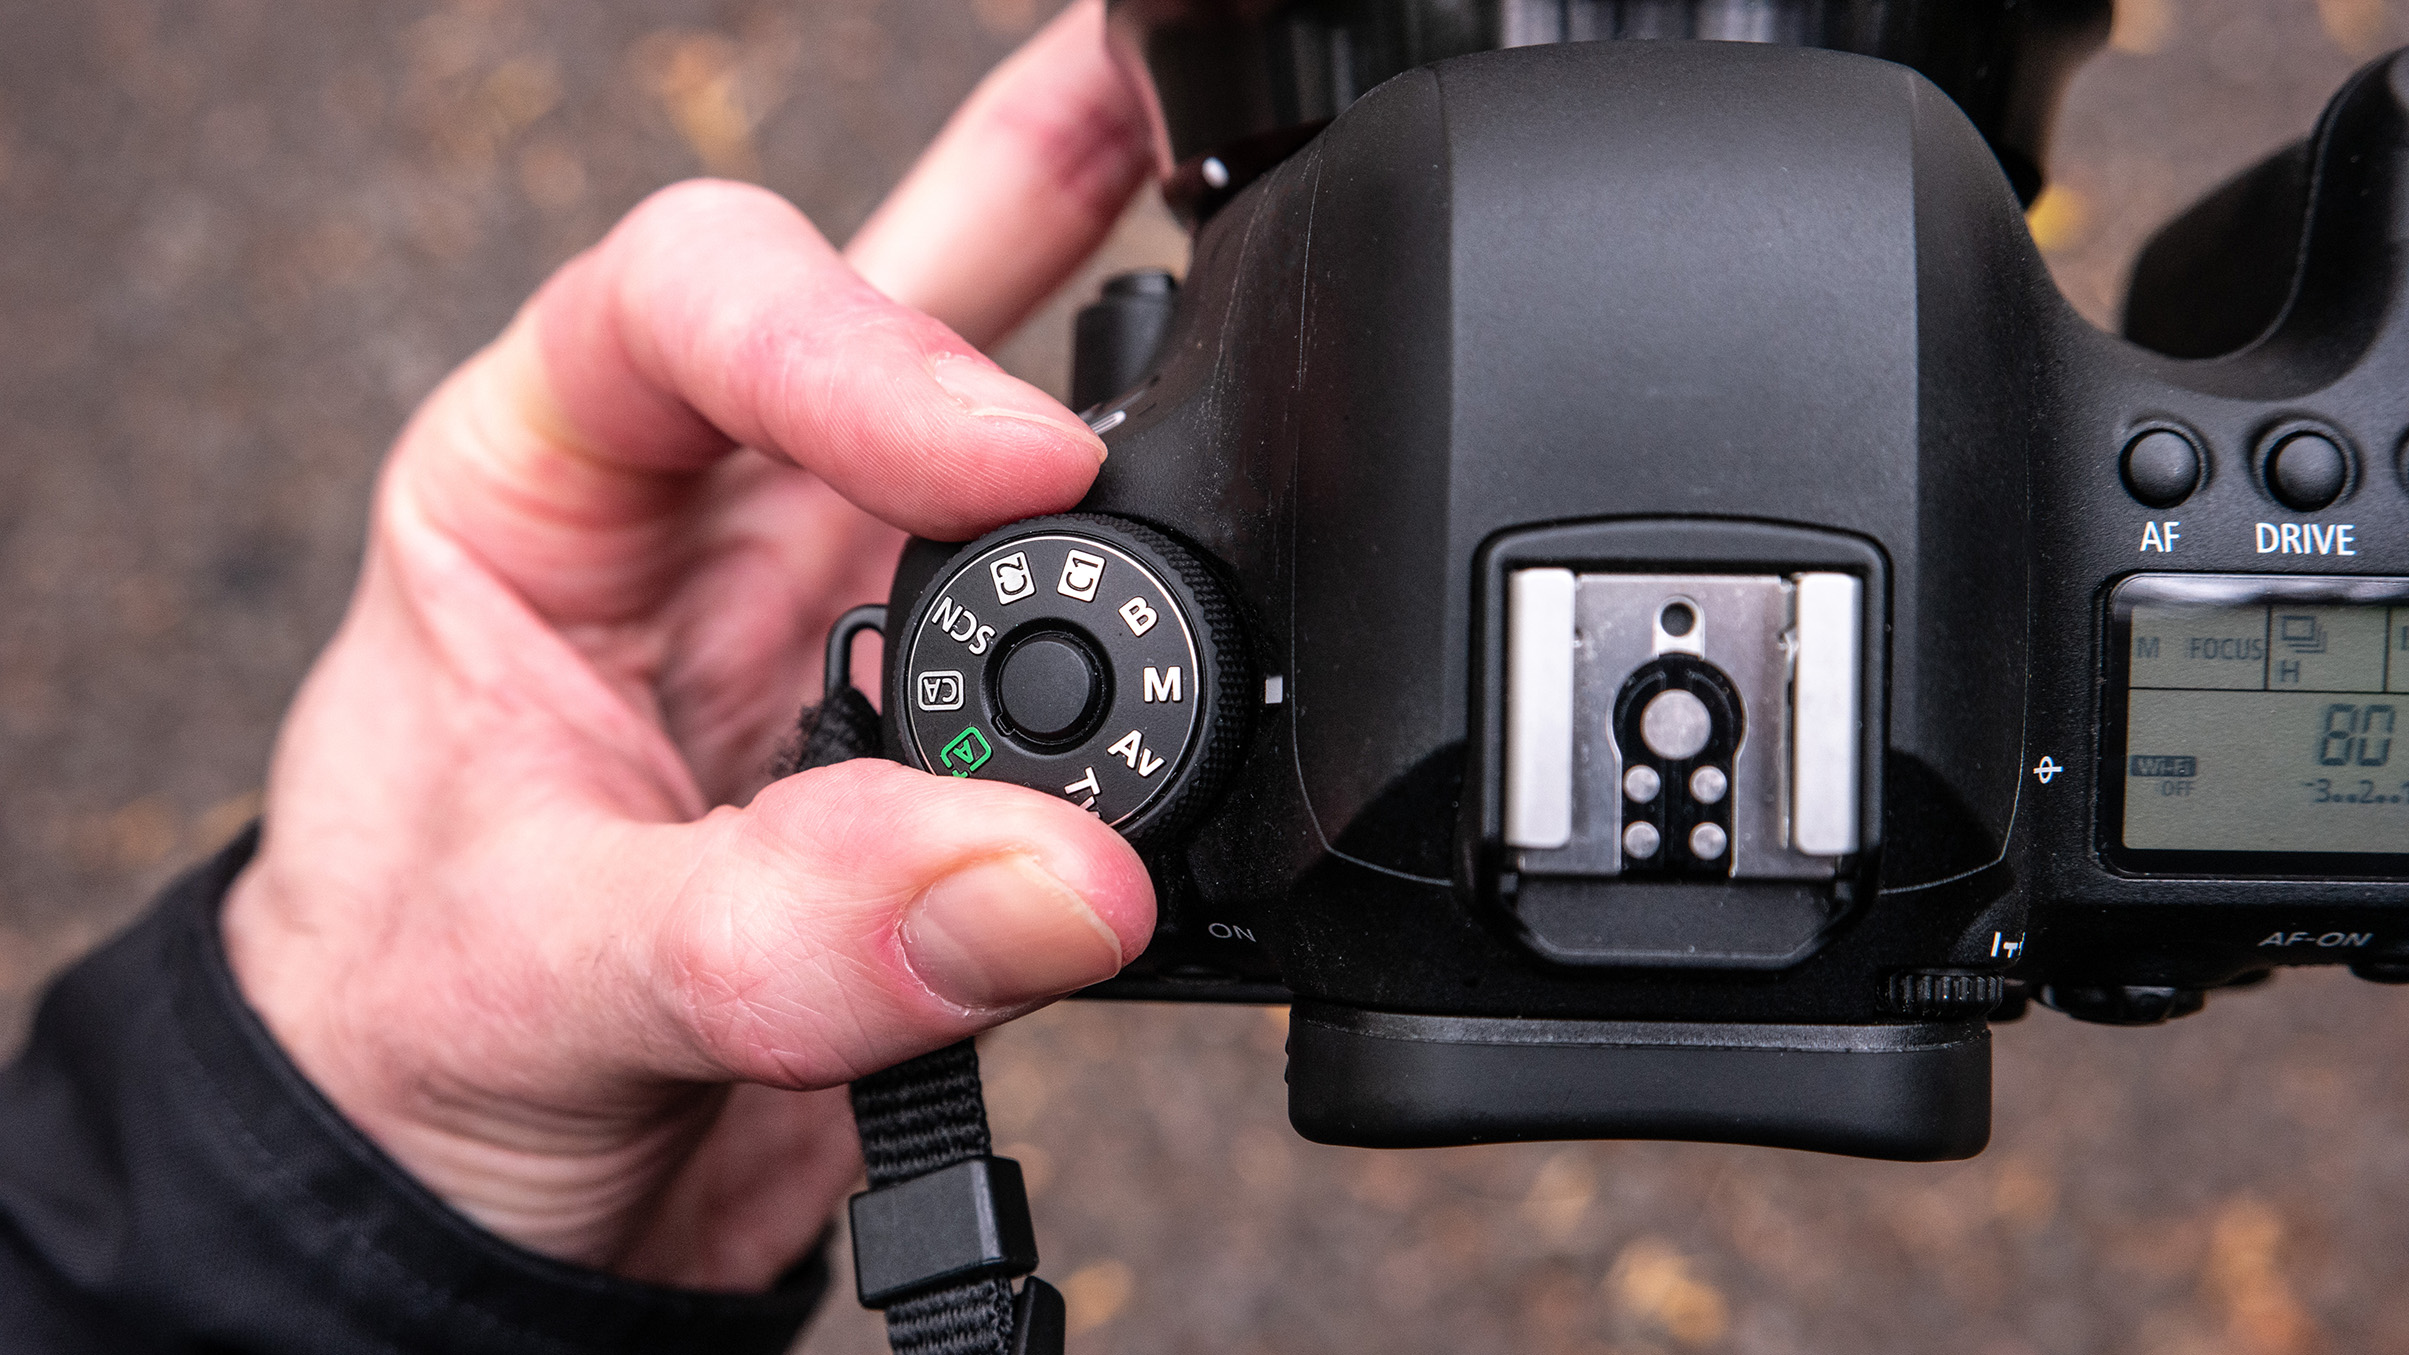
Select an ISO of greater than 400 to help with sharpness, then switch the camera to Manual mode to prevent these settings from changing between segments. Any exposure shifts will be highly visible in the sort of shots that we are trying to create here and we need to avoid any further complications for autoblending.
6. Check the overlaps
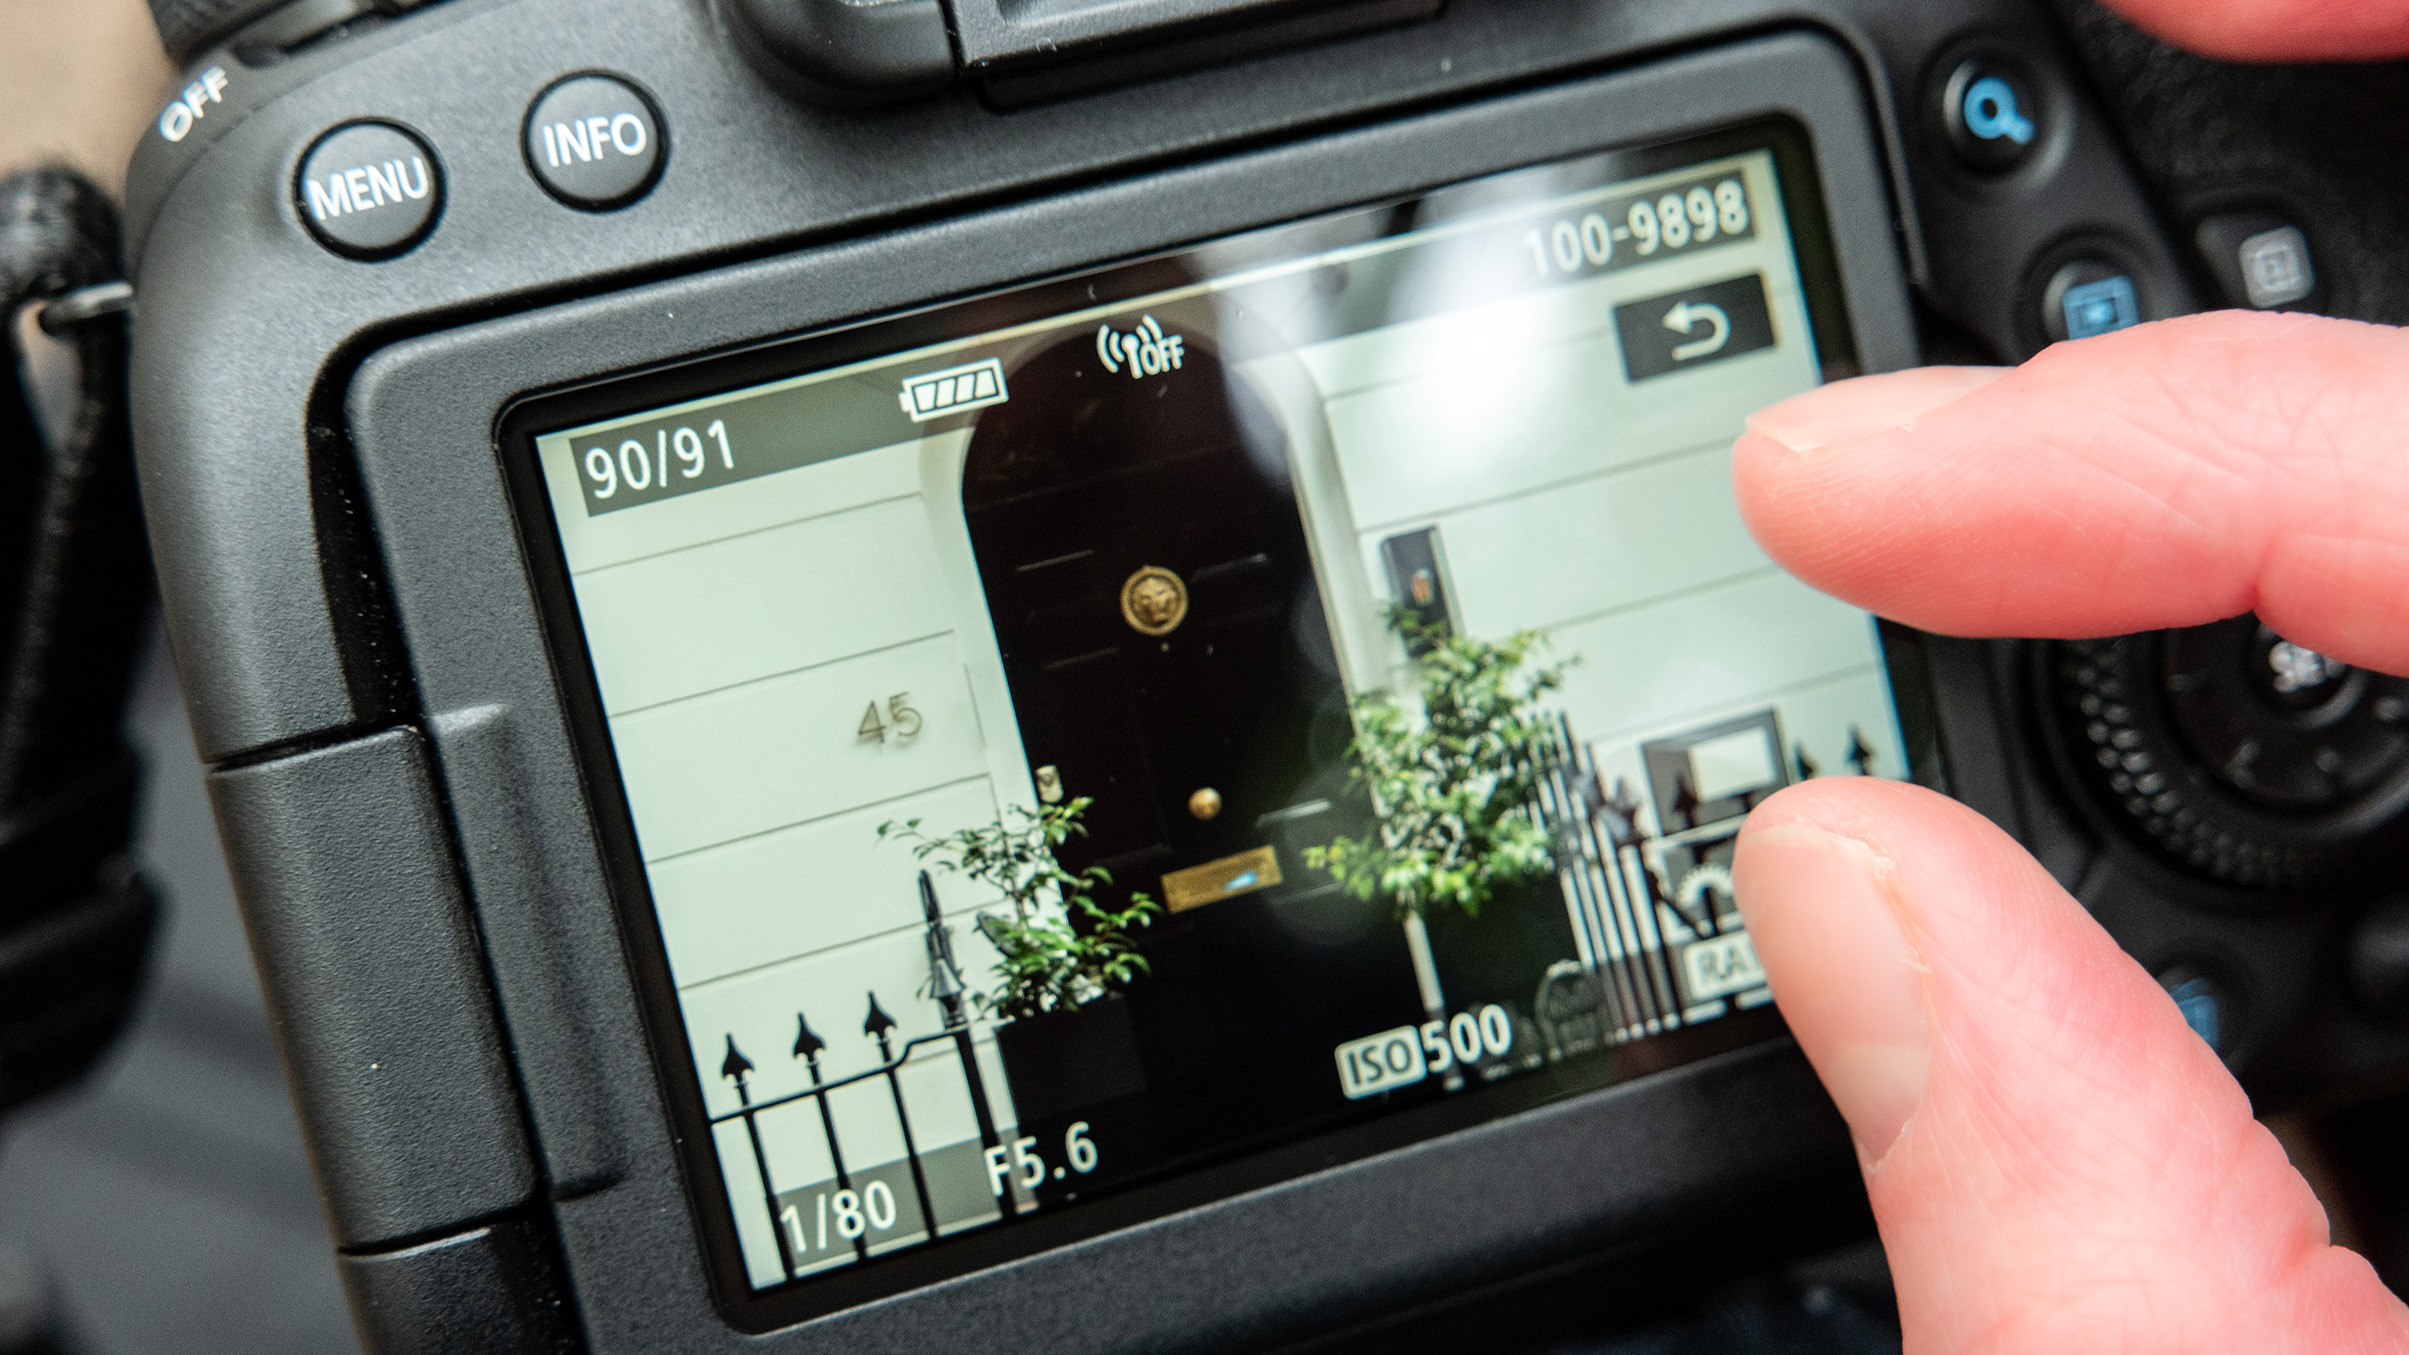
Shoot a sequence of images covering your chosen field of view, with some excess space at either end. Scroll through your pano segments and inspect them for even tone and sharpness, checking that they overlap by around 20 percent. While this overlap is less necessary with the latest software, it works here.
Pro tip
Shoot and slide
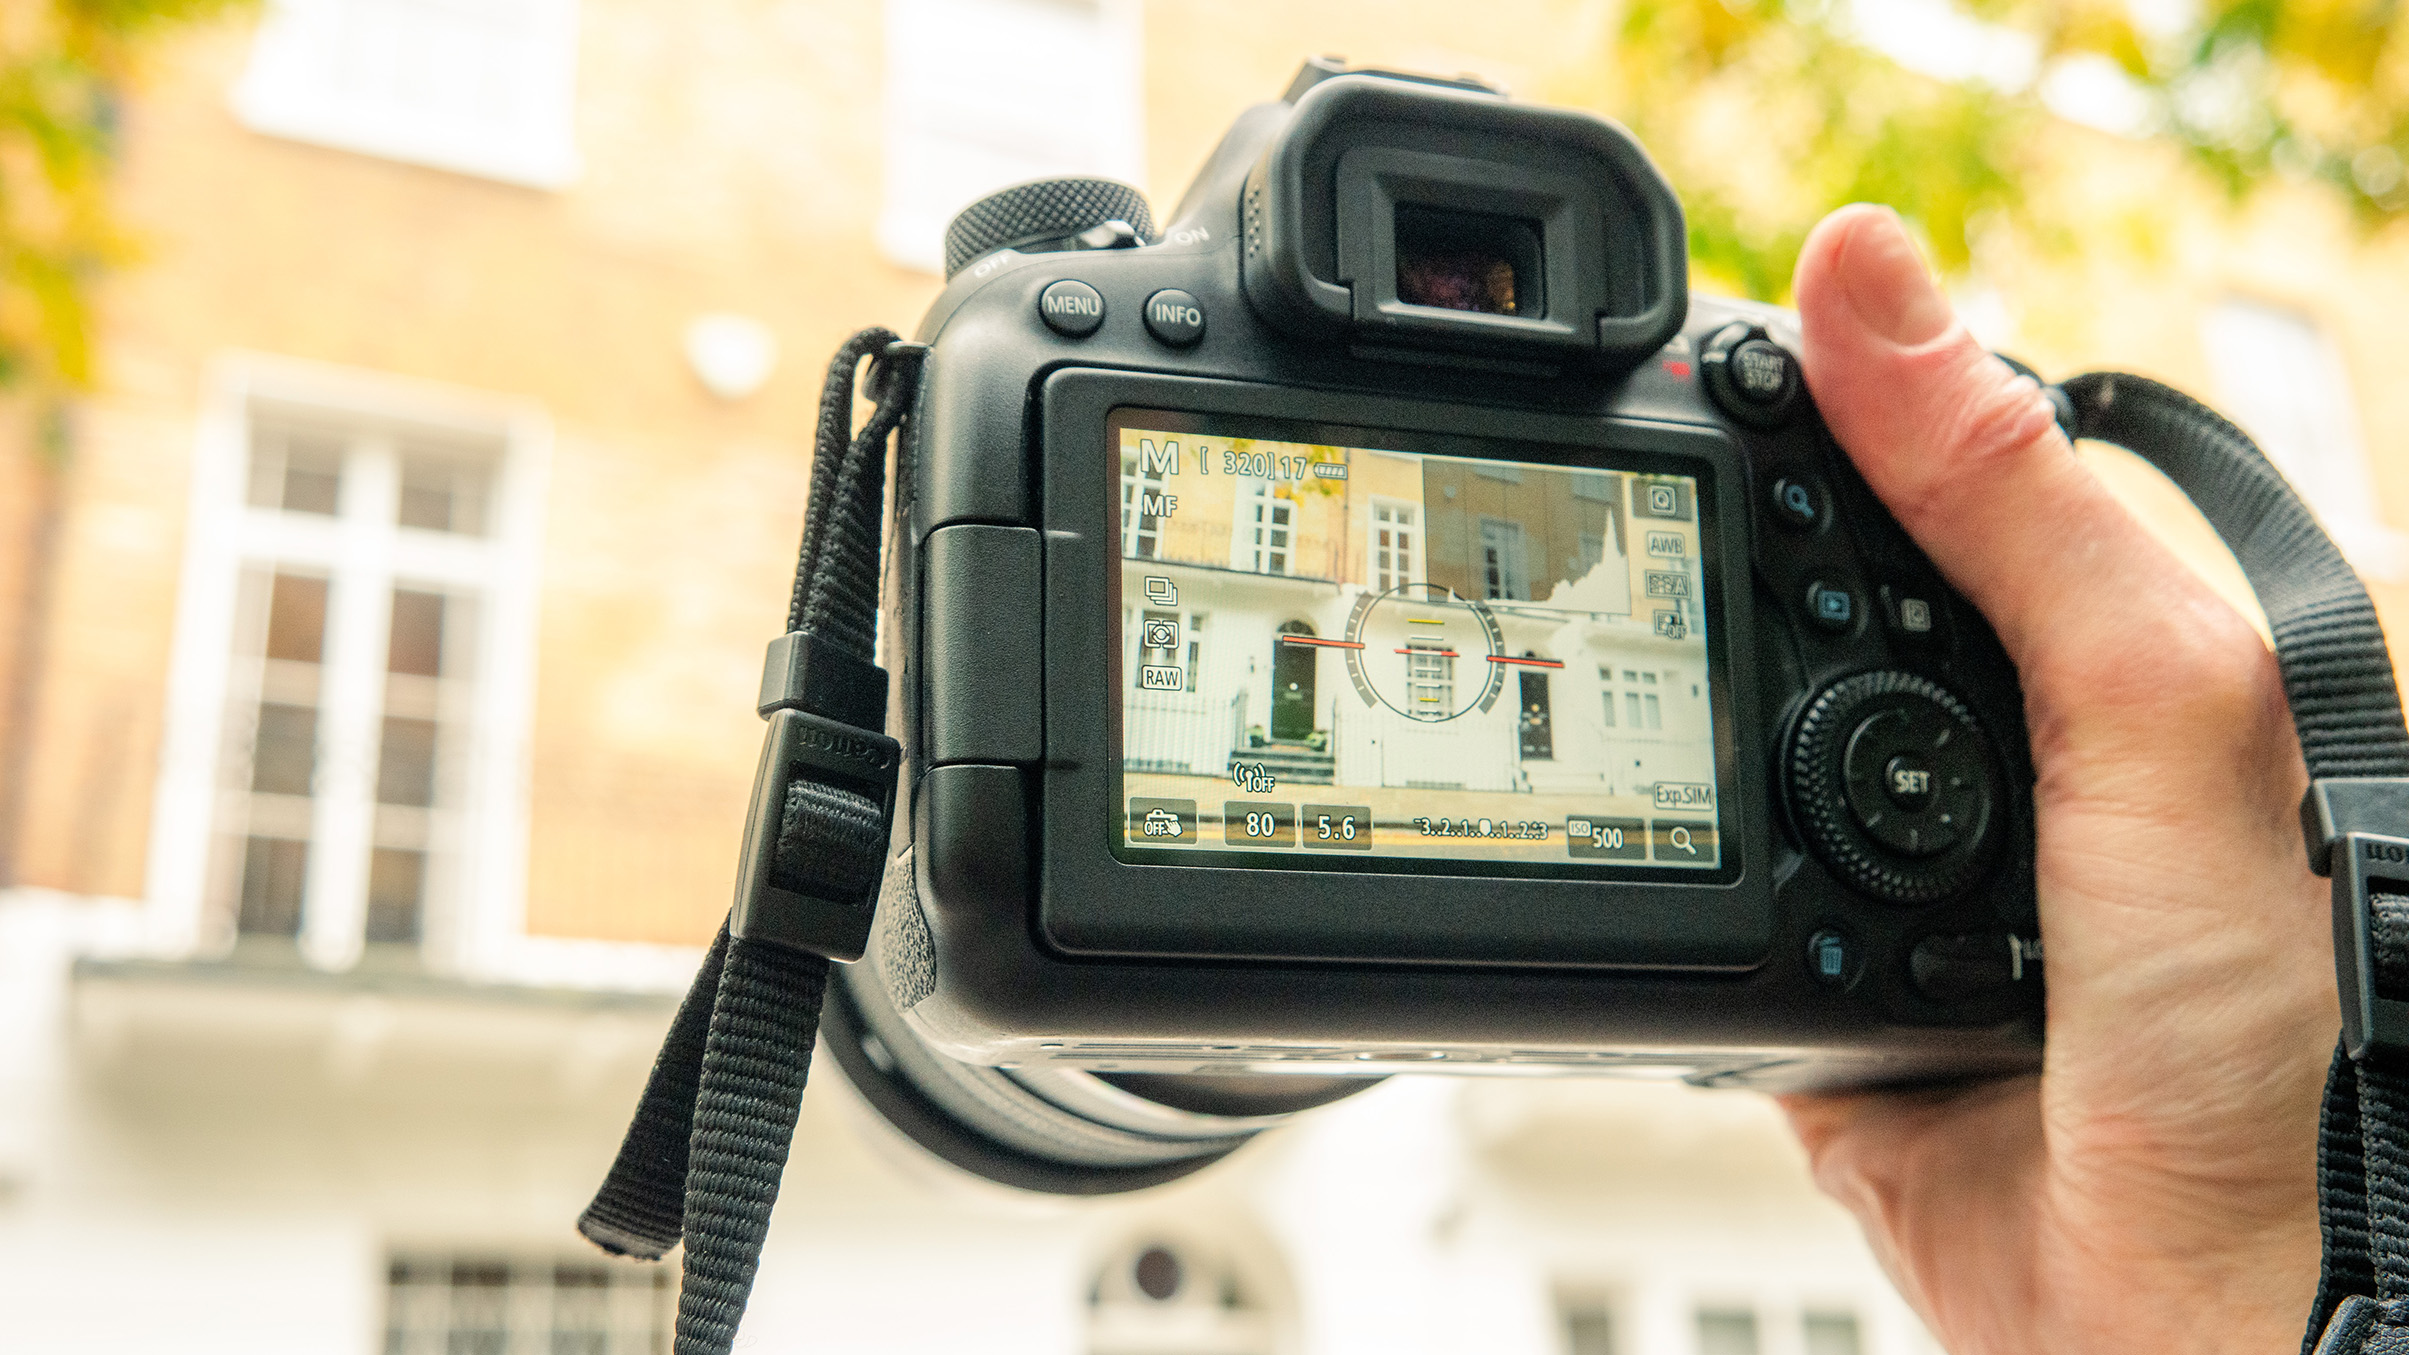
Avoid parallax error for more reliable stitching
Rotating the camera causes objects at different distances from the sensor to vary in their apparent distance from each other, which causes scaling issues when trying to stitch pano segments. To minimize distortion on this long street, line up your first shot, capture it, and then move your whole body position to shift the scene through the viewfinder. Physically moving along the street keeps the camera perpendicular to the buildings and ensures the relative distance from the lens remains the same for all segments. This takes more shots to cover the whole scene but streamlines the blending process. In general, the more shots the better.
Editing steps
1. Process all segments
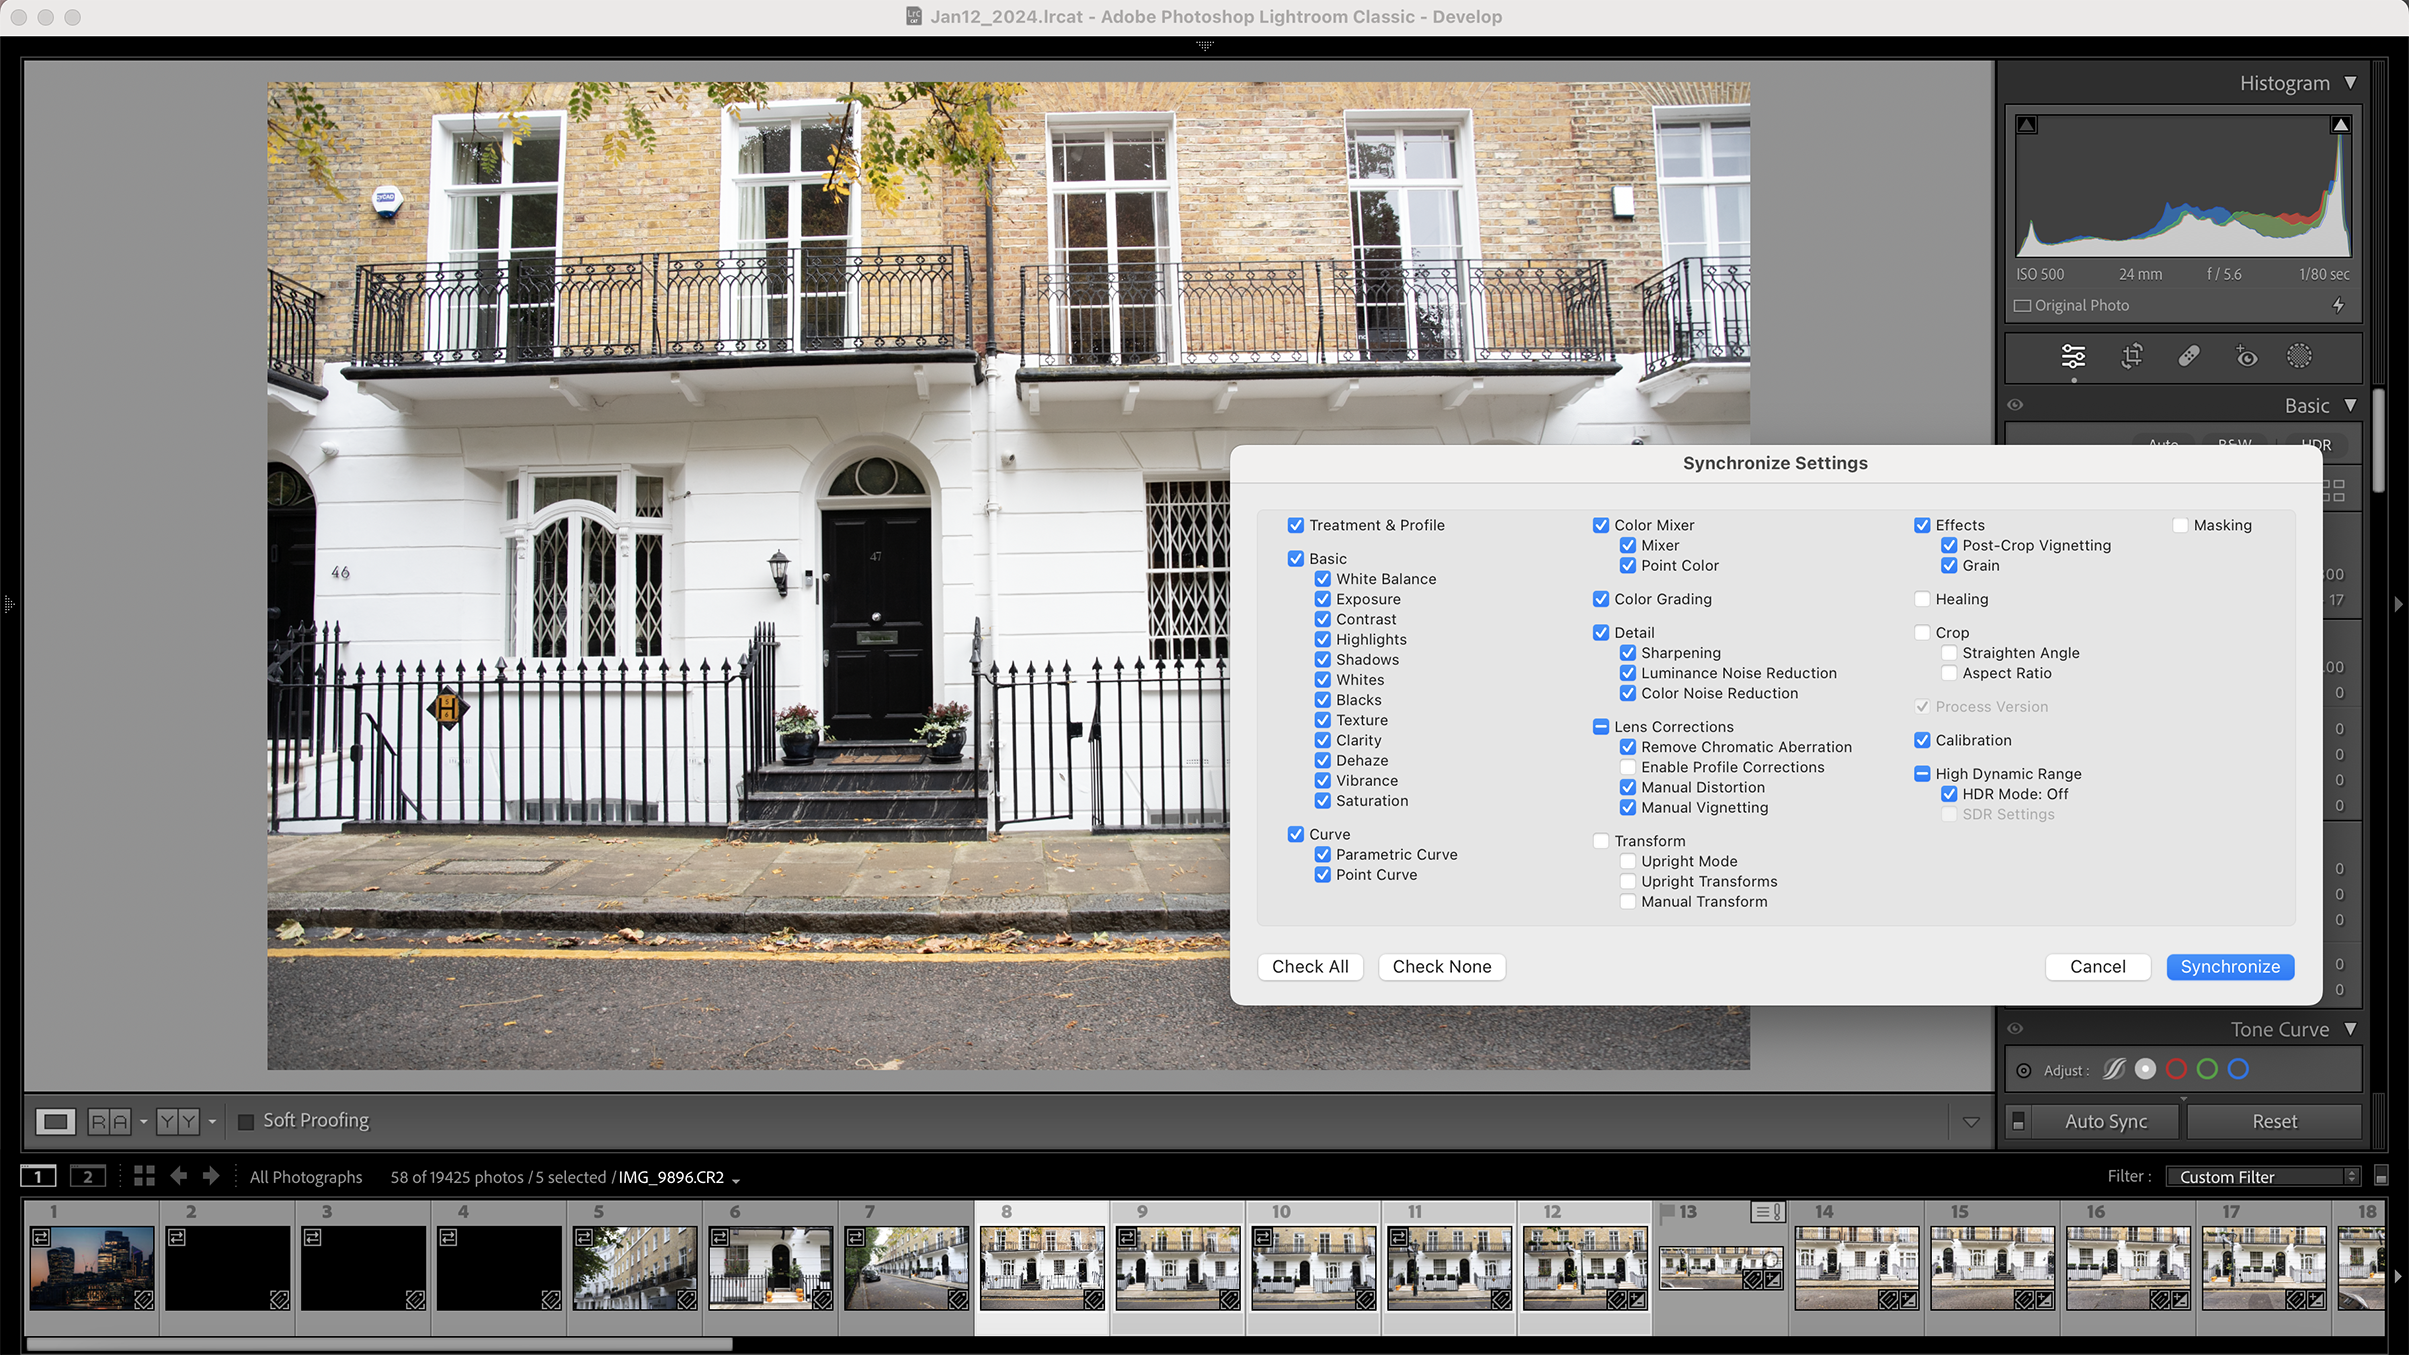
Start by opening all your RAW files, sync them and then apply global adjustments to Exposure, Black and White points, Contrast and Clarity. Next, apply lens corrections to reduce major aberrations and geometric anomalies.
2. Attempt full stitch
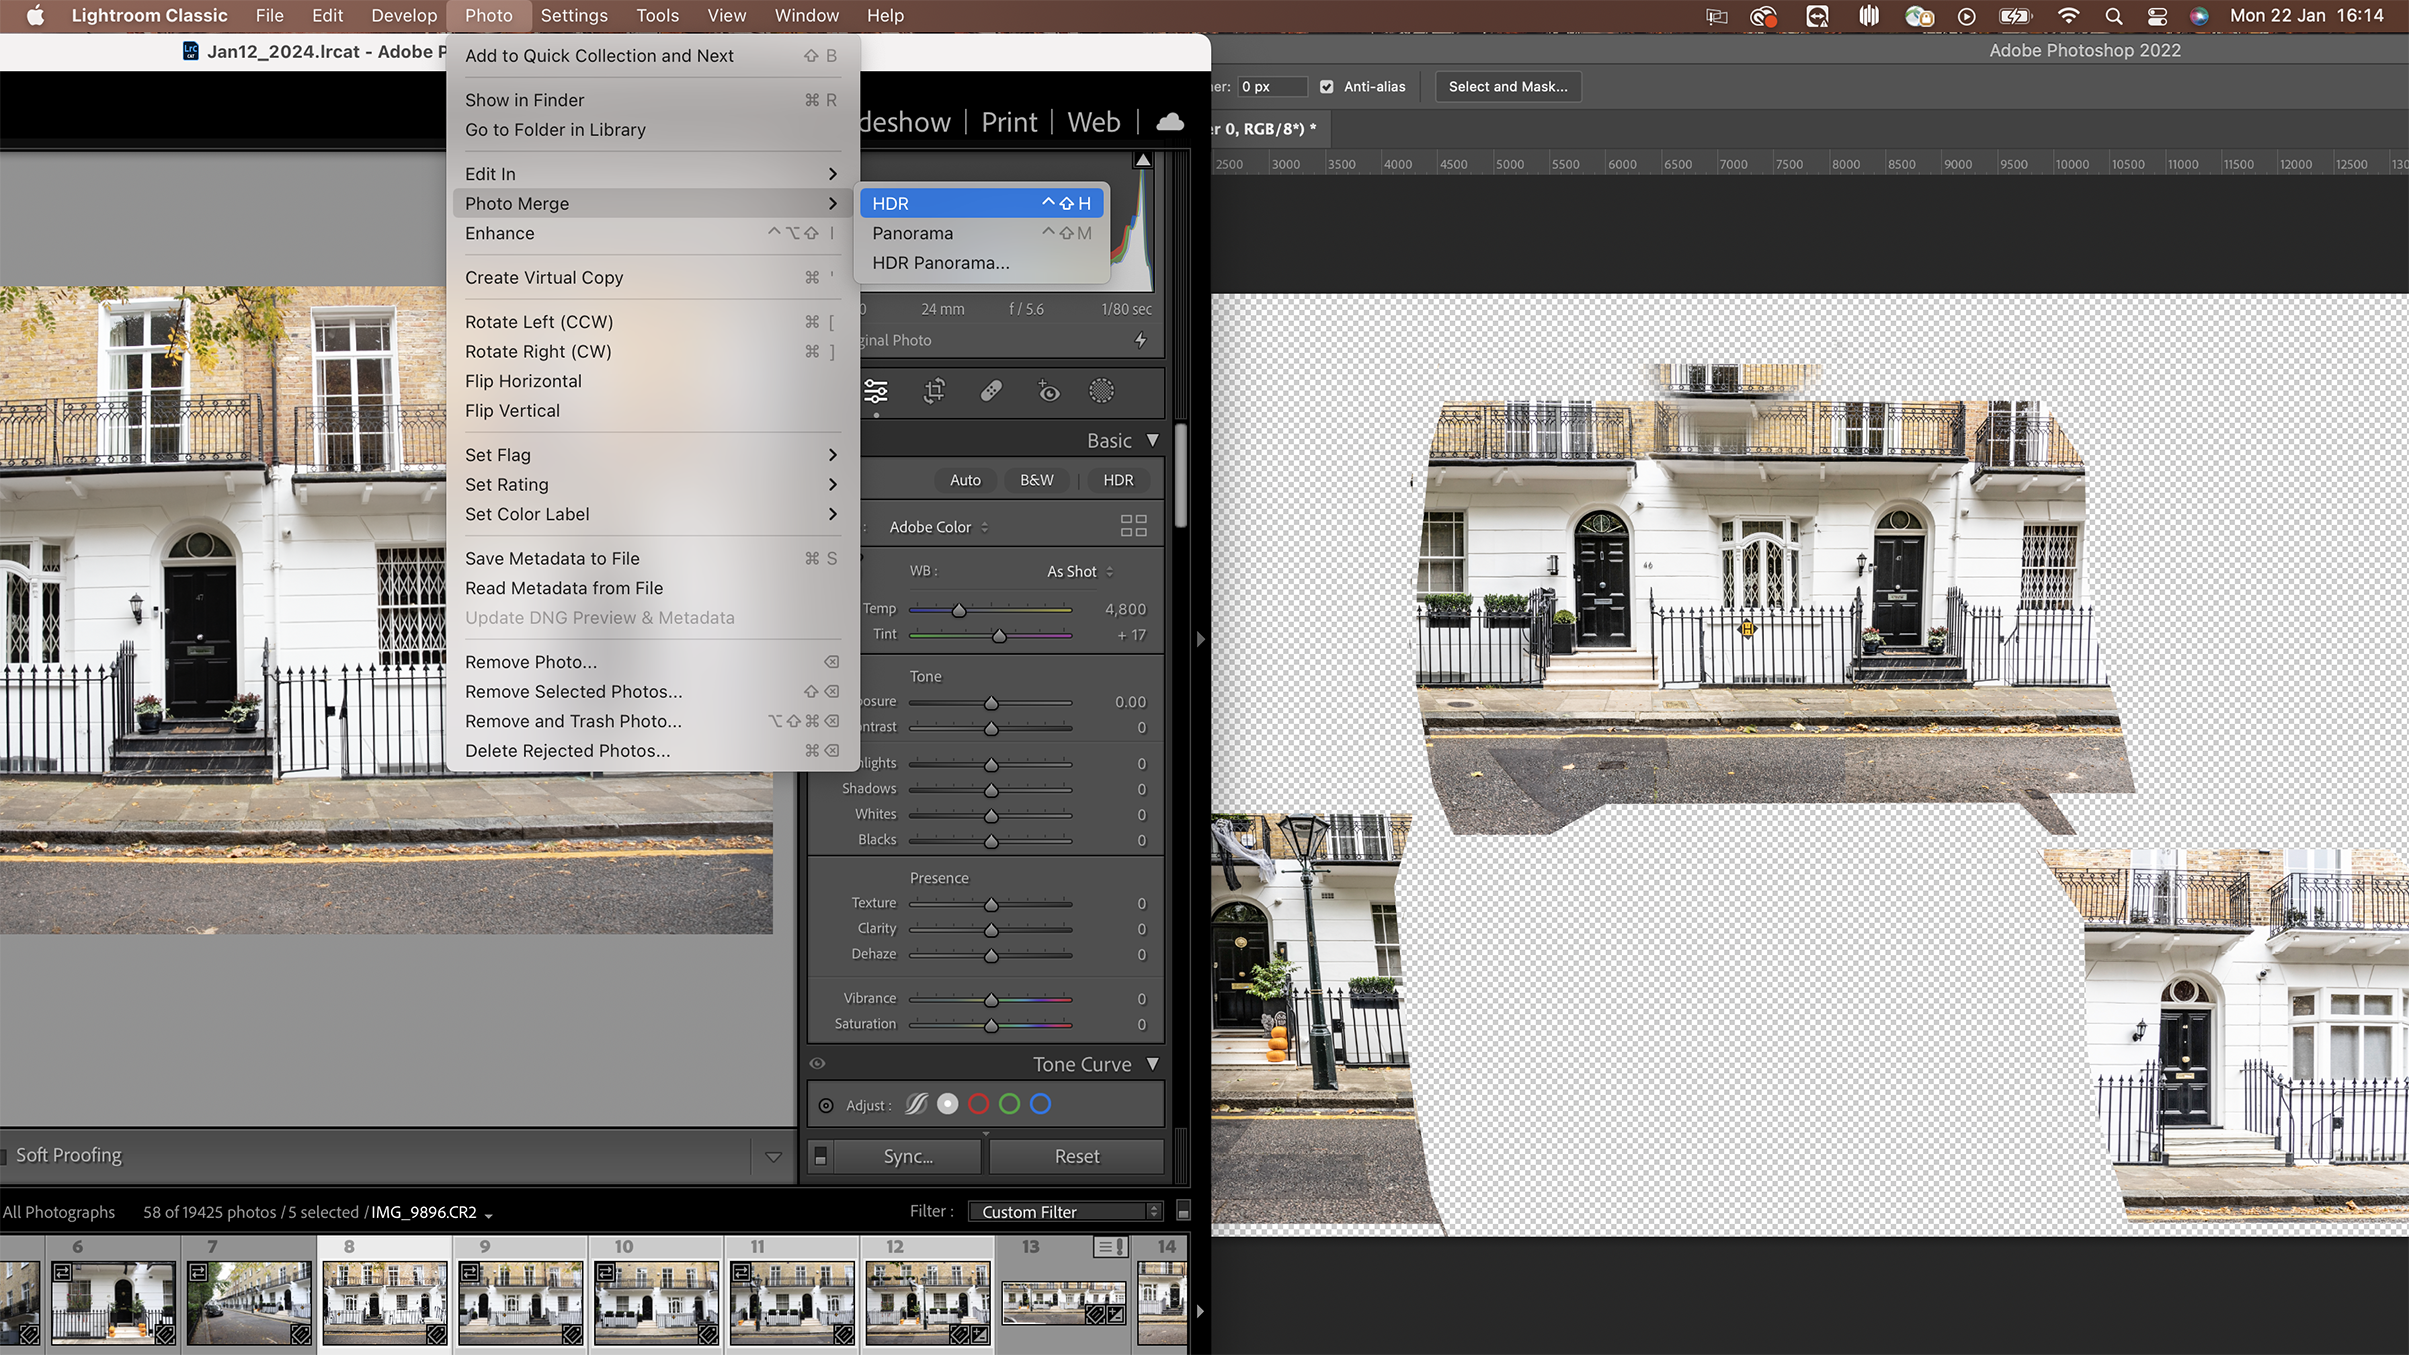
I suspected this scene would not fully stitch together in one go, but it’s always worth attempting it to see how close the automatic blending will get you to a finished product. For this scene, Photoshop split the panorama into three segment groups.
3. Group segments
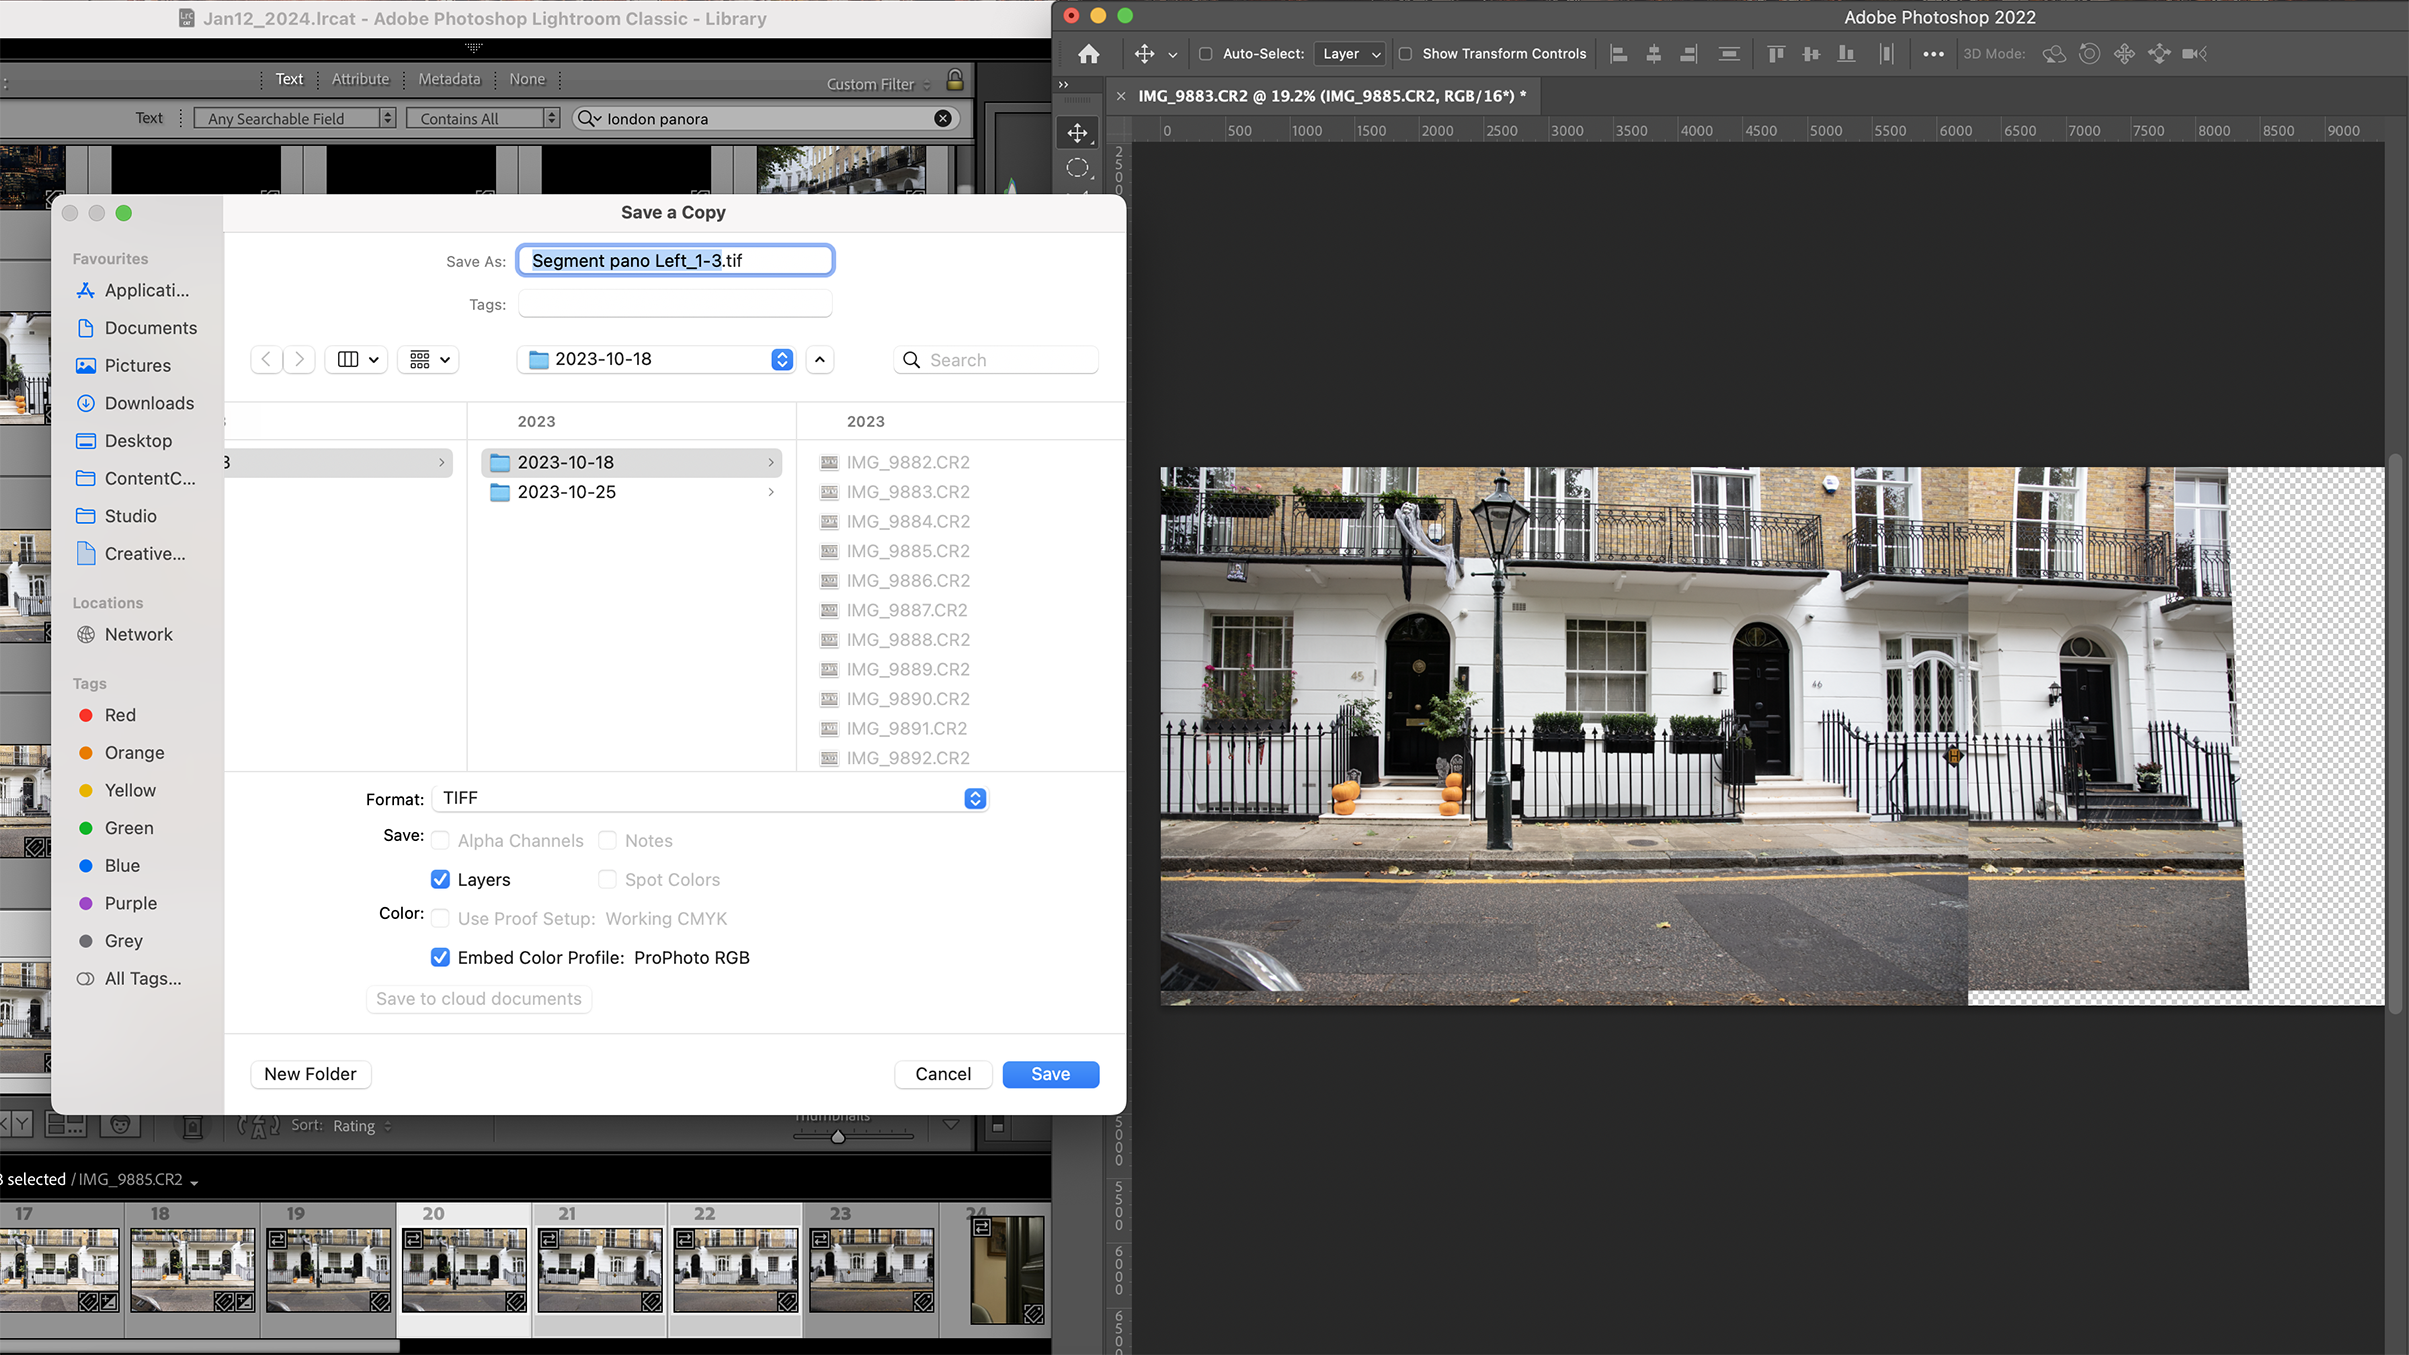
Each group is rough, but demonstrates which parts of the scene your software can handle most easily. Try opening two or three segments at a time to recreate the groups that were possible automatically and save these as separate flat files.
4. Manually align blocks
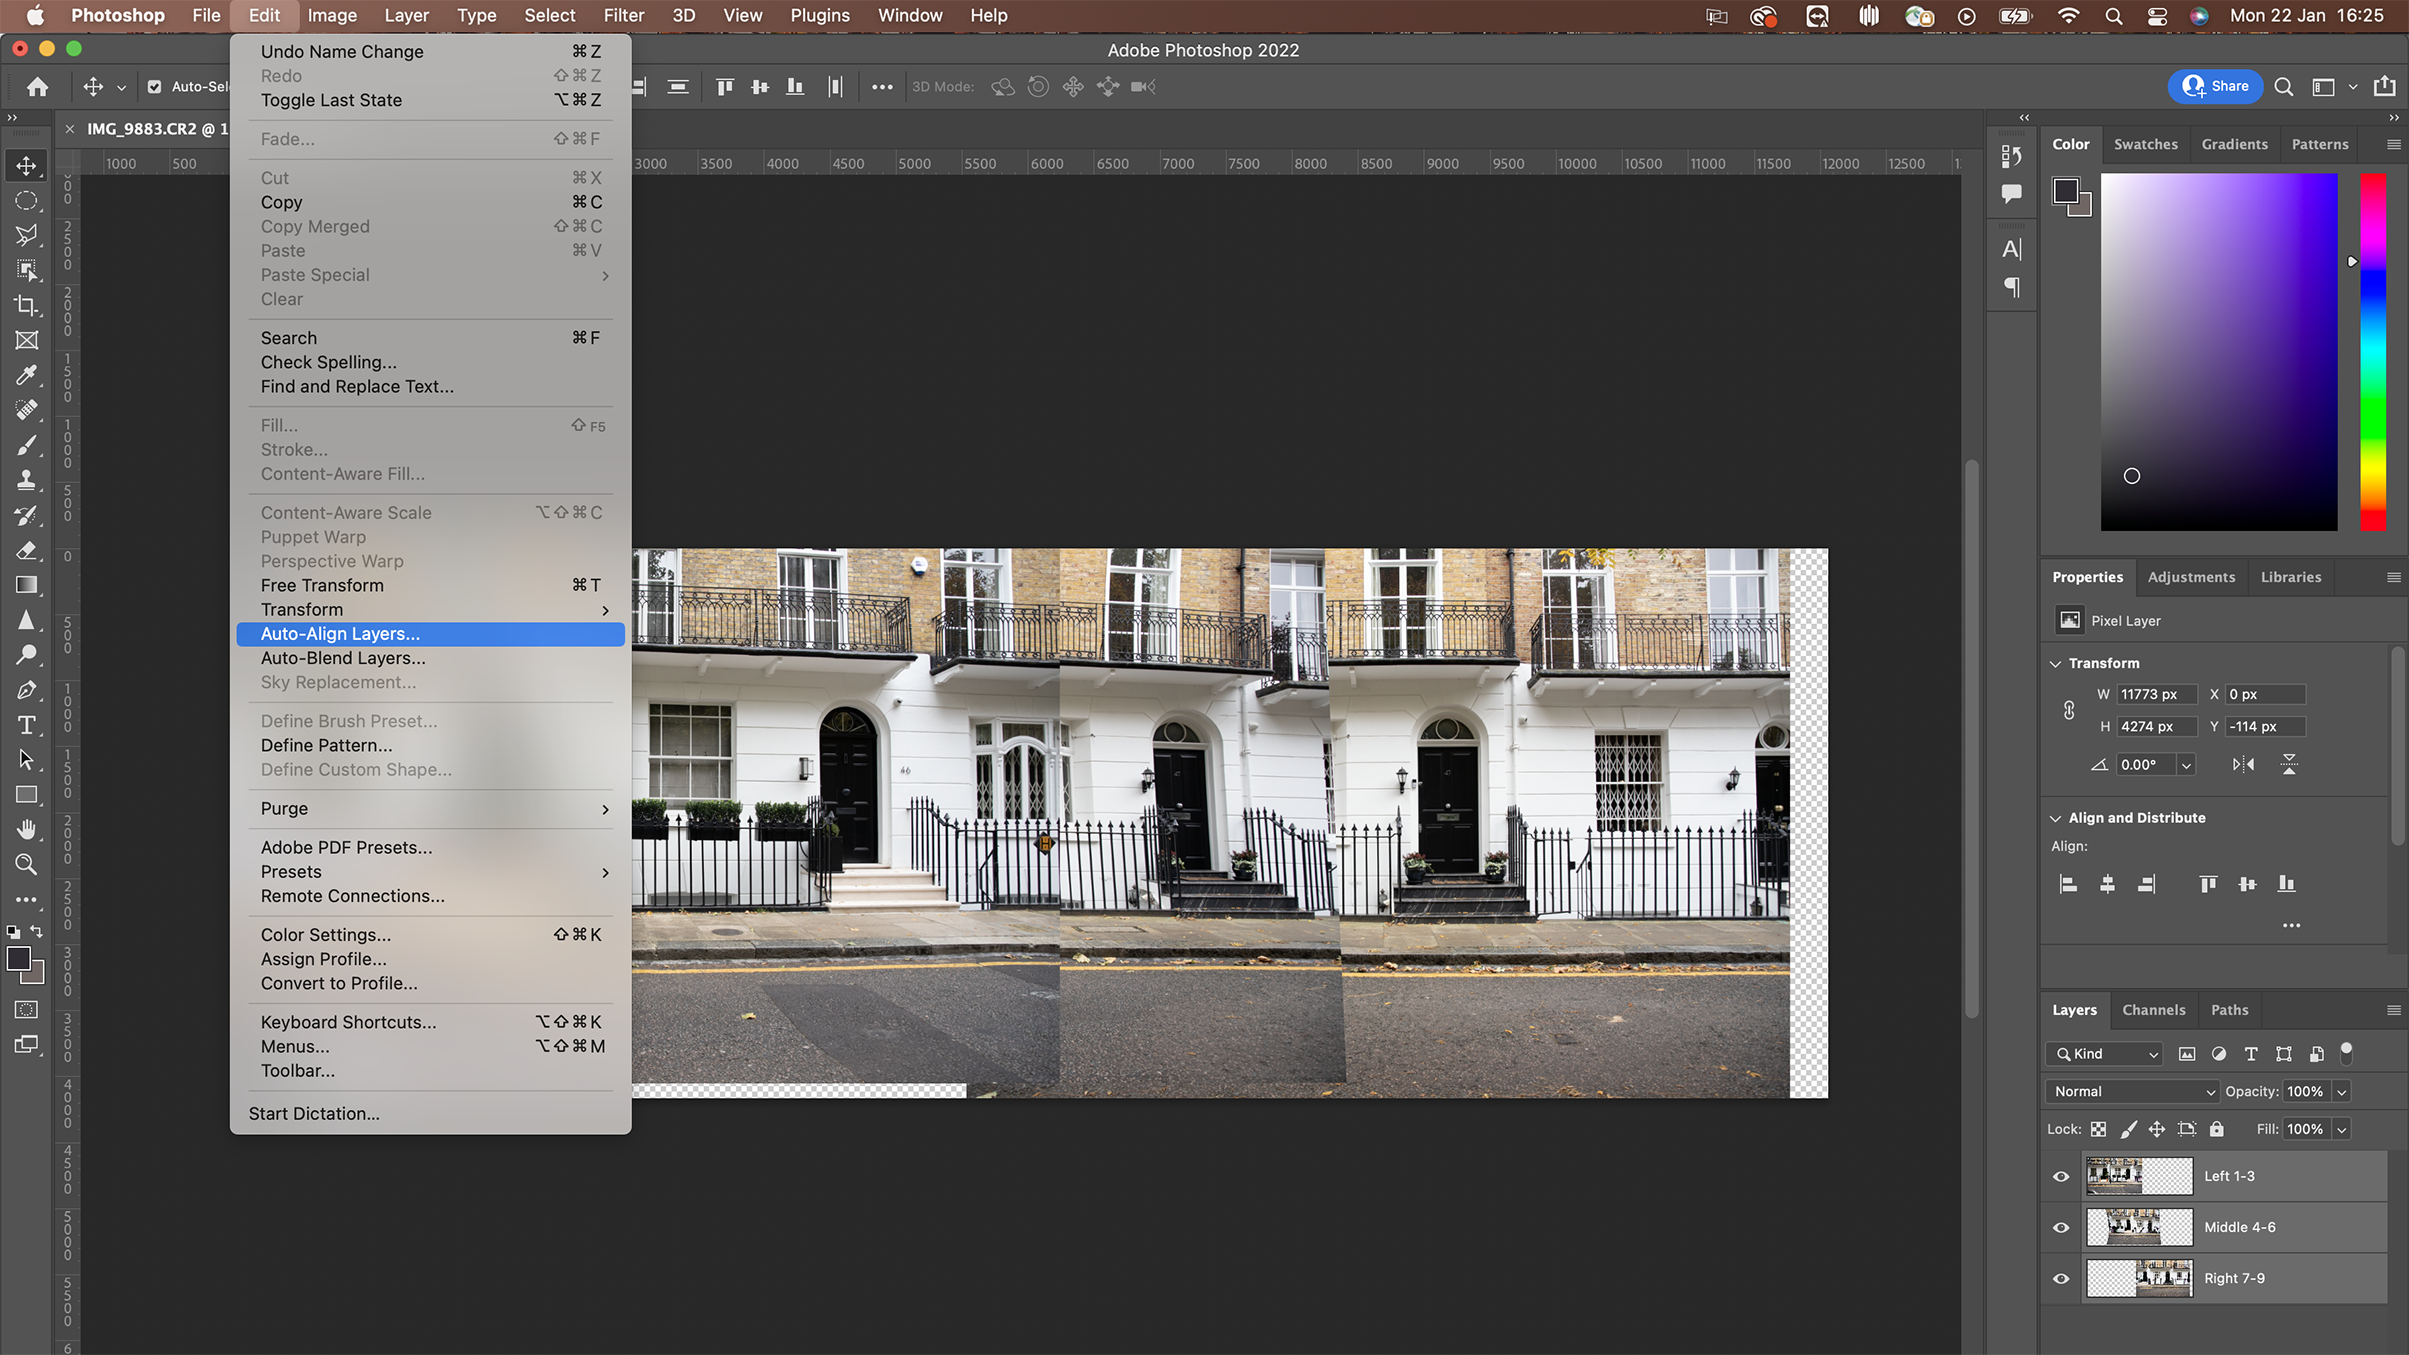
Open each file and extend the left-most segment group to the right, using the crop tool. Drag in the next group moving right and manually align it to overlap. Once your groups are arranged, select the layers and go to Edit > Auto-Align Layers.
5. Transform and fill
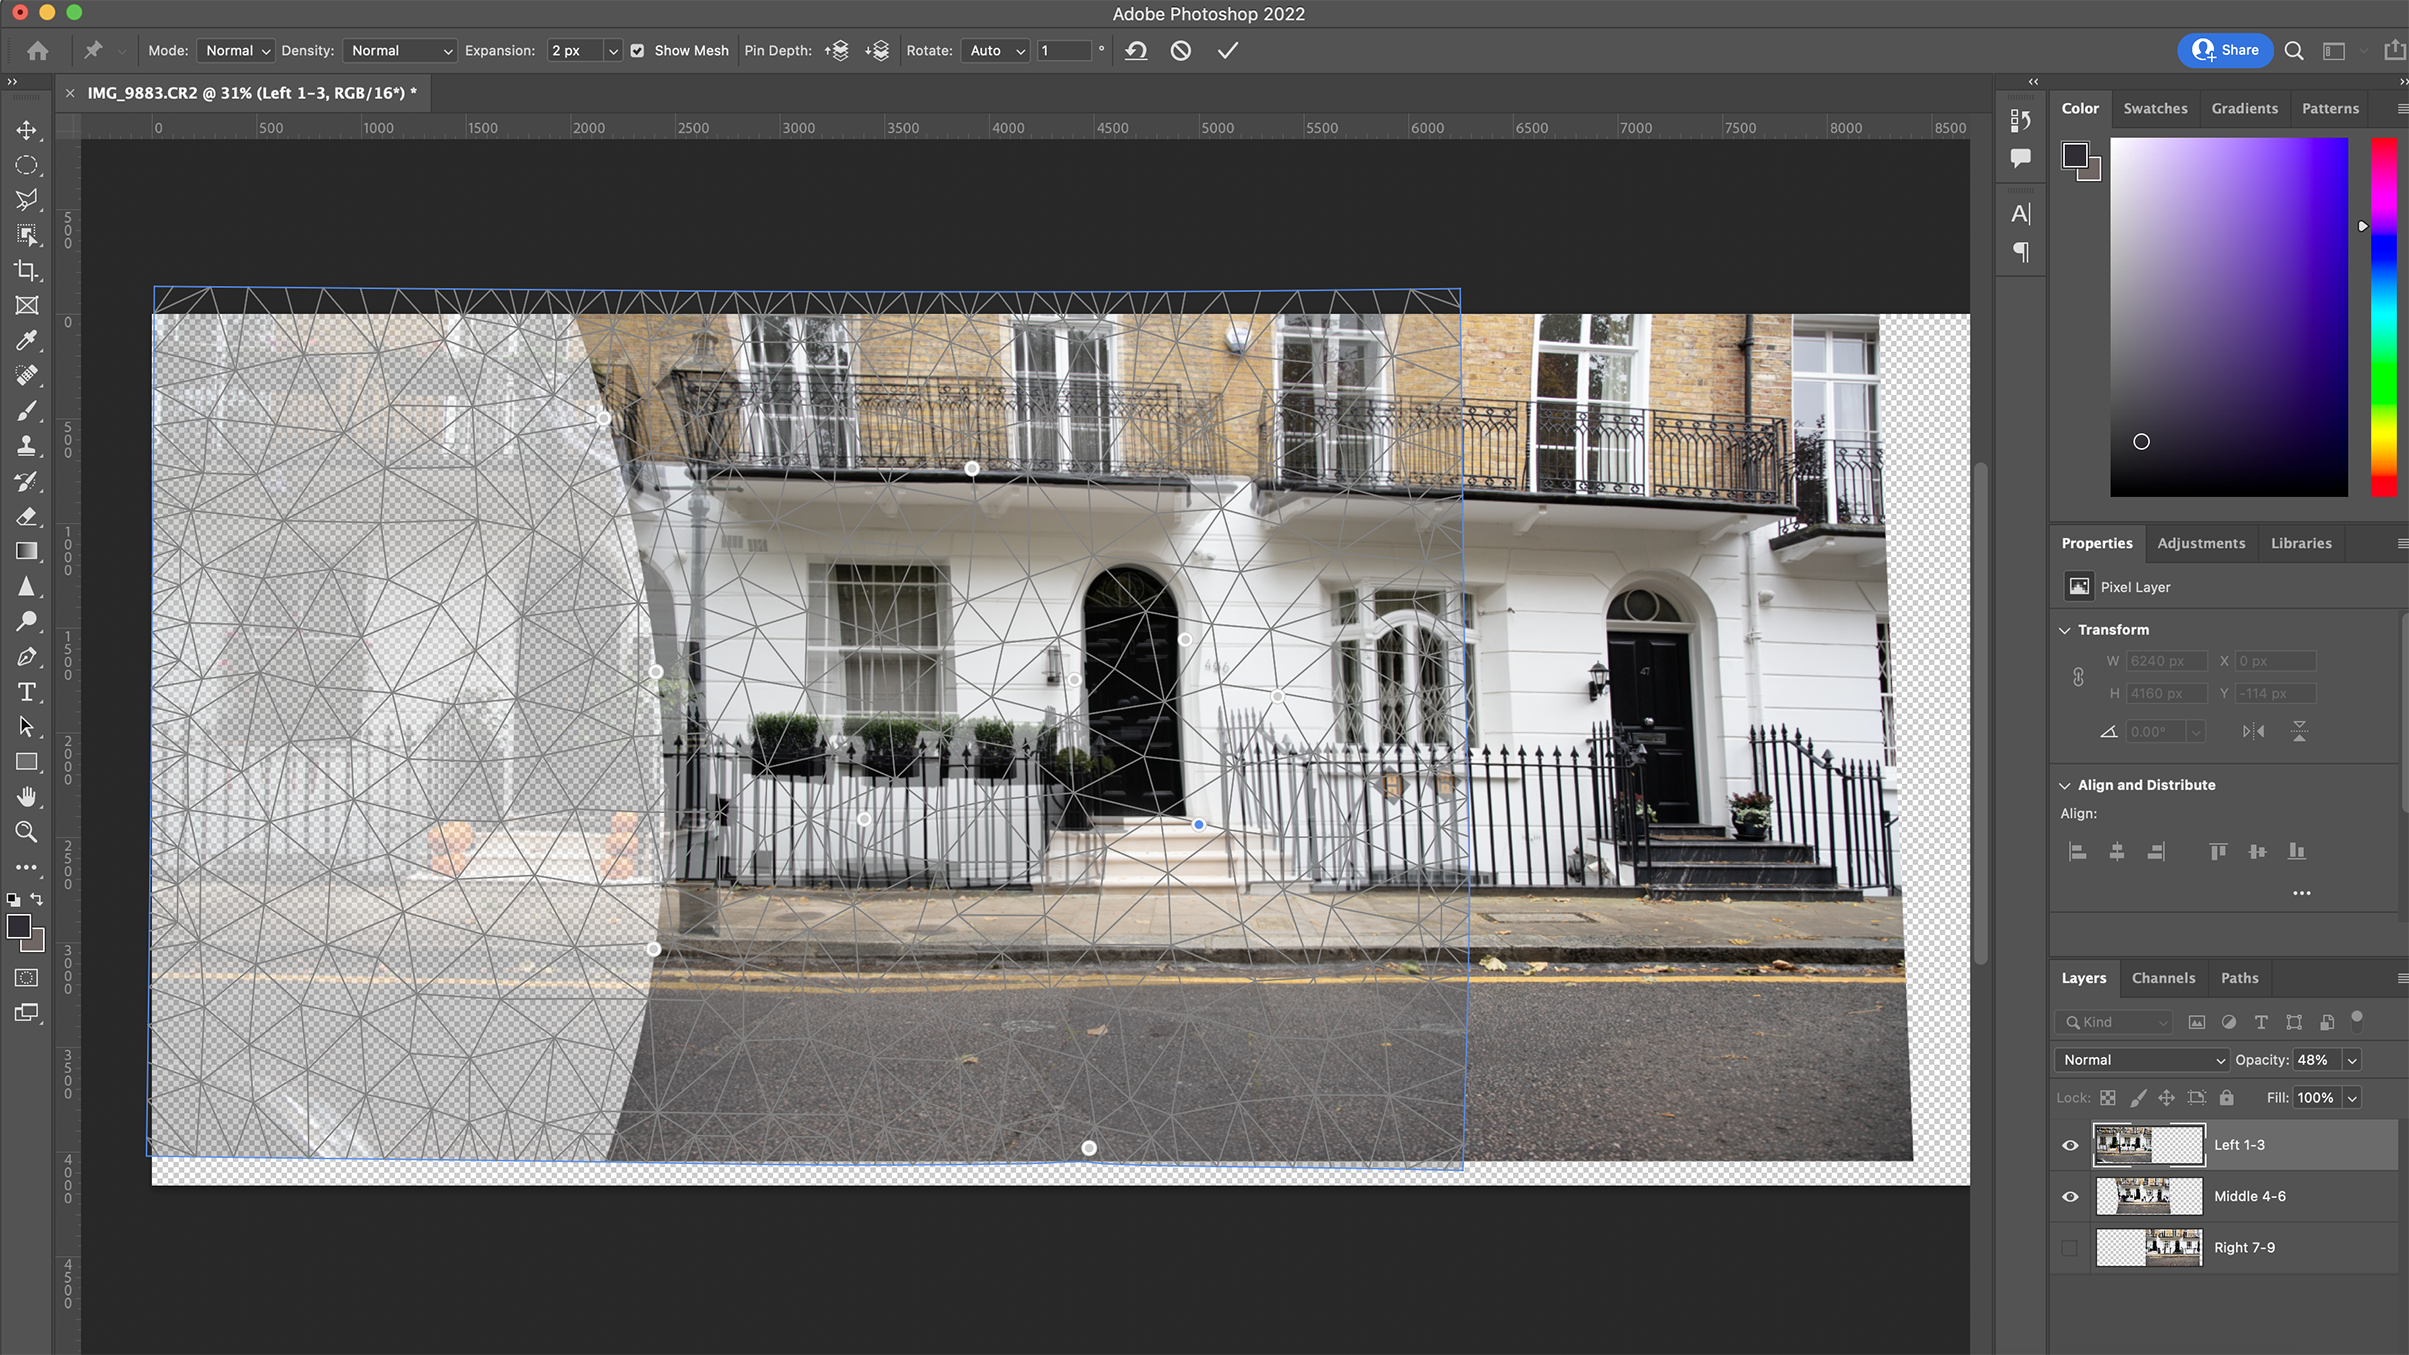
Follow up by using Edit > Auto-Blend Layers. Some seams may remain visible, especially with any layers that aren’t perfectly aligned. Use Edit > Puppet Warp to adjust the scaling and alignment of essential details such as doors and window frames.
6. Crop and retouch
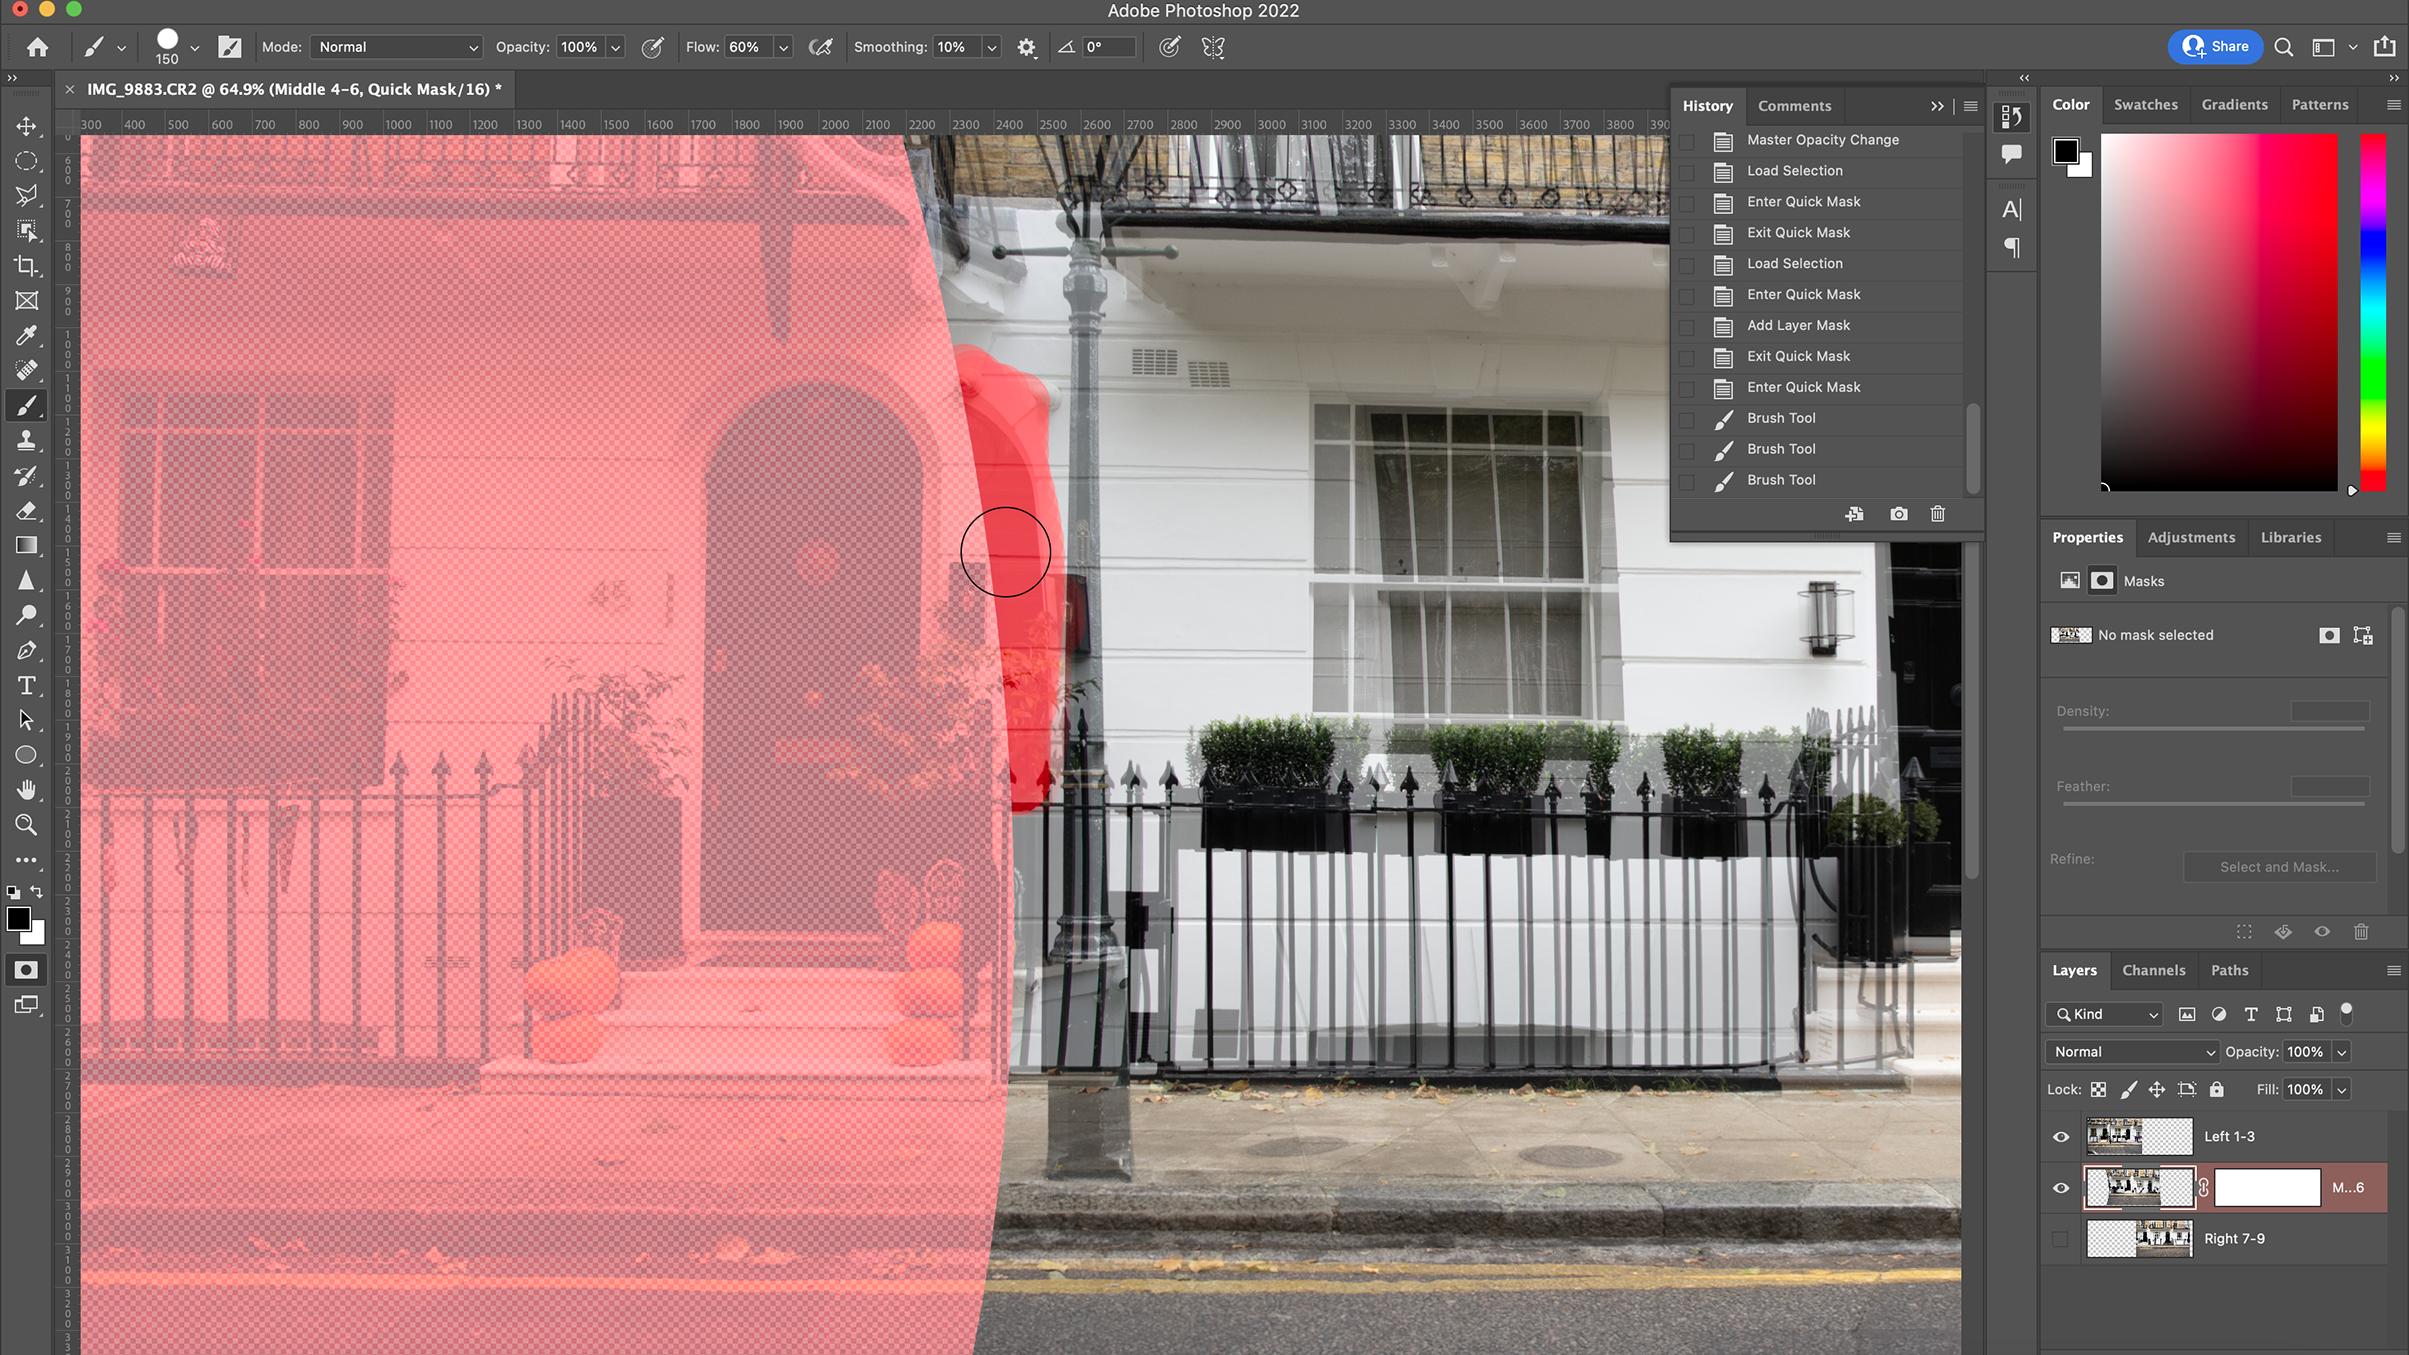
Reduce layer Opacity to guide final scaling misalignments. If the underlying layer has a better overall alignment than the rest of the pano, use a mask to remove the least accurate layer detail. Crop any empty space at the edges.
Before/After
