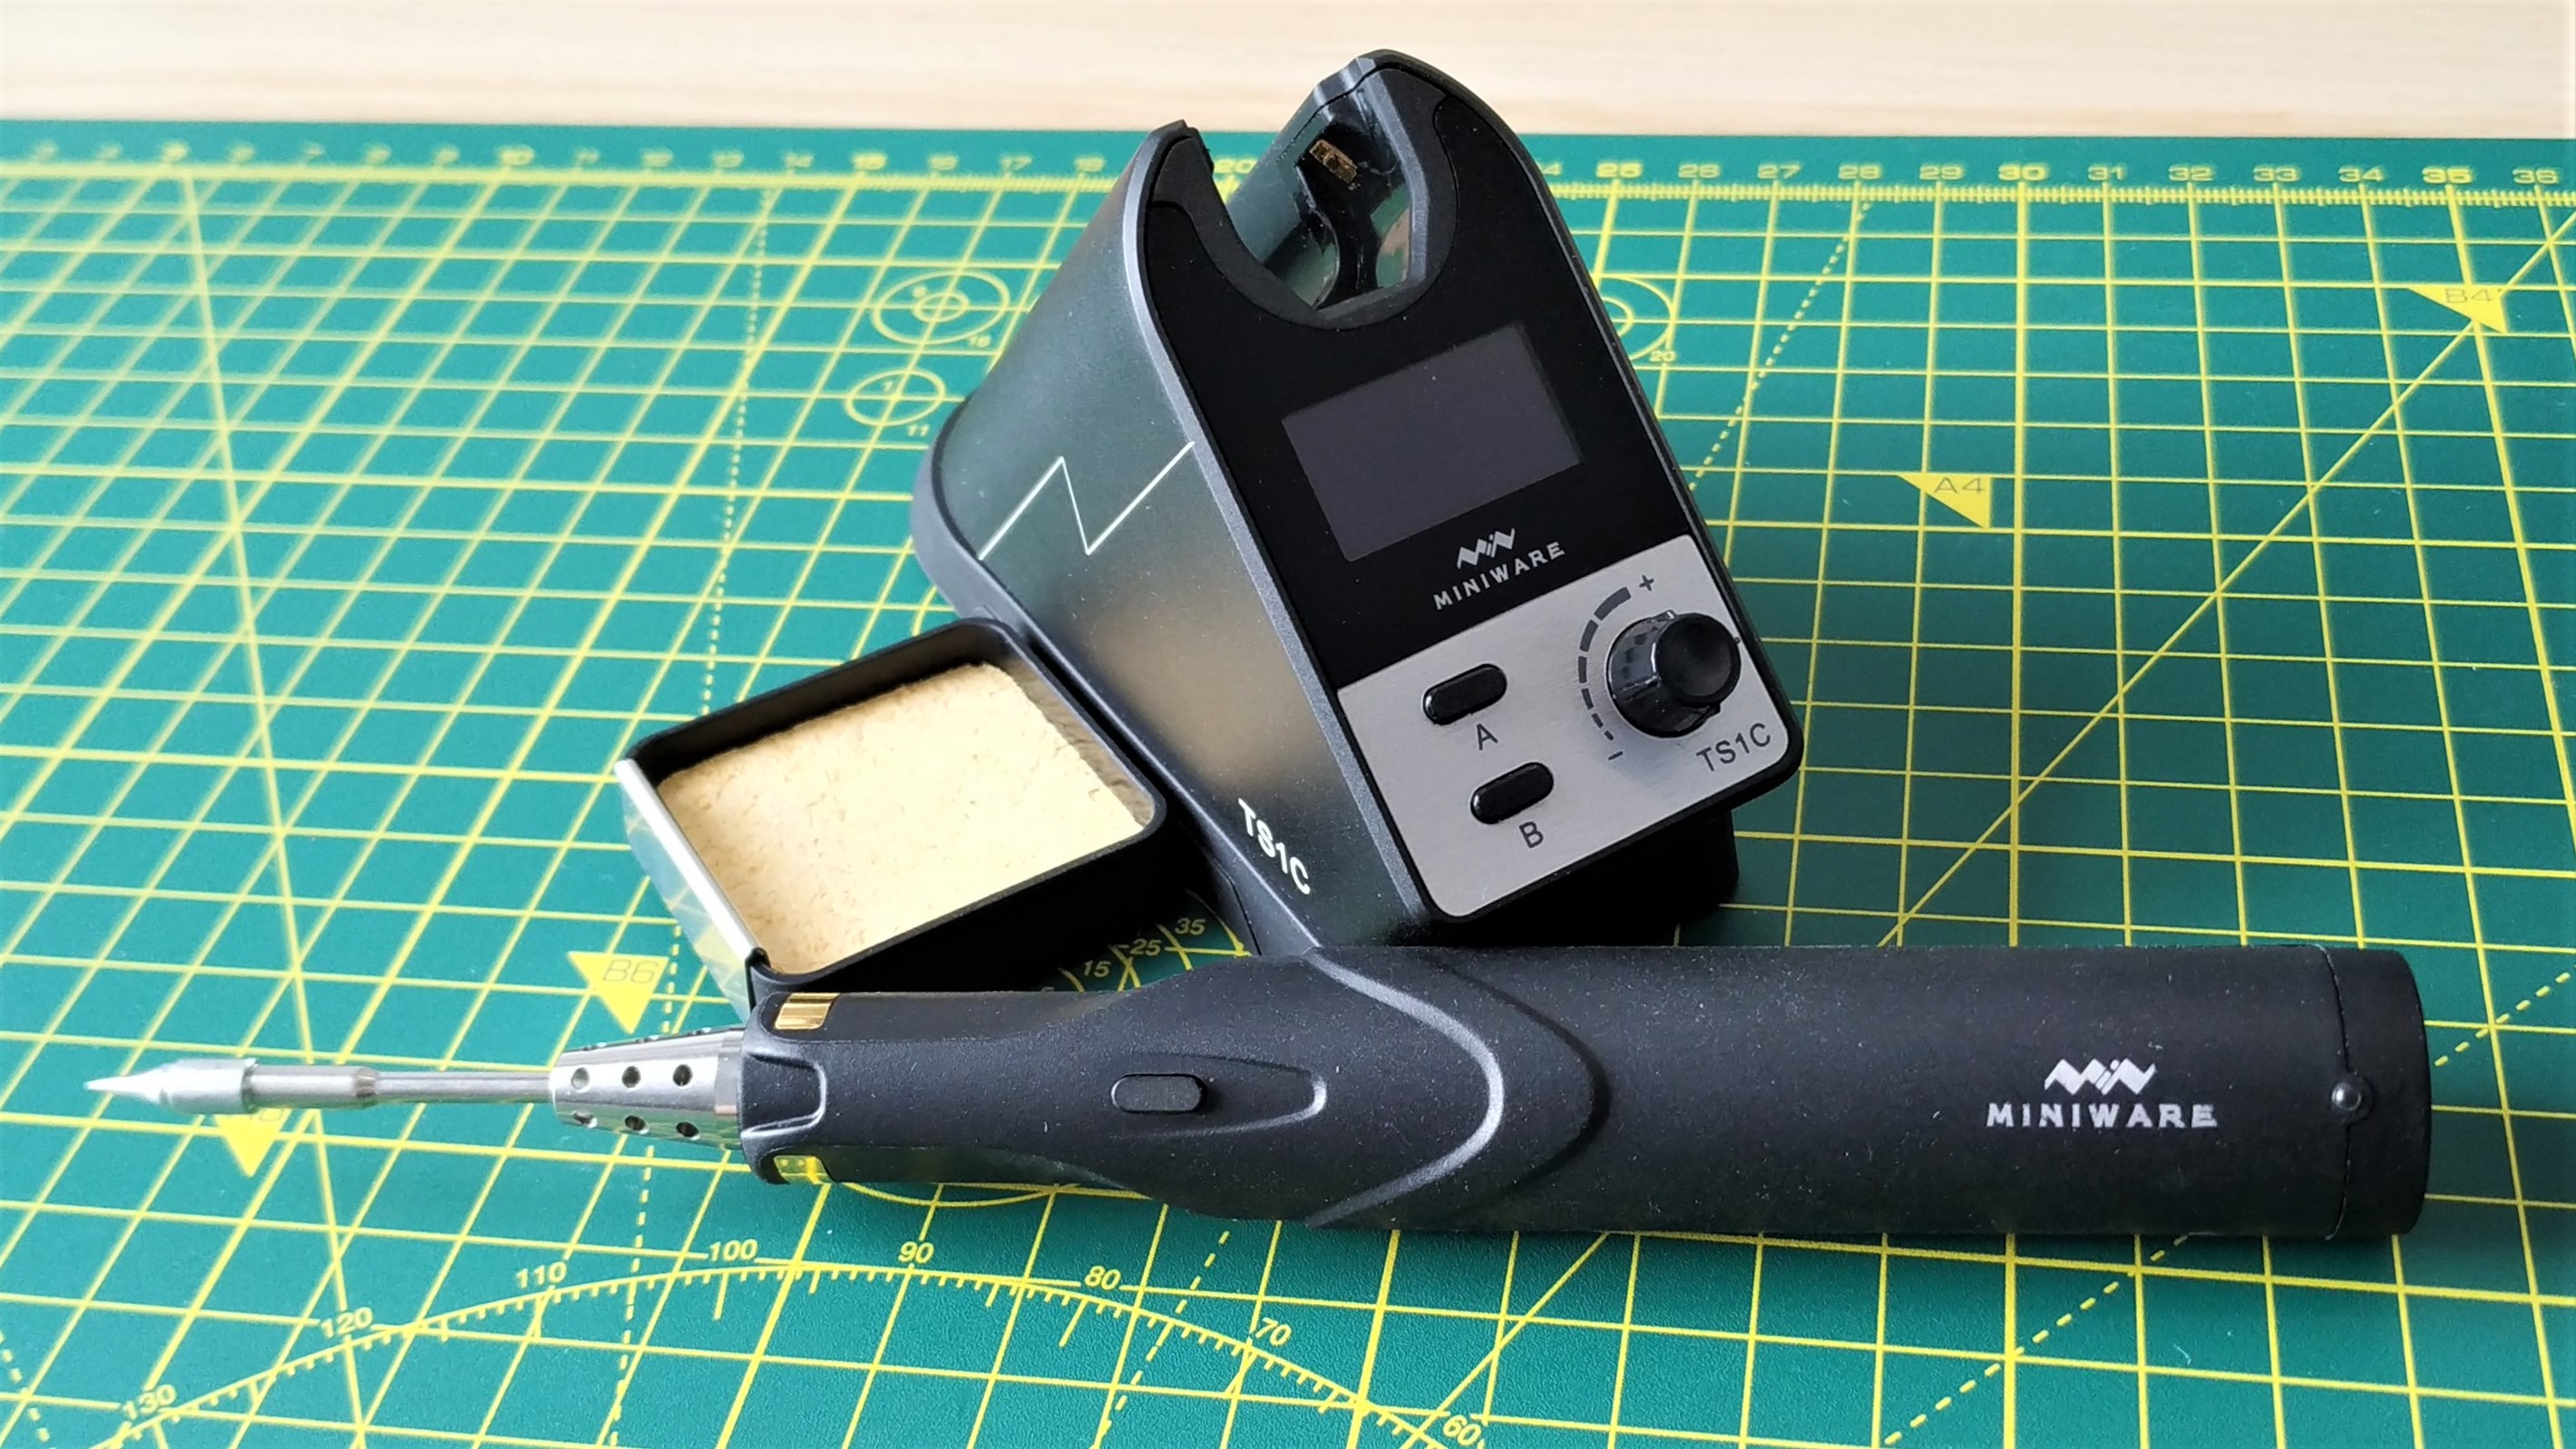
The world of soldering is replete with the best soldering irons and stations all vying for your attention and dollars. Soldering stations are big and bulky. If you have the desk space then they are solid workhorses that get the job done. But what if you need a soldering station, but lack the space? Miniware’s latest soldering station, the TS1C is a cordless smart soldering station which uses a super-capacitor inside the soldering iron. The super capacitor is good for many soldering joints, and we can keep an eye on the power and temperature status using the OLED display. The soldering iron and station are linked together using Bluetooth.
But is the $125 price tag justified, or are we best getting a soldering station with hot air rework? To find out this, and more we need to delve into our parts bin and pull out some more kits to solder up.
Miniware TS1C Specifications
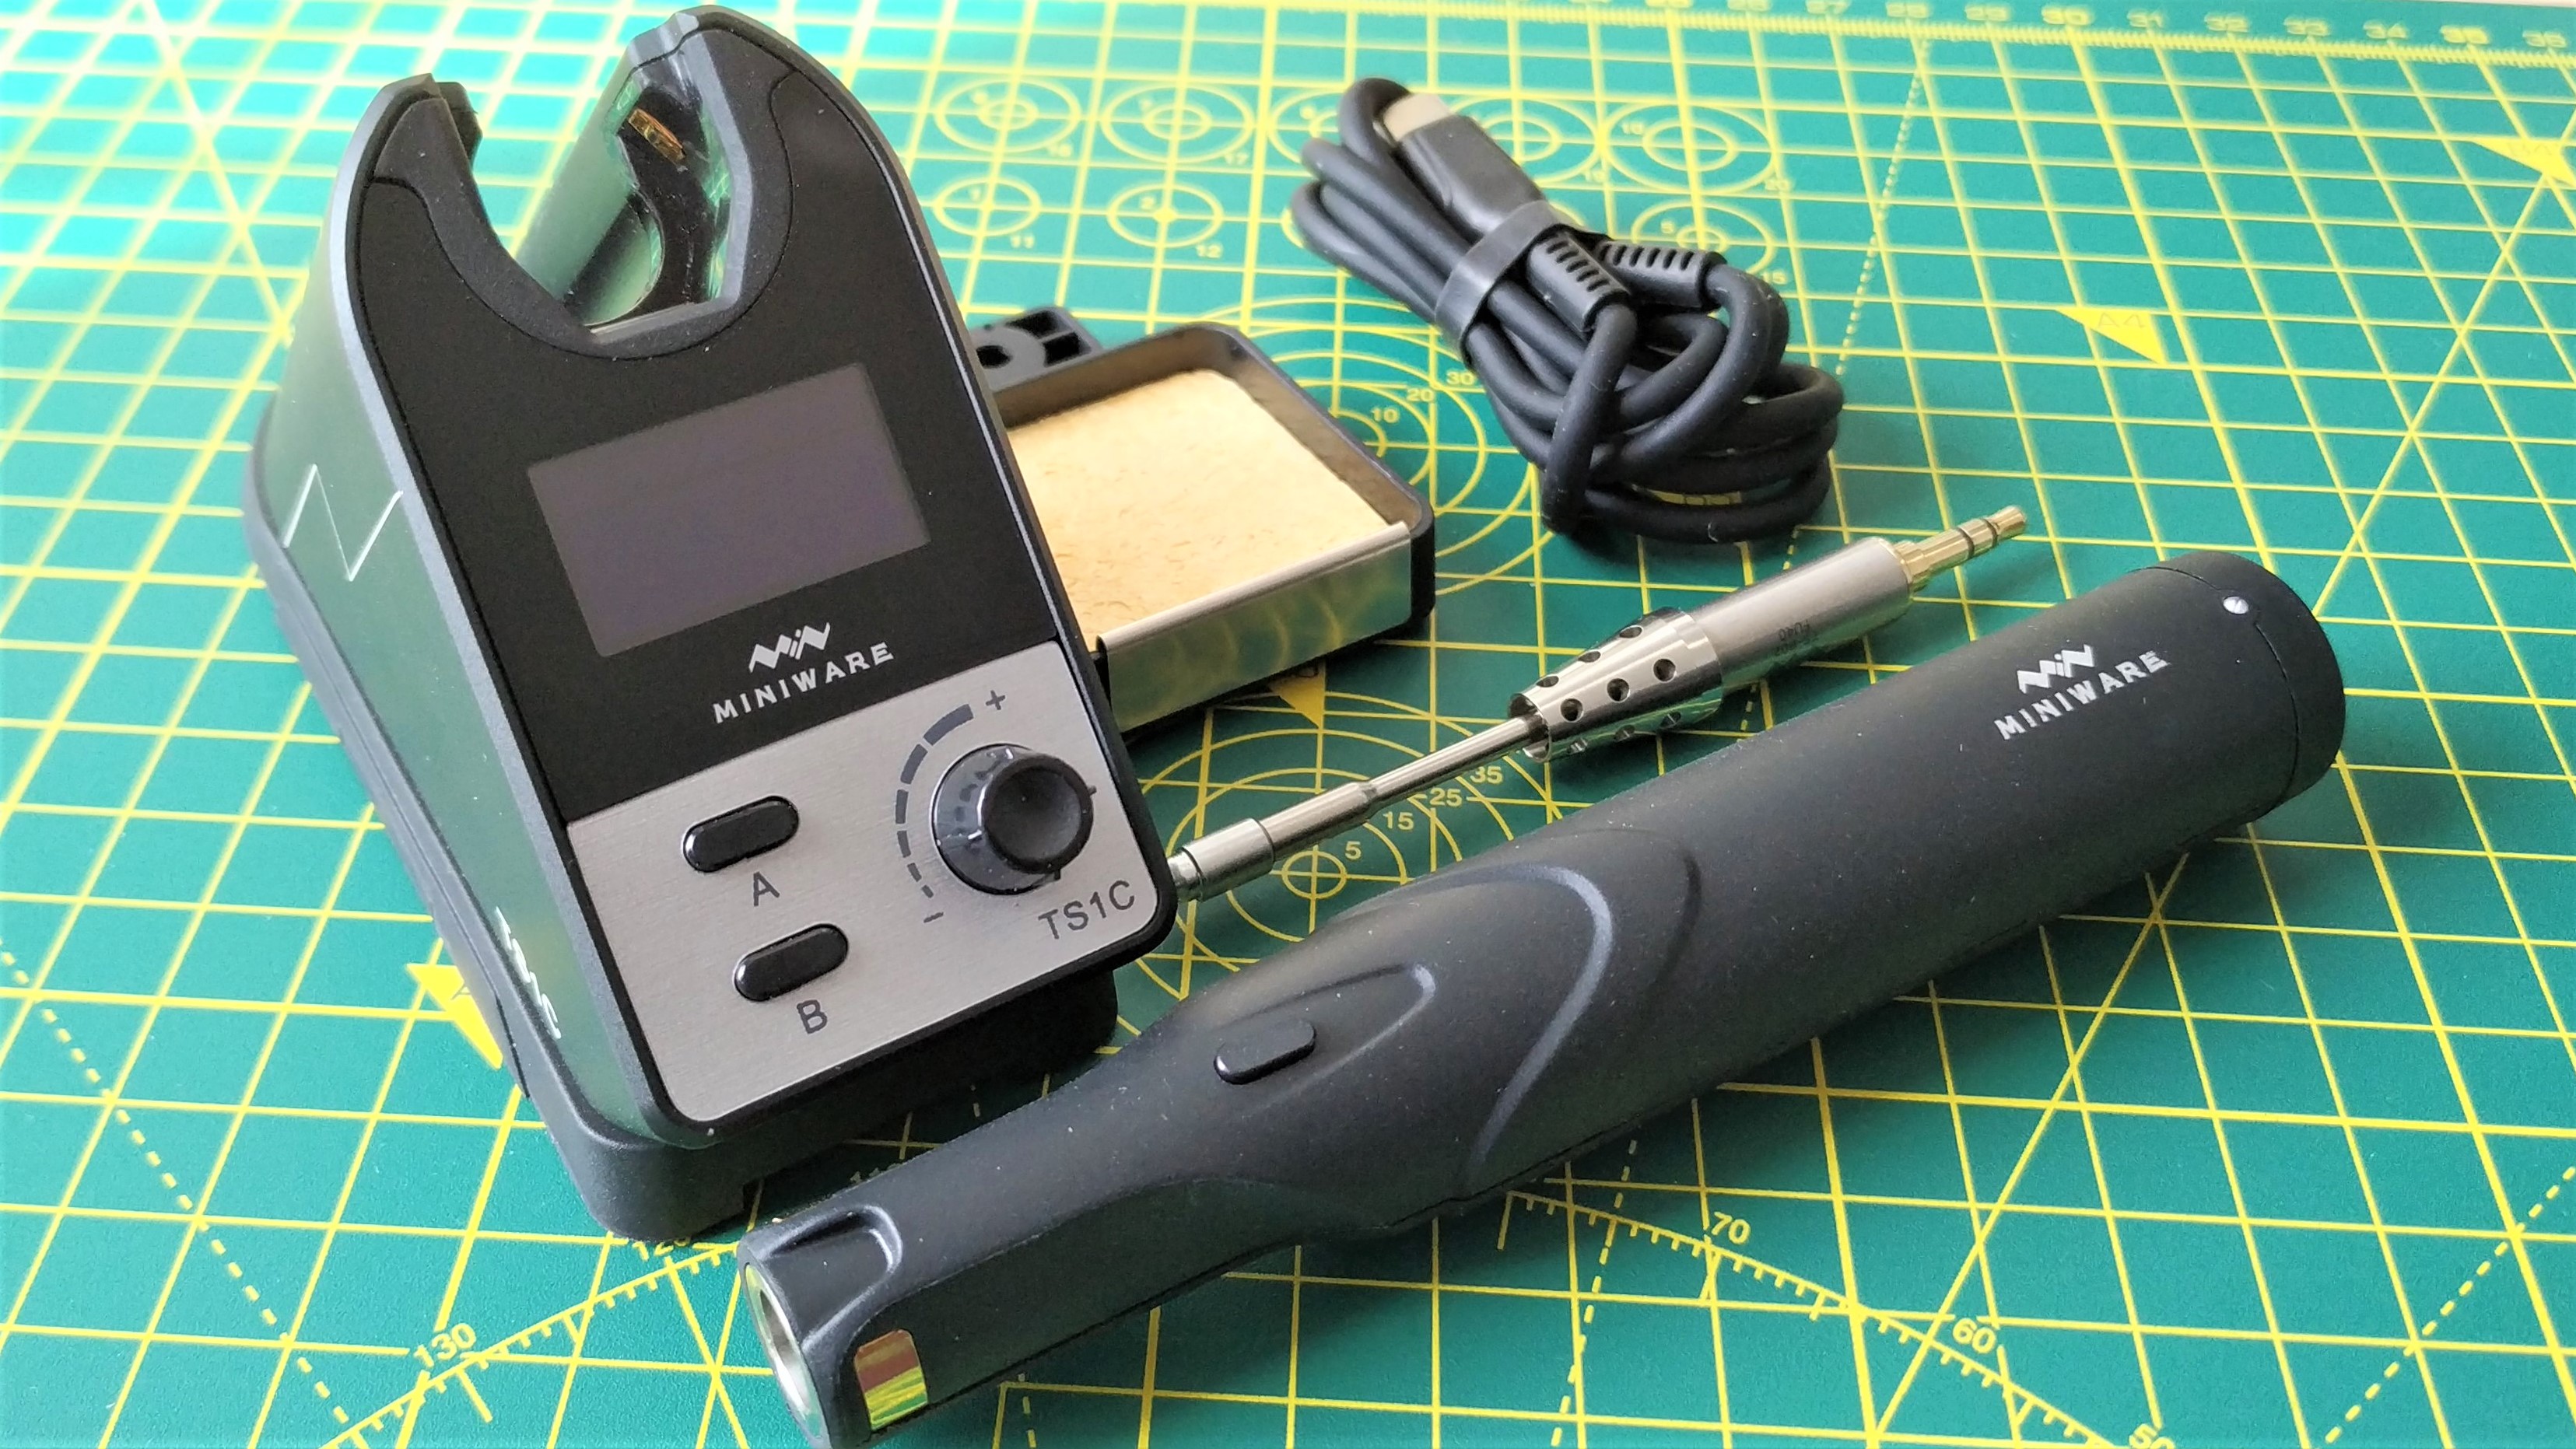
Miniware TS1C Look and Feel
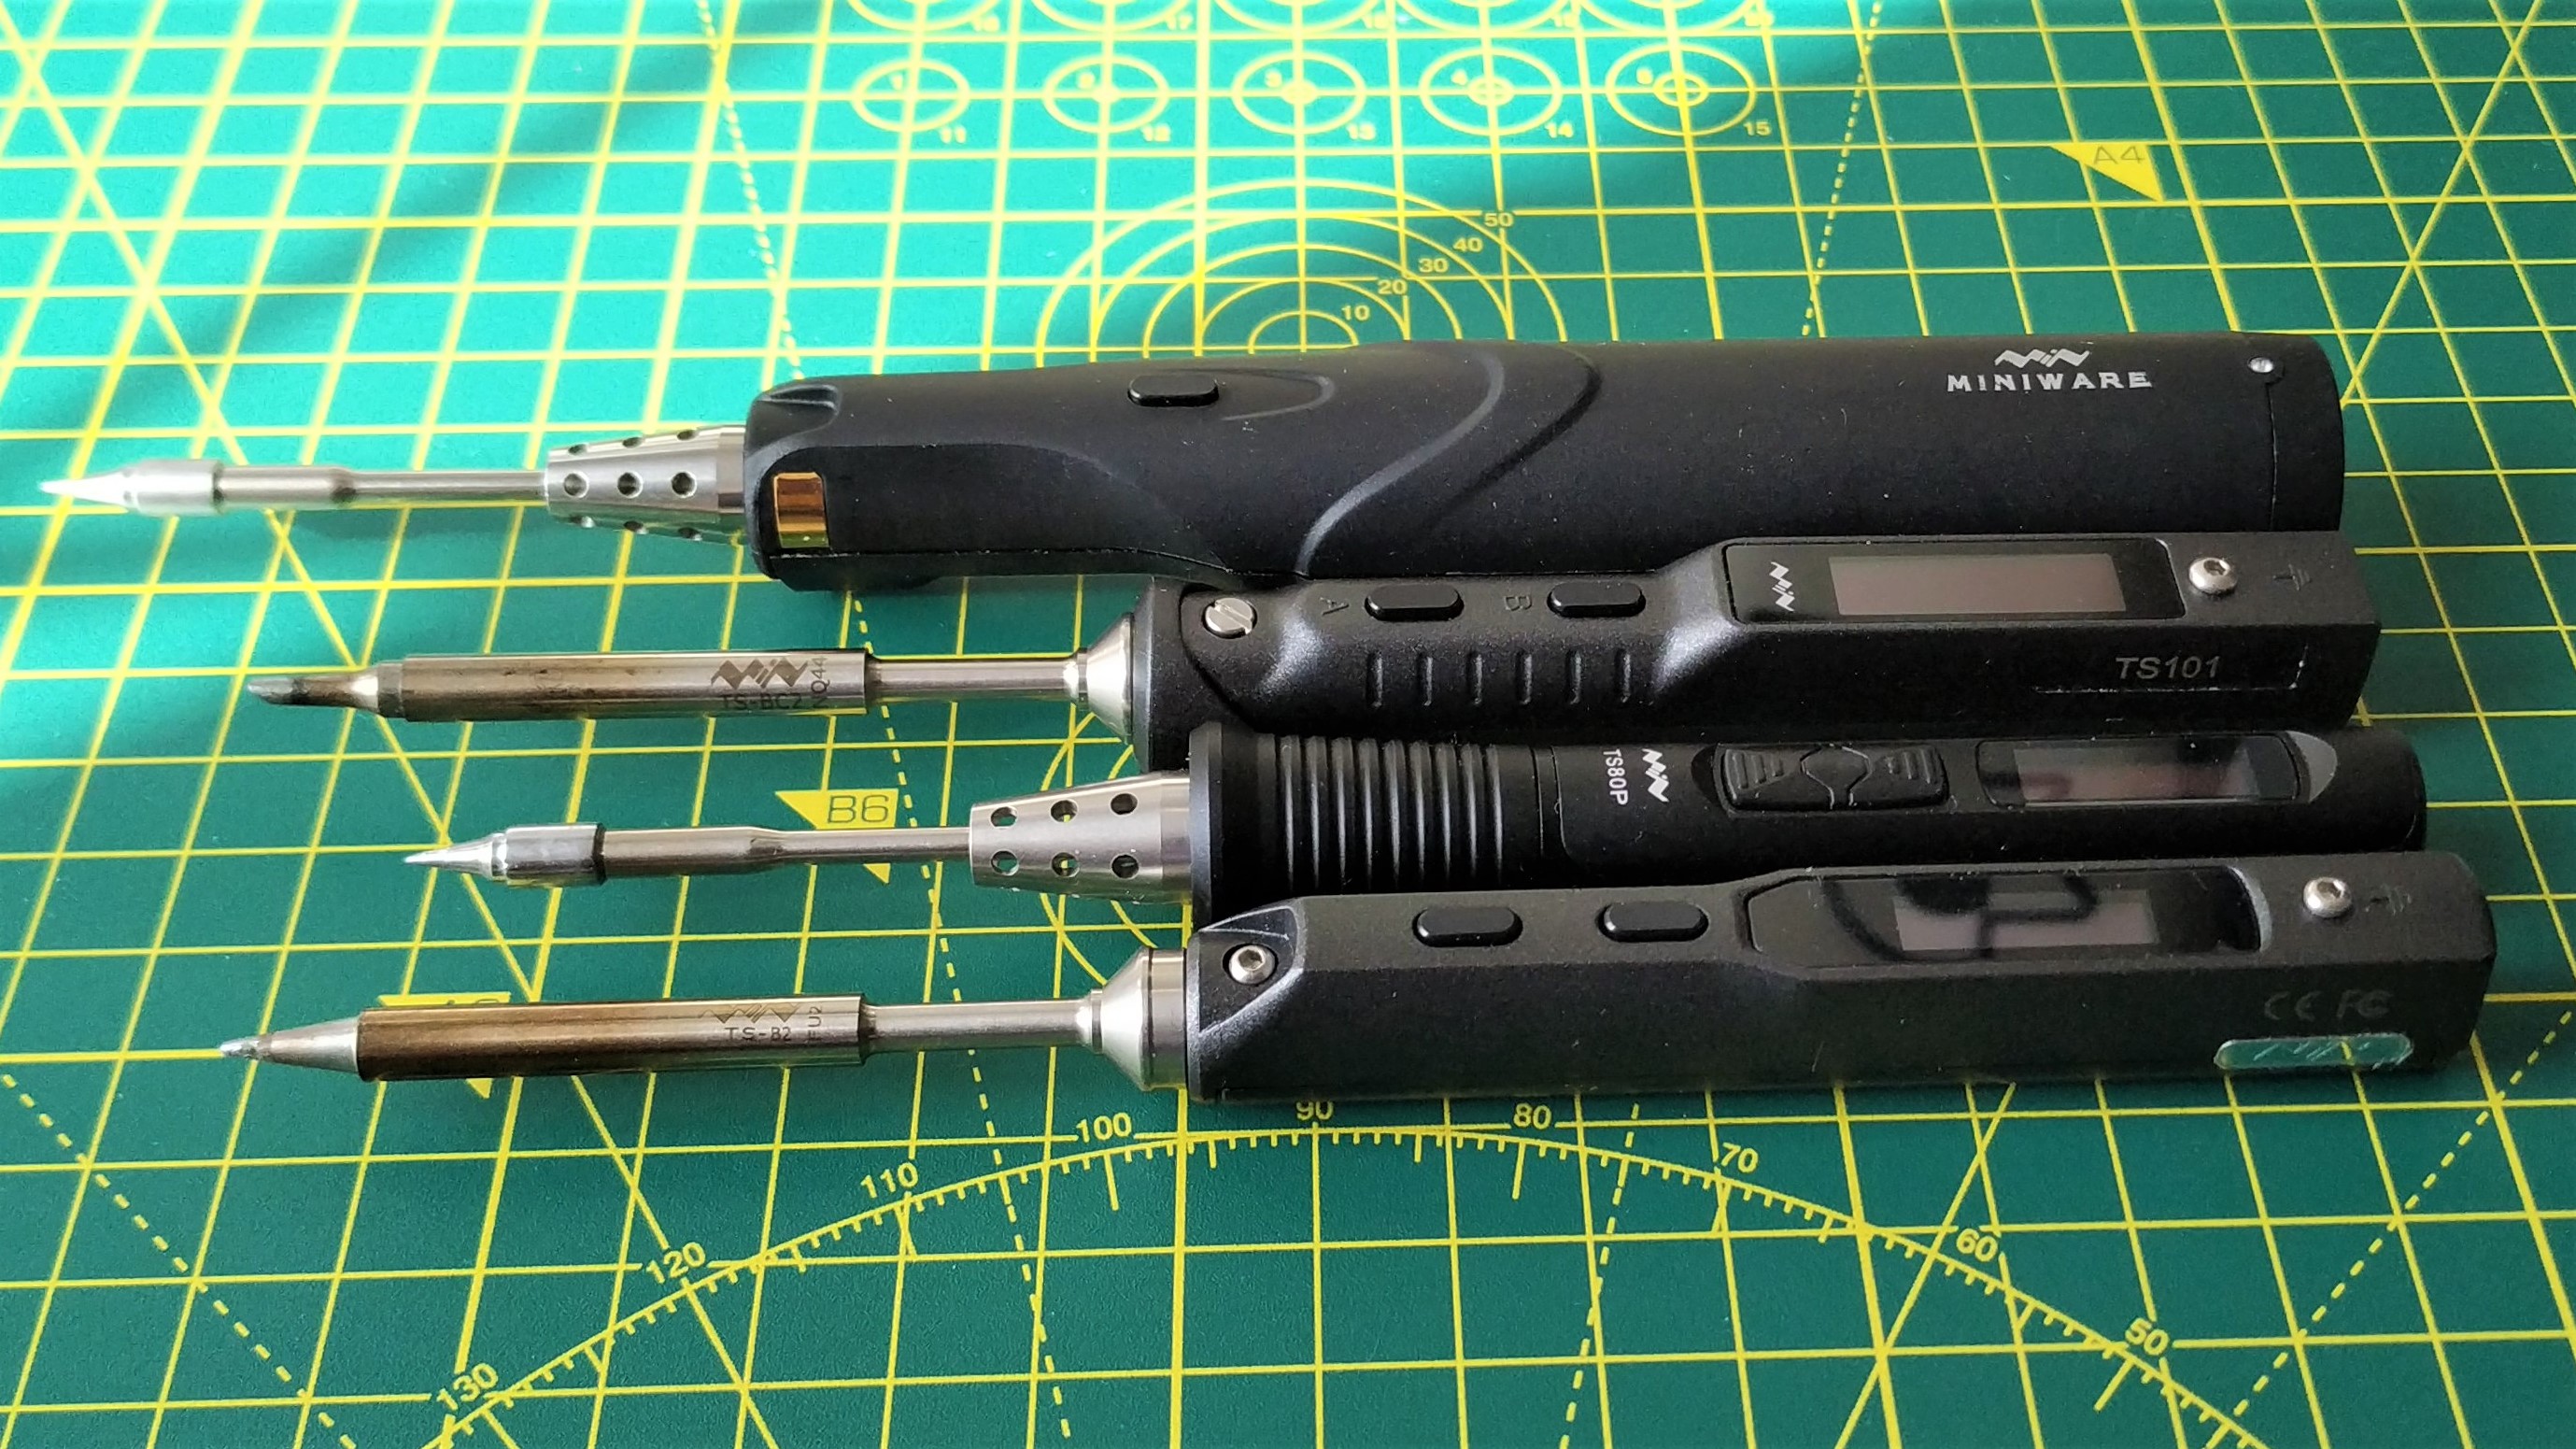
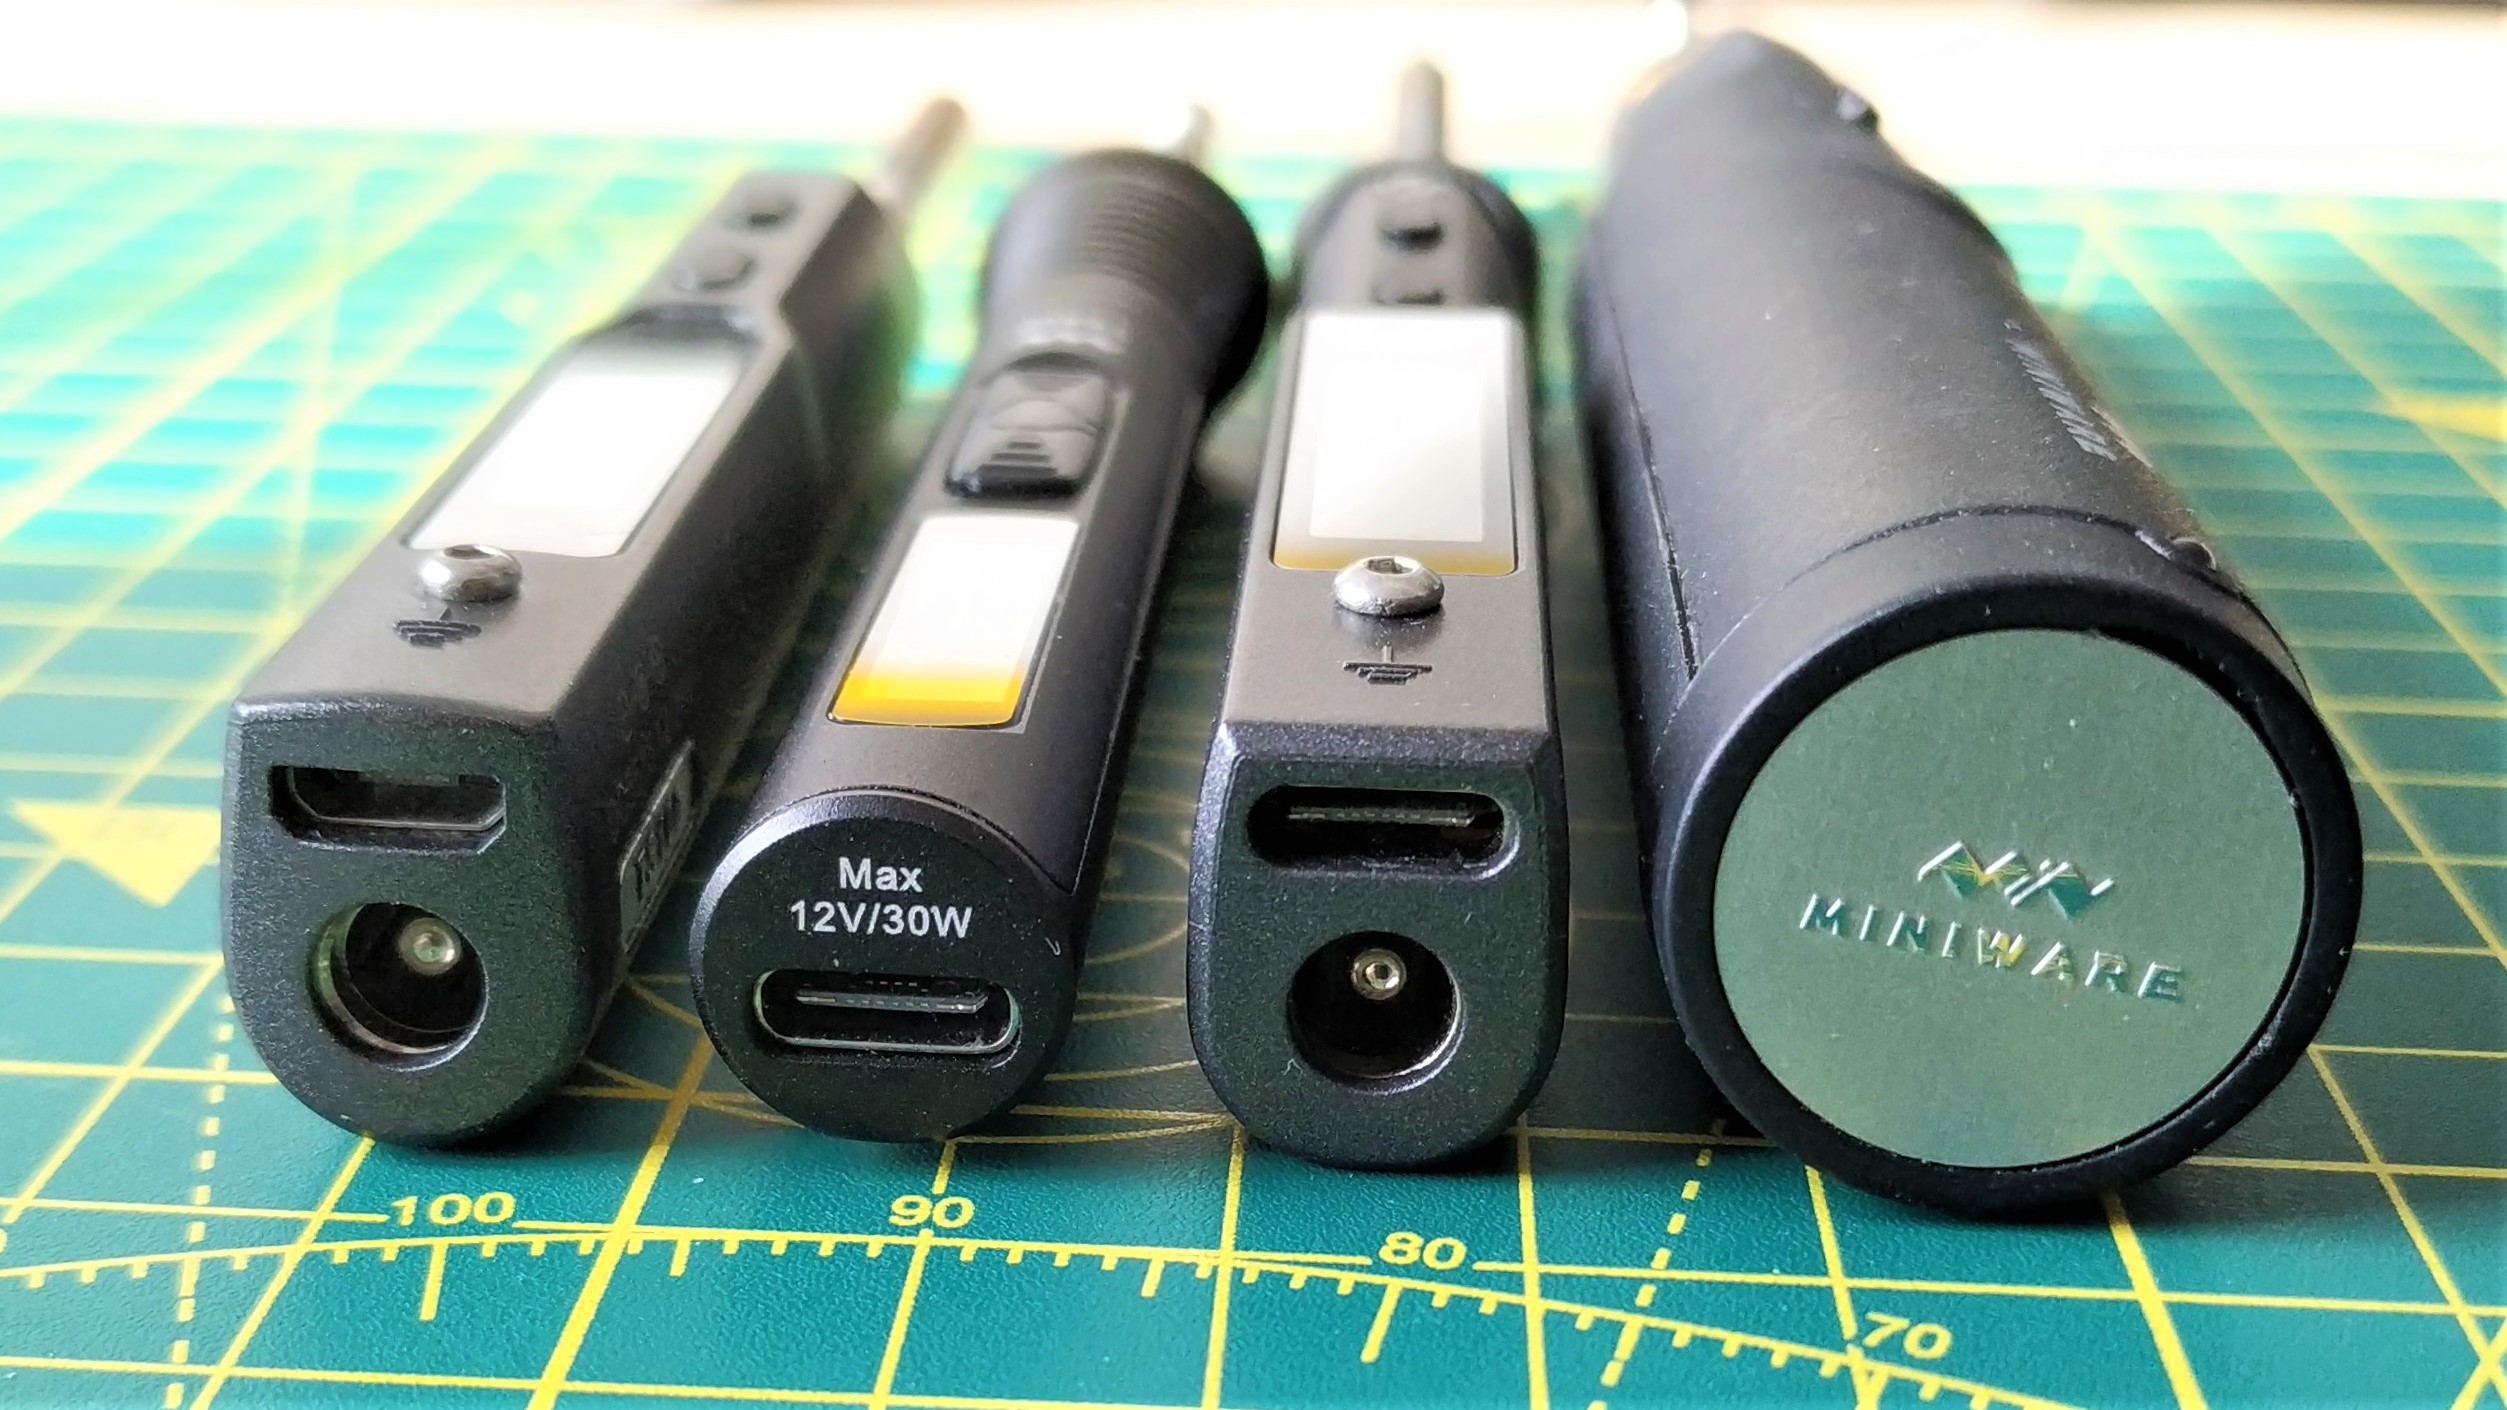
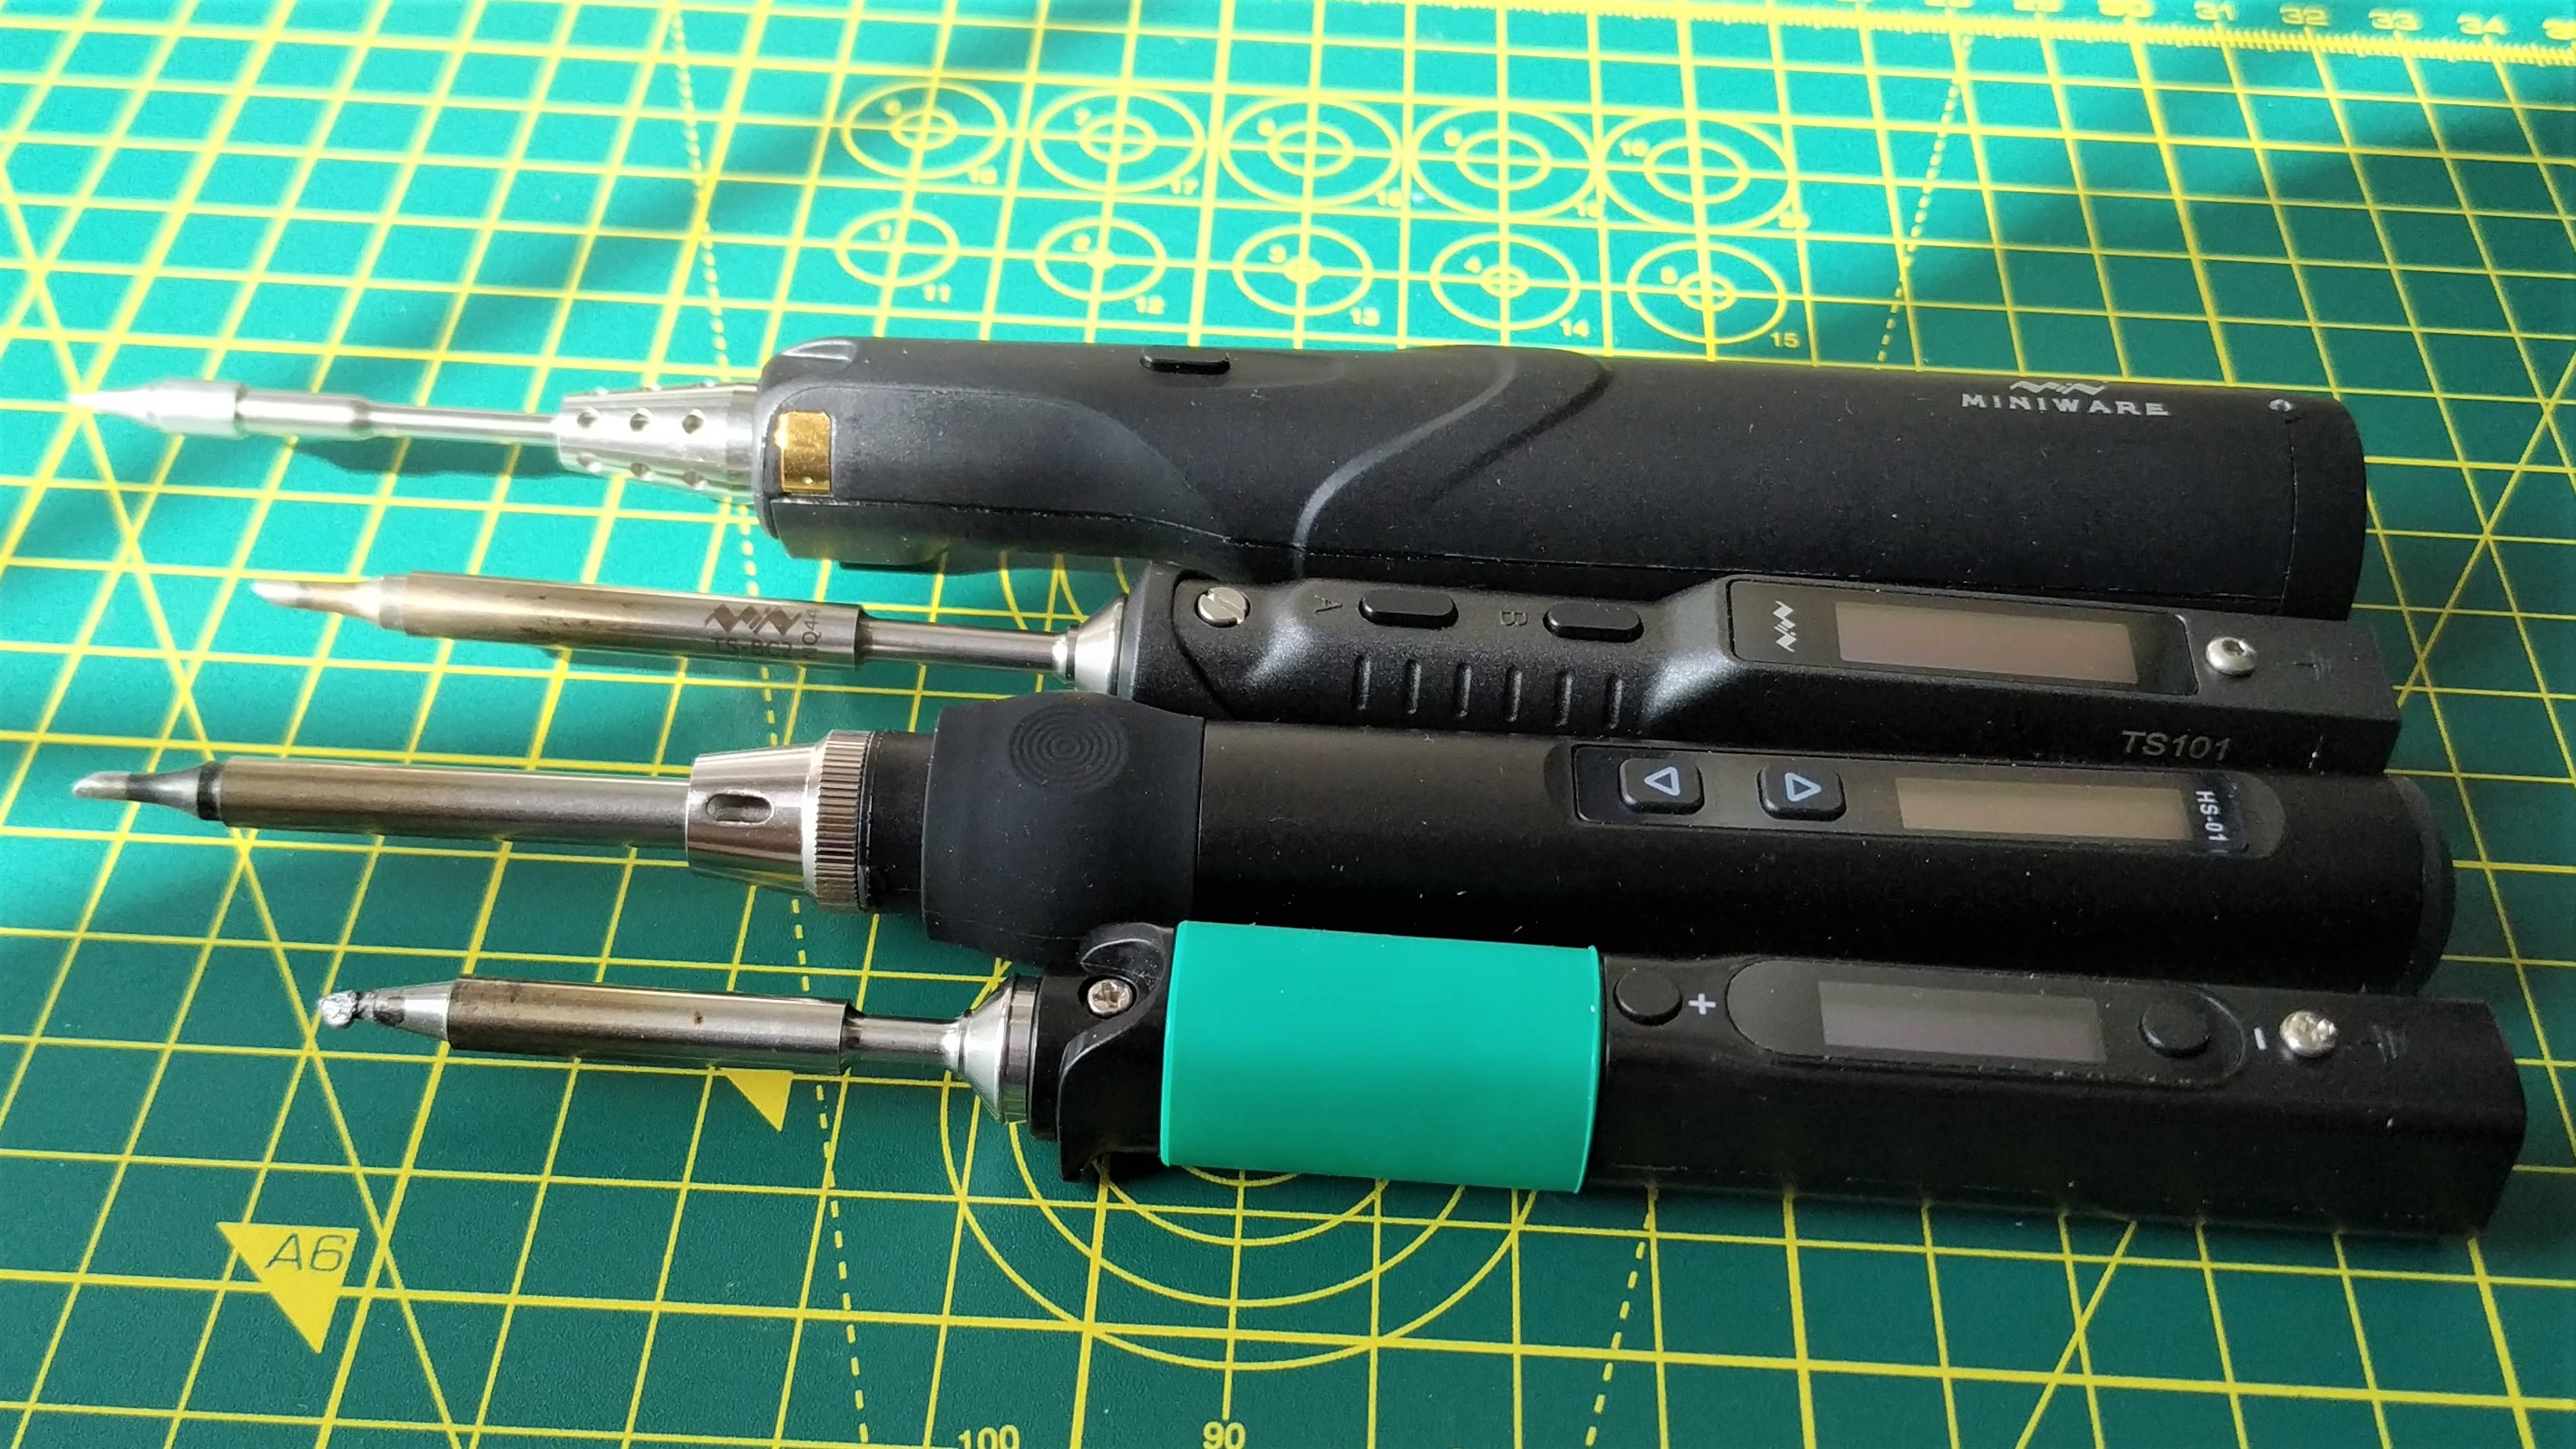
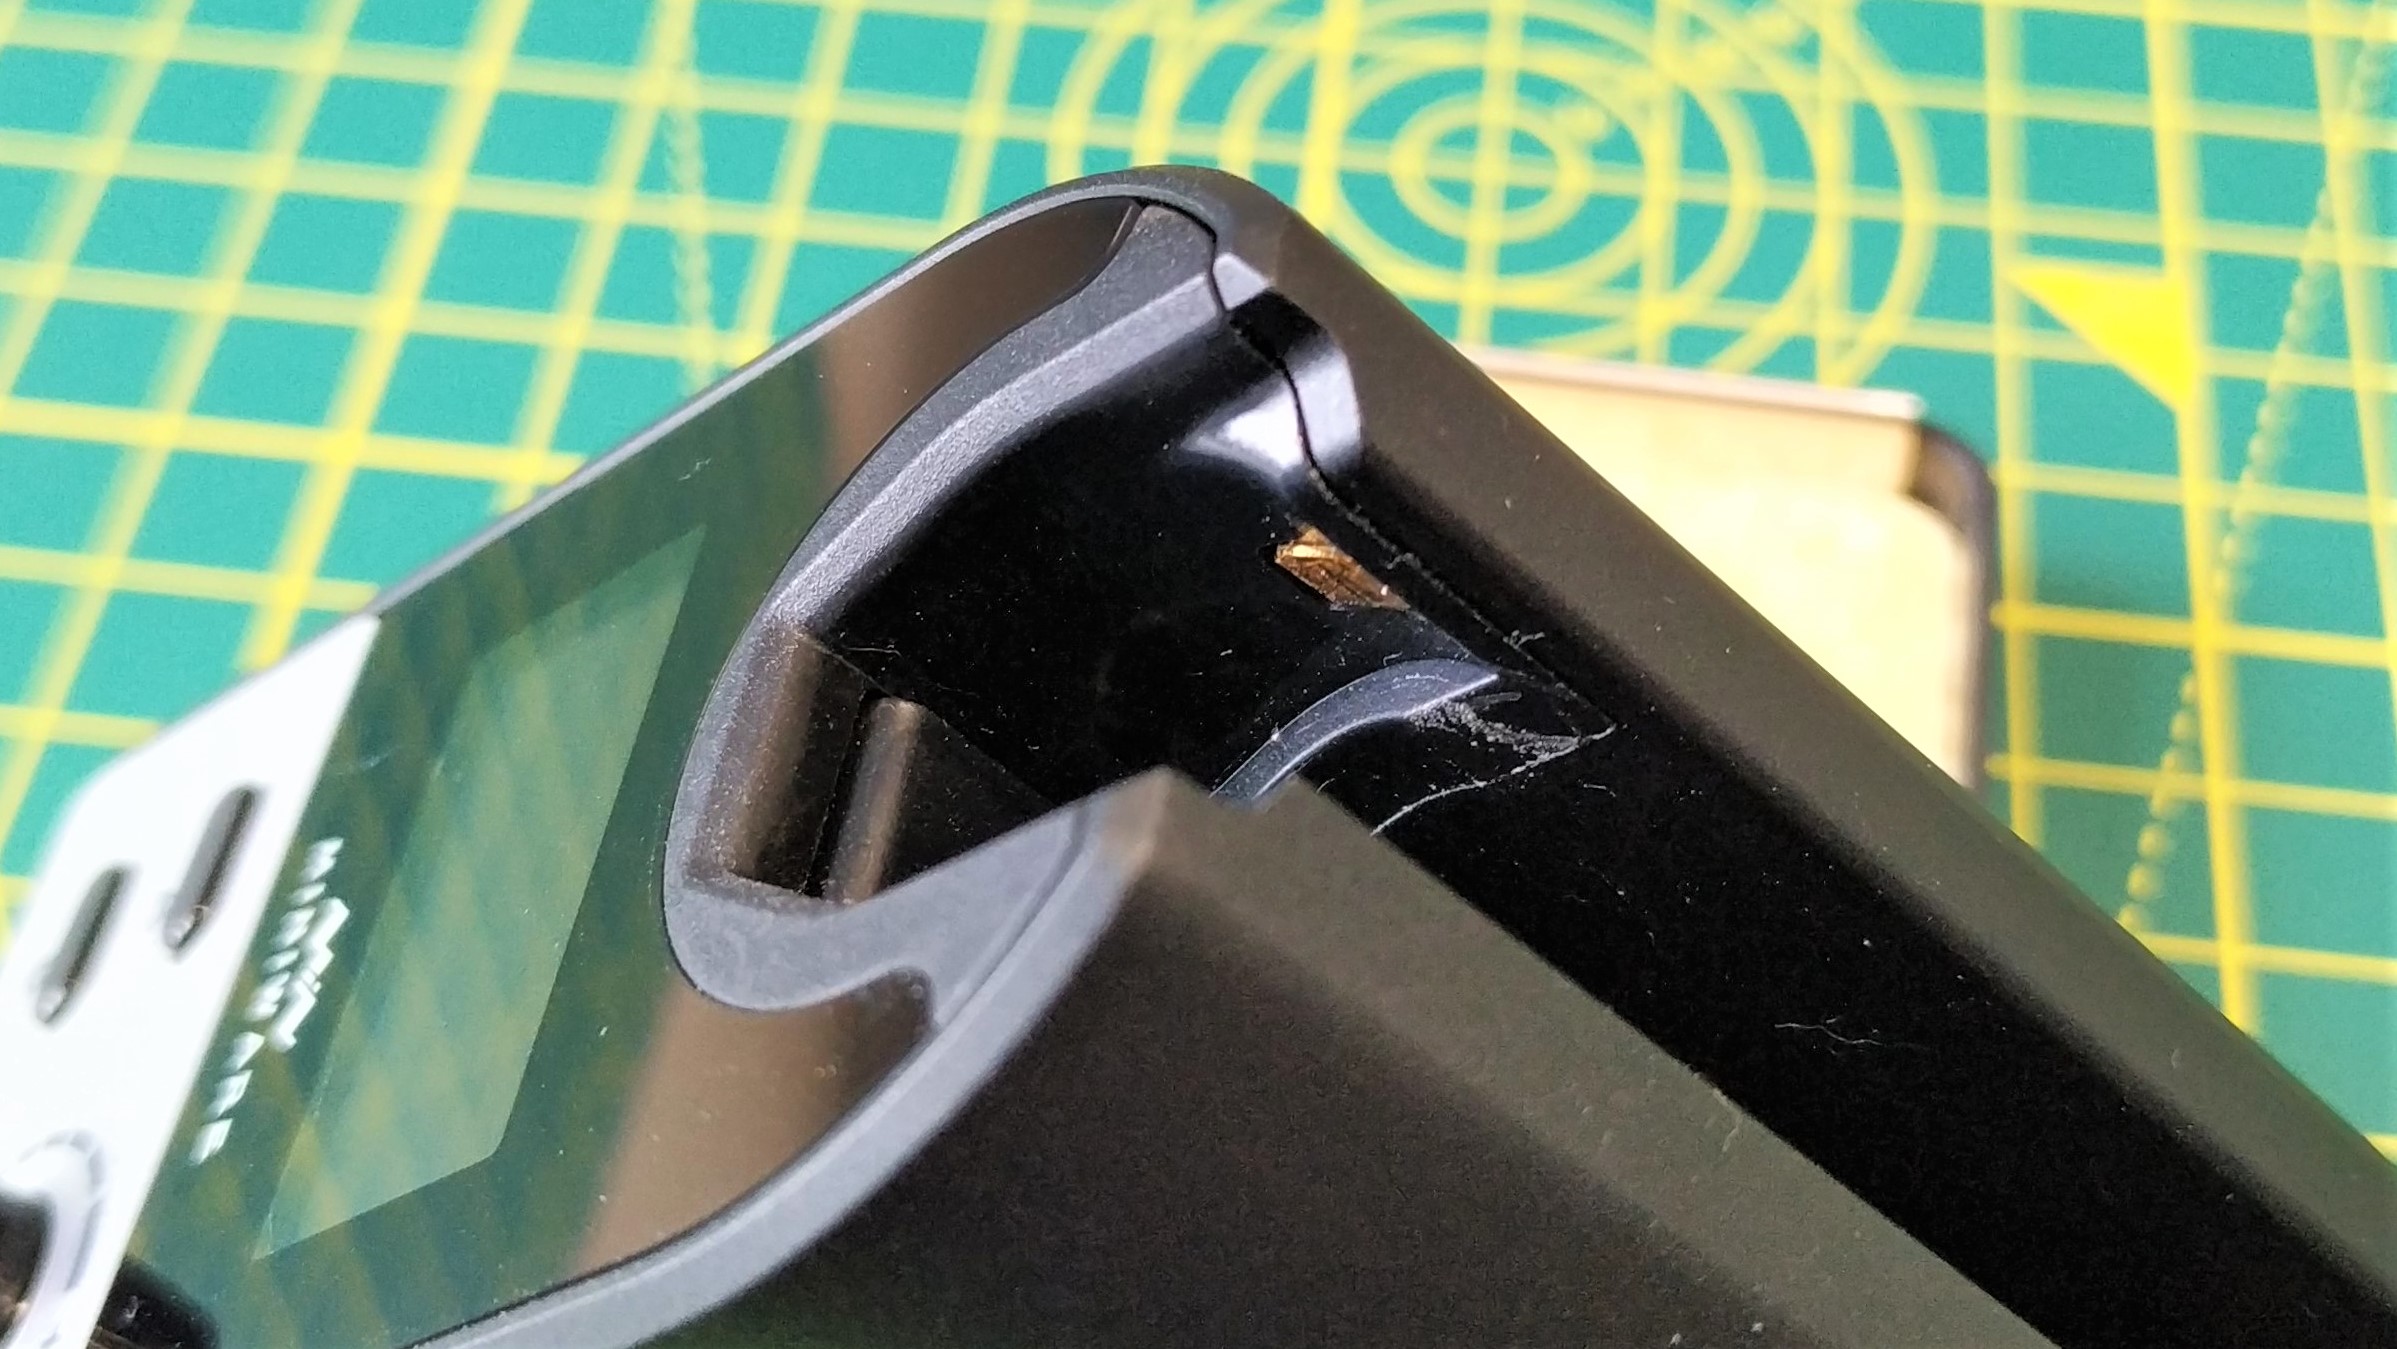
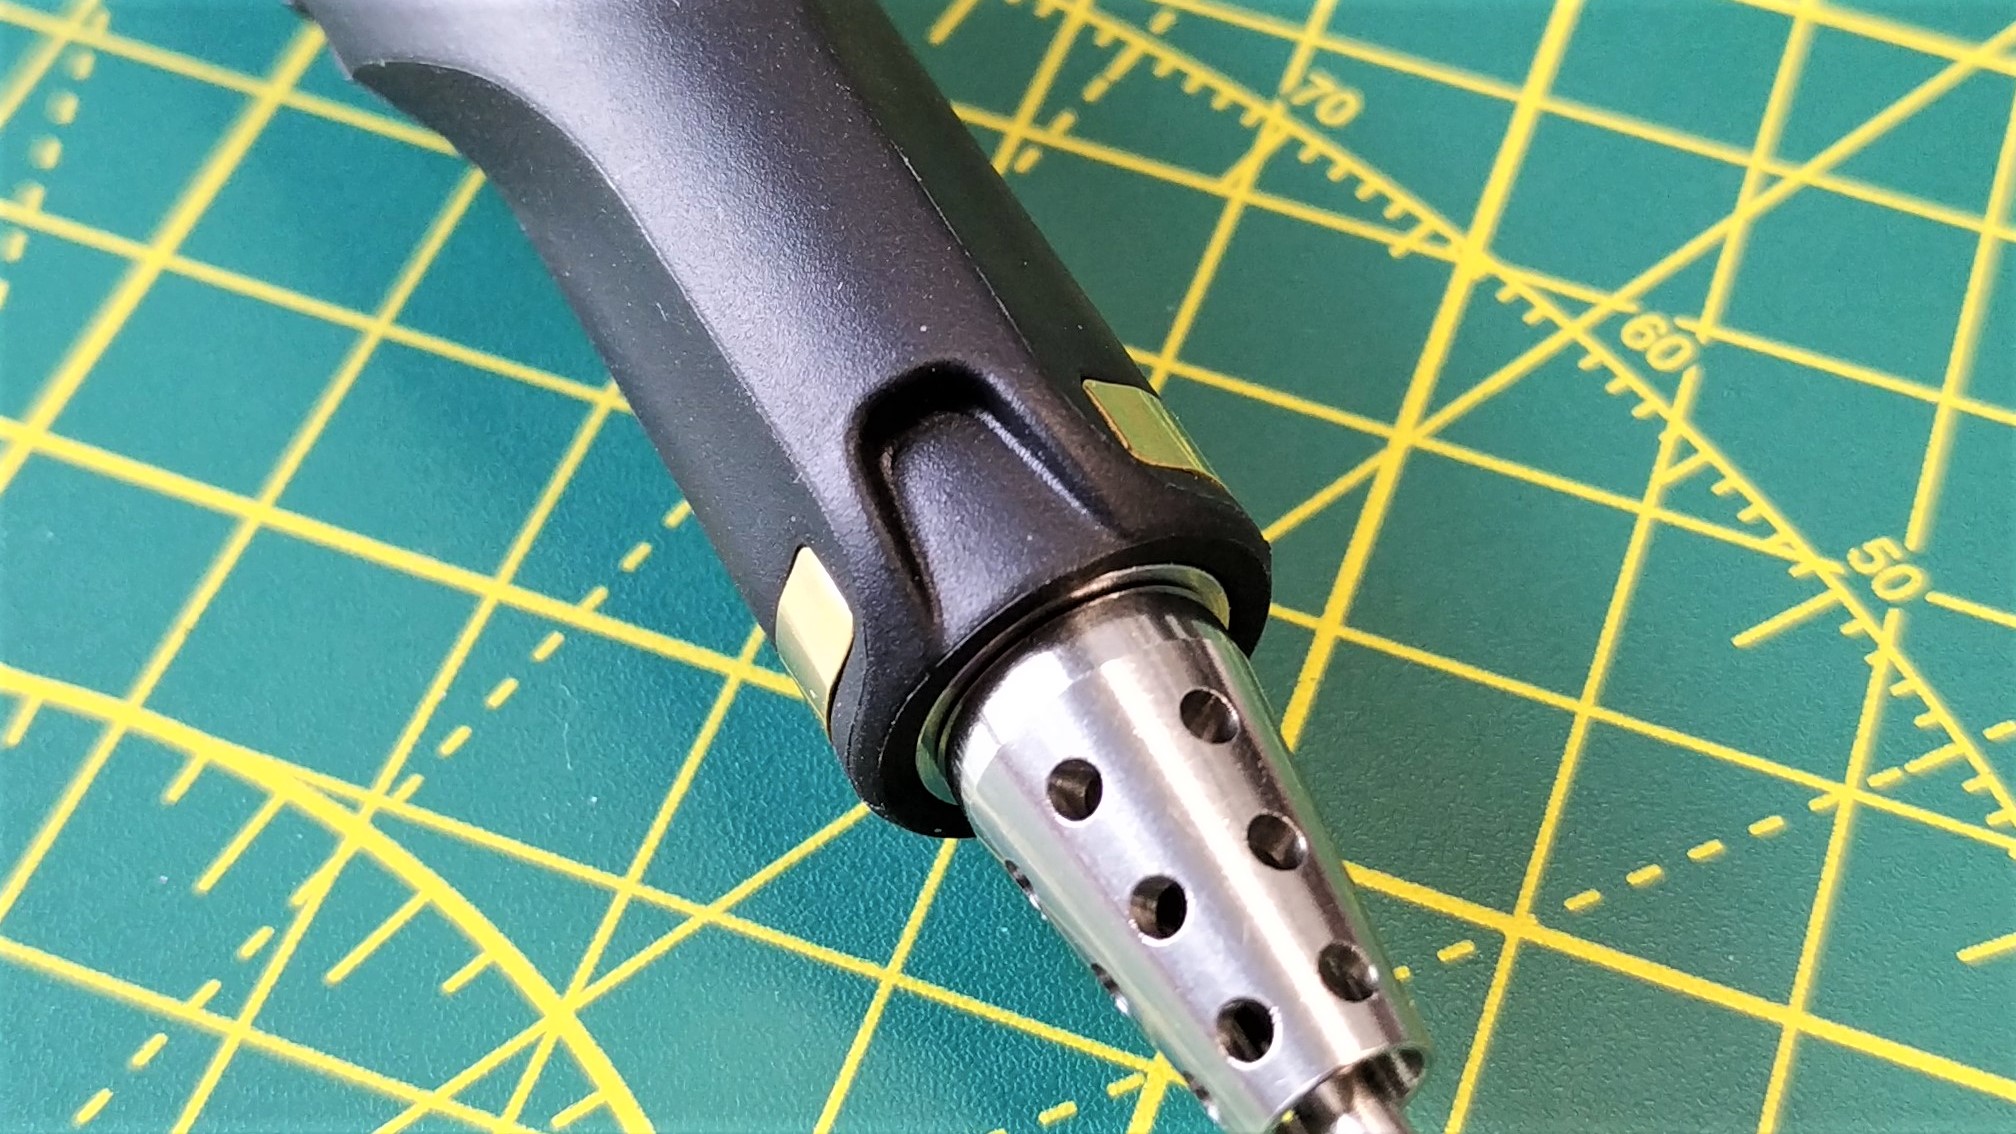
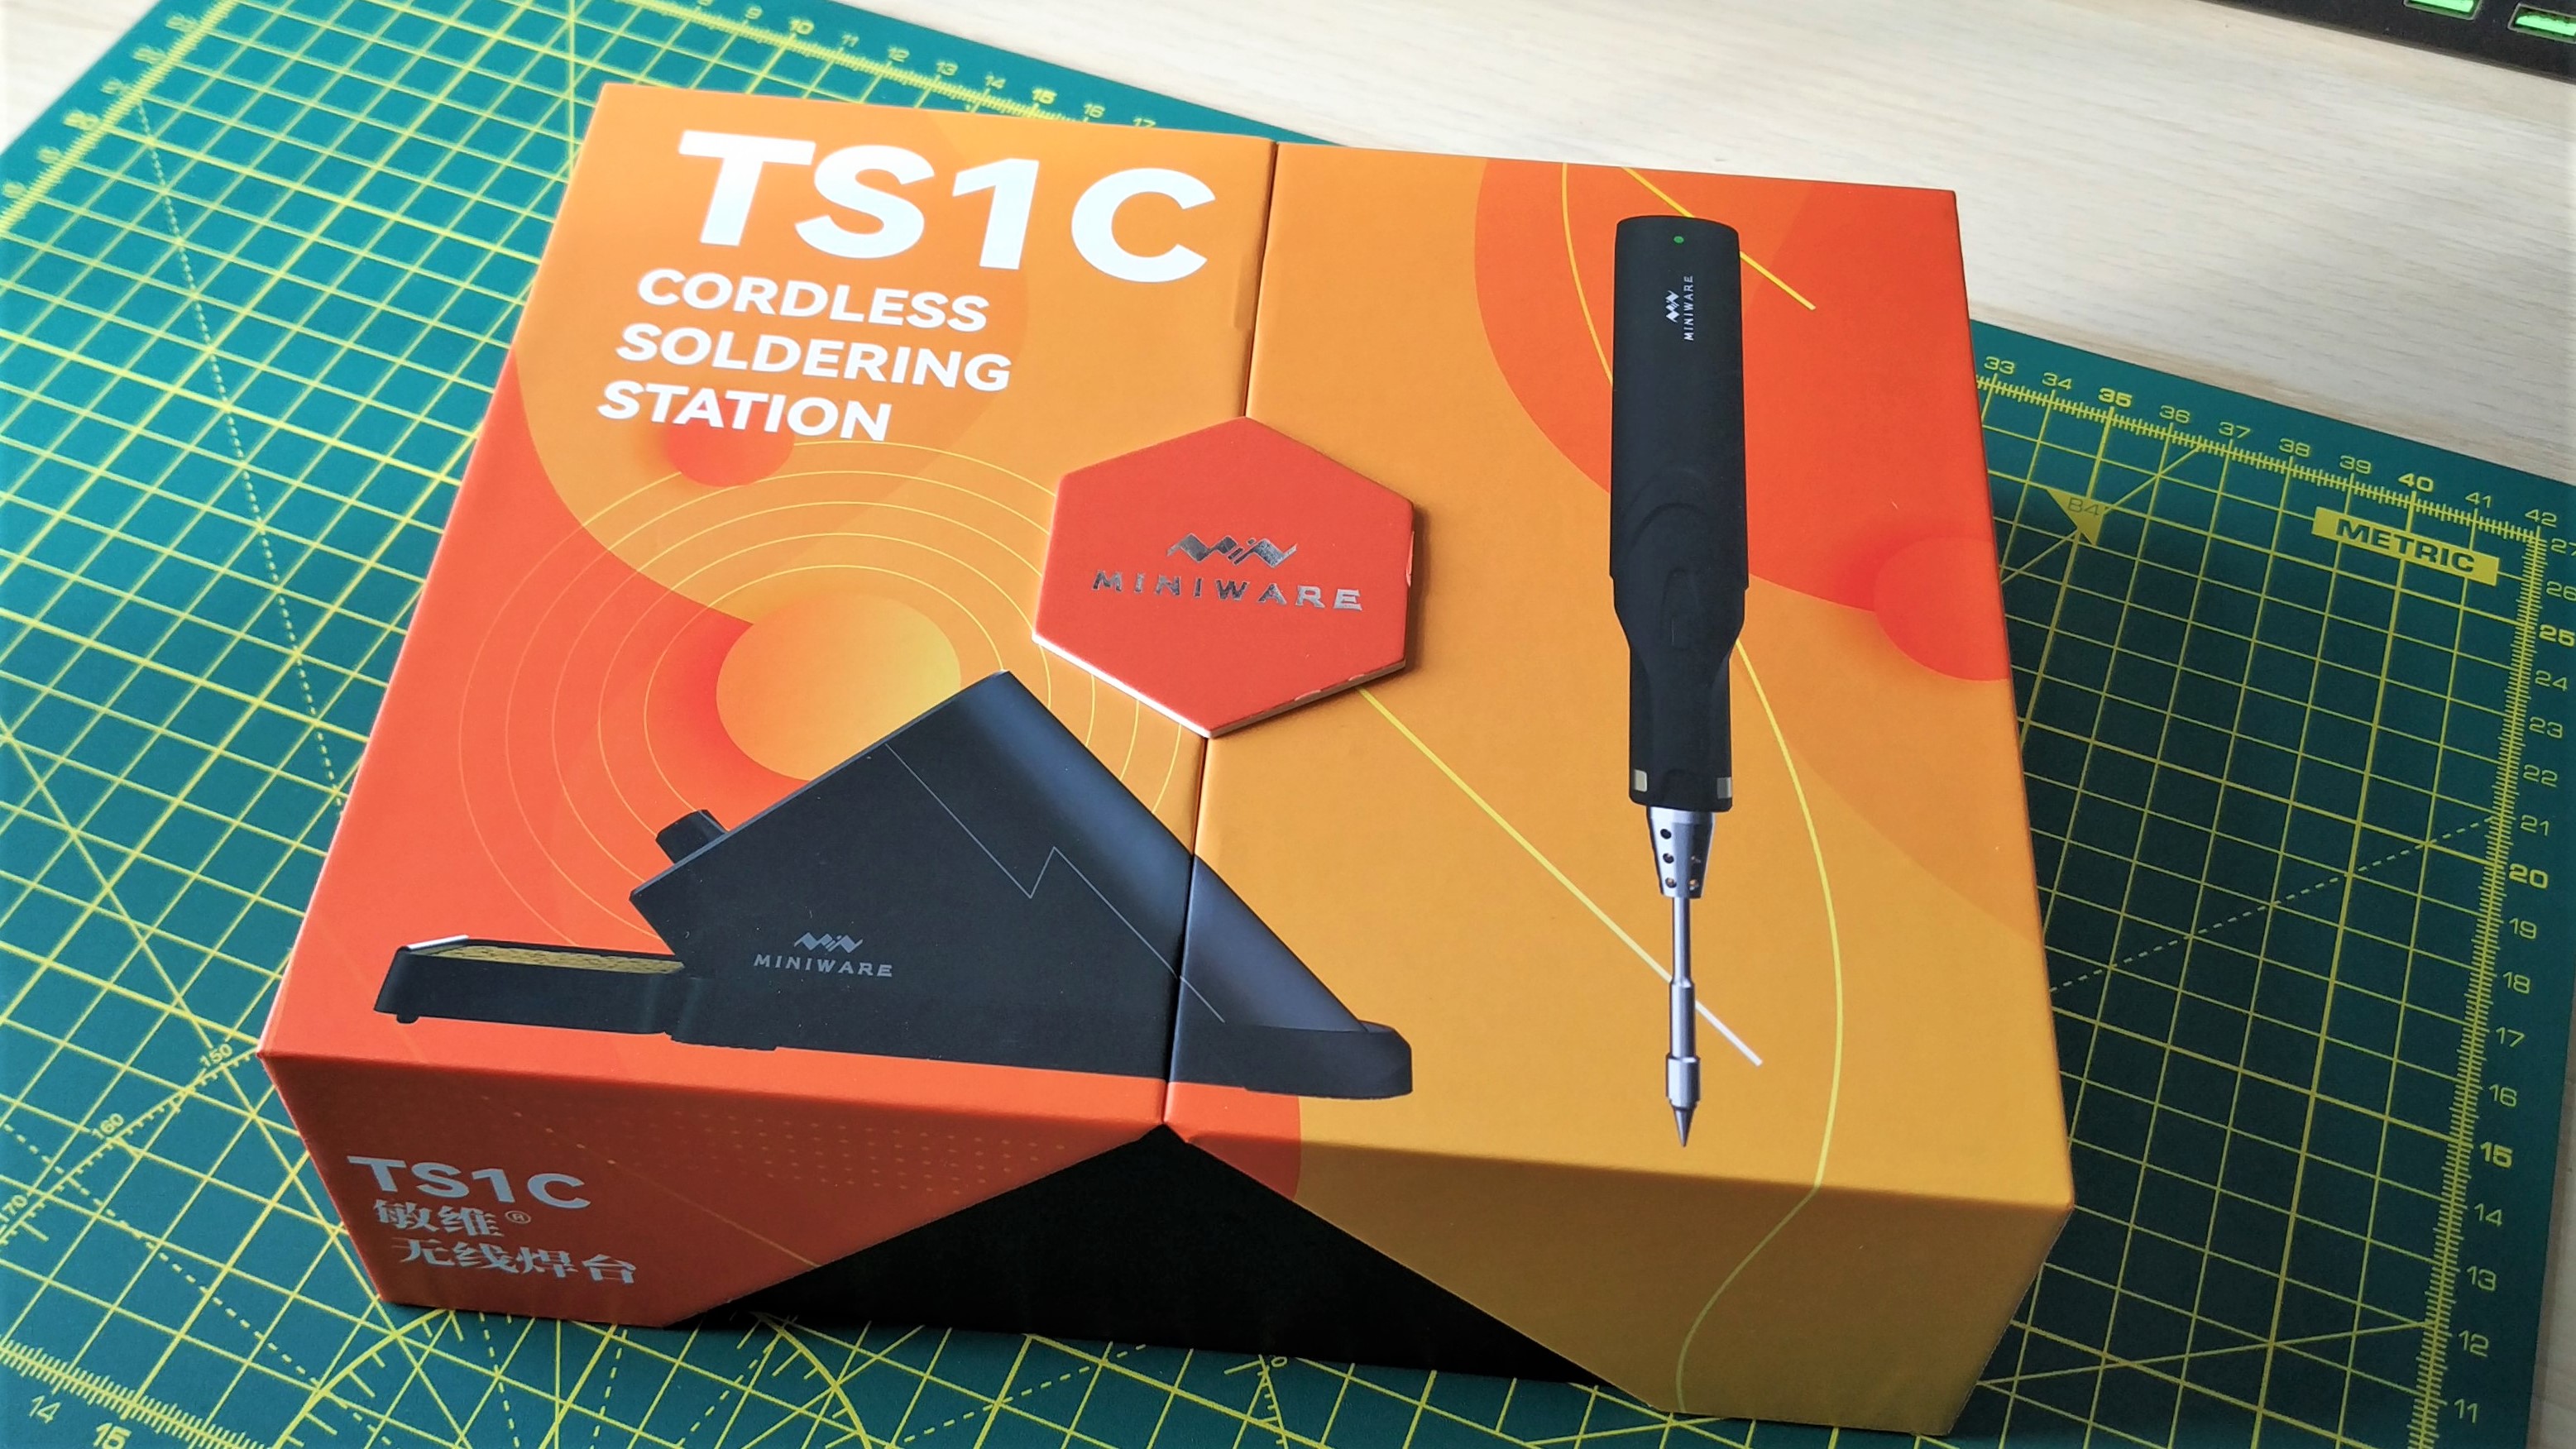
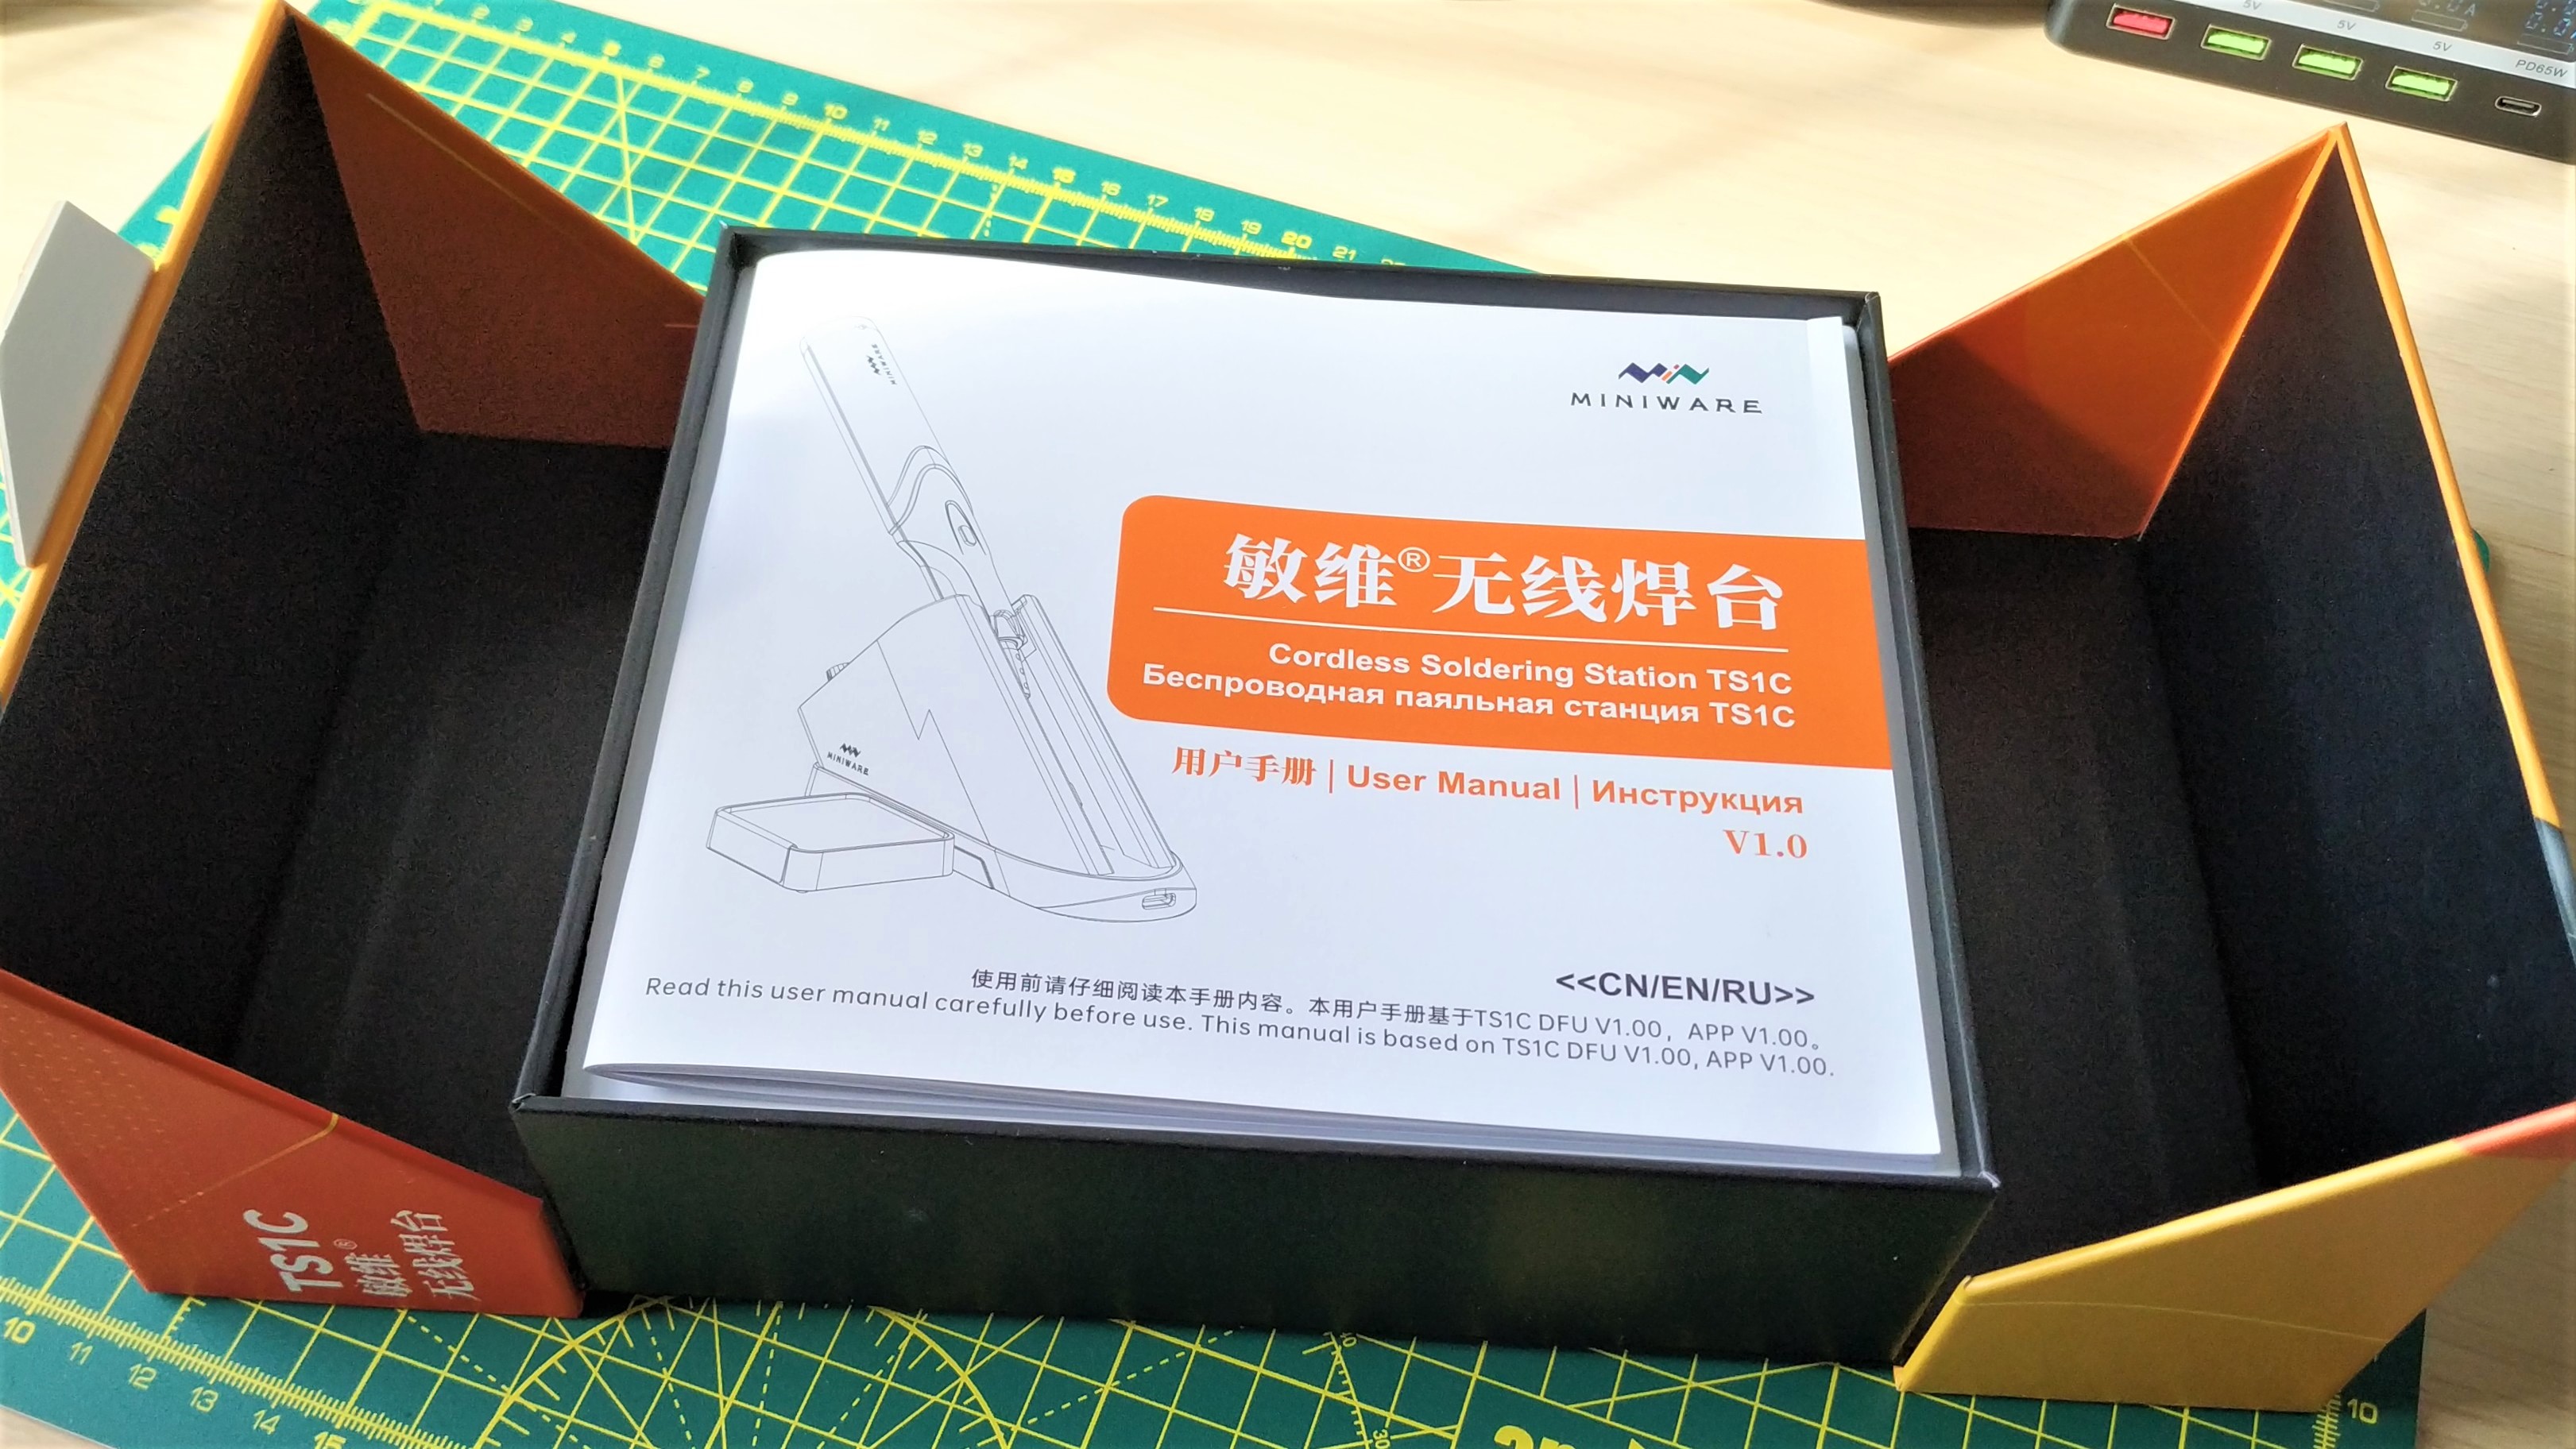
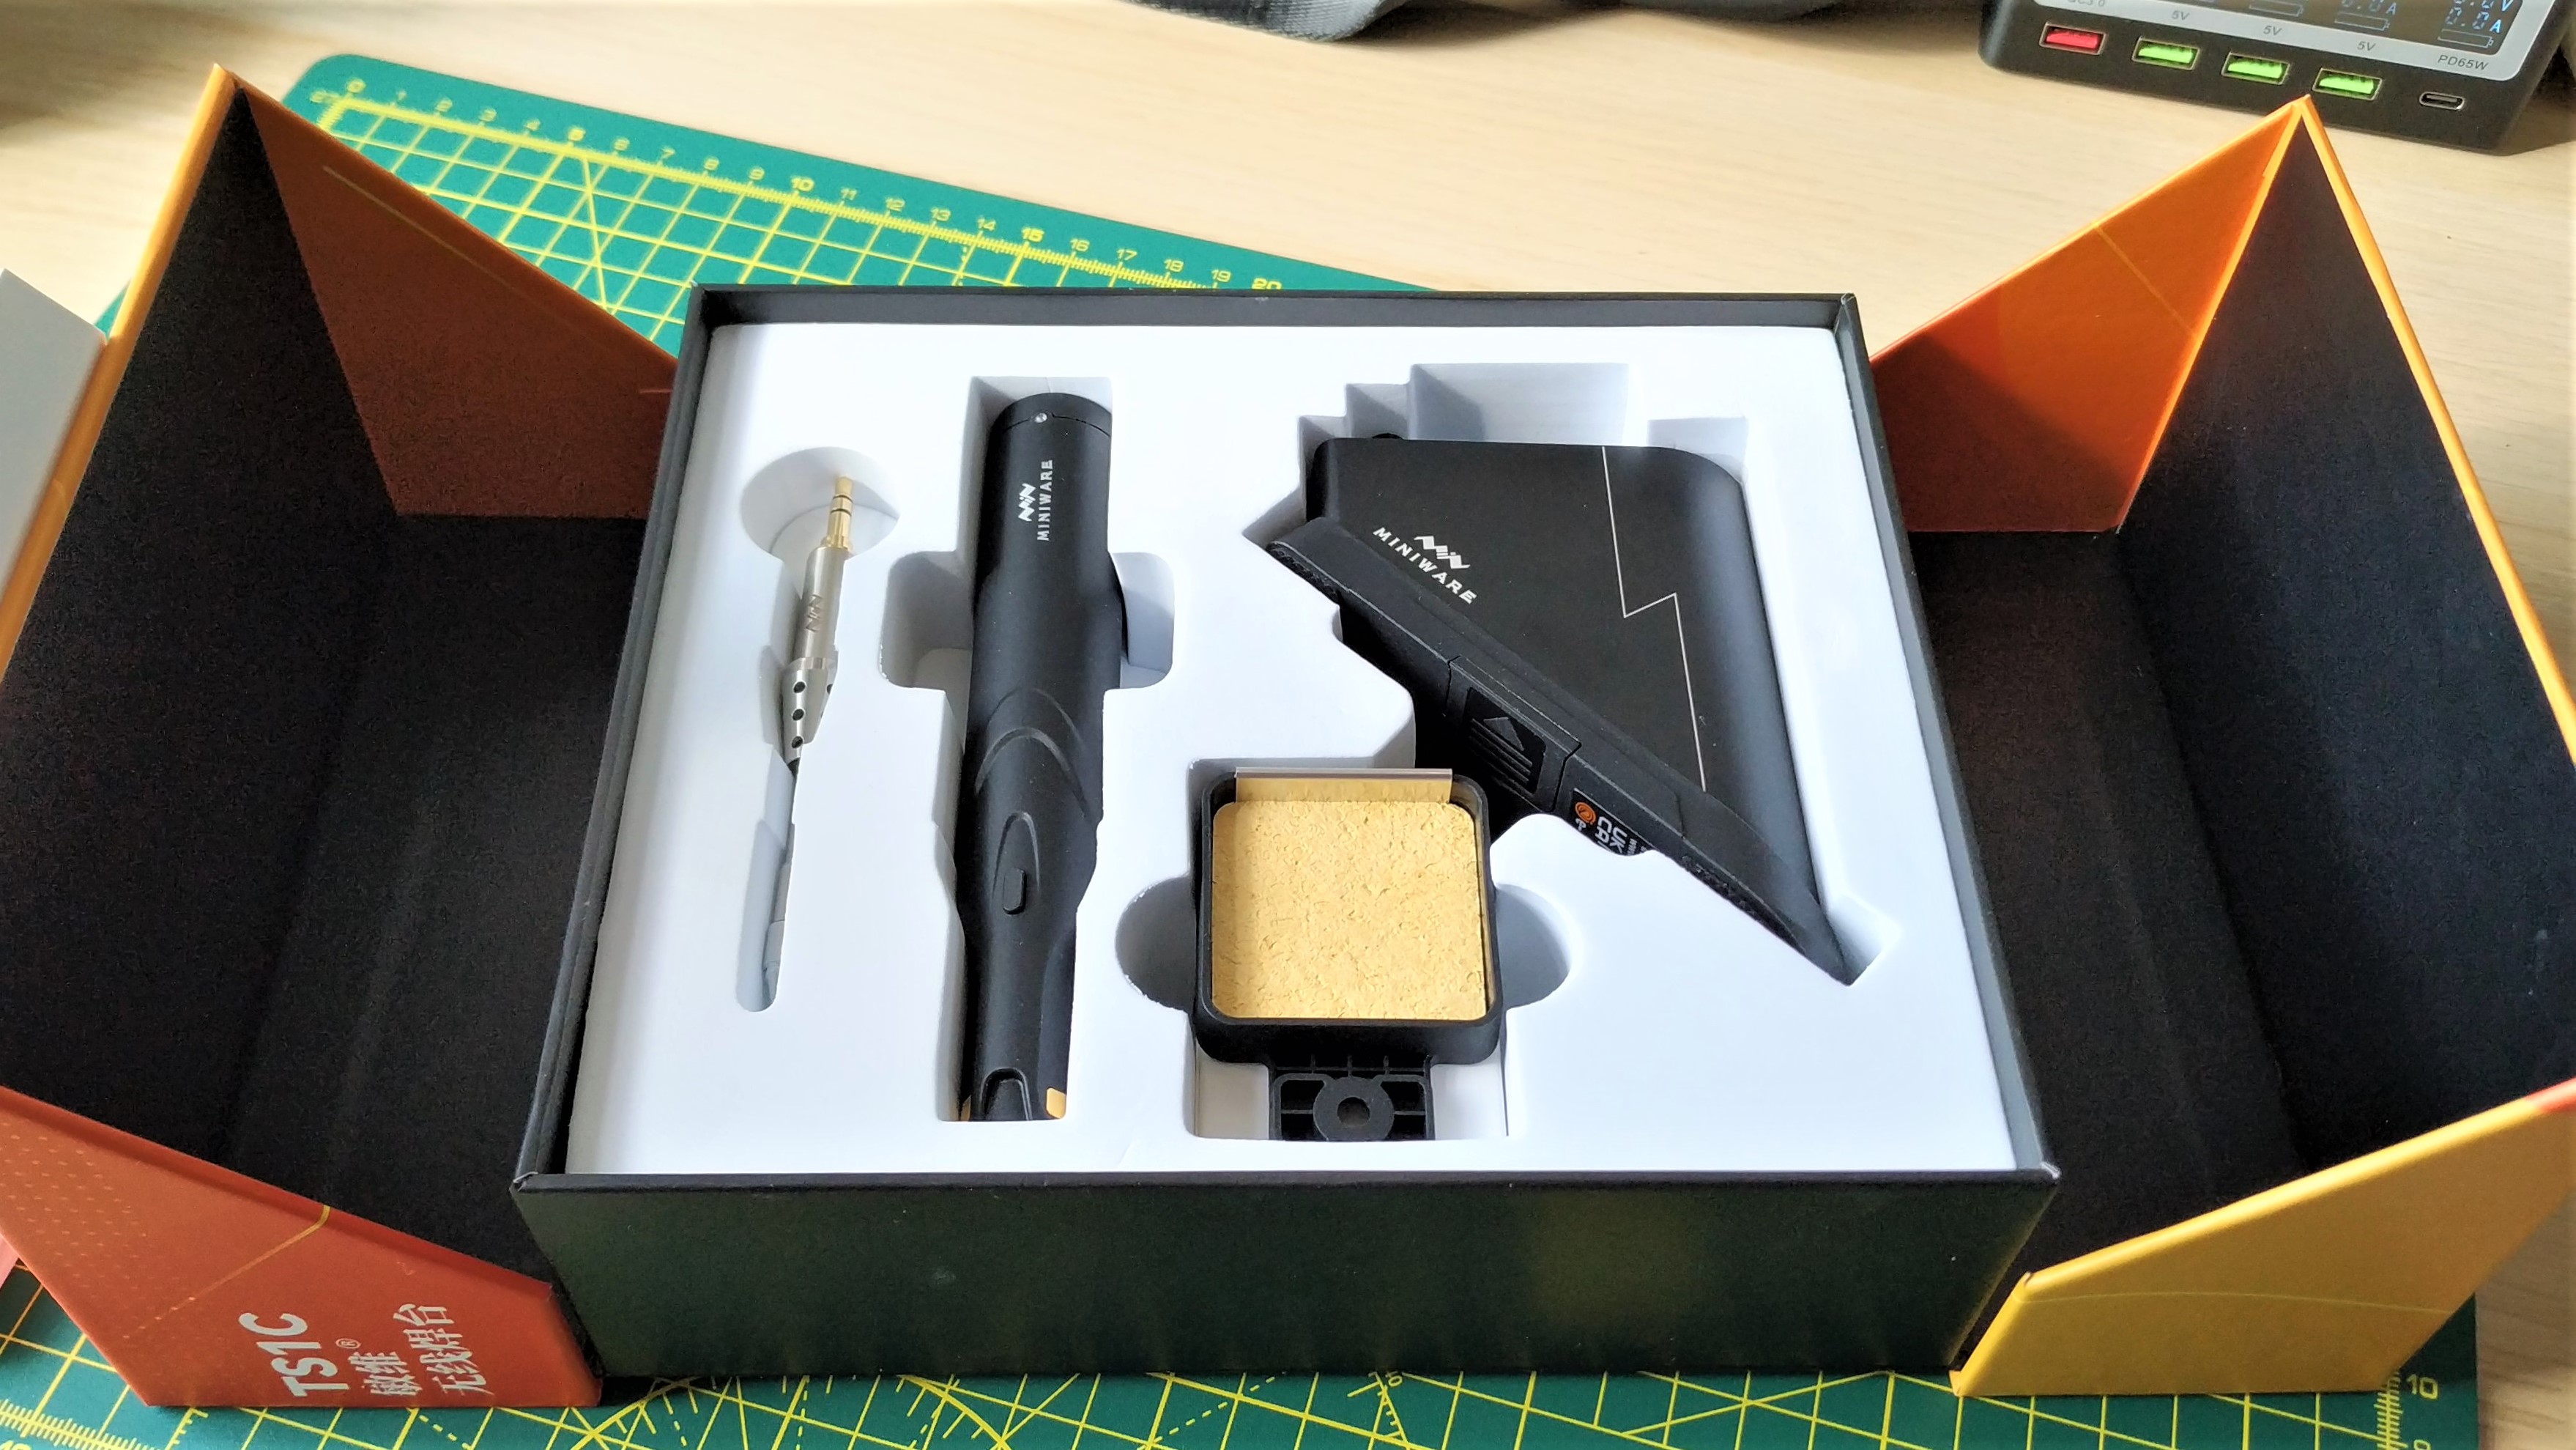
Right off the bat, this is a premium looking soldering station and the unboxing experience, while not really part of the review, feels equally premium. Moving the OLED screen and controls to the station means that we have only a single “boost” button on the iron itself. The soldering iron is largely made of plastic, and here is where a little quality control can be exercised.
The seam along the length of our review iron had some sharp plastic flashing from the mold. This wasn’t unsightly, but it did cheapen the overall feel. Between the soldering tip and the main body are two brass colored bands. These bands are how the cordless soldering iron receives power from the station. Inside the soldering iron is a super capacitor which is charged when the soldering iron is placed into the station. But how do we set the temperature?
The soldering station part of the unit is where we have full control of the soldering iron. Placing the iron inside the station we can set the working temperature, up to 400 degrees Celsius (750 degrees Fahrenheit), pre-heat and sleep temperatures.Charging the soldering iron takes seven minutes, but in our tests we saw this time was much shorter, more on that later. The soldering station looks great.
The internal structure of the station is made from metal, but it is surrounded by plastic. Here is where we hit an issue. Many of the best soldering stations have a metal stand for the soldering iron, and this means that we can be a little “rough” when placing the iron in the stand. Not with the TS1C, the plastic case and OLED screen can easily be marked by a hot soldering iron. Ask us how we know! Instead of sliding the iron into the stand we need to place it slightly over the stand, and push it down until it is firmly grasped. The need for the tight fit are the two brass colored bands. These mechanical connections provide the only means to charge up the soldering iron, but they also introduce friction. Friction means that one-handed removal of the iron is possible, but you’ll need to be careful in order to remove the iron. The weight of the station isn’t enough to keep it fixed, requiring either a two-handed removal or a careful one-handed removal which sees our hand pulling the iron and pushing the station in one go.
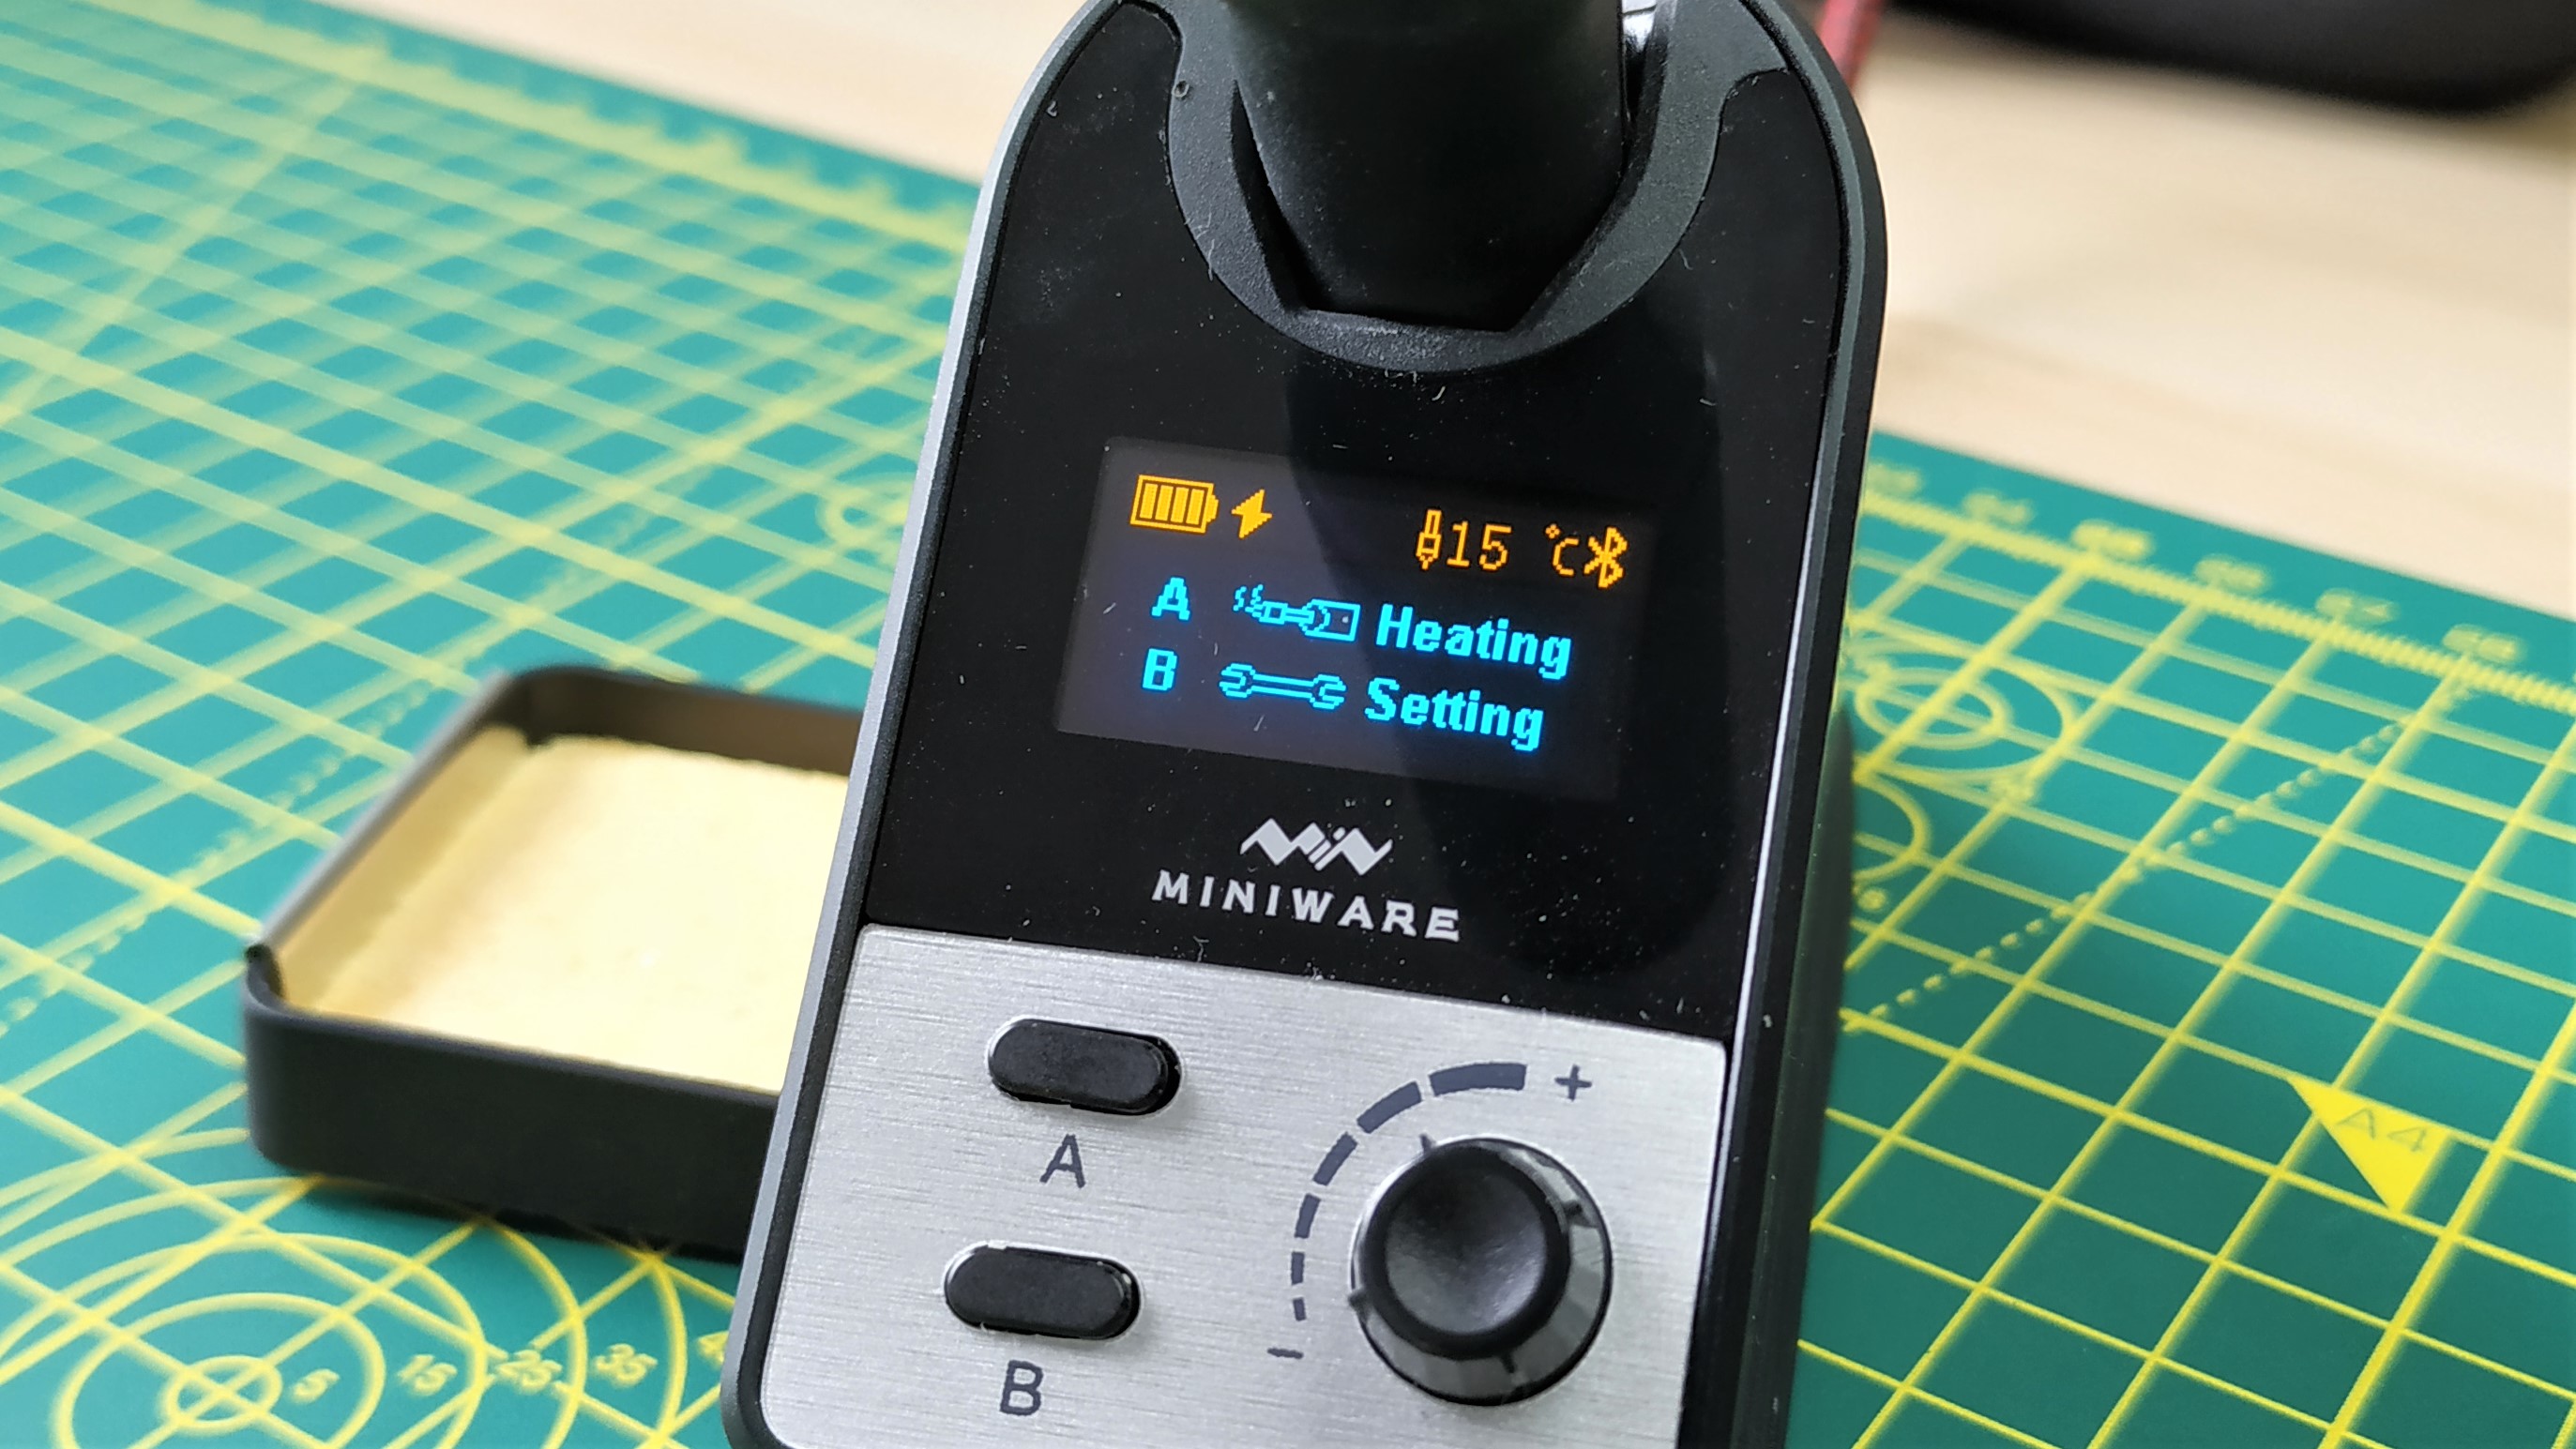
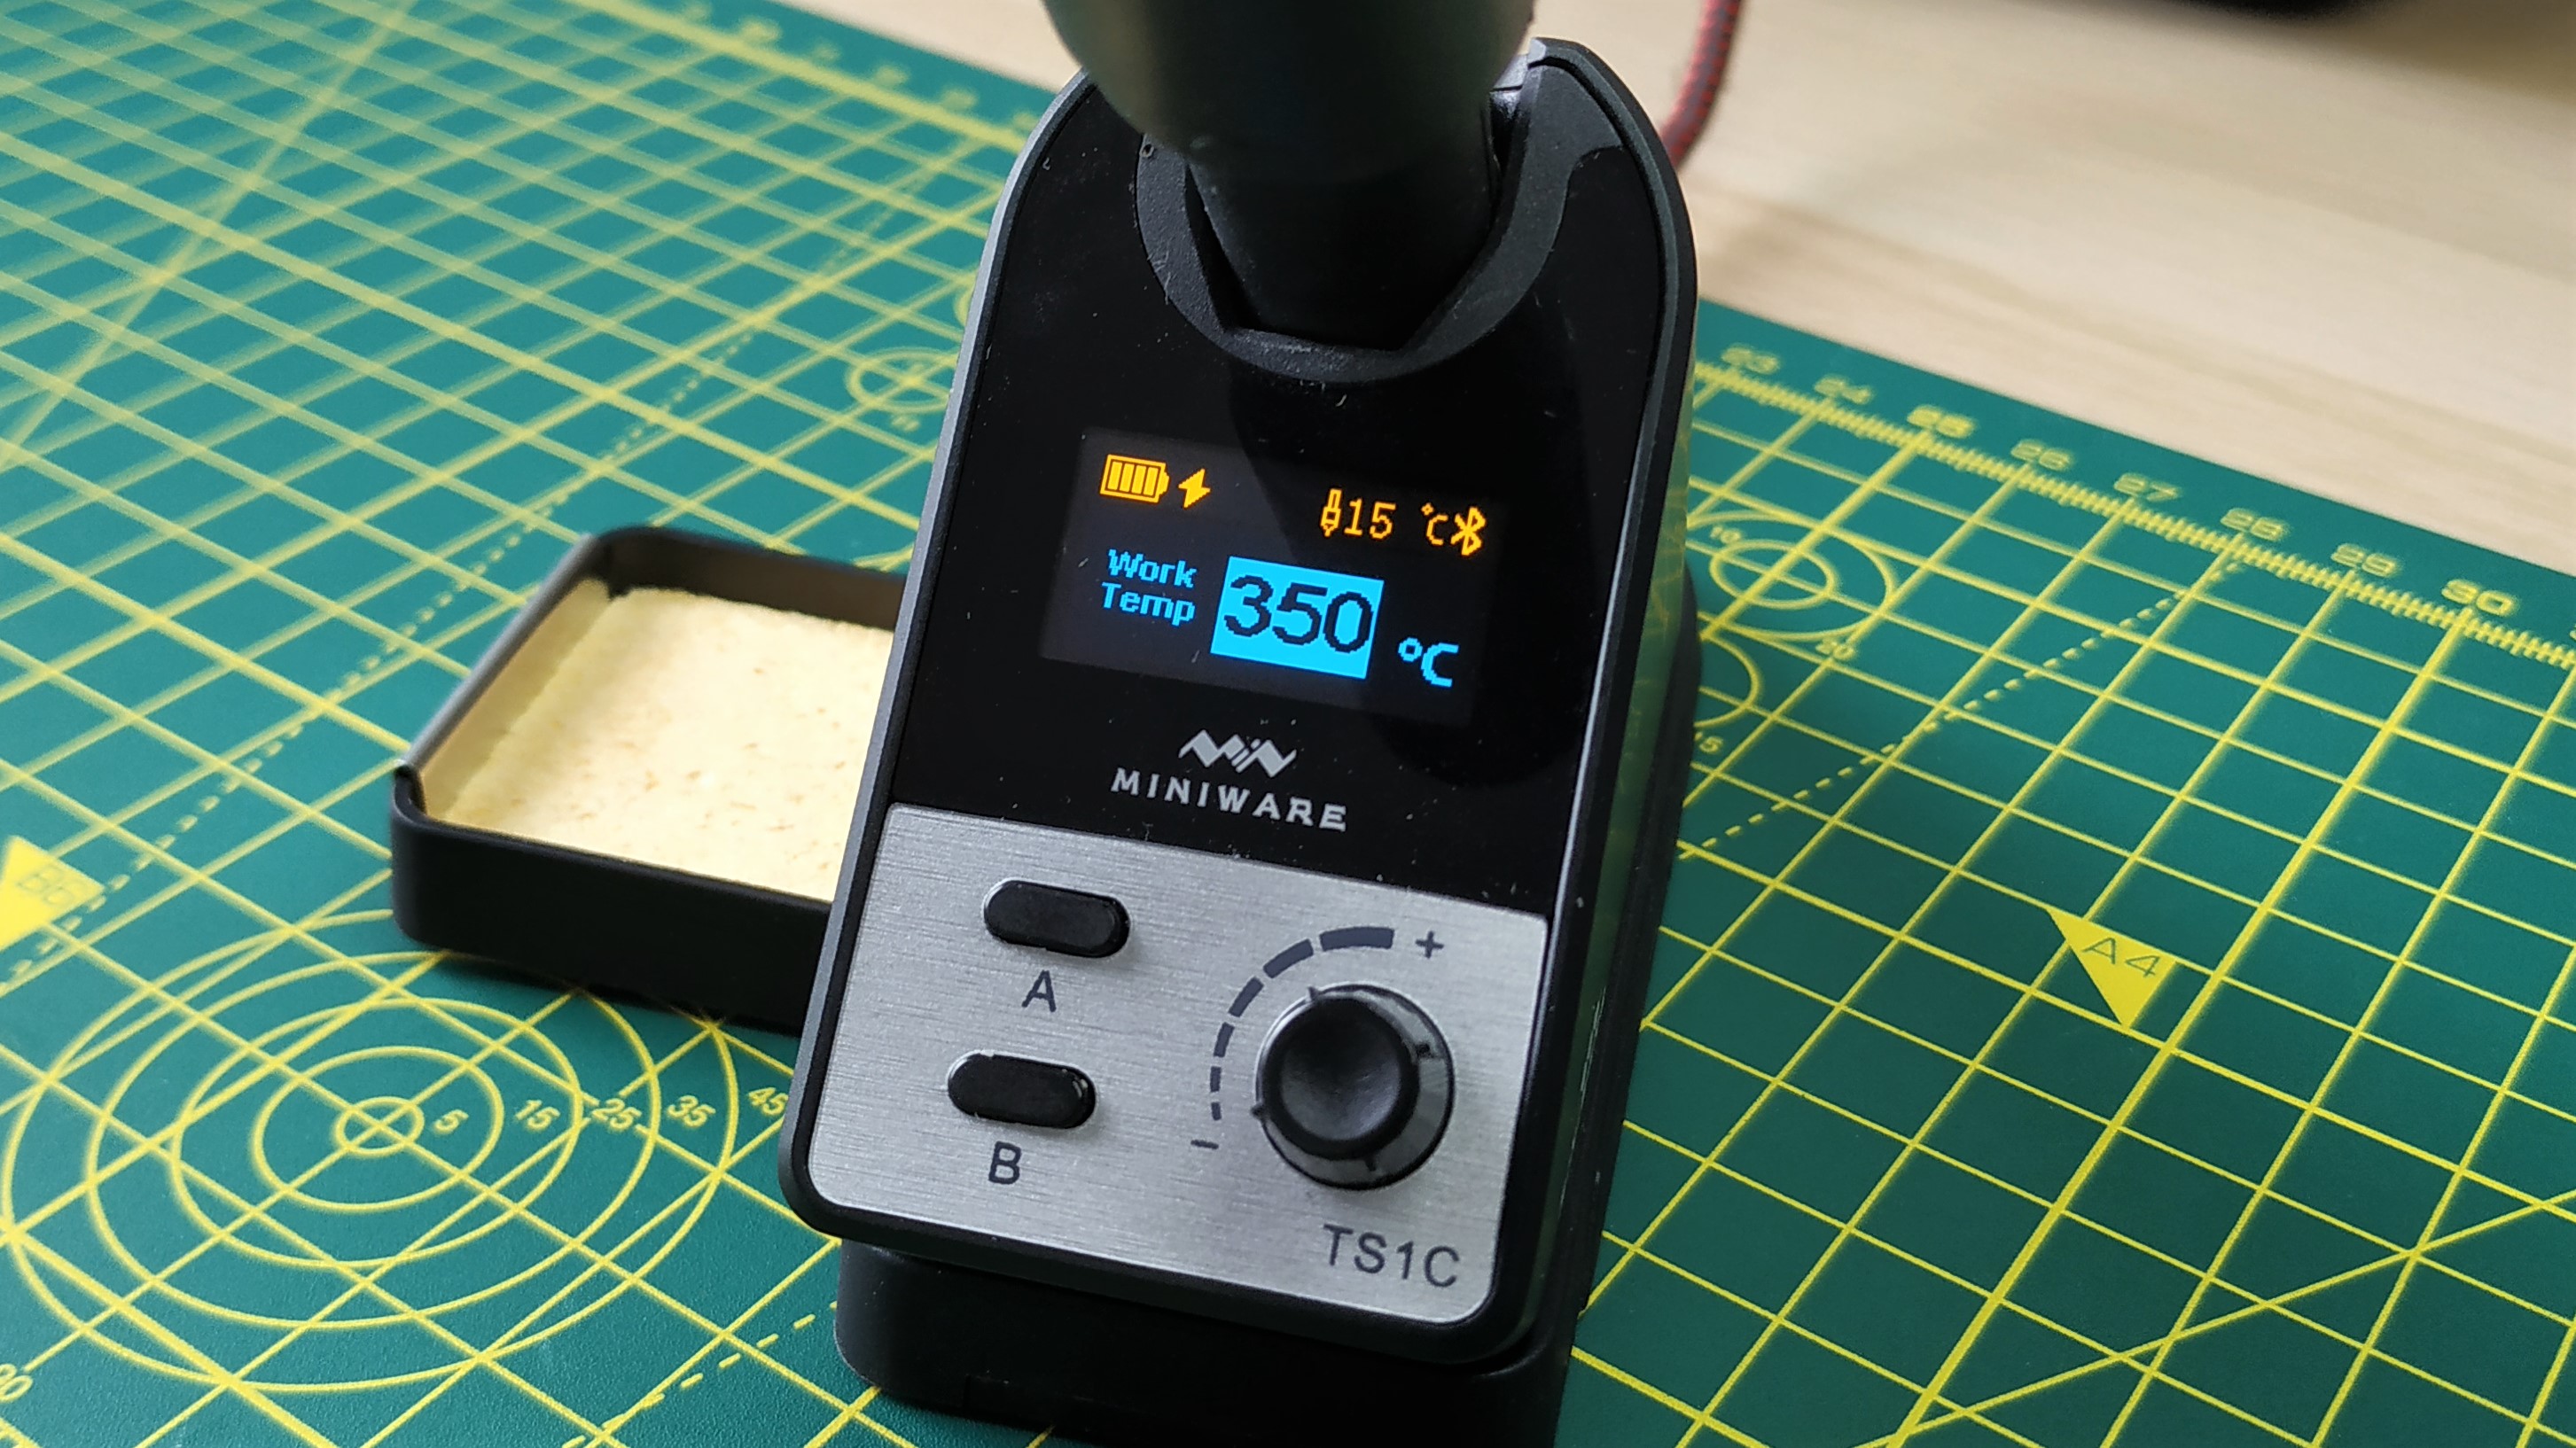
Enough of the issues, let's look at the controls. There are two buttons (A and B) that provide direct access to controlling the soldering iron and setting up the station. A dial (most likely a rotary encoder) provides smooth control of iron temperatures. In the setup, we can set the temperature steps taken when we rotate the dial. The default is 1 degree per “click”, but it can be turned up to 25 degrees per click. If precision is what you crave, keep the value low, or make sure that your preferred soldering temperature is divisible by your chosen step. For us, 350°C is our working temperature and that is indeed divisible.
The soldering station also comes with a sponge to clean the soldering iron tip.ure this isn’t the most exciting aspect of the kit, but the fact that we can have it in one of three positions makes it useful for left and right-handed makers.
Soldering with the Miniware TS1C
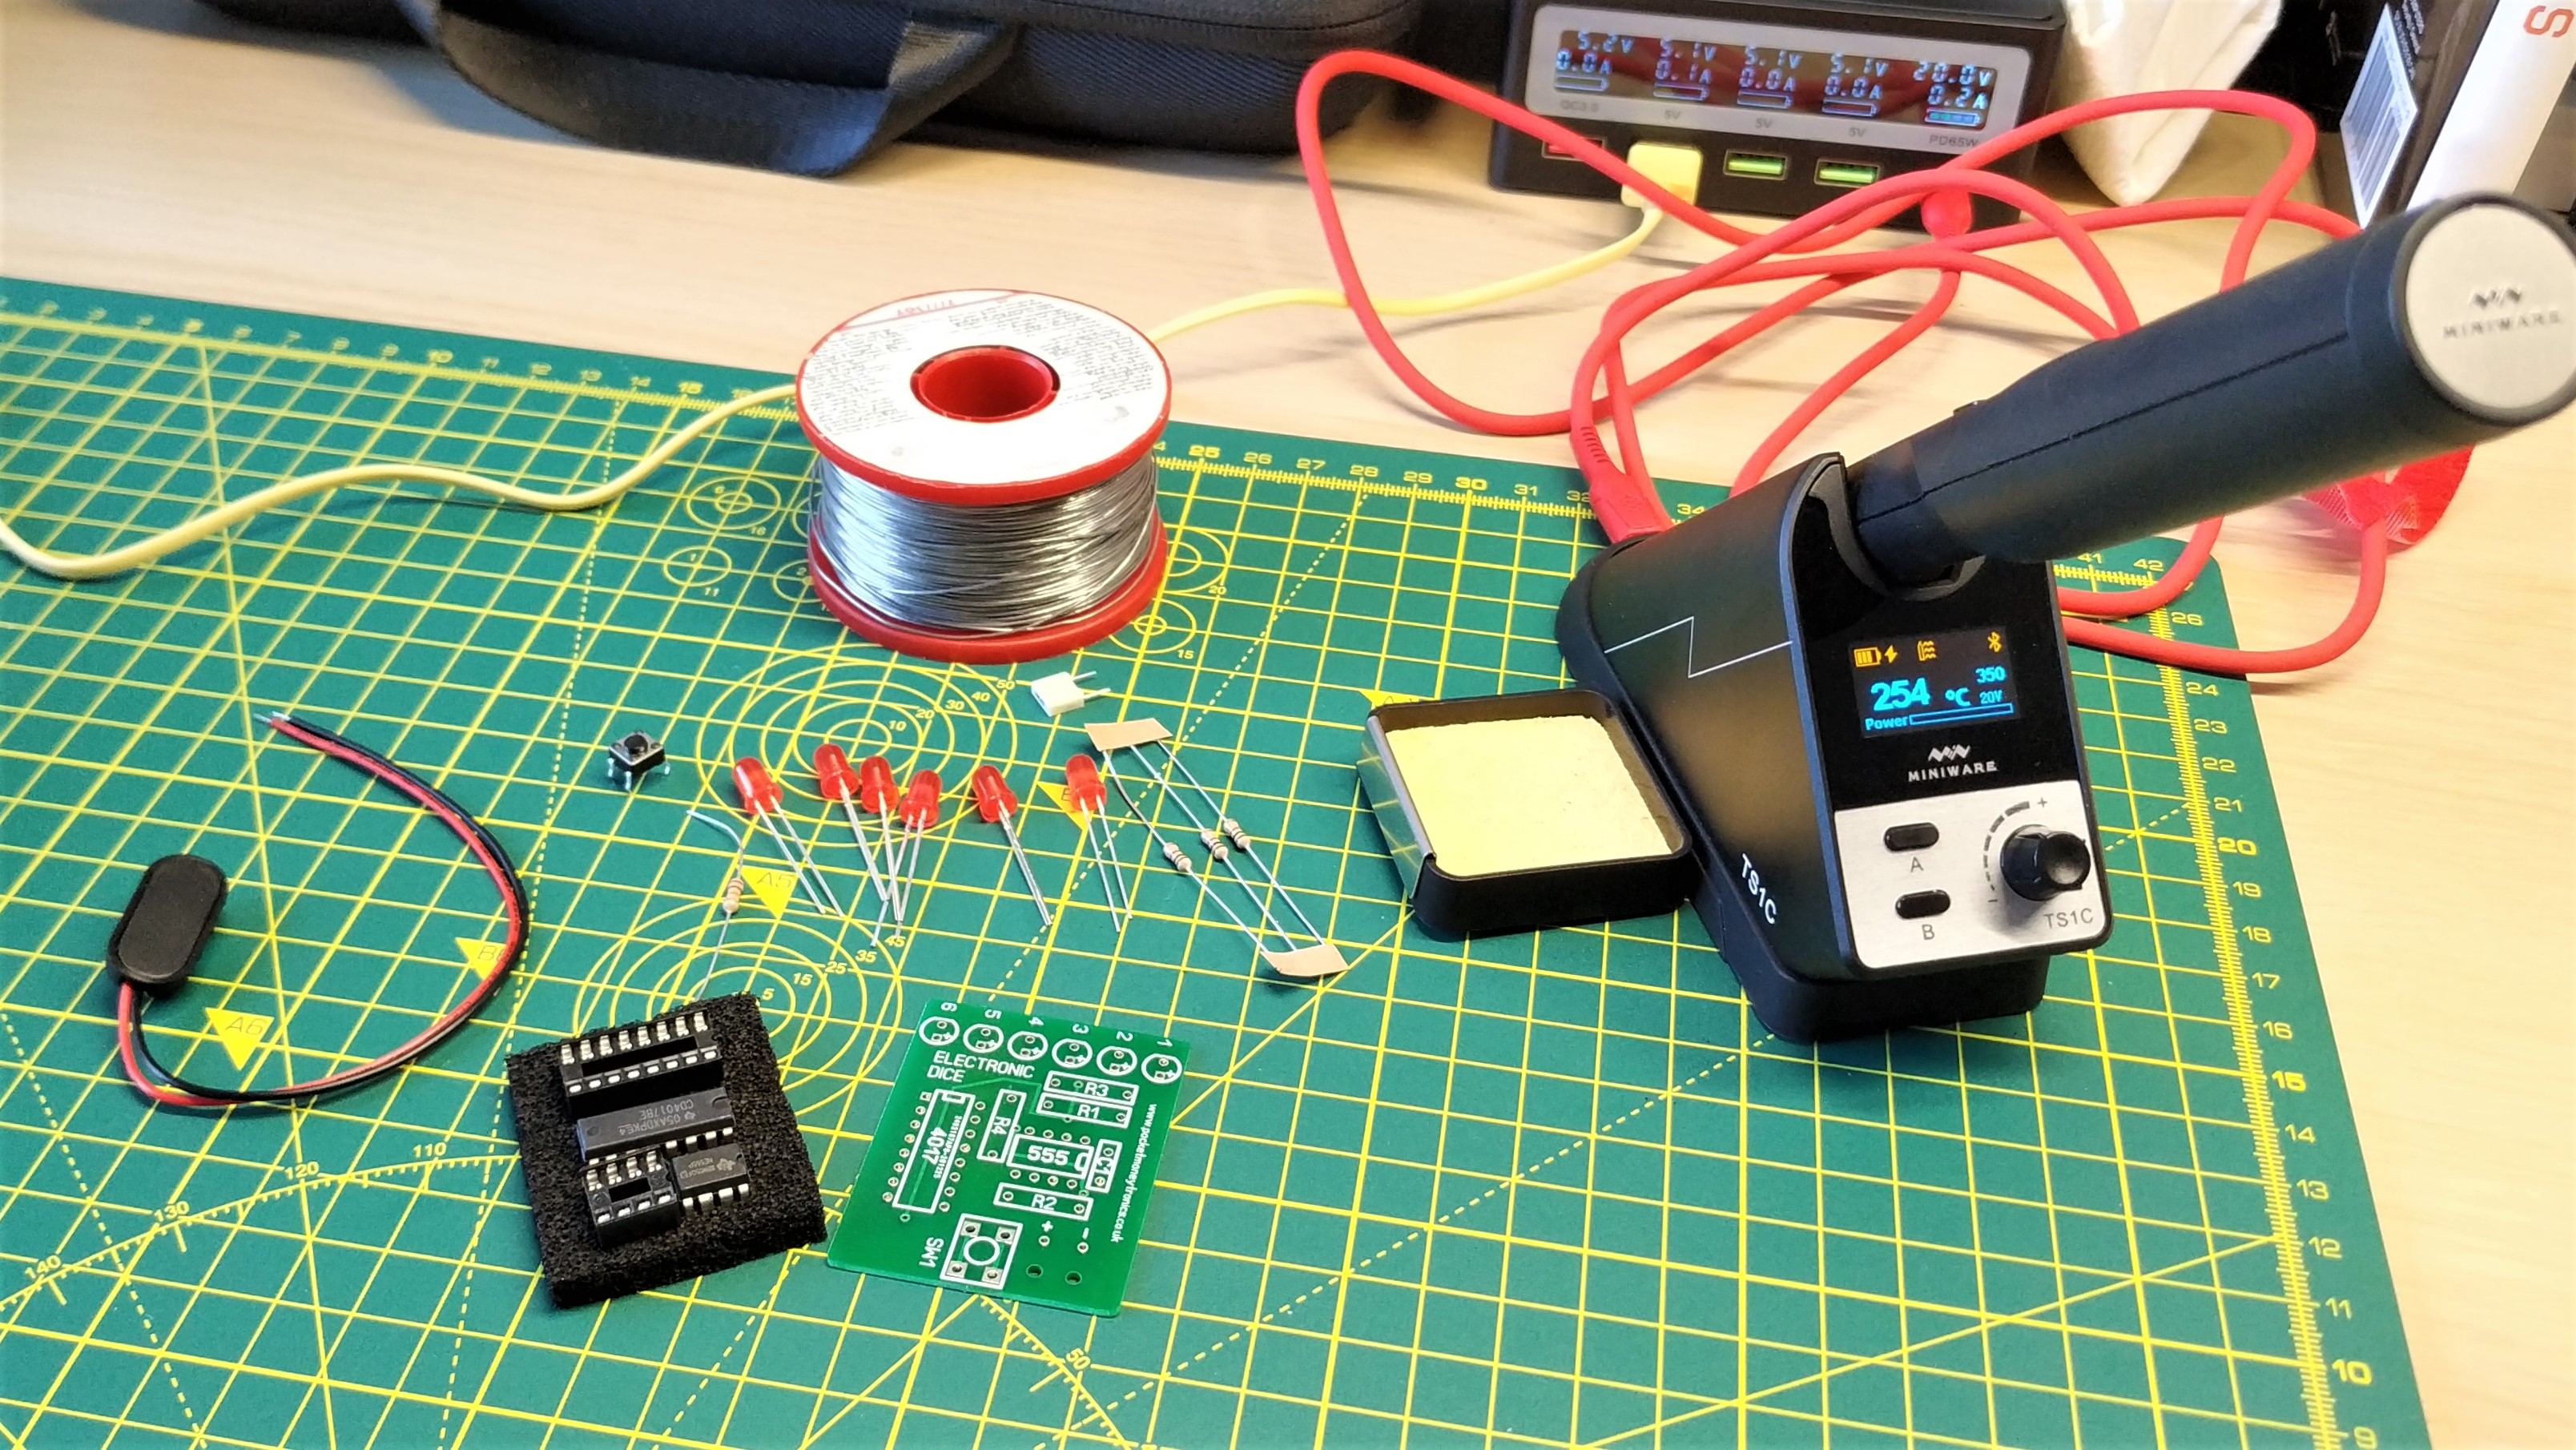
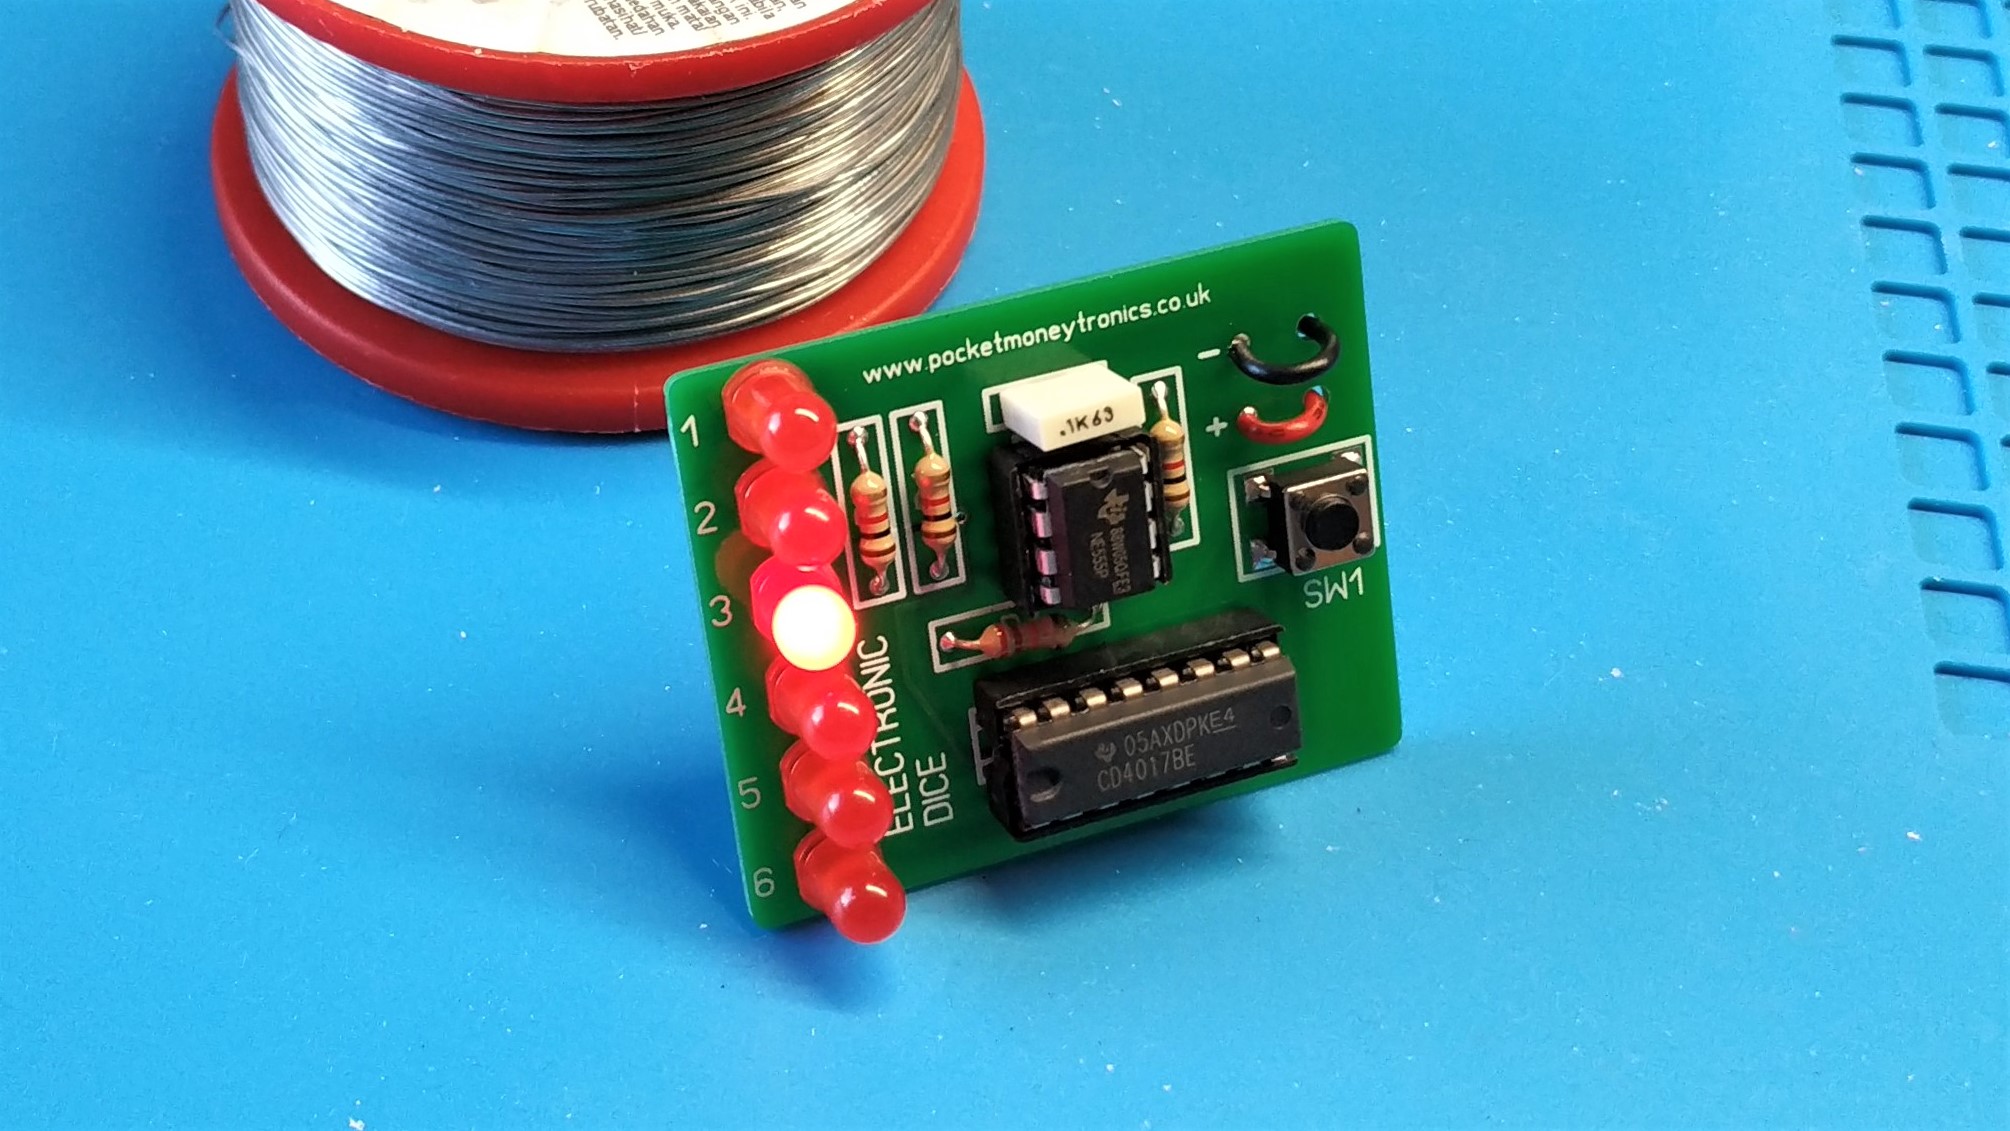
Soldering with the TS1C is sublime. Remove the issues that we’ve already touched upon and let's get down to making something with the TS1C. I was never a fan of the TS-B02 tip used with the TS80Pl; it felt a little weak. But with the TS1C, it is a precise and robust tip. It is capable of some fine soldering, and we tested that by soldering an RC2014 Classic II computer kit. Yes, we made an entire Zilog 80 powered computer from scratch with this iron.
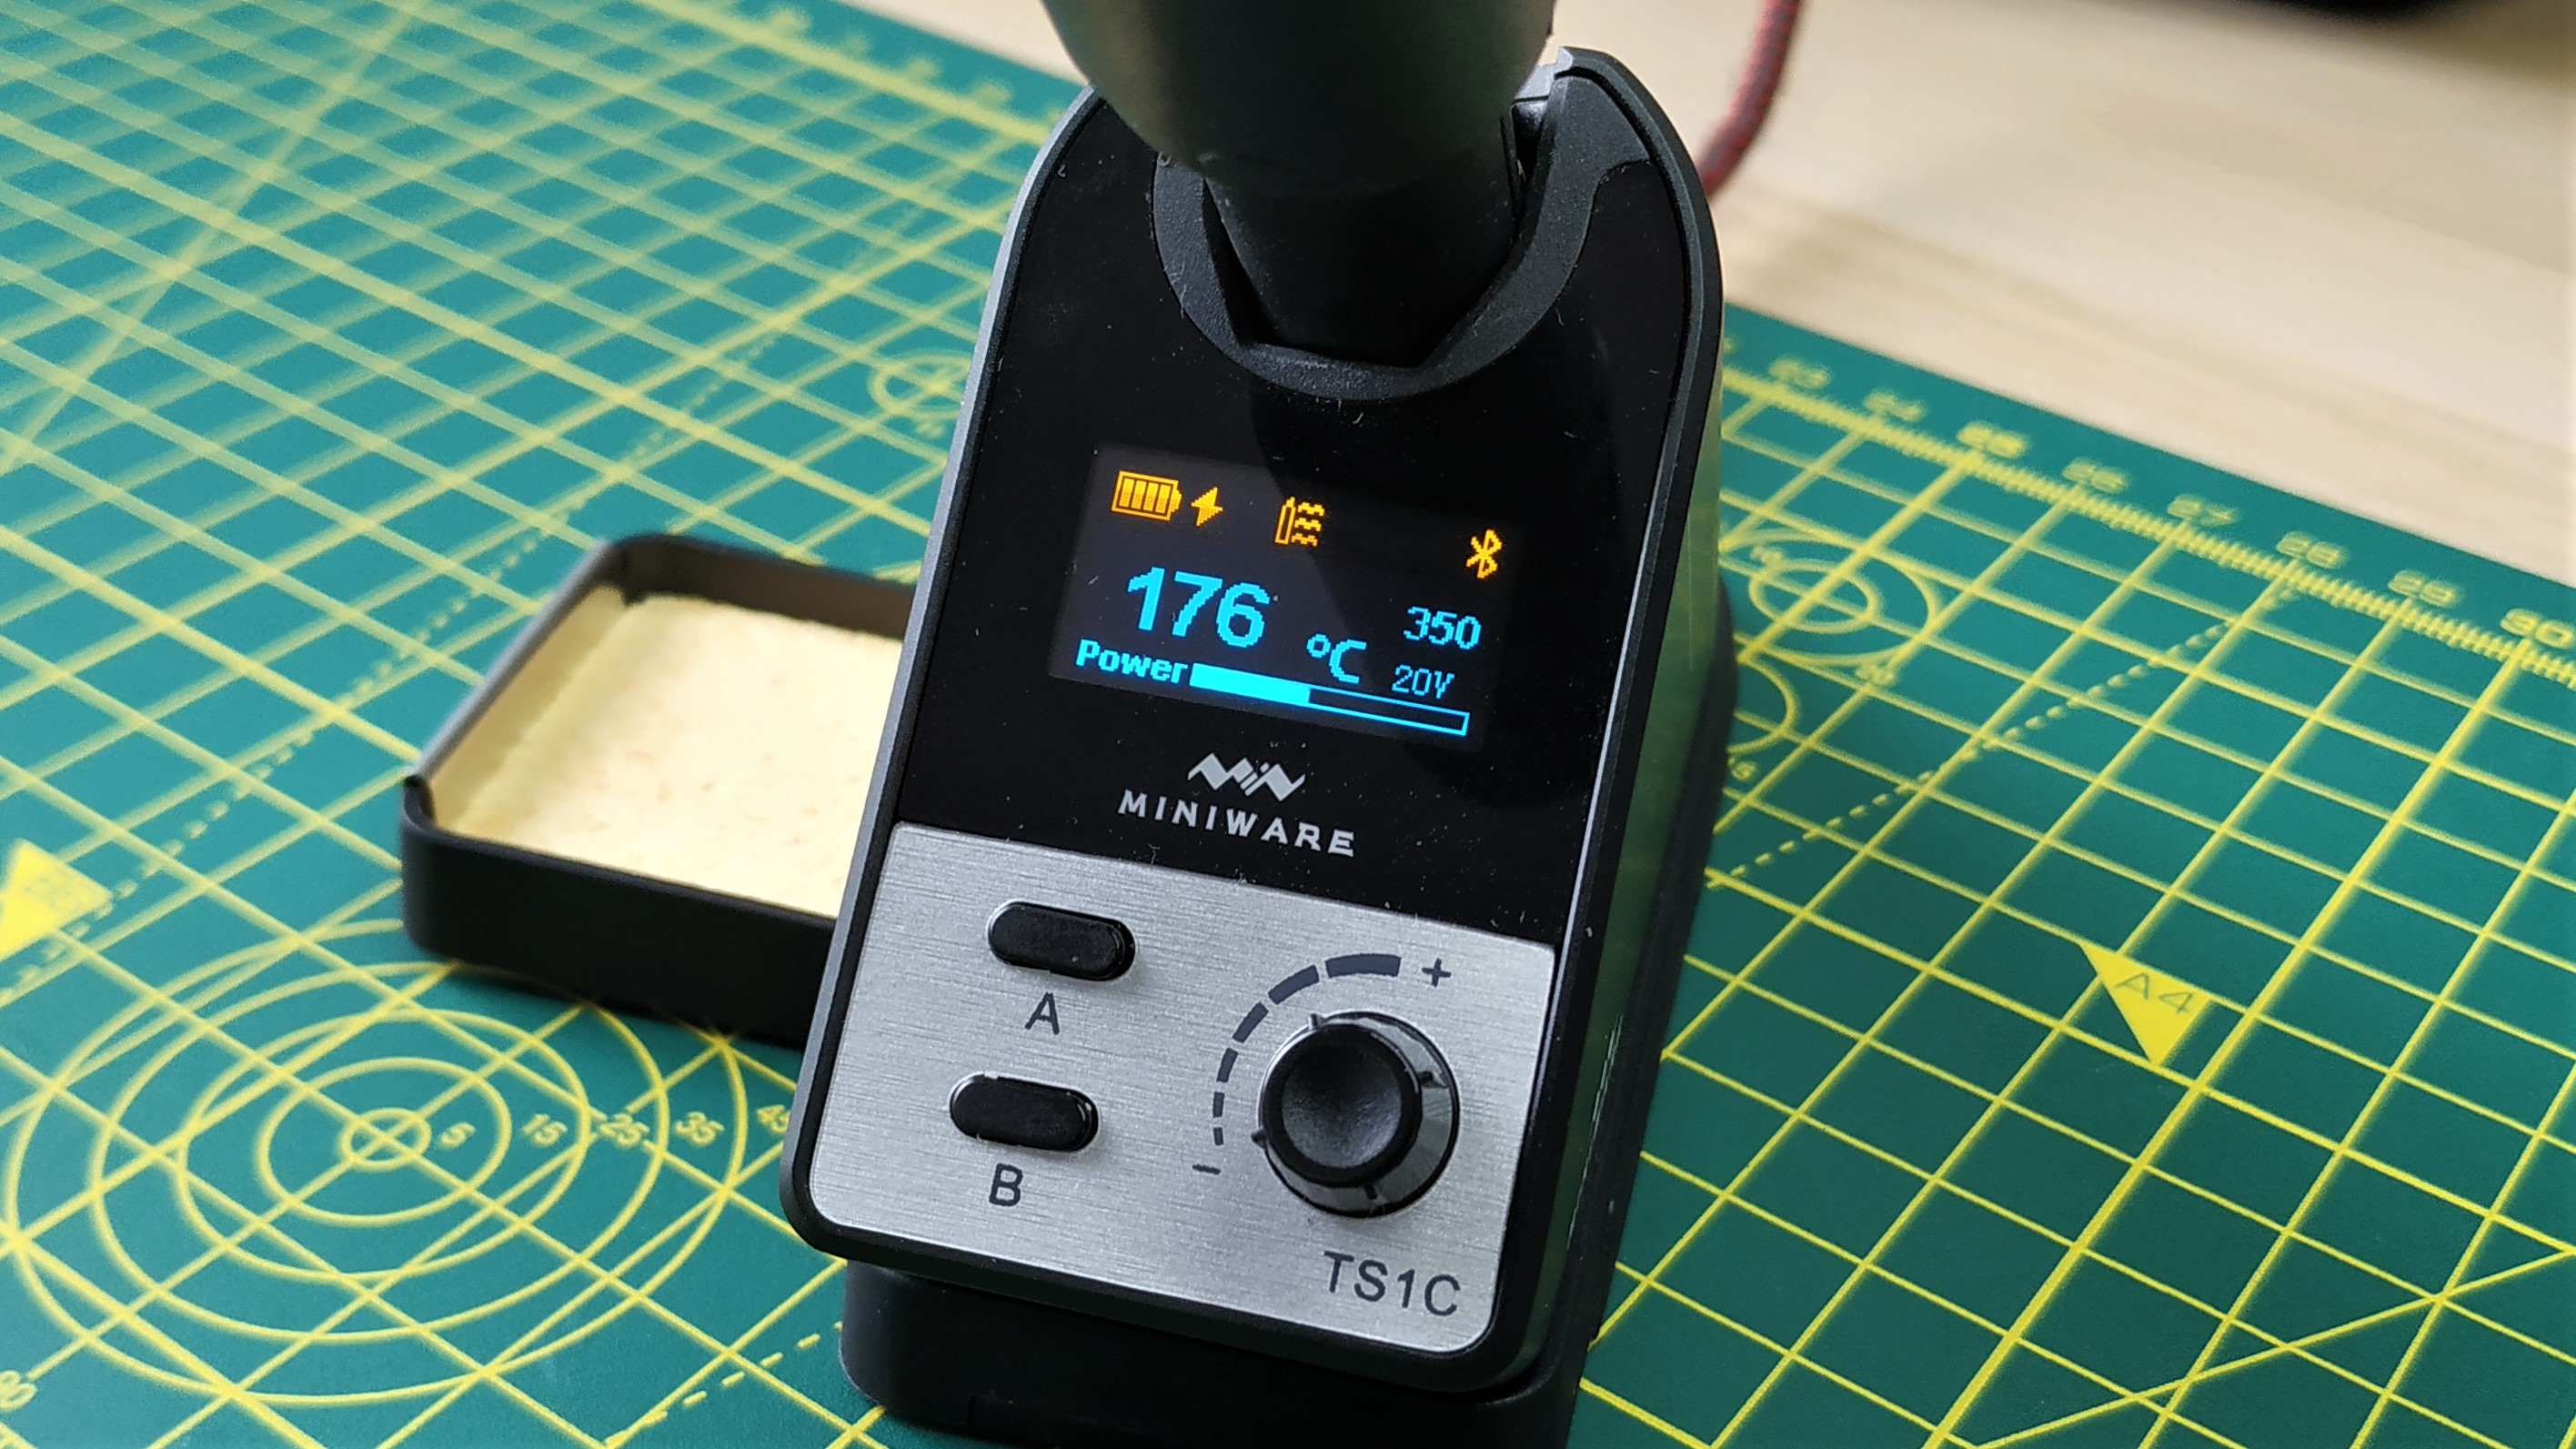
In the station, the soldering iron sat at 250°C, removing the iron and it jumped to 350°C, our preferred working temperature. There were many solder joints, some fine, some large. From a single charge, we managed to solder 80 fine joints before the iron forced us to recharge. This is where the cool bit comes in:. the soldering iron and station can communicate with each other via Bluetooth.
The station shows live temperature and power status. When we push the soldering iron to its limits, we get an audible beep and a flashing warning message before the iron starts to cool. In our tests, we got 80 precision joints before having to recharge.The sales brochure states that it can solder 180 surface mount components (0805 size) from one charge. We don’t have any surface mount parts to test, but 80 through hole components is enough to ensure that we can solder on. Larger joints, with more thermal mass, will drop this number down so your mileage will vary. Speaking of larger joints, if you need a little more heat, press the “boost” button on the soldering iron and it will jump up to 400°C, but it will drain the super capacitor faster.
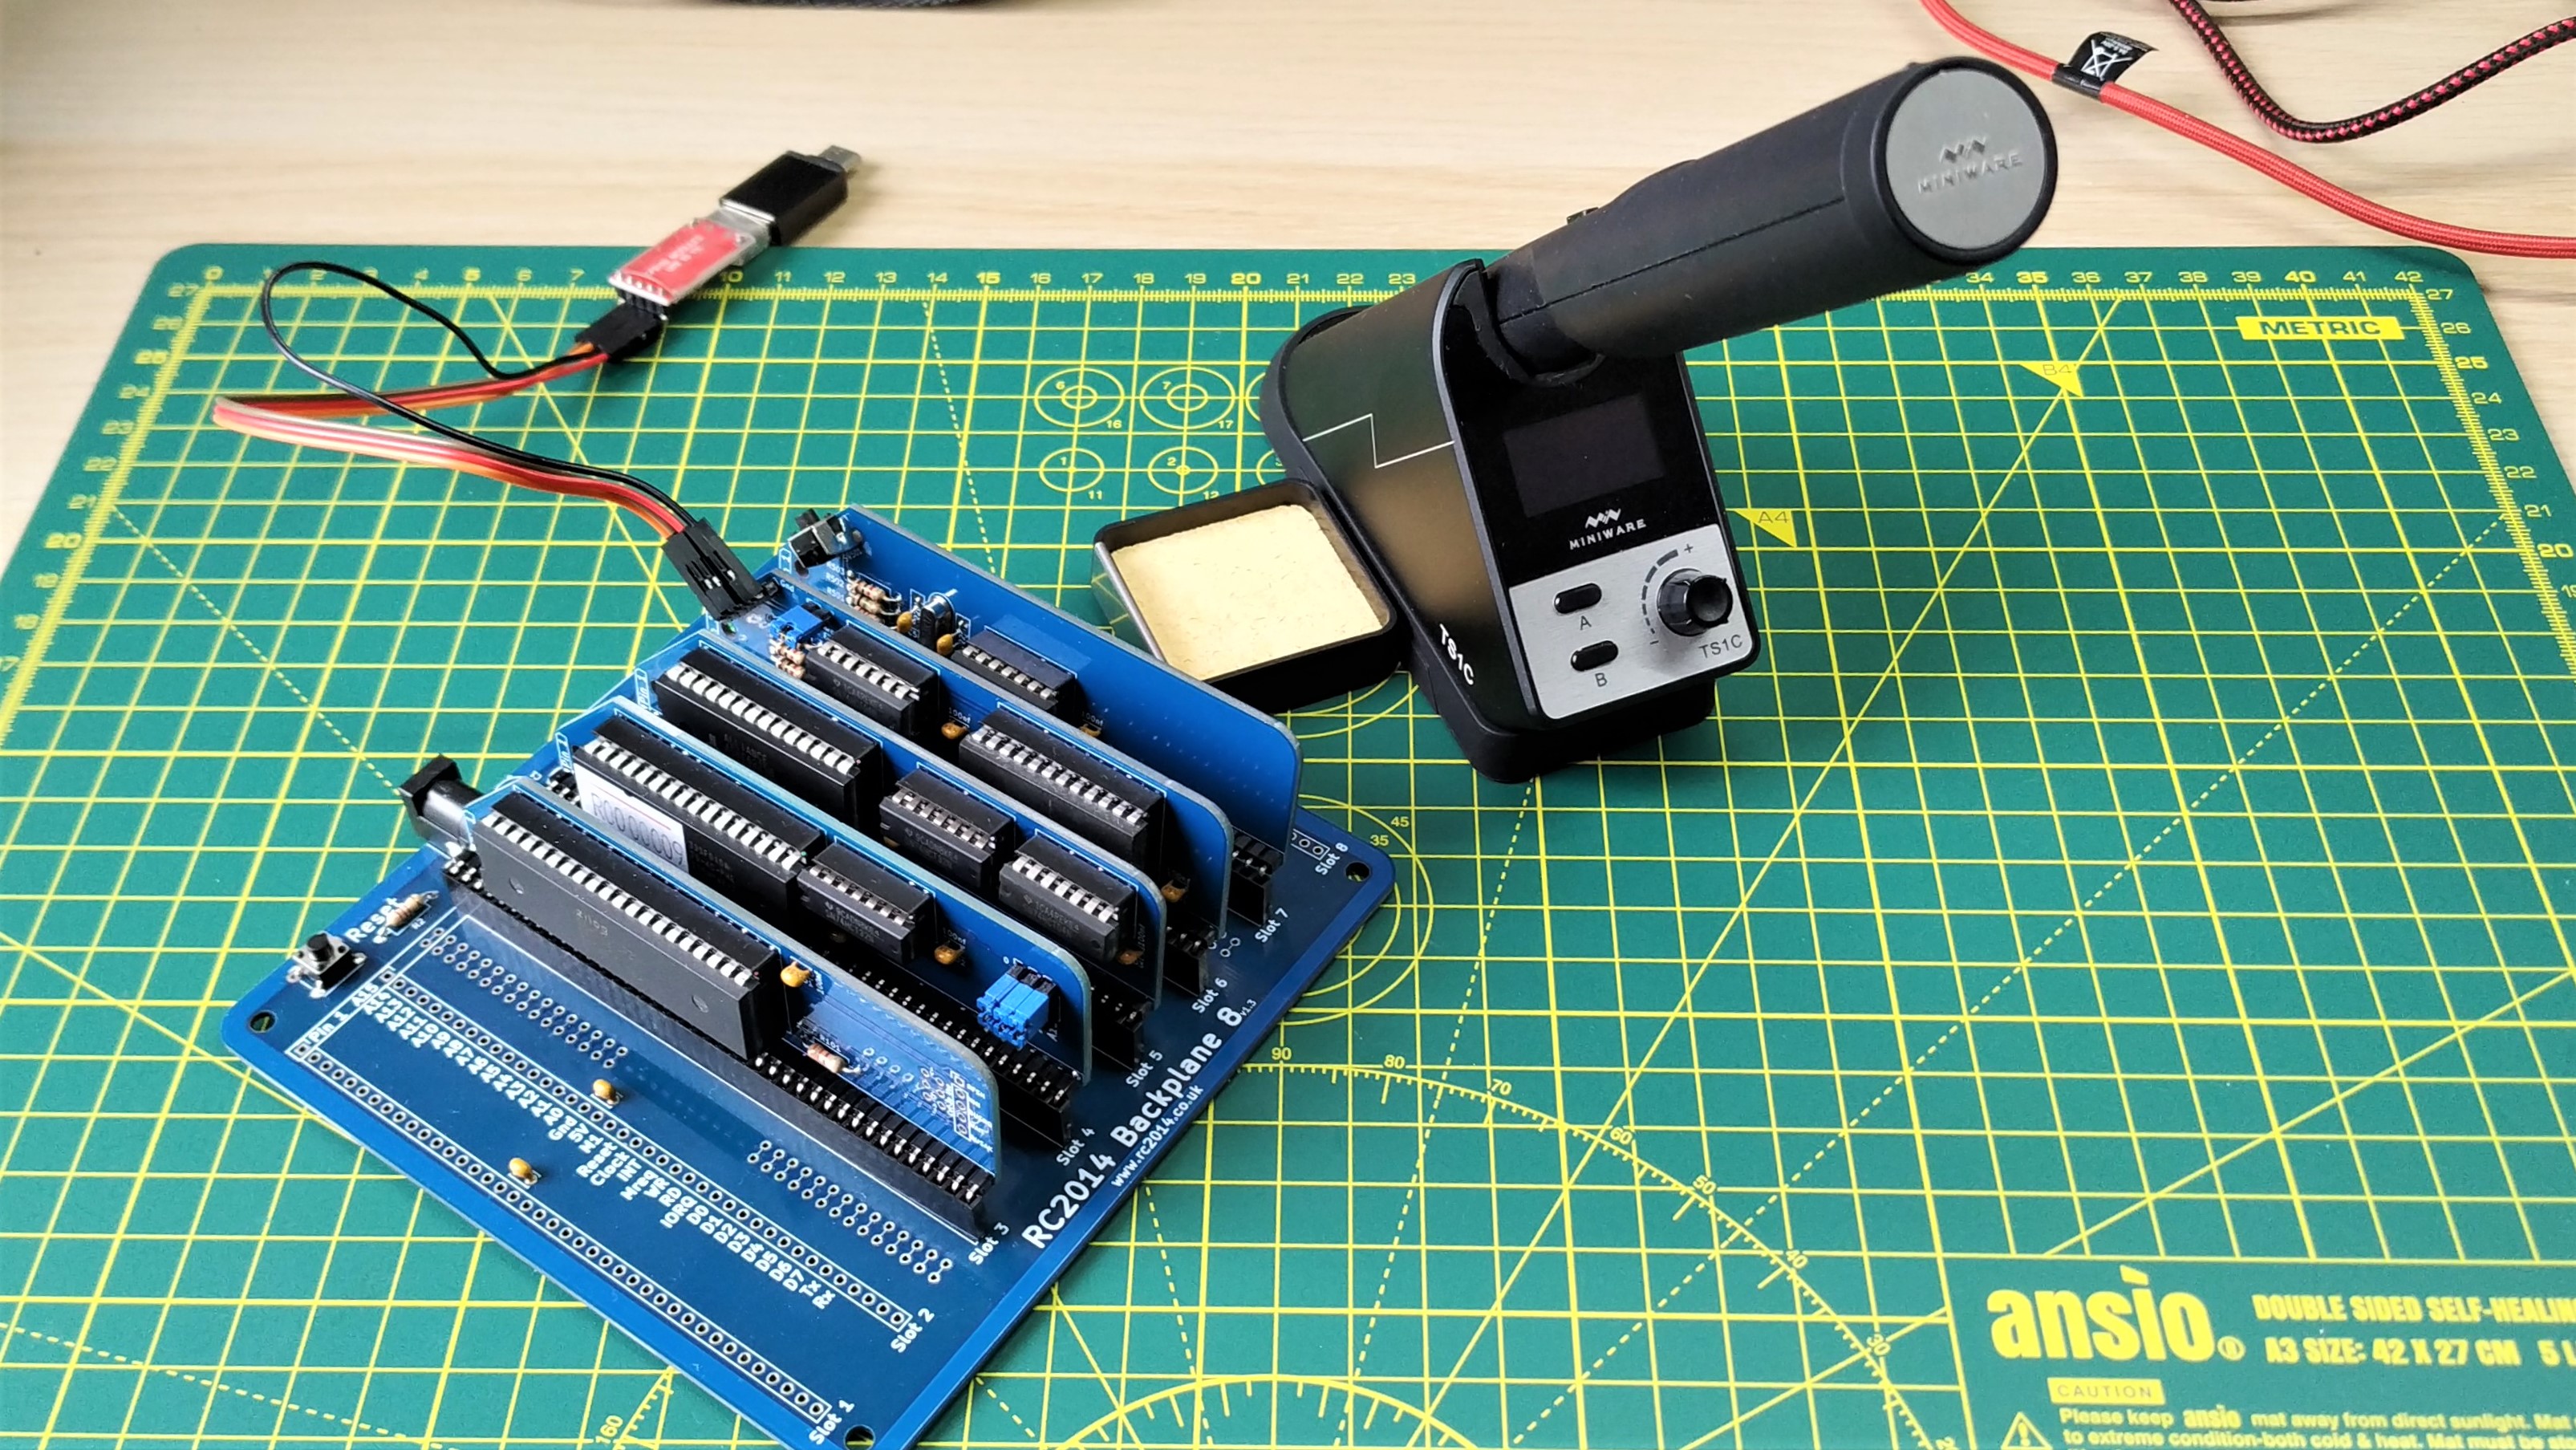
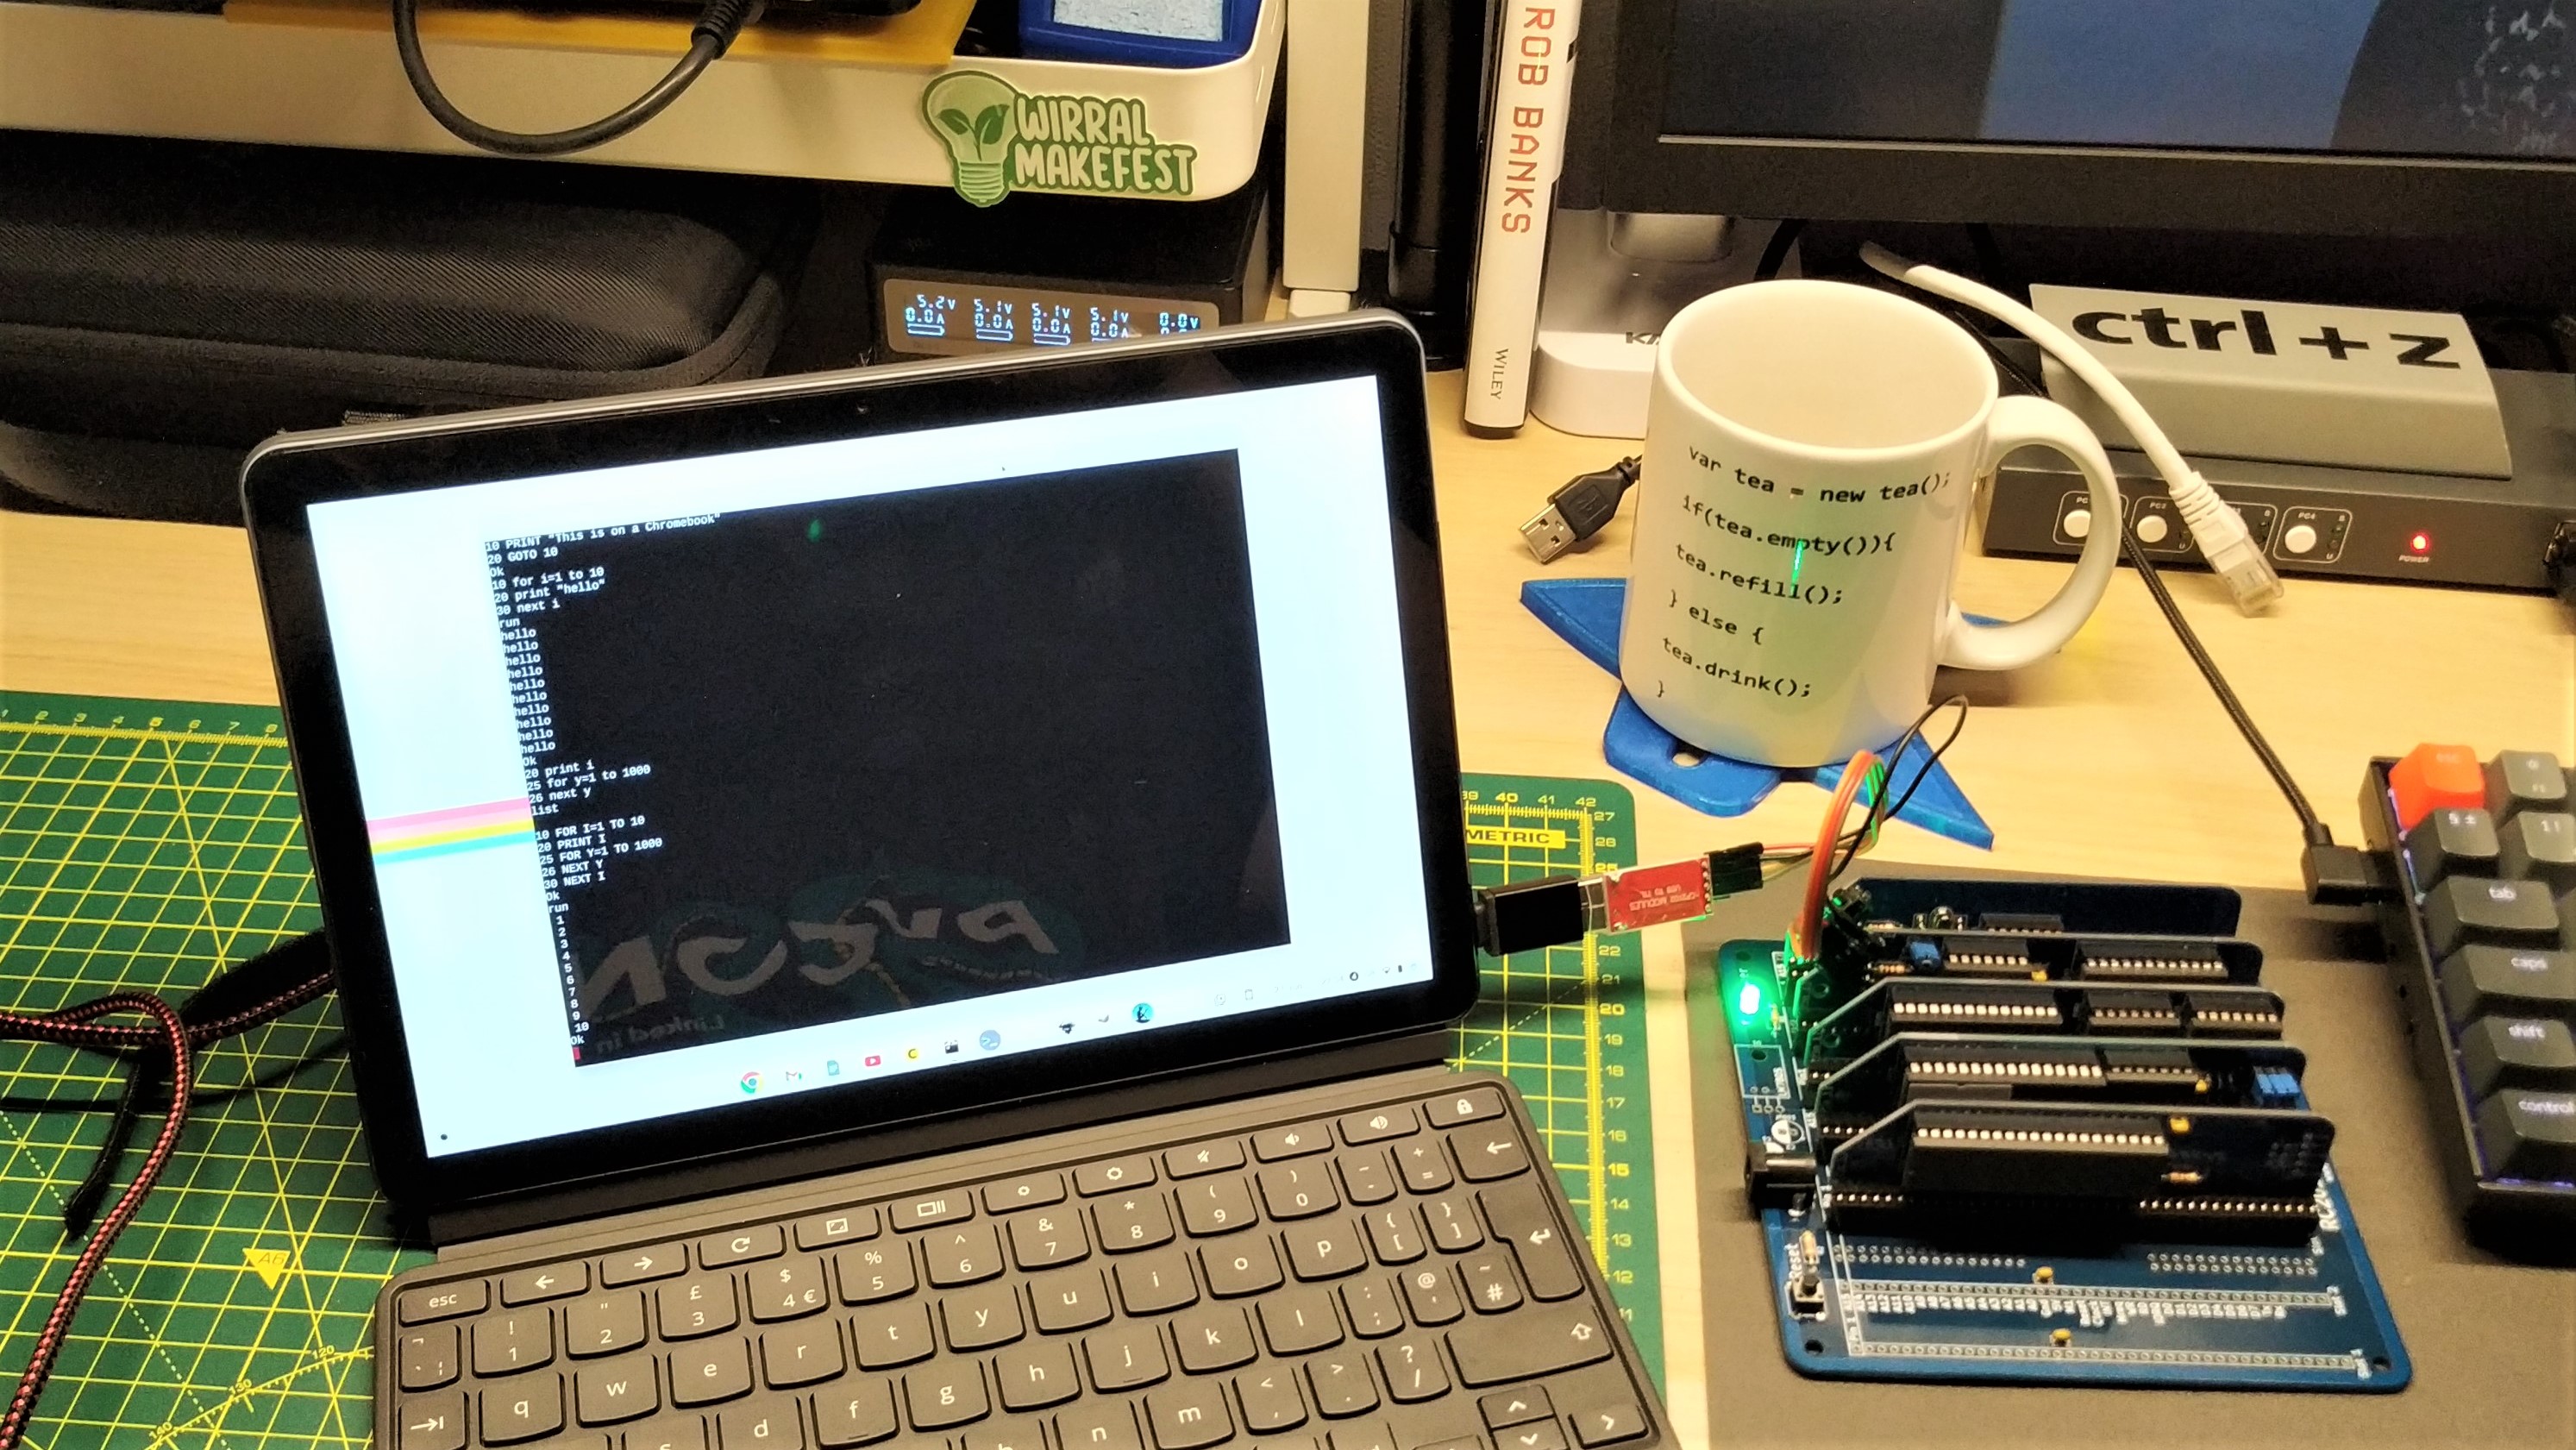
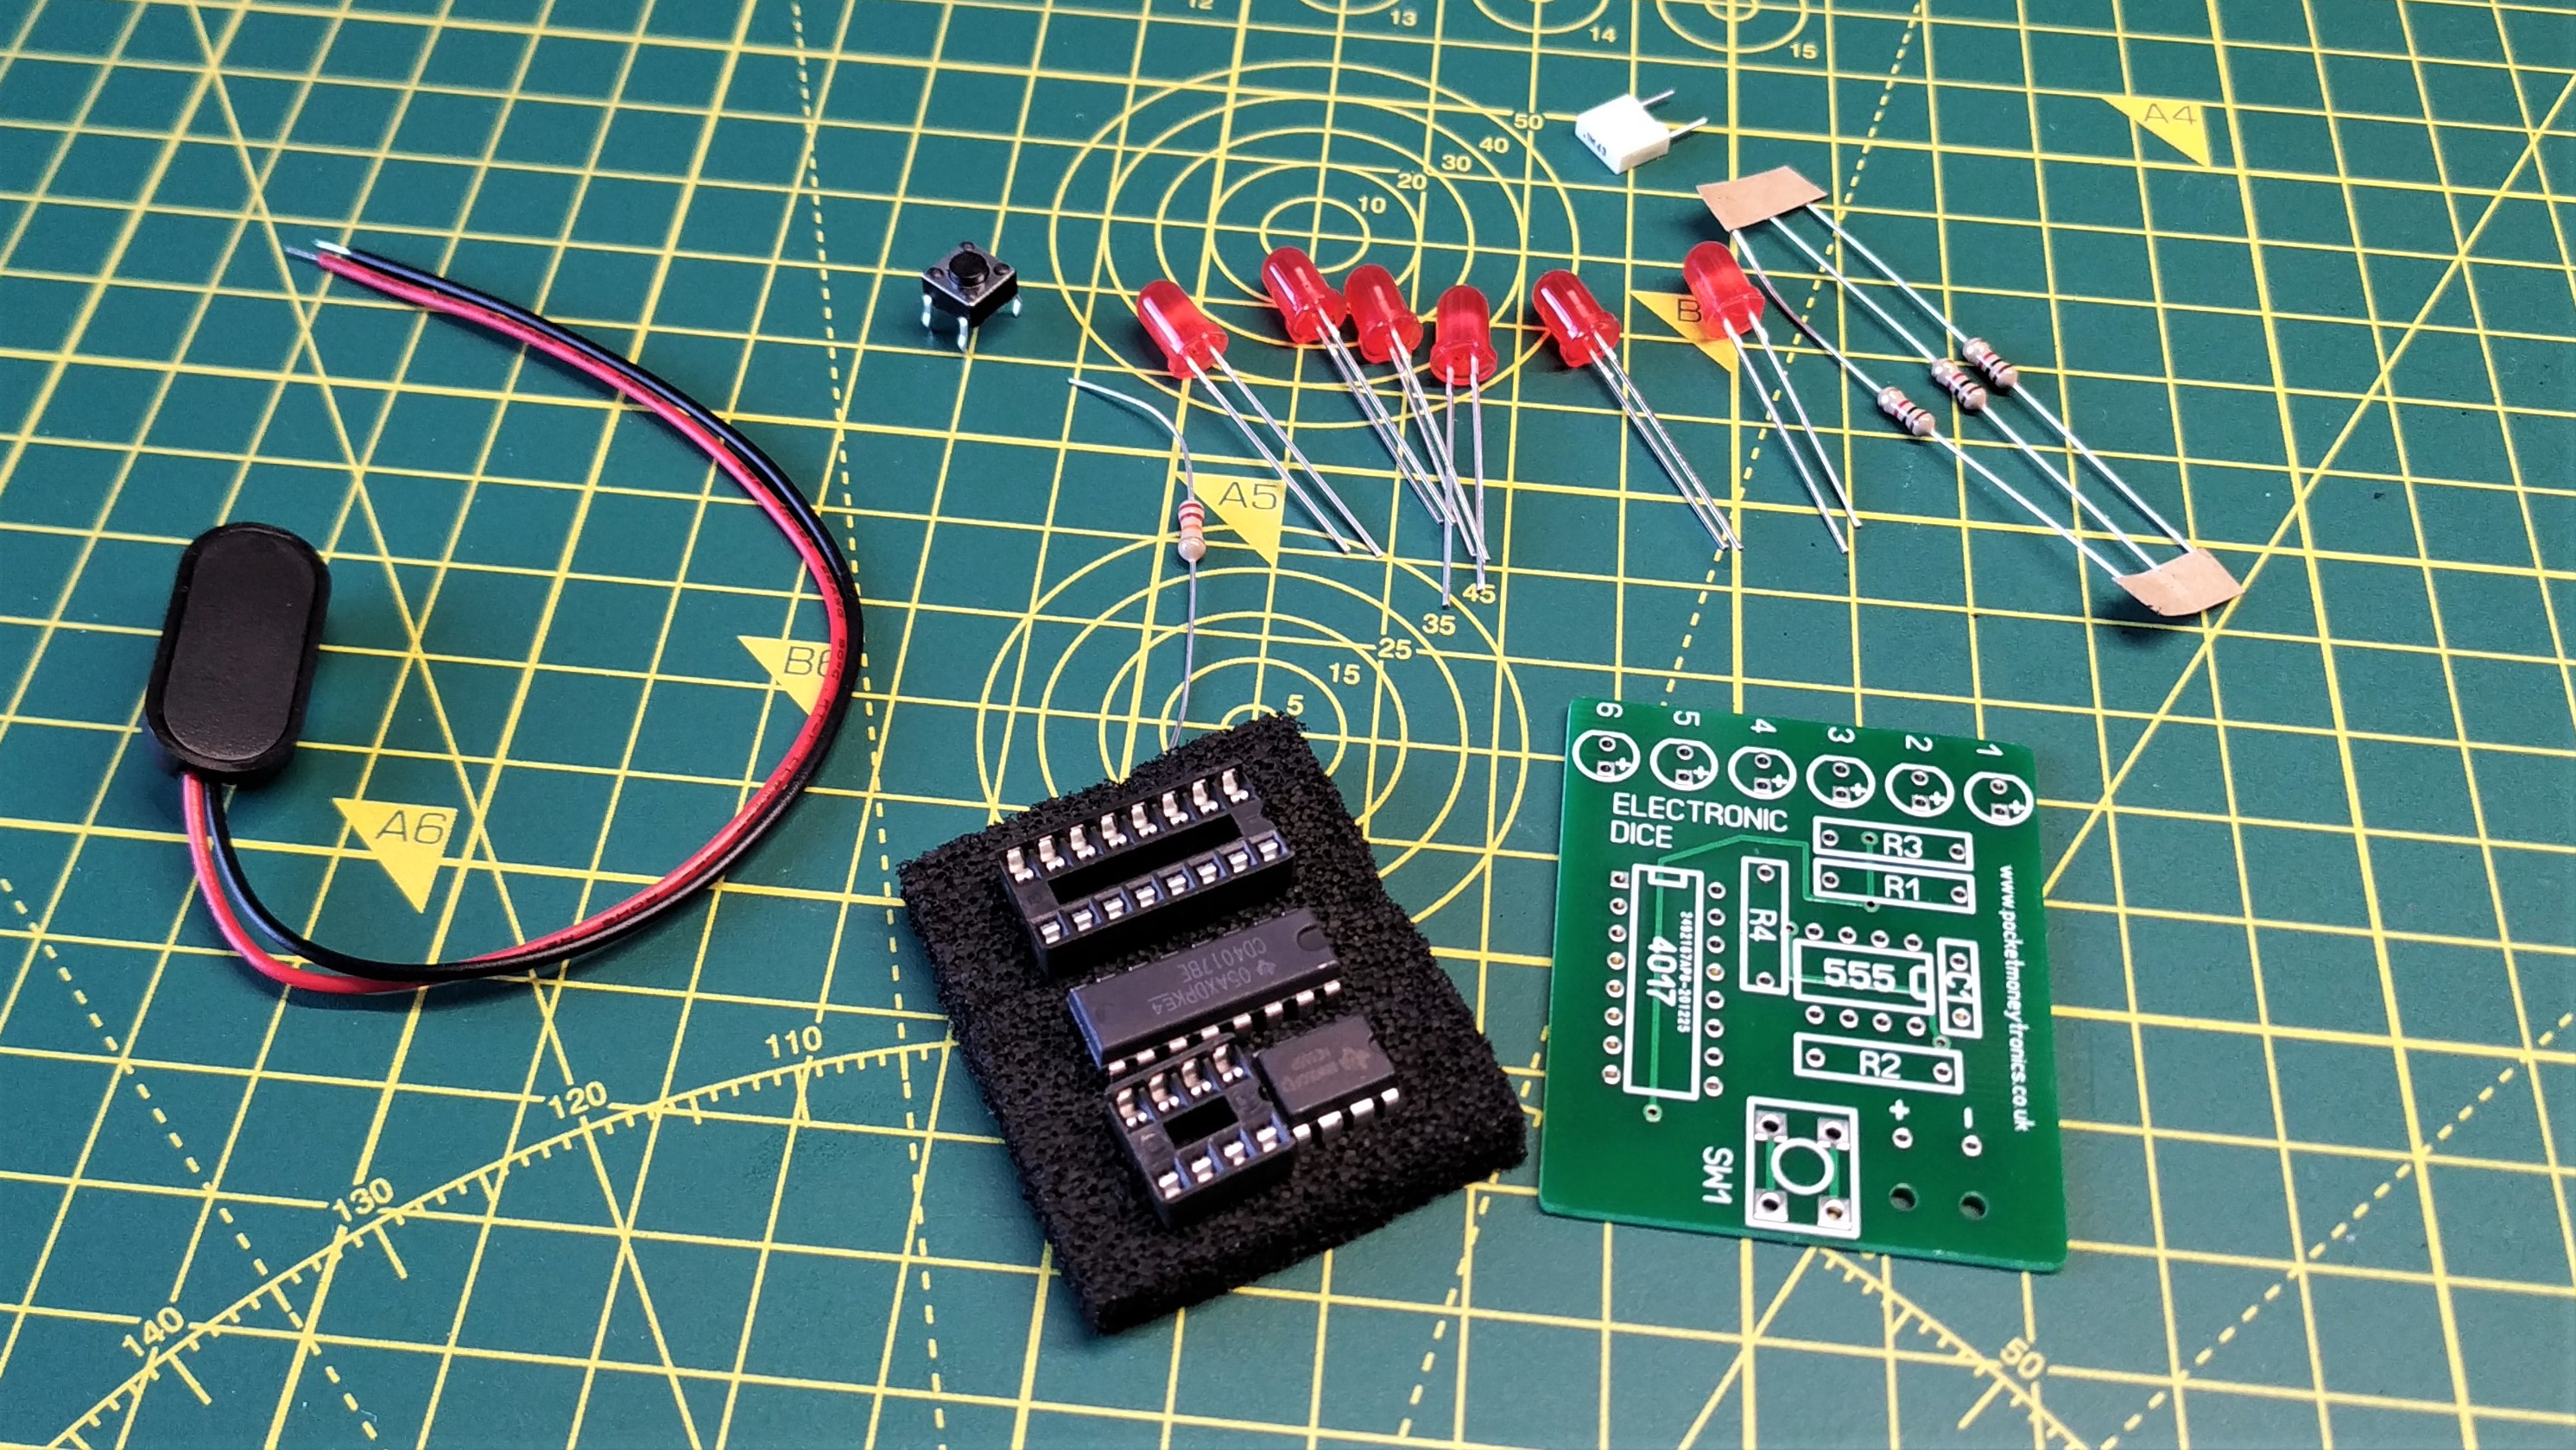
We threw a full Z80 computer kit, some beefy joints from an old Velleman PIC programming kit, and a quick electronic dice kit and the TS1C didn’t skip a beat. It just chugged along soldering everything we threw at it. Sure we can solder 80 - 180 solder joints from one charge, but most makers will solder a few joints, wipe the tip and then replace the iron into the stand, so it isn’t a big issue.
What about changing the soldering temperature when the iron is not in the station? Sure you can do that. The Bluetooth connection is two-way and that means we can turn the dial and adjust our temperature without replacing the iron. Note that a temperature reduction will shorten the soldering time.
Miniware TS1C Software
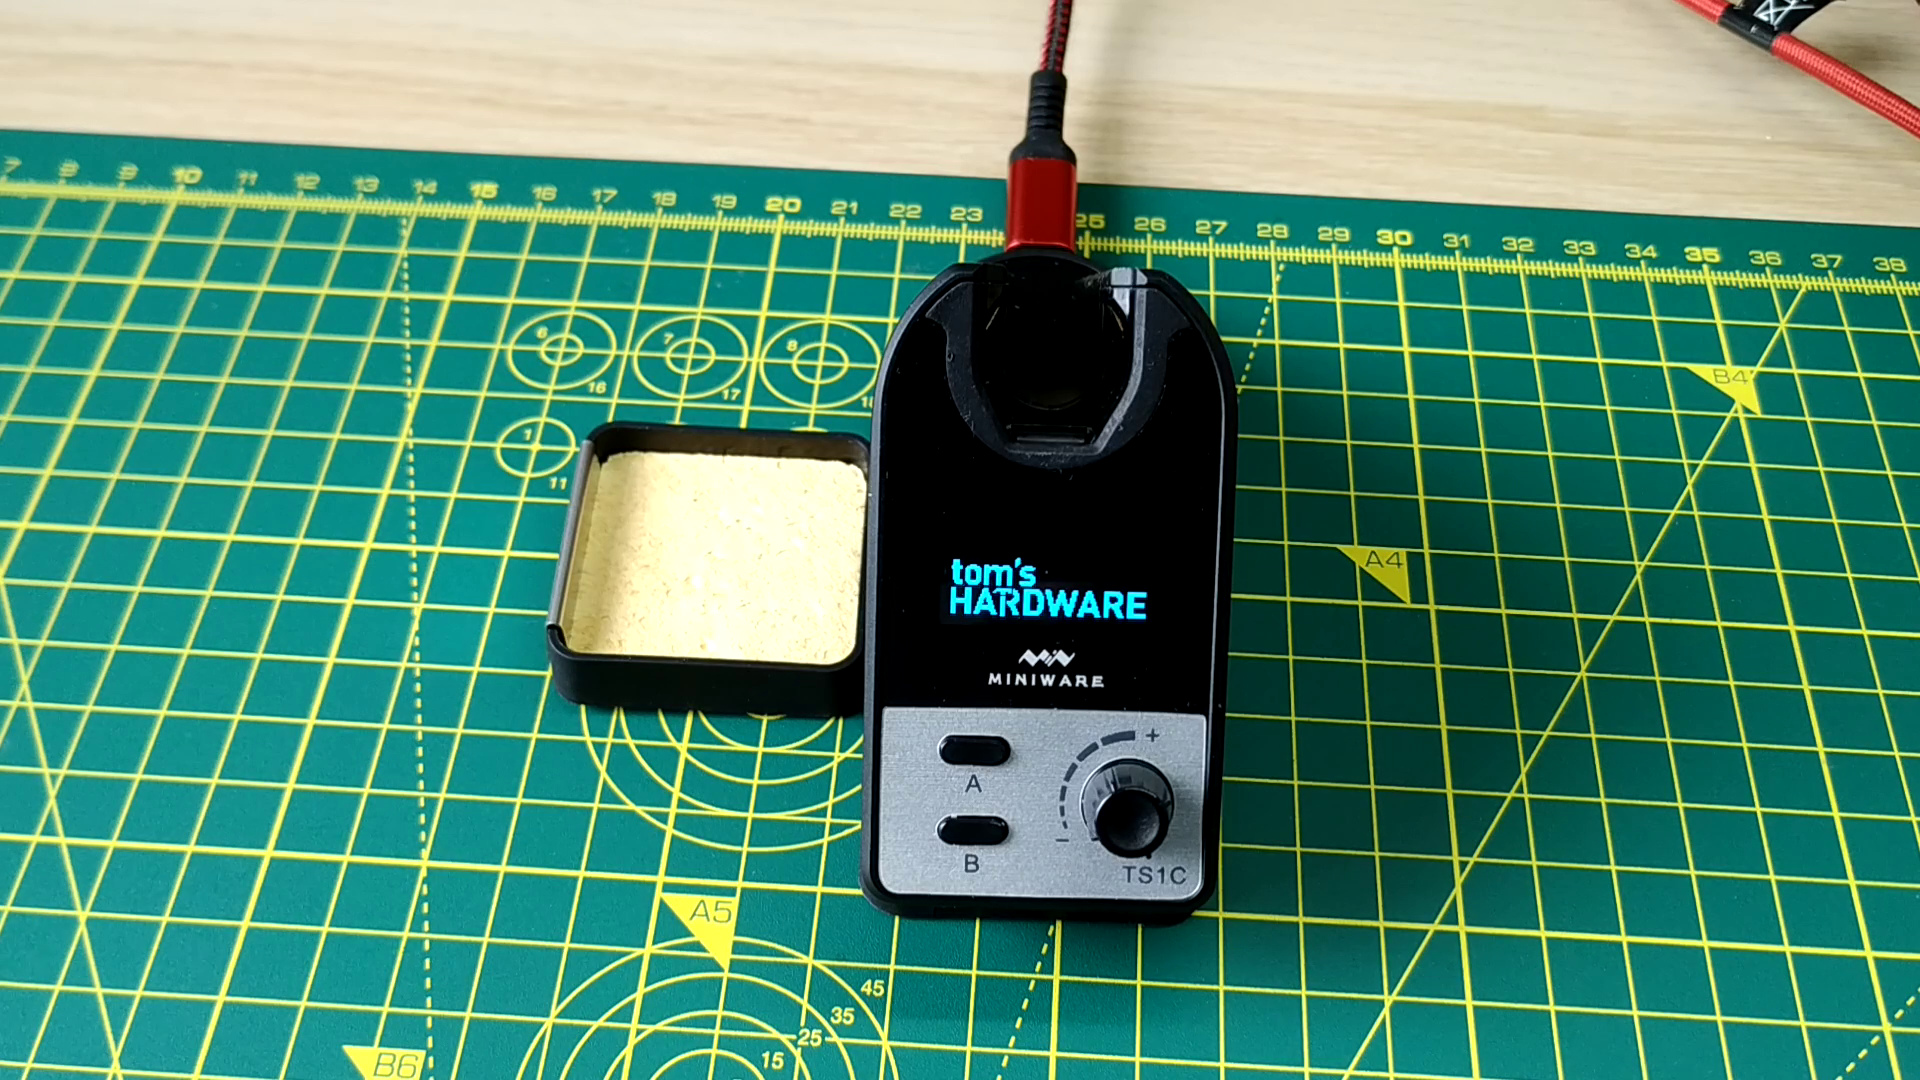
Software for the TS1C requires two firmware files. One for the station and another for the soldering iron. “But where is the USB port for the soldering iron?” we hear you ask. Hidden under a silver Miniware logo disc is a USB C port that we can use to update the firmware. We updated the firmware before we started the review and it was a simple task of plugging in, copying the firmware and then ejecting the drives. Job done, and our TS1C is now a little smarter.
The software also allows us to make our own logo appear on the screen. Save a two color 128 x 64 pixel bitmap (BMP) to the soldering station USB drive and you have your own branded soldering station.
Miniware TS1C Soldering Tips

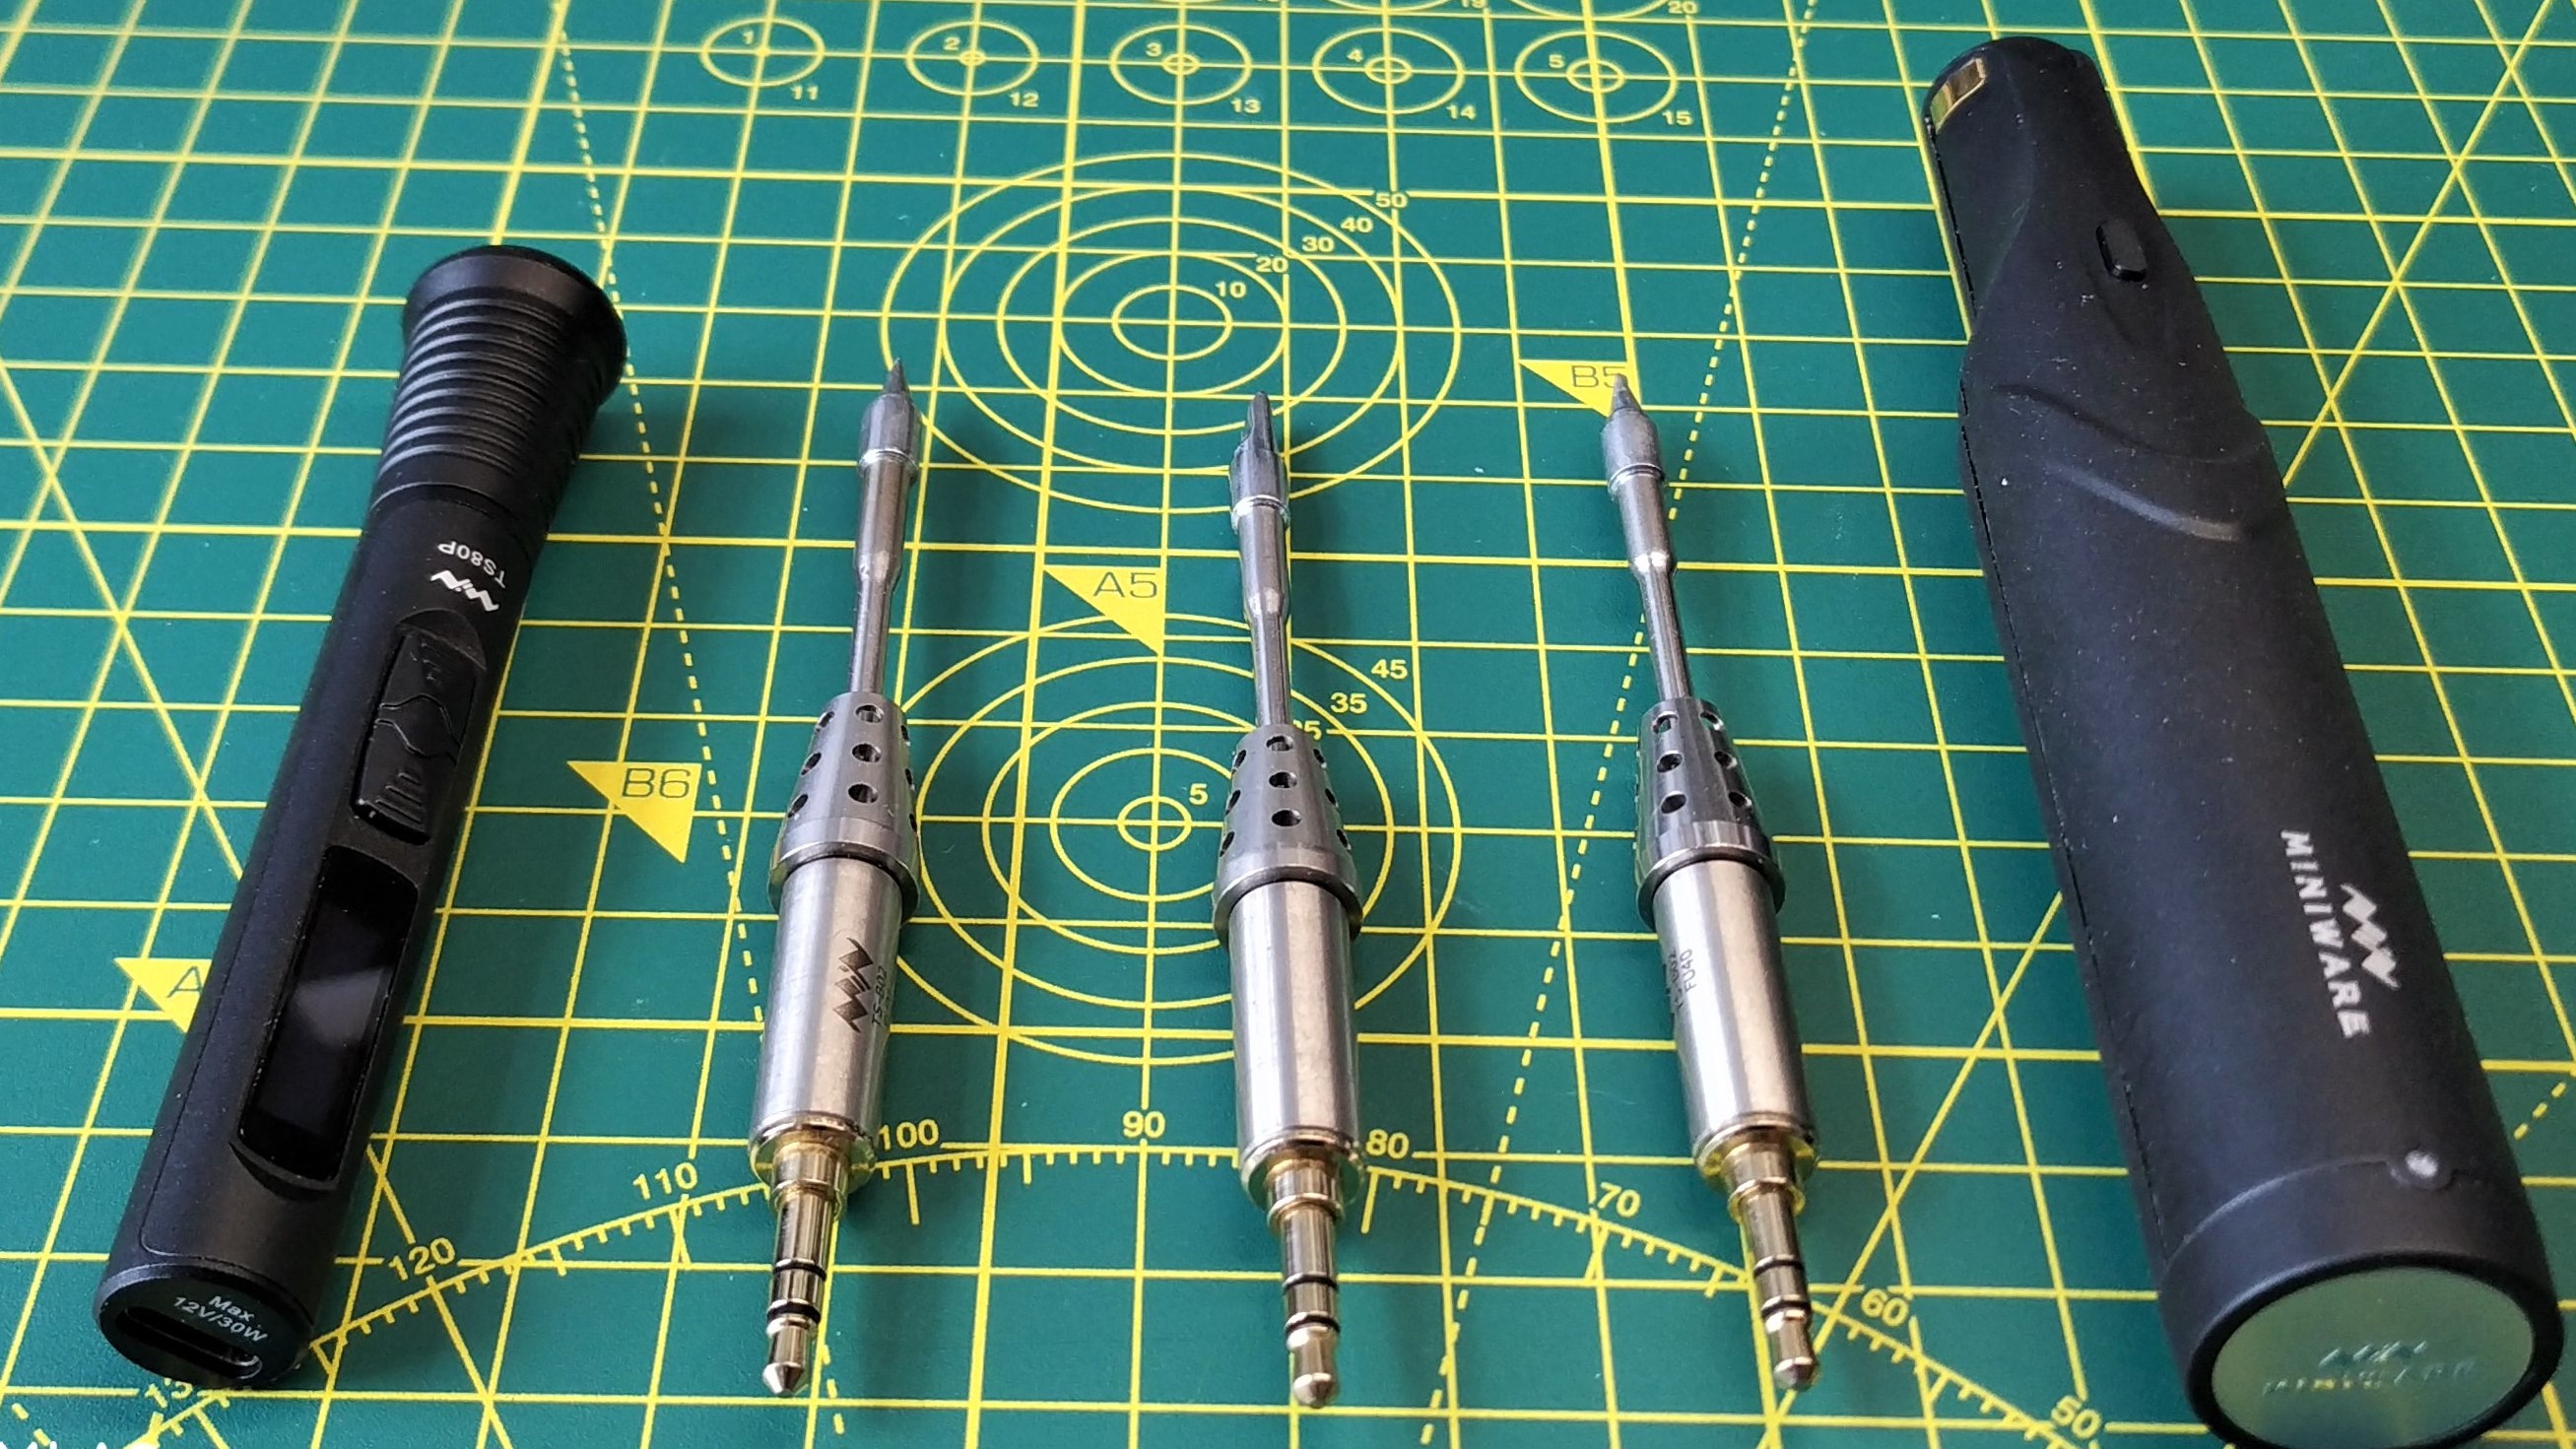
The TS1C is from the same stables as the TS100 and TS101, but it uses the soldering tips designed for the TS80P. What’s the difference? Well the former are more typical, using friction to provide a connection. The TS80P and the TS1C use a TRS (Tip, Ring Sleeve) more commonly used for 3.5mm headphone jacks.
This connection is robust and easy to use, but it does limit the number of available tips.That said, we used two tips, the default conical TS-B02 and a chisel tip TS-K4 and that performed all of the tasks that we set it. Changing tips, obviously when the iron is cold, is a simple matter of pulling the soldering tip out, then replacing it. But we kind of miss the ejection system used in the TS80P.
Bottom Line: Who is the Miniware TS1C For?

For $125, the TS1C is an expensive soldering station. The big draw is the cordless nature of the product. It is truly wonderful to not have to worry about a trailing cable across your project / desk. But, is that enough for $125? Well that depends on how much you value freedom. For the same price, we can get a well specced soldering and hot air rework station. It may not be smart, and it will have cables, but it will get the job done, and much more.
If you need a small soldering station that runs from USB-C, then the TS1C is a great soldering iron. It handles well and will make short work of the task at hand. The premium price tag is an early adopter tax for the super capacitor technology.
Don’t get us wrong, this is a great soldering iron, but $125 is a little hard to swallow, especially given the pedigree of Miniware’s previous smart soldering irons. If you want a smart soldering iron on the go, then the Fnirsi HS-01, Pine64 Pinecil V2 and Miniware’s TS101 are all great alternatives that do the same work as the TS1C.
Our time with the TS1C was great and we love the speed at which we can work and the quality of the solder joints. We just wish the price was a little lower.


