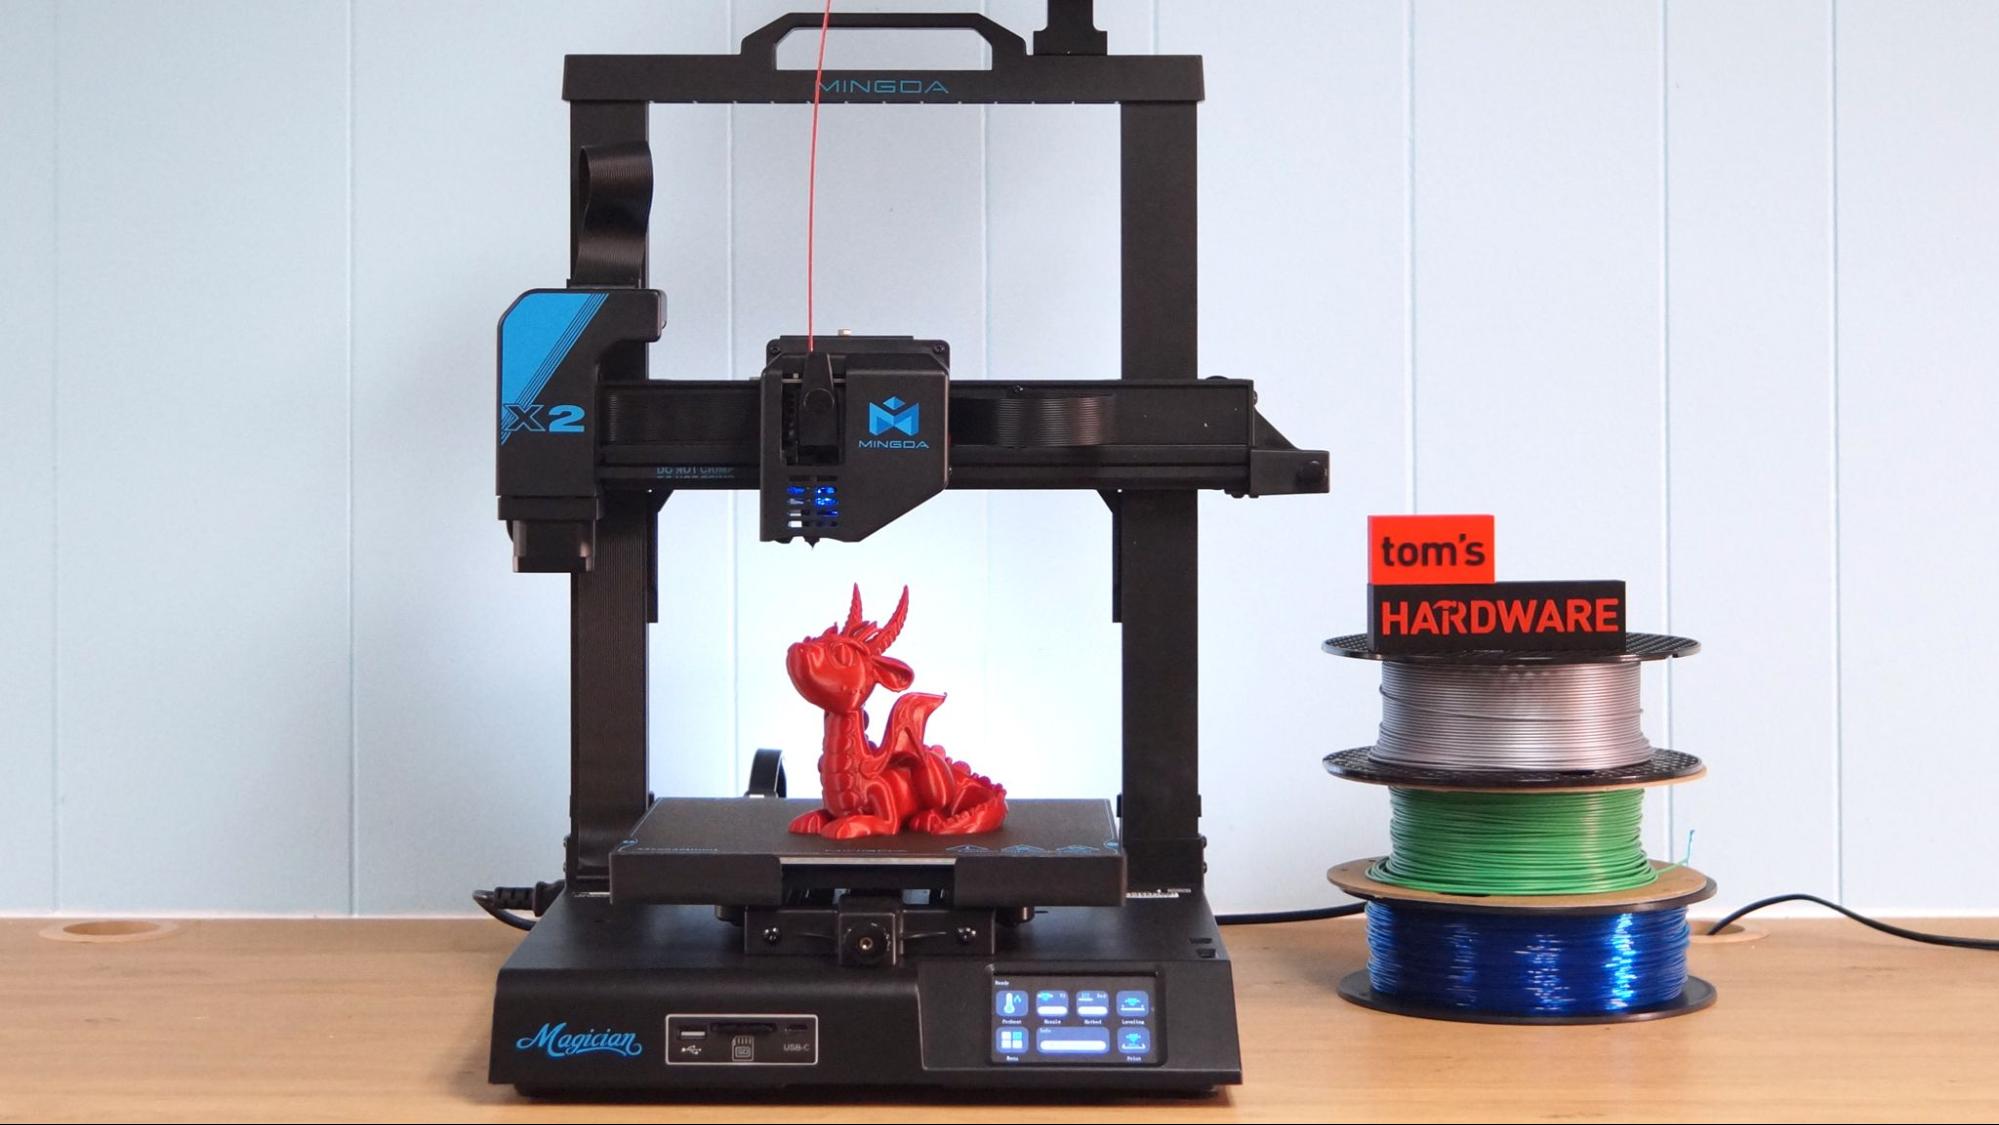
I was excited to see Mingda’s sequel to the Magician X, a printer I absolutely adored last year. The Magician X2 fixed a few rookie flaws and now sports a PEI coated flex plate for easy print removal, more cooling and easier to maintain parts.
It still has the things I really liked, such as a full sized SD card and the option to use a USB stick for file transfers, plus a simple menu layout and wonderfully grippy dual extruder. The X2 got a fashionable makeover, with a snazzy blue logo and glowing LED light that doubles as a heat gauge.
The one area where Mingda miscalculated was the growing trend of faster printers. The Magician X2 prints fantastically, but at the same stately pace of last year’s machines. Is that a flaw? Perhaps not, but if you’re interested in the new breed of speedsters, the Magician is far from magical. It’s still a really good option for beginners learning the craft, but falls a bit short compared to the best 3D printers.
Specifications: Mingda Magician X2
Mingda Magician X2: Included in the box
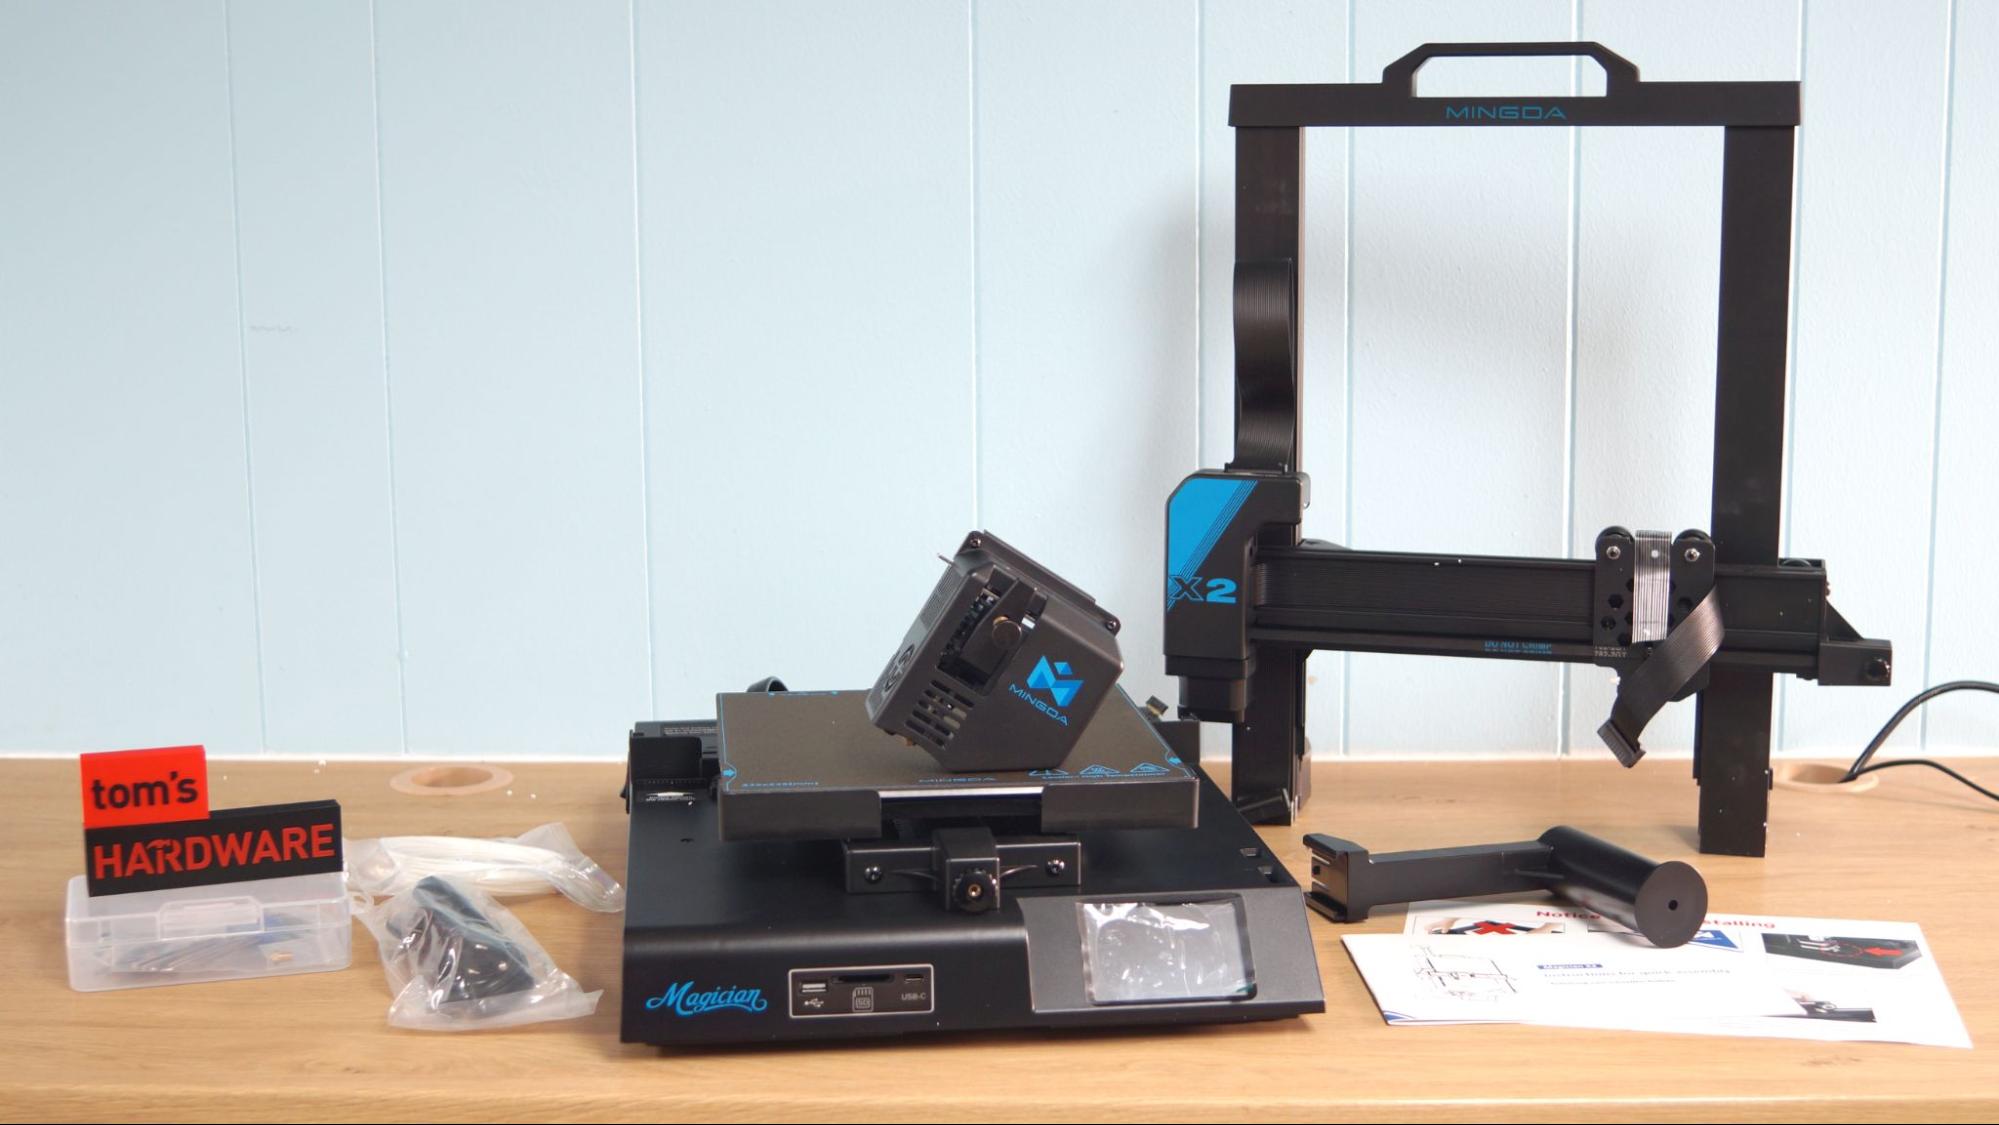
The Magician X comes with tools you need to get your printer set up. There’s also a spare nozzle, an extra piece of Teflon tube, a plastic tool box and a full sized SD card. There’s a small sample of white PLA to print your first model.
The SD card has a PDF copy of the manual, a copy of Cura and pre-sliced .gcode test files.
The printer does not come with snips to cut filament, but these are easily found at your local hardware store.
Design of the Mingda Magician X2
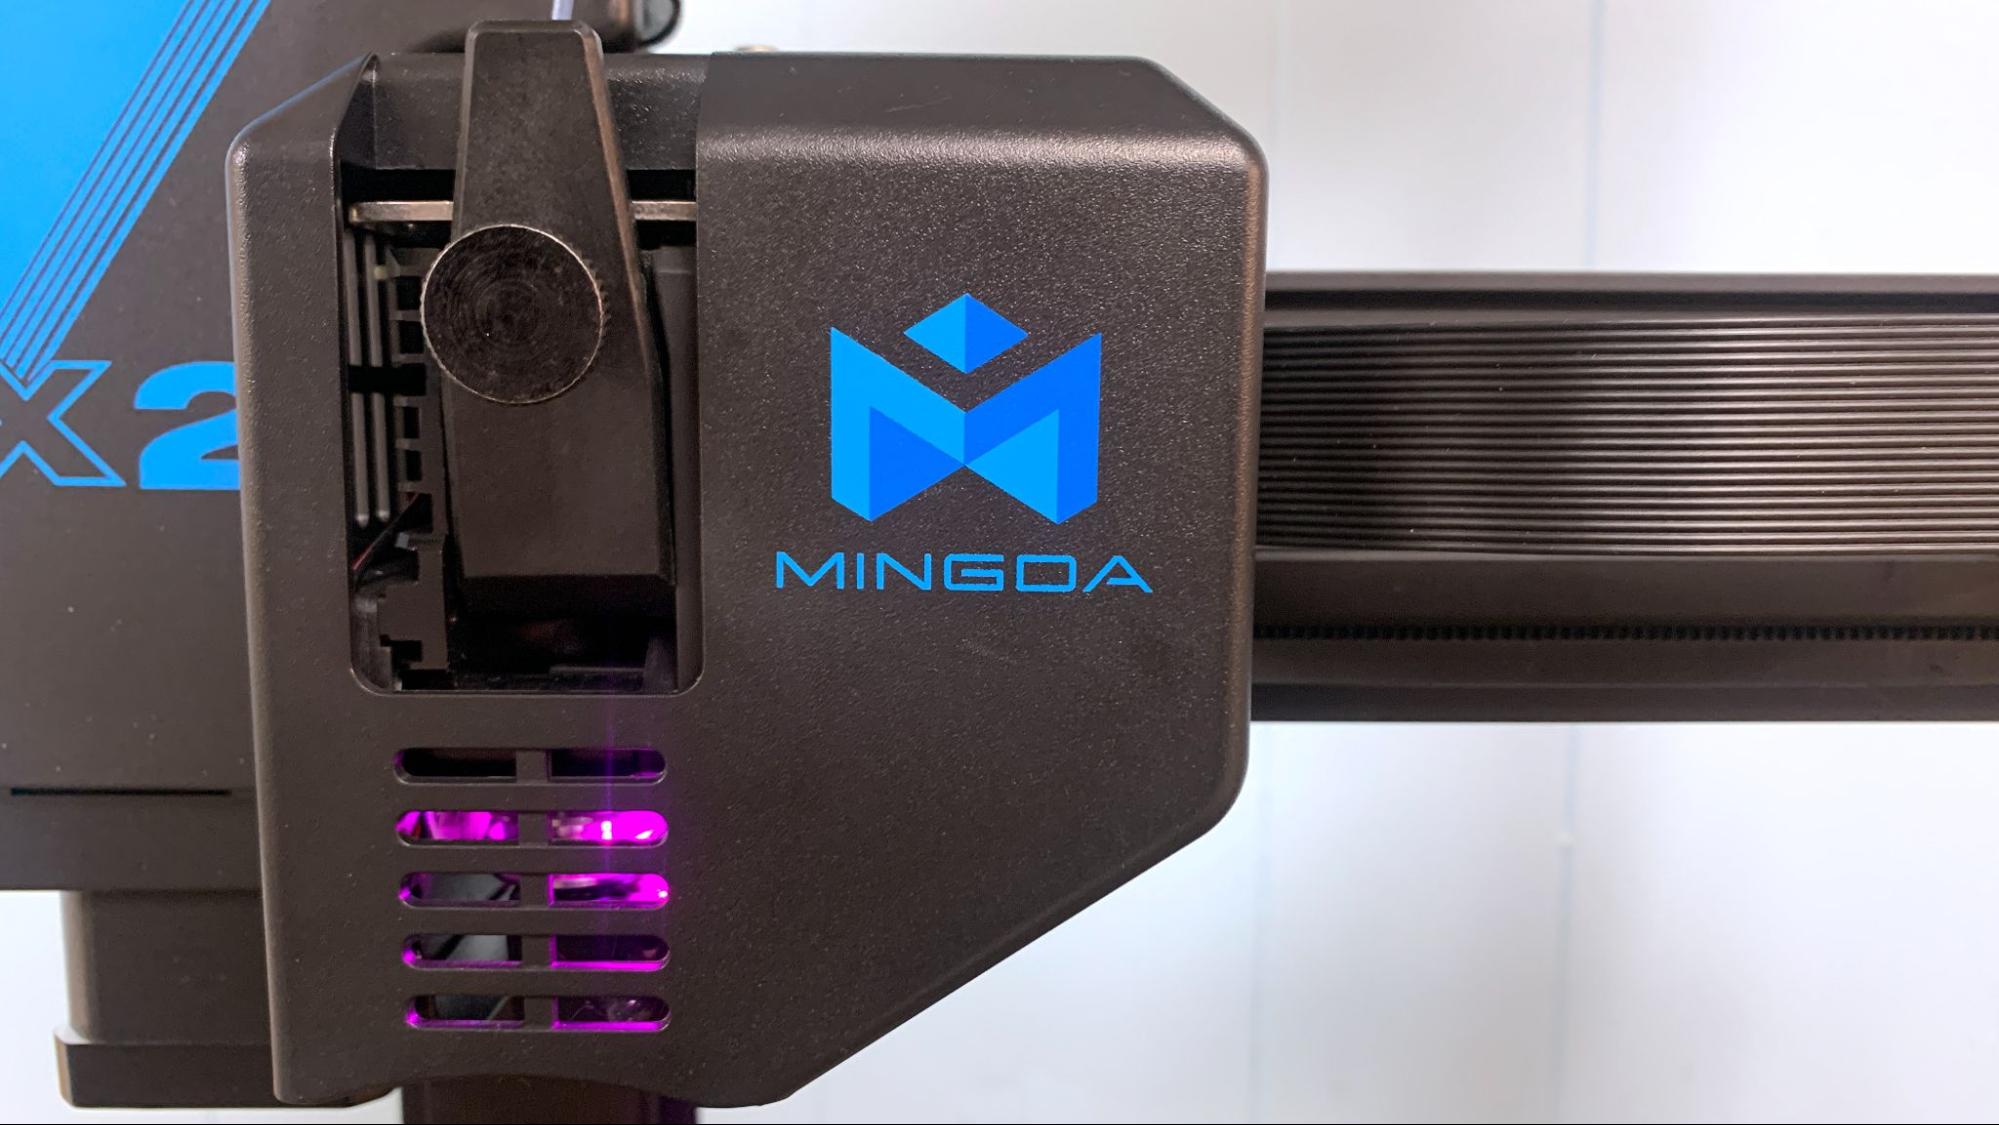
The Magician X2 is even better looking than before, with a slim footprint and clean lines. There’s a splash of blue on the hotend from the logo and a glowing LED light tucked inside to provide illumination that changes color with the nozzle’s temperature. The light is blue when cold and shifts through the rainbow until it's nearly white at printing temperature.
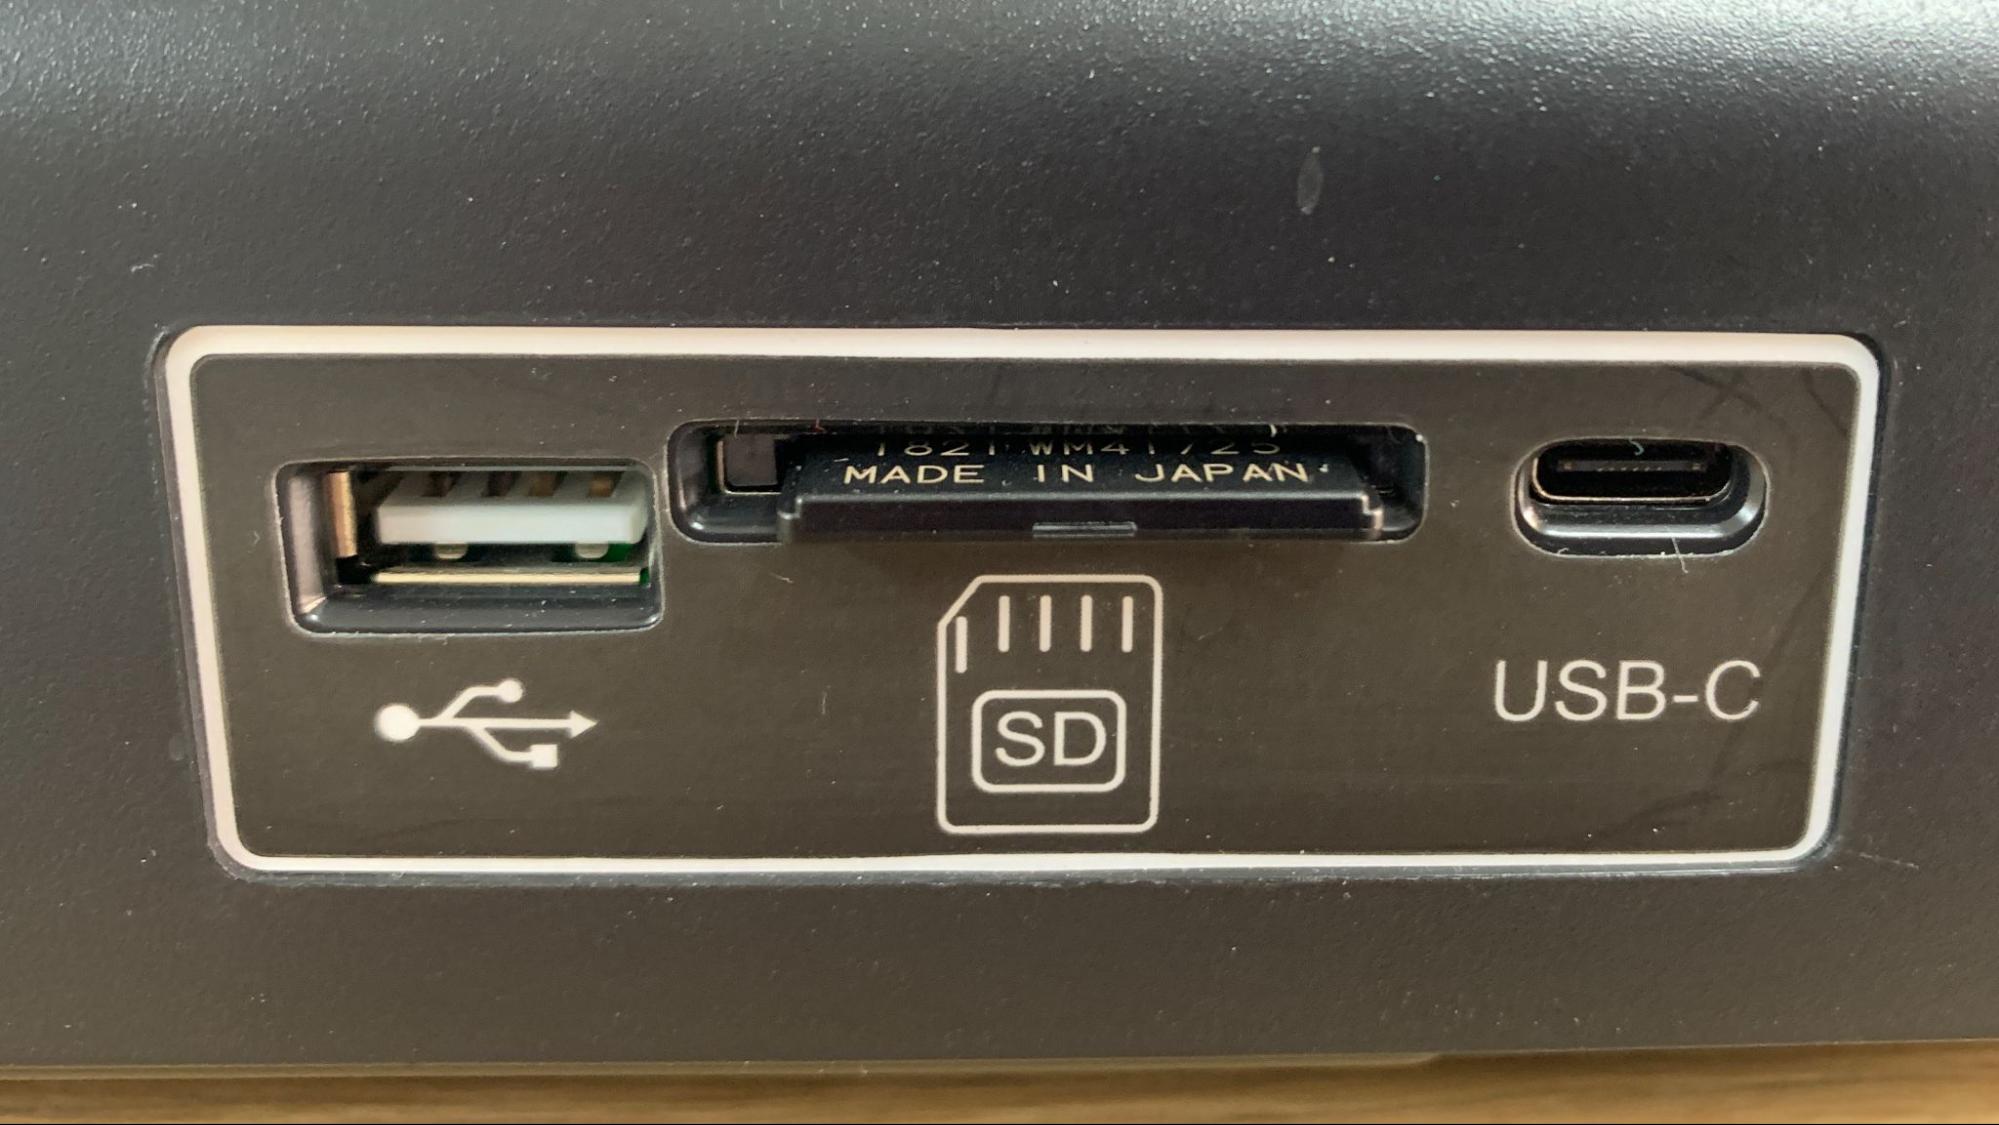
The X2 has slots for a full sized SD card, as well as a USB C input and standard USB port for memory sticks.
It has the hallmarks of a well-built machine – dual z rods for a steady print and double gears in the direct drive to smoothly load the filament. The stepper motors are silent, and the fans are whisper quiet. The cables are tidy and look like something you’d find on a home appliance, not a slapped together science project.
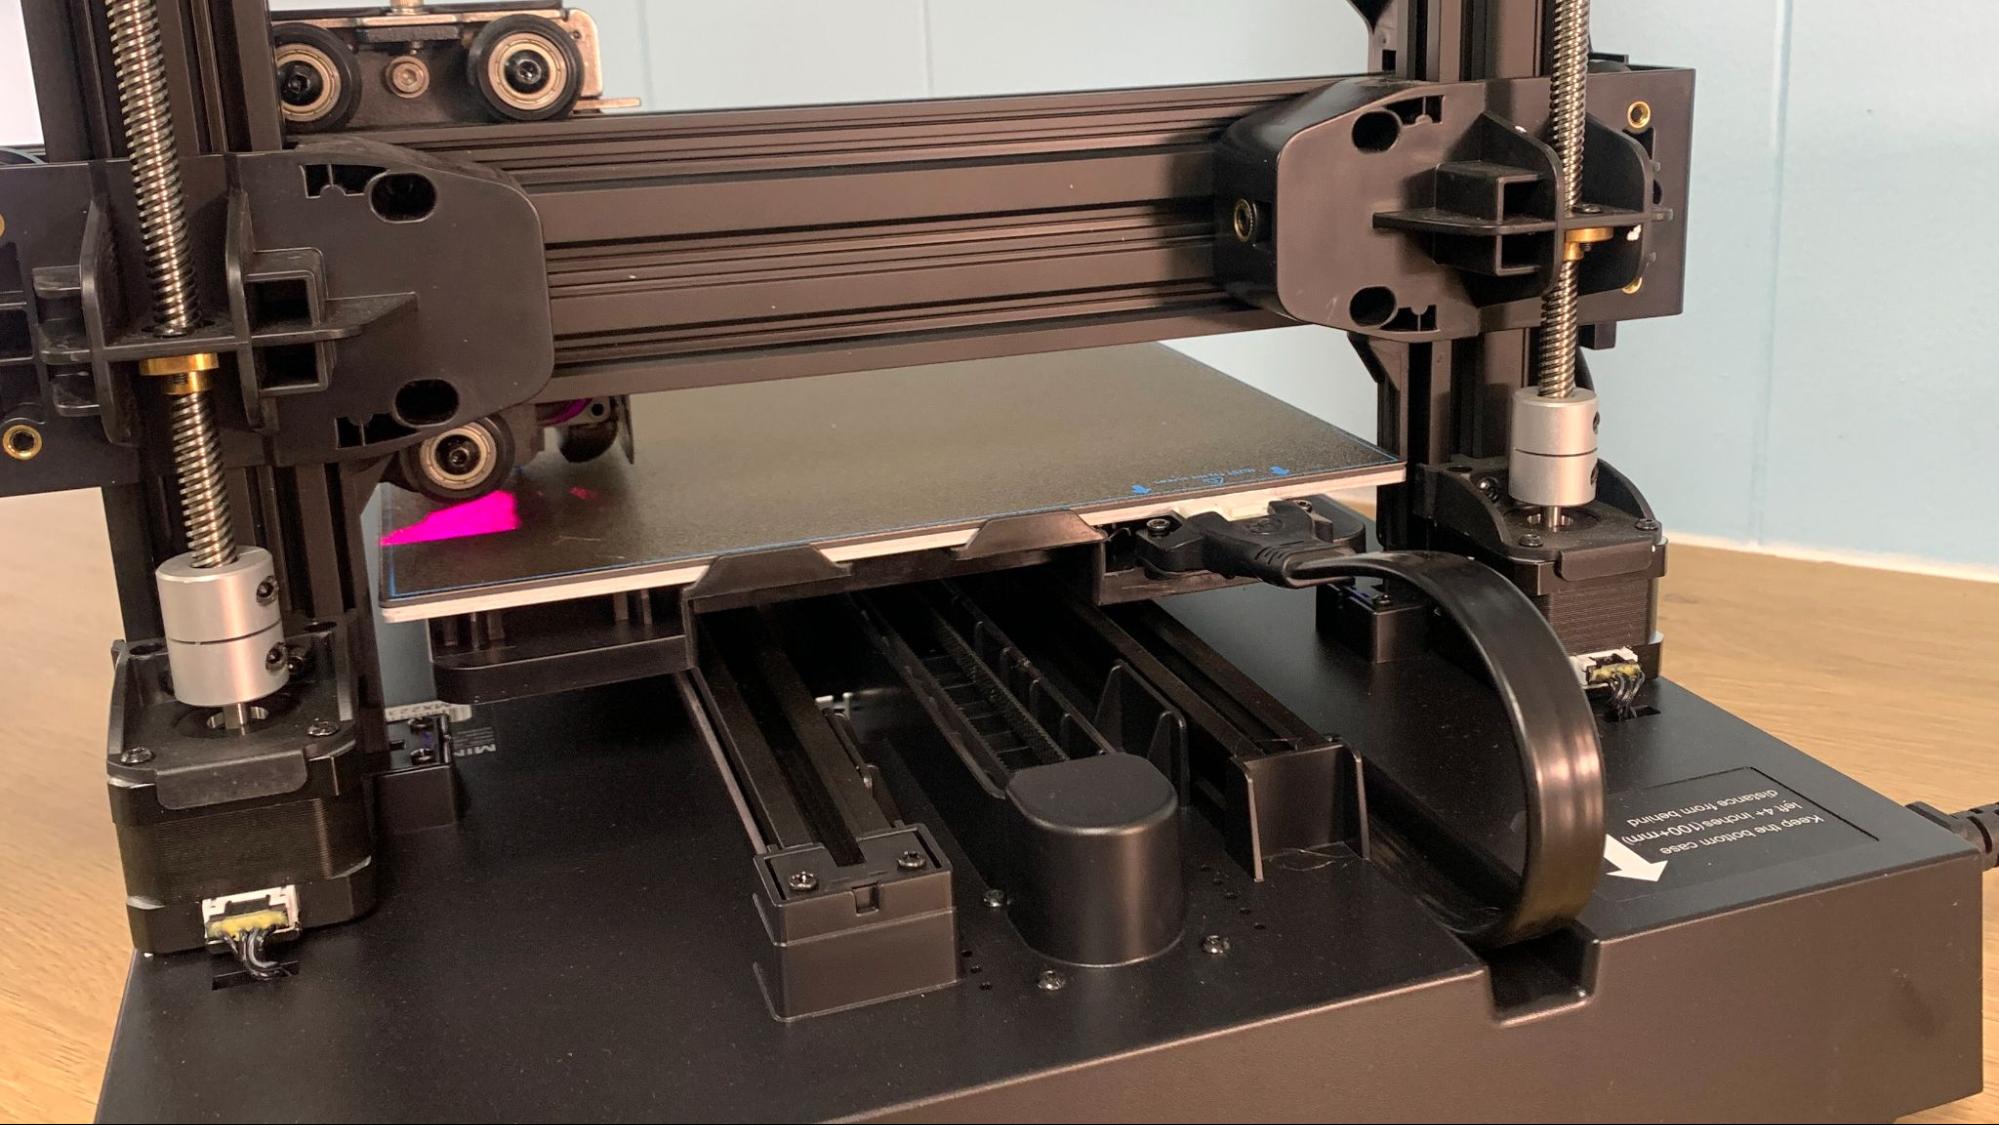
The auto leveling system physically taps the bed on 16 points, and I never needed to adjust the Z height for PLA. PETG requires a bit less squish, so I did use baby steps to compensate for materials as needed.
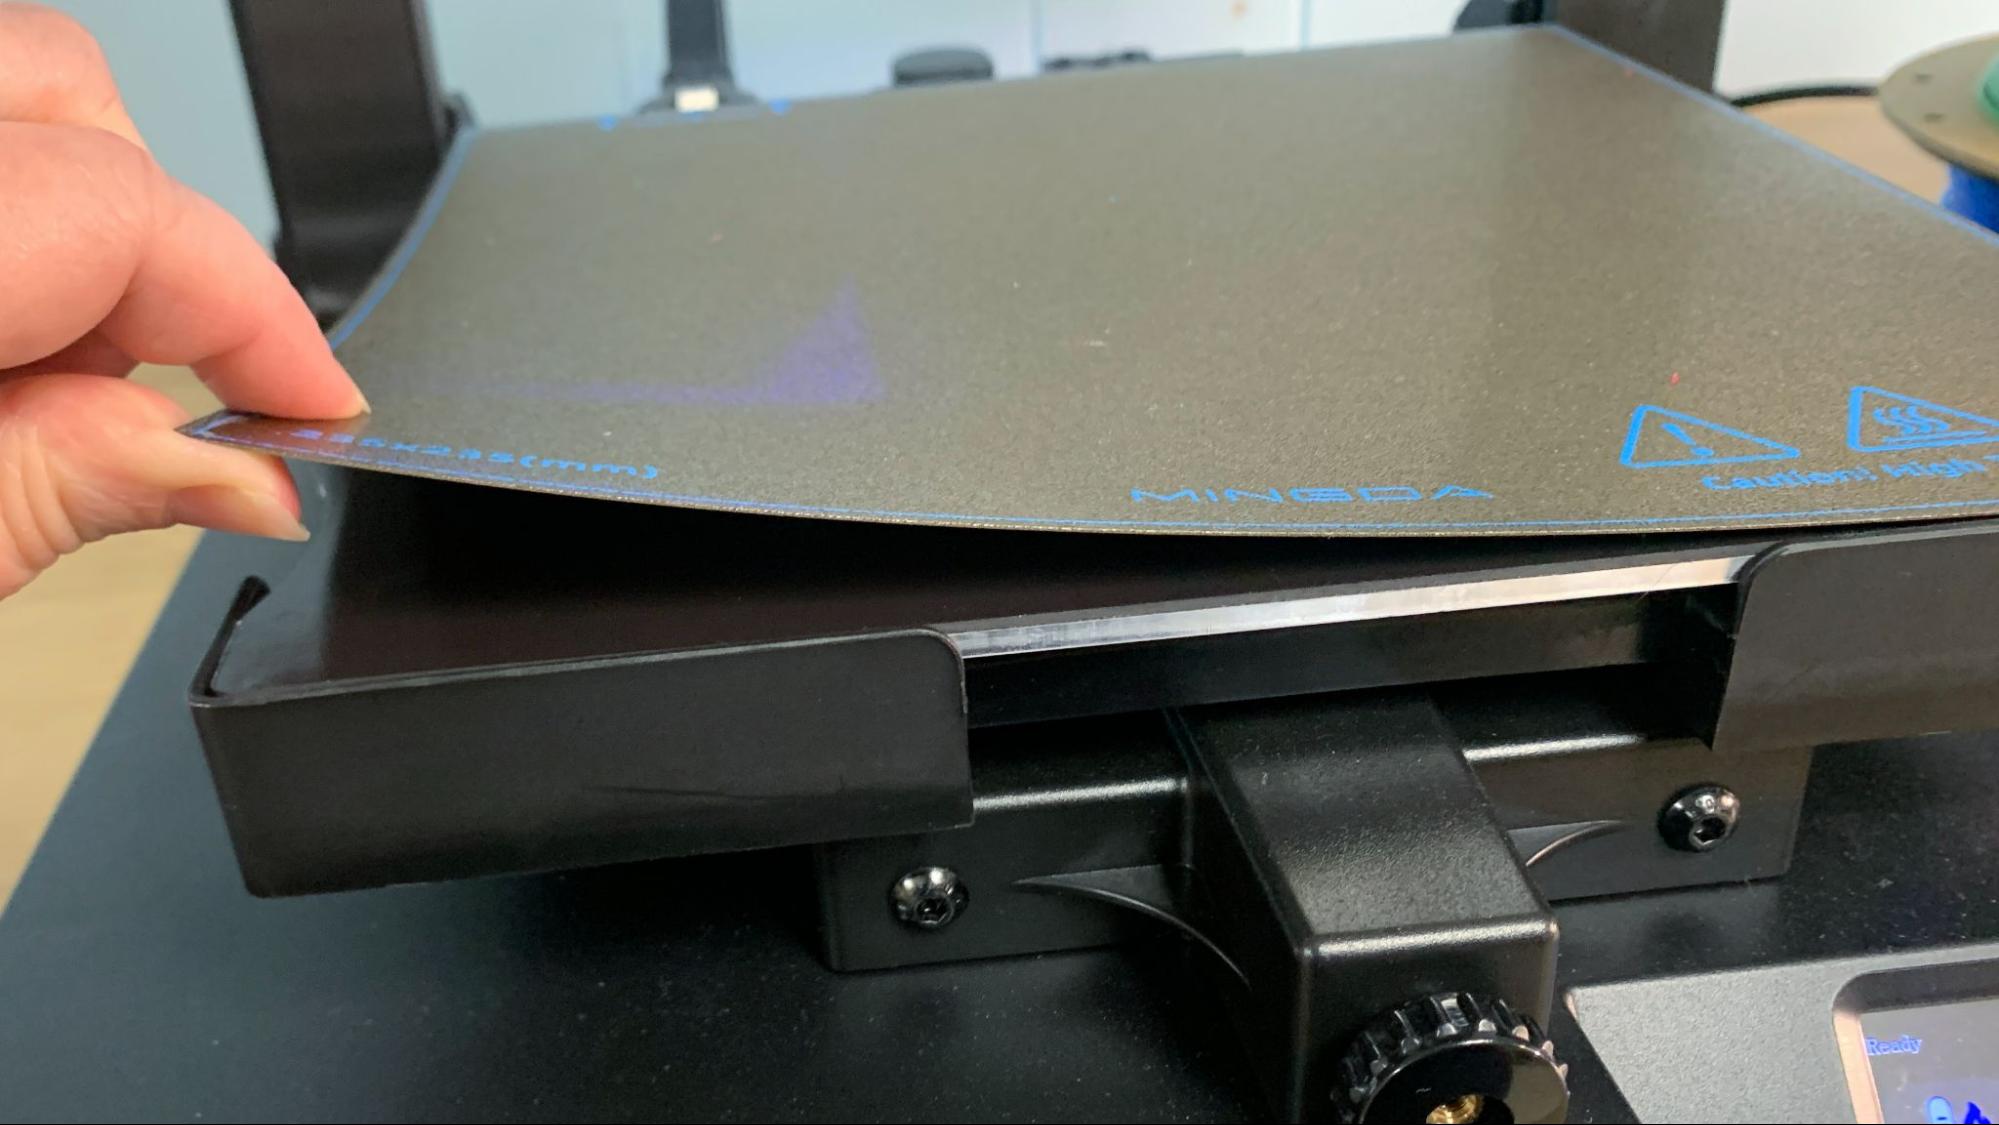
A huge improvement over last year's design is the PEI flex plate. I suspect the design team just added a magnet to the machine’s previous glass holding tray, but I’m not going to complain. Its a major pain point solved, and I’m grateful.
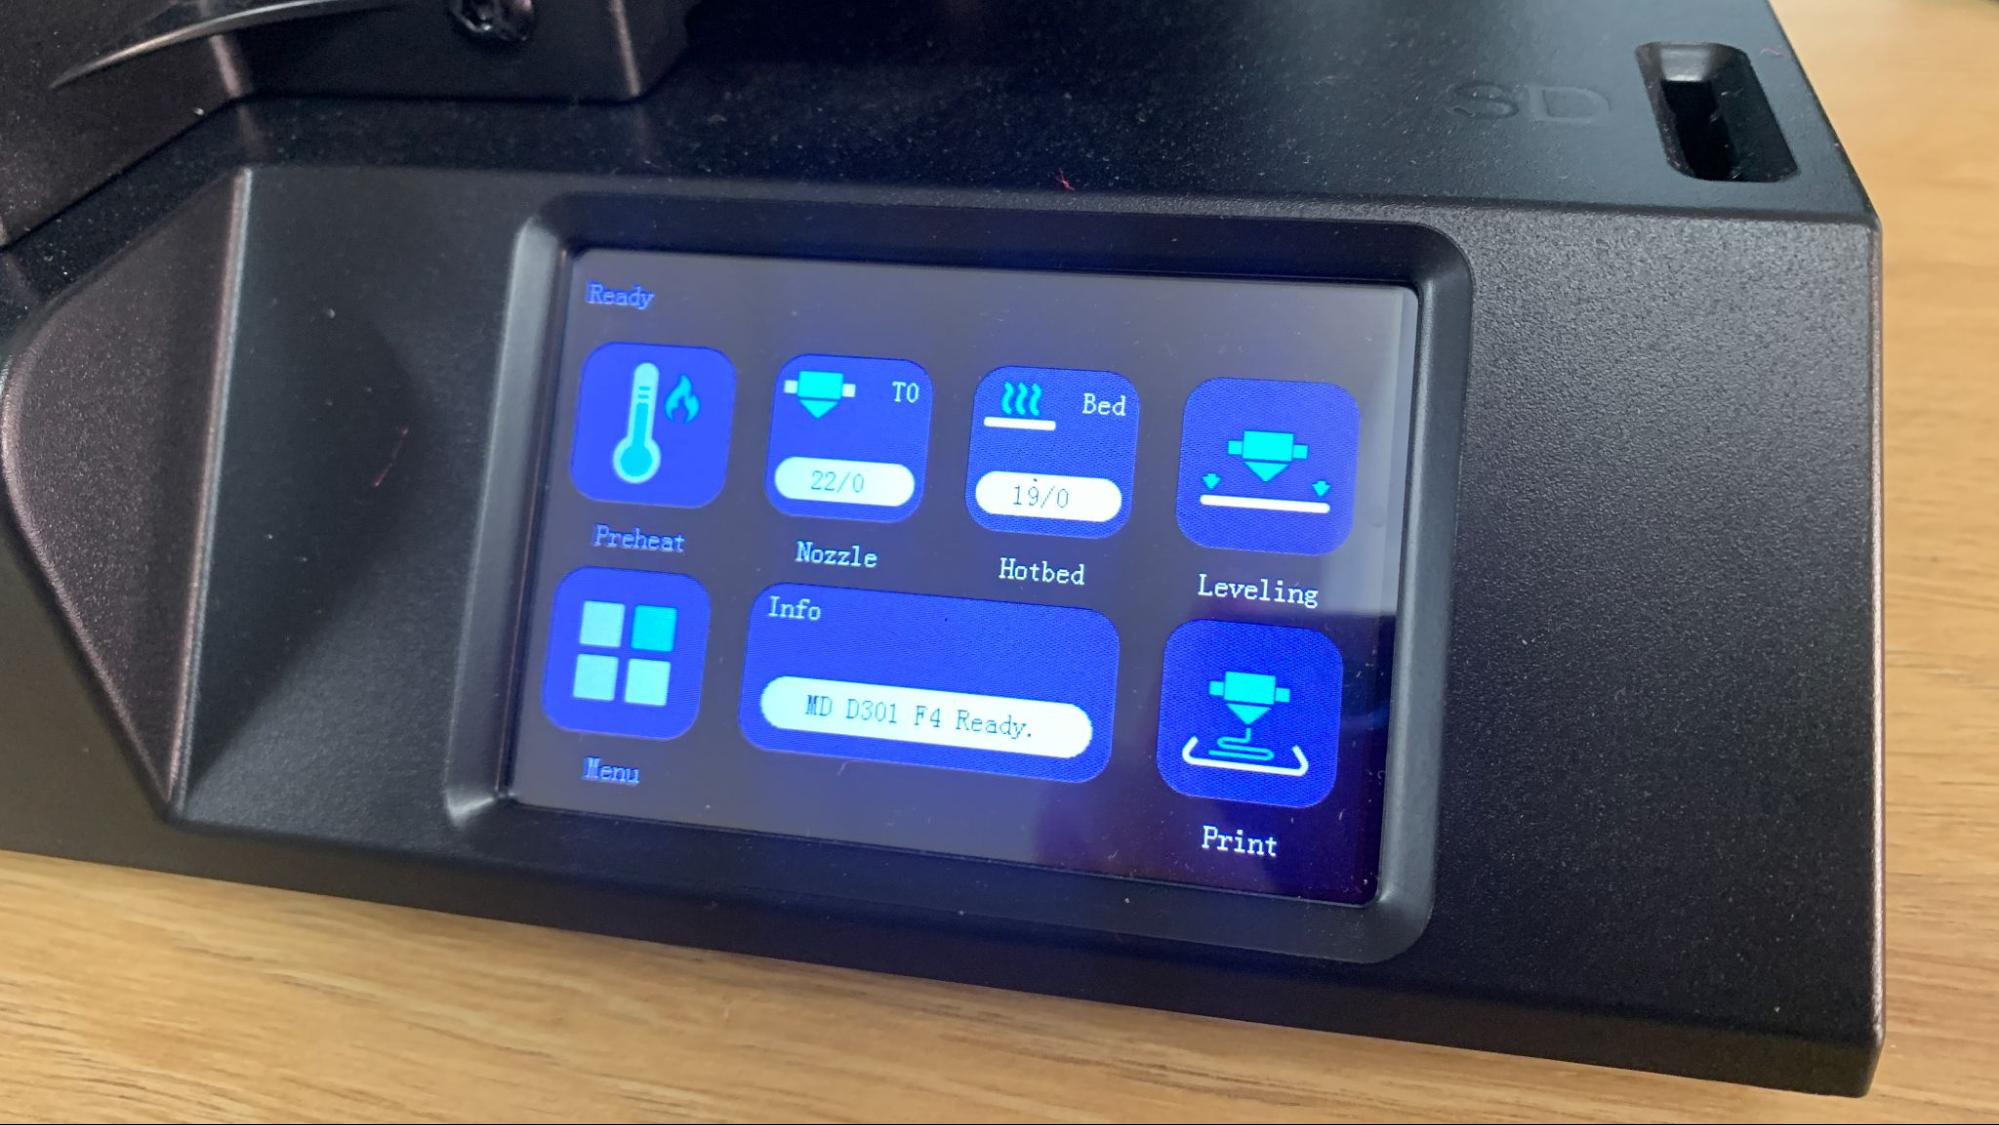
The display screen is still easy to read – in fact, it looks pretty much the same. It’s easy to use with pictogram style menu icons laid out in a sensible fashion.
Assembling the Mingda Magician X2
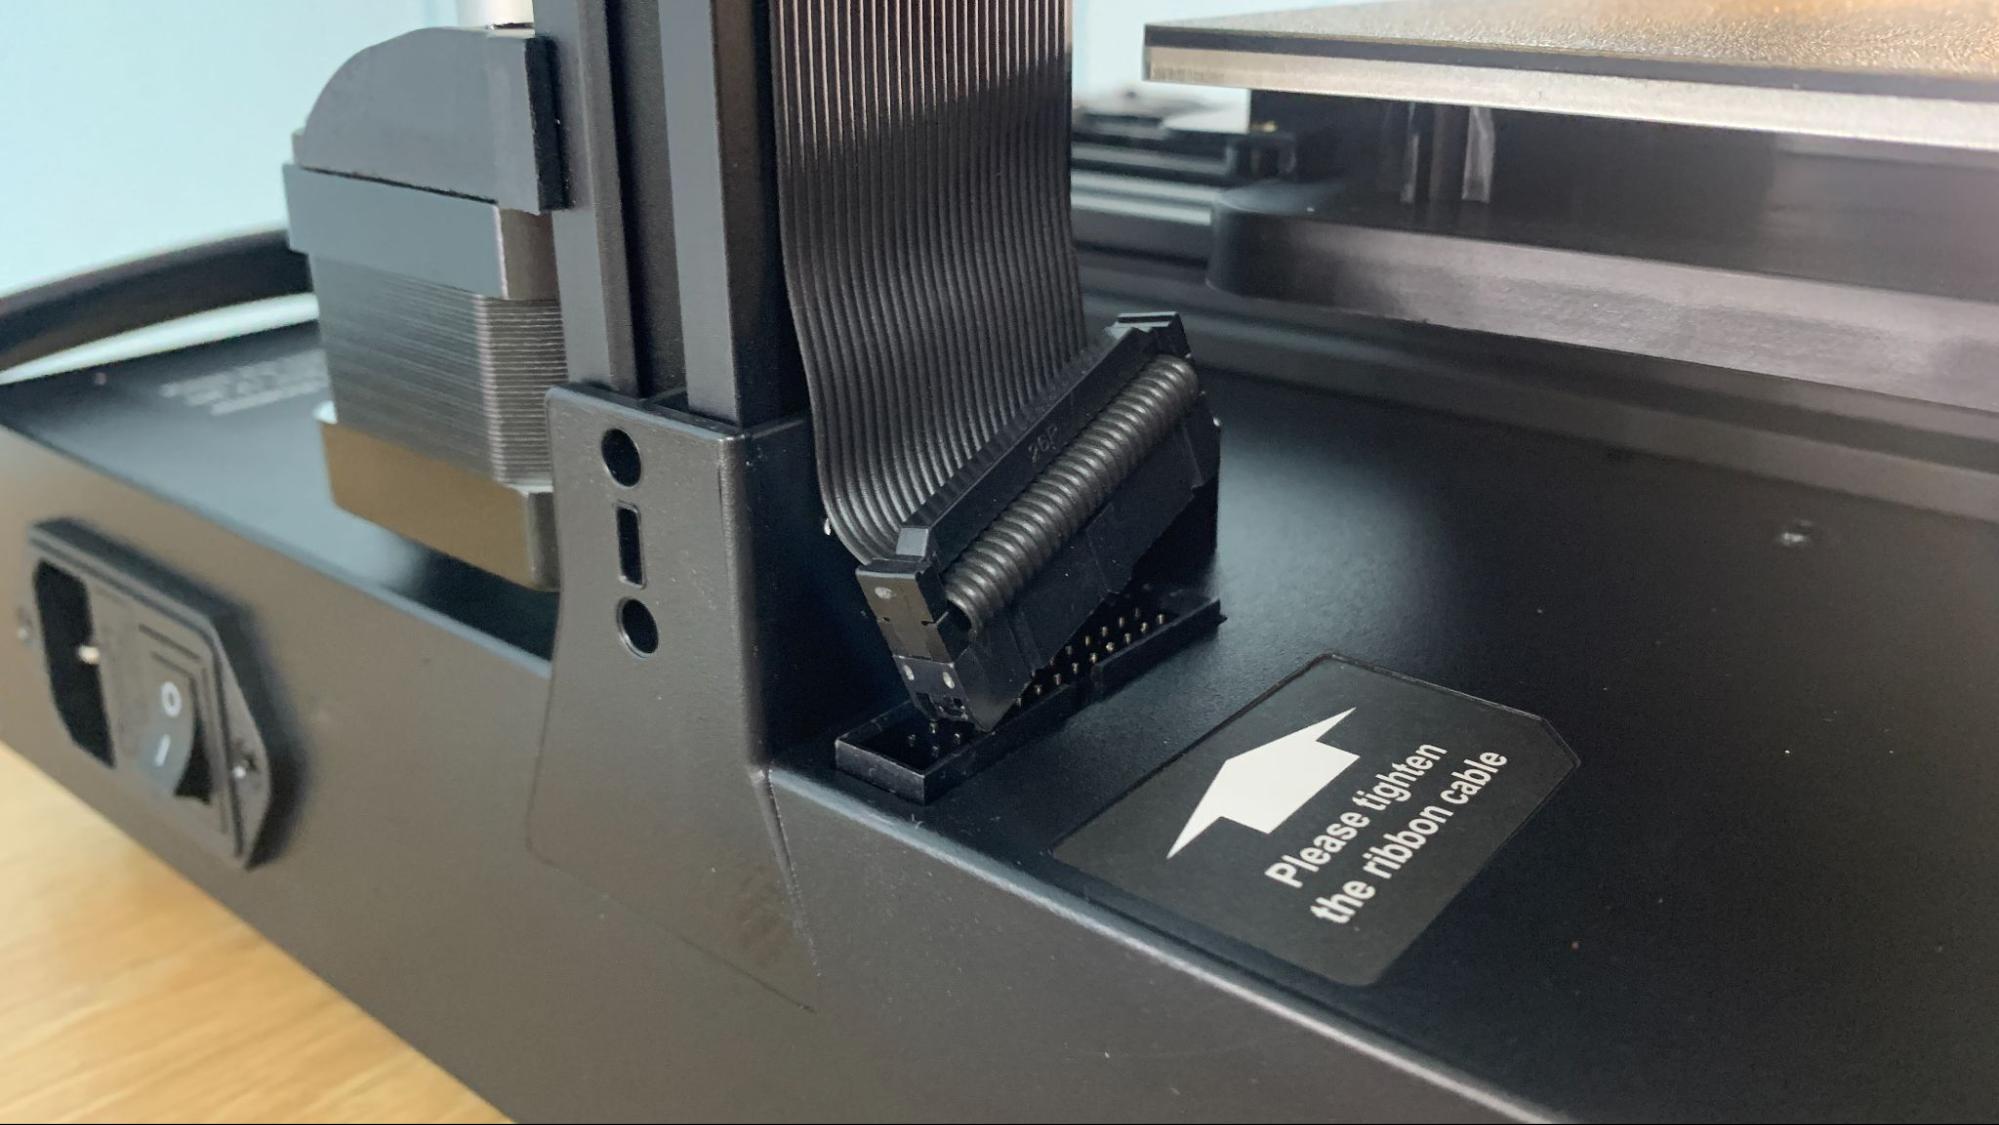
The Mingda Magician X2 still follows the current trend of 90% pre-assembled printers, and building this one is exactly the same. The gantry slides into brackets on the base and is held in place with six bolts – 3 on each side. The extruder is packed separately and needs to be mounted onto the X gantry with a few screws. Electrical connections are easy to sort out, with most plugs being an inch or two from their connection point.
Leveling the Mingda Magician X2
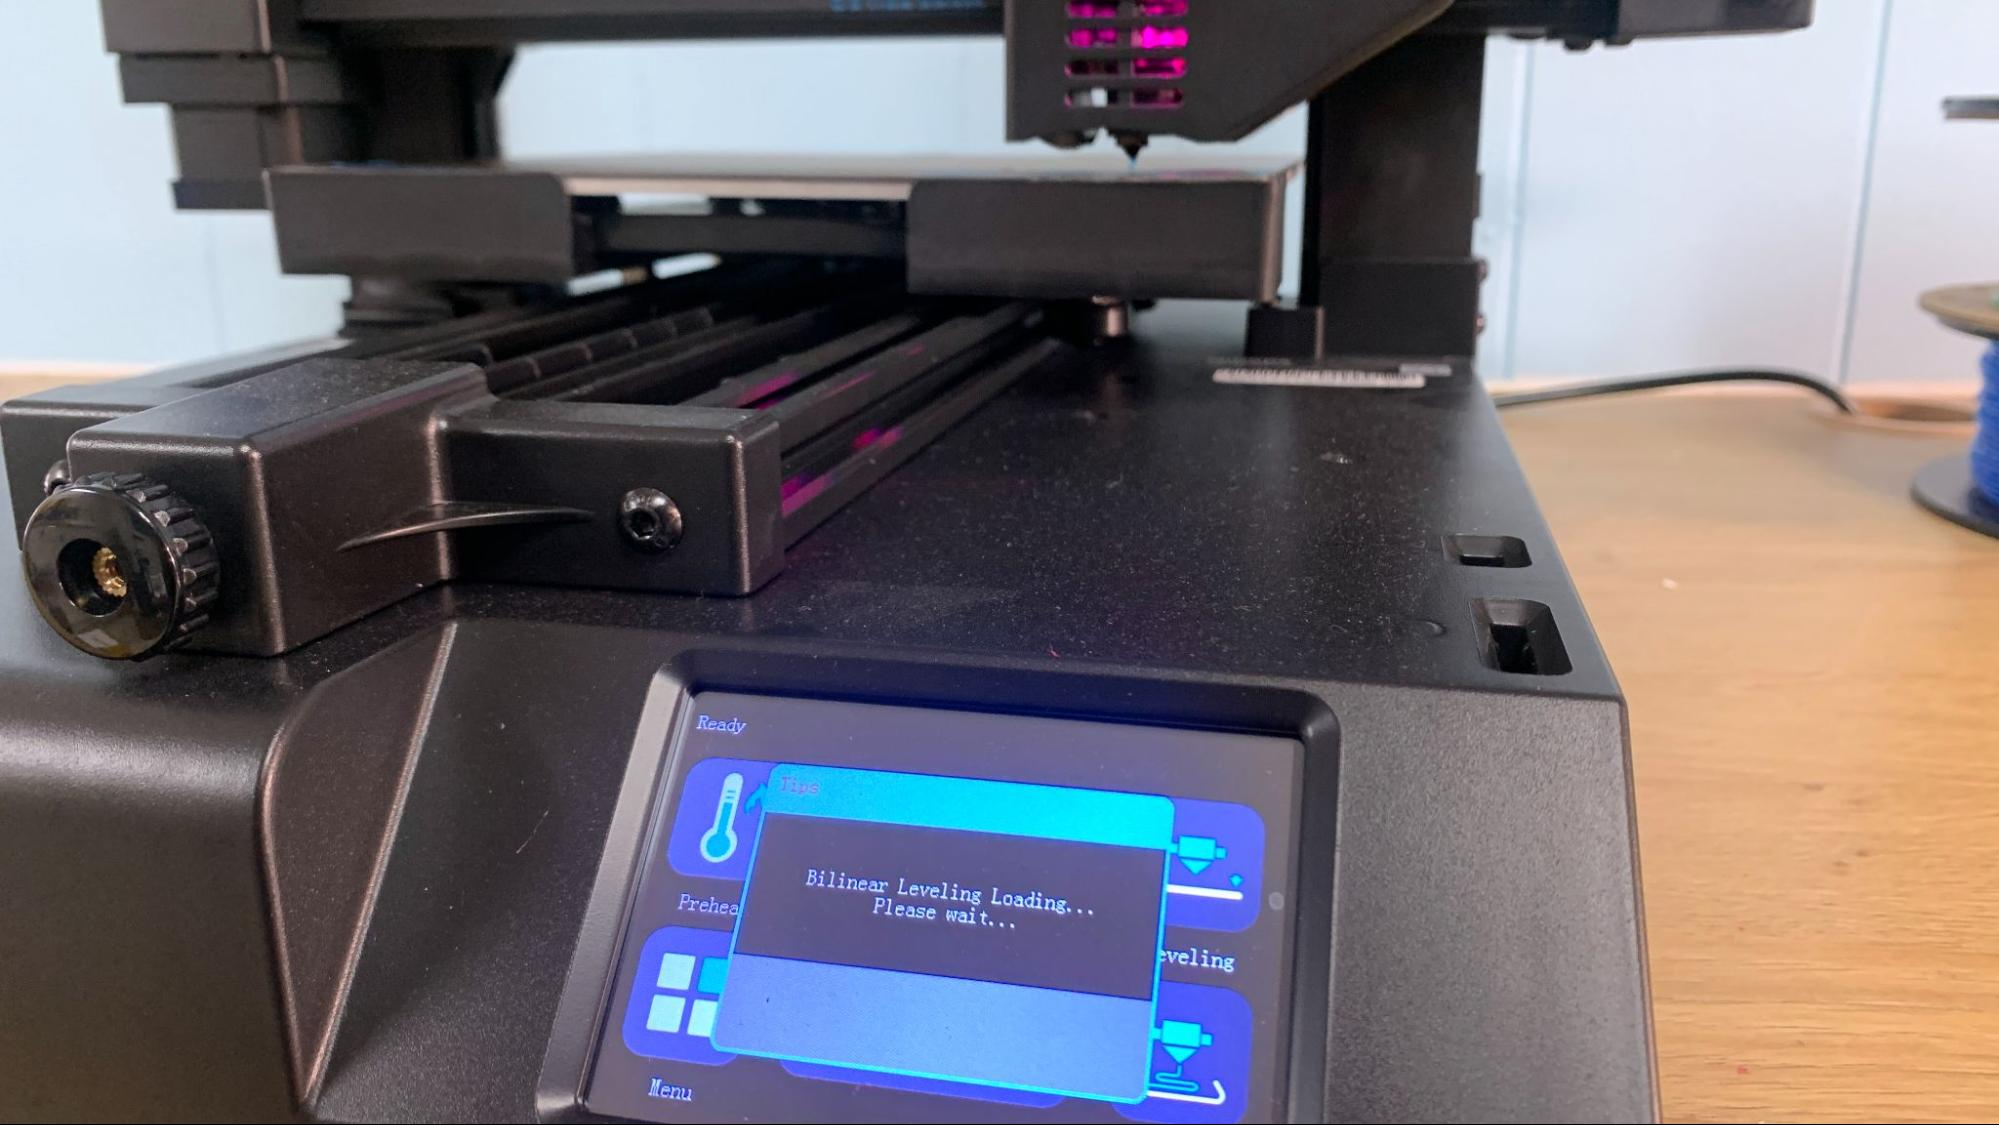
The Magician X2 has an auto leveling system where the nozzle physically touches the build plate. The printer automatically warms up before leveling to assure a perfect reading.
To level the printer, select Level from the main menu. After the printer warms up it will tap 16 points around the bed. I didn’t need to adjust the Z height after leveling, but there is a command if you need to tweak the settings.
Loading Filament on the Mingda Magician X2
Loading a direct drive is very straightforward. Select preheat, then tap the type of filament you’re using. This machine heats fairly quickly, so you won’t be left waiting long. Insert the filament into the top loading hole on the drive. Next, tap the load button on the screen. Keep the speed set at normal and increase the amount advanced to 10mm.
The Magician X2 has no reverse. Mingda recommends only going forward on their drive to avoid gumming up the extruder with a warm lump of filament. It’s good advice you can apply to any direct drive.
Preparing Files / Software for Mingda Magician X2
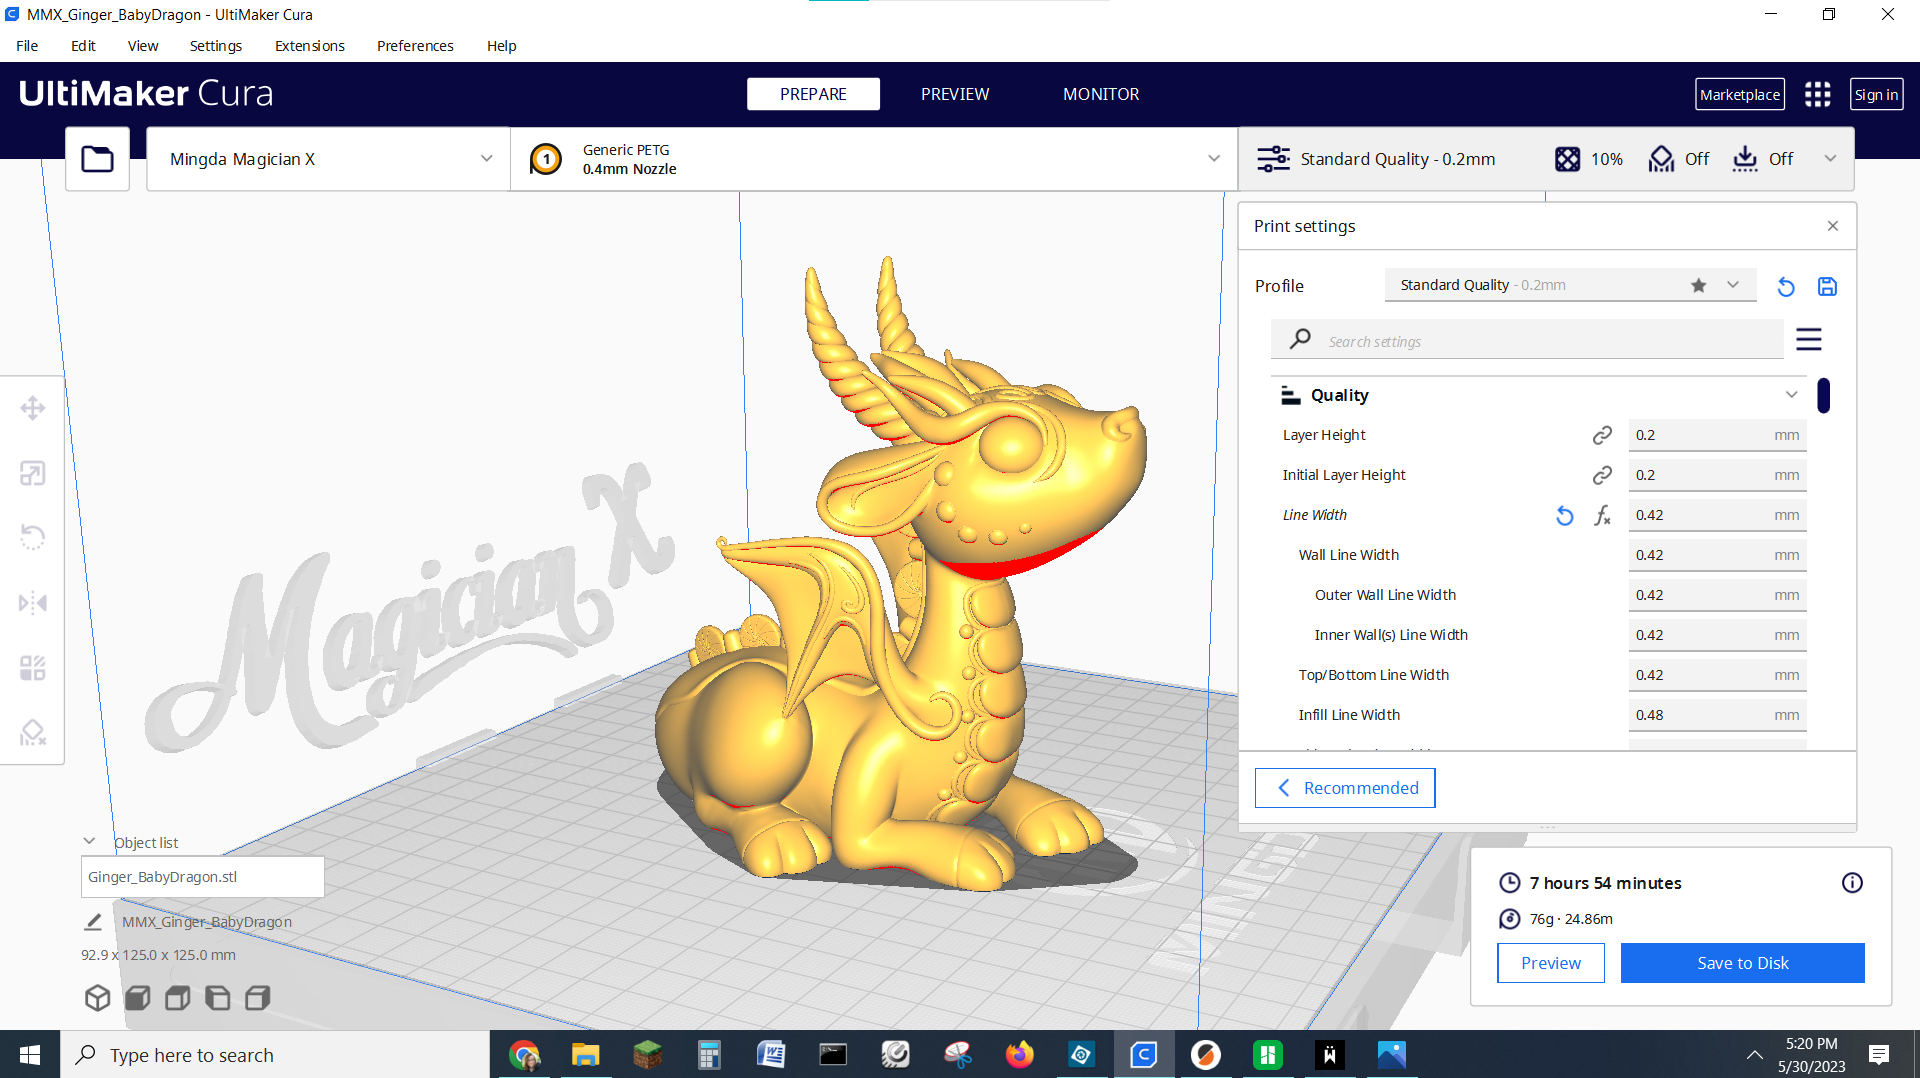
The Magician X2 comes with a copy of Cura 5.2 and a custom profile for PLA. The Magician X is already loaded in the printer list and can be used without any need for adjustment. There’s no profile set up for PrusaSlicer, so you’ll need to set one up from scratch. However, it’s similar in size to the Ender 3, so you can start with that as a base.
Printing on the Mingda Magician X2
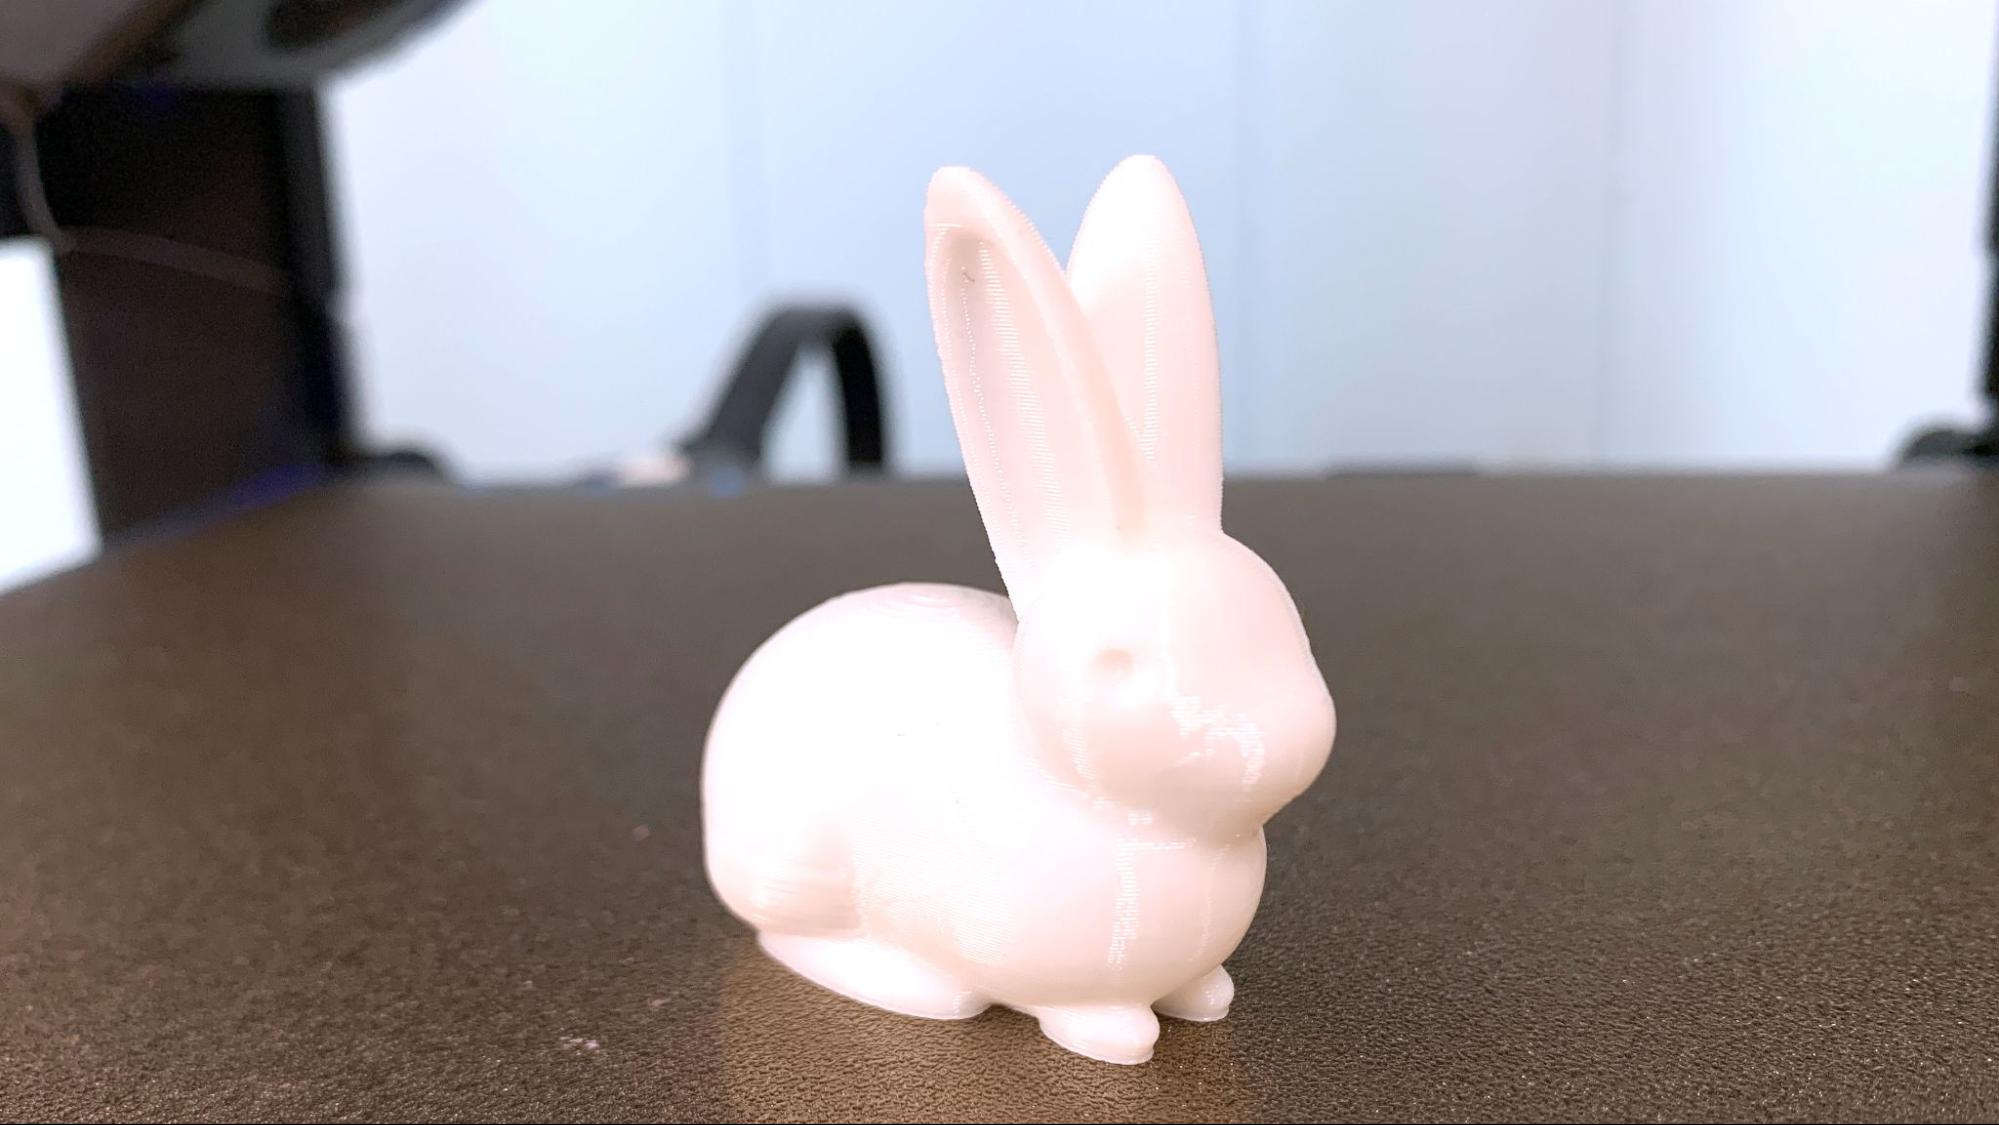
I started off with one of the pre-sliced test prints – a bunny – and the sample coil of filament. It turned out great, with no strings or any issues. The sample doesn’t last long, so you’ll want to stock up soon. Check out our guide to the best filaments for 3D printing for suggestions before loading up your cart.
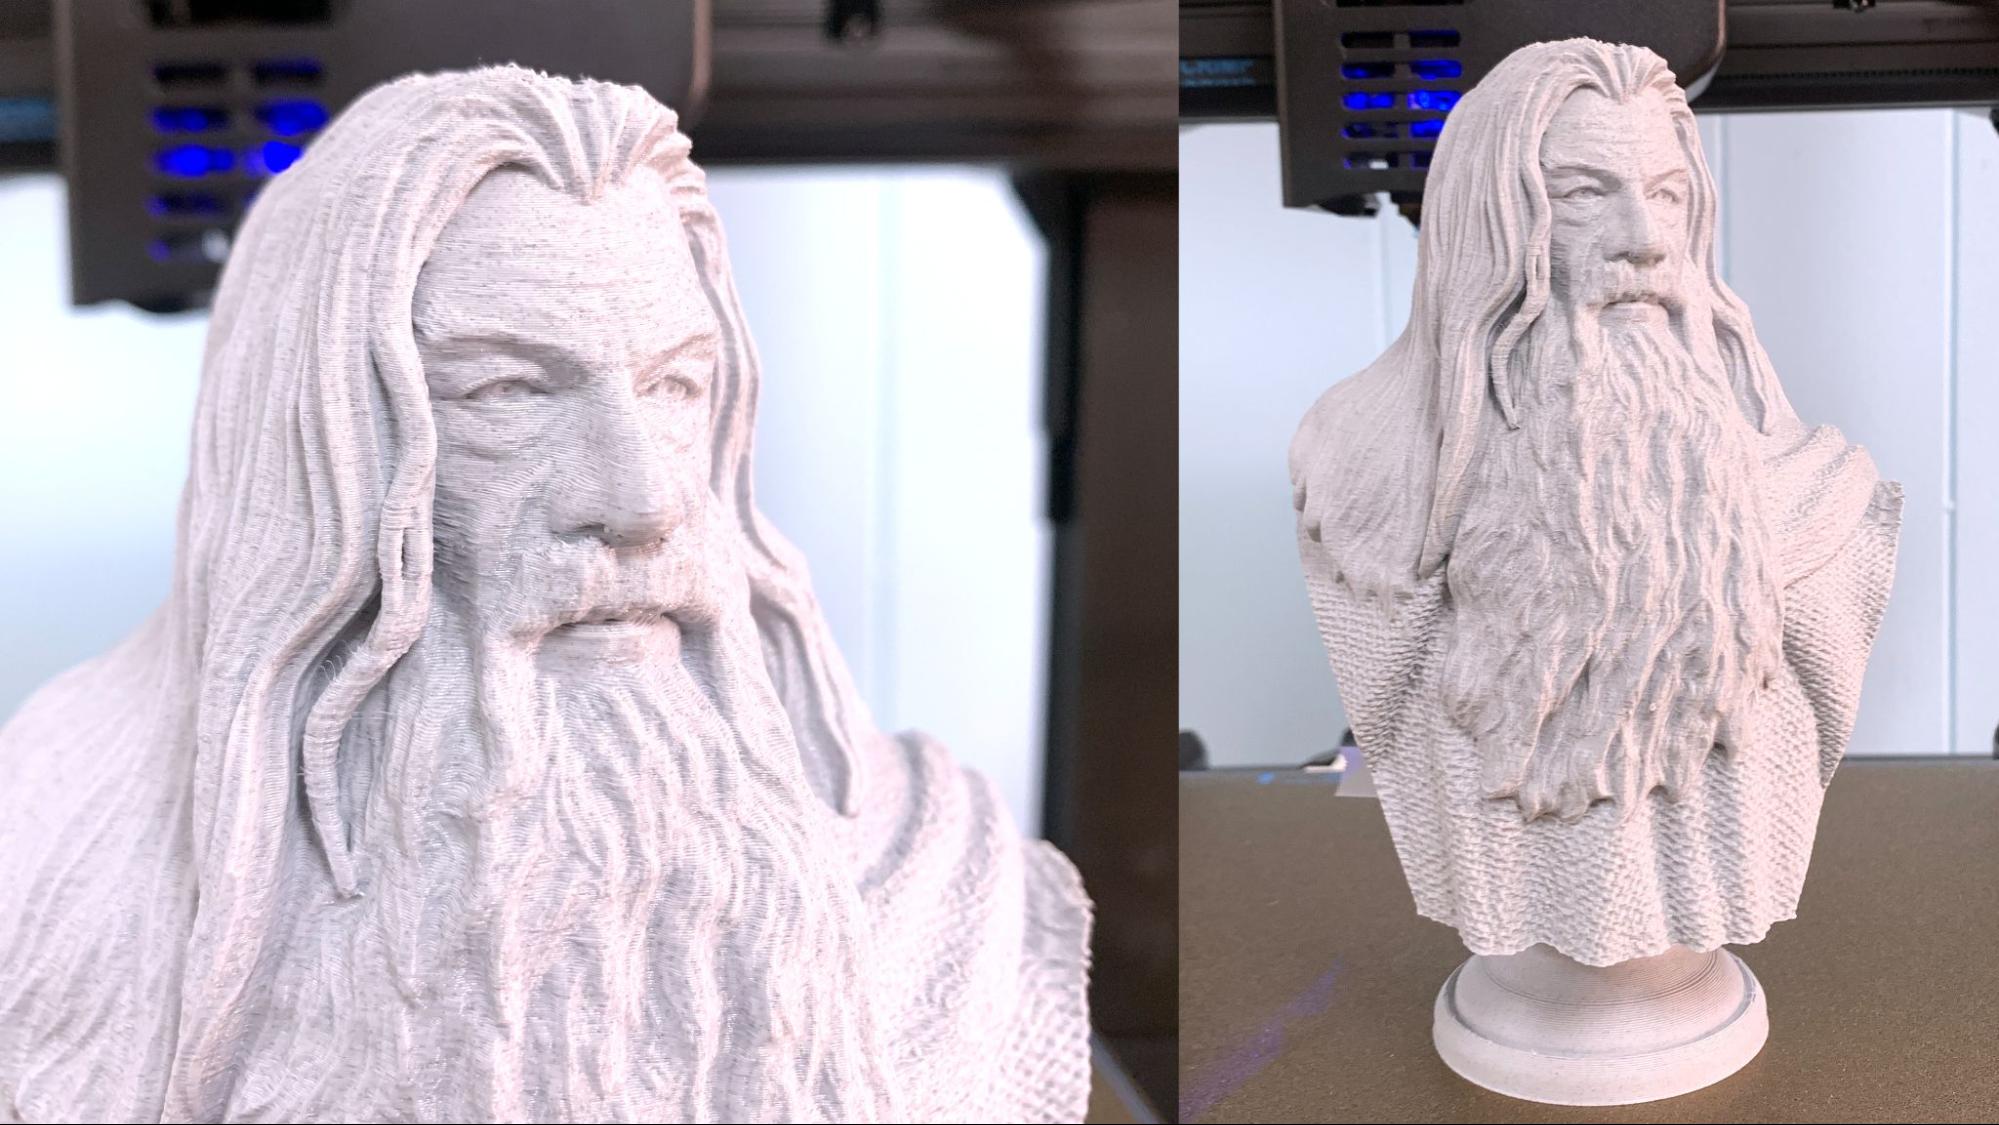
The Magician X2 needed to show off with something magical, so I downloaded Fotis Mint’s Gandalf bust, free from Printables. This is printed in Canadian Filaments, Granite PLA, a really nice textured filament for printing statues. I used the Magician’s default settings and a .16 layer height to really get some detail. The print took 10 hours and 6 minutes at 50mm/s. It's a little rough in spots when you look closely, but it did a great job picking up all the detail in the hair and fabric.
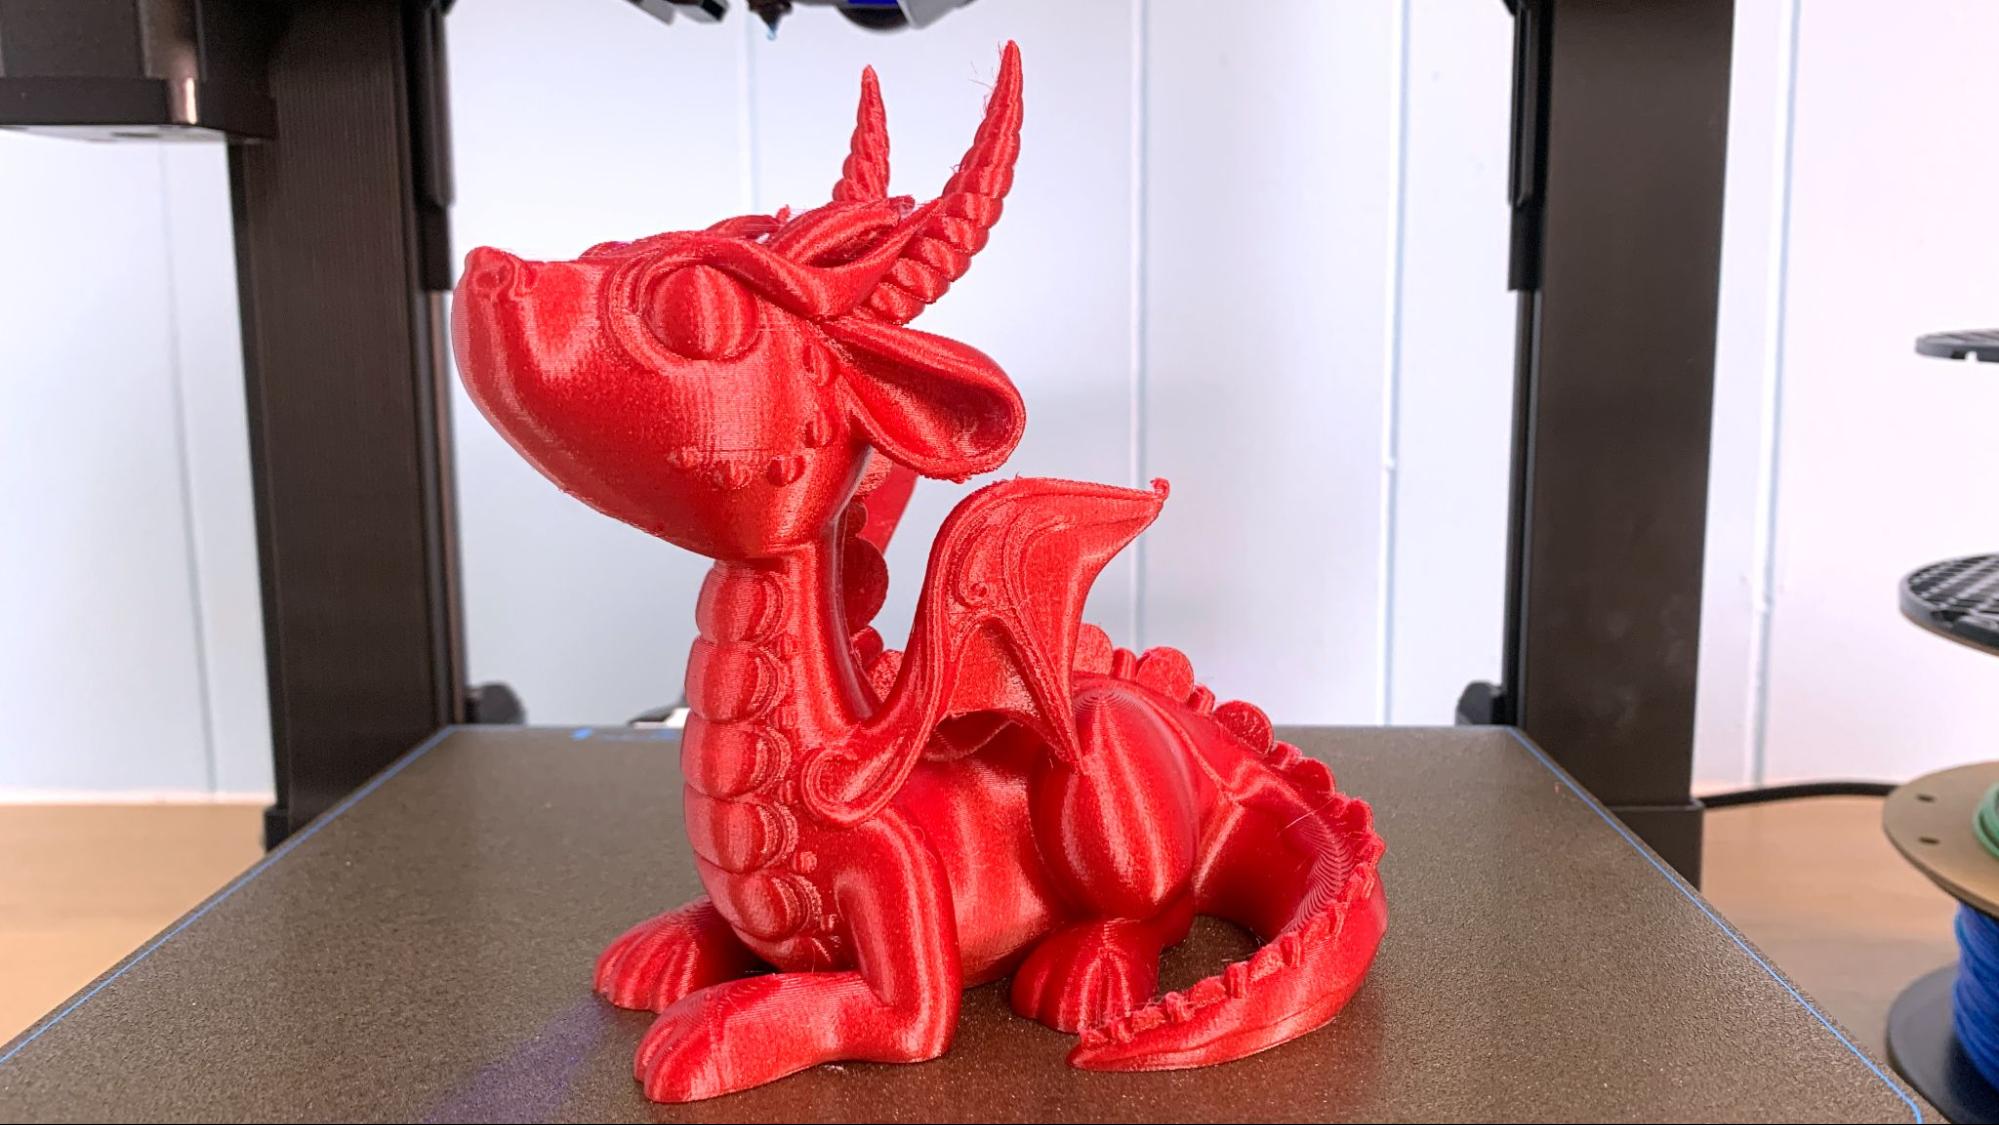
PETG was no problem for the Magician X2, and I was thrilled when this baby dragon popped right off the textured PEI sheet without the need to use any glue stick (or hammers). The texture on this print is nice and smooth, though there was some stringing between the horns. This was printed in ProtoPasta Candy Apple Red PETG, with a .2mm layer height. It took 7 hours and 54 minutes to print at 50mm/s.
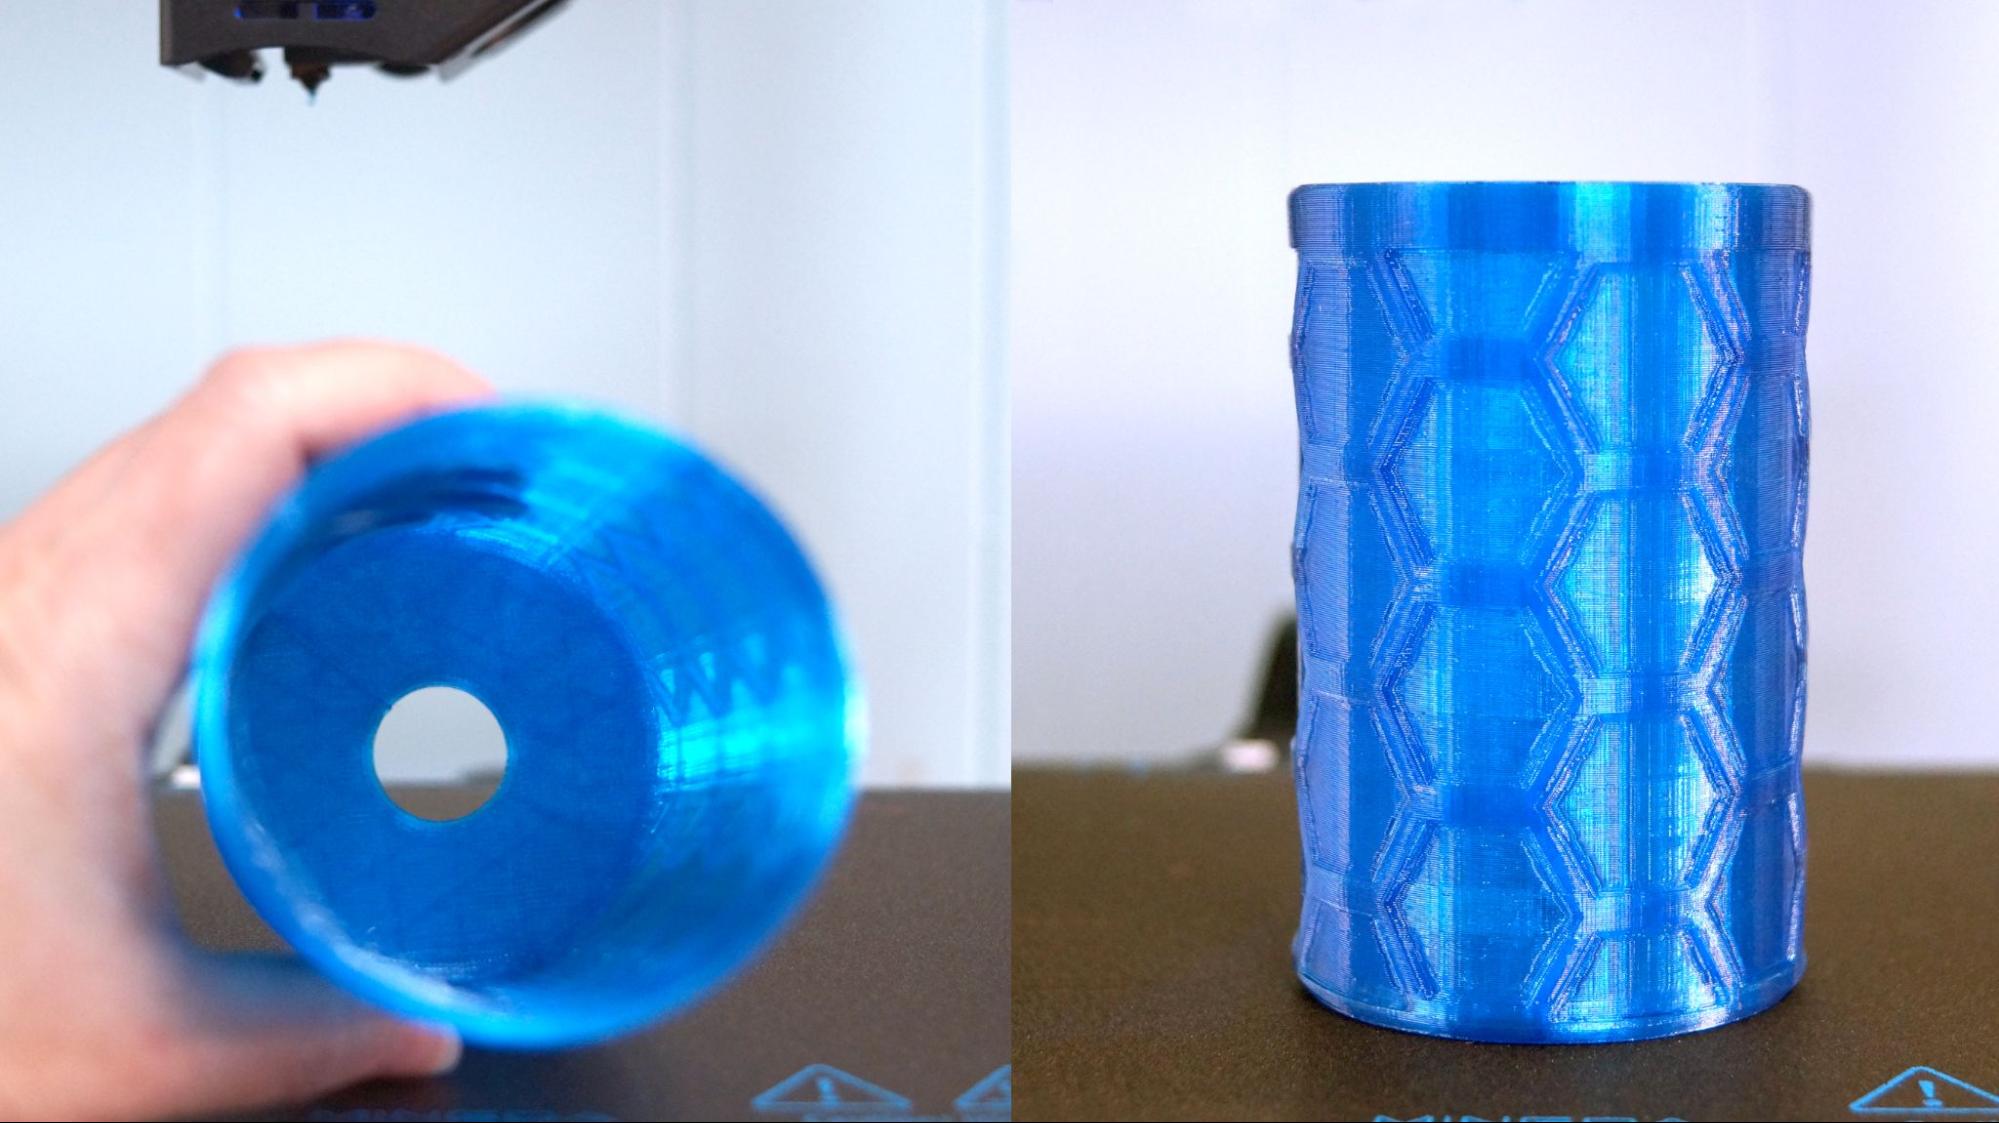
For TPU I found a can koozie print that will come in handy this summer. The Magician X2 had no problem printing this, and once “comb all” was turned on, there was no stringing either. The koozie retained its transparency and has a nice shimmer. The print took 7 hours and 43 minutes at a .2mm layer height at 40mm/s speed, printed in Inland Transparent Blue from Microcenter.
Bottom Line

Retailing at $349, and currently on sale for $289, the Mingda Magician X2 is an easy-to-use 3D printer with nice form and finish. It has everything a good printer needs to make it easy to use – simple assembly, an easy to load direct drive and reliable auto bed leveling system.
It’s not going to make any waves in the current market, as there’s no speed upgrades. If you just want an uncomplicated printer that does the job well, the Magician X2 is a good buy.
If you’re looking for a less expensive printer with a similar build size, auto leveling and direct drive, check out the Anycubic Kobra Go. Priced at $209, it’s an Editor’s Choice and our pick for Best Budget Printer.
MORE: Best 3D Printers
MORE: Best Resin 3D Printers


