When it comes to charcoal barbecues, it’s easy to assume that apart from obvious differences like size and shape, they’re all pretty much the same. But investing in one of the best BBQs is worth considering if you regularly like to cook outdoors. Particularly if you want to produce something better than a burnt sausage.
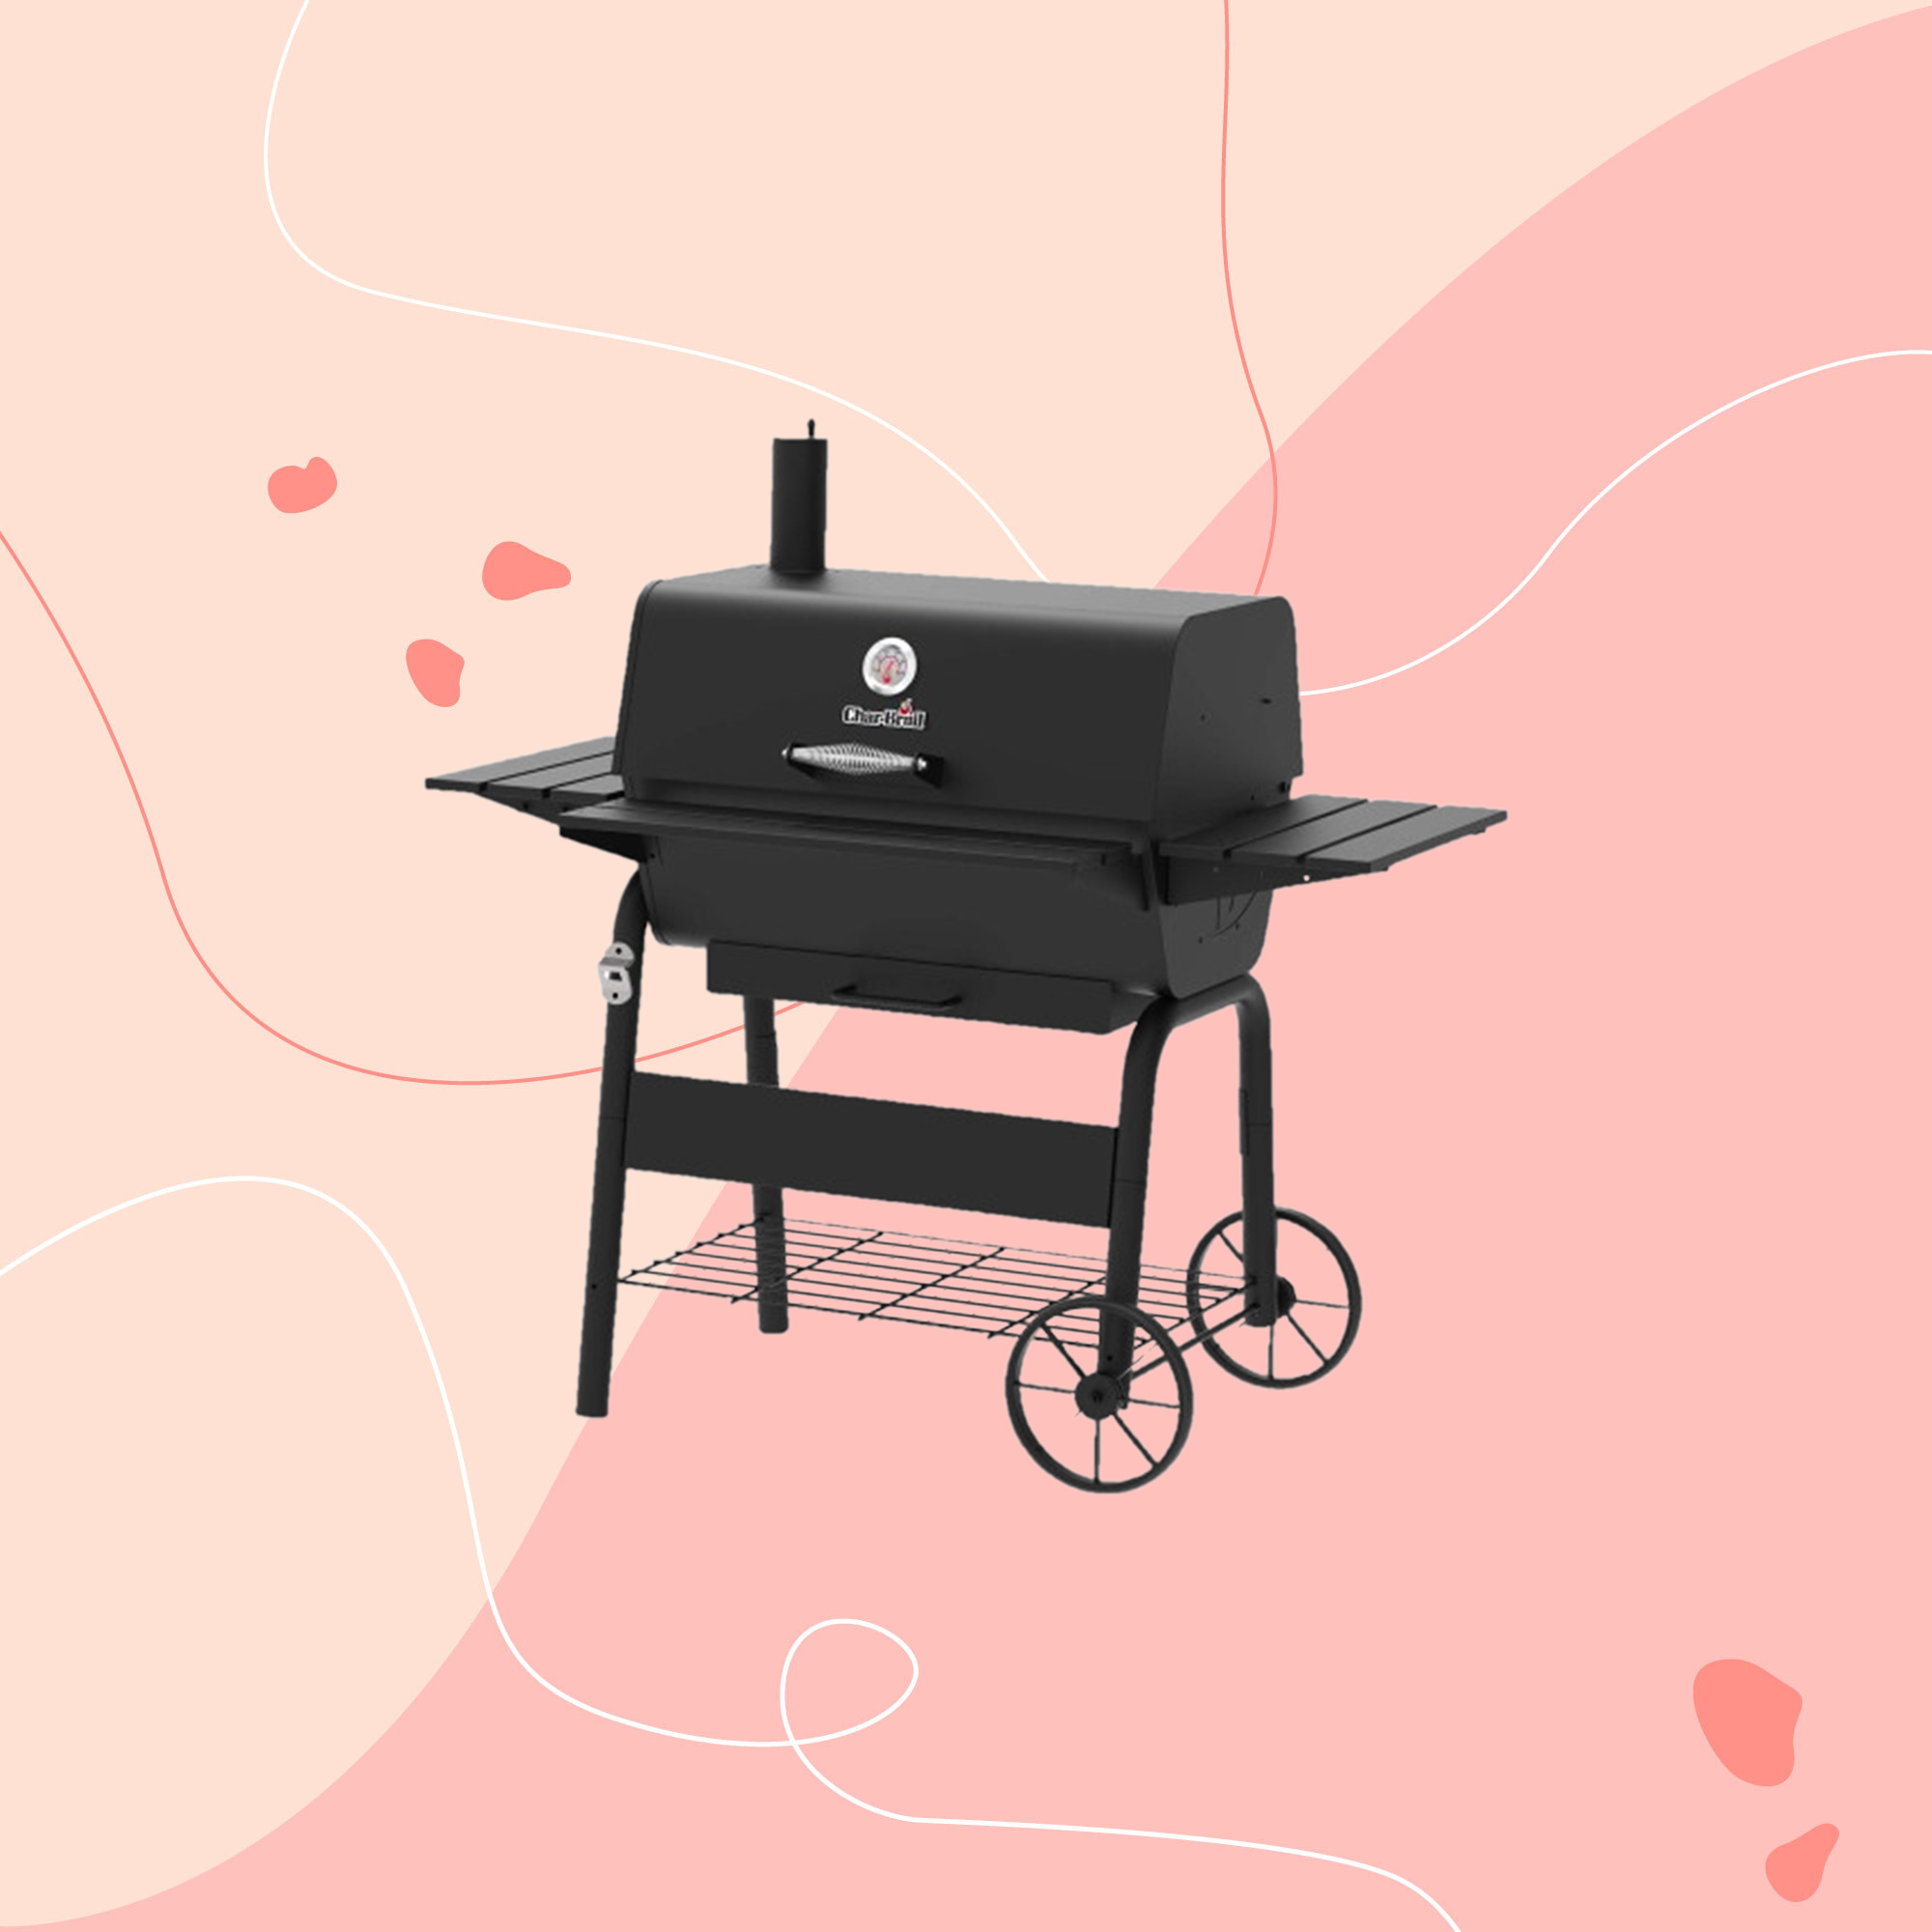
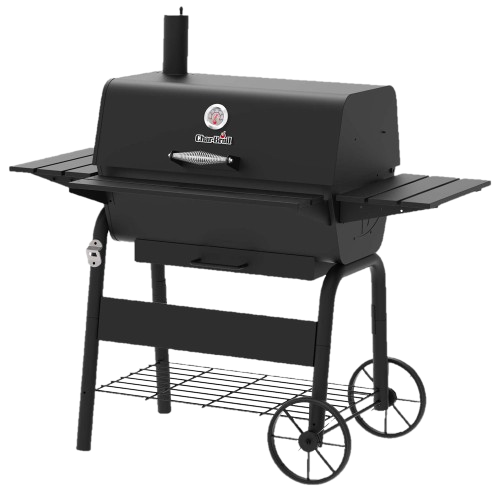
The Char-Broil Charcoal L isn’t exactly cheap, but then again, it’s nowhere near as pricey as some BBQs on the market. It’s a big spacious BBQ that’s capable of cooking for upwards of six people. It’s got serious features like an adjustable height charcoal grate, as well as more playful elements like the built-in bottle opener.
Give me a charcoal BBQ over a gas BBQ any day, I much prefer to cook on charcoal if I’m going to make the effort to cook outdoors. And while this big entertaining size BBQ is a tad too big for my own two person household, I was more than happy to invite some friends over and give it a good try.
Char-Broil Charcoal L BBQ product specs
- Fuel type: charcoal
- Materials: porcelain enamelled cast iron cooking grate
- Dimensions: 130.9 x 132.8 x 77.4cm
- Cooking area dimensions: 70 x 49.5cm
- Weight: 44.5kg
Unboxing, setting up and first impressions
I wasn’t expecting the BBQ to turn up on a pallet and naively thought I’d be able to lift the box from the pallet and into my garden alone. But this thing is heavy! In the end I unpacked the box on my driveway and then took all the bits into the garden.
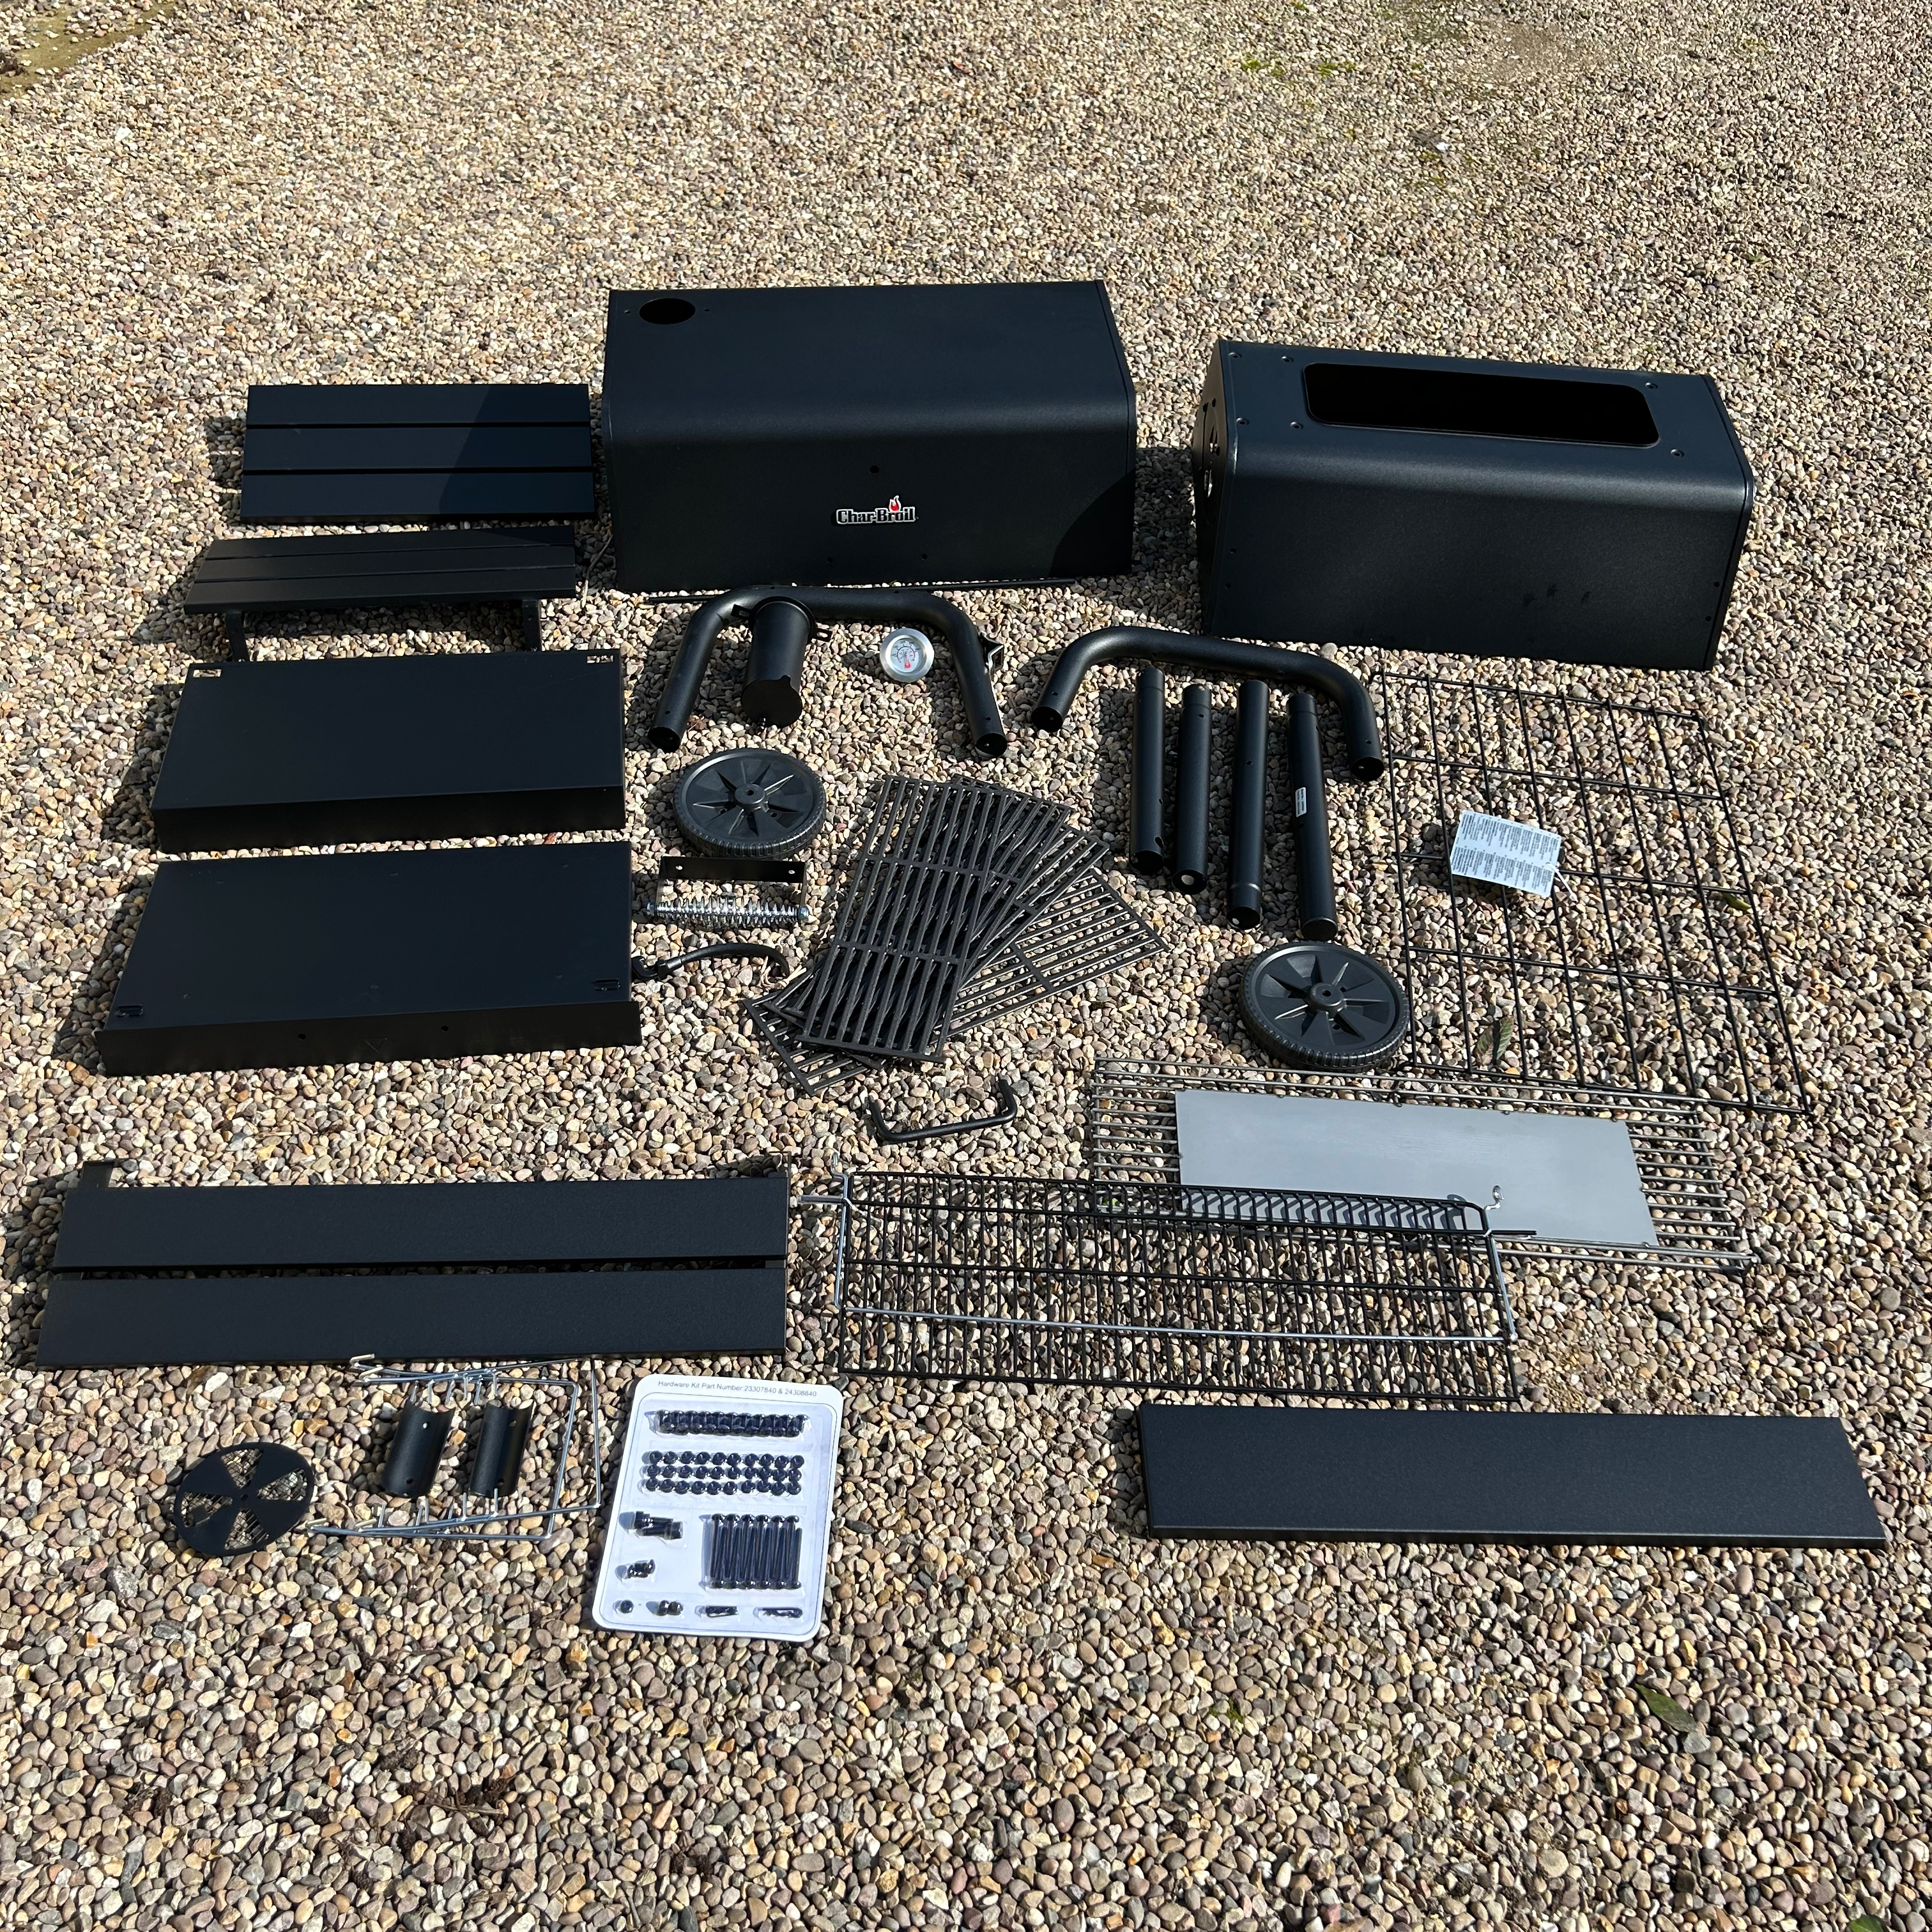
It took me 15 minutes to unpack everything from the box and I was dreading putting it together as there were a lot of bits! But in comparison to some other large BBQs I’ve assembled, it was pretty straightforward. Be aware you’ll need a screwdriver and an adjustable spanner, as these aren’t supplied.
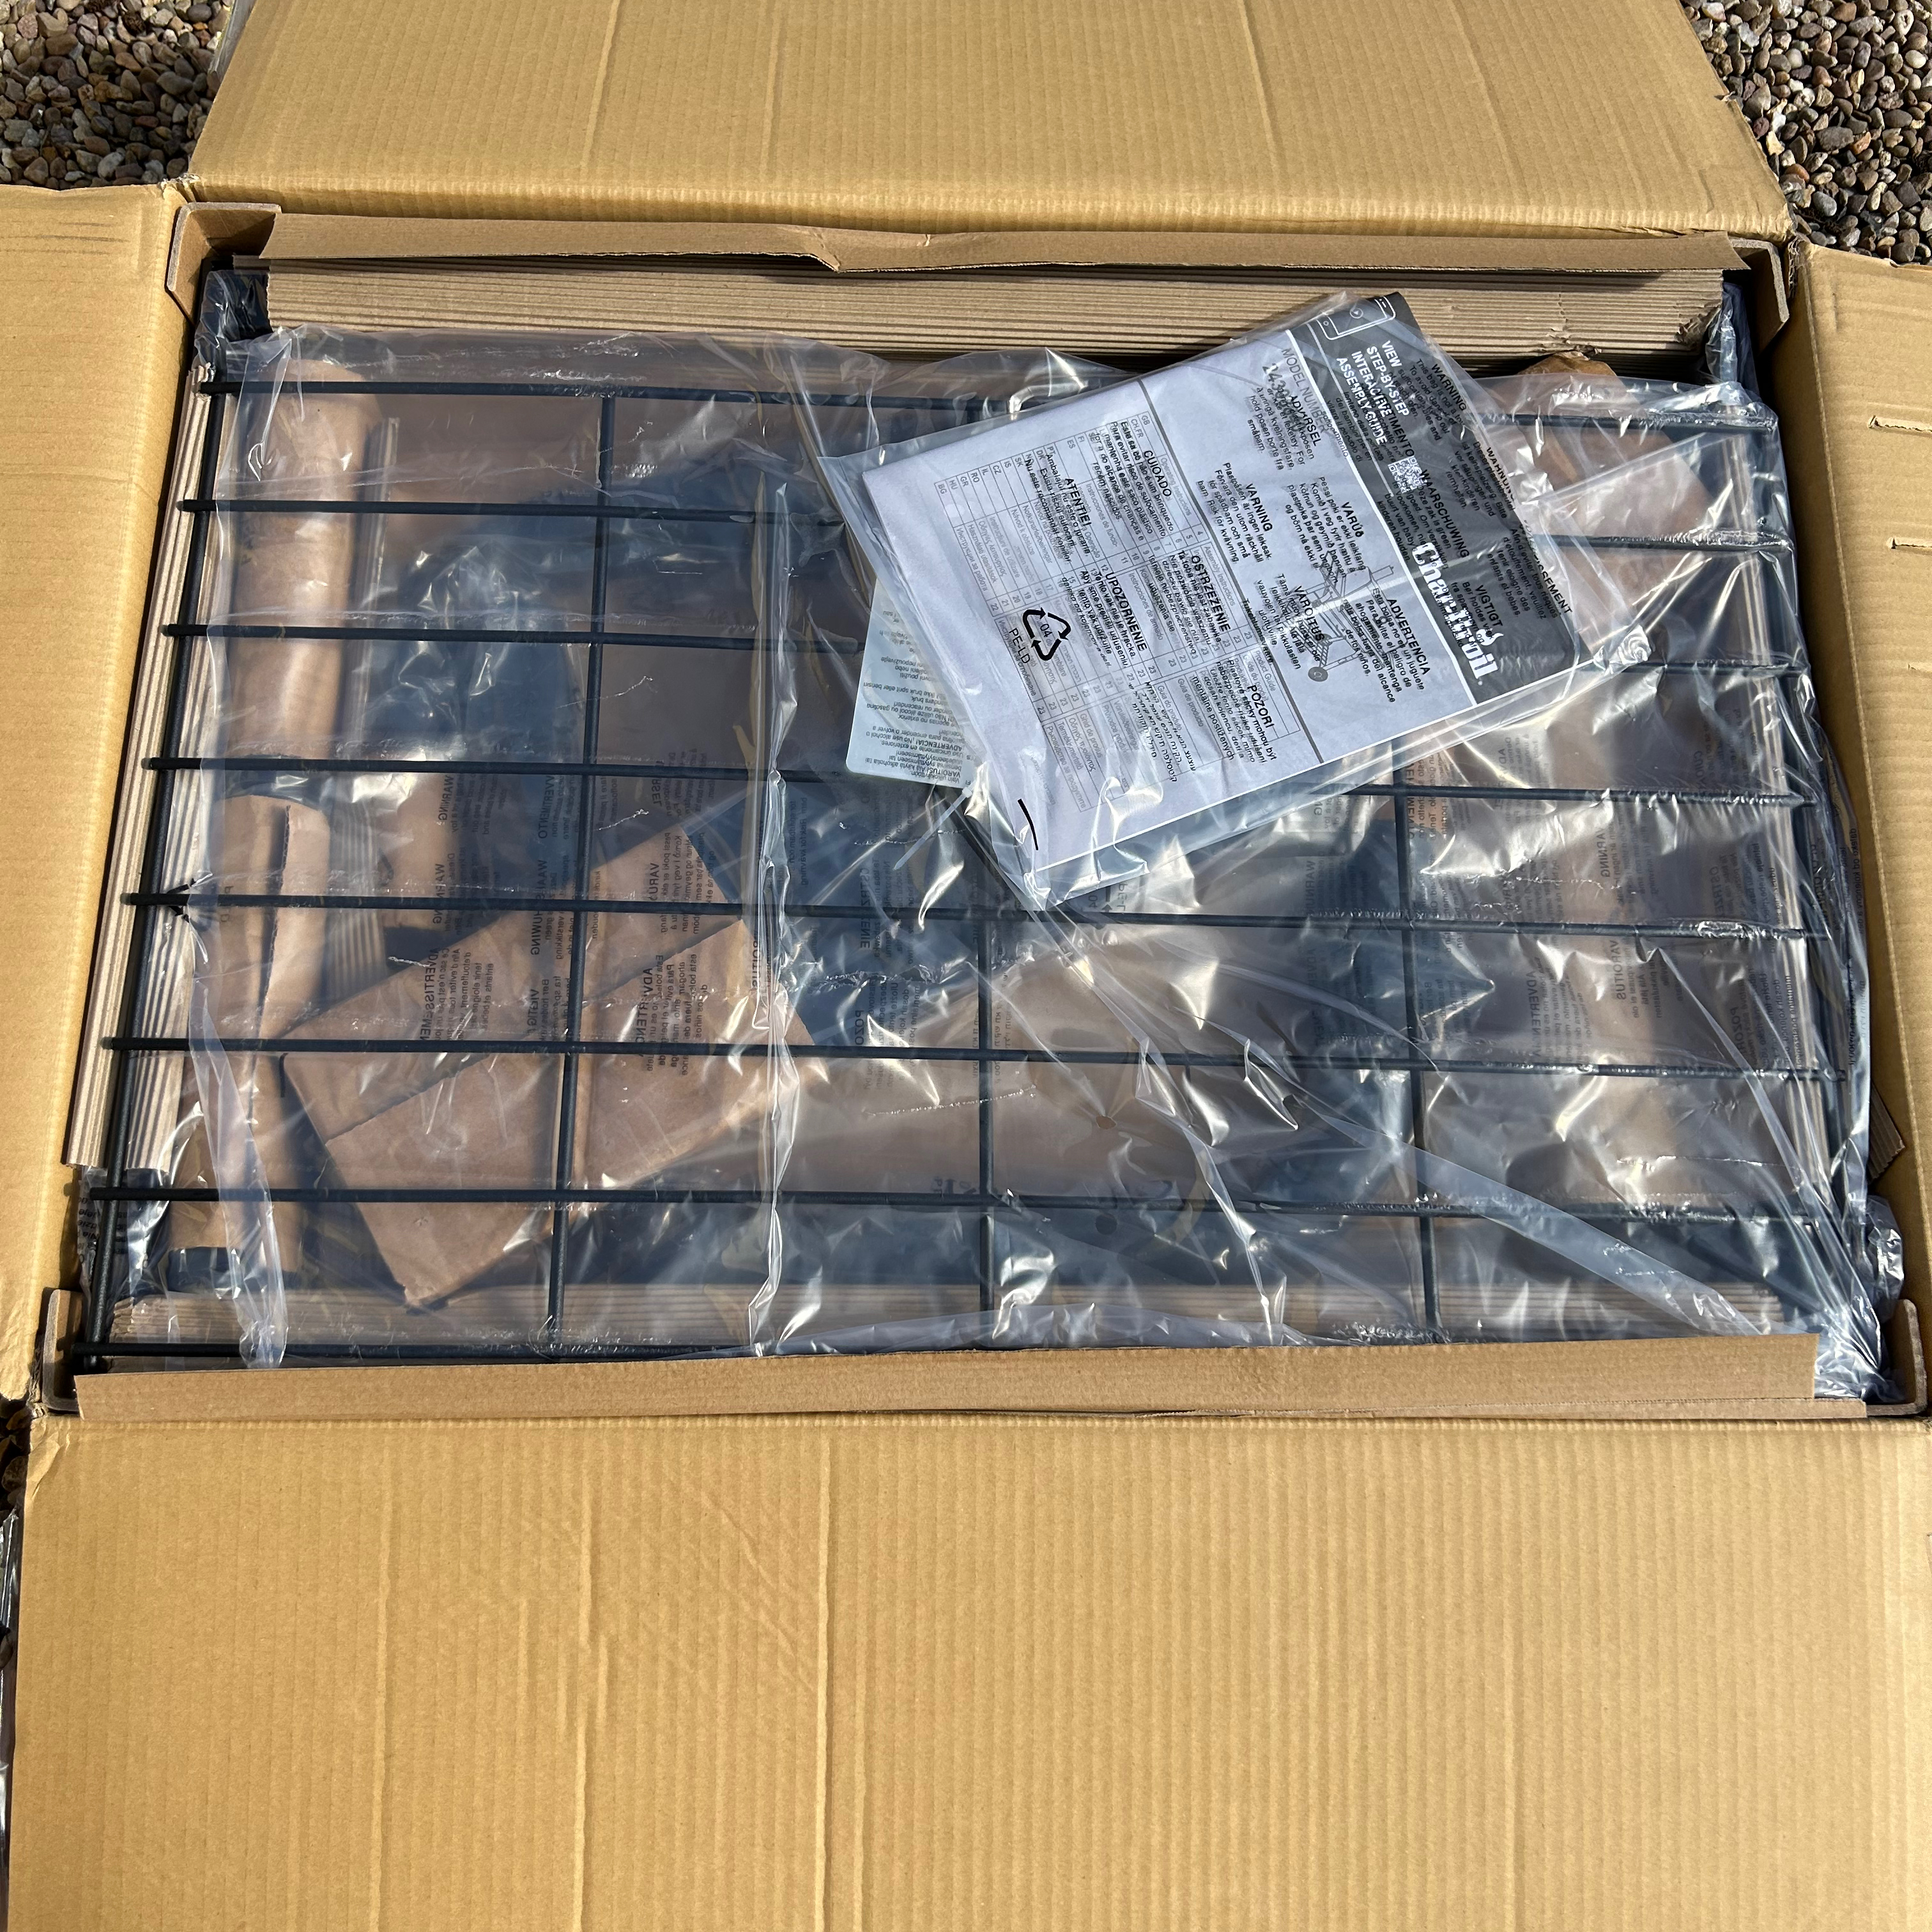
The instructions say it’s a two person job, but I managed to assemble it alone in 50 minutes. I didn’t find it difficult and the assembly instructions are easy to follow, so it was just a case of going through all the steps.
My first impression is that this is a strong, sturdy BBQ that’s built for feeding a crowd. It’s huge, and there’s plenty of cooking space including a warming rack above. I really like the two large side tables, plus there’s a smaller shelf at the front, so there’s no shortage of places to put things when you’re loading it up with raw food or getting ready to dish up.
The cooking area is split into four separate grates, making it easier to remove a section should you need to tend to the coals below. The grates are really thick and sturdy, so I doubt there’s any chance of them warping over time.

There’s a thermometer built into the lid. And an adjustable chimney so you can control the smoke level and air flow. Furthermore, the height of the charcoal grate can be adjusted, with three levels to choose from. So depending on what you’re cooking, you can set it up with the coals closer or further away from the food.
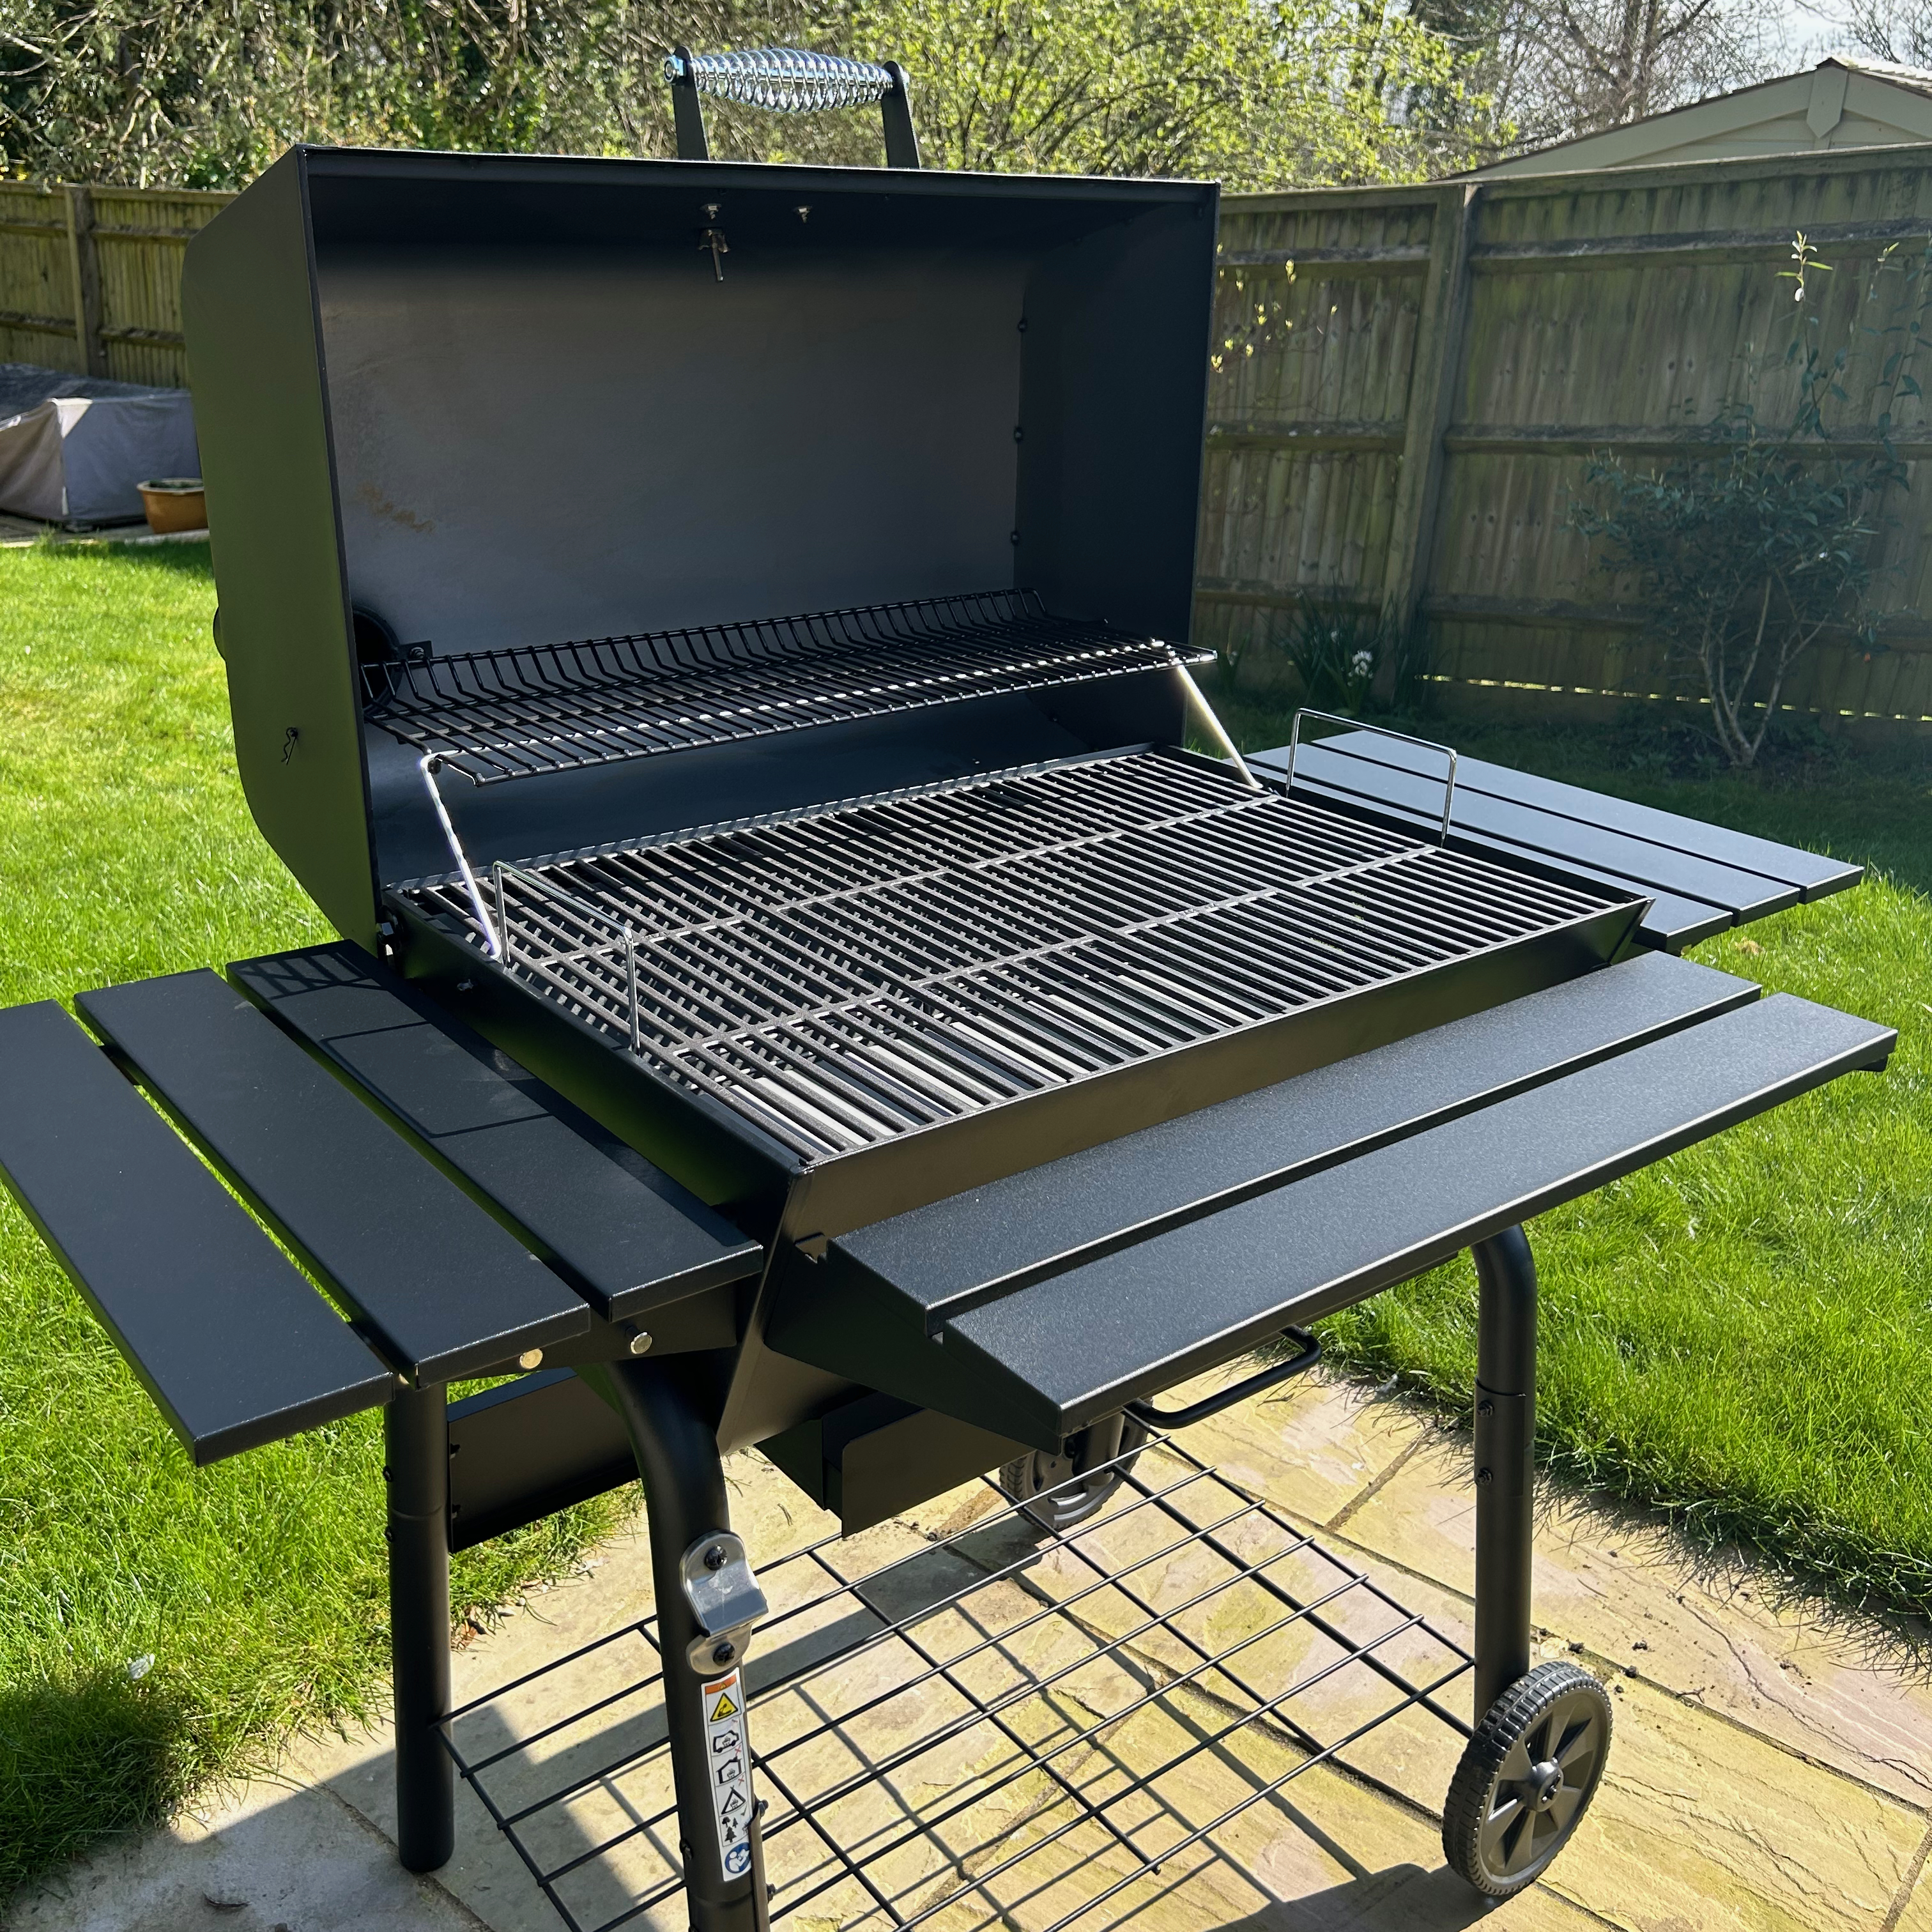
There are three hooks for your BBQ tools below the left shelf. It’s even got a built-in bottle opener, so you can open a cold beer while you BBQ. Everything I’d expect to see on a BBQ of this calibre is included.
Char-Broil also sent me a cover for the BBQ, it’s their extra wide grill cover. It’s an optional extra that’ll set you back just under £73 from the Char-Broil website. But it’s a great quality cover that stayed in place when we had a storm with winds in excess of 40mph.
What is it like to use?
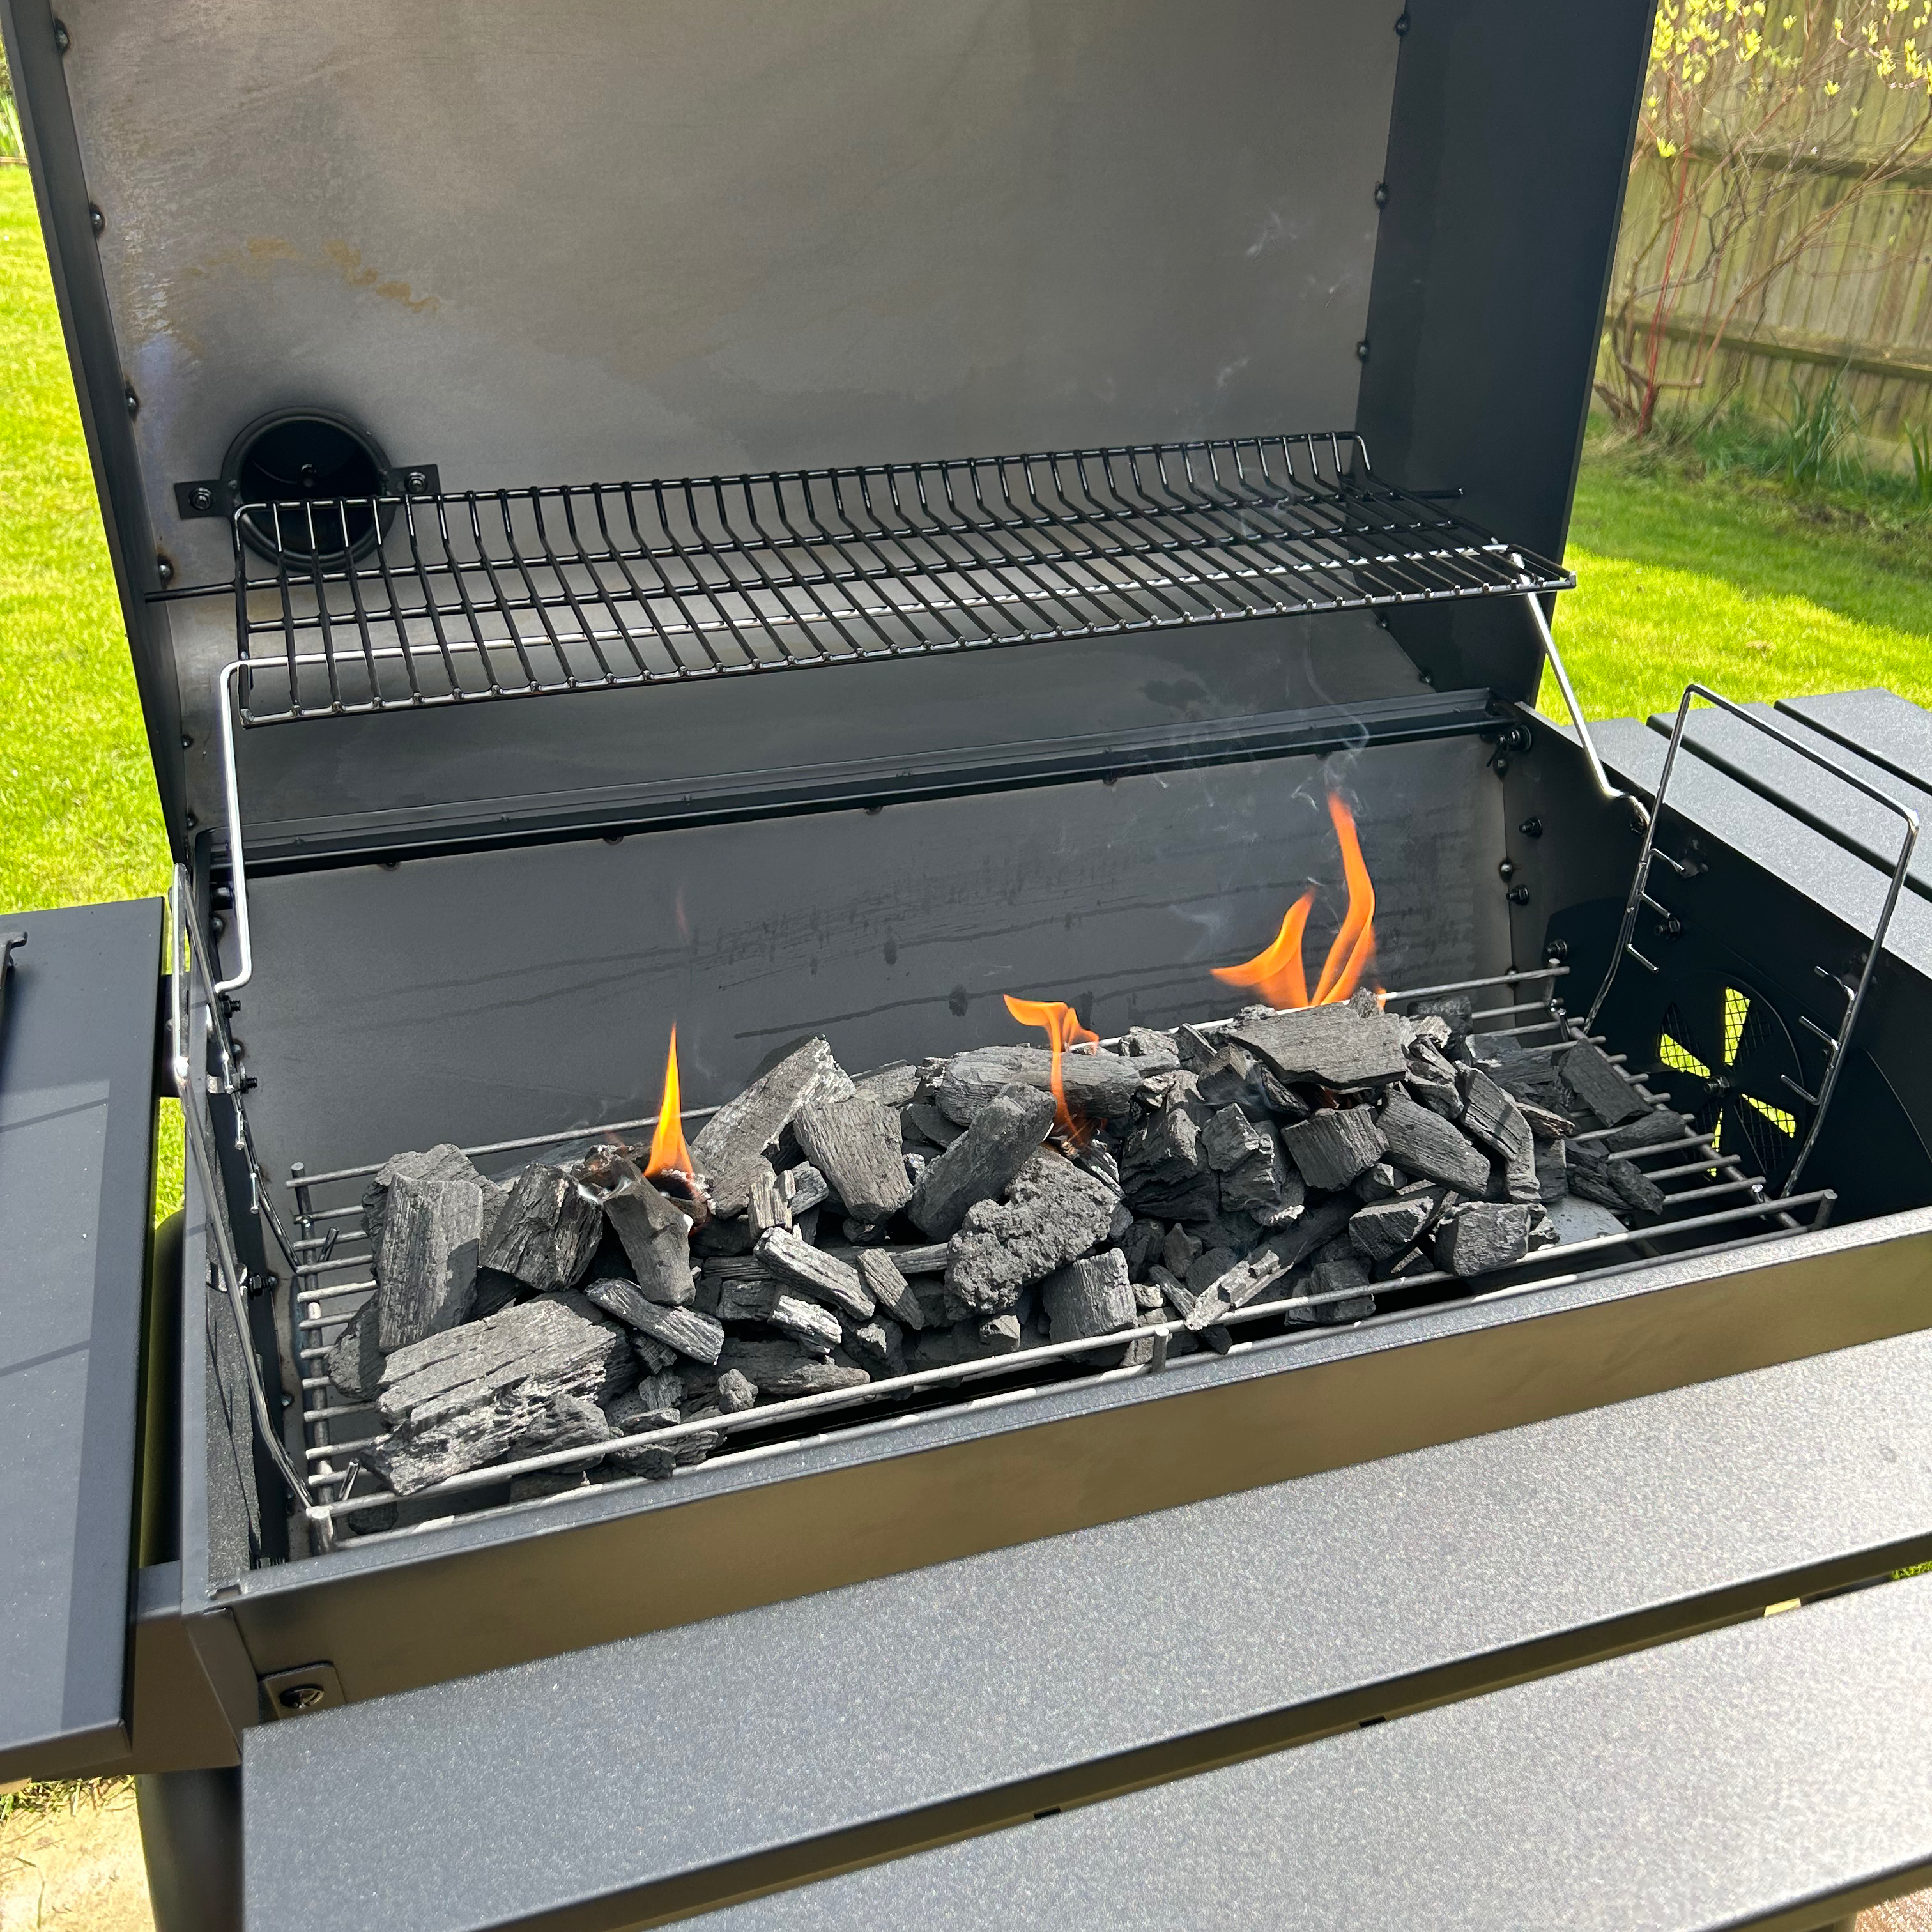
To get started with how to light this charcoal BBQ, I loaded up the grate, and since it’s about half the size of the cooking grate above it, it didn’t require as much charcoal as I expected for a BBQ of this stature. You do have to place the charcoal carefully onto the grate though, or the smaller pieces end up falling off the edge and into the ash area below.
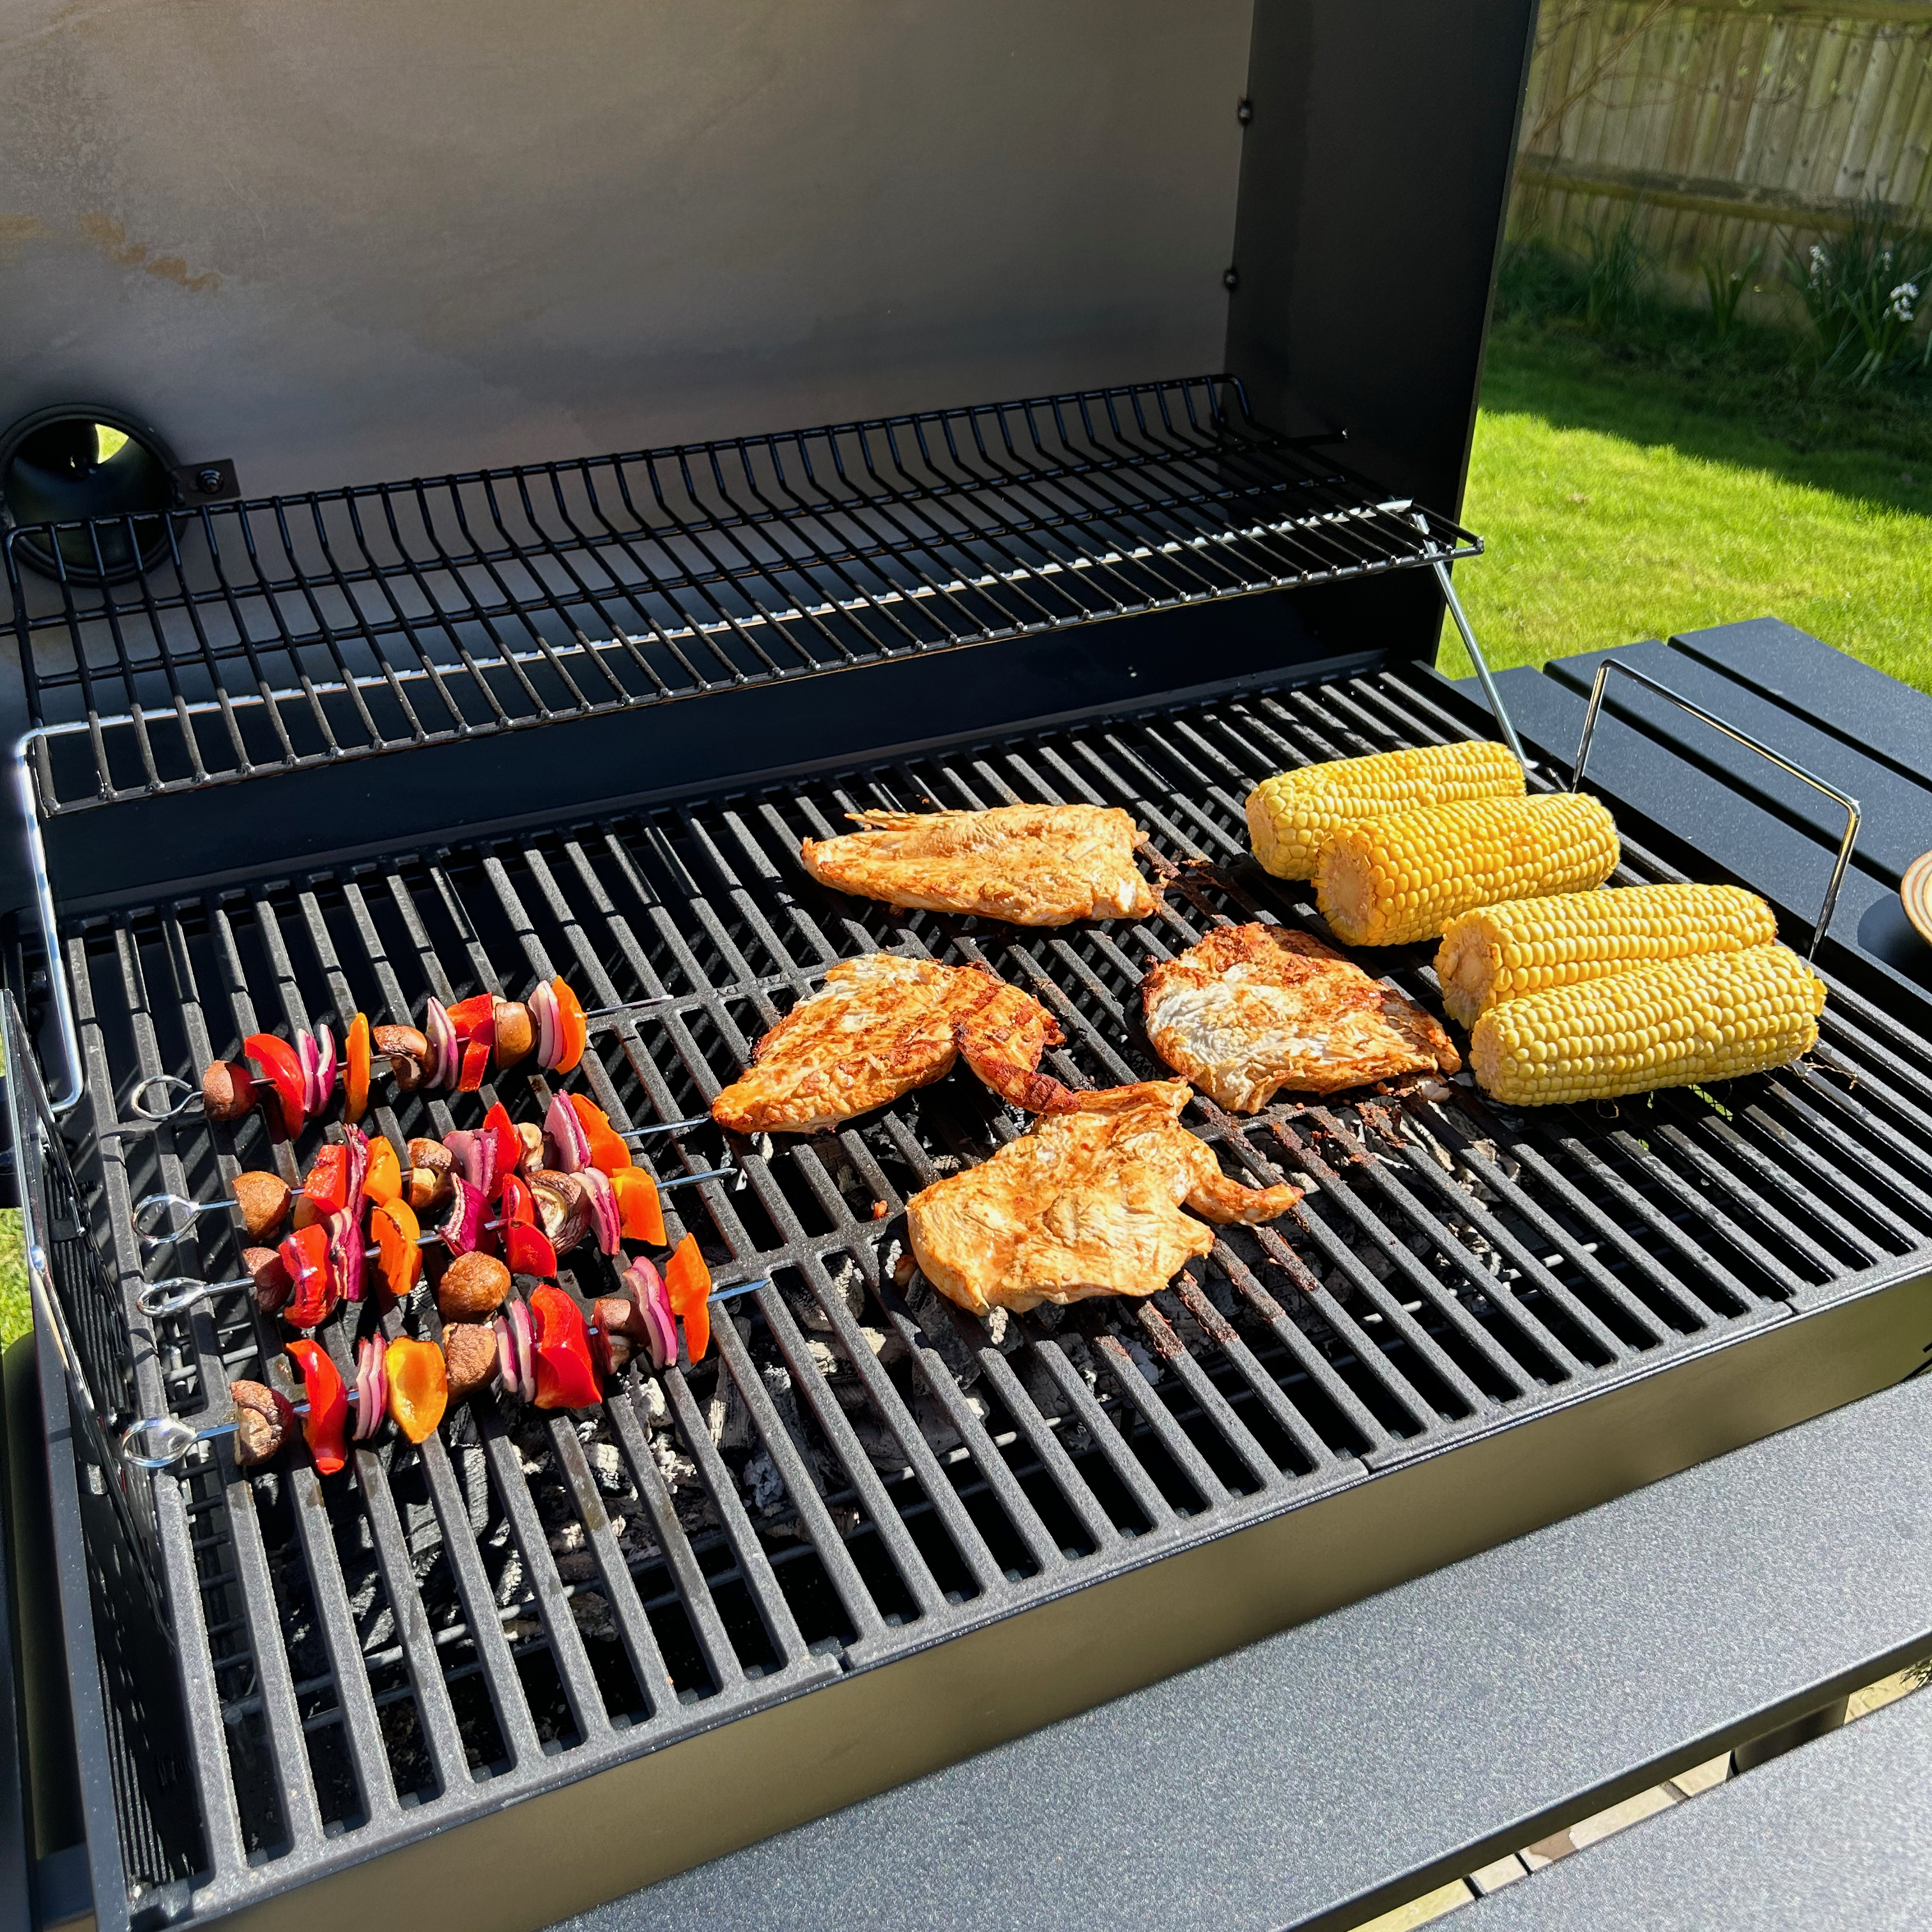
After lighting the charcoal and waiting for it to get hot enough, I added four corn on the cobs, four vegetable kebabs, four butterfly chicken breasts, and later a block of halloumi sliced up. There was plenty of space for all this food, in fact, I could easily have added more.
When I tried to turn the chicken, it had stuck quite badly to the cooking grate. This could be because the grate is new and needs time to become seasoned. Or it could be because I didn’t oil the chicken. It’s worth noting though that nothing else stuck to it on this or any other time I used it.
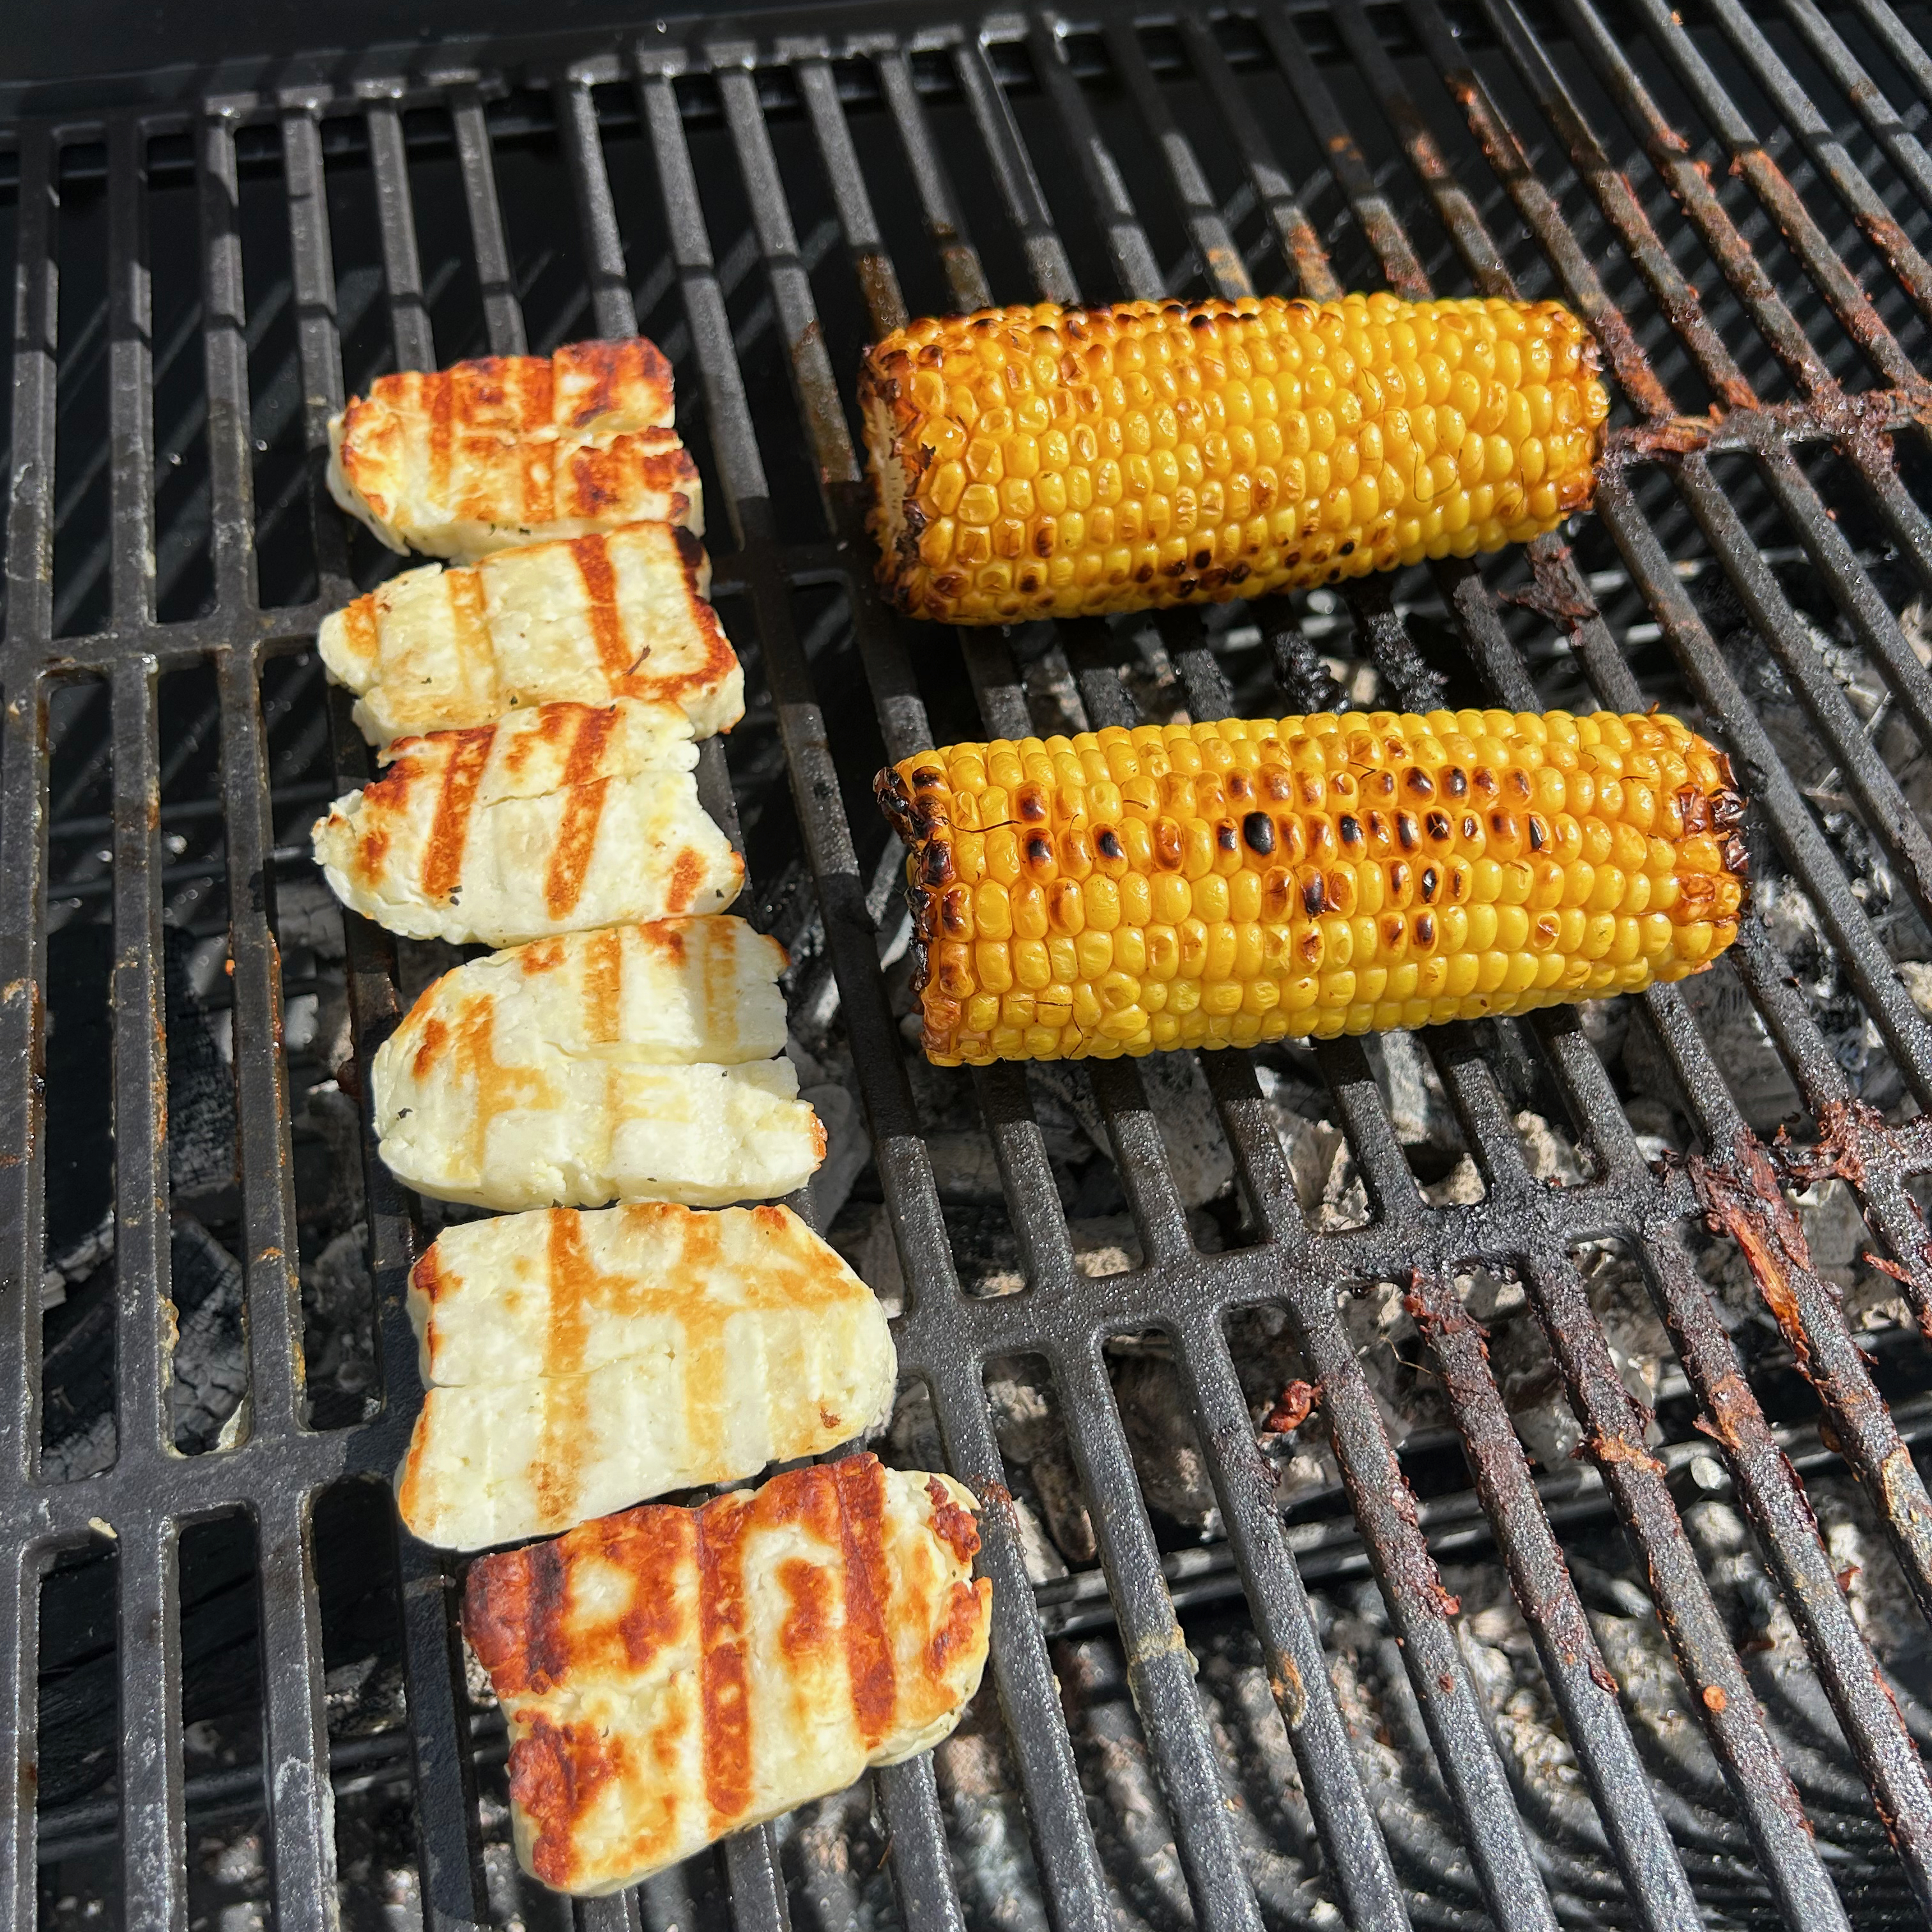
The cooking grate is thick, so it creates very well defined bar marks. And when a couple of vegetable pieces fell off the end of my kebab skewers, they didn’t fall down into the hot coals because the gaps between the bars are quite narrow.
I tried to cook with the lid closed as much as possible, to keep in all the smokey BBQ flavours. Initially I expected the whole grate to get very hot, so I spread the food out. But during cooking, I discovered that the grate was hottest directly above the coals, and significantly cooler around the edges.
Consequently, my chicken in the centre of the grate, cooked very fast, meanwhile the corn on the cob at the side struggled to cook. Eventually though, I got the hang of it and once I started rotating everything around, it all cooked really nicely.
Having hot and cool spots on a BBQ is actually great because you can rotate foods around to make use of the cooler areas for a more even cook and to ensure everything is ready to dish up at the same time. It reduces the possibility of that classic British burnt BBQ result that we’re all so familiar with.
Once my chicken and vegetable kebabs were cooked I popped them on the warming rack while I finished off the corn and halloumi. The warming rack is handy to have but you do need to be careful to not leave things on there for too long, or they’ll start to dry out. I certainly noticed my chicken was starting to go a bit dry at the edges, so I removed it before it got worse.
The shelves either side and in front of the BBQ provide loads of space for dishes and seasonings. They’re really useful, but they do add to its size, which is certainly something to keep in mind if you don’t have a huge patio.
The second time I lit it was a chilly breezy day but I got it burning okay. What I would say though is that the charcoal grate doesn’t allow you to pile up the charcoal into a big heap. It’s naturally in a thinner layer due to the shape of the grate. As a result of this, I noticed that I wasn't able to get it to hold the heat as well, or for as long as I would like.
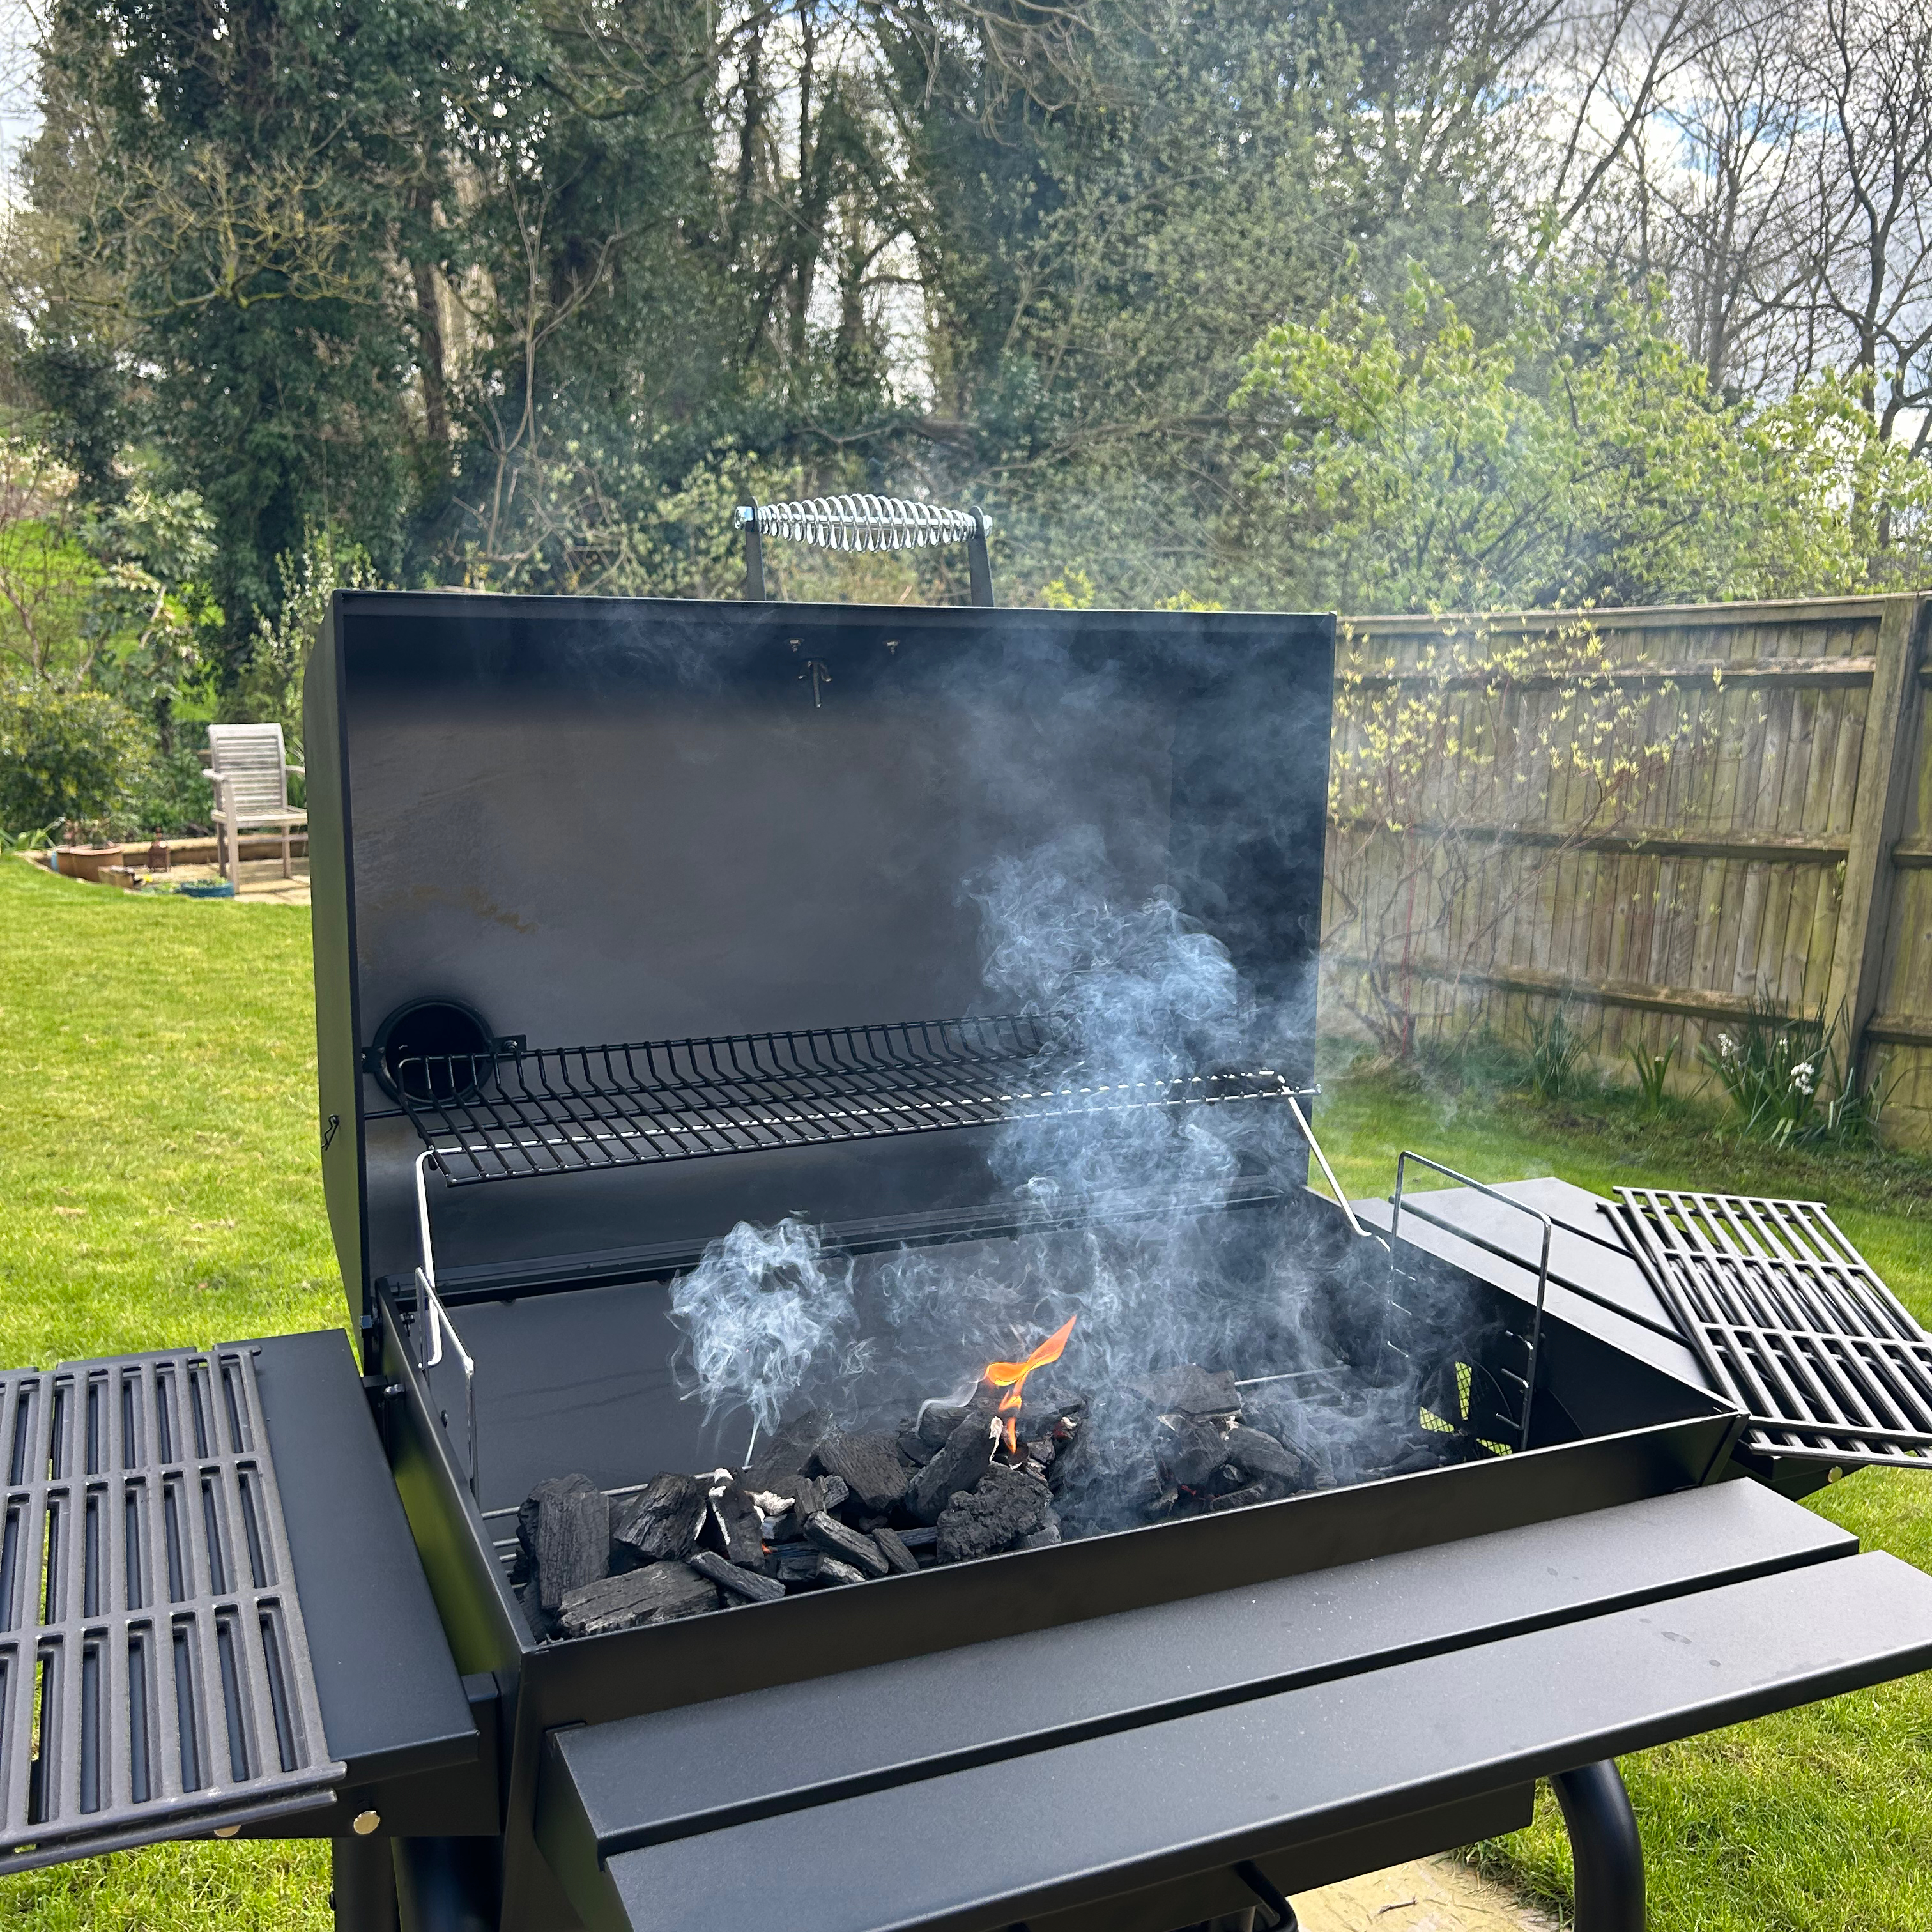
It might be that I need to experiment with different types of charcoal that burn hotter or are easier to pile up higher on this style of charcoal grate. I was using very good quality premium lumpwood charcoal, but it had been in the shed all winter so may not have been as dry as it appeared to be. That said, for best results I still think this charcoal grate requires a bit of a considered approach to piling up the charcoal for best results.
However I did make use of the option to lift the grate during cooking. This meant the charcoal was closer to the food, which made the most of the heat. The side handles were hot, so I had to use oven gloves, but it wasn’t difficult to move it up a level, even with the cooking grates in situ.
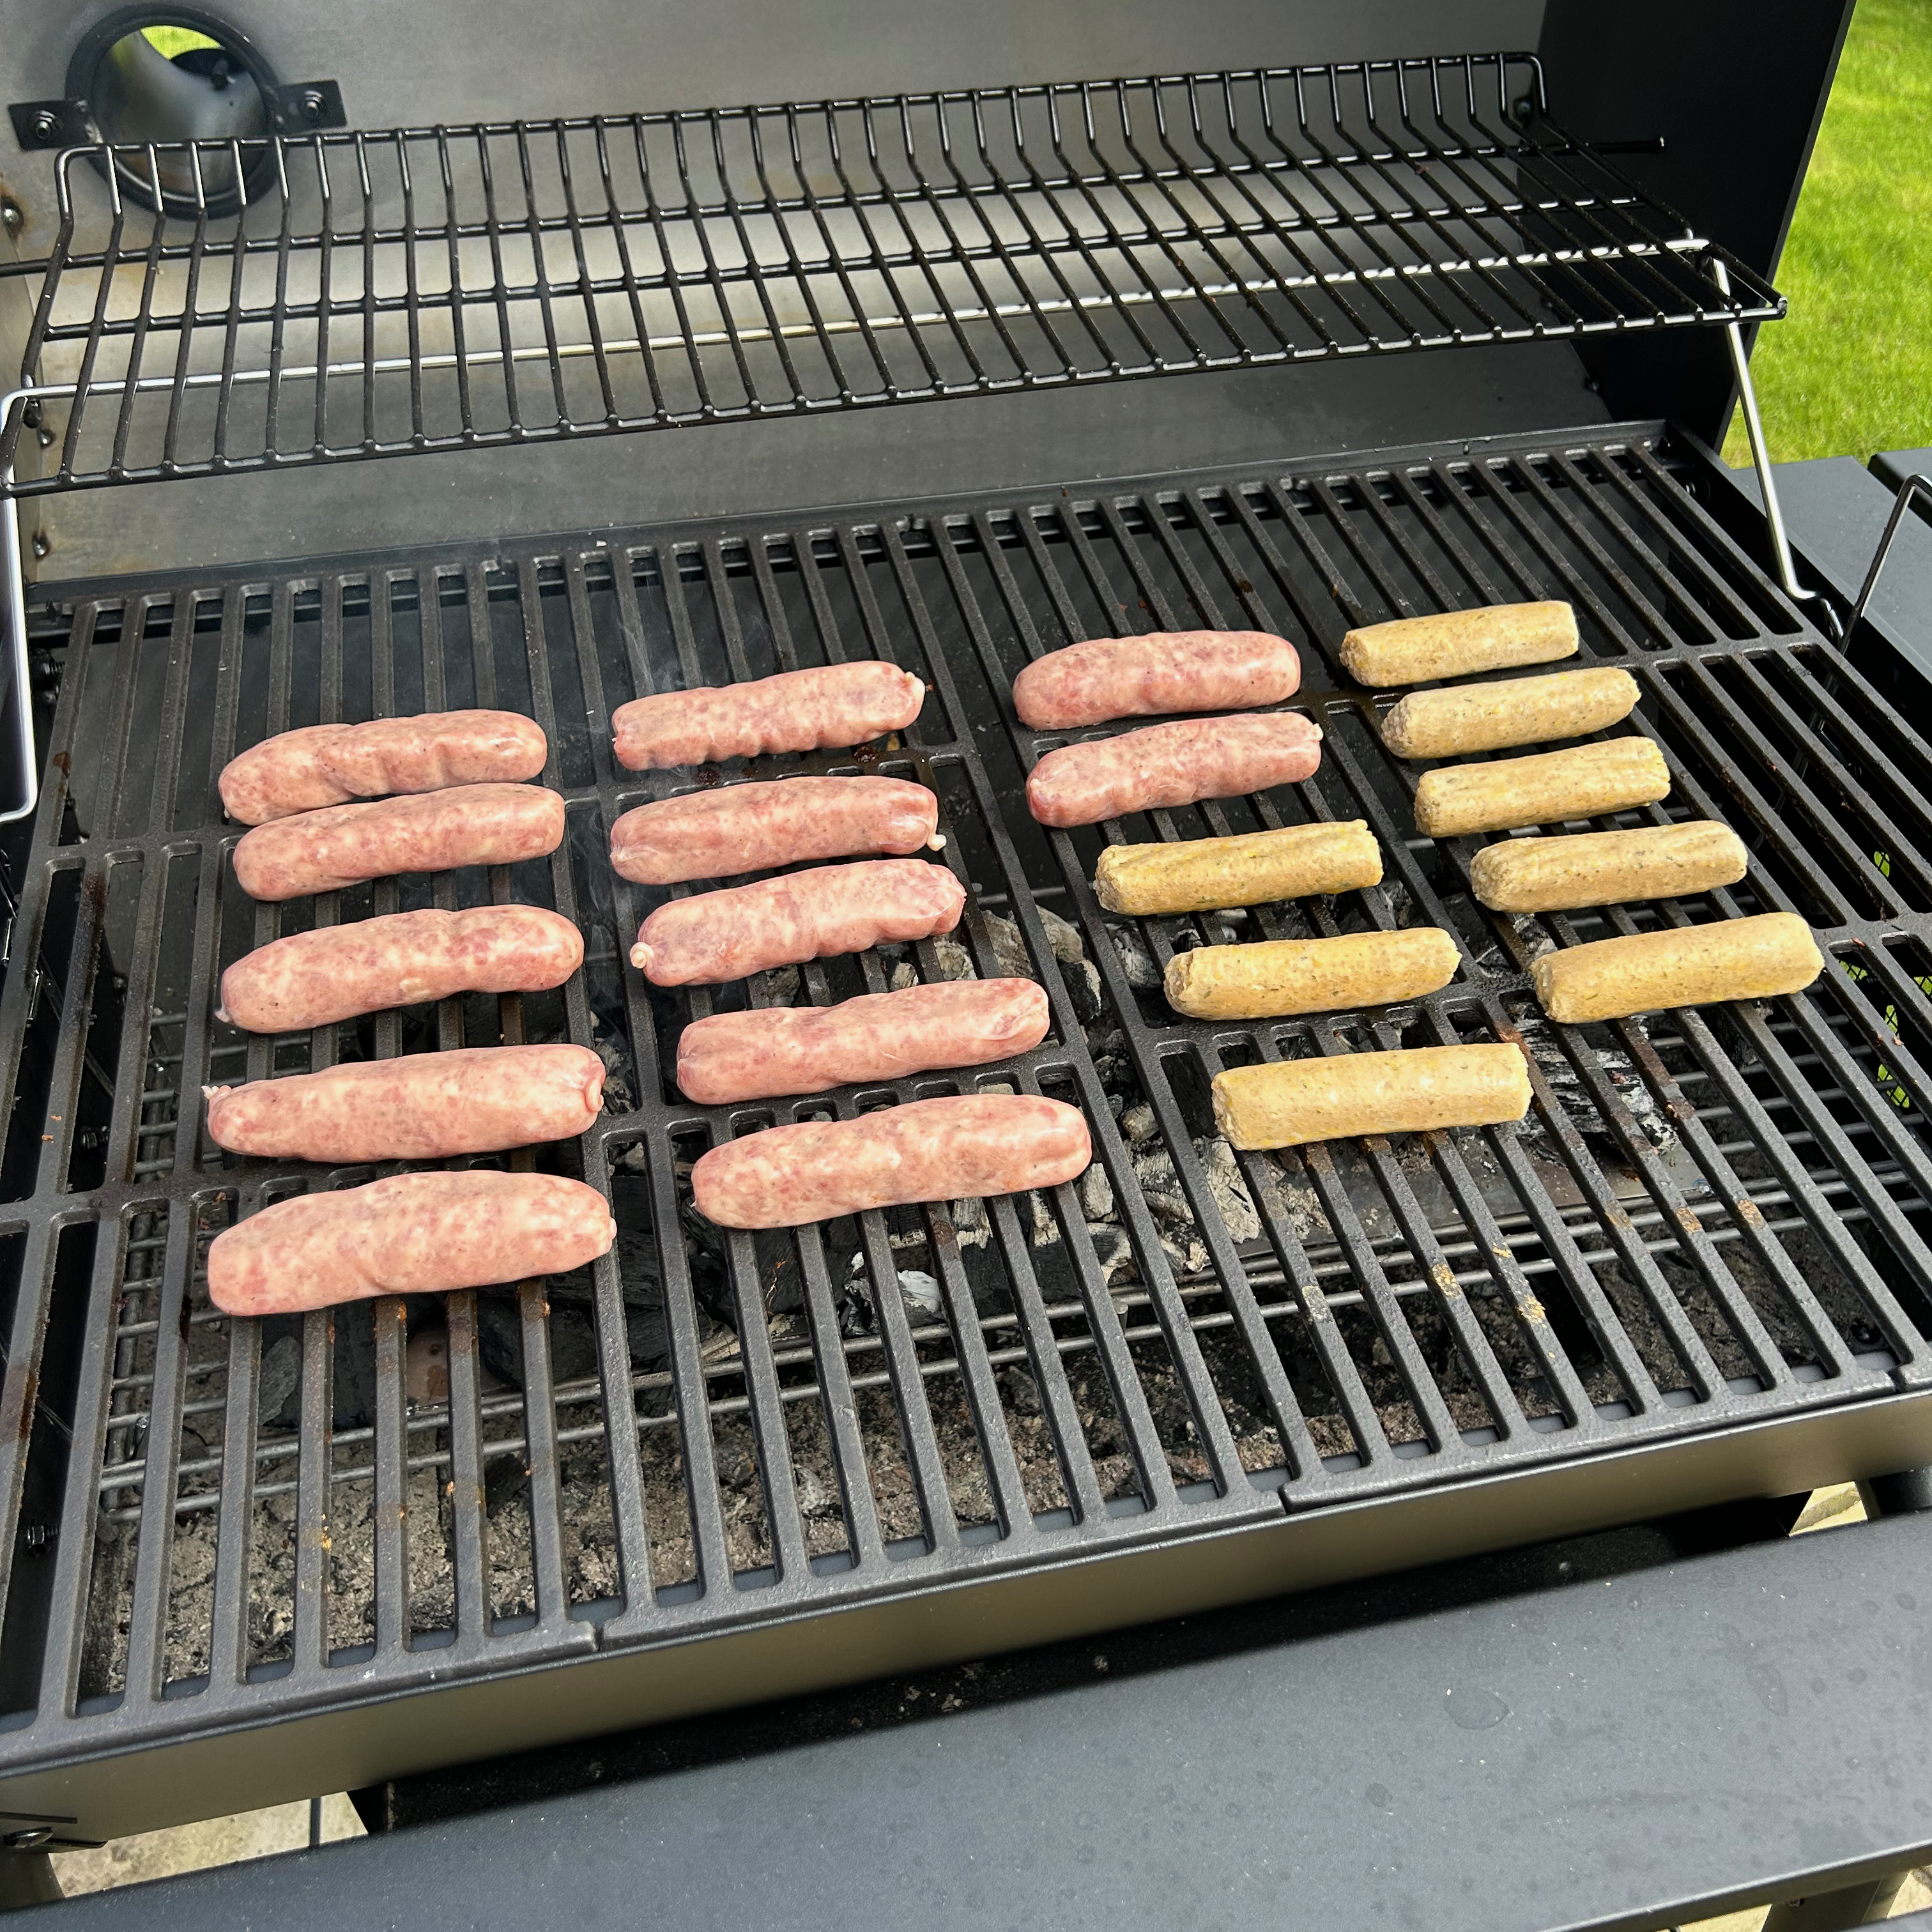
I loaded up the cooking grate with twelve meat sausages and eight veggie sausages. This was plenty to feed a crowd of people tasty hotdogs, yet there was so much space left, I could have added double the number of sausages.
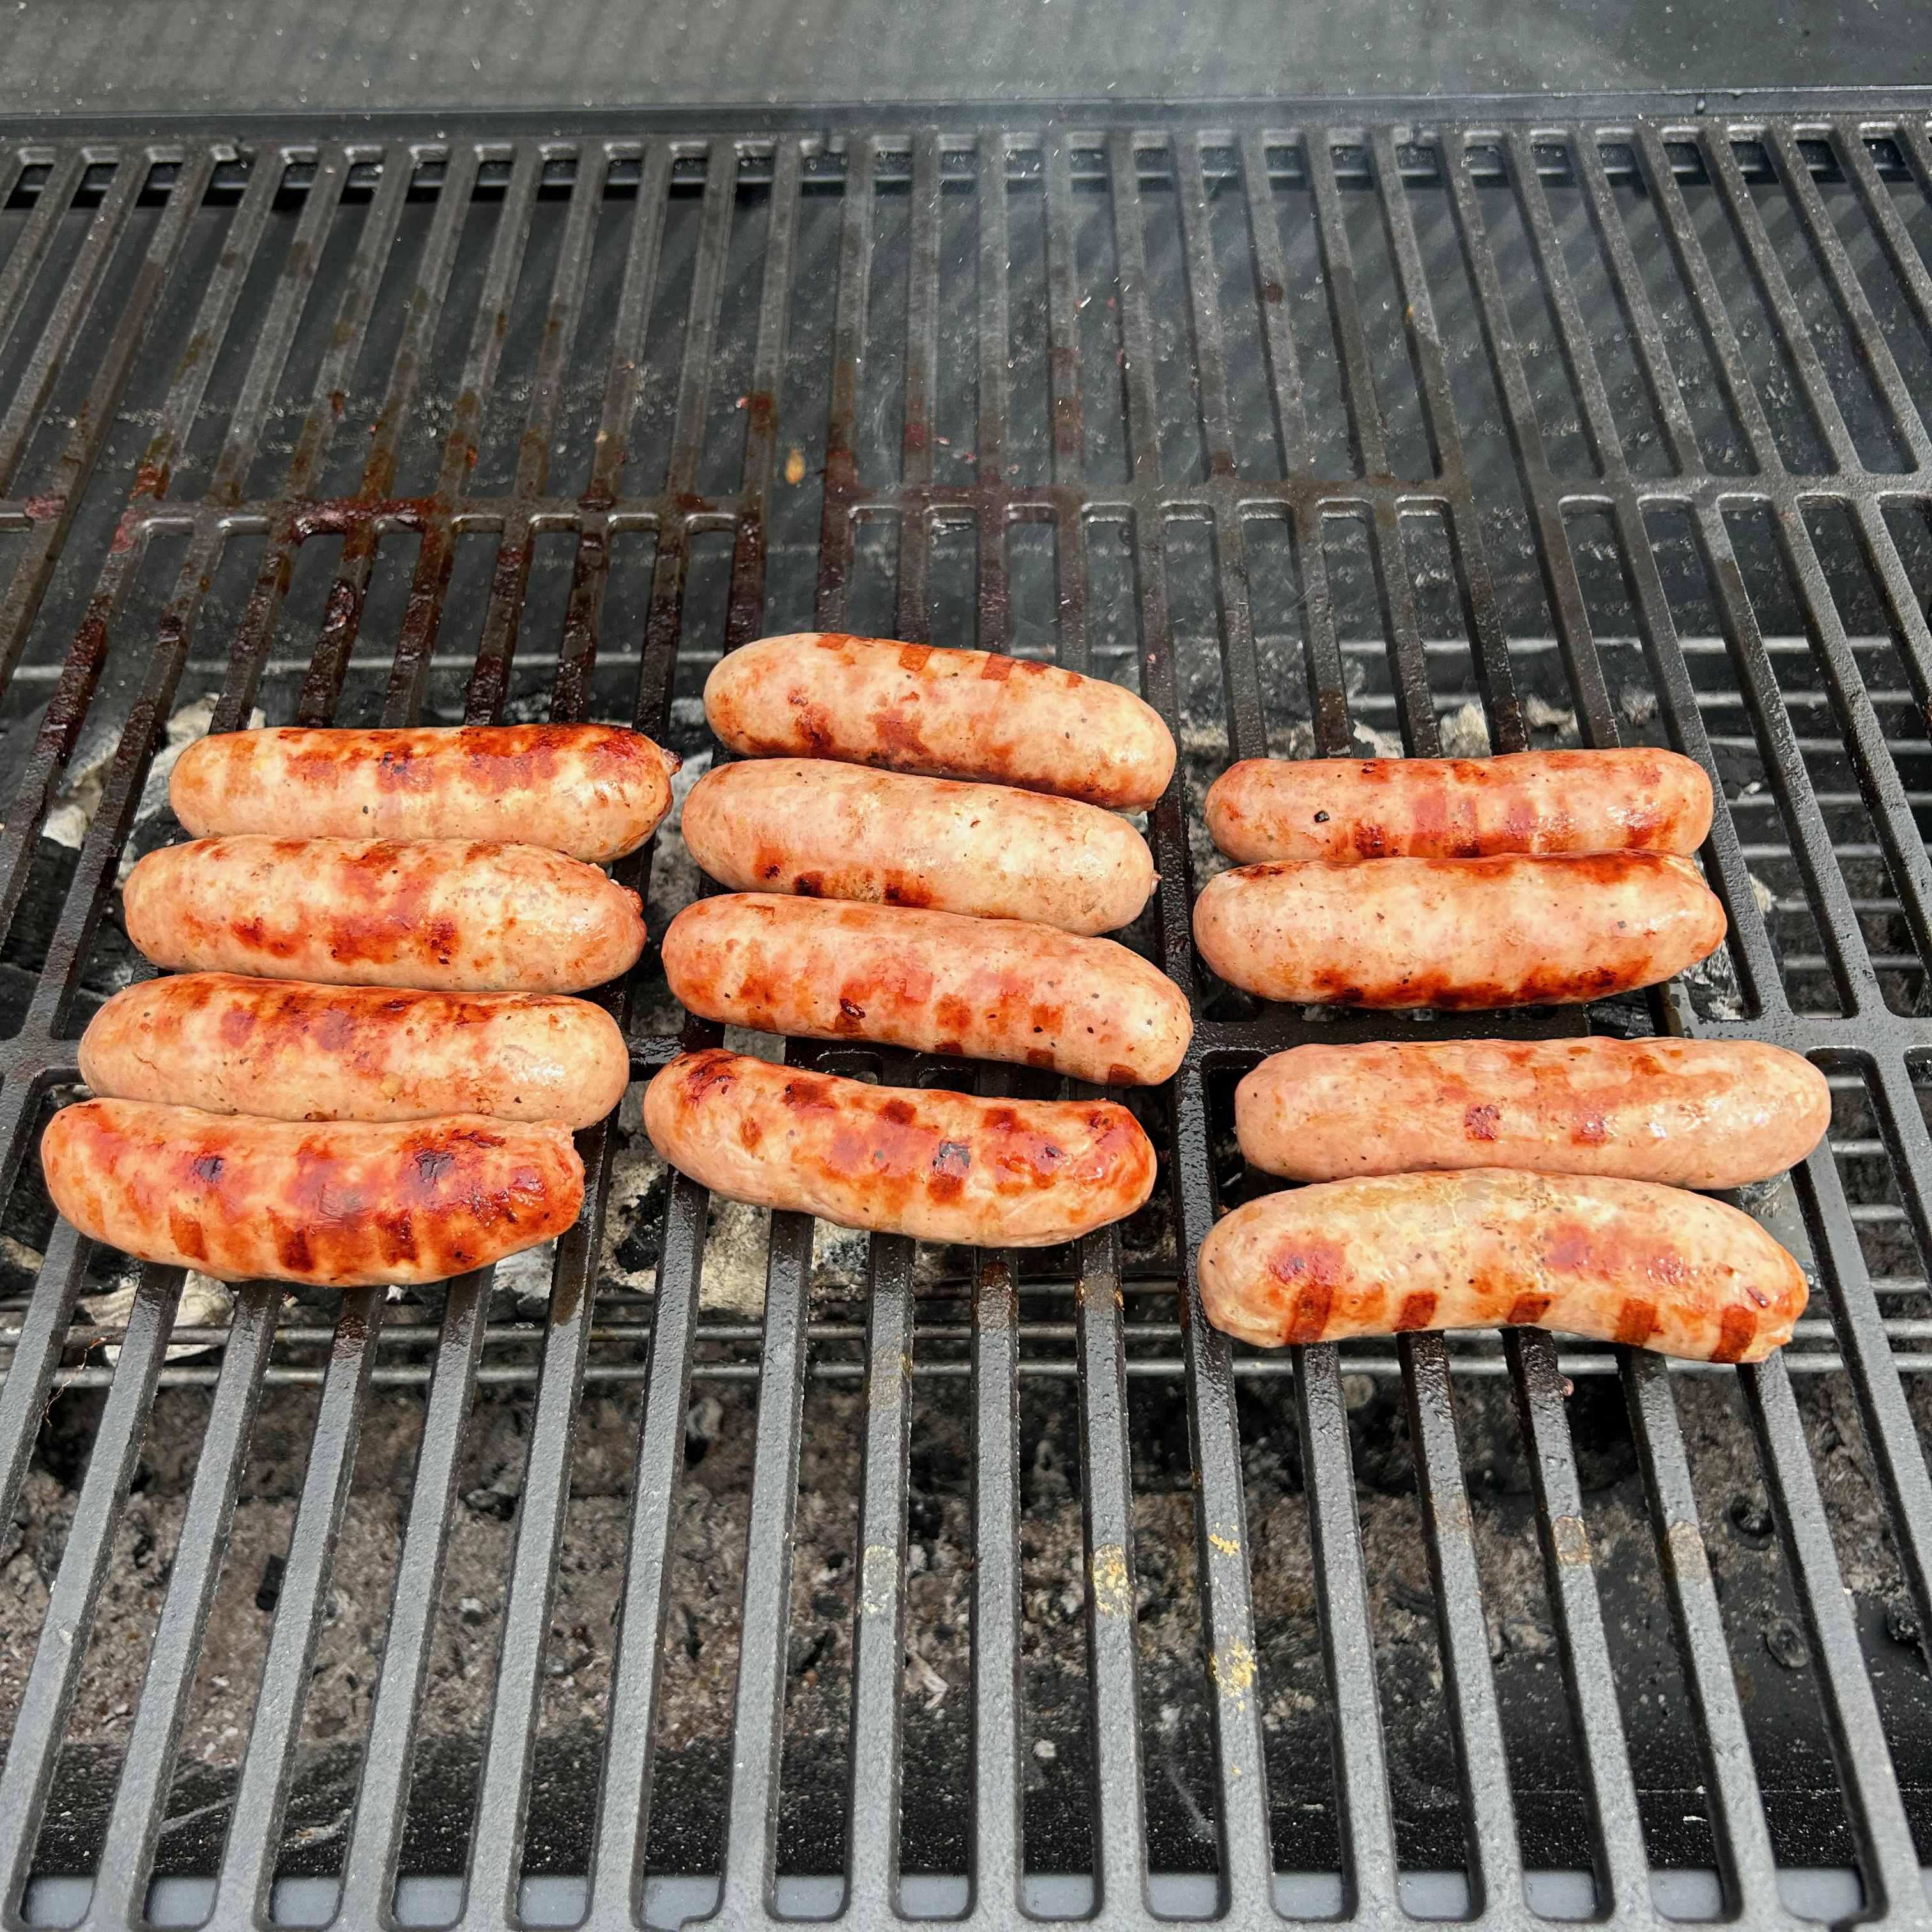
The sausages cooked beautifully, they were thoroughly cooked with lovely defined bar marks and no burning. They took longer to cook than I expected, but I didn’t mind because I’d rather wait a bit longer for a perfectly barbecued sausage than end up with one that’s burnt on the outside and raw in the middle.
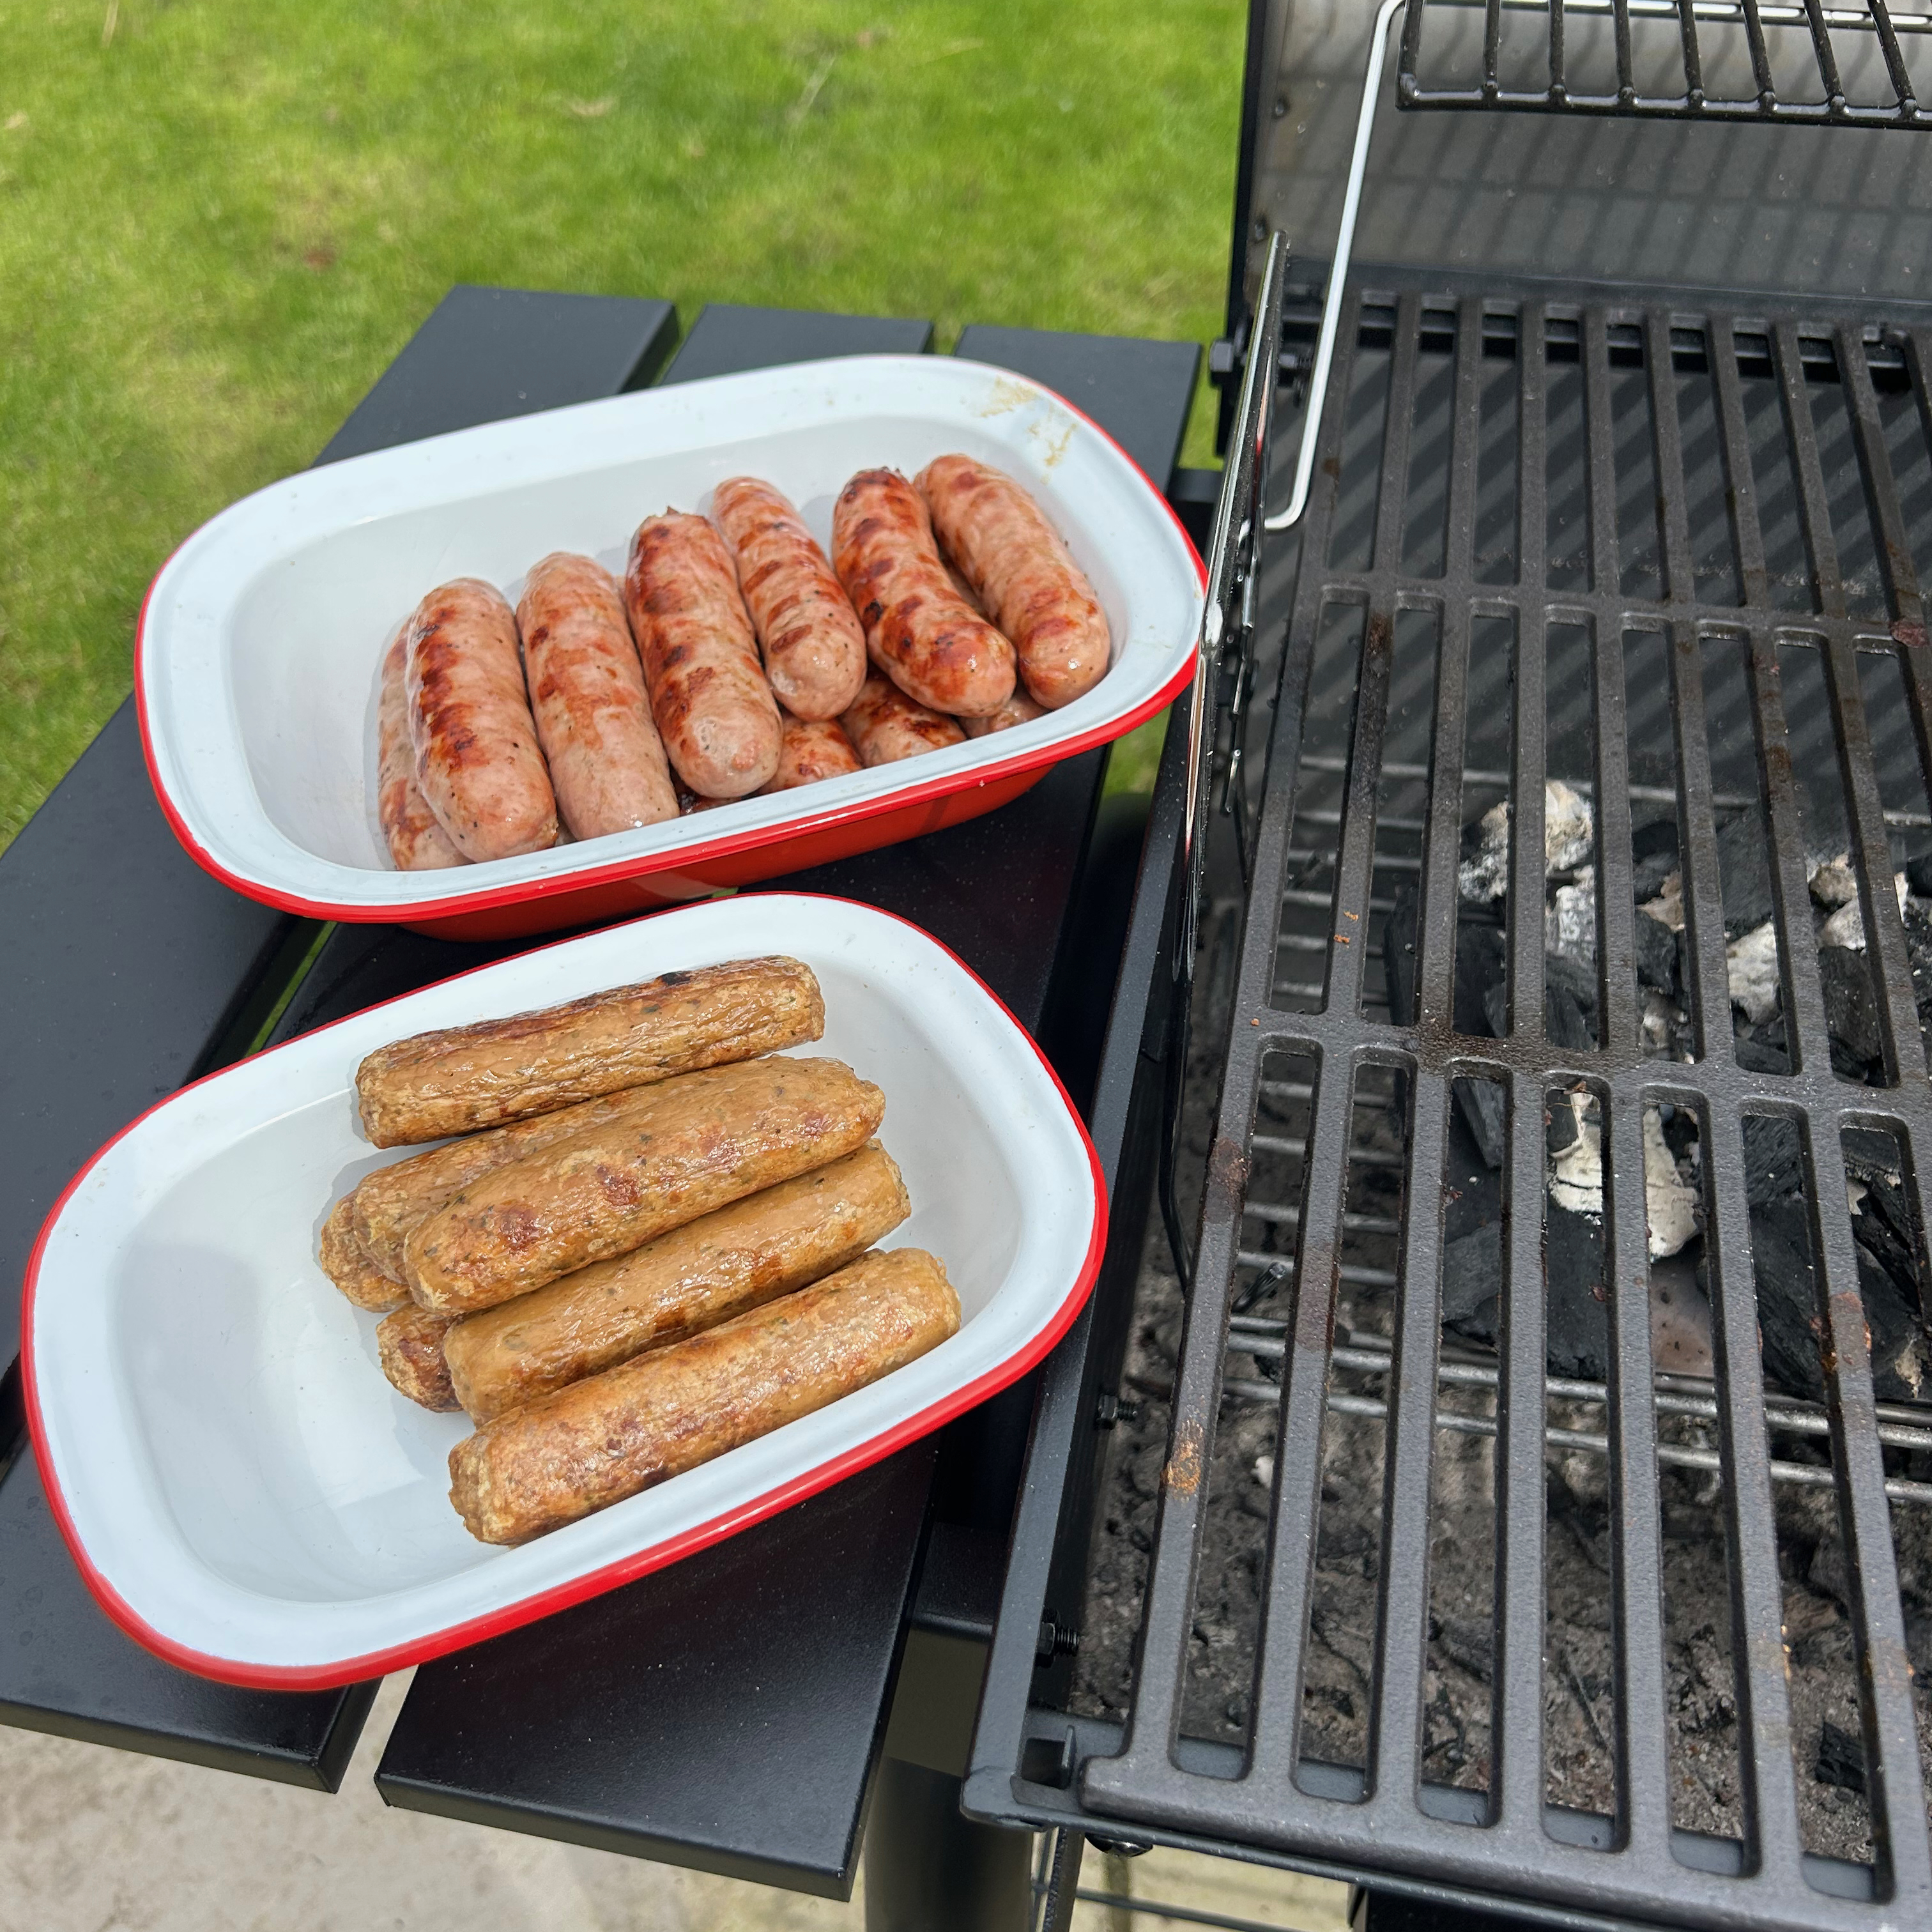
All in all I was pleased with the results I got when cooking on this BBQ. But I still think I need to have a few more BBQs to perfect the way I load up the charcoal grate, to ensure it gets hot enough and that it can hold the heat for as long as possible.
What's it like to clean?
Maybe it’s just me, but I’m not really one to put much effort into cleaning a charcoal BBQ. I take the approach that any residues left on the grate will burn off next time. My chicken stuck to the grate, so there were some dried meaty residues after my first BBQ, but they easily scraped off the next time I lit it.
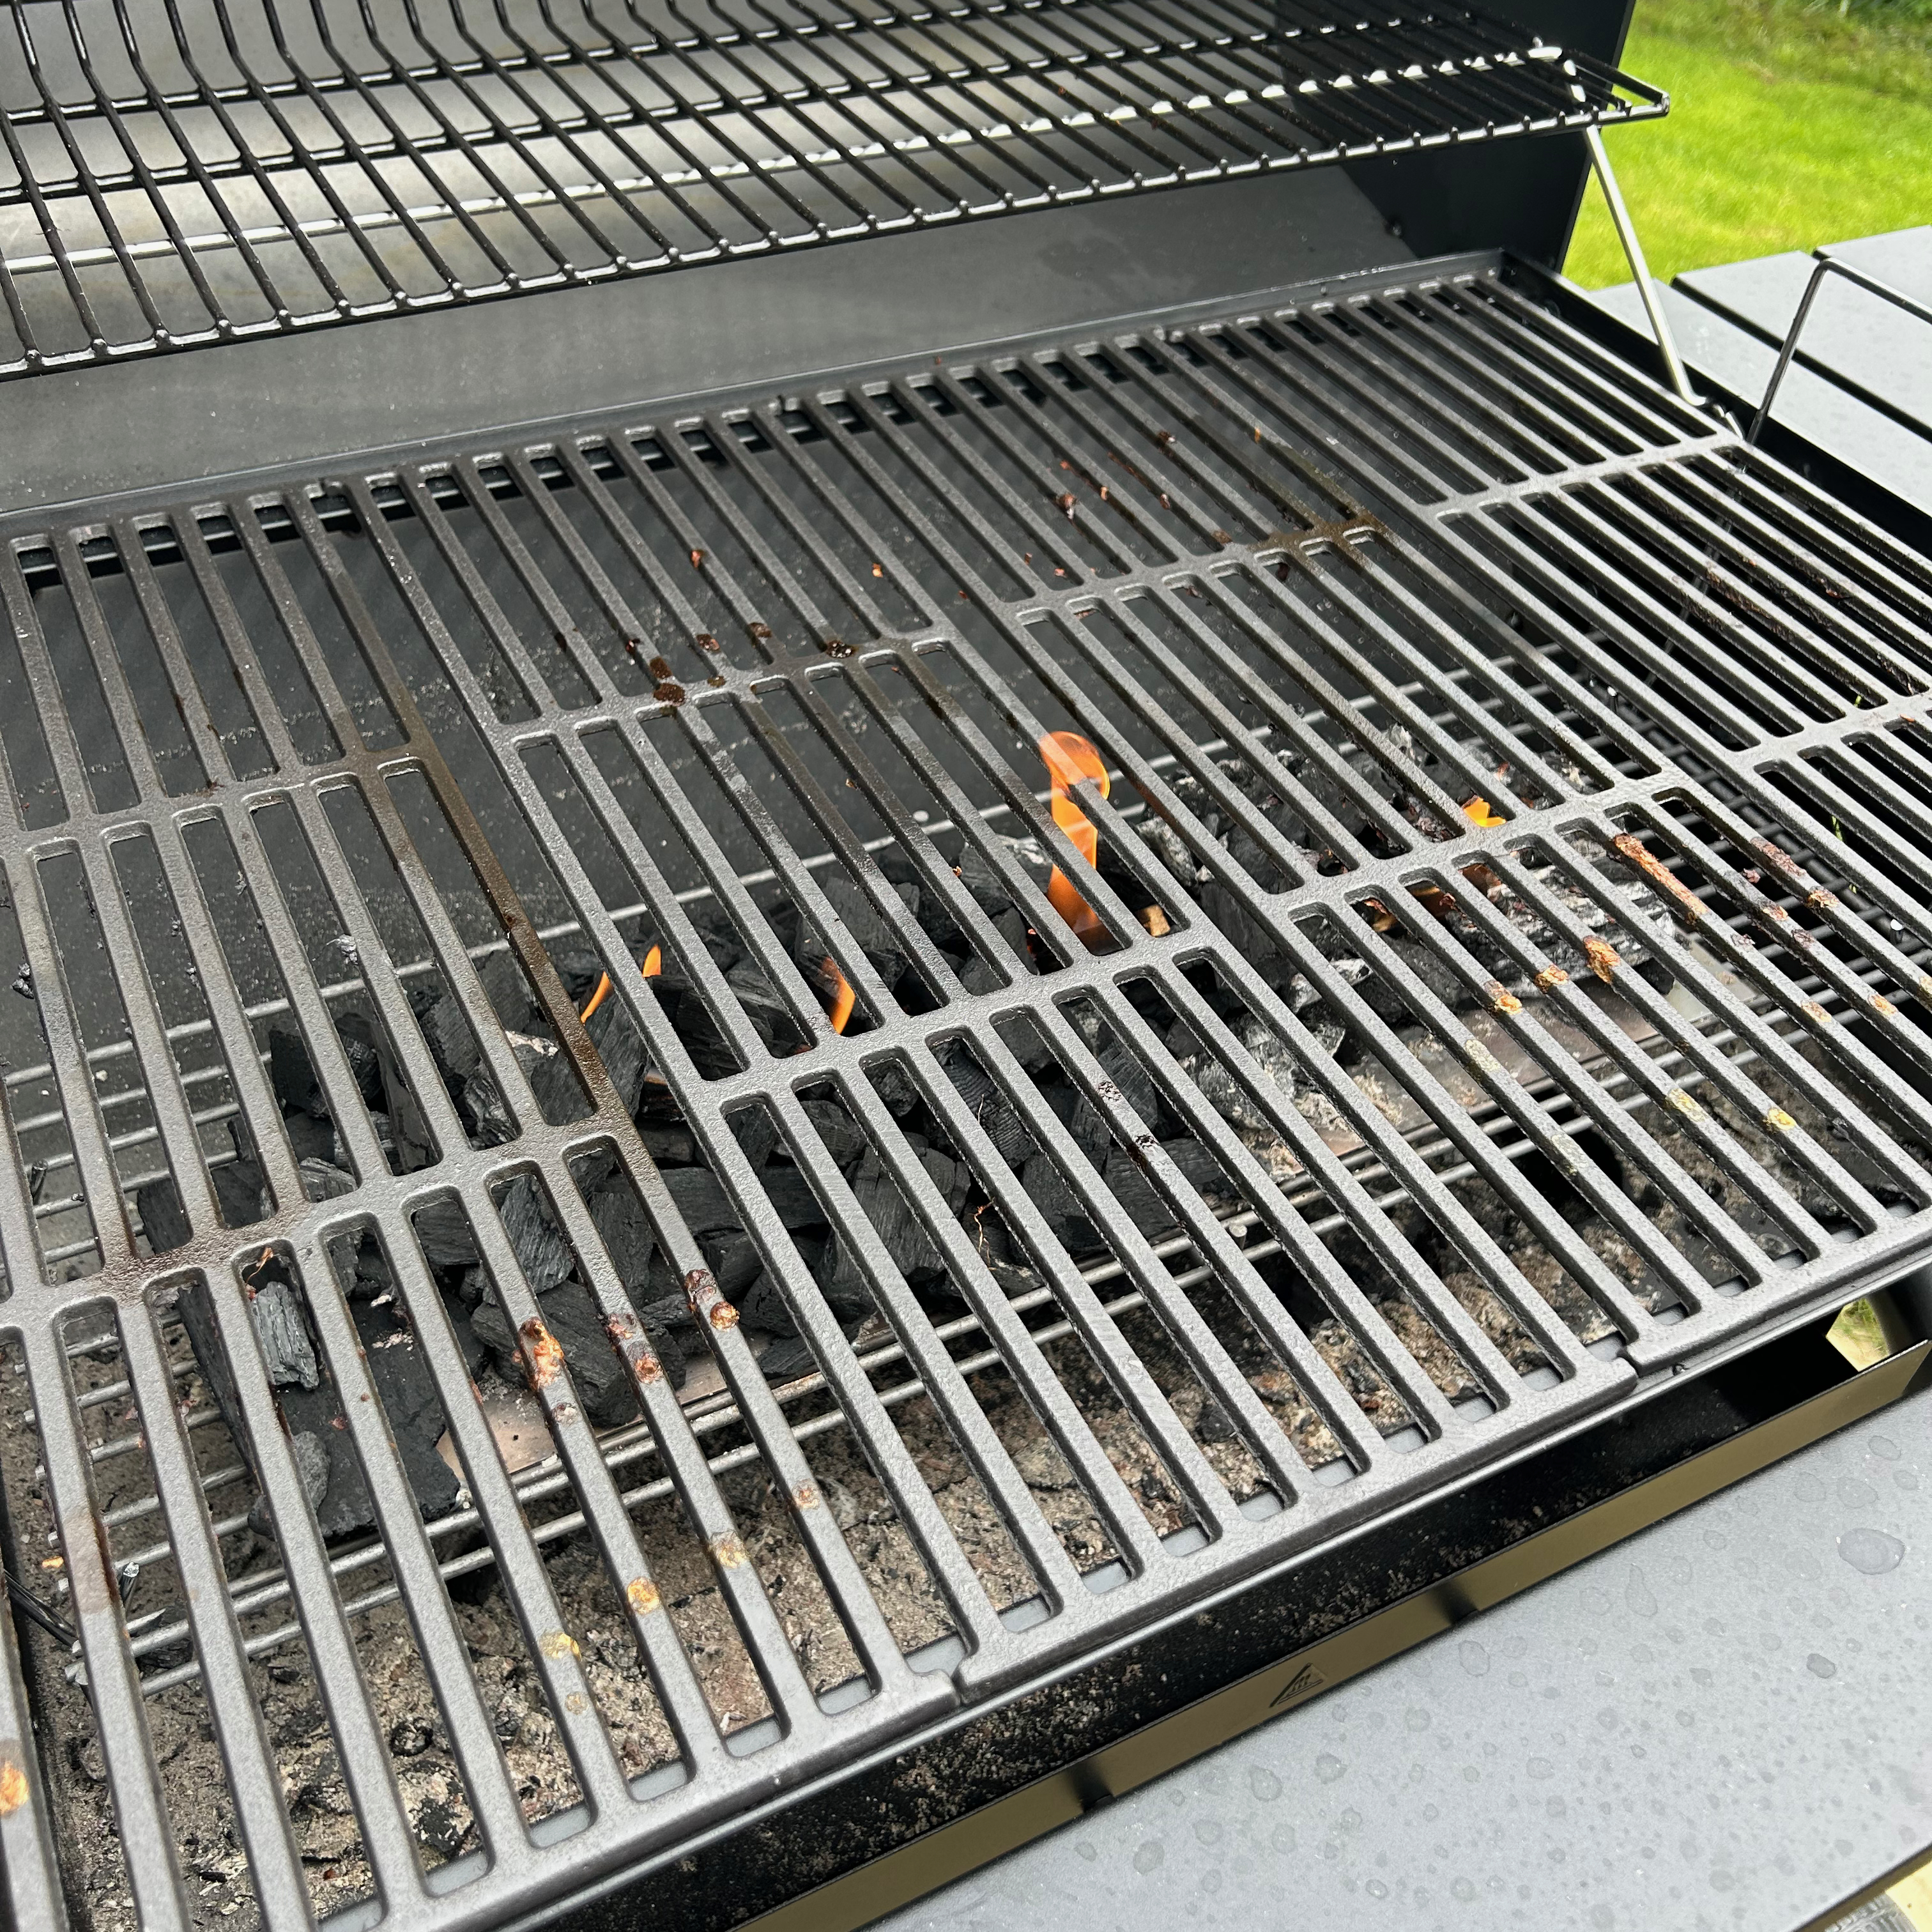
The charcoal grate can be lifted and tipped into the base of the BBQ. And at the bottom there’s a drawer that collects any ash and bits of charcoal that fall from the grate. This is simple to remove and empty, plus it has ample capacity, so I didn’t feel the need to empty it until after my second BBQ.
How does it compare to similar charcoal BBQs?
If all this talk of charcoal has you thinking a gas BBQ might be more your style, our current favourite is the Weber Spirit II E-310. It’s a very good three burner gas barbecue from one of the leading BBQ brands. The main catch is that it’s double the price of the Char-Broil. That said, being gas means it offers a higher level of temperature control, so there’s not so much guesswork involved.
Or, if you’re still keen on charcoal but want something more suited to a smaller household, you can go wrong with the Weber Original Kettle. It’s a classic BBQ that's ideal for feeding 2-4 people. I tested it last spring and found that despite being much more compact, it’s still a versatile BBQ.
Should you buy the Char-Broil Charcoal L?
Spending in excess of £300 on a charcoal BBQ might make you think twice, especially in a cost of living crisis. But in comparison to some other big brand BBQ’s it’s pretty reasonably priced. Plus, you get a lot of BBQ for your money and it’s very sturdy with good quality components so I think the price stacks up.

As with any charcoal BBQ you have to have a few BBQ’s before you’re able to get the best from it. It’ll take time to figure out how to properly stack the charcoal grate and what’s the best charcoal to suit the BBQ. But when all is said and done, it’s a proper big boy BBQ with plenty of capacity to feed a family.


