Got a spare few days? Then, learning how to panel a wall is a great way to make good use of a weekend. This DIY project can add a touch of style and elegance to your hallway, bedroom, bathroom, and beyond.
But wall paneling ideas are more than just a quick and clever way to make parts of your home look good. With a host of different wood and panel types to choose from, they also have a practical purpose, protecting against kicks, scrapes, and dirty hands.
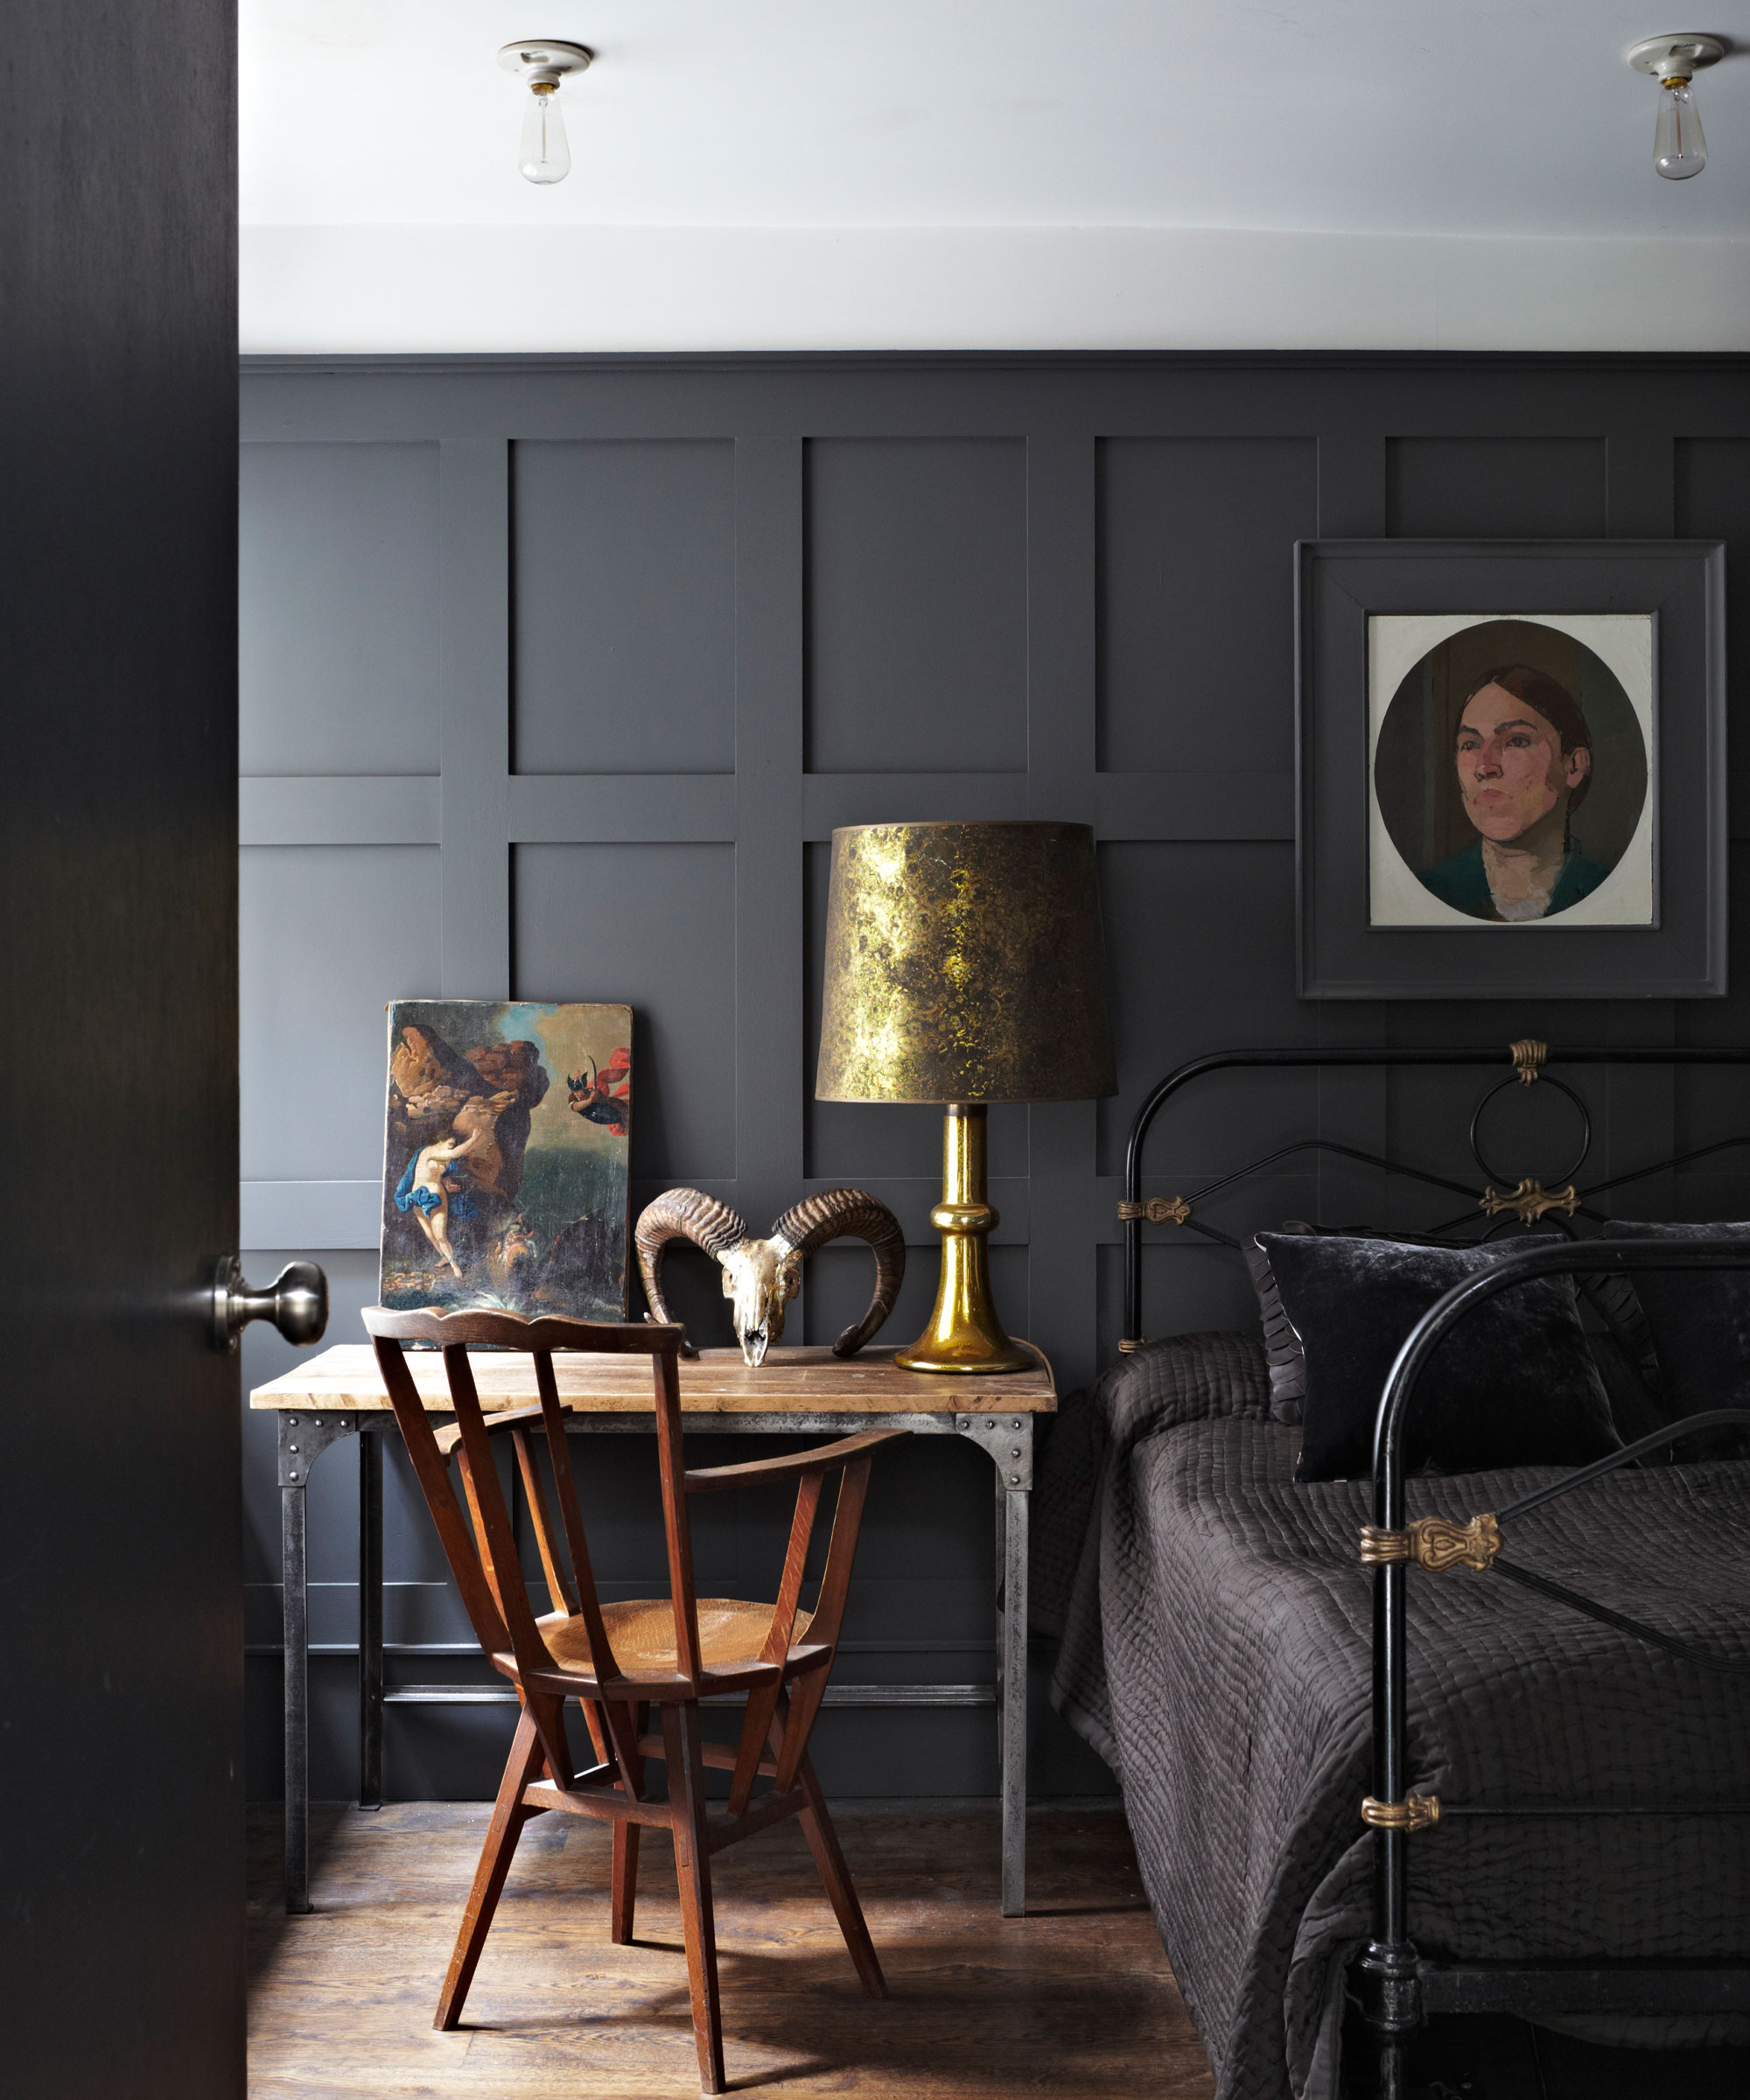
You can choose from cost-effective MDF to natural woods and a myriad of styles, from the ever-popular Wainscot to the DIYer's favorite, the easy-to-apply Shaker style. Whatever you choose, follow our guide to get a great-looking finish.
How to panel a wall
If you're prepared to roll your sleeves up and get stuck into a simple DIY project, it's incredibly easy to transform your room with a paneled accent wall. Keeping reading to discover how.
What styles and wood are popular for wall paneling?

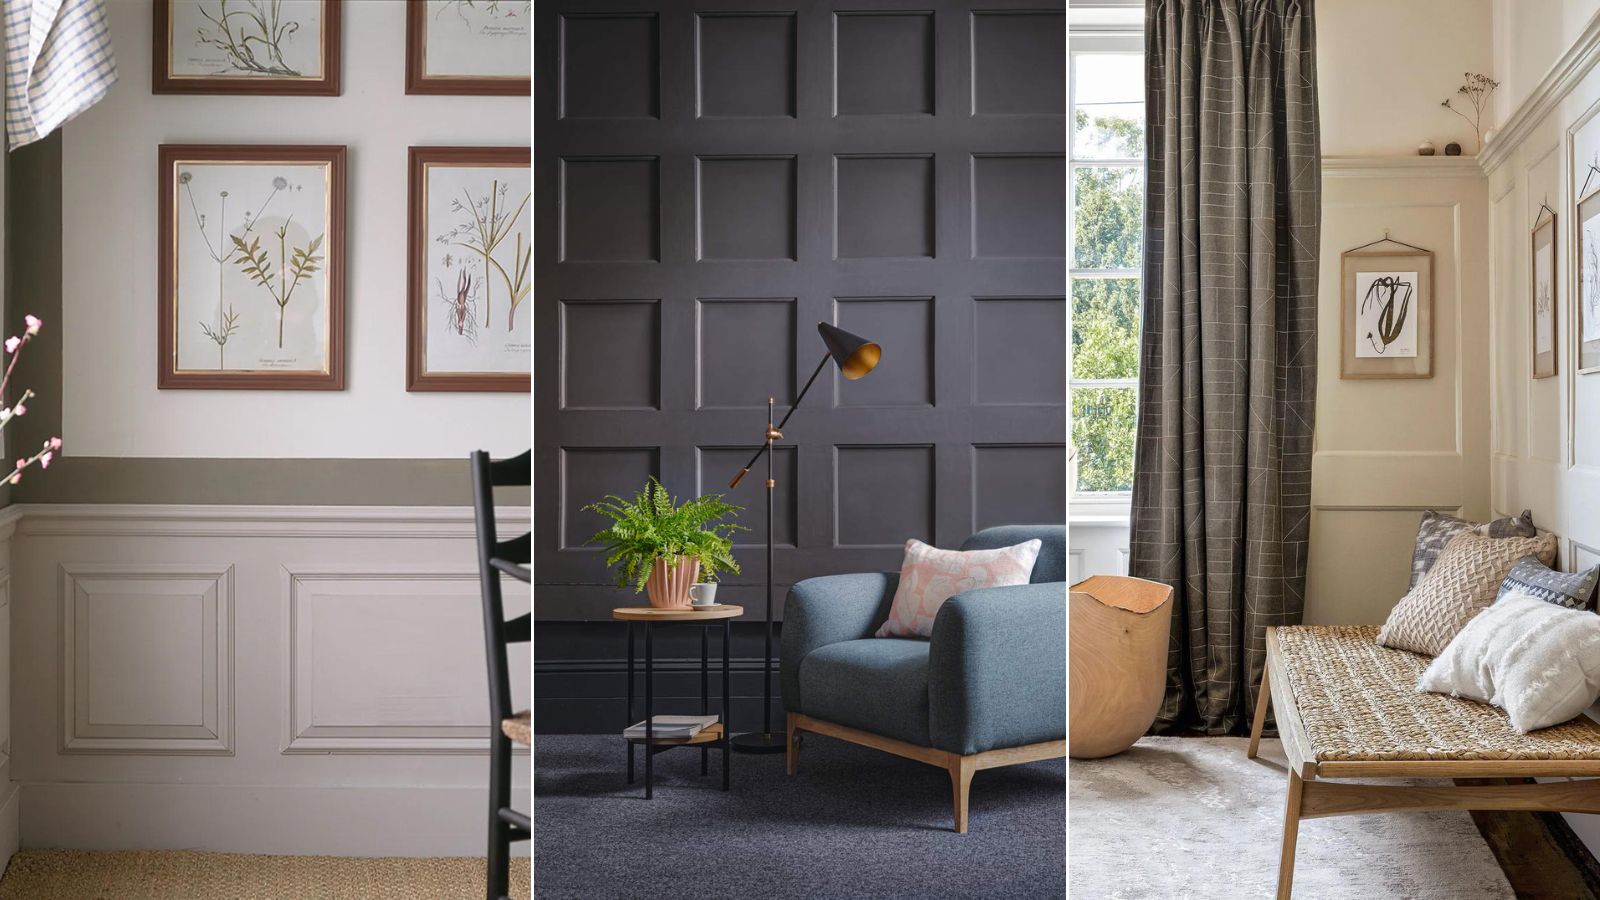
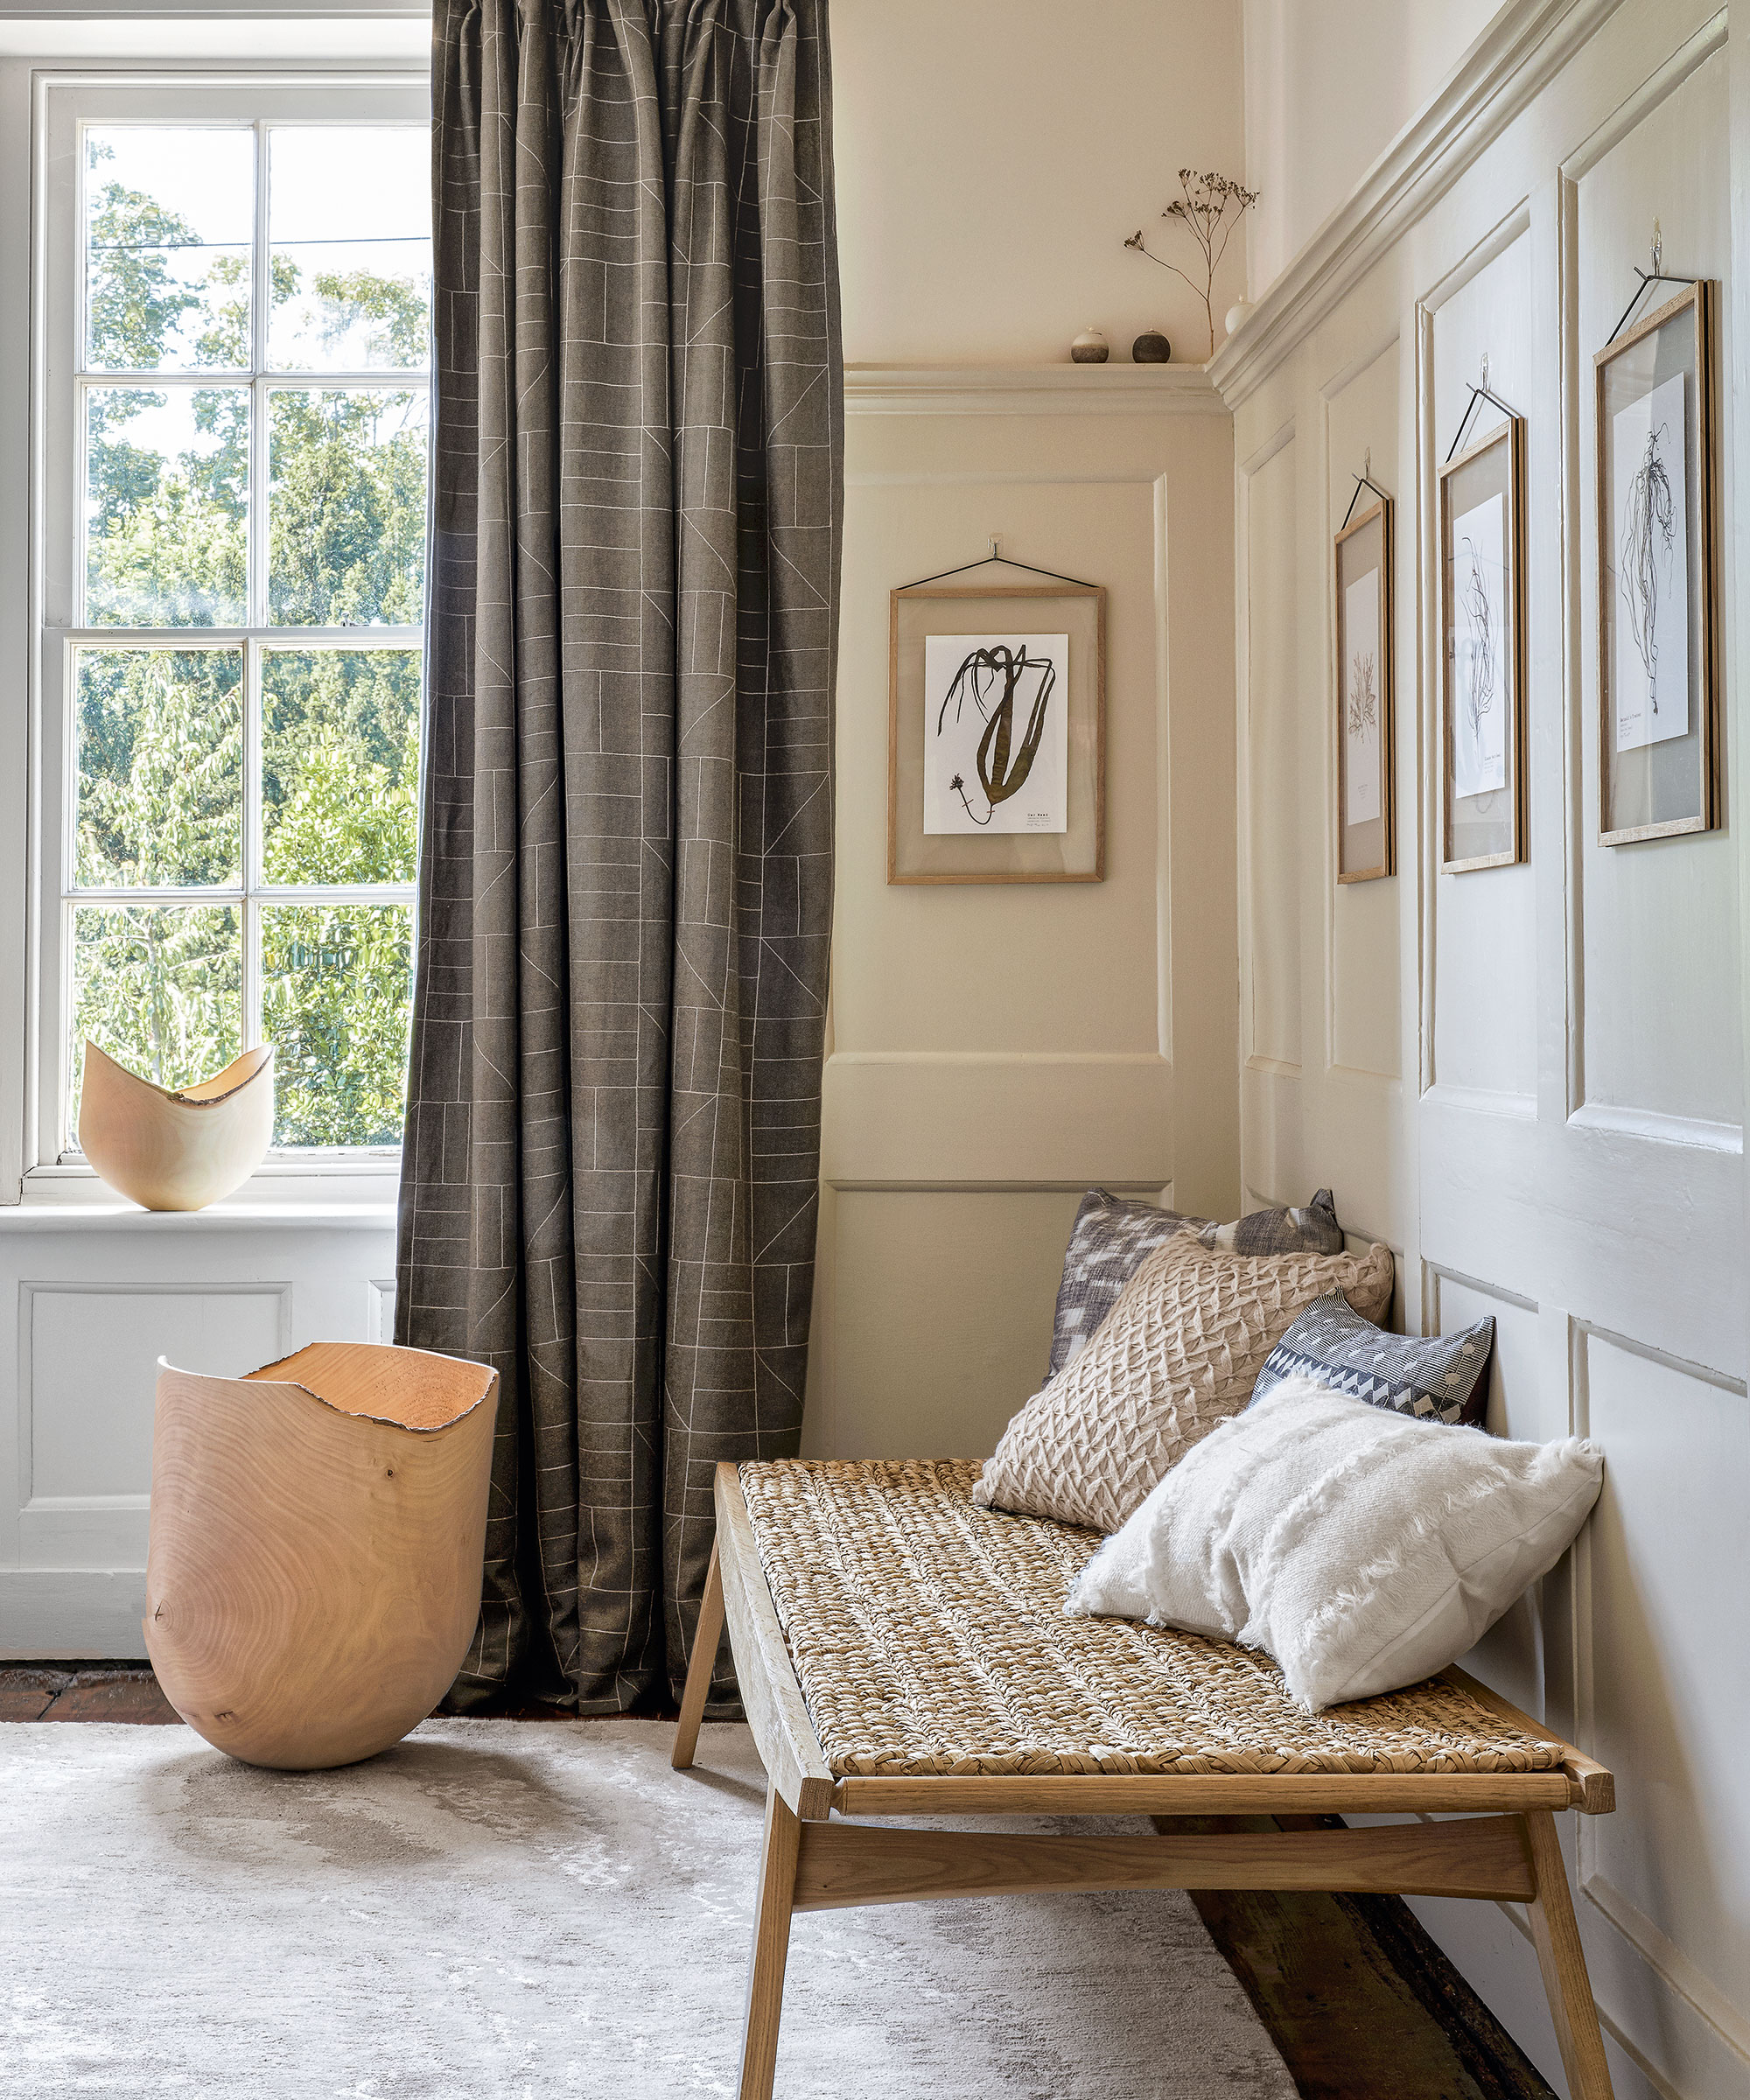
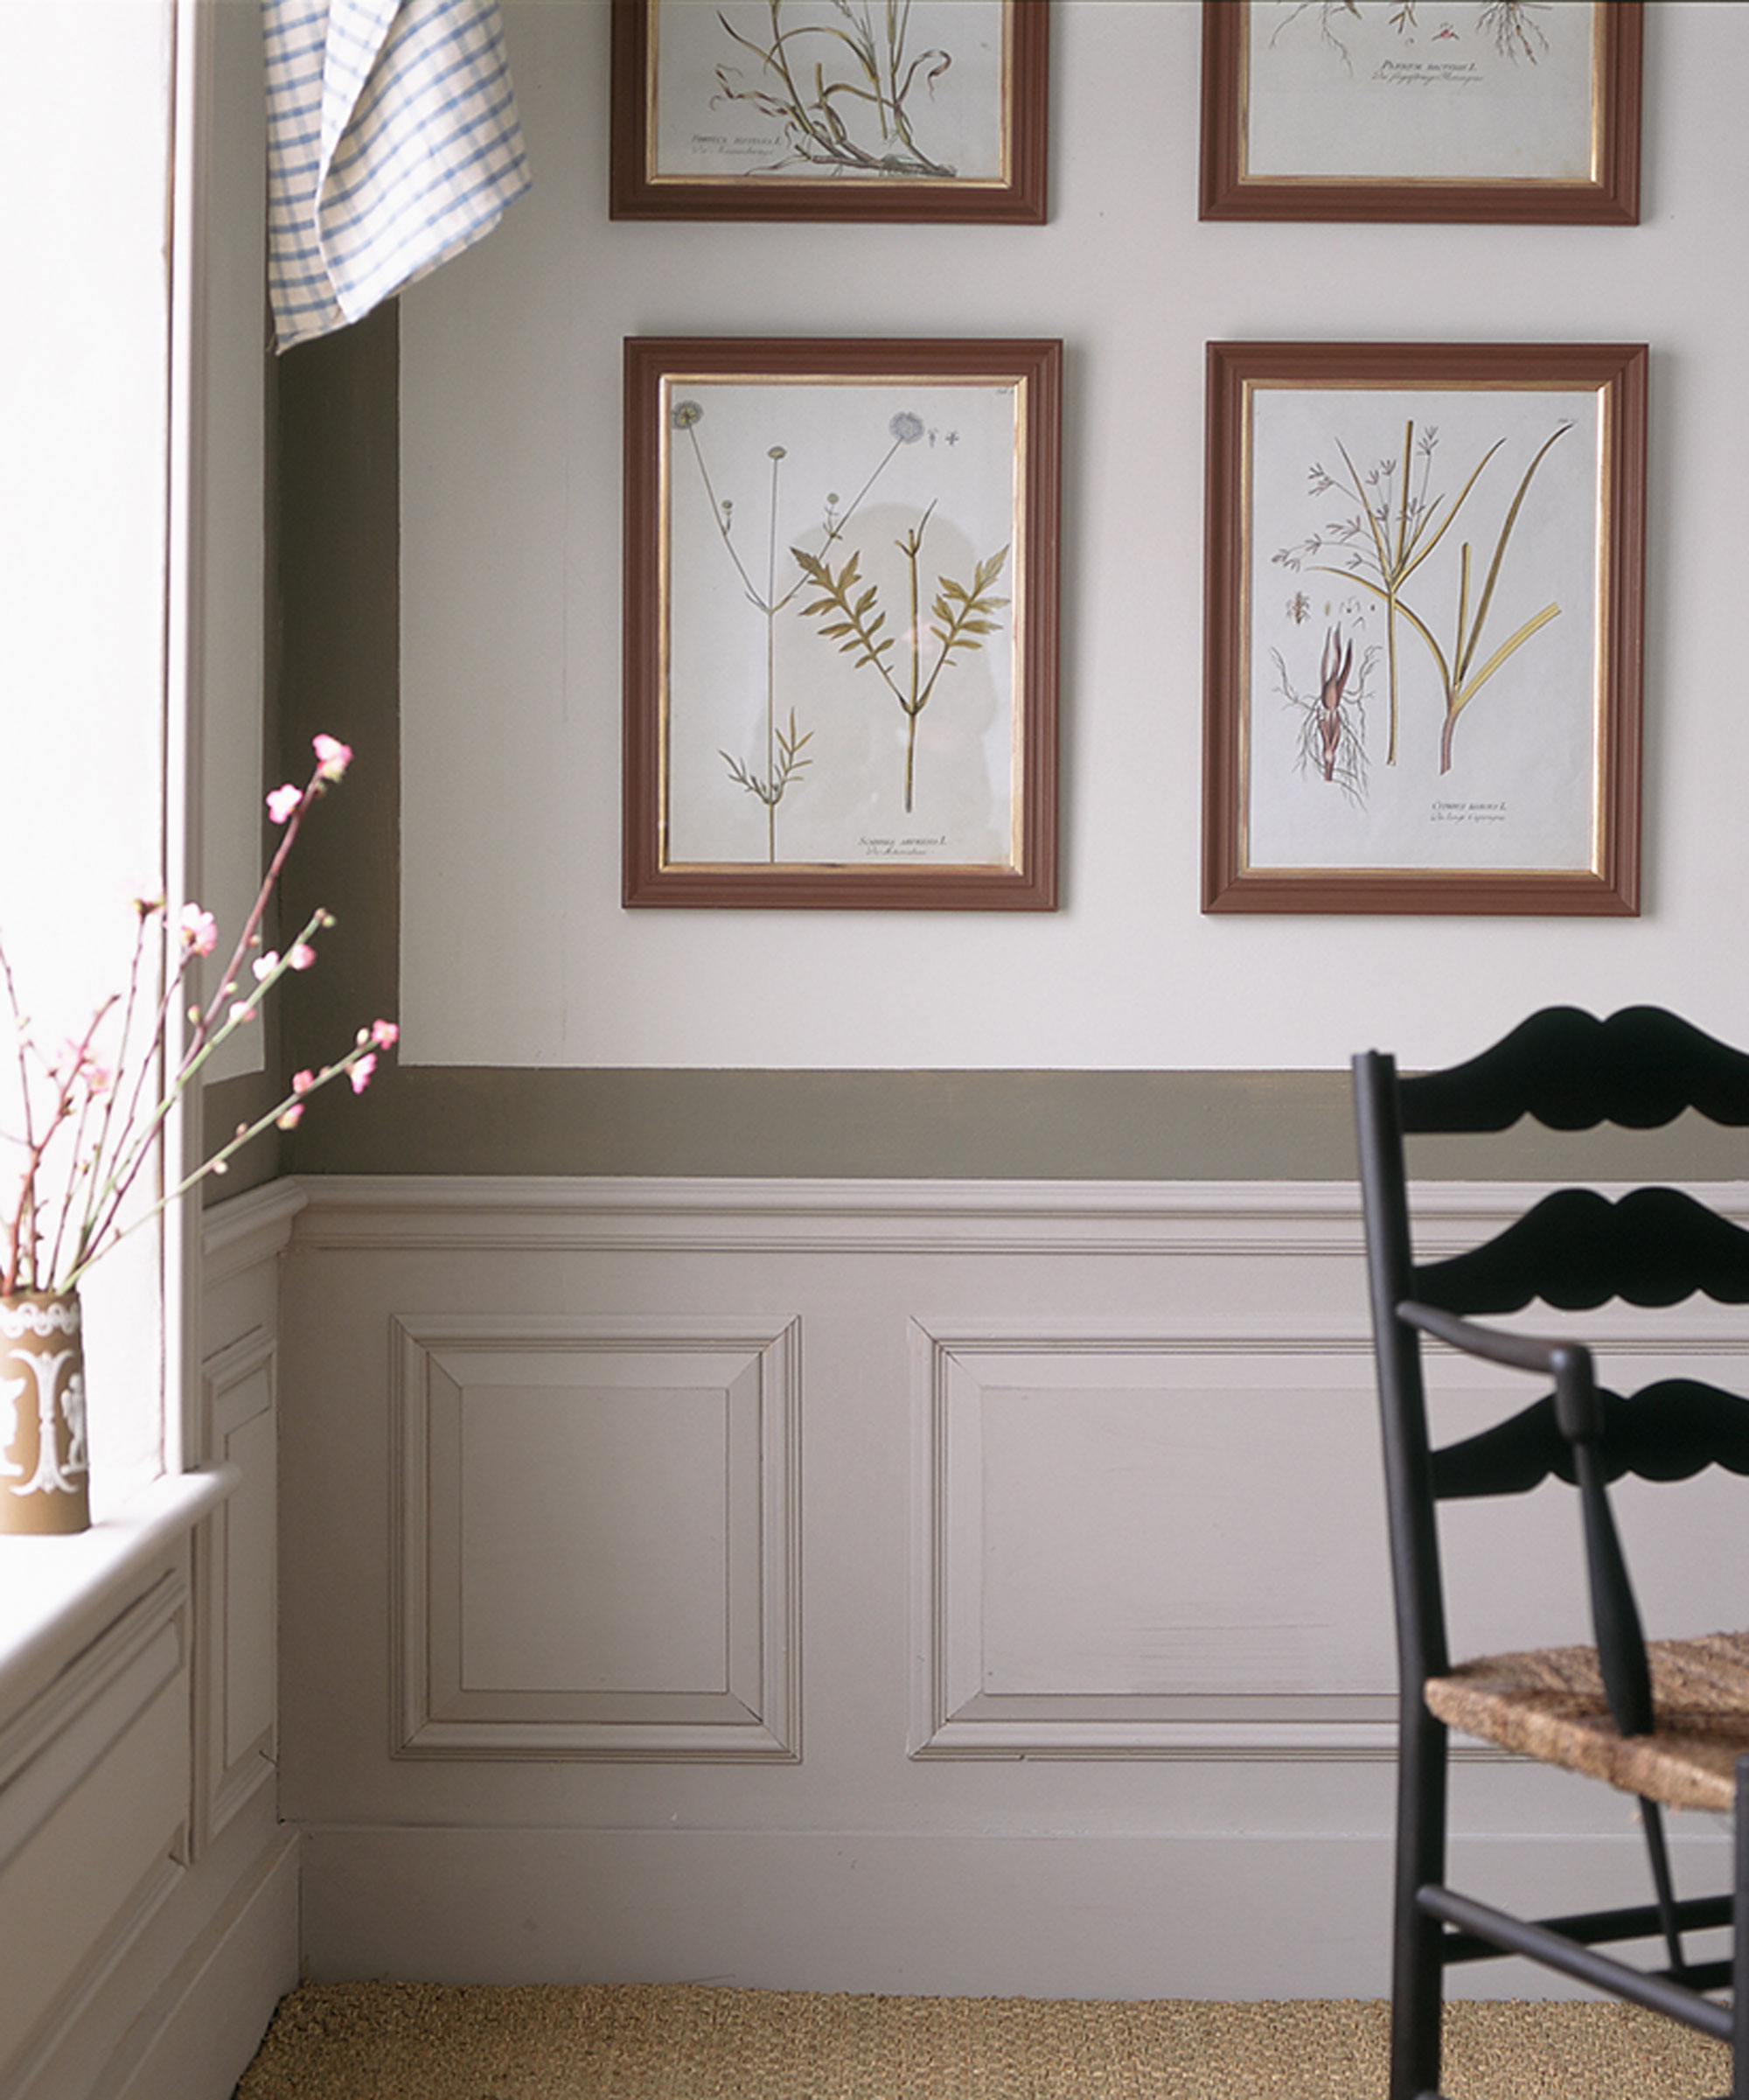
Shiplap, Wainscot, and Shaker are three popular types of wall paneling, and all bring a unique design flavor to a home. Shiplap is typically made of long wooden planks and interlock for a seamless finish. Wainscot is typically a decorative style that protects the bottom half of a wall, often seen in hallways and on staircase paneling. Shaker is a popular choice for DIYers and typically consists of flat, smooth batons arranged in square or rectangular shapes. Other variations include beadboard and slat paneling.
Whichever style you choose will depend on your personal preferences. 'My favorite form of wall paneling is Wainscot,' shares Elizabeth Vergara, Owner and Principal Designer at Vergara Homes. 'It sets an elegant, sophisticated tone to any room and can significantly enhance its overall ambiance, creating a luxurious and inviting space.'
Regarding materials, 'There's a range of options to consider, including plywood, MDF, solid wood, particleboard, and HDF panels,' reveals Vergara. Among these, MDF panels stand out for their popularity due to their affordability and smooth finish, making them a common choice for many projects.
The tools you’ll need to panel a wall
- Spirit or laser-level
- Detail sander (I recommend this BLACK+DECKER Detail Sander from Amazon for DIY use)
- Painters caulk
- Grab/construction adhesive
- Tape measure
- Nails/pins
- Hammer
- Pencil
- Wall panel calculator (try this design tool from Roomix to help determine sizes and visualize look)
Step-by-step guide to paneling a wall

Whatever type of wood and style you are using, the same principles apply to get the job done. Here, Korey Gregory, Superintendent at ASAP Restoration LLC guides you through the steps you need to tackle to get a professional-looking finish:
1. Prepare the wall
Prepare the wall surface. Remove any wallpaper, existing trim, dust, or debris, and ensure the wall is clean, smooth, and dry. Patch any holes or imperfections in the wall with pink spackle or wood filler and sand the surface smooth again.
2. Measure wall and plan layout
Measure the dimensions of the wall and determine the layout of the panels. Decide whether you want the panels to run horizontally or vertically, and mark the placement of each panel on the wall where it will go. Use a level or laser level to ensure straight, even lines throughout the whole wall.
3. Cut panels to size
Using a saw (miter, circular or jigsaw) or utility knife, cut the panels to the desired size according to your measurements. Be sure to account for any openings, such as windows, doors, or outlets, when cutting the panels to size.
4. Check if you need adhesive or nails
Depending on the type of paneling and the wall surface the panels are going on, you may need to apply adhesive to the back of the panels or use nails, pins, or screws to secure them to the wall. Follow the manufacturer's instructions for the recommended adhesive or nail spacing.
5. Install and secure panels
Start at one corner of the wall. Begin installing the panels according to your layout plan. Use a level to ensure the panels are straight and plumb as you work from one wall to another. Leave a small gap between each panel to allow for expansion and contraction throughout the seasons.
If using adhesive, press the panels firmly against the wall and hold them in place for a few seconds to ensure proper adhesion. If the panels you’ve chosen require nails, drive them through the panels into the wall studs at regular intervals along the edges and center of each panel and each stud.
6. Fill gaps and caulk seams
Once all panels are installed, fill any gaps between panels with wood filler or caulk to create a seamless appearance, and to prevent air transference. Use a putty knife to smooth the filler or use a caulk gun and wipe away any excess with a damp cloth.
7. Finish and seal
Depending on the type of paneling used, you may stain, clear seal, or paint the panels to achieve your desired finish, look and feel. If painting, start with a primer before adding a top coat. Allow the treatment to dry completely (check manufacturers instructions) before reattaching trim or accessories to the wall.
Wall Paneling FAQs

What is the best adhesive for wall panels?
When installing wall panels, you can use a general-purpose grab or construction adhesive like this Gorilla Max Strength Clear Construction Adhesive from Walmart to fix to the wall. To work effectively, you need to ensure the wall is free from dirt, debris, and grease.
Apply the adhesive in an even zigzag pattern across the back of the panel and inside the edges. Place the panel and push it onto the wall. Leave for 5-10 minutes and push down to secure the panel. If you have uneven walls use a nail to secure or for smaller gaps, fill when the adhesive is fully dry.
How do you cut around light switches?
There are a few options here, but first you need to 'prioritize safety by turning off the power,' explains Vergara. 'Then, carefully measure and cut around the switches, test the fit, and restore power.'
To cut the panel, first drill a hole in the middle of the measurement you made for the light switch – or power outlet. Then, get a jigsaw and cut it to fit. If you are using thin panels, a sharp utility knife could be used. When the panel is fitted, you can fill any gaps with painter's caulk. Alternatively, drill a hole in the panel large enough for the wiring to come through and place the light switch outside the panel.
How do you remove wall panels?
This is dependent on how they are attached to the wall. If they are attached with screws, undo all the screws and use a hammer and pry bar like this CTA Tools Extra Large Plastic Pry Bar from Amazon to gently prise off a panel.
If nailed in, use a hammer and pry bar to start the removal, then pull off the wall panel with your hands. Finally, if glued to the wall, use the hammer and pry bar to reveal any glue. Then get a heat gun, warm the glue – be careful not to burn the wood – and pull the panel off.
If you are paneling a bedroom, shiplap bedroom wall ideas are a popular choice. Shiplap is one of the easiest types of wall panels to install on a DIY basis and brings an elevated look to any space.


