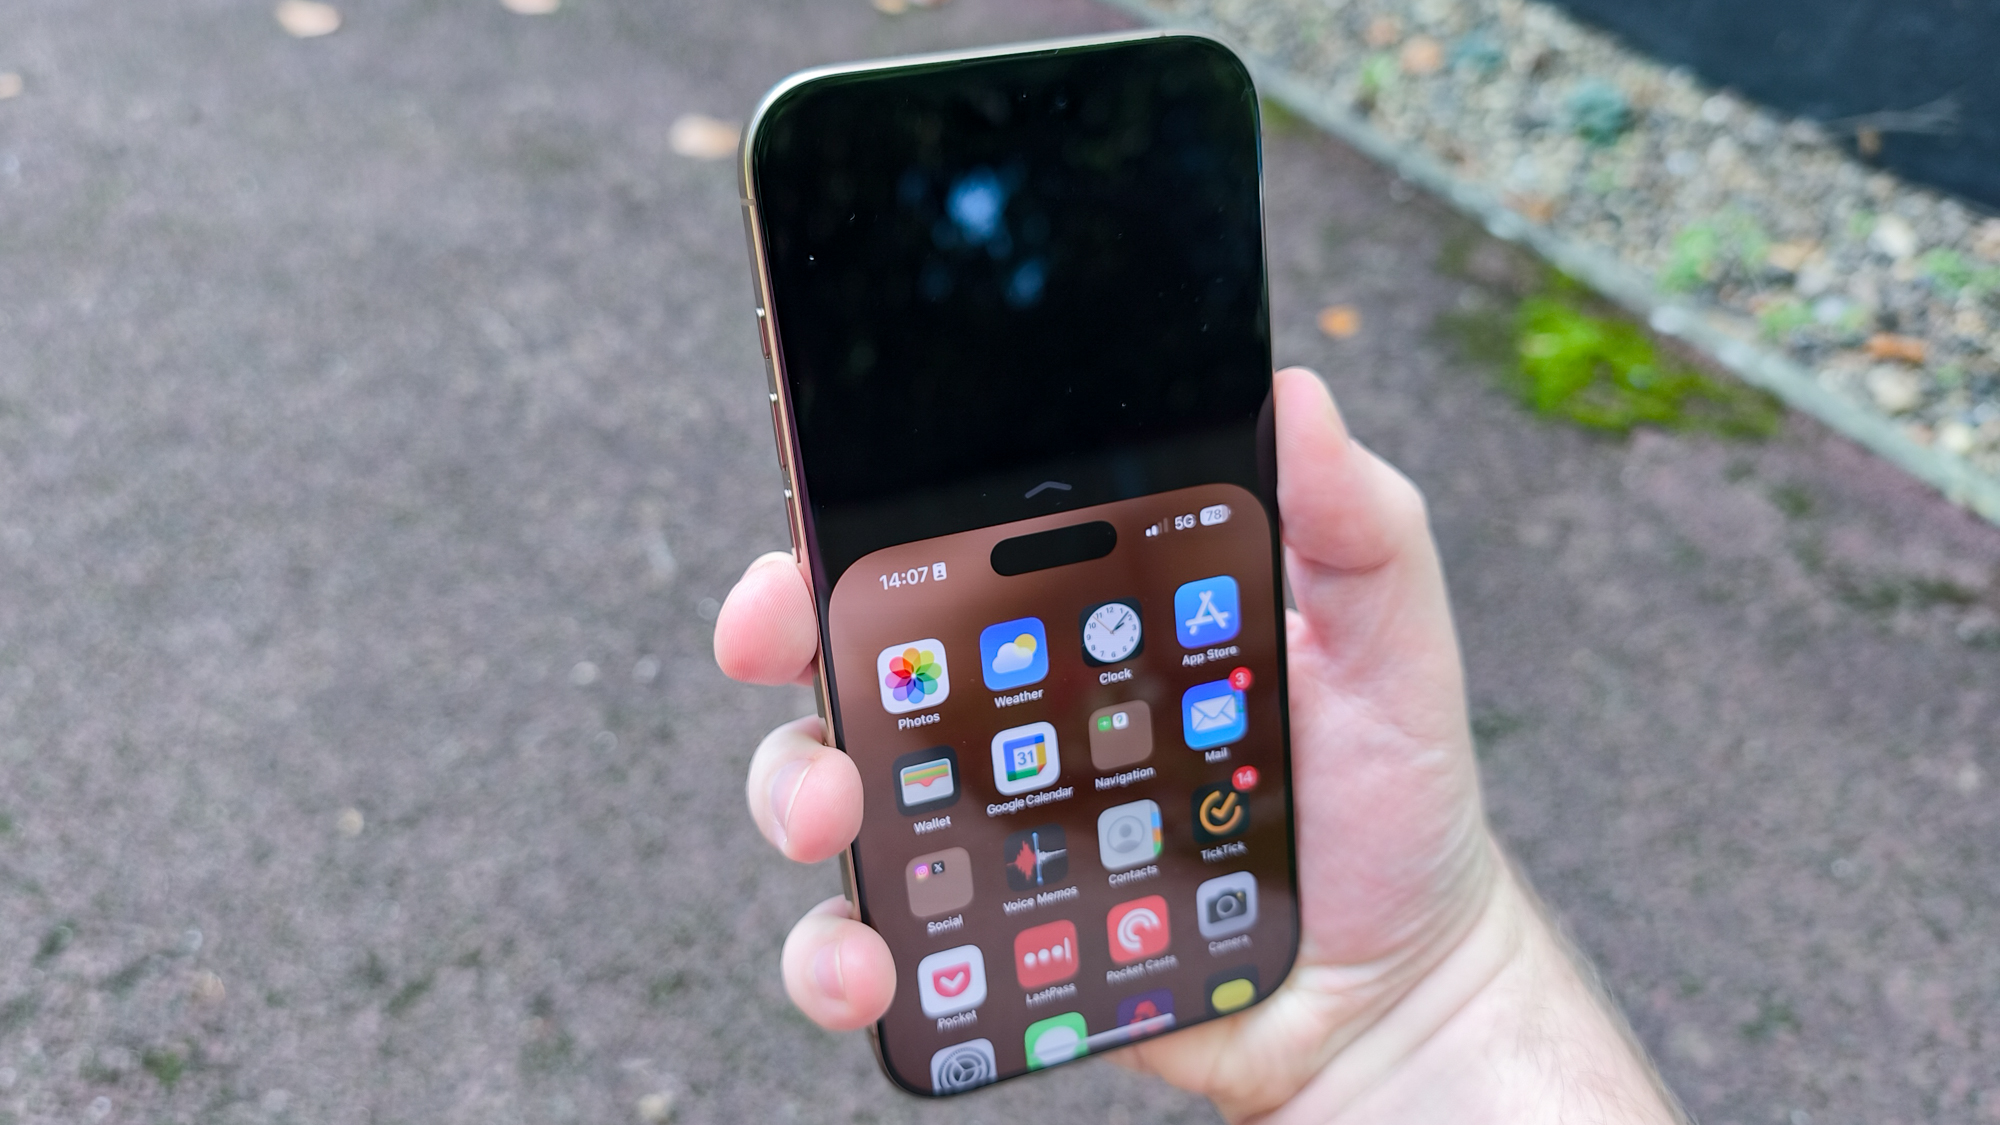
The latest iOS 18 feature eye tracking to navigate iPhone screens will no doubt be a game-changer for many users. It means anyone physically unable to use their fingers to touch the screen can still perform actions simply by looking at it. While this feature is a great addition in terms of accessibility, it can be really useful in day to day life.
Imagine you had your hands full with food while trying to follow a recipe on the iPhone, for example. Eye gazes can help with navigation and you can avoid making a mess of your device. It's a great addition and you can use it for free by installing iOS 18 on iPhone SE (3rd generation) or iPhone 12 and later. The feature also works with the best iPads.
The feature makes use of the iPhone's front-facing camera and its built-in Neural Processing Unit and, because all of the computations are carried out on your device, the data is not sent anywhere. Let's take a look at how to use eye tracking to navigate your iPhone screen.
1. Activate eye tracking
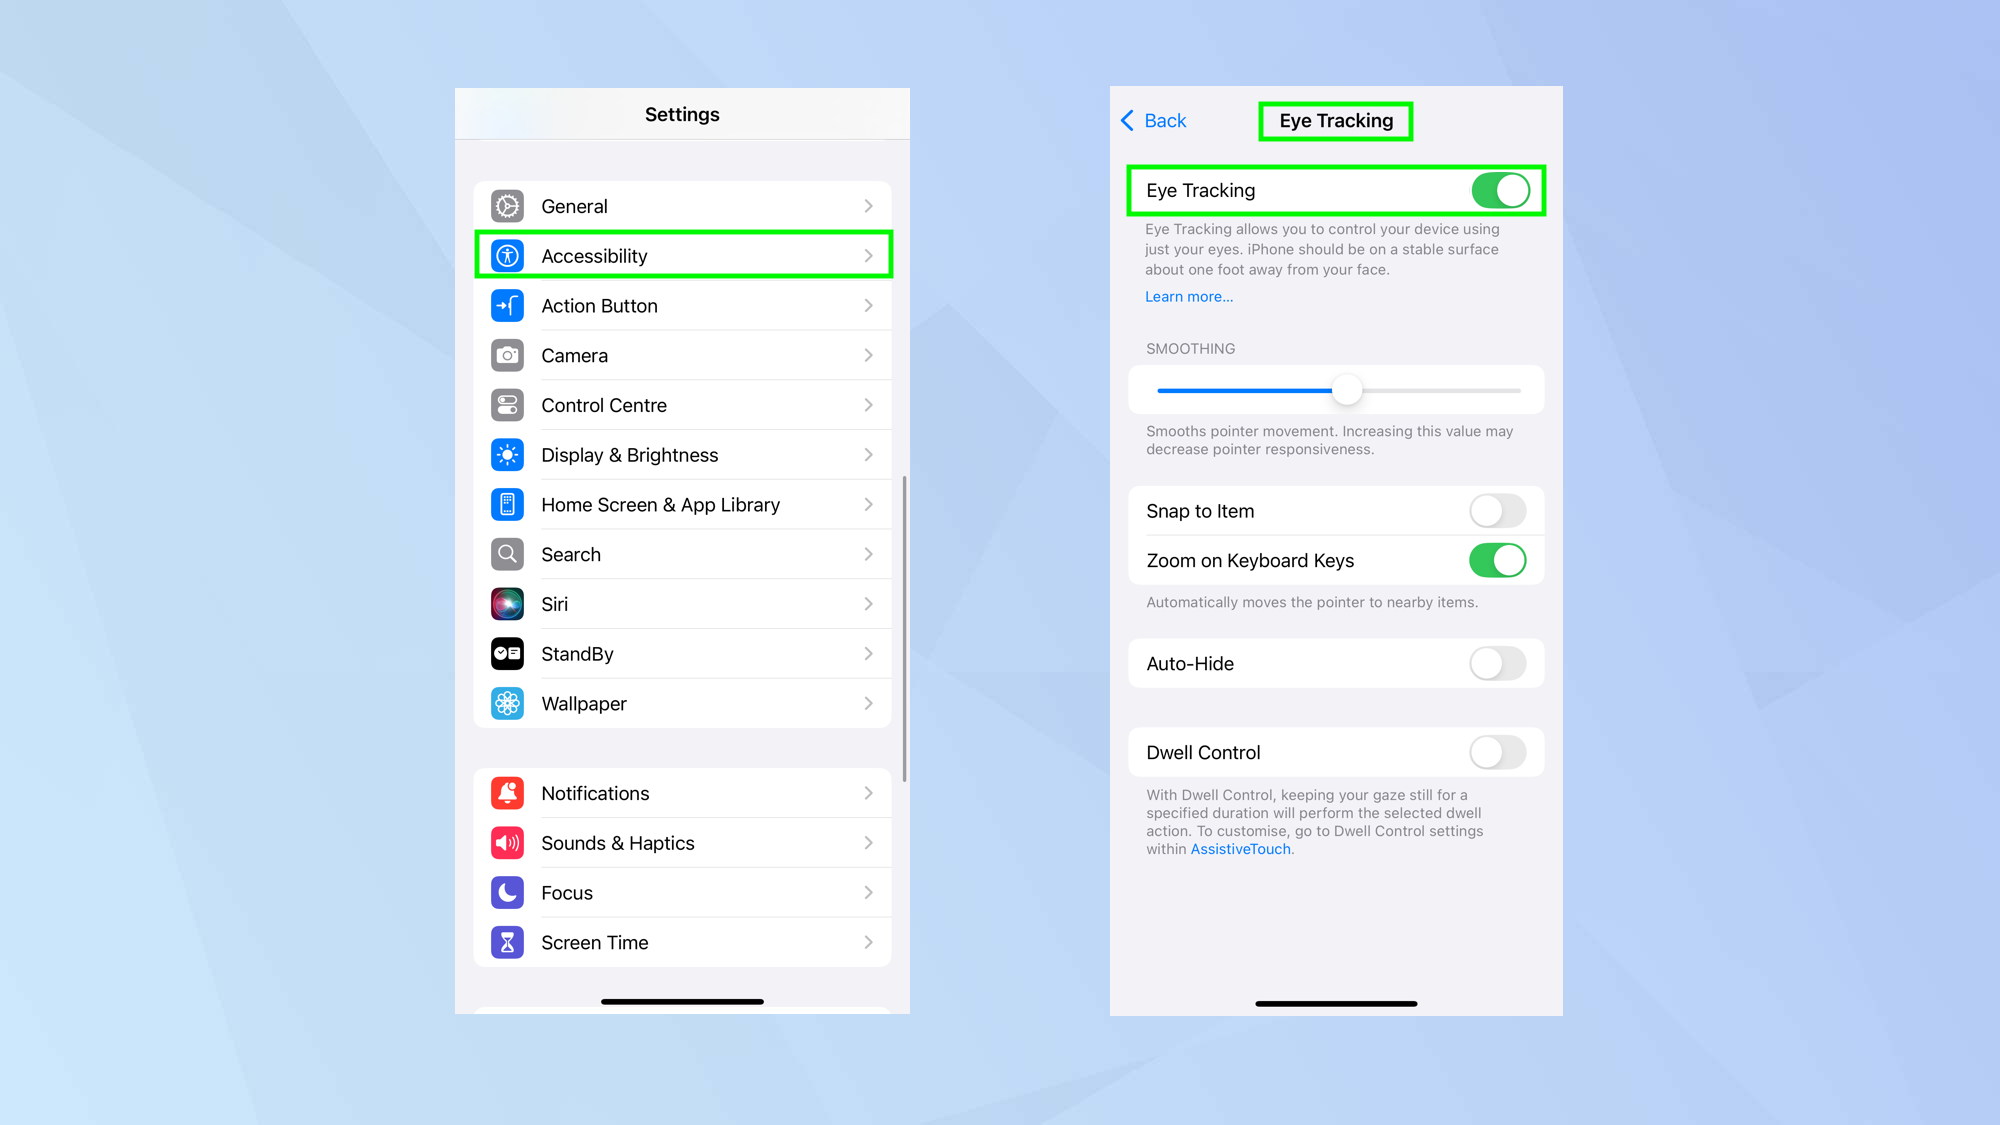
Turning on eye tracking is easy – first, launch the Settings app, tap Accessibility and select Eye Tracking. Then, use the slide to activate Eye Tracking.
2. Calibrate eye tracking
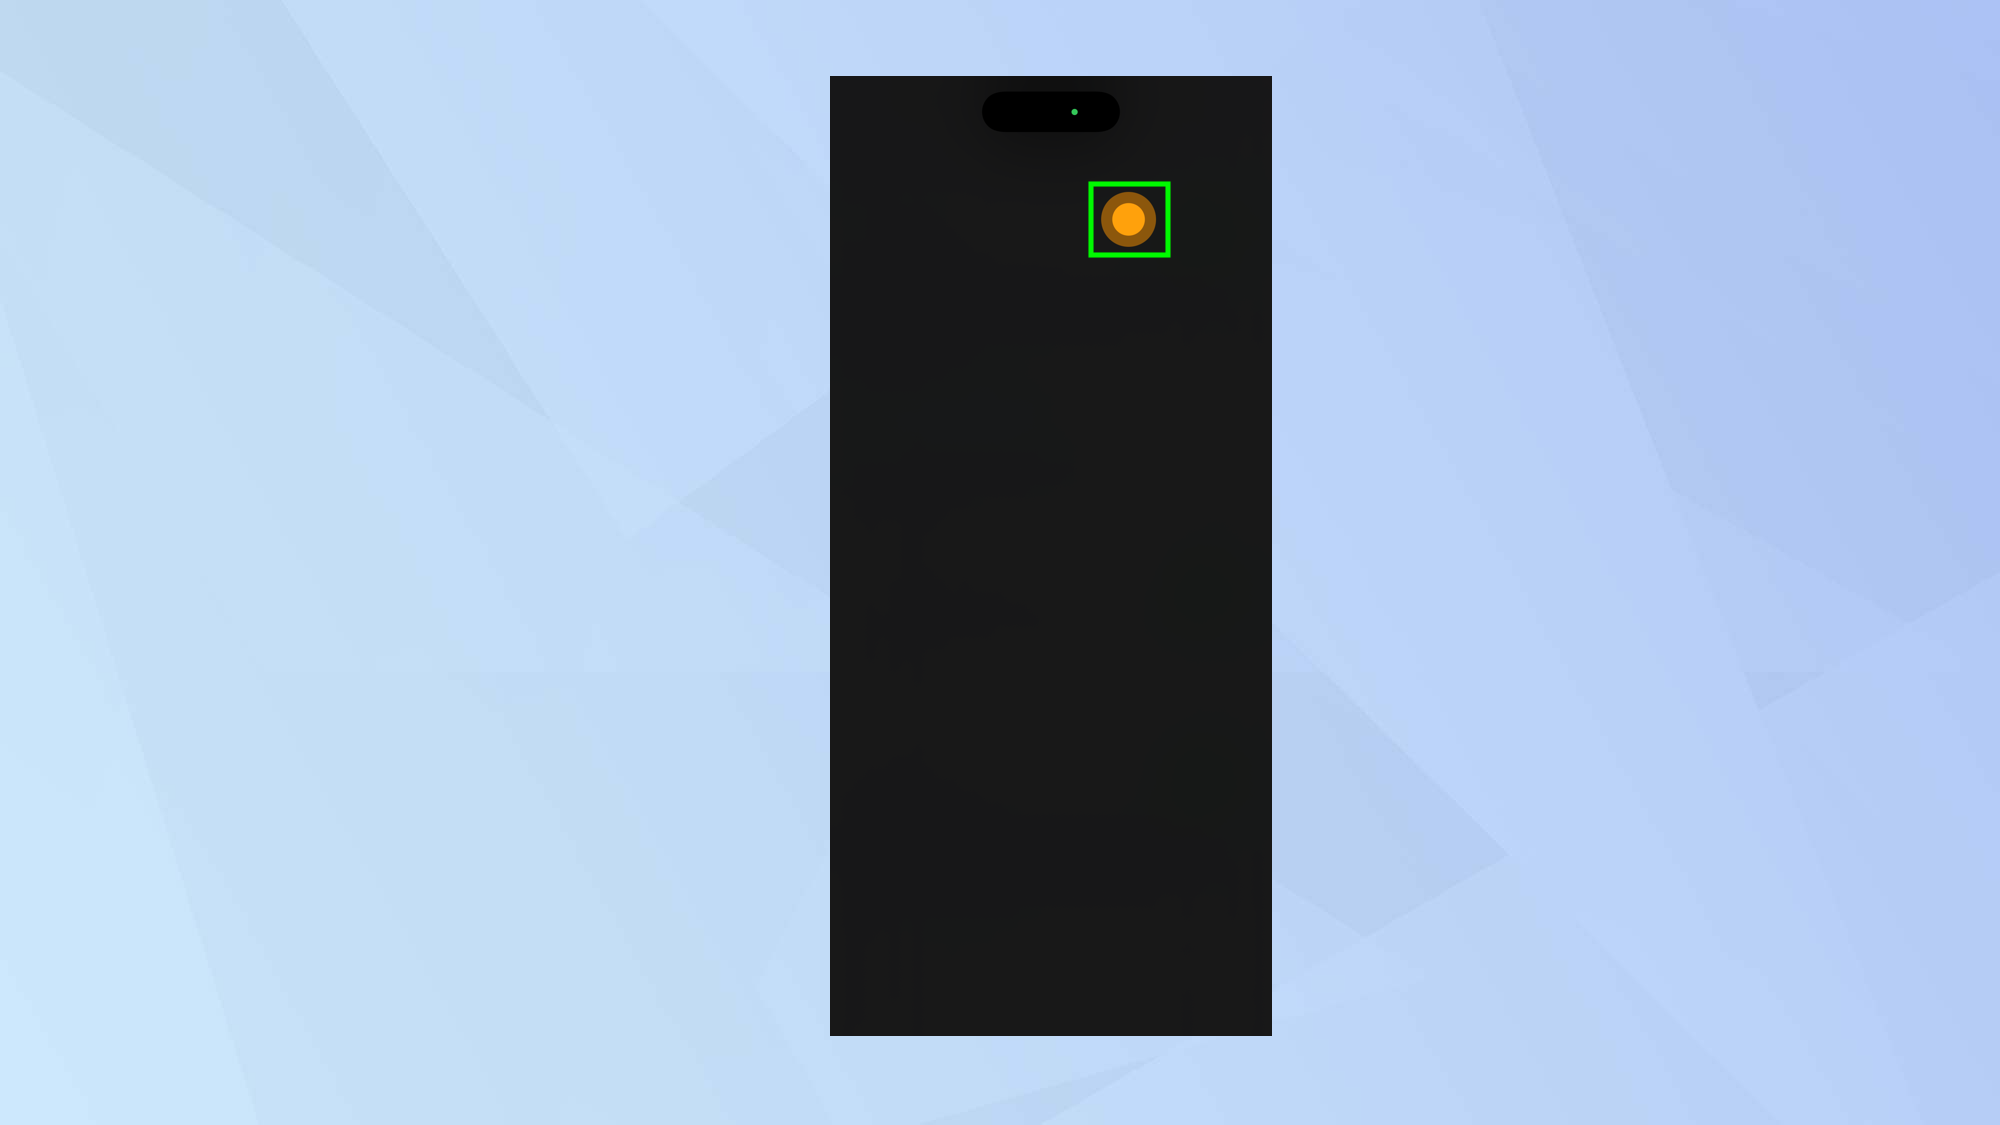
Each time you turn on eye tracking, you will need to calibrate the feature. To do this, use your eyes to follow the dot which appears on the screen and keep doing this until you’re told calibration is complete.
3. Use eye tracking
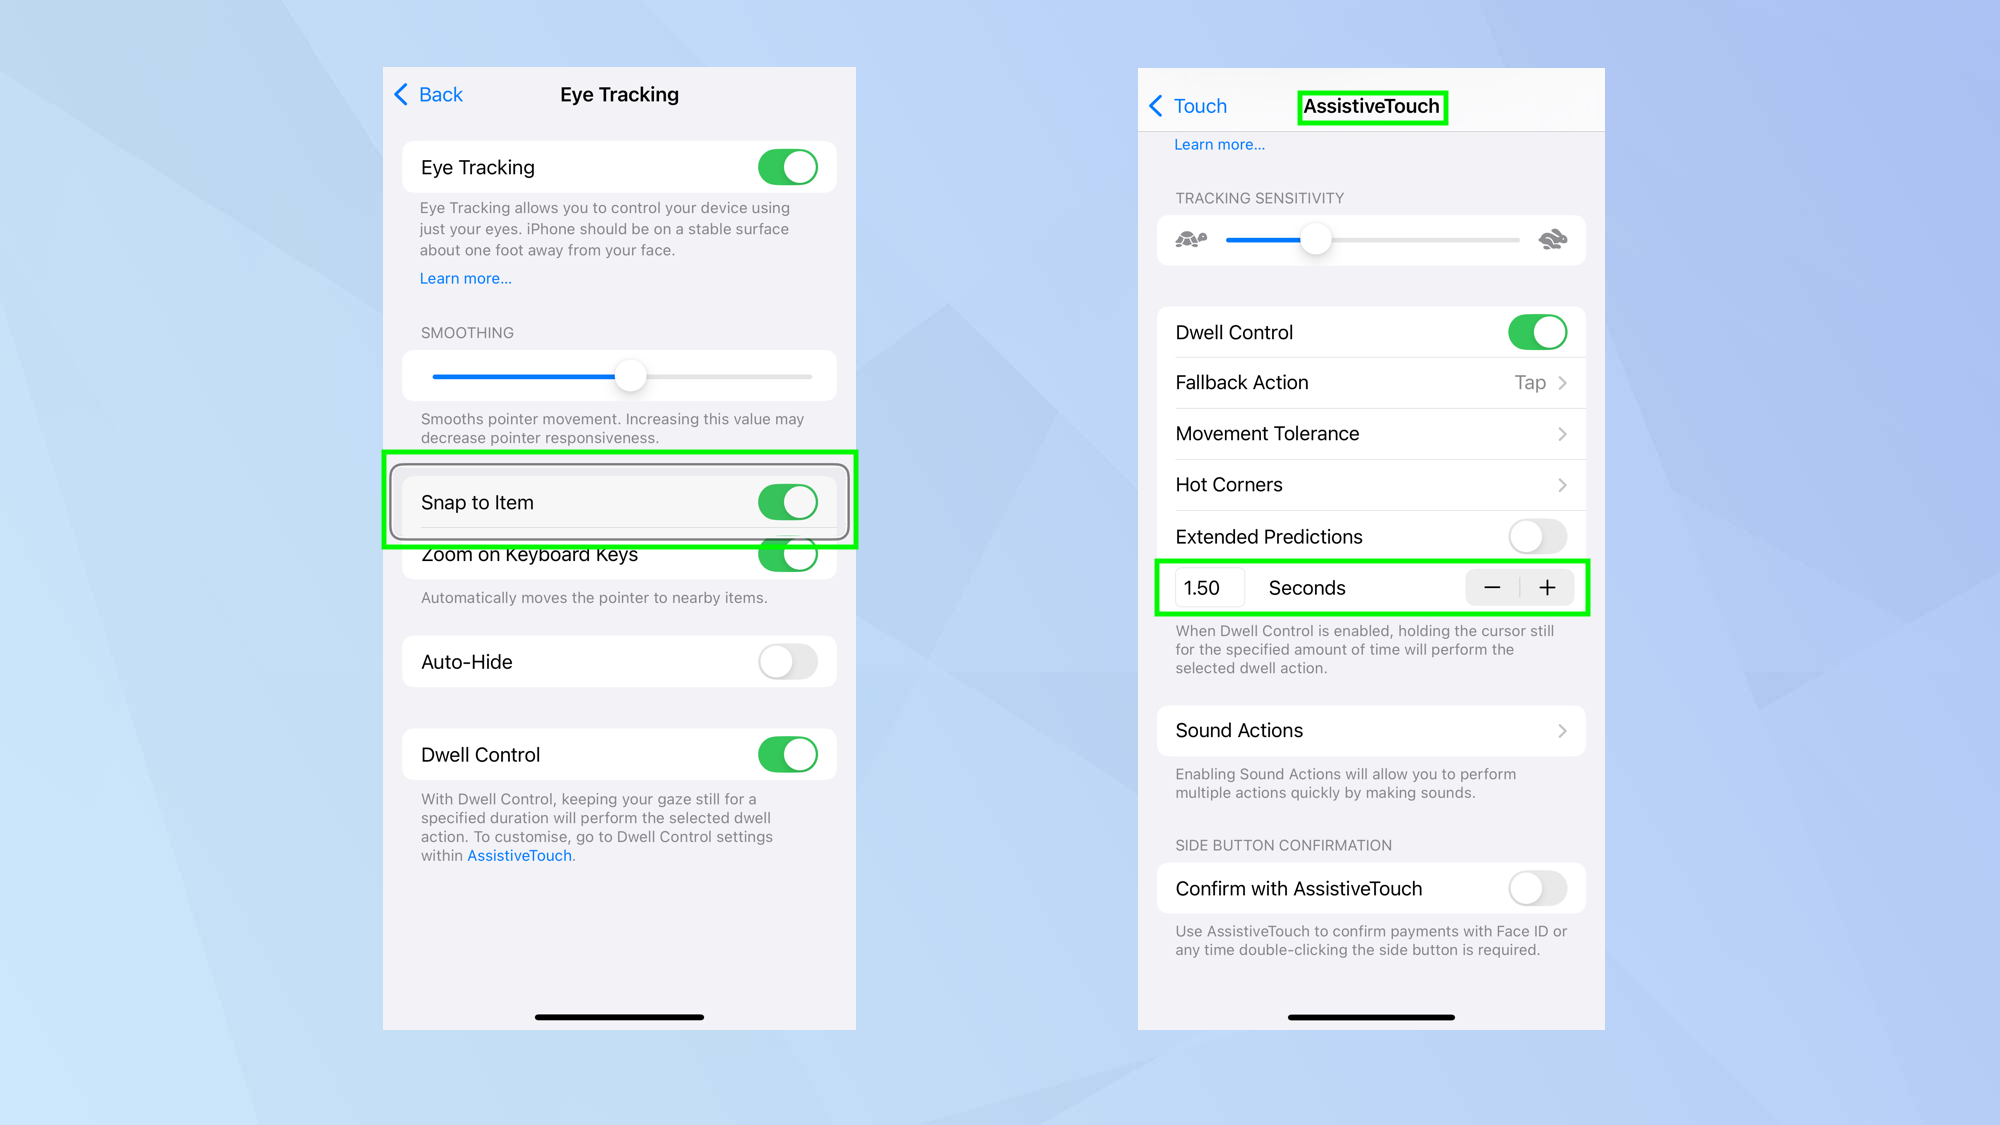
You will now notice that outlines appear around items on your screen whenever your iPhone detects that you’re looking at them. It takes a bit of getting used to but simply look at an item you want to use then hold your gaze. Wait 1.5 seconds and the action will be performed.
You can change how long this period of time is by going to Settings > Accessibility > Touch > Assistive Touch and using the “—” and “+” icons to increase or decrease the time.
4. Configure eye tracking further
Remain on the Eye Tracking screen and you will be able to refine how you want the feature to work. For example, you can use the slider to increase smoothing or use the slider to decrease smoothing (the latter will make the pointer more responsive).
It’s worth ensuring you keep snap to item turned on – that way iOS will work out which item is nearest to the area of the screen you’re looking at and ensure it’s selected. You may also find it easier to keep zoom on keyboard keys turned on.
If you feel the pointer is getting in the way, turn on Auto Hide. It’s advisable to only do this once you’ve become familiar with how eye tracking works, though.
And there you go. You now know how to use eye tracking to navigate the iPhone screen. There are other accessibility features built into iOS. You could learn how to set up Screen Distance and reduce eye strain or you can discover how to control your iPhone using head movements. There is also a secret iPhone feature that lets you unlock your phone using your voice.


