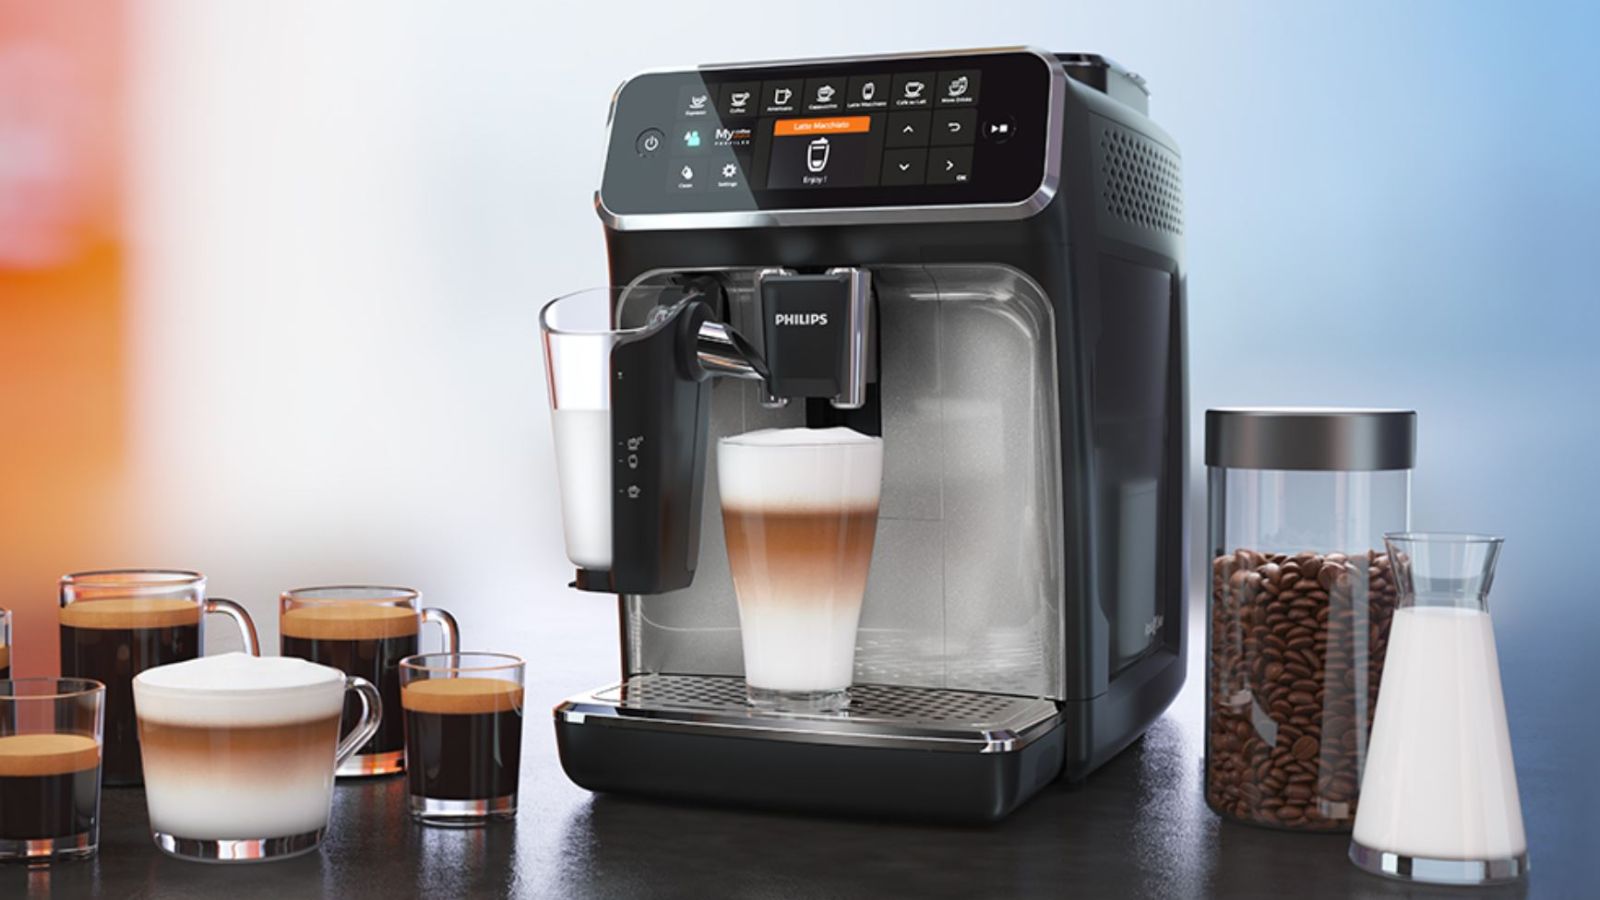
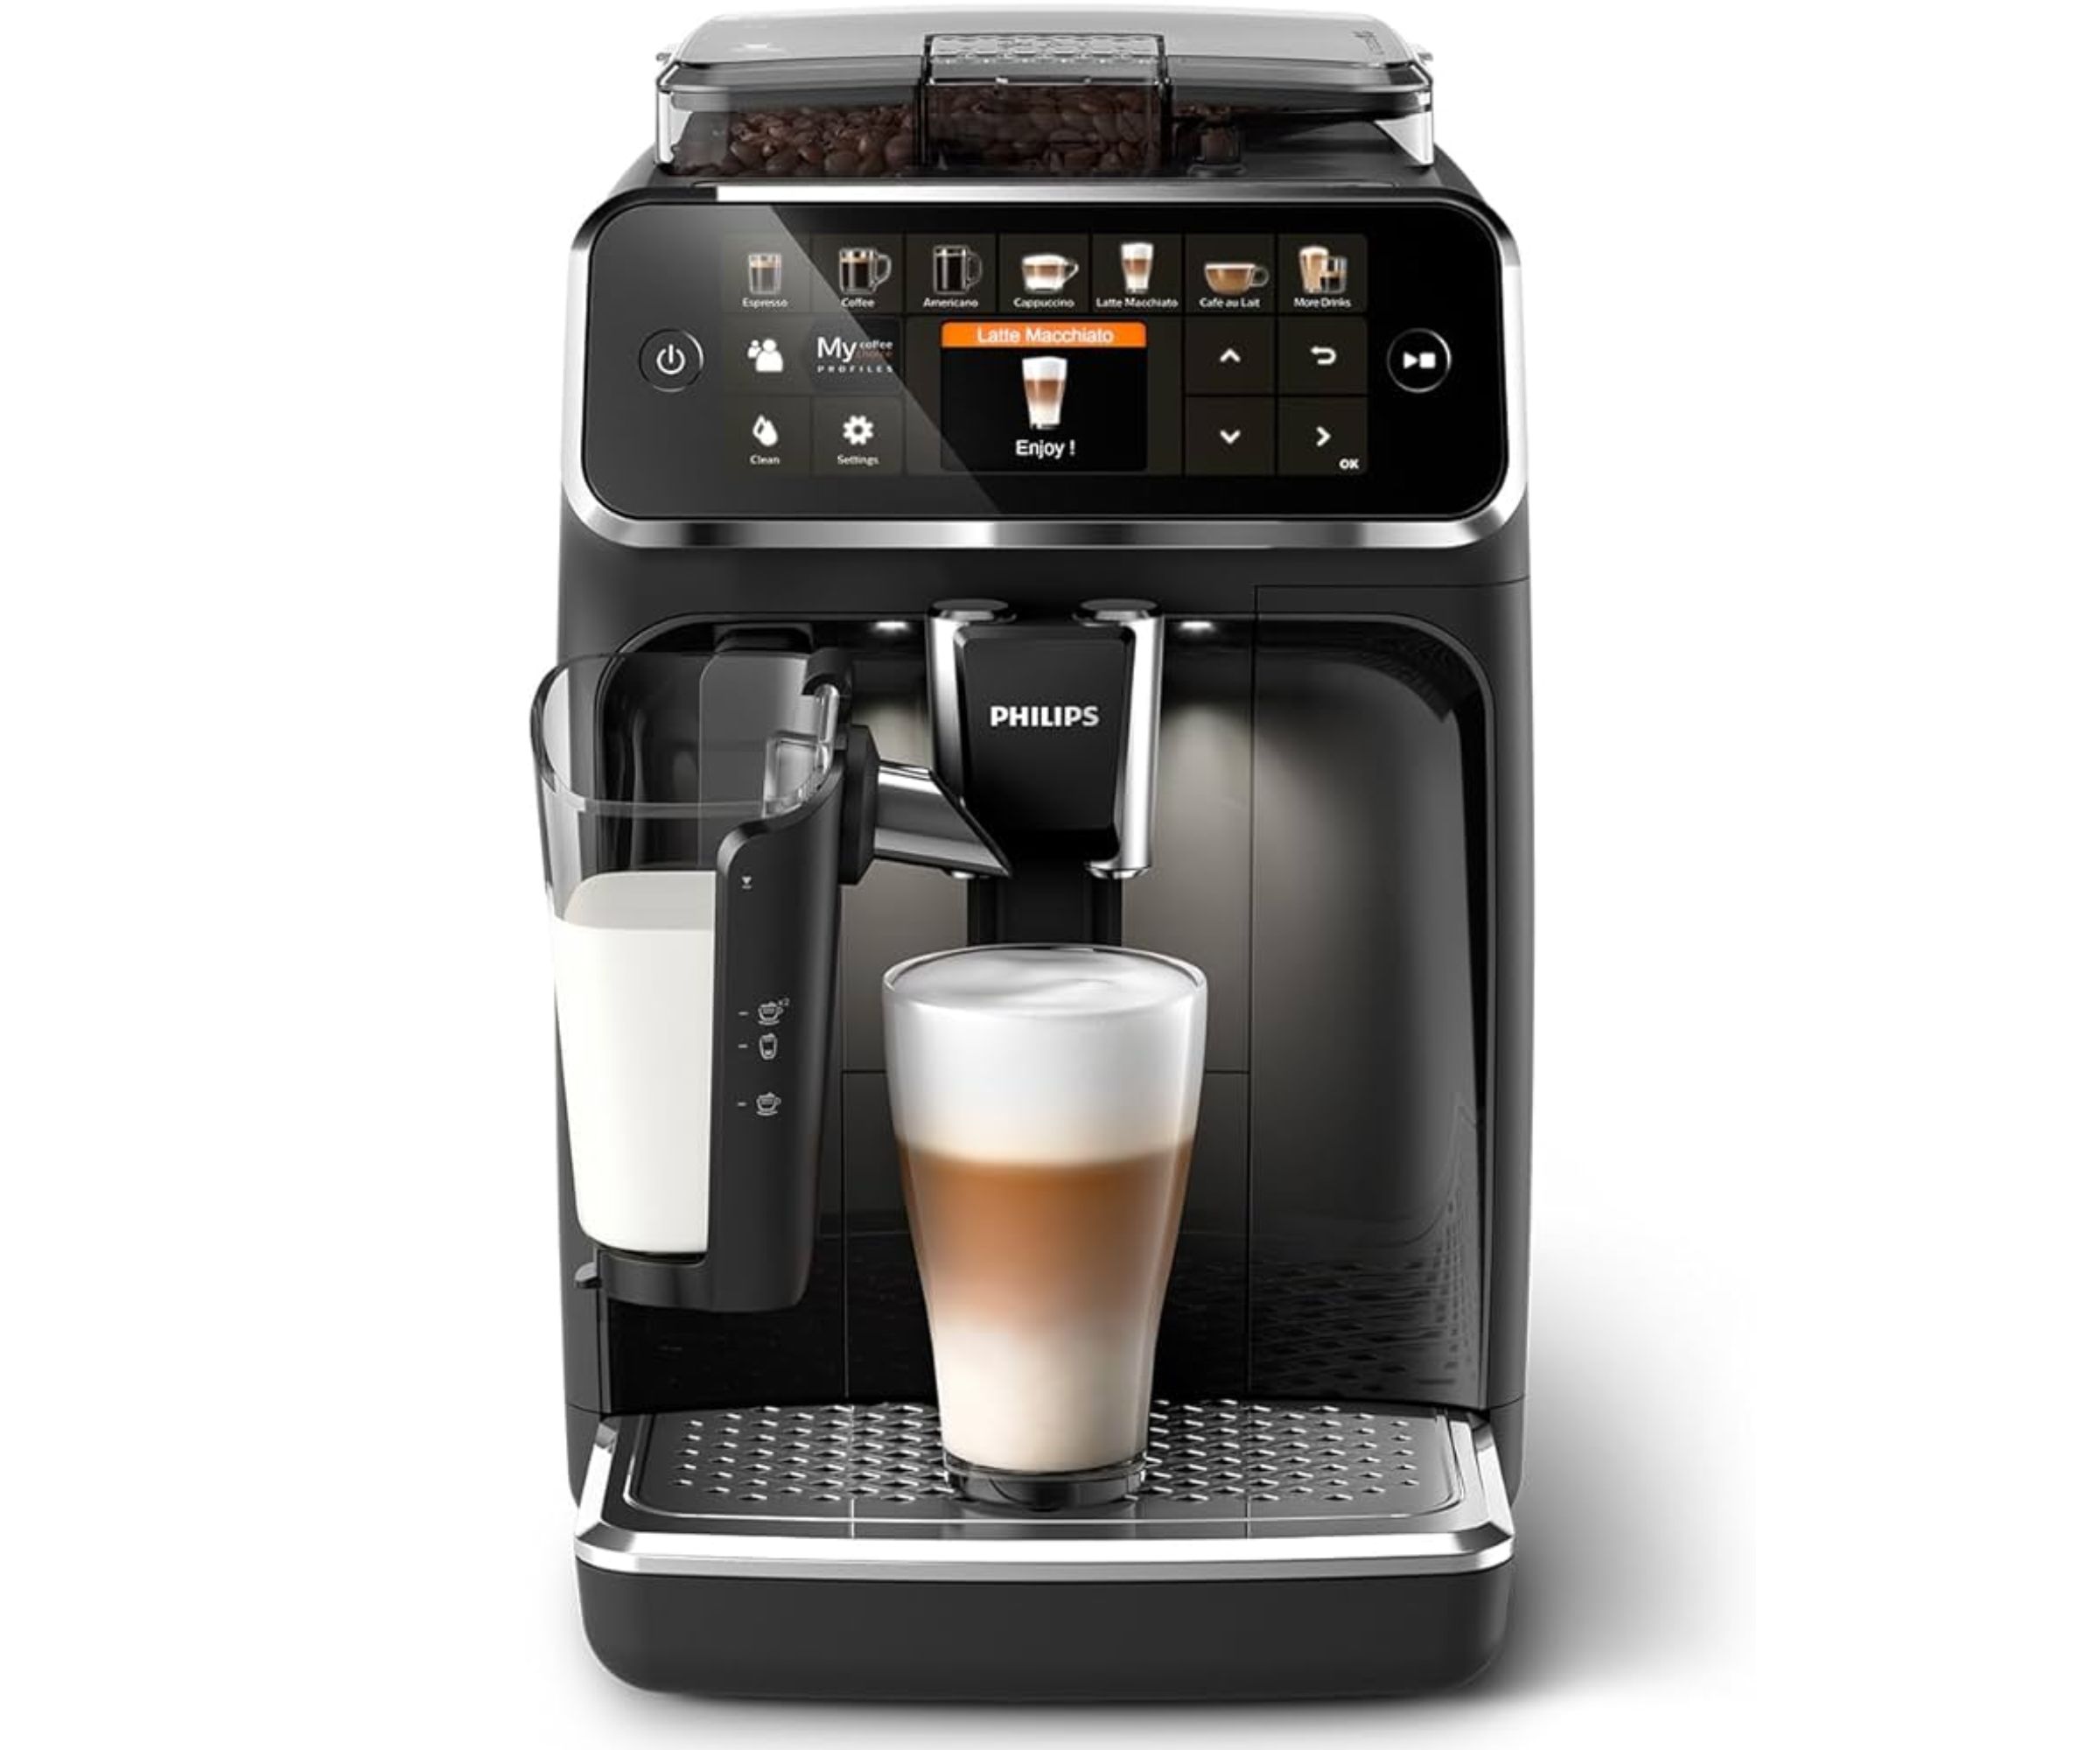
The Philips 5400 Series LatteGo really puts the super in superautomatic coffee machines. It boasts twelve different coffee options, four customizable user profiles and much much more. It looks the part, but can it perform?
The older, Philips 3200 sat at the top of our best coffee makers buying guide for months. Our experts loved the price-performance ratio and rated the coffee highly. However, it slipped off the list as more diverse, advanced models flooded the market. Now, the brand has responded with the 5400 Series.
I used this to make some delicious espressos, Americanos, and cappuccinos. Having personal profiles, extra coffee recipes, and other functions (extra shot, colored interface, barista lights, and a clear bean hopper) was a true treat. For just over $1,000, it's a great deal.
Specifications
Unboxing
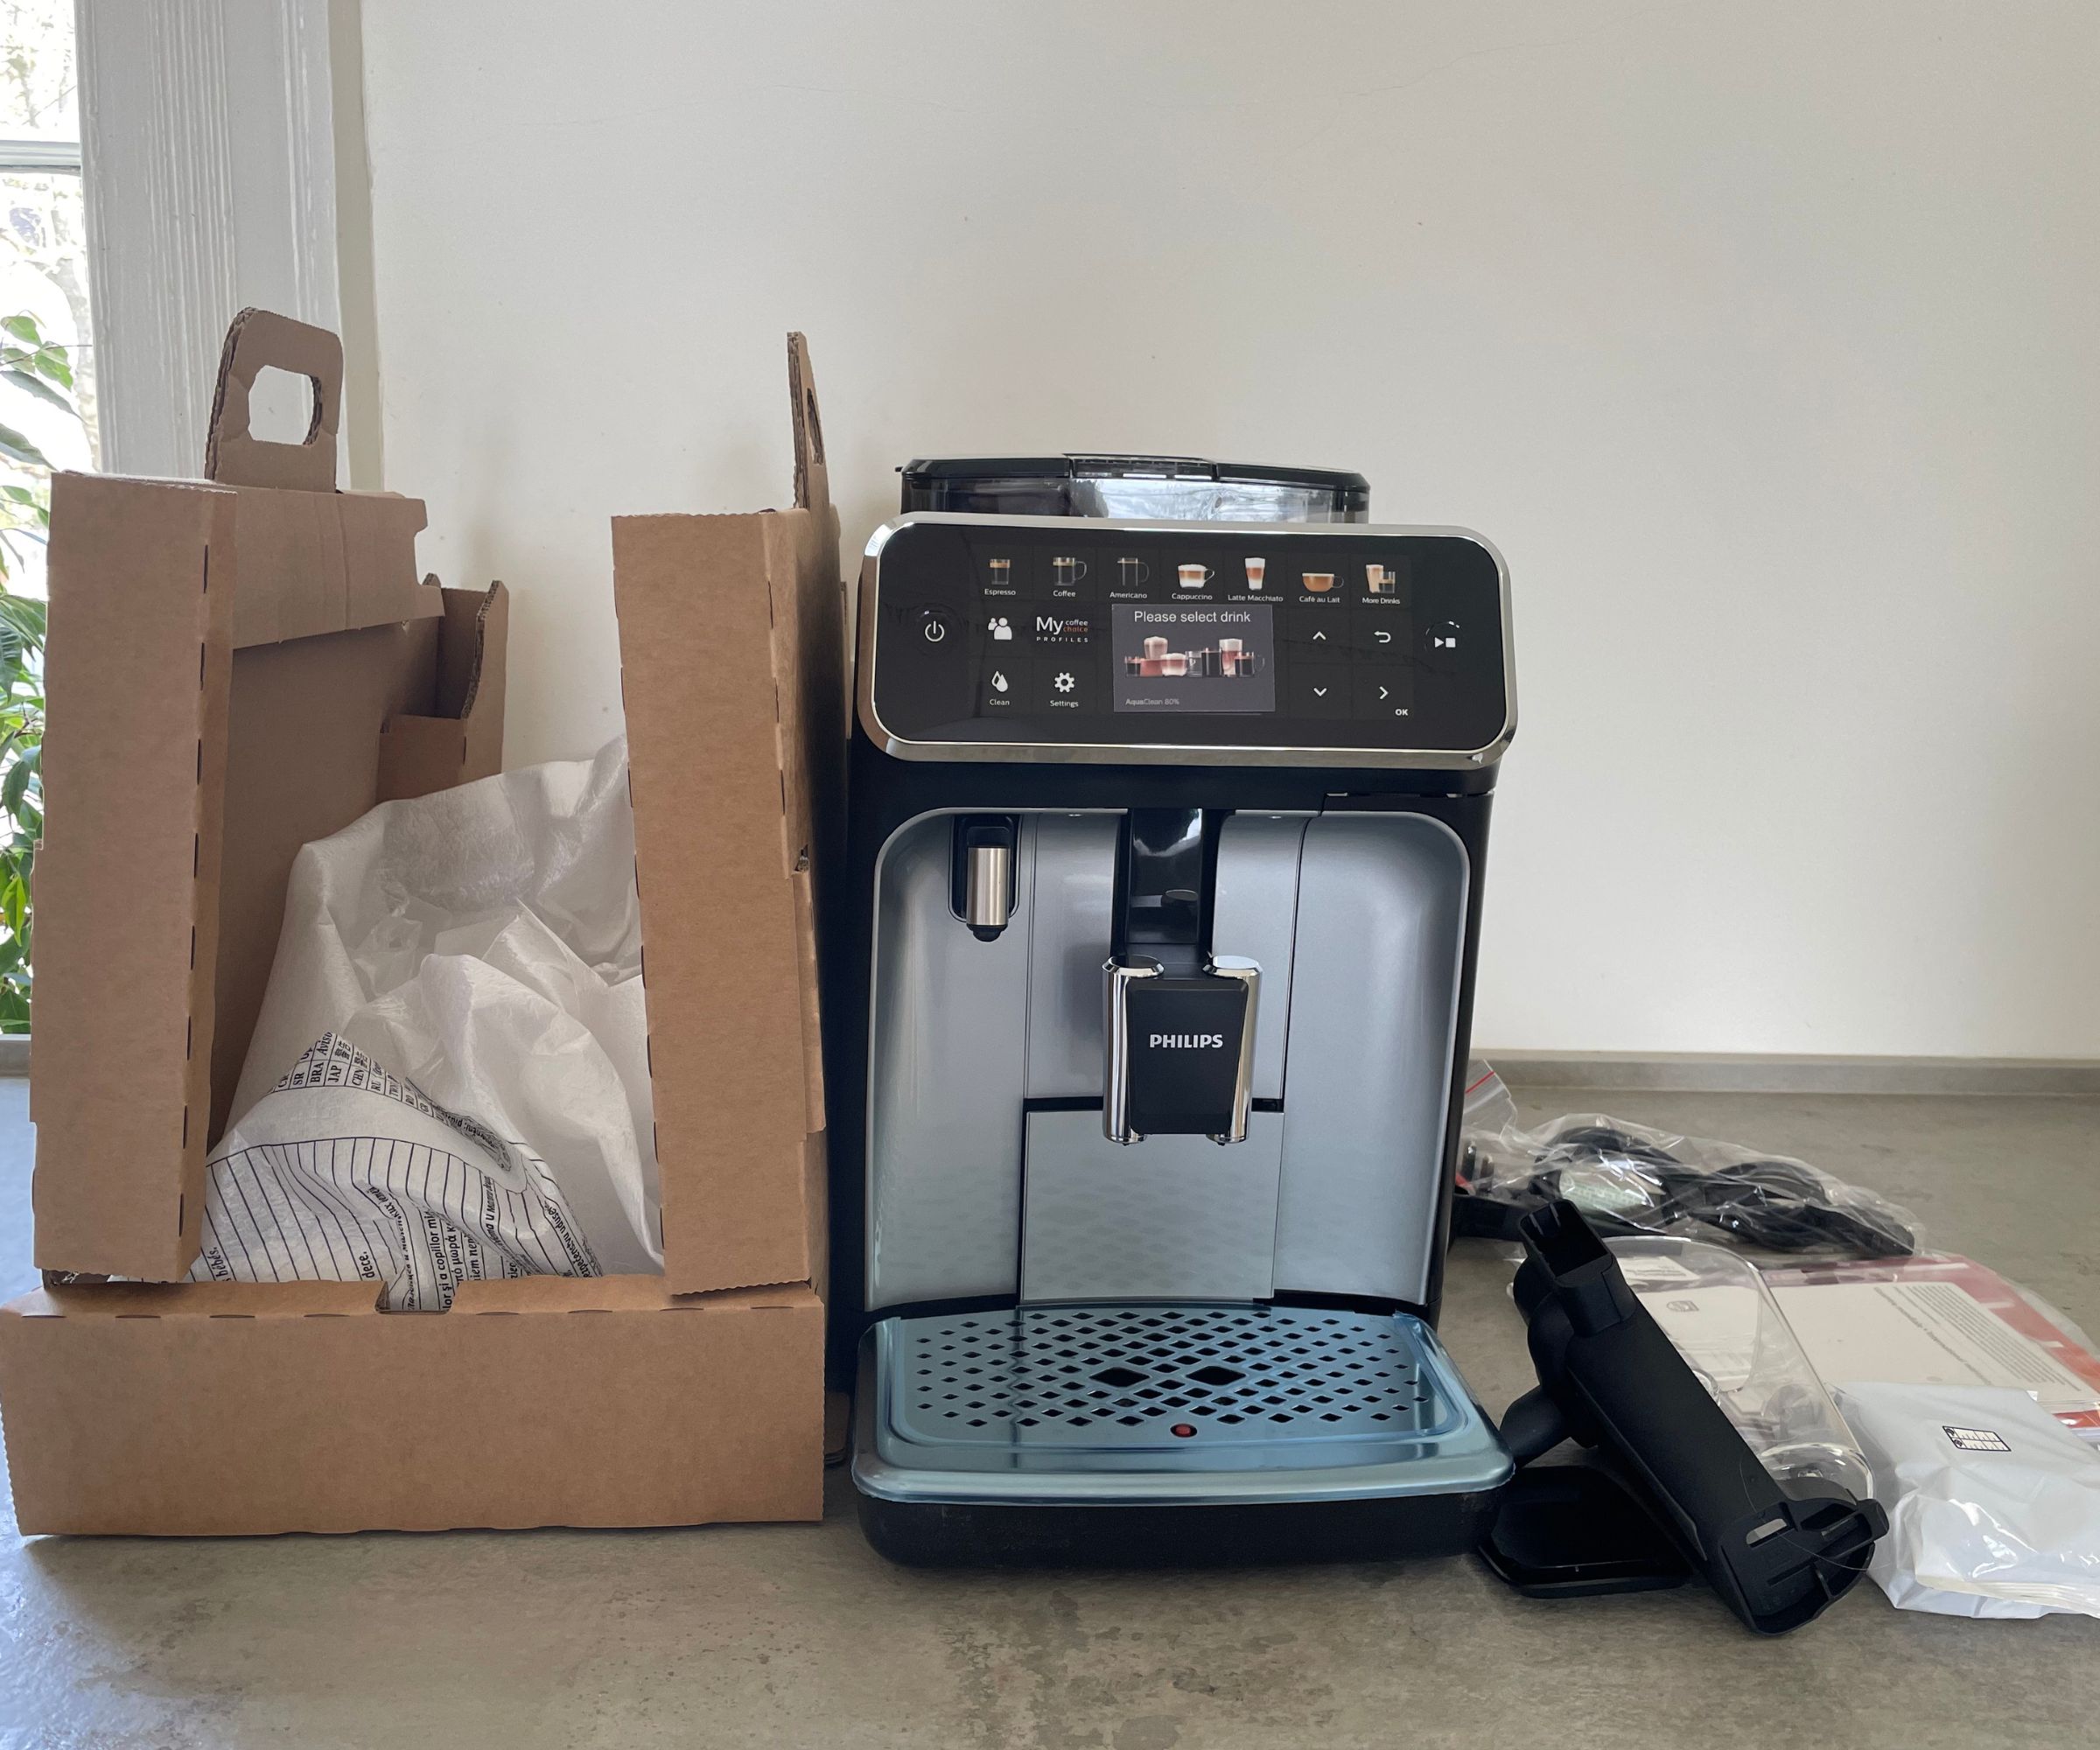
Unboxing is never a glamorous process, but Philips has made it easy with some well-considered features. The coffee maker sits inside a cardboard case that has handles, helping you to lift it out of the box. Most of the packaging is recyclable too, so it won't take a huge toll on your garbage.
On the countertop, the 5400 Series is relatively big, but it's not heavy. I didn't have any trouble placing it in different spots on the countertop. In each place, it looked attractive and professional. The one feature that surprised me was the menu. It looks like the selection settings are touchscreen, but only the navigation menu is: the coffee icons are all stickers.
Who would it suit?
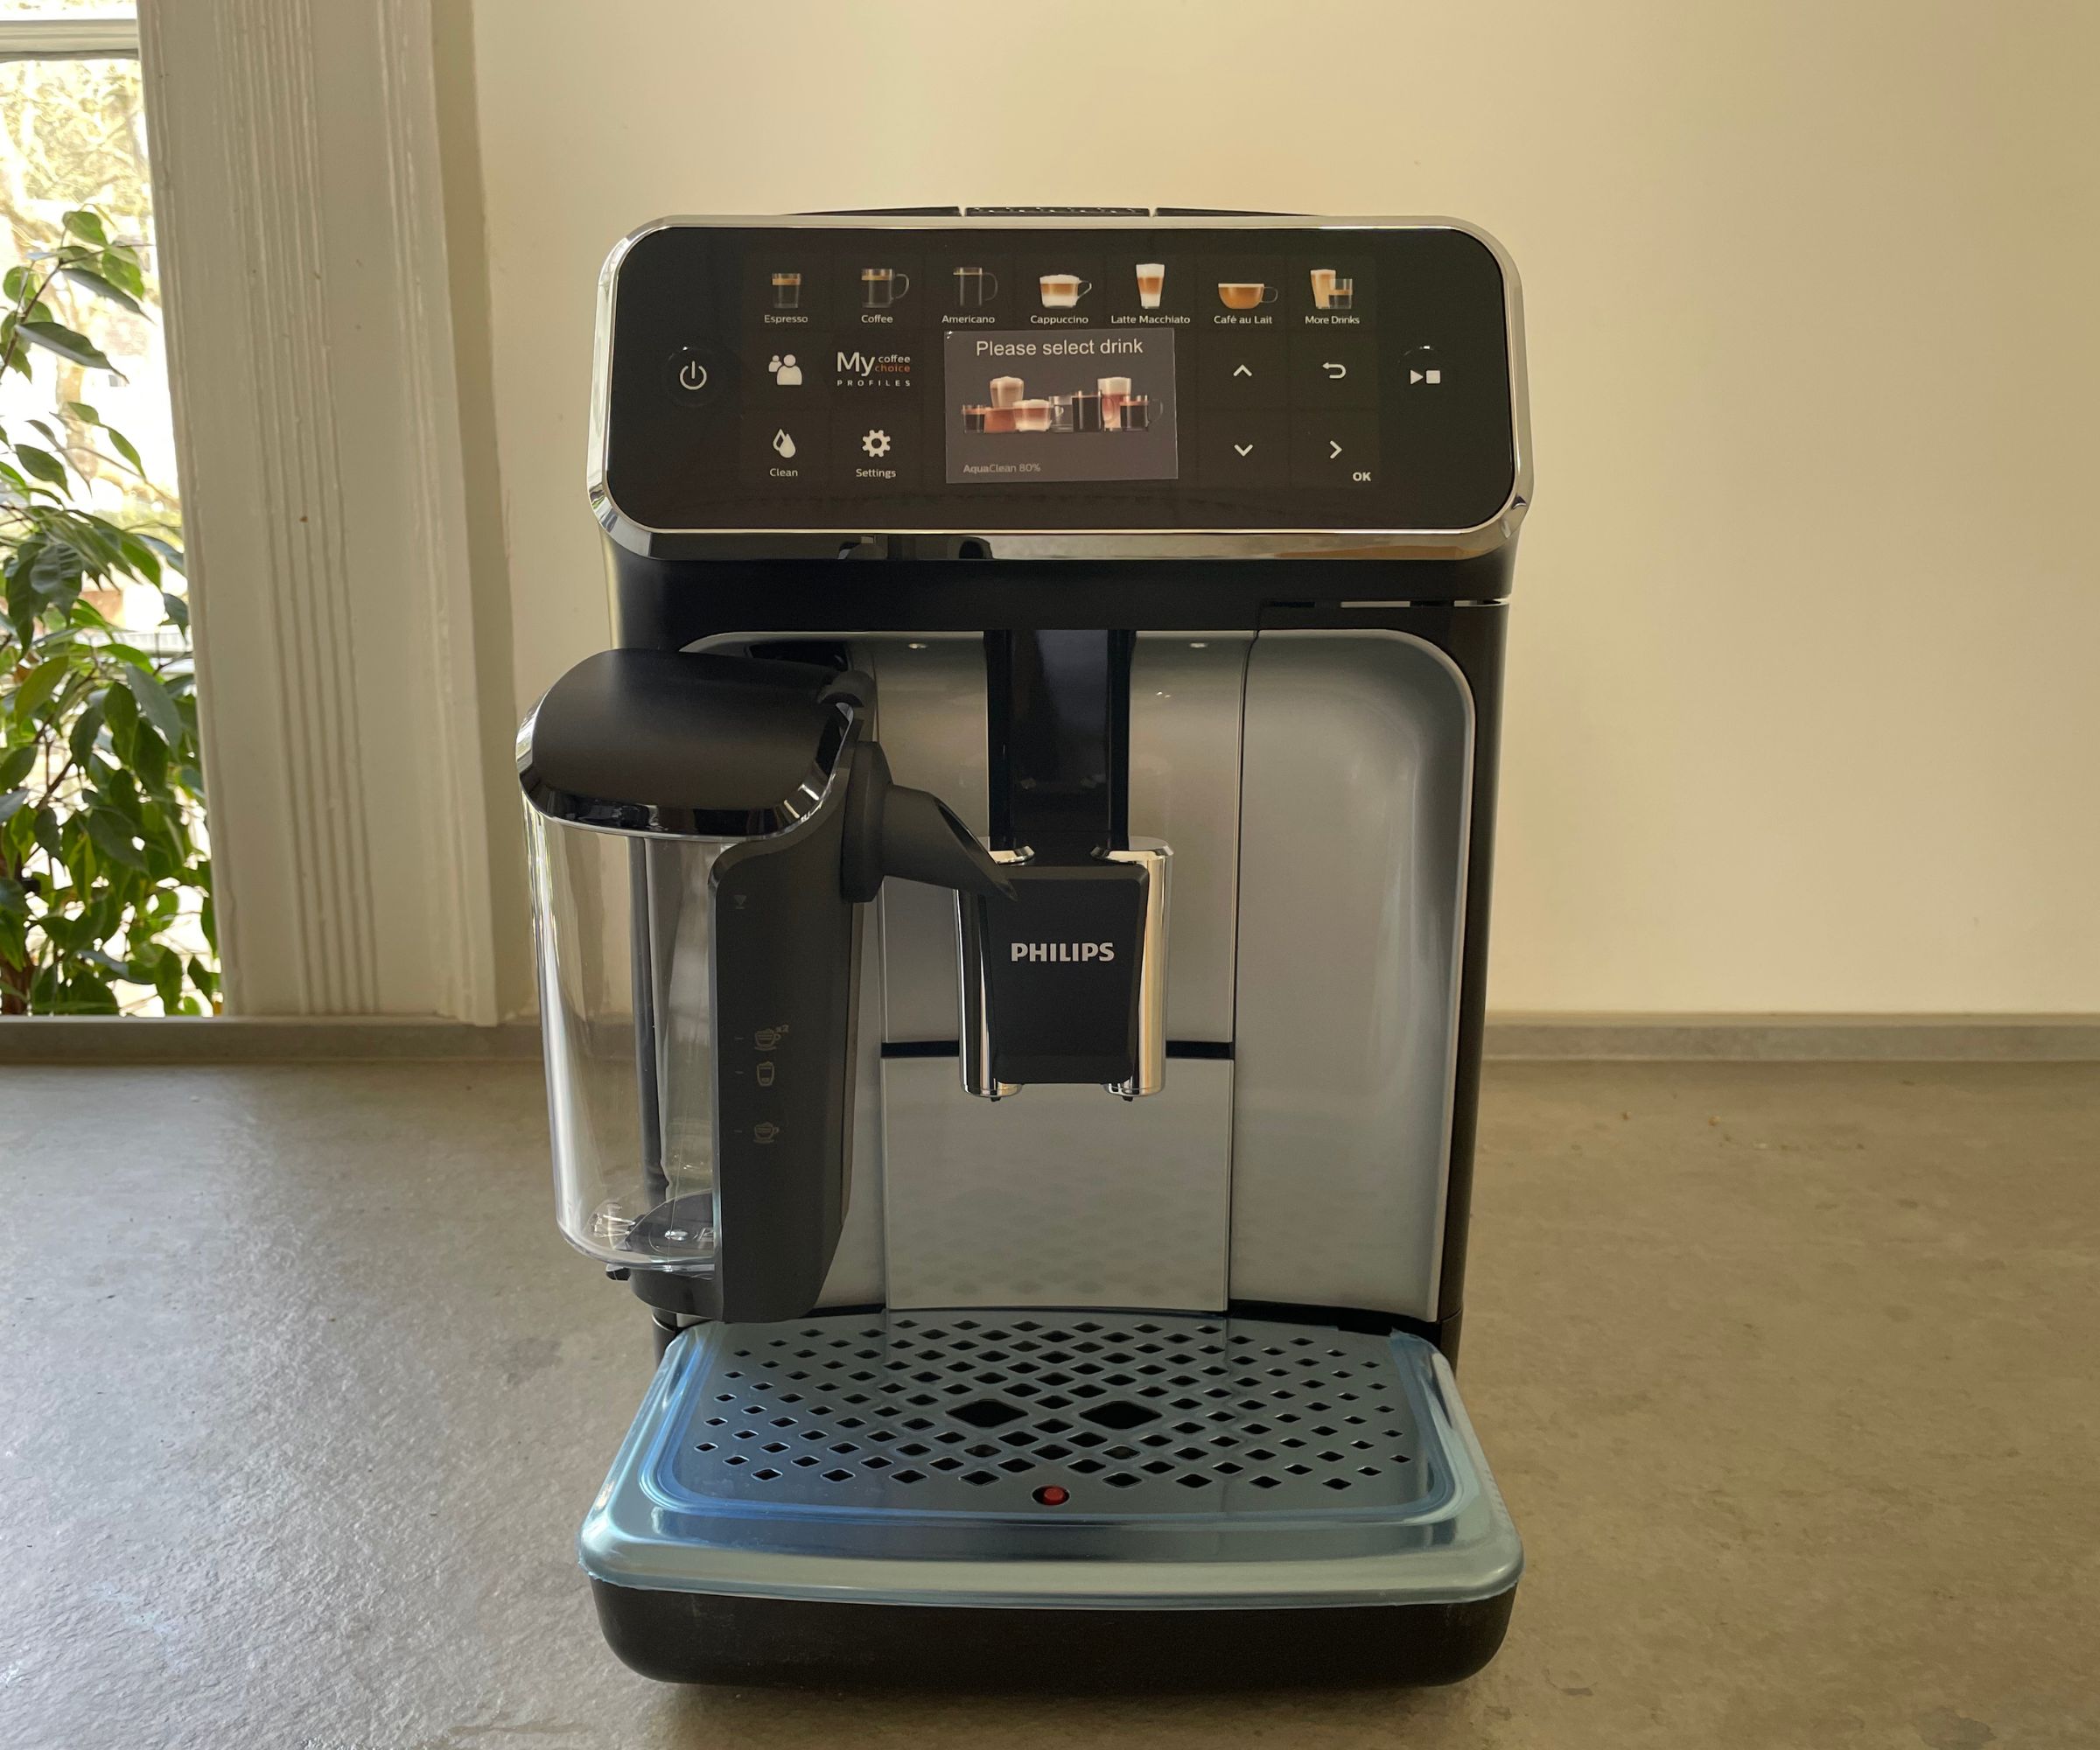
If you live in a large home, with versatile, but snobby coffee needs, the 5400 Series has you covered. As you would expect, the bean-to-cup machine is capable of making freshly ground coffee to twelve different coffee types. You can set up four different user profiles, where you can establish your personal flavor preferences: how strong you like your coffee, what size you like to drink, and much more. This means that every coffee drinker can make their favorite flavored coffee in a matter of minutes.
One thousand dollars sounds expensive for a coffee maker when you're looking at drip coffee makers. However, as far as bean-to-cup machines go, this is well-priced. Older, less versatile machines might save you a few hundred dollars, but if you need versatility and you're reluctant to spend more than $1,000, this is a good option for you.
What is it like to use?

This is the epitome of easy coffee. The screen will walk you through setting up water hardness and a user profile (where you can set the strength and size of your coffees), and a thorough clean and rinse. You can have the machine up and running in under five minutes. It’s a real treat.
I mentioned that most of the menu is stickers, which might bother some people. I didn't have a problem with the touchscreen navigator buttons. They're sensitive and simple.
Before I could get brewing, I filled the bean hopper. This is one of Philips' updates because the lid is transparent. It's still UV-protected and fully air-tight, which is great to see. Plenty of brands overlook these small touches, but this can spoil your cup of coffee, as the beans will quickly taste stale and bitter. If you prefer to use pre-ground coffee, there's a chute that you can pour down before brewing.
Test 1: espresso
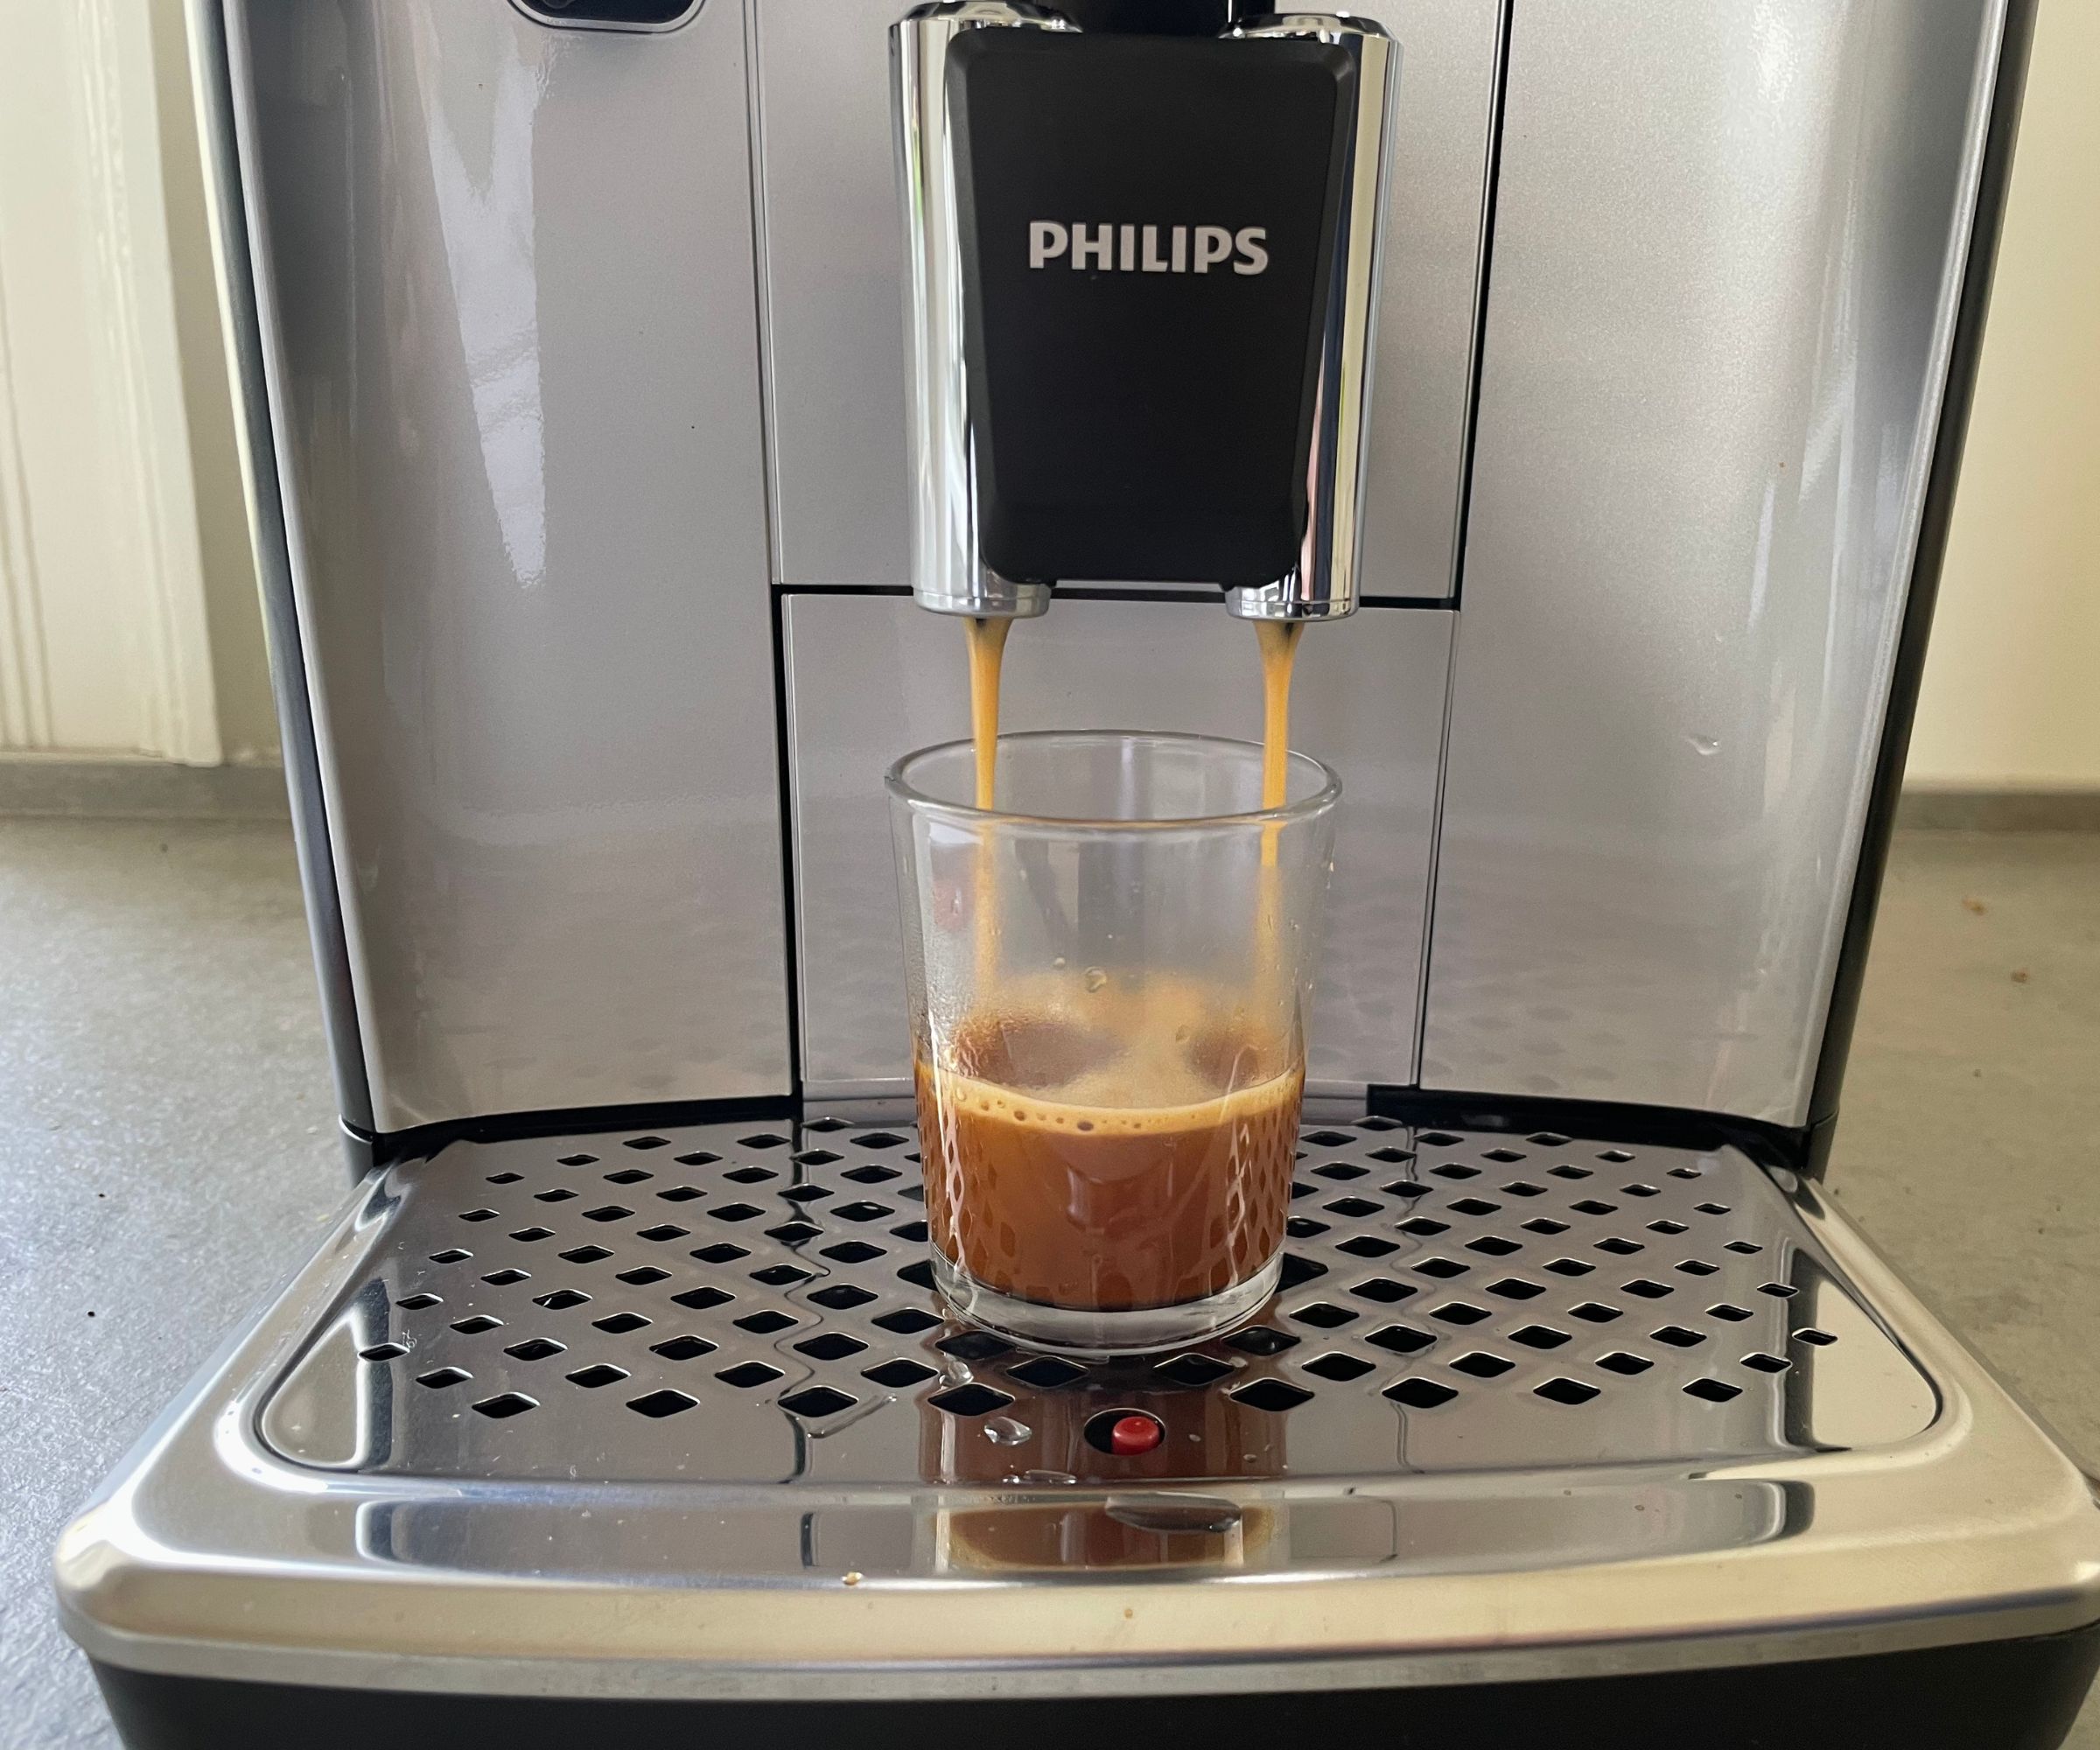
The first test we put any coffee maker through is an espresso. These simple shots give the machine nothing to hide behind: they’re a great indicator of how well extracted your coffee will be, as well as how strong and flavorful it can be too.
I set mine on all the standard settings to start with, because I wanted to see what Philips thought a standard espresso should look like. The machine took 52 seconds to brew 1.25 oz of delicious coffee.
When I’m using espresso machines, I’d normally look for a 20-30-second extraction time, so I was slightly concerned that this nearly doubled it. However, the flavors were good: I could taste the fruity, brighter notes in my coffee beans and could also see a thick crema on top.
The next espresso I tested was one that I tailored to my tastes. I made a double shot on the strongest setting. This brewed in a speedy 34 seconds, so perhaps the Philips just needed warming up when I started my single shot. Whilst my intense double shot was certainly stronger, I think it could have been stronger again. The flavors were bold and rich, but I was expecting more punchy coffee notes.
Test 2: Americano
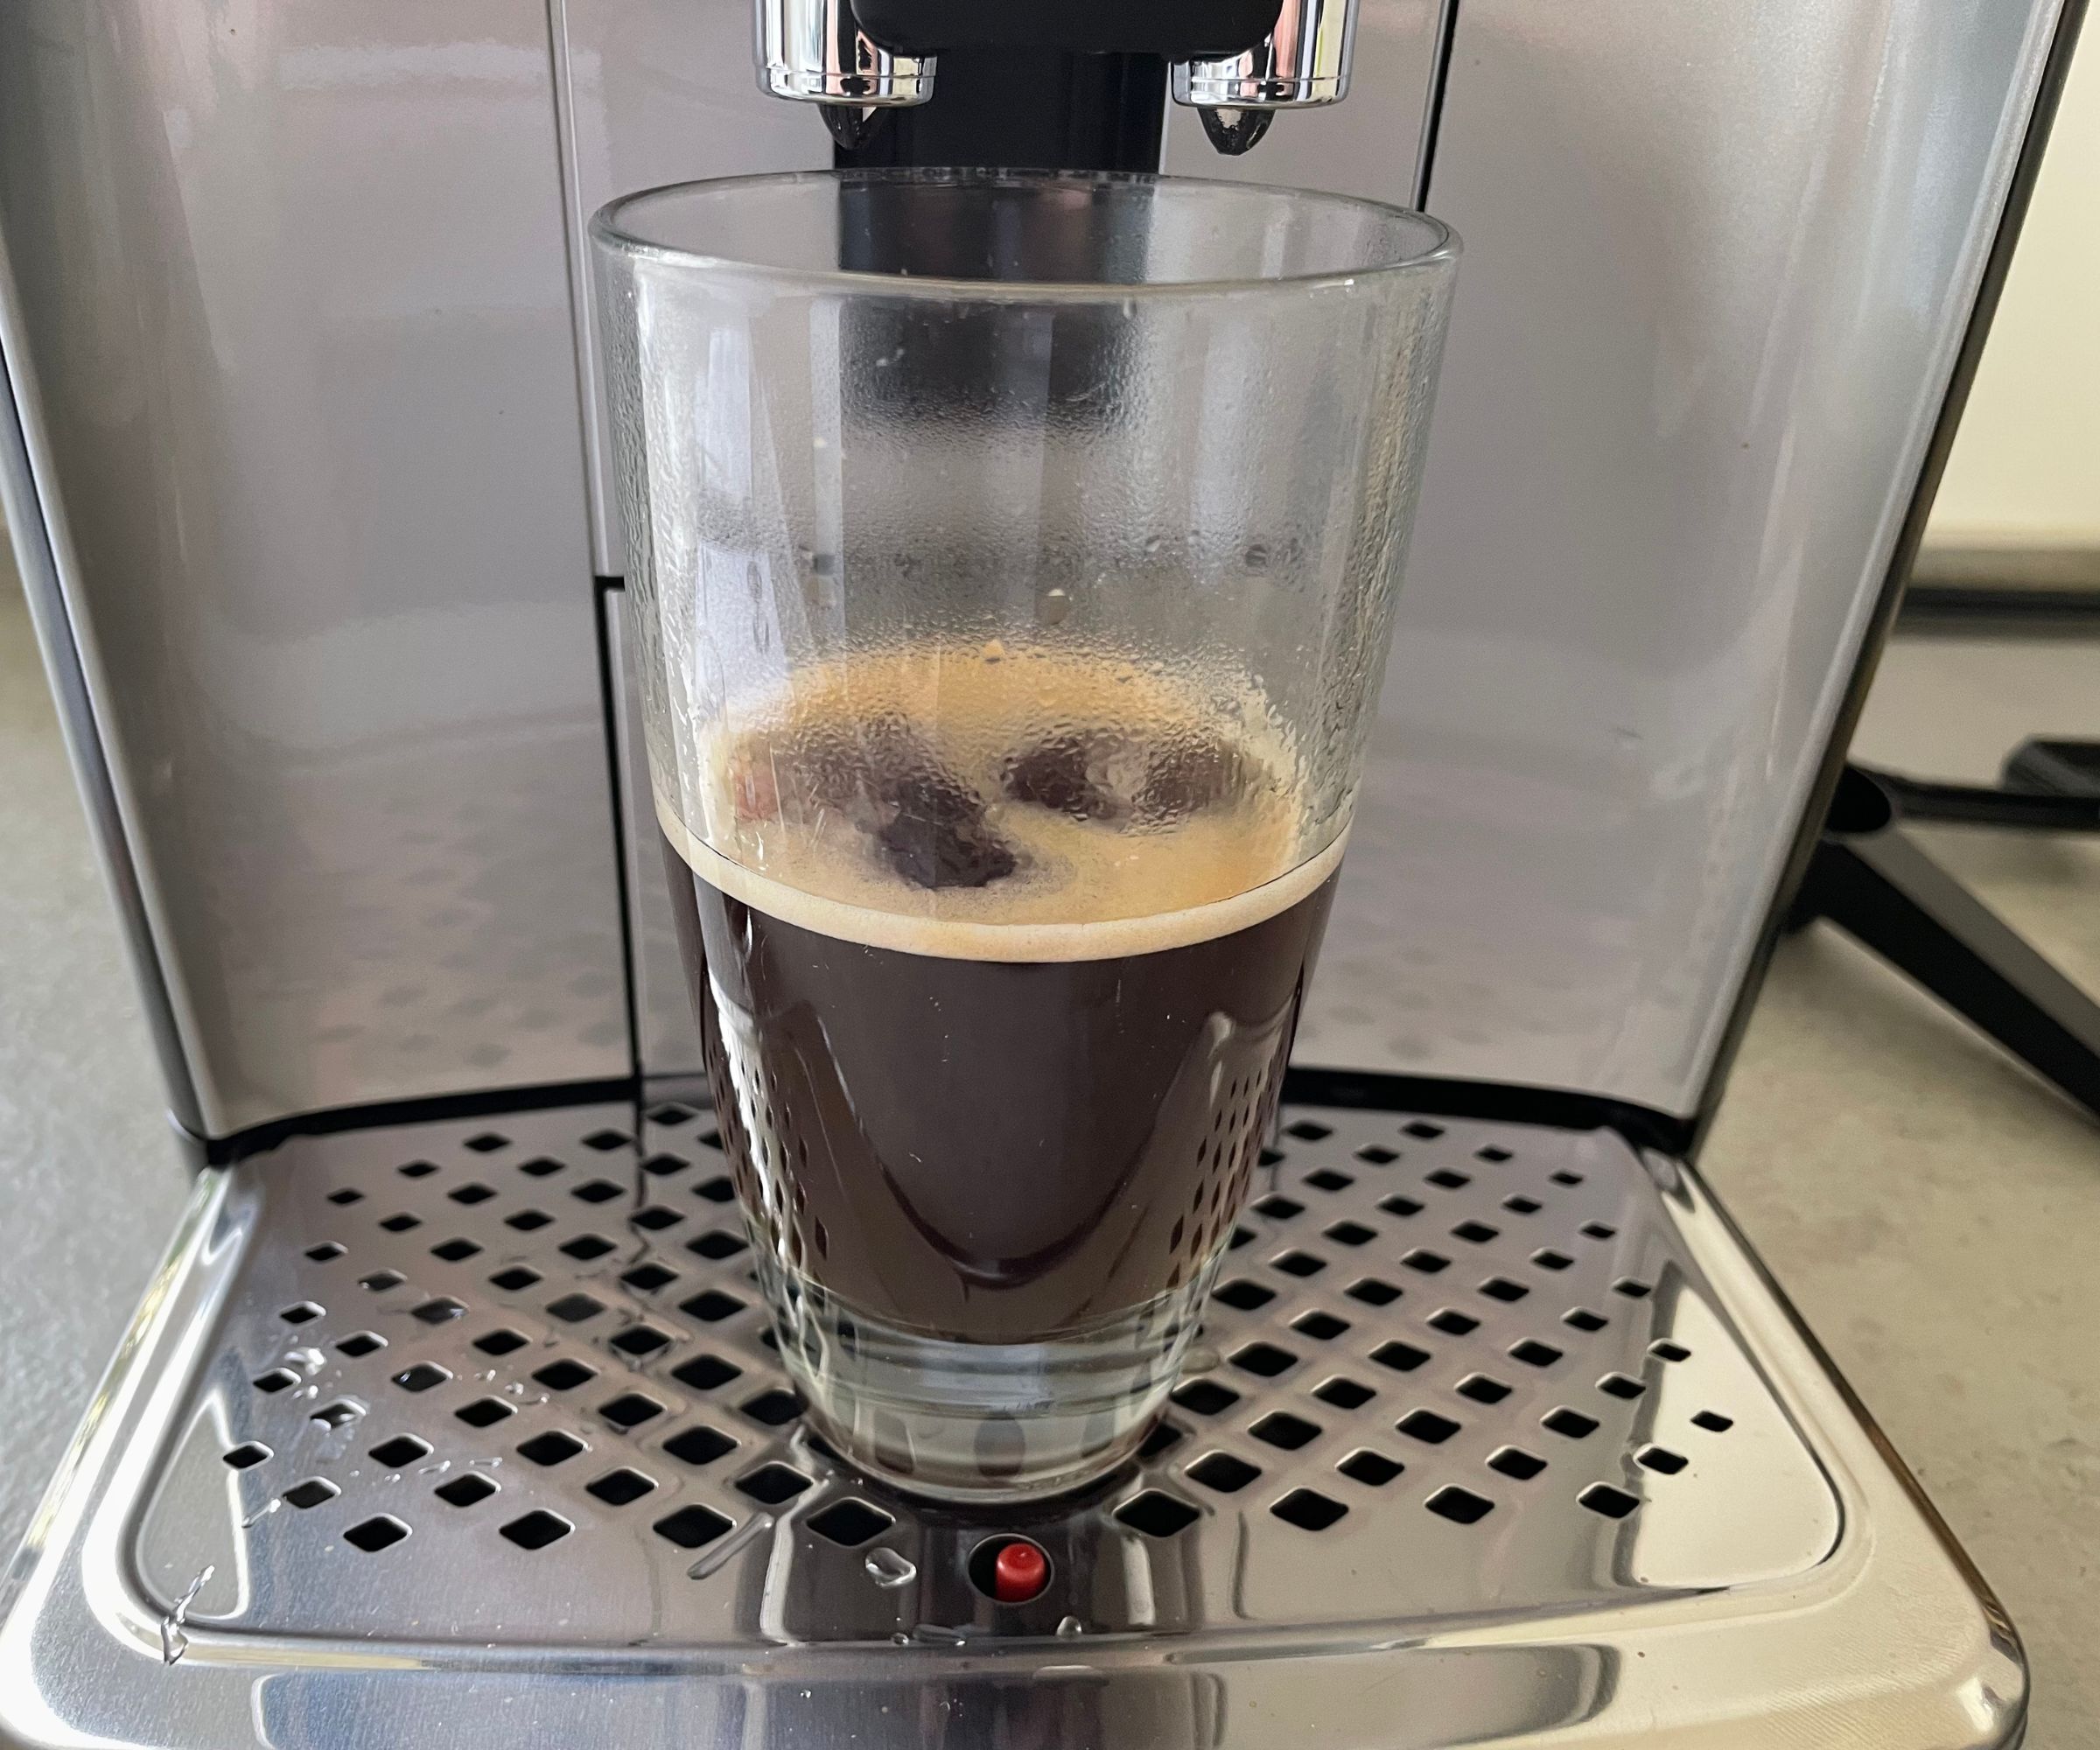
The next test for any coffee maker is making an Americano. The adjustable brew head could slide right up, catering to my tall coffee cups. I selected the Americano setting and was given the option of following my custom profile or a standard Americano. I selected the standard setting to see what Philips thinks the average coffee drinker wants.
My Americano brewed in one minute and eight seconds, which is pretty speedy. The grinding made 78 dBA of noise, which looks loud on paper. It was, but it was also so brief and really a given for bean-to-cup machines, so I barely noticed.
Once I had extracted a shot from the brew head, I wasn’t sure whether I would need to move my glass to the water spout (where you sit the milk frother). In true, super automatic style, this didn't need me to lift a finger. Water was dispensed directly from the brew head, all in the same place.
My Americano came out at a very drinkable 194 degrees Fahrenheit, which is great. Most bean-to-cup machines overcook it and burn the espresso with scalding water. This was perfect: the flavors were nicely balanced and distinct. It was a great success.
Test 3: Cappuccino
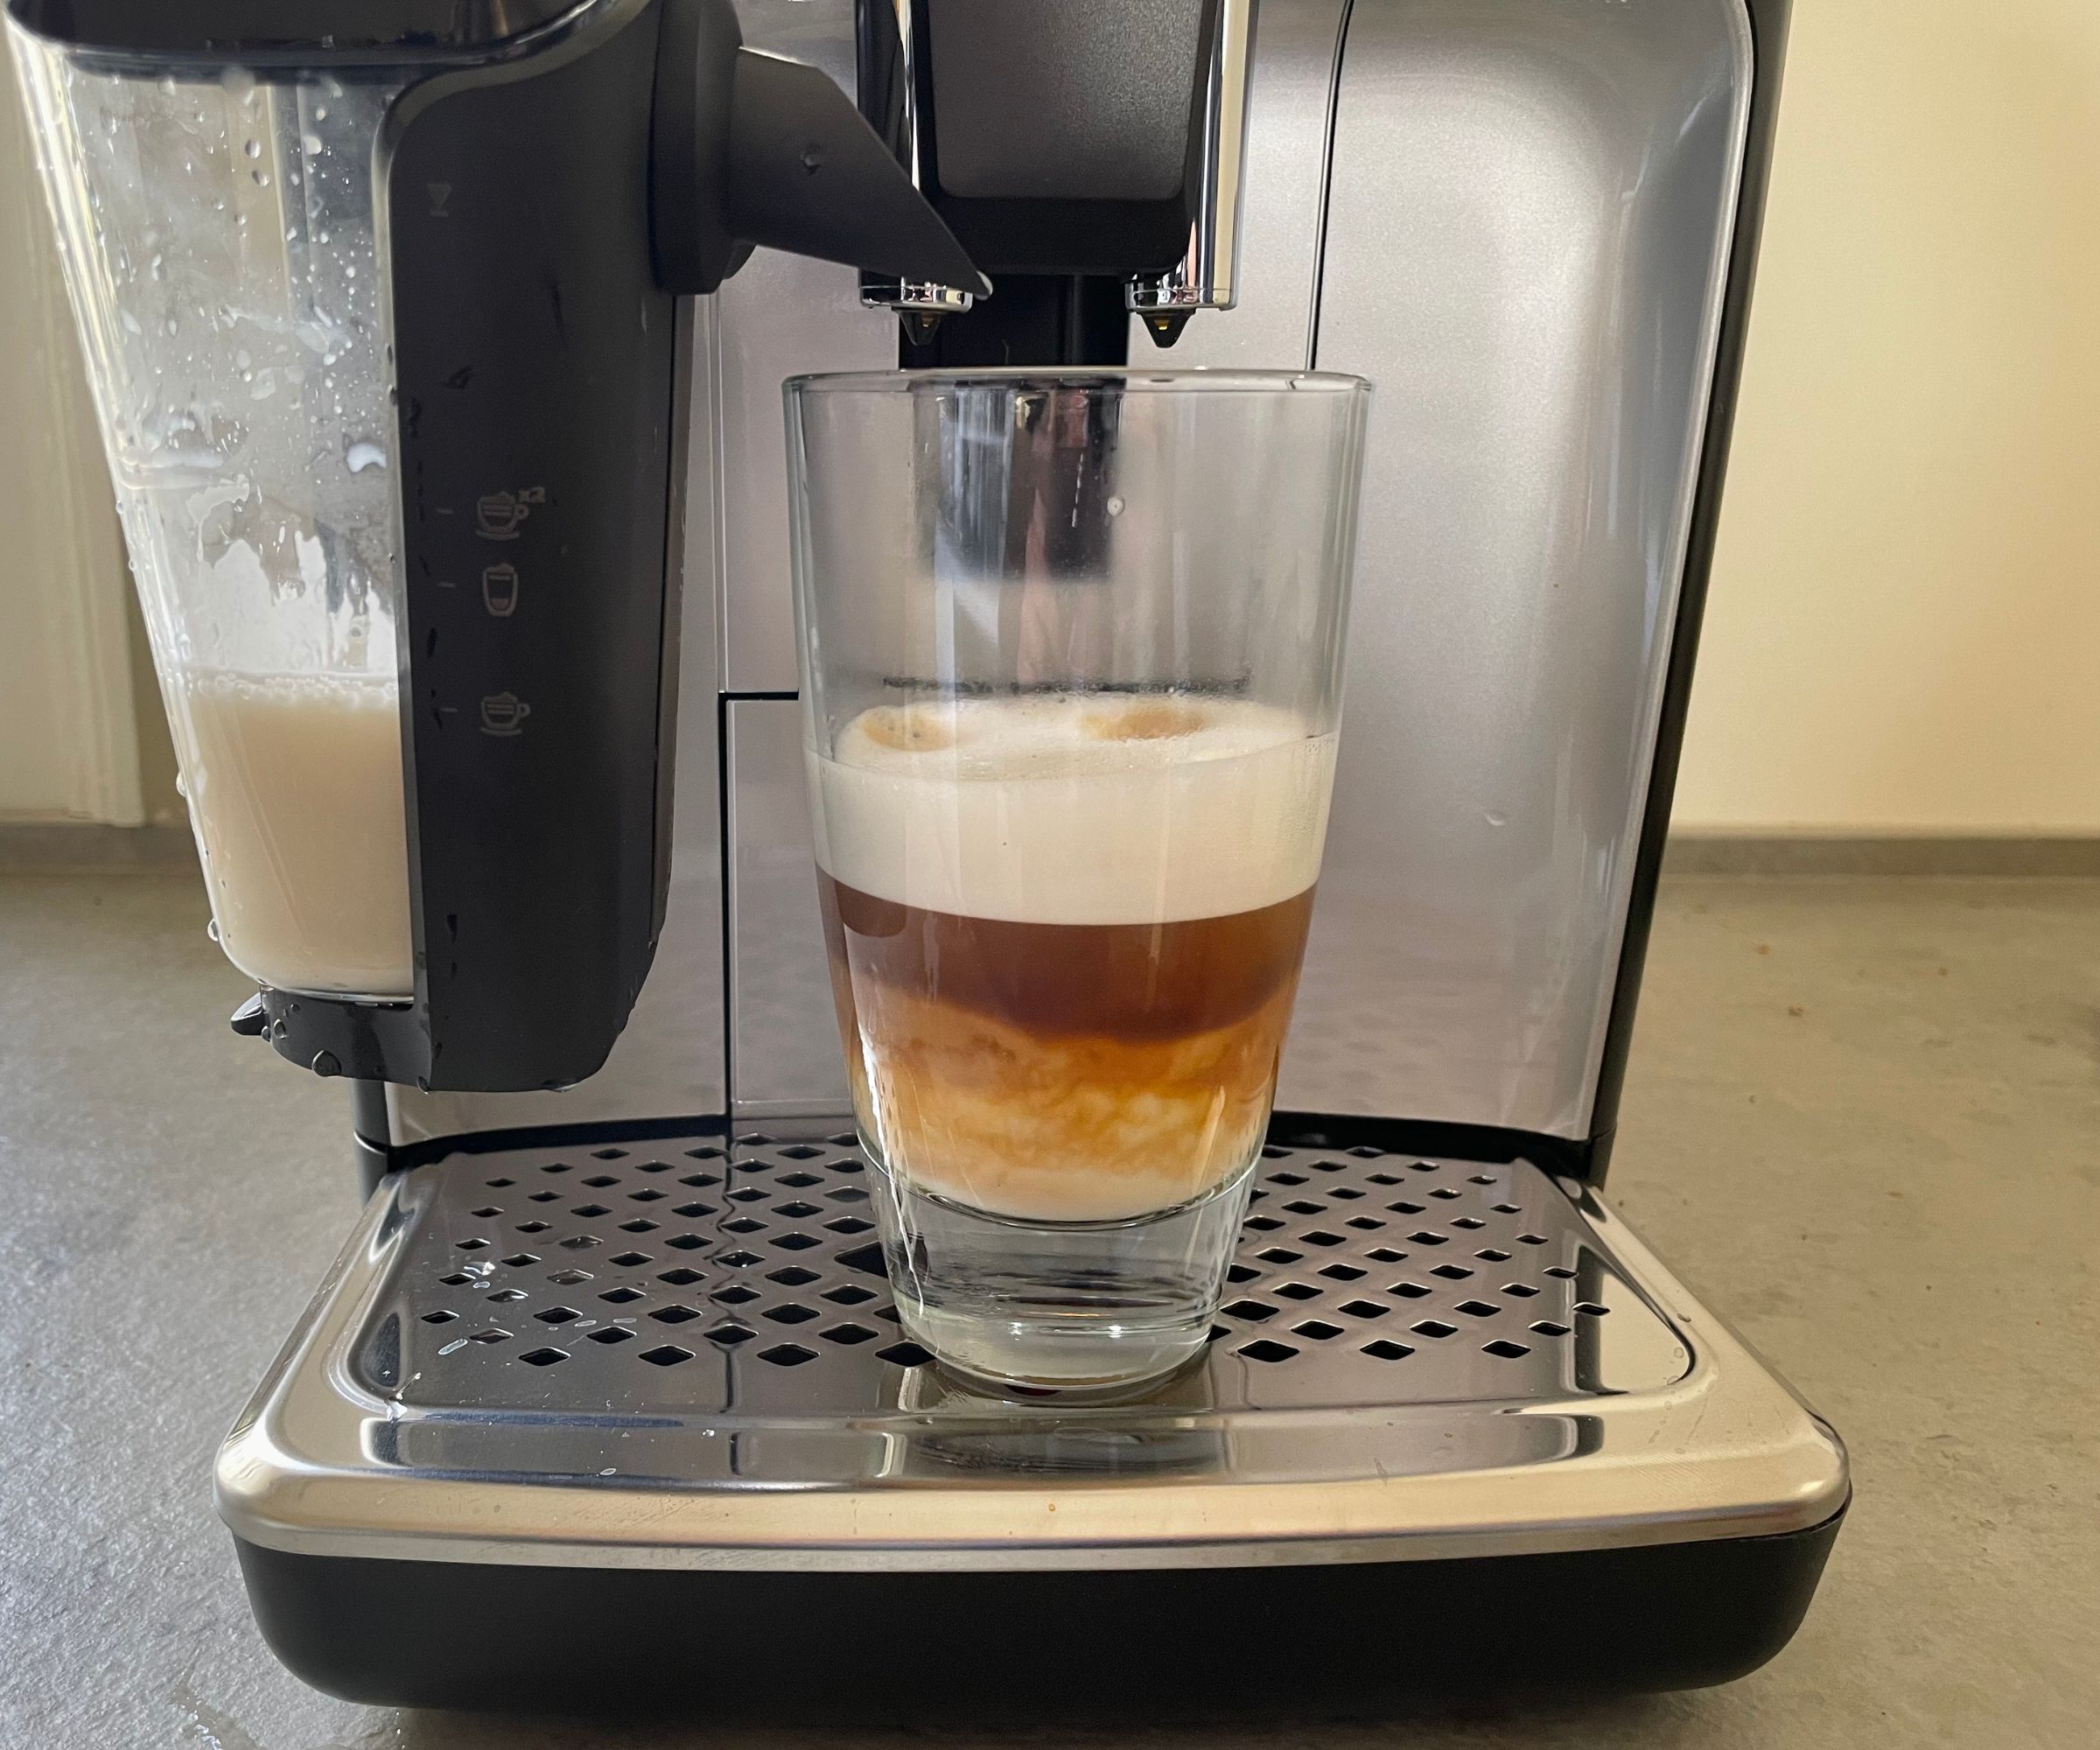
Our final, standard test for any coffee maker is making cappuccinos. This model’s predecessor, the 3200, was brilliant at texturing both plant-based and dairy milks, so I was hopeful that this would be a success.
Fitting the milk steamer onto the attachment is strange. It’s not a matter of lining up the attachments and pushing, you almost need to angle and click it on, like you would with a roller fixture on a drawer. I wasn’t convinced that mine was in place – it seemed precarious – but it withstood all my tests.
First, I made a dairy milk cappuccino. The machine textures the milk first. This is the textbook-perfect way of making a cappuccino (some machines will brew the espresso first, but milk can wait thirty seconds to be remixed, whereas the espresso crema cannot).
Next, the 5400 brewed my shot of coffee onto the milk. It was a really beautiful extraction process aesthetically. In fact, it looked so good, the 5400s cappuccino made it onto our TikTok as some coffee ASMR.
Making a cappuccino took one minute and forty-eight seconds. Compared to your local coffee shop, two minutes is super speedy. However, I’ve tested some coffee machines which can make a cappuccino in a minute. I was always taught that patience is a virtue and this is a great example. It might be slightly slower (and still definitely not the slowest), but the flavors are worth the wait. I stirred the espresso into the silky milk and enjoyed a velvety, gently sweet cup of coffee.
The second cappuccino I made was with oat milk. I usually recommend opting for a special, barista oat milk, but I was intrigued to see how this would cope with a standard carton. You’ll be pleased to hear that this was a great success.
I almost couldn’t distinguish between my oat milk and dairy cappuccinos. Both were creamy and velvety, although they needed stirring for a fully incorporated flavor. The 5 oz cups were smaller and weaker than I would have liked. In response, I adjusted the custom settings and made my dream cappuccino. That's the beauty of user profiles.
Cleaning, storage, and maintenance

The clean-up can be the most frustrating part of any coffee maker. However, Philips makes it easy. There’s a clean setting that gives you the option of a quick rinse, normal clean, or deep descale. This will cover the milk steamer too, preventing you from getting any hard build-up inside the chute.
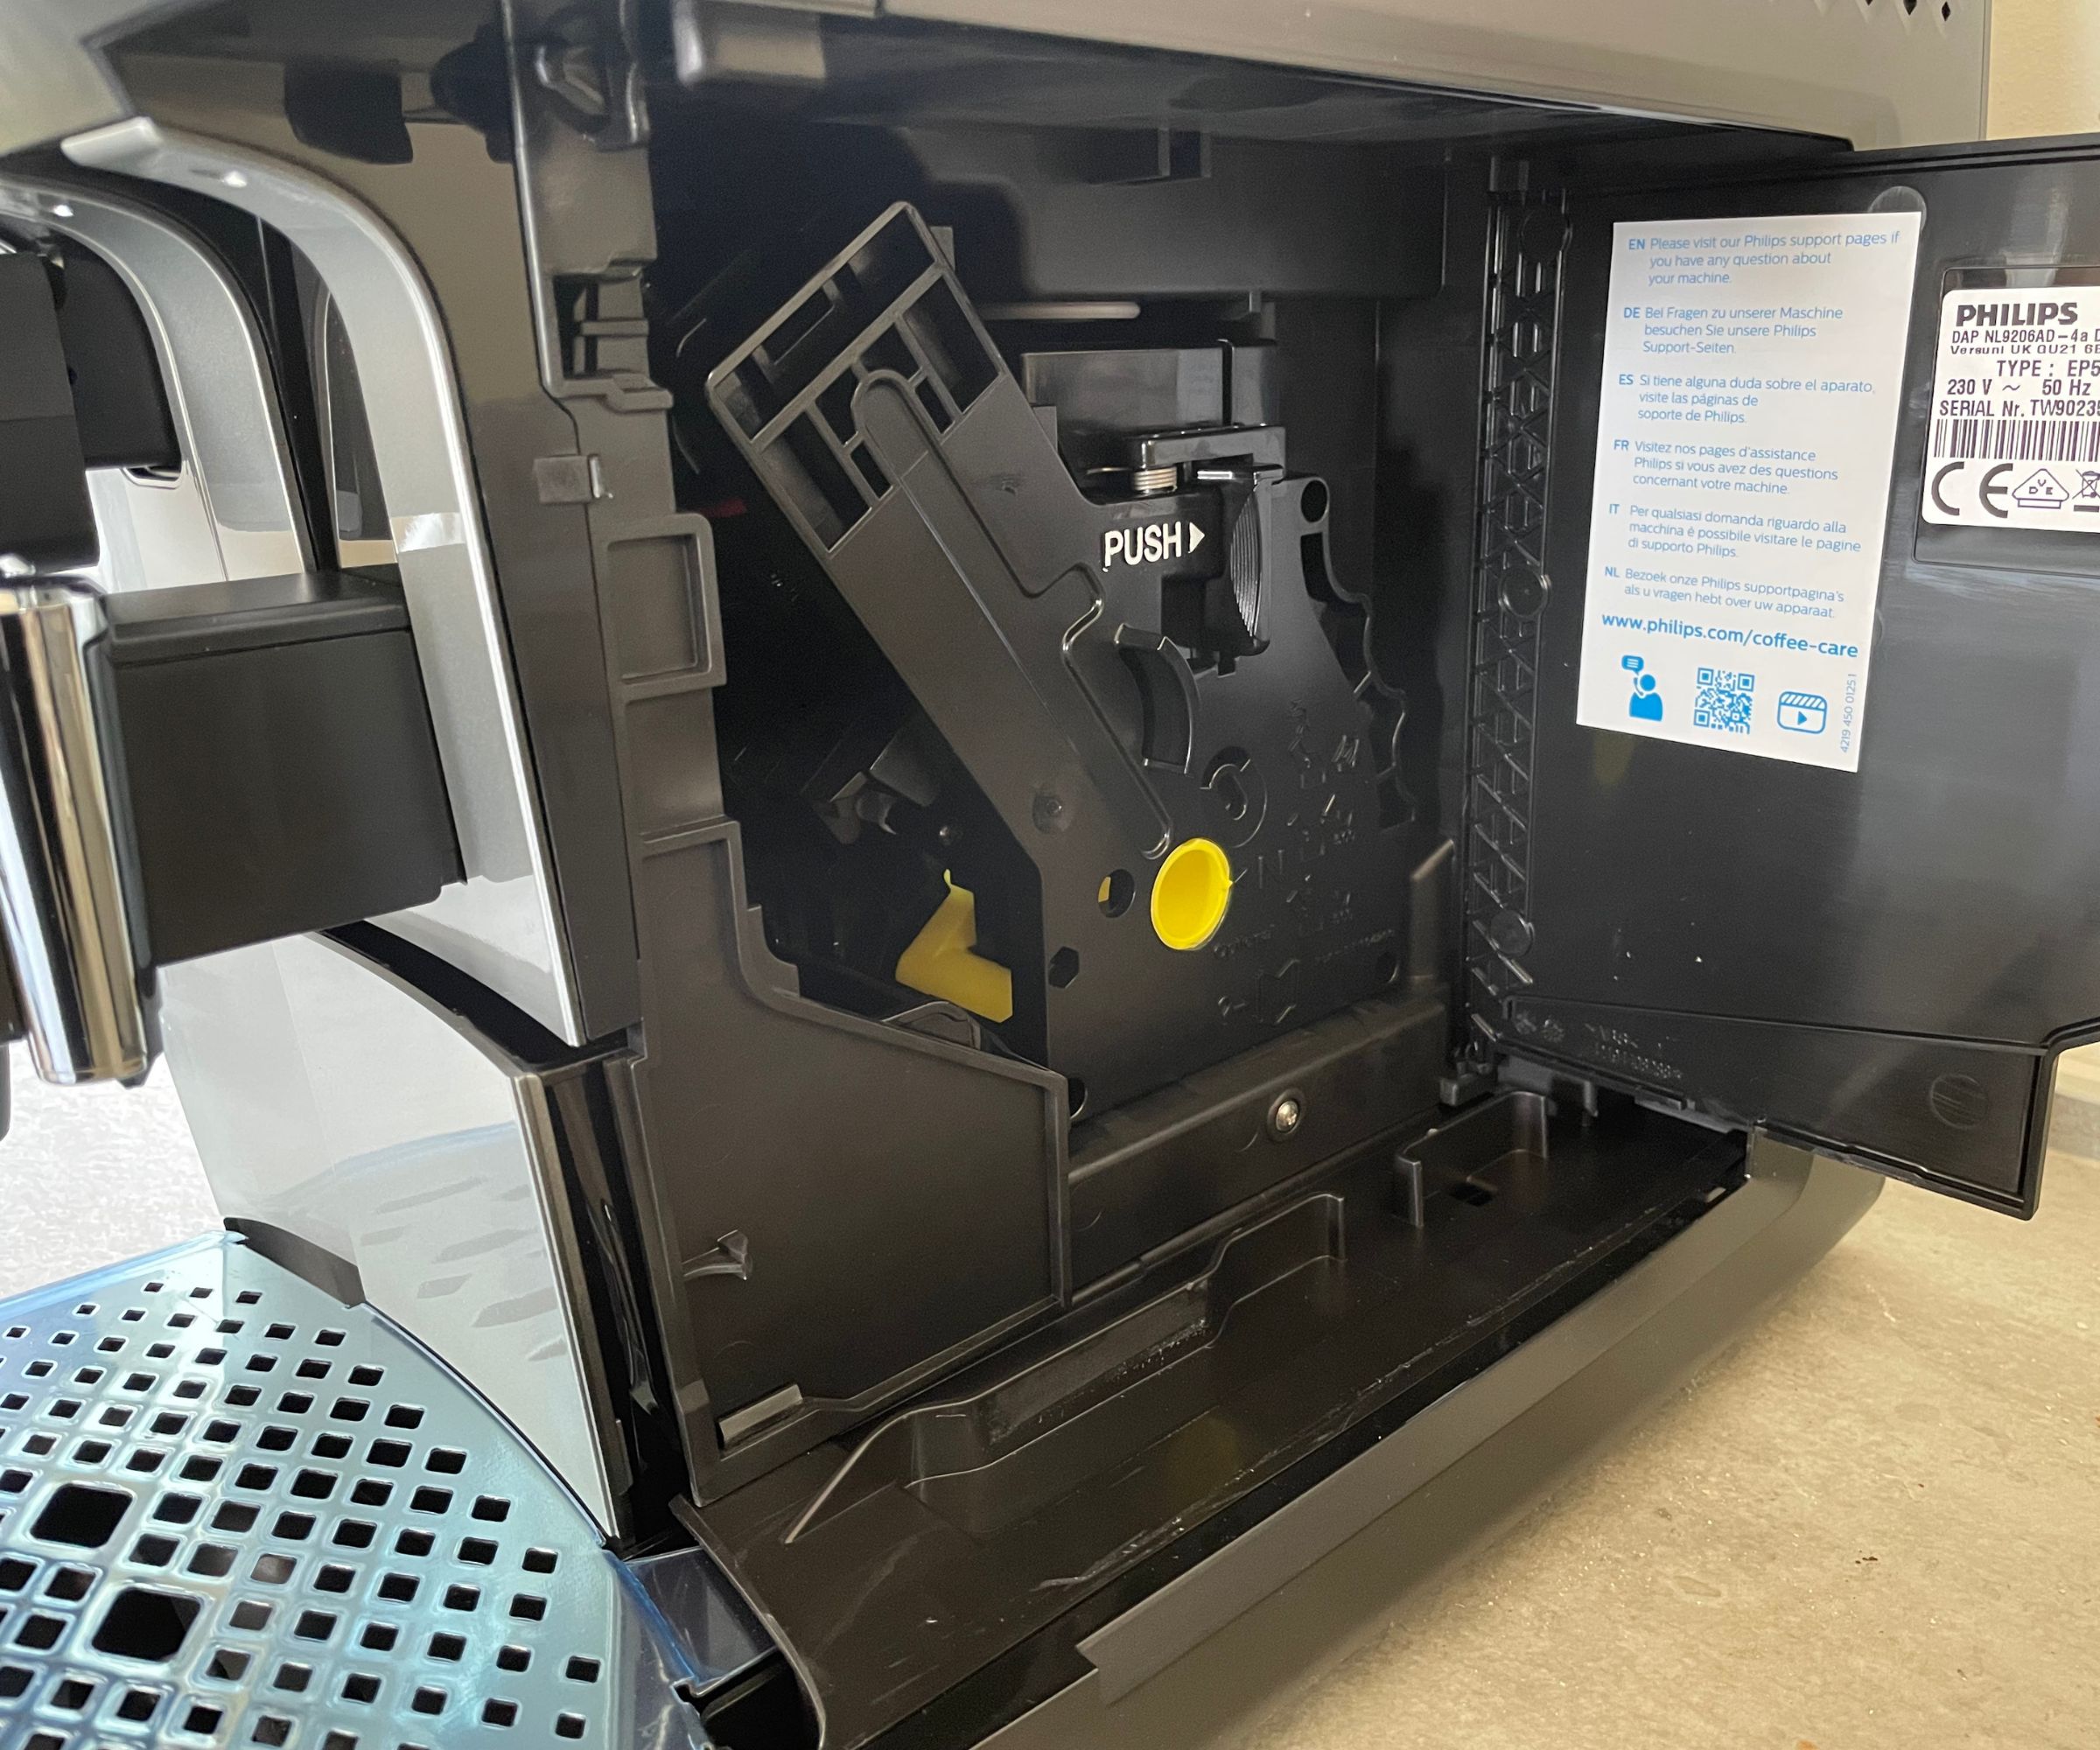
The drip tray and grounds bin are all part of the same base in the coffee maker. Aside from a cosmetic clean of the surfaces and a refill of the reservoir, this is the only part you’ll need to remove to clean. There are plenty of trays and containers within the base that you'll need to remove. On the one hand, this is great for preventing any build-up in your coffee machine. On the other, there are plenty of pieces that you might lose, so clean carefully.
How does it rate online?
I was pleased to see that the Philips 5400 has received a lot of love. Out of 3.2k Google reviews, the 5400 has a solid 4.5 stars. This is higher than the 3200's 4.3-star rating, suggesting that the upgrades Philips has made are all worth the extra money.
People praised the 5400 for a number of features. They all felt that this delivered on value: it made good quality espresso-based drinks, without any fuss, even when texturing milk. I saw a number of people commenting on how much quieter the 5400 is than other superautomatic machines, especially older models from Philips.
People also found cleaning this particularly easy. The 15-second rinse cycle prevents build-up and blockages, which is a true treat. People found it easy to manage maintenance and deep cleans too.
Criticisms were few and far between. I saw some people say that their milk frothing wasn’t up to scratch which really surprised me. This was one of the best features of the model I tested. Perhaps there are some inconsistencies across models. If you do buy one and don’t feel the milk frothing is strong, I would recommend talking to Philips. Their customer service is good and they’ll help you work through any issues.
How does it compare?
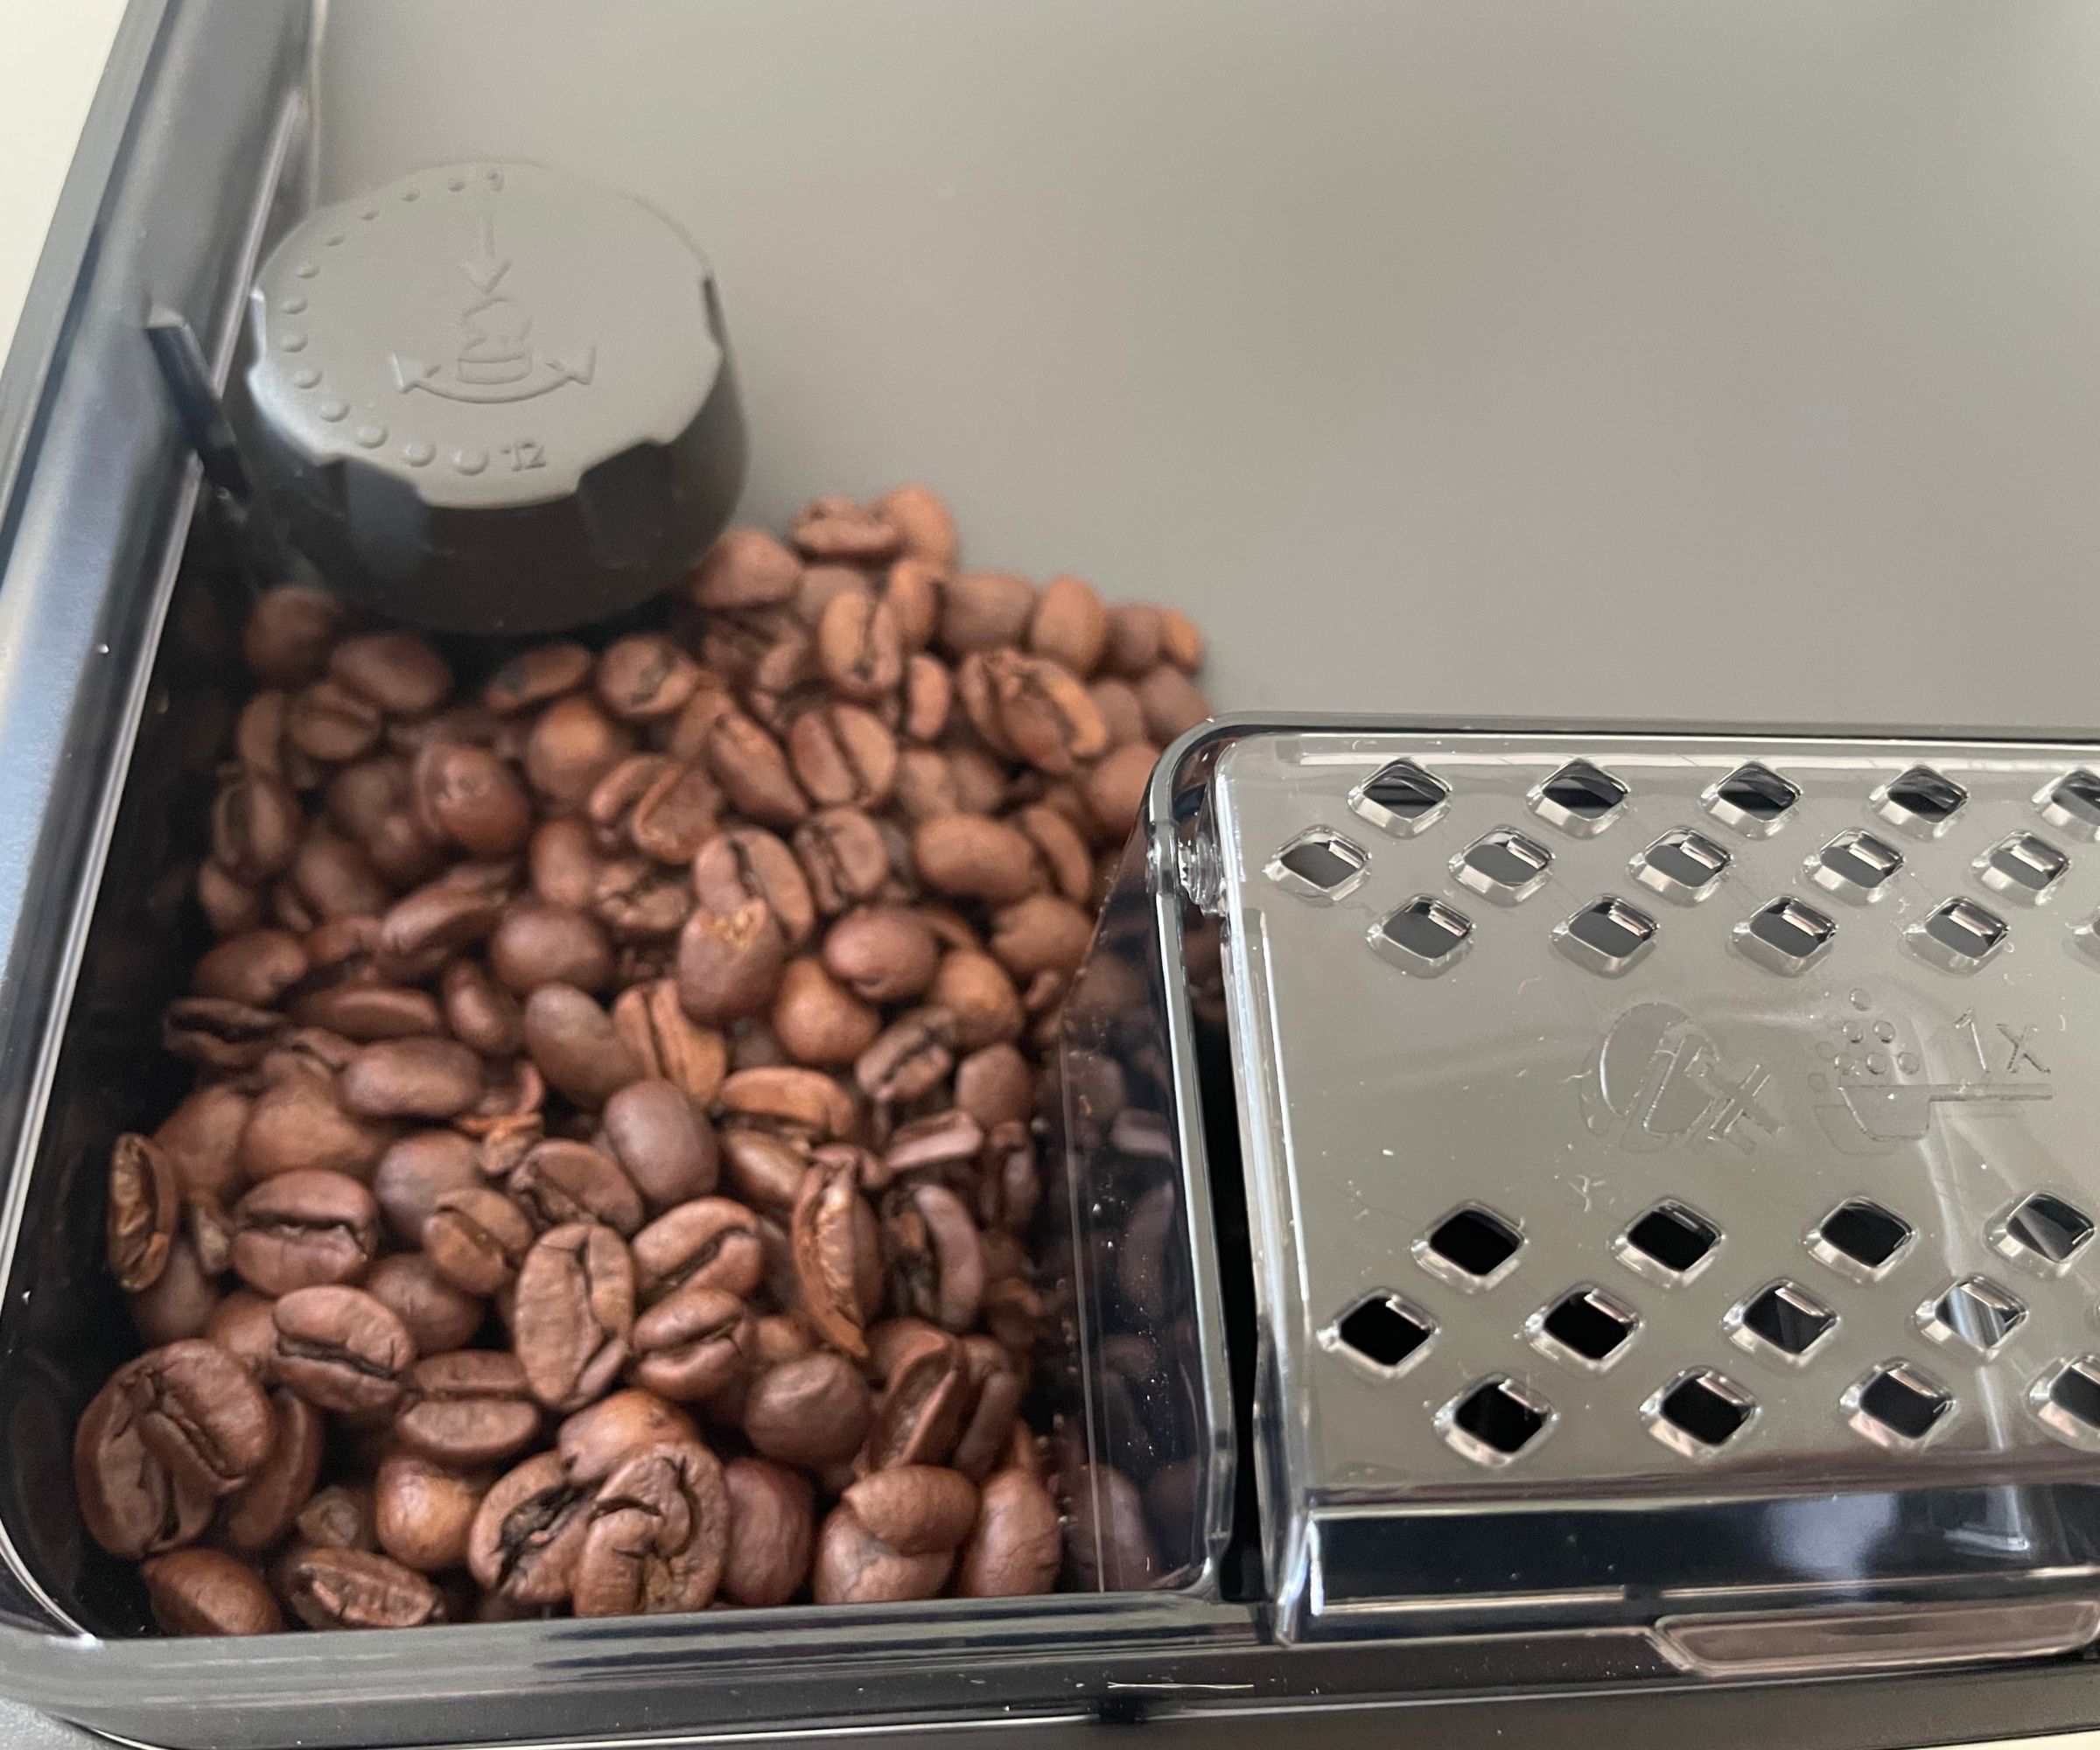
There’s a vast amount of bean-to-cup machines on the market. The one that makes the most sense to compare this to is its predecessor, the Philips 3200 Series with LatteGo. We loved the 3200 for its simple controls and full-bodied coffee flavors. The 5400 still delivers on those, whilst having a broader coffee menu, four customizable profiles, and much quieter grinding and milk frothing. There are other, smaller touches that make a difference too. For example, the bean hopper is transparent on the 5400, so you can keep an eye on your coffee bean consumption. The screen also comes in color; there are lights that shine on your coffee; and you can choose the 'extra shot' function to make consistently stronger cups of coffee. Whether these extras are worth another $300 depends on whether you drink a range of different coffee styles and whether you want a quieter machine.
One of my personal favorites for bean-to-cup coffee machines is the De’Longhi Dimanica Plus. This is taller and slimmer, with touchscreen controls. I’m tempted to say that this is better at texturing milk, not because the Philips 5400 is bad, but because the De'Longhi is flawless. There wasn't a single bubble that wasn't microfoamed perfectly. The De'Longhi's milk carafe is more sleek and can sit in the refrigerator door when not in use. This means that it’s better at making more complicated coffees.
The 5400 Series model isn't made for making iced drinks either and the Dinamica Plus is. Come summertime, you'll want the De'Longhi. However, if you only drink espressos and put a shot of each head-to-head, you won't taste much difference between the two.
Whilst I think the Dinamica Plus is worth every dollar, if you're looking to save $600, the Philips is your answer. Sure, the build quality isn't as good, but if you look after it properly, it should last you longer than the two-year warranty.
Should you buy it?

I'm smitten with the 5400 Series. I think the thoughtful upgrades warrant an extra $300 from the 3200 Series without making this an overpriced machine. I made delicious coffees with plant-based as well as dairy milk and I think the 12 drink menu is more than enough for most coffee drinkers. However, if you have a more pared-back palette and don't need lots of different recipes, the Philips 3200 is worth taking a look at.
How we test
At Homes & Gardens, we have a rigorous testing process. Our team of experts is constantly searching the internet, looking for the best, latest coffee makers on the market. Once we have found one that we think you'll love, we take them to our test kitchen where we put each model through its paces.
The first test we have for any coffee maker is a simple espresso. This should be extracted in 20-30 seconds, at around 200 degrees Fahrenheit, and fill a 1-1.25 oz cup. We'll make sure there's a thick, dark crema on top, which indicates well-extracted coffee oils. Finally, we'll do the all-important taste test, looking for bold, rich, full-bodied flavors.
The second test every coffee maker has to pass is making an Americano. It's simple enough: water and coffee, but if the water isn't at a similar temperature to the espresso, it will either cool and sour the notes or scald the coffee oils.
Our final standard test is making a cappuccino. This is really where we look at the milk texturing, both for dairy and oat milk. We look for silky, smooth milk which looks a little like wet paint. It should be well integrated with the espresso, adding sweetness without being overheated and burnt. Milk can be temperamental and tricky, so making the perfect cappuccino takes a lot of work.
Once we've finished testing any extra features, from coffee options to custom settings, and extra accessories, we'll go through a quick clean and deep clean of the machine. We'll also make notes on how the machine looks, how easy it is to maintain, and how you might want to store it.
If there's anything that you need to know about an espresso machine, we'll tell you about it. That way, if you choose to make an investment, you'll know that you're getting value for money and no nasty surprises. If you're interested in learning more, you can visit our dedicated page for how we test coffee makers.


