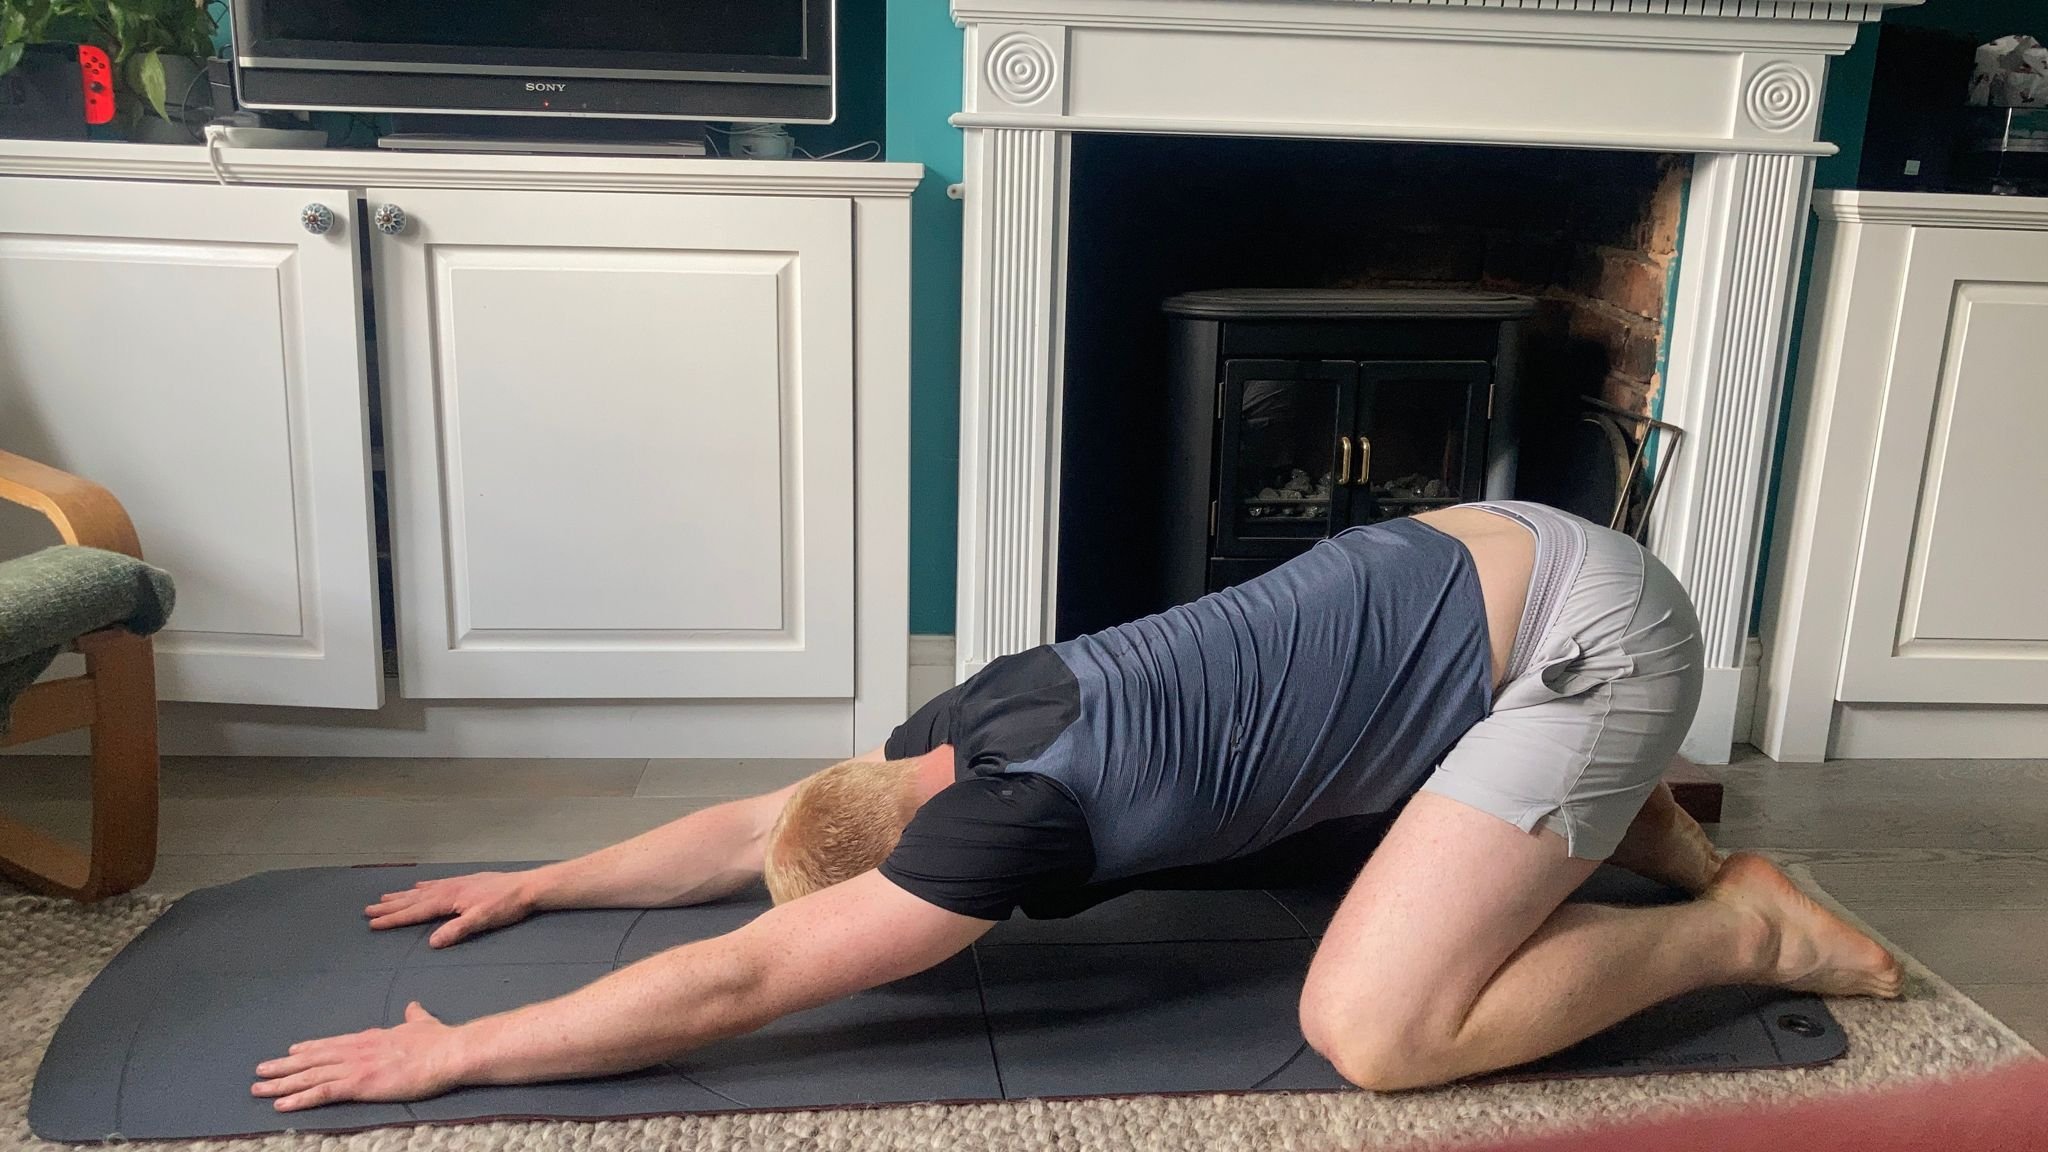
Have you ever seen a toddler squatting? It's effortless. They'll sit there for hours, perfectly comfortable, playing with their toys. But as we grow older this innate mobility leaves us and we find ourselves making funny noises when we stand up from low-lying seats.
That's why I was so excited when an email from the team at fitness app Pliability dropped in my inbox. It promised a stretching routine specifically designed to help me drop into a deeper, pain-free squat (as well as easing tension in my aching thighs).
This is surely an enticing prospect to anyone, so I lifted myself from my chair (with an obligatory grunt), unrolled my yoga mat and set to it.
How to do Pilability's four-move stretching routine
There are only four moves, many of which are inspired by popular yoga stretches. Each one is held for between one and three minutes, so the routine only took me 10 minutes in total. But I did feel better afterwards.
1. Upward-facing dog to child's pose
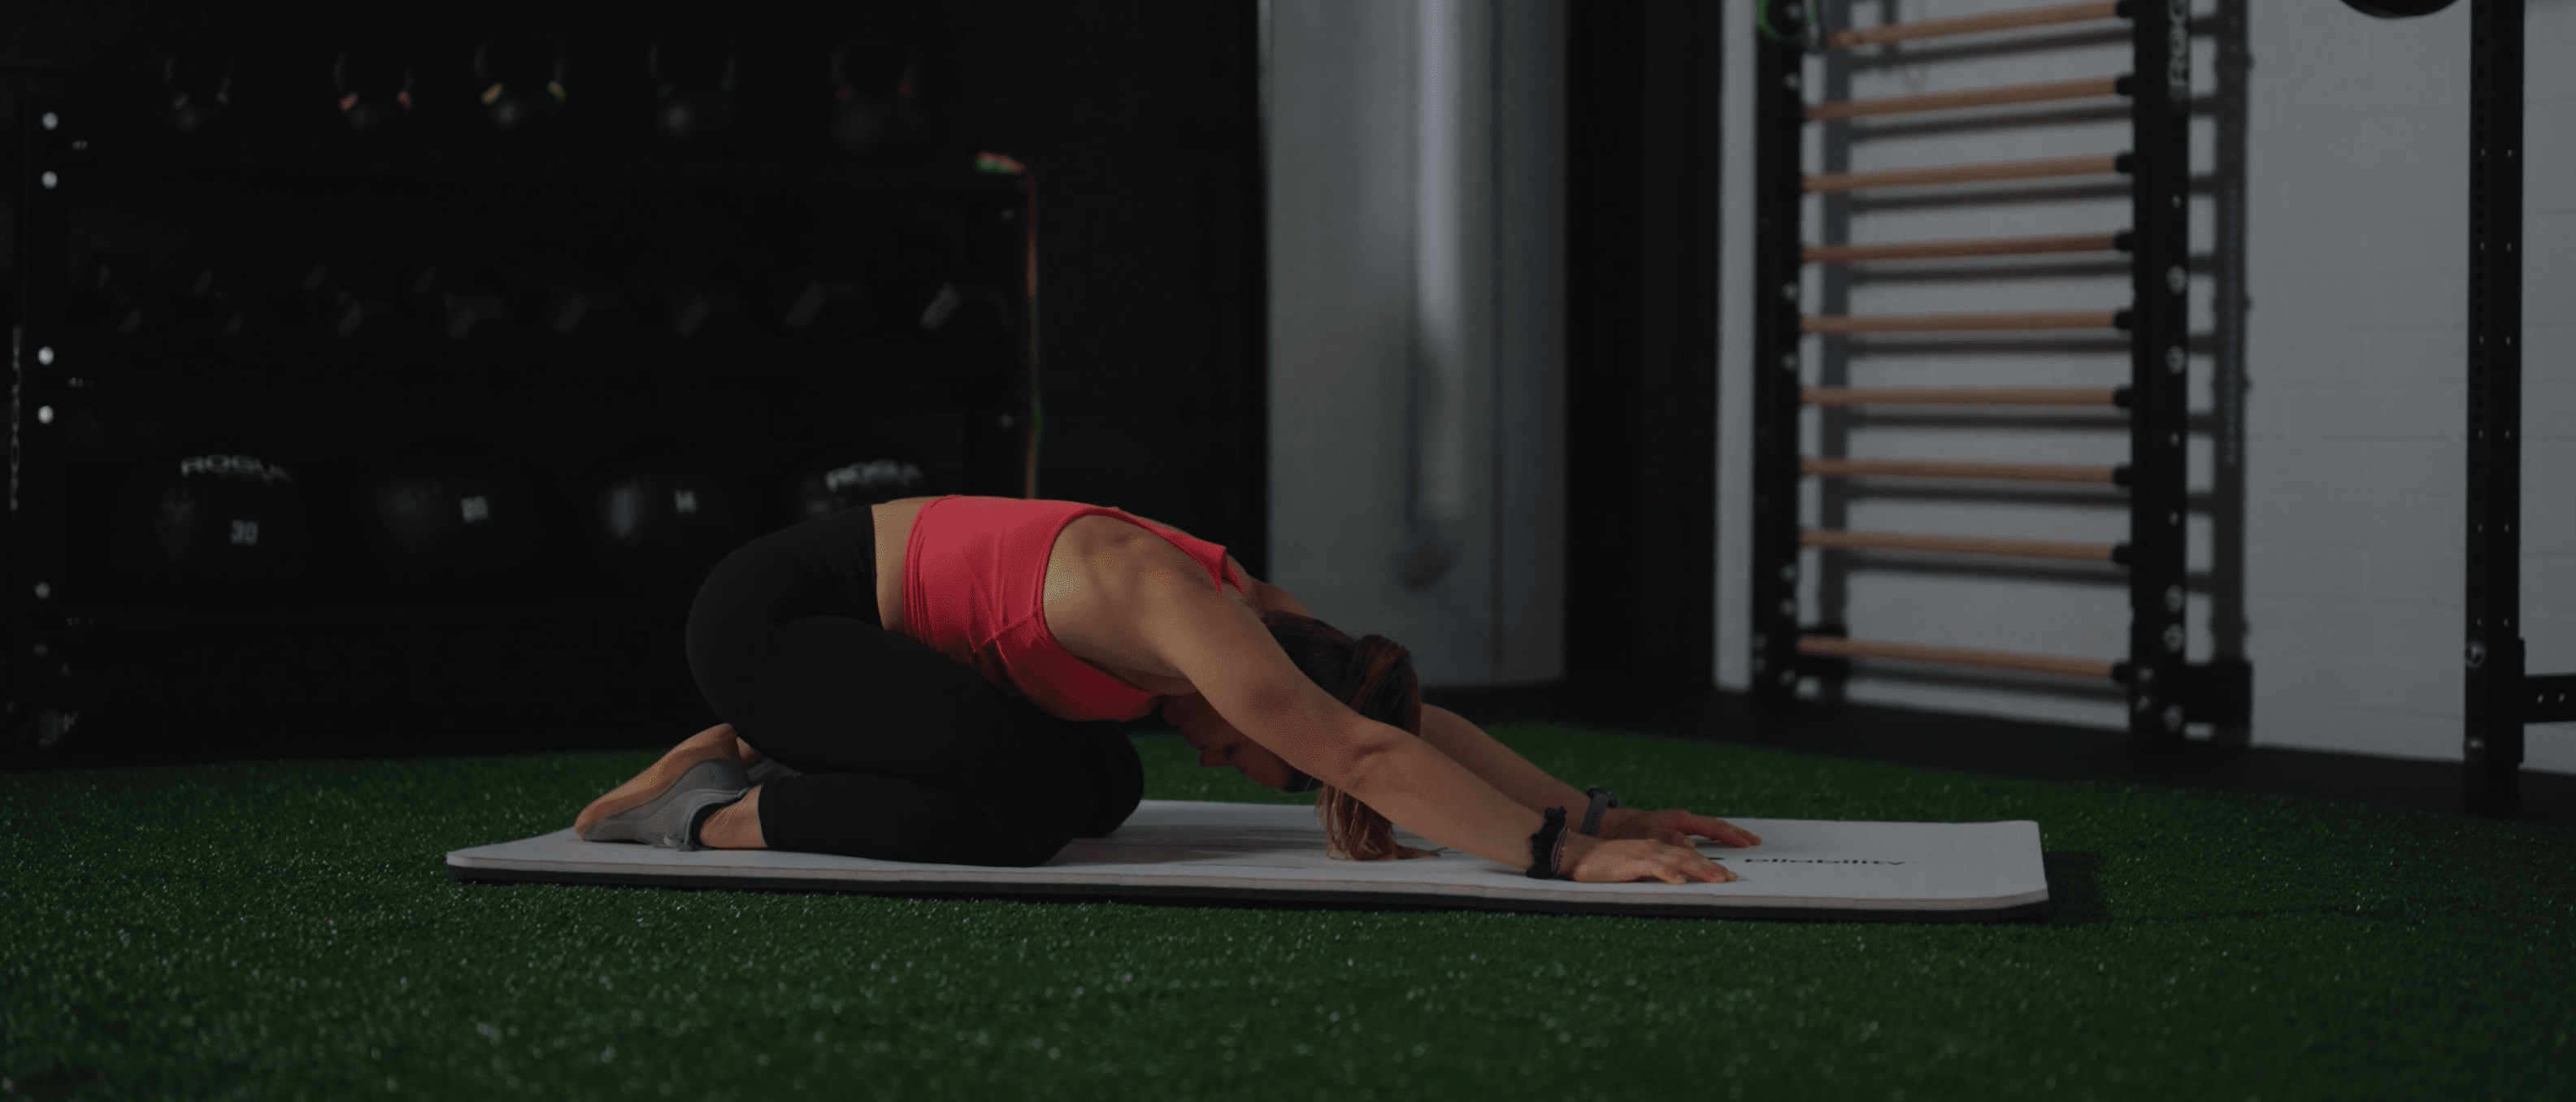
- Start on all fours with your wrists directly below your shoulders and your knees slightly outside hip-width.
- Reach your hands forwards so your arms are straight out in front of you, then sit your hips back so they sink towards your feet. This is child's pose. Hold this position and take a deep breath, then return to the starting position.
- Next drop your hips forward until they're resting on the floor, keeping your arms straight. Lift your chest so it's facing forward. This is upward-facing dog pose.
- Hold this position for one deep breath before returning to the starting position. Continue moving between the two poses for two minutes.
My experience
This was my favorite move of the entire routine, flowing from popular yoga pose to popular yoga pose for a comprehensive stretch.
Sitting into child's pose gently helped to loosen my hips. It also lengthened my spine, which felt incredible after holding a heavy weight on my shoulders for barbell back squats a couple of hours earlier.
I was also pleasantly surprised to find this squat-focused routine had something for my upper-body muscles too. I felt an enjoyable stretch through my shoulders and lower back in both poses, while the upward-facing dog position also opened up my chest.
2. Lizard pose to pigeon pose
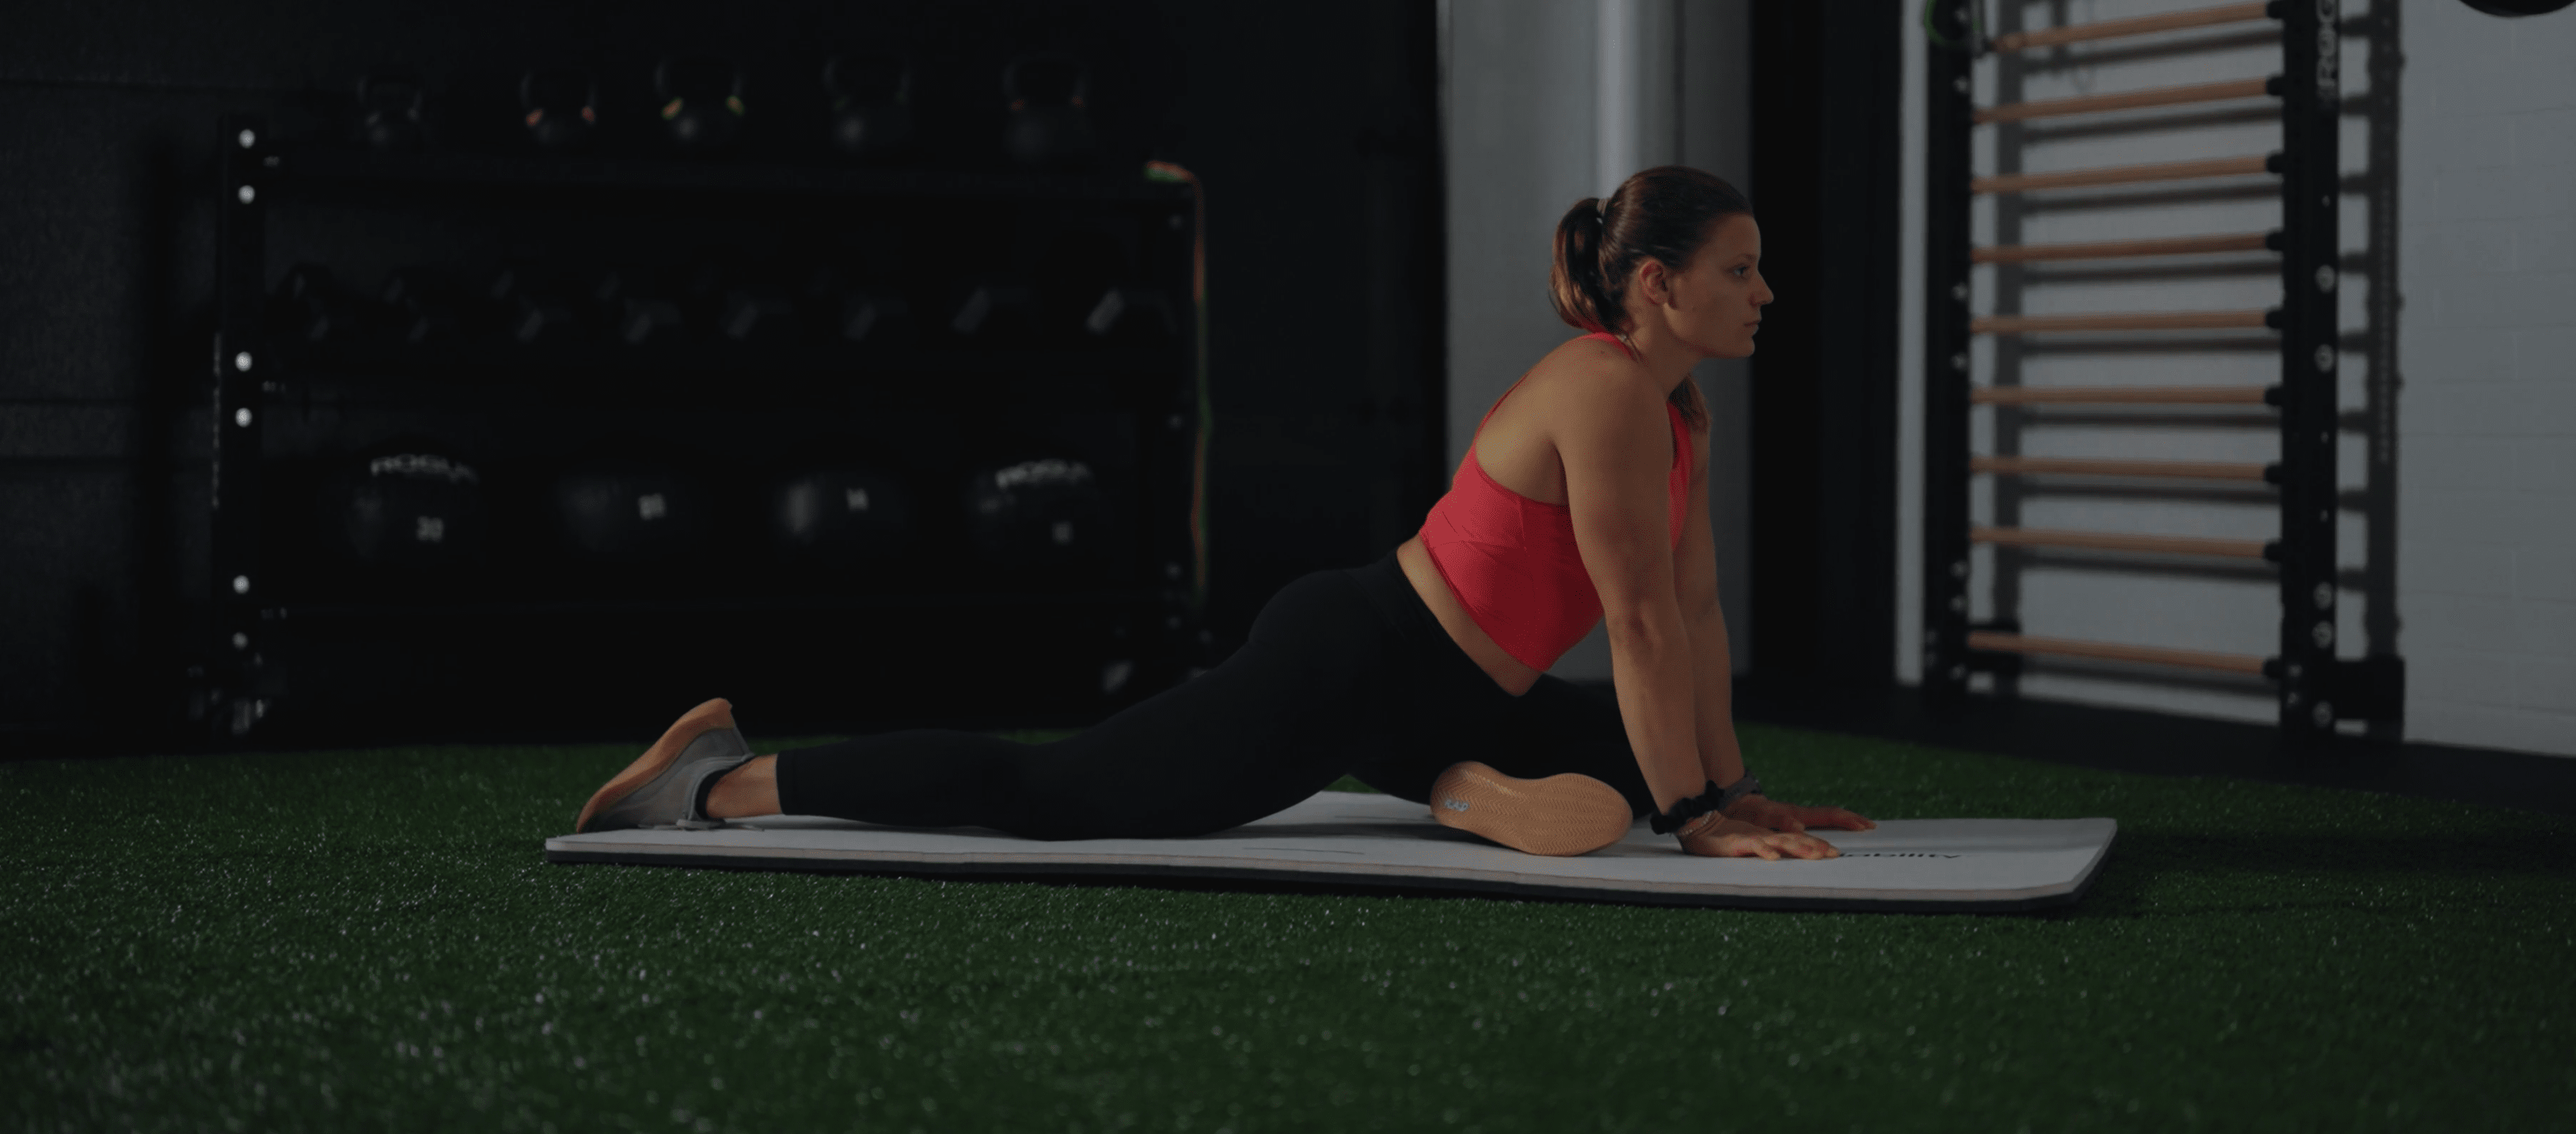
- Start on all fours and step your right foot forward so you're in a lunge then slide your left knee as far back as you can. Both hands should be inside your right foot, and your arms should be straight. This is lizard pose. Take a few deep breaths in this position.
- Then allow your right knee to fall out to the right so your right calf is lying across your yoga mat (as shown in the image). This is pigeon pose. Take a few deep breaths in this position, then return to lizard pose.
- Continue to flow between these two poses for 90 seconds, then switch legs and complete another 90 seconds on your left side.
My experience
I've struggled with pigeon pose before (thanks in no small part to my aforementioned niggly left knee), but luckily Pliability suggested a modification to help me out.
I followed this routine on the Pliability app, which advised me to lessen the angle of my lower knee in pigeon pose if I felt any discomfort. This way, I was able to do the move pain-free.
Like child's pose before it, I could feel the lizard pose stretch opening up my hips. However, thanks to the forward lean this move felt notably more active, providing a deeper stretch than before.
In pigeon pose, while I still felt it in my hips, it was my glutes (or backside) that experienced the greatest stretch. This is the largest muscle in your body and a pivotal part of any squat, so it makes sense why it would be targeted by this routine.
3. Knee flexion rotations
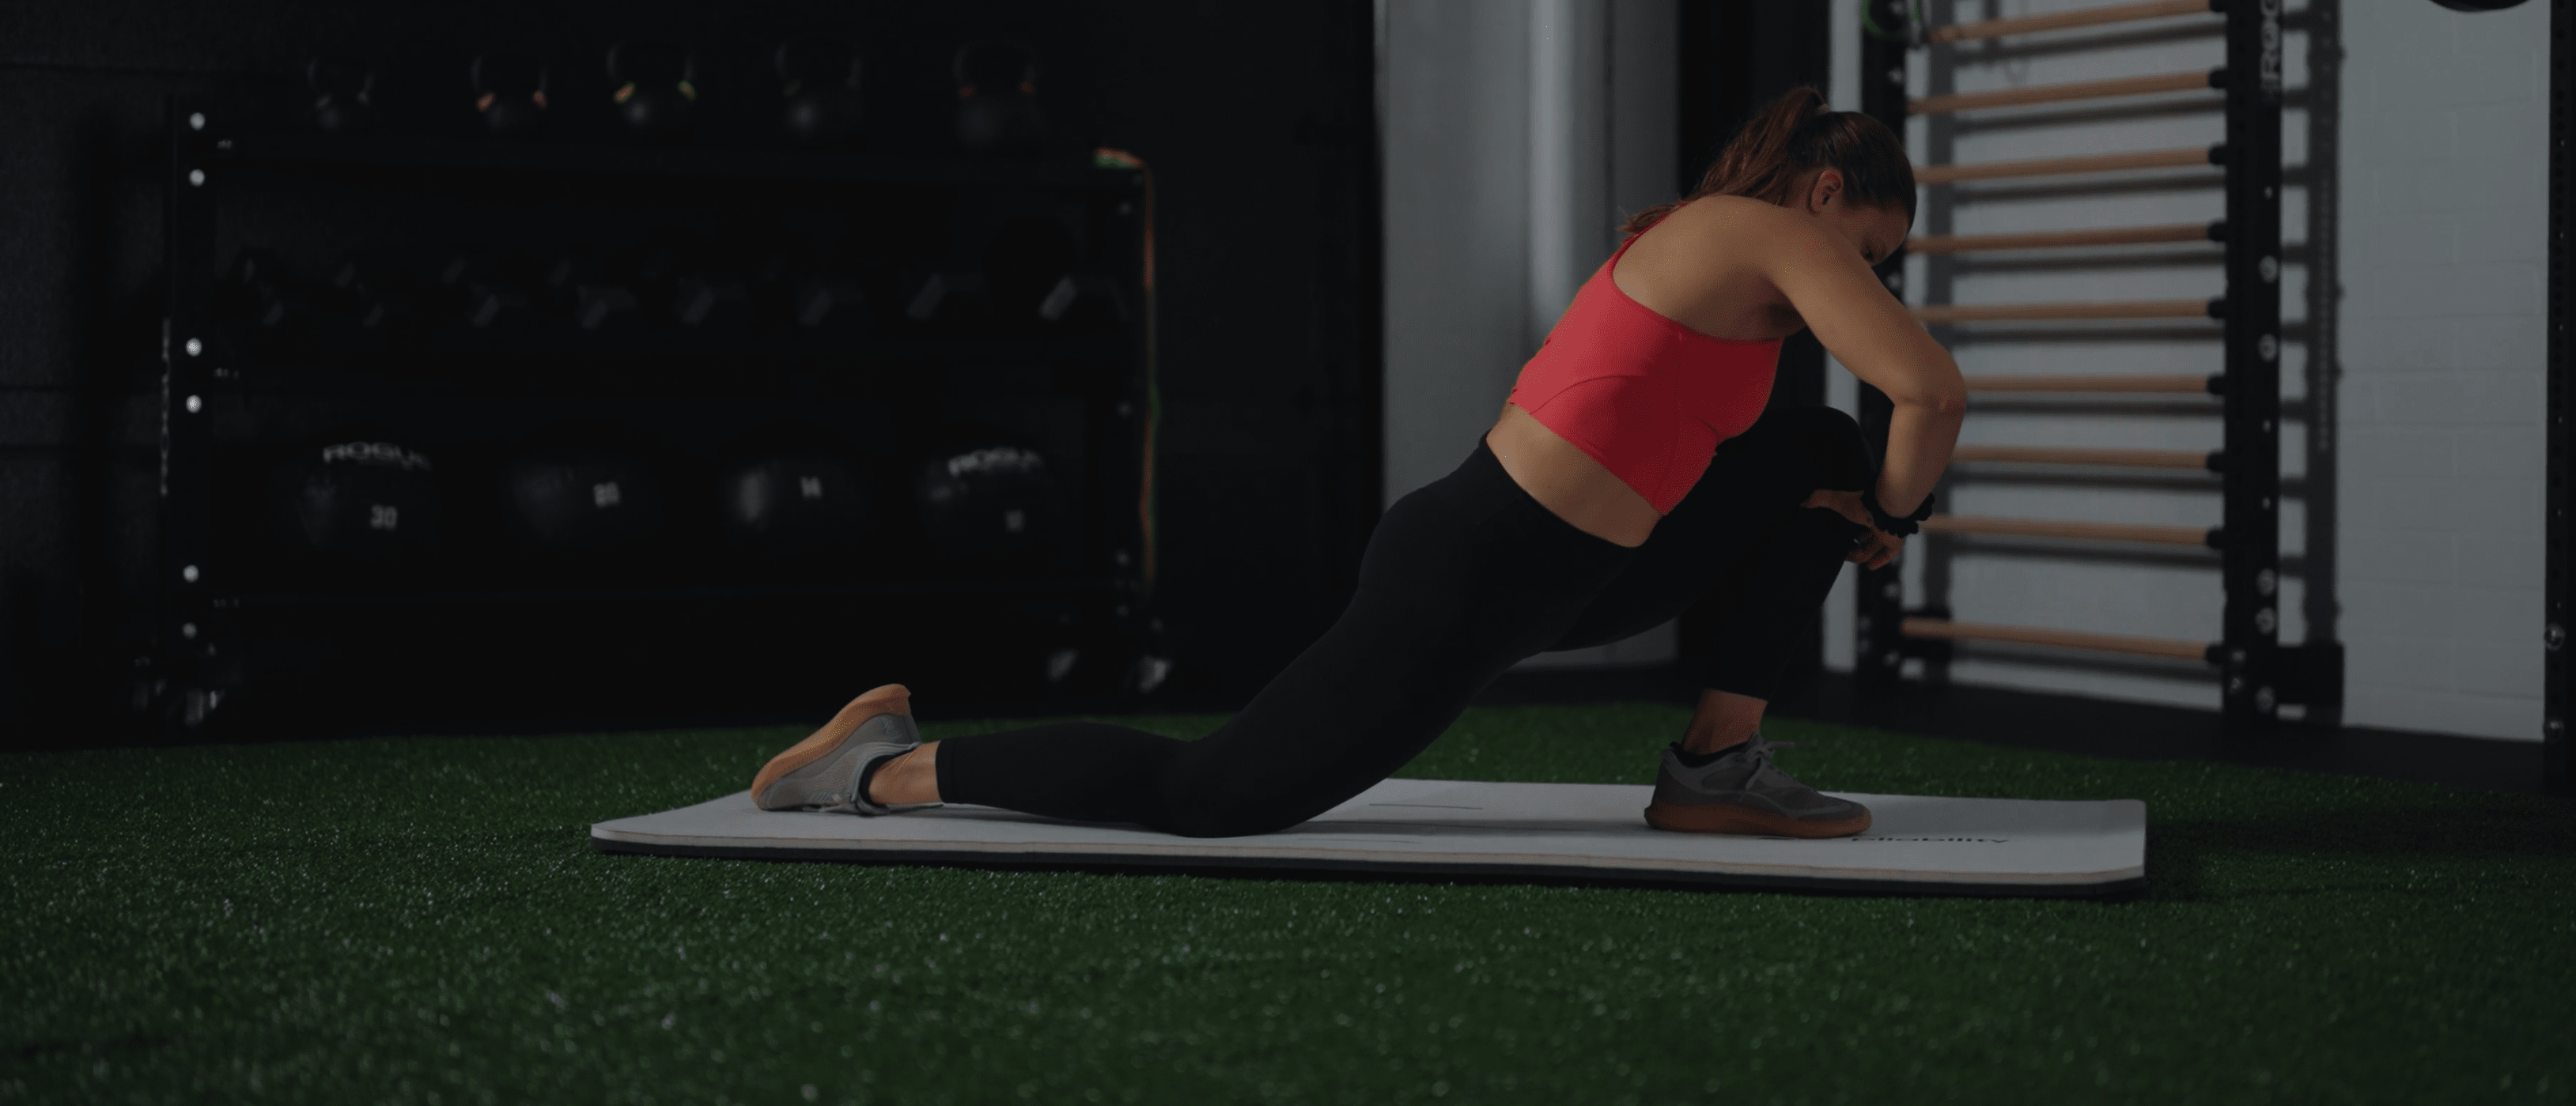
- Start in a half-kneeling position with your left knee and right foot on the floor. There should be right angles at both knees. Grasp your right knee, gently twist it outwards with your hands, then lean forward so your knee comes over the little toe of your right foot.
- Return to the starting position, then grab your right knee again. This time, gently rotate it inwards, then lean forward over your big toe before returning to the starting position.
- Continue these sequences for one minute. Switch legs and repeat with your left knee.
My experience
This was an interesting one. I'm used to holding a position or flowing between poses, breathing to sink deeper into a stretch, but these knee flexions actually use your hands to encourage the body into the desired motion.
I wasn't sure how much my hands were impacting the overall experience, but I did find that repeatedly leaning over my toes did give me greater confidence in my knees.
There was a hamstring stretch each time I leaned forward, and I could also feel my ankles (which don't have the best mobility) begrudgingly warming into the movement.
Improved ankle mobility can help you assume a good, deep squat position with an upright torso, so I was happy to be working on this area.
4. Side lying hip circles
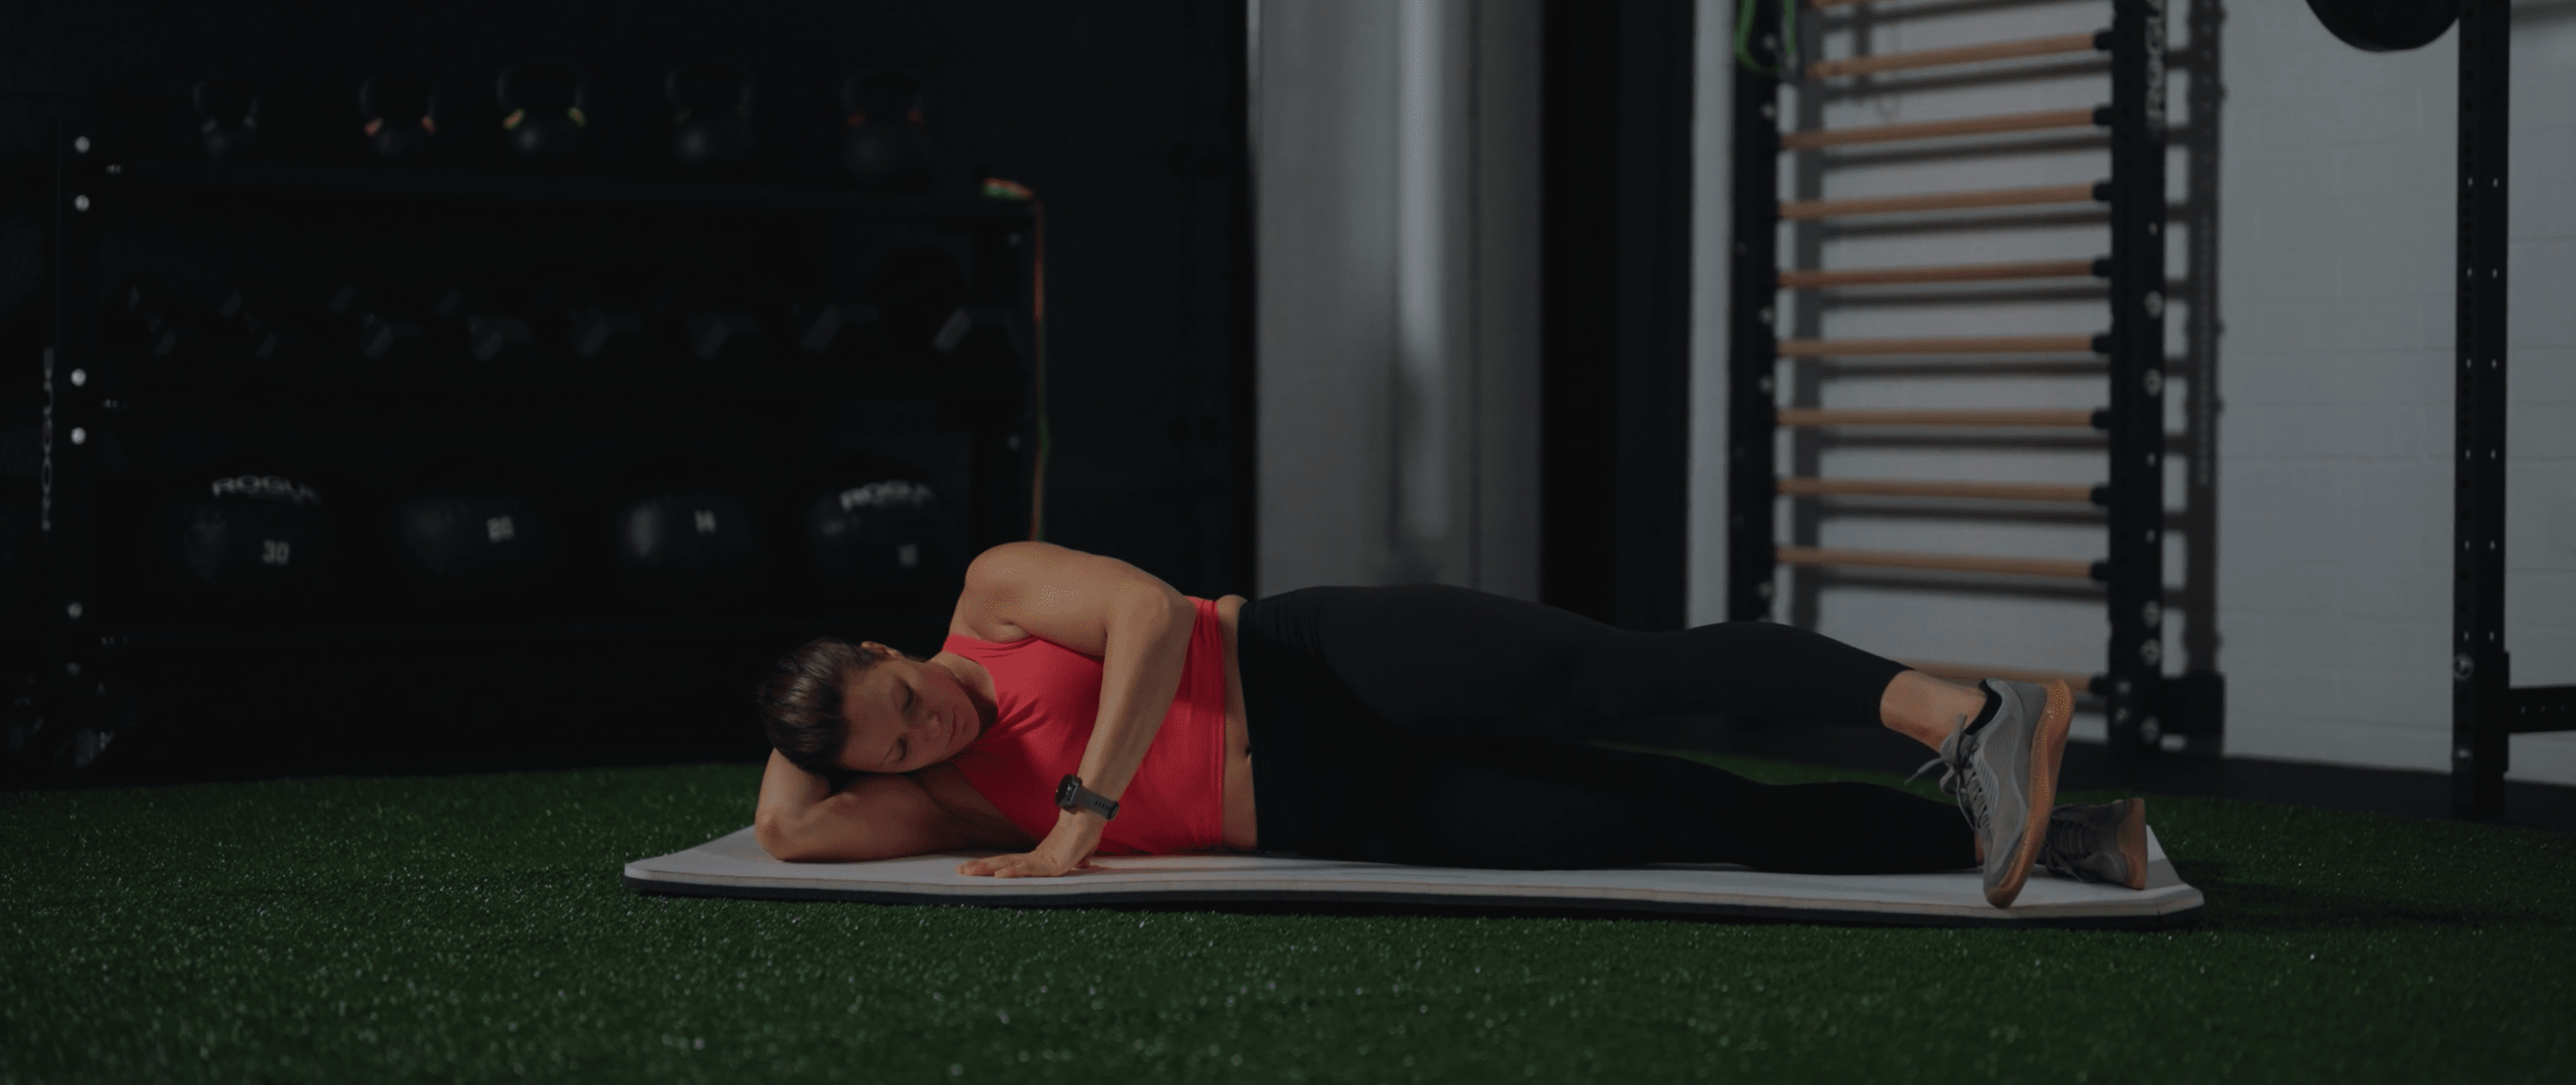
- Lie on your left side with your legs and torso forming one straight line. Keeping your right leg straight, lift it upwards then trace a semi-circle over your left foot.
- When your right foot is in front of you, tap the floor with your toe. When it's behind you, tap the floor with your heel. Keep your hips stacked throughout this movement.
- Continue this motion for 60 seconds, then switch sides and repeat with your left leg.
My experience
Rather than experiencing an intense stretch in any of my major lower-body muscles like the glutes, quadriceps, or hamstrings, I could instead feel the little stabilizing muscles in my legs kicking into action.
These areas are overlooked in some resistance-focused workout plans, but strengthening them can help boost your stability and reduce your risk of injury, leading to improved performance both in and out of the gym.
Should you try this stretching routine?
In my opinion, yes, you should try this stretching routine; it's practical. You don't need any equipment, and it takes just 10 minutes, allowing me to squeeze it into my lunch break.
My long-suffering leg muscles felt soothed after a functional strength training workout earlier that day, and my niggly left knee felt a bit stronger than usual. Plus, good mobility shouldn't be ignored.
Losing weight, gaining muscle or building strength tend to be more common goals, but without the ability to move well (and avoid injury) you won't be able to do any of this, especially as you get older.
My third and final point is that I felt good afterwards. My joints felt looser, my muscles felt lightly soothed after a heavy CrossFit training session, and I enjoyed taking 10 minutes out of my day to slow down and relax.
This isn't the first time I've tried one of Pliability's mobility routines, and it won't be the last. However, if you're after an alternative way to relax your muscles, consider picking up one of the best foam rollers for a quick self-massage.


