
Whether you’re dealing with back pain or not, stretching can be just as preventative for lower back pain as helpful for existing injuries, so why not use this five-move stretching routine to build strength and flexibility in your lower back and protect your body from injury?
As a trainer, I spend a lot of time teaching clients how to engage their core muscles properly to help them move better and protect from lower back pain. Sadly, while this certainly helps, it doesn’t guarantee an injury won’t crop up at some point.
I use the routine below myself and with clients, and now you can try it, too. You just need yourself and one of the best yoga mats for comfort, and if you’d like to add props, you can. Here’s how to do the beginner-friendly five-move stretching routine and why.
How do you stretch out your lower back?
Back pain doesn’t always originate from your back, so you’ll need to consider the surrounding muscles responsible for posture, supporting your spine and helping you move.
We know from existing bodies of research that sitting for long periods can cause tight and weak hamstrings, glutes and hip flexors, encourage poor posture and reduce support for your spine. While back pain could result from structural or mechanical issues in the spine, it can also result from lifestyle factors like your job (sitting or heavy lifting), genetics, or not strengthening key muscle groups, including your core and back.
When putting together a routine to stretch out your lower back, consider these other muscle groups and try to include exercises that stretch, lengthen and strengthen them.
How to stretch your lower back: 5 stretches to build strength and flexibility
If you are working with an existing injury or you’re pre- or post-natal, I strongly recommend seeking medical advice before starting any new stretching regime. If you can, speak with your personal trainer, who can advise based on your circumstances. If you’re cleared for exercise but still experience pain, stop immediately and avoid forcing yourself into any stretches.
Puppy pose
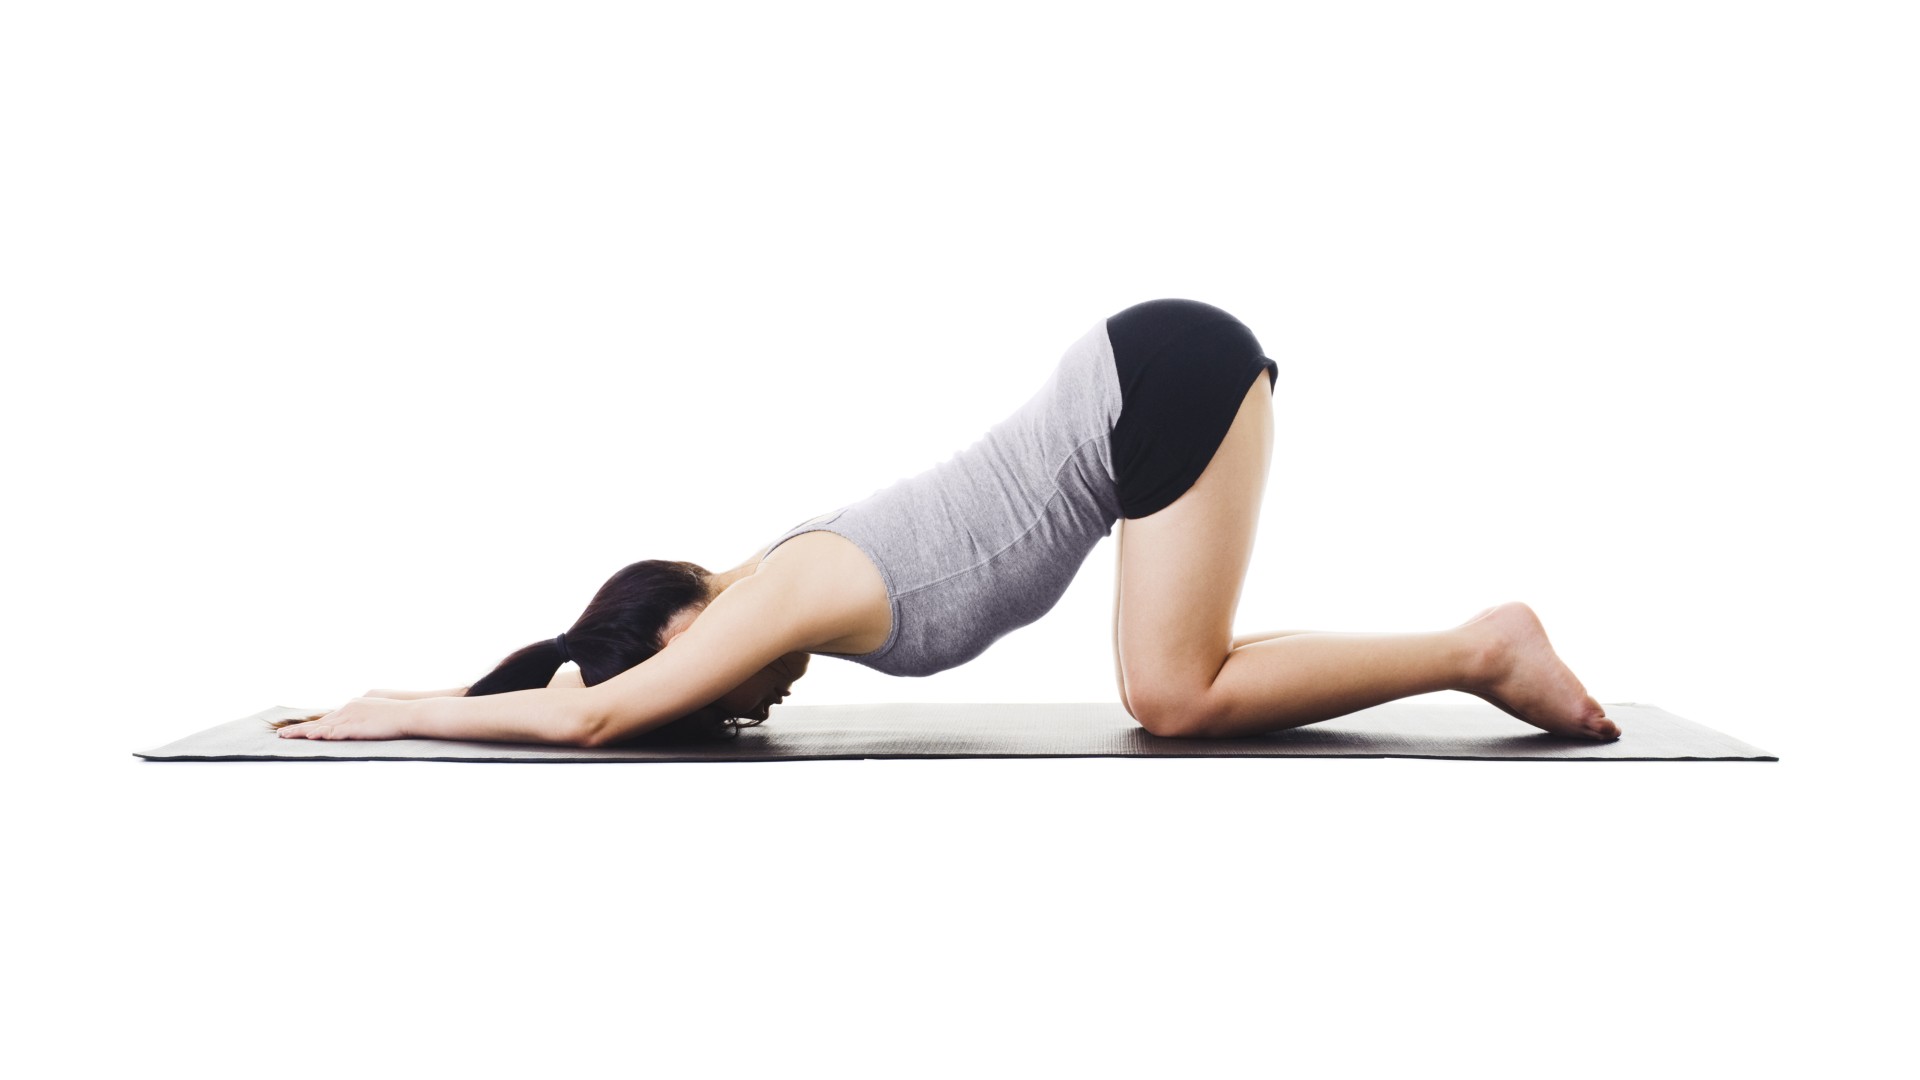
Puppy pose might be everywhere nowadays (the search term clocks up nearly 100 million views on TikTok), but the stretch originates from Sanskrit, Uttana Shishosana, found in yoga. The “melting heart” posture stretches the upper body using the sweet spot between the child’s pose and downward dog.
You’ll target the arms, shoulders, chest, stomach and back, and holding the pose for several minutes offers deep relaxation. Walking your hands further from your body and lowering your chin to the mat will help increase the intensity, or you could position a bolster, yoga block, or cushion beneath your chest, elbows, or forehead.
Here’s how to do puppy pose step-by-step, plus ways to scale.
Hold for a minimum of 8-10 breaths. Inhale deeply through the nose and exhale calmly through your mouth.
Supported back extension
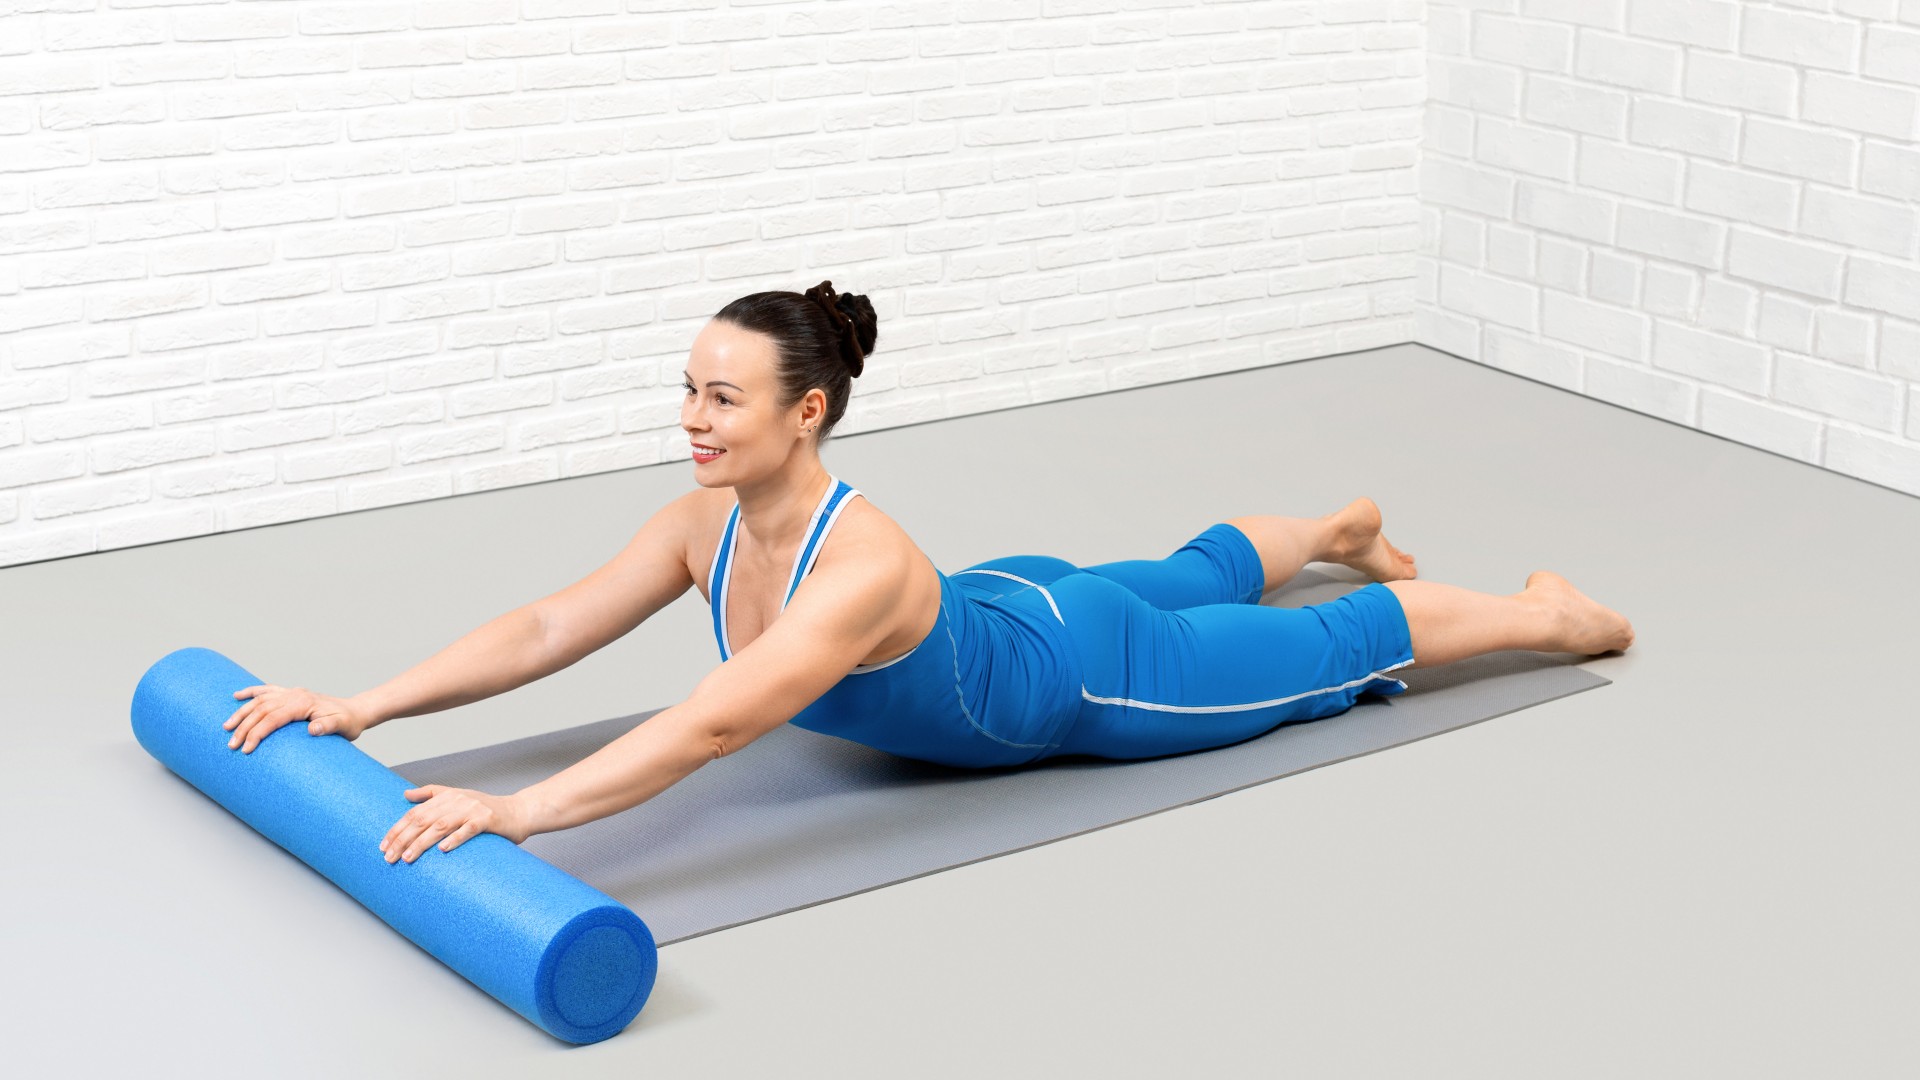
I love how scalable the supported back extension is, which means most people can access it in some way. The stretch primarily targets the abdomen, hip flexors and lower back, which makes it perfect for easing into your stretching routine.
Start on your stomach with your elbows positioned underneath your shoulders, shoulder-width apart and pressed into your mat, palms down. Slowly walk your arms away from your body until you find the right intensity for you. If you want to, fully extend your arms, lift your chest and pull your shoulders down, then rest on your fingertips to deepen the stretch. You could also opt to position a block or bolster beneath your hands (as above).
Hold for a minimum of 8-10 breaths
Happy Baby
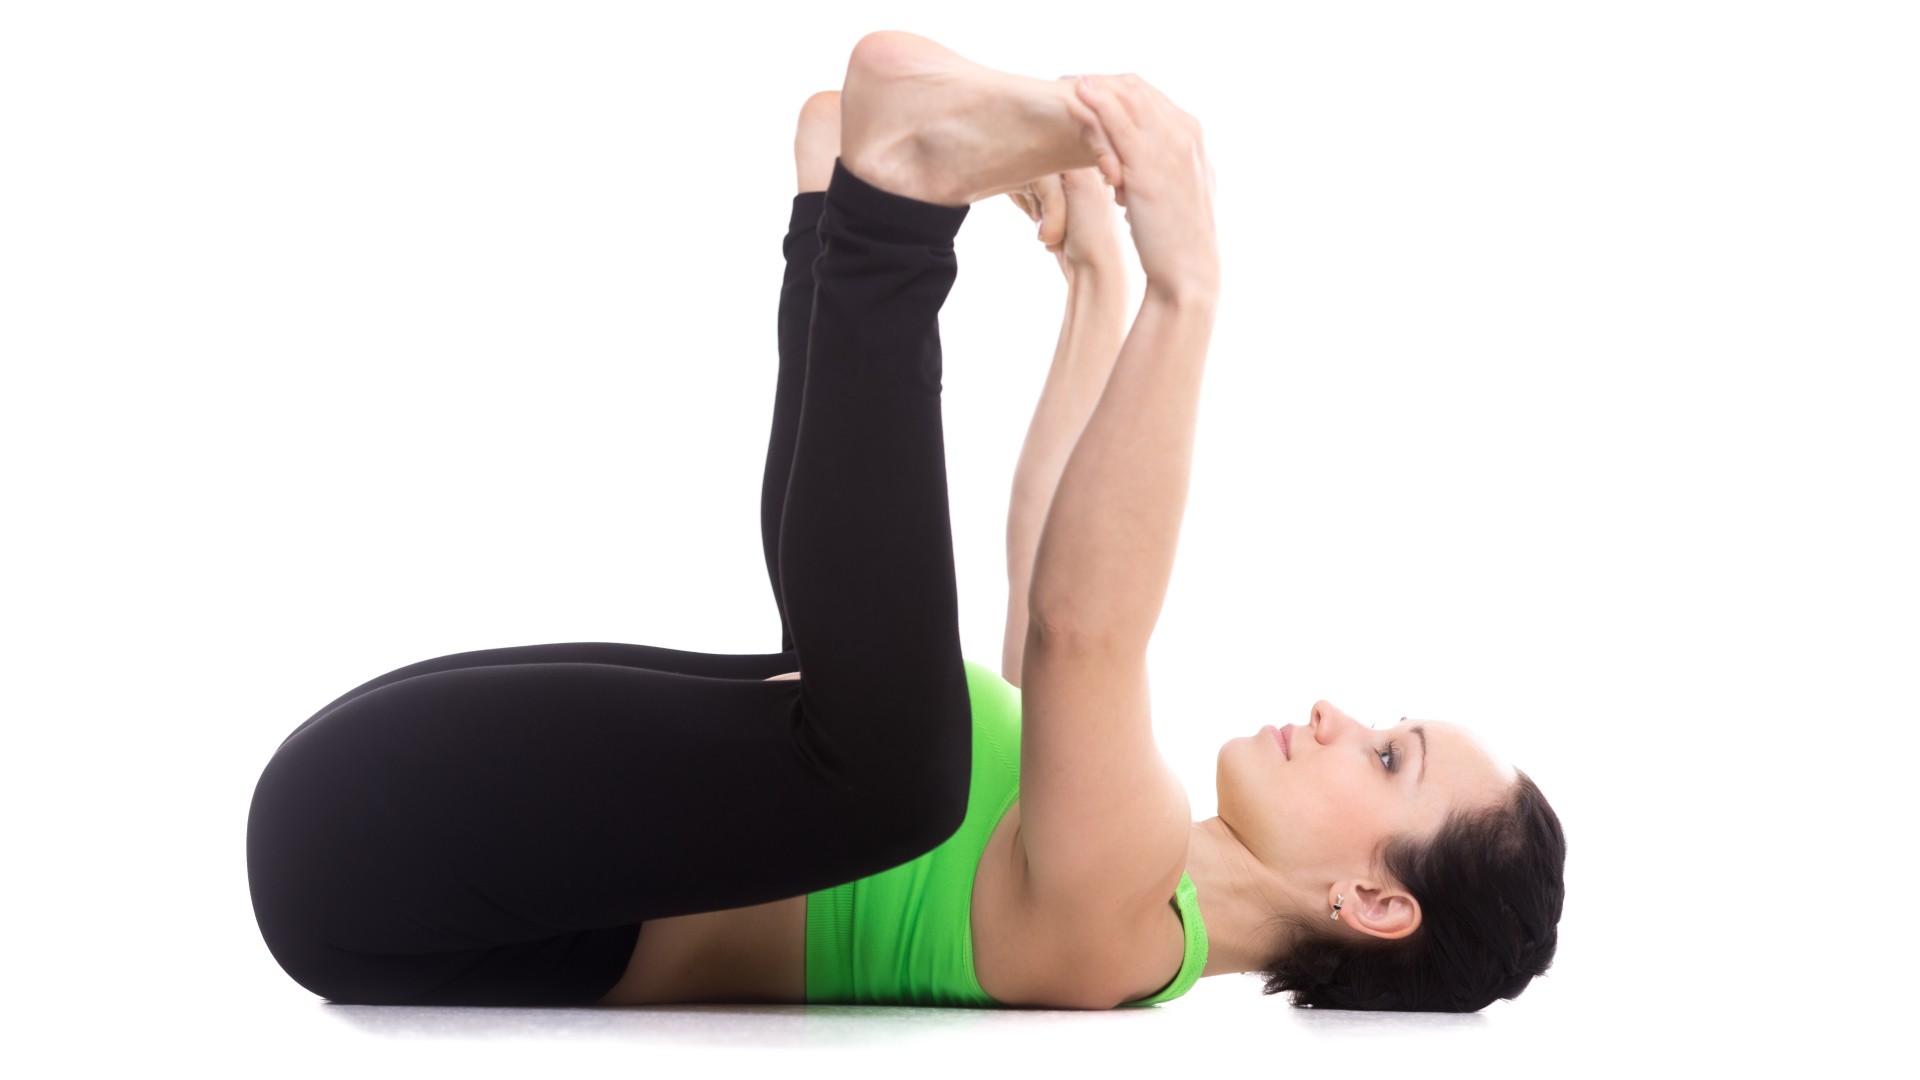
I can’t speak on behalf of babies out there, but this pose certainly makes me happy.
It’s a restorative yoga pose that can target your hips, groin, back, glutes and hamstrings. You could practice holding one leg at a time or both if you prefer, and I recommend hooking a strap or resistance band around your feet if you can’t reach your toes. Relaxing into the posture can also deliver a gentle massage for the lower back.
Start on your back, then bend your knees and grab the outsides of your feet with your hands. Draw your shoulders toward your mat and relax your head on the mat to support your neck. Flex your feet, kick your heels upward and practice driving your knees toward your armpits — you should be able to balance a cup of coffee on each foot.
Hold for a minimum of 8-10 breaths
Supported fish pose
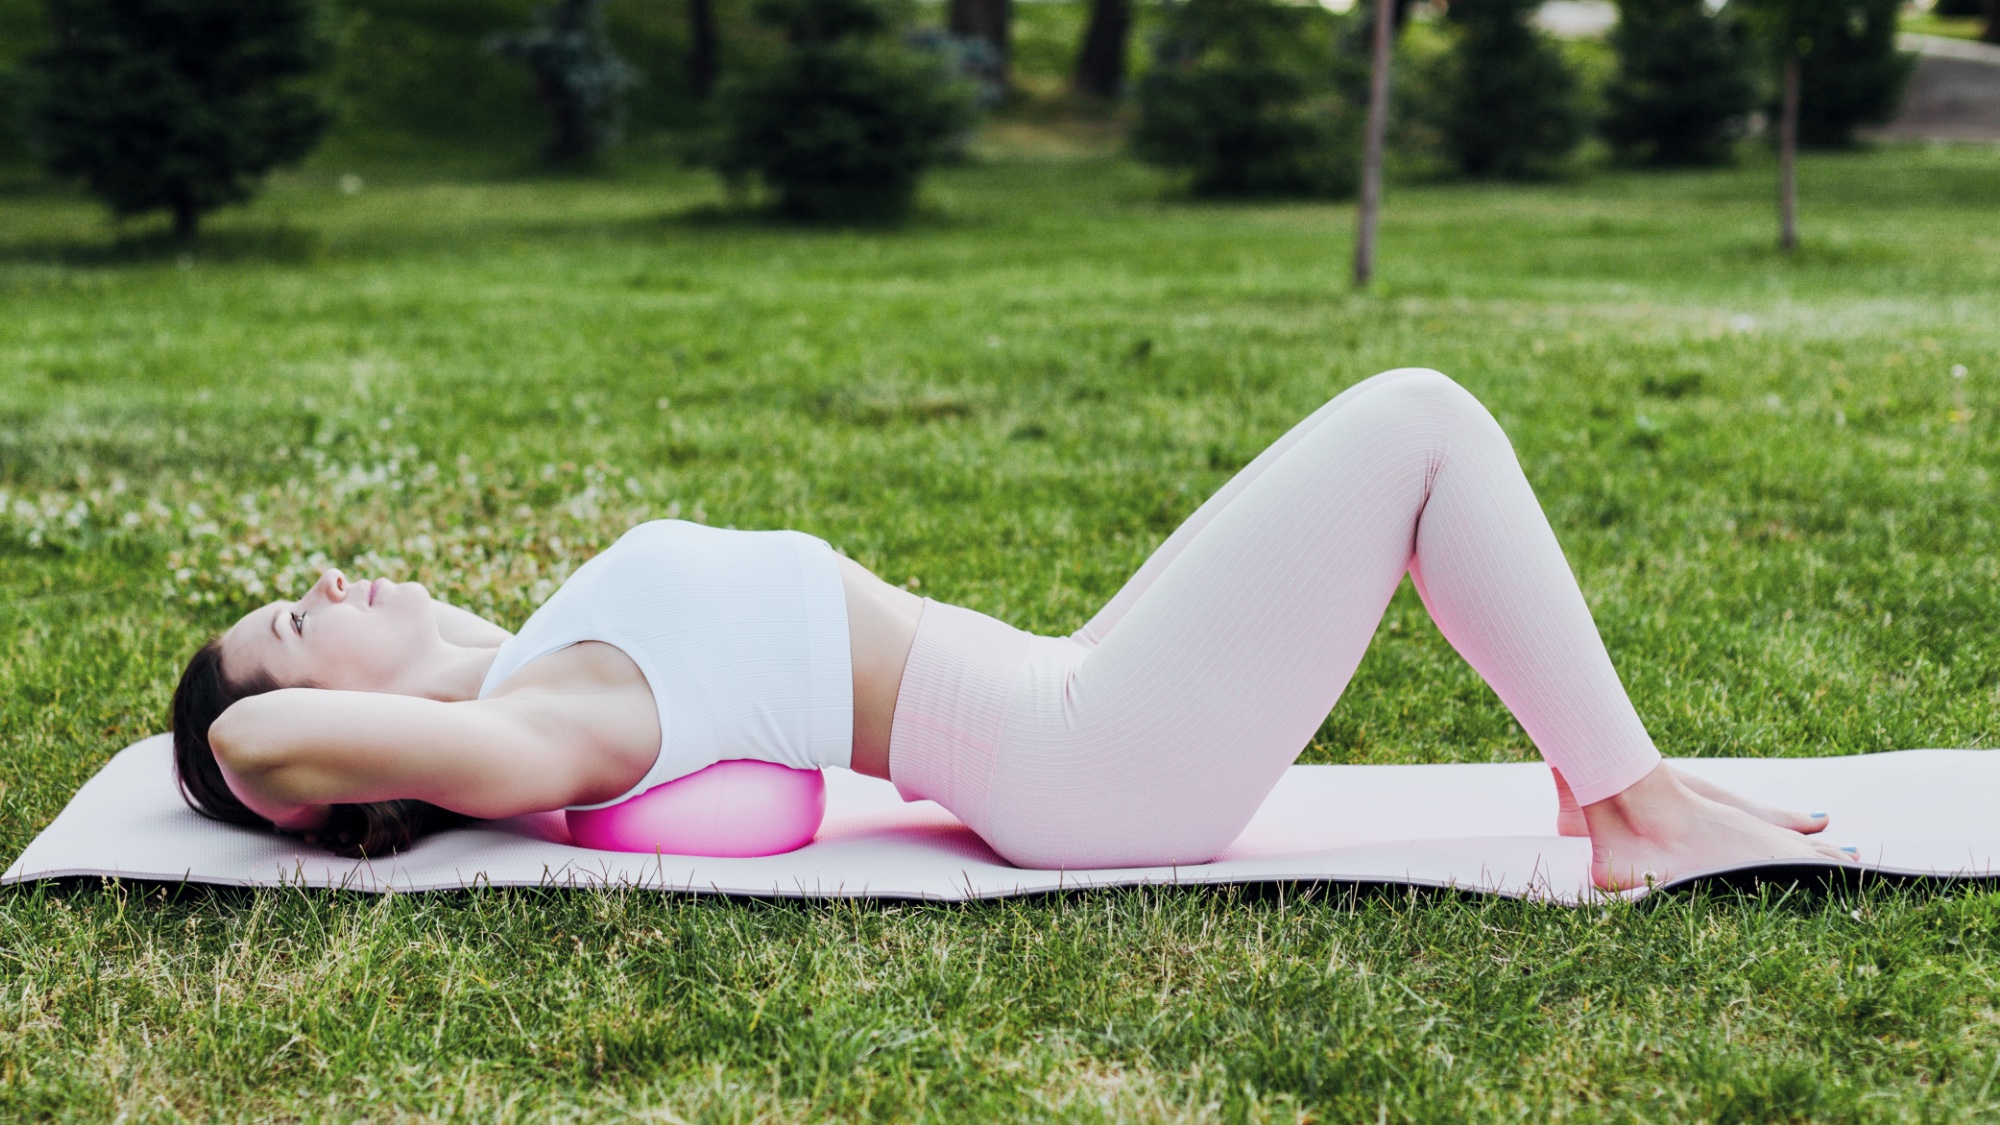
I recently committed to the supported fish pose for over five months using a yoga block between my shoulder blades. It’s a beautiful posture for building a more flexible upper body and opening the chest and shoulders, supporting improved posture.
Known as Matsyasana in Sanskrit, the supported back bend helps strengthen your back. You can learn how to do supported fish pose step-by-step, including scaling options to suit your ability.
I prefer to position a yoga block between the shoulder blades on the second-highest setting, then rest my head on the ground, but I recommend playing around with different options. Your legs can extend away from you down the length of your mat, or you can bring the soles of your feet together and allow your knees to gently drop open, helping to open the hips and groin (I opt for the latter).
To focus on your chest and shoulders, bend your elbows with palms facing upward (think of the starting position of an overhead press) or extend your arms by your sides to relax. You can also stretch your arms overhead, biceps close to your ears, to reach a deep stretch in the lats, upper arms and shoulders.
Hold for a minimum of 8-10 breaths
Pigeon pose
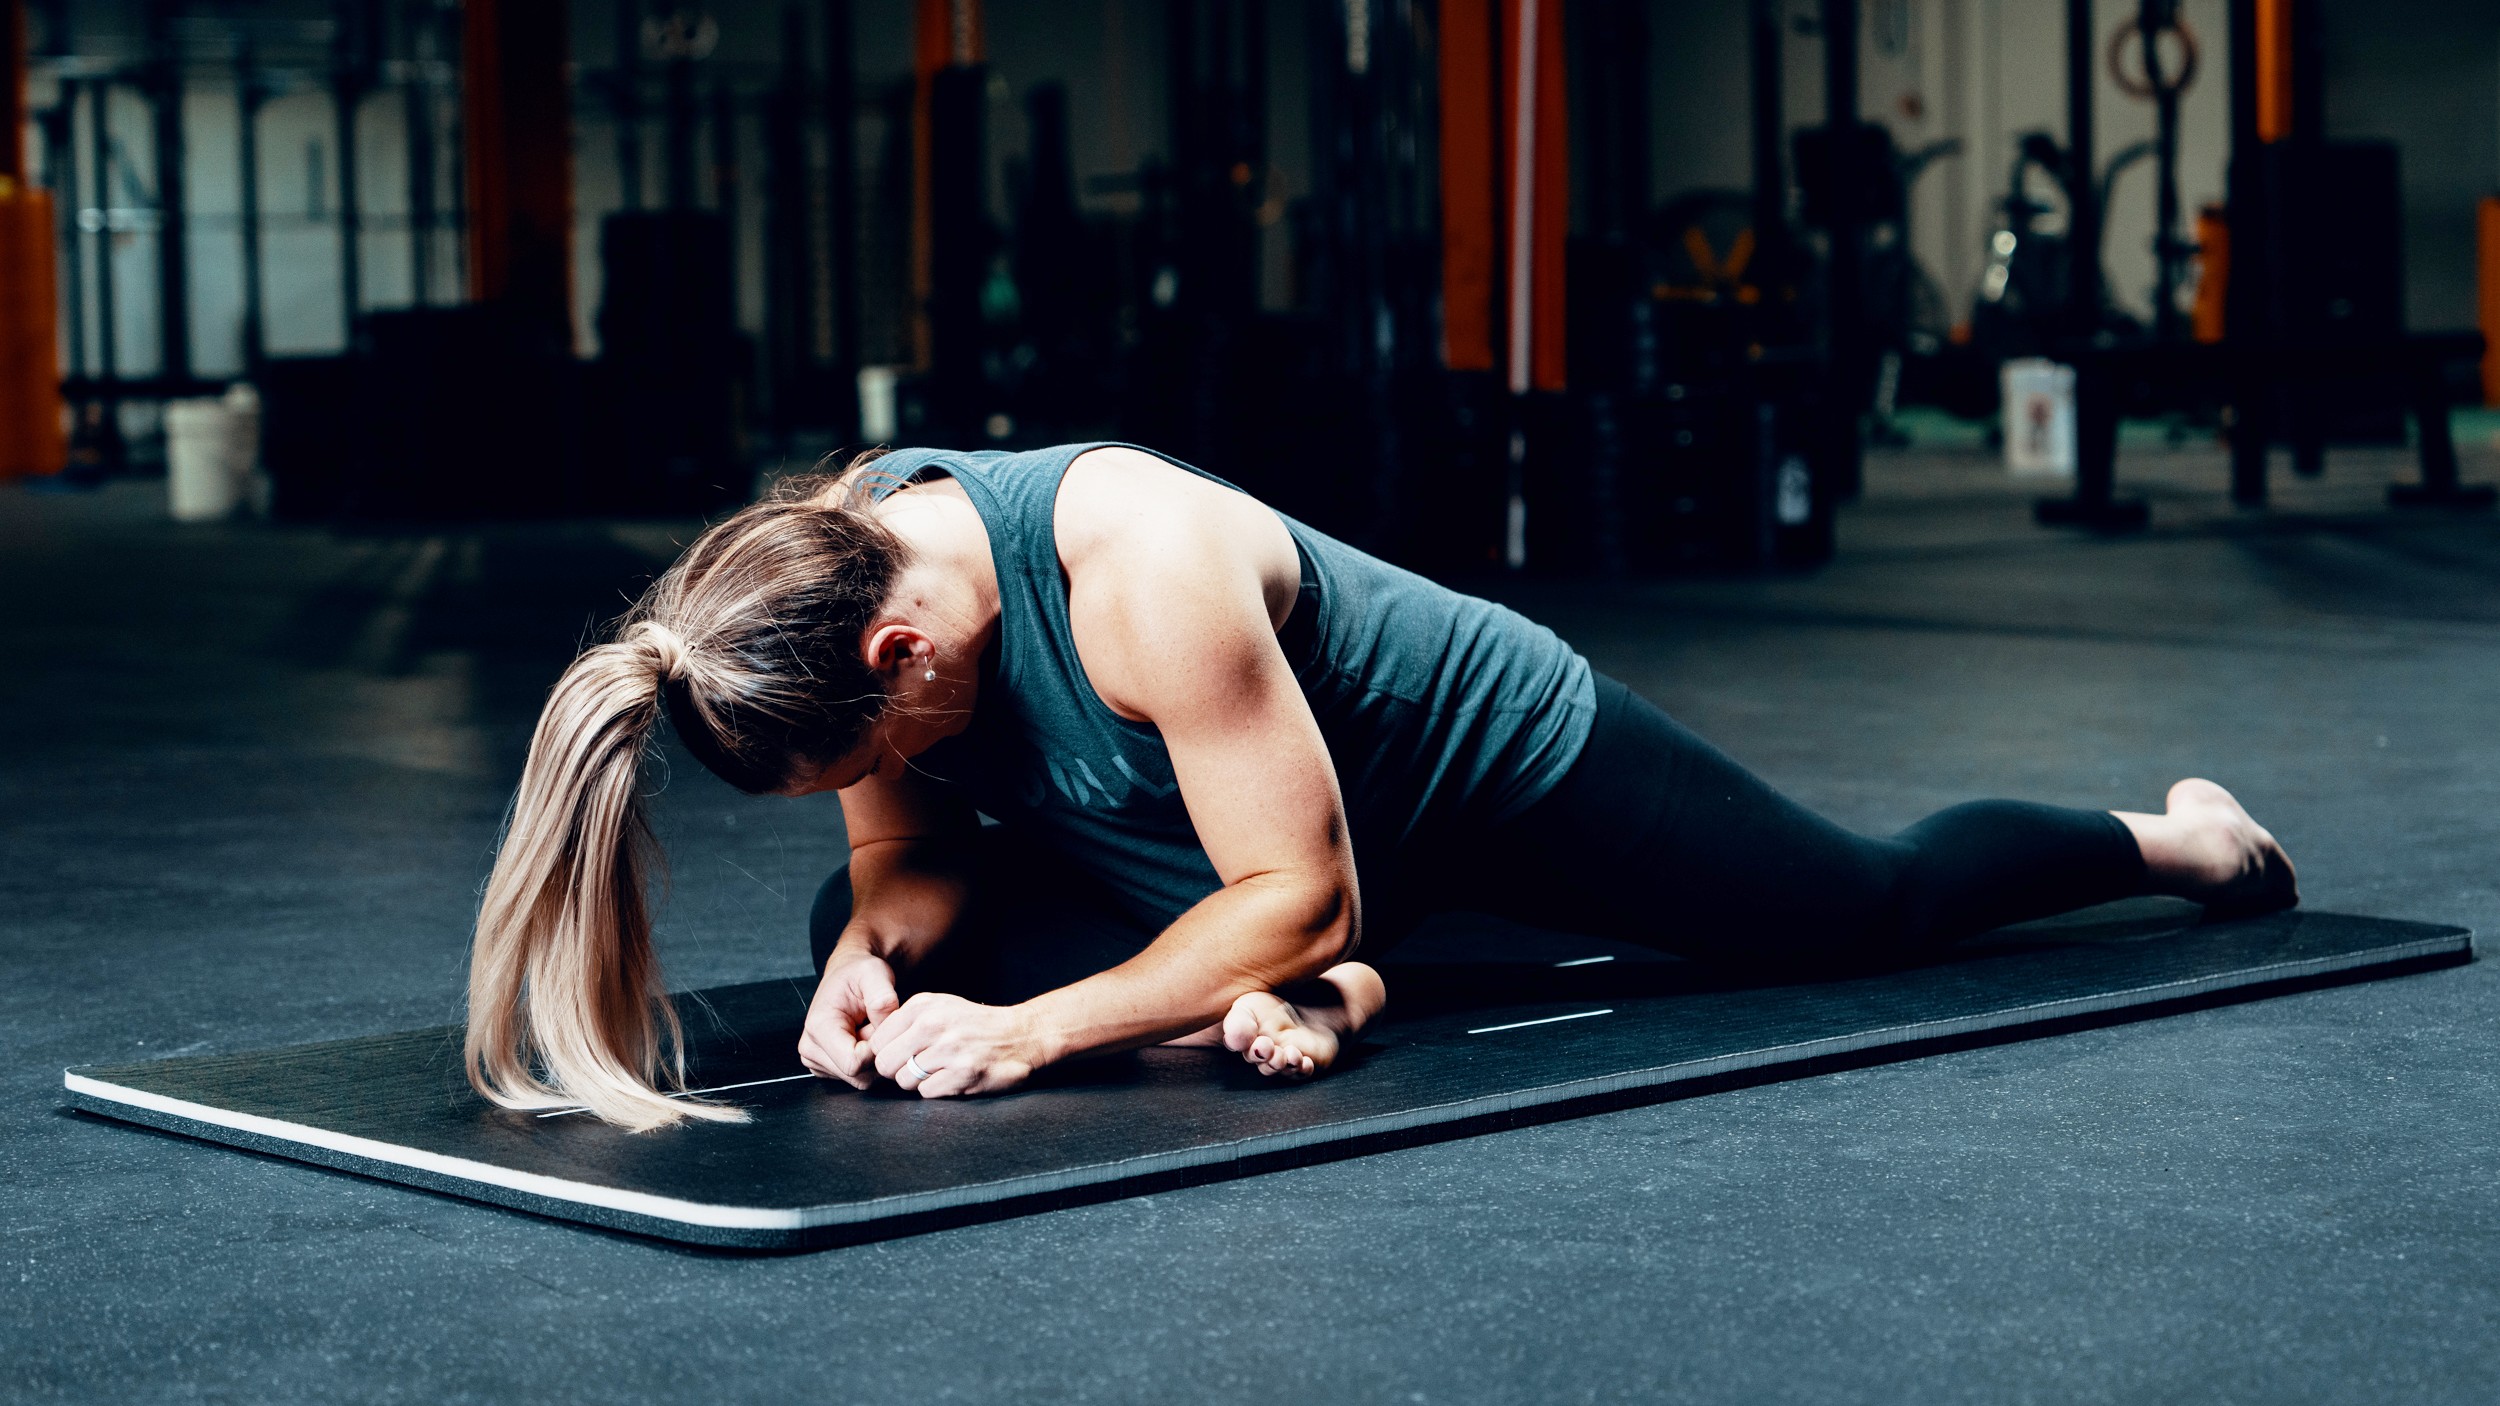
If you want to release tension from the hips and glutes, pigeon pose is a dynamite lower body stretch, but it’s one of the easiest to get wrong and could result in knee pain if done incorrectly. You can learn how to do pigeon pose here, but there are some tricks you can adopt to sharpen up your technique for this posture.
Gently brace your stomach and check you’re not bearing down on your knees. Your hips should be square with the top of your mat, and so should your front shin. Without externally rotating your back leg, check the thigh and shin of your back leg are facing downward.
Sit tall, and press down through the top of your back foot. Your front leg should be externally rotating, meaning the inner thigh faces upward, and only when you’ve got this alignment nailed should you begin lowering your chest toward your front leg.
Hold for a minimum of 8-10 breaths
More from Tom's Guide
Consider adding a daily or weekly practice to your exercise schedule, and if these stretches aren’t for you, I recommend these best exercises for sciatica to help ease back pain without aggravating your symptoms.


