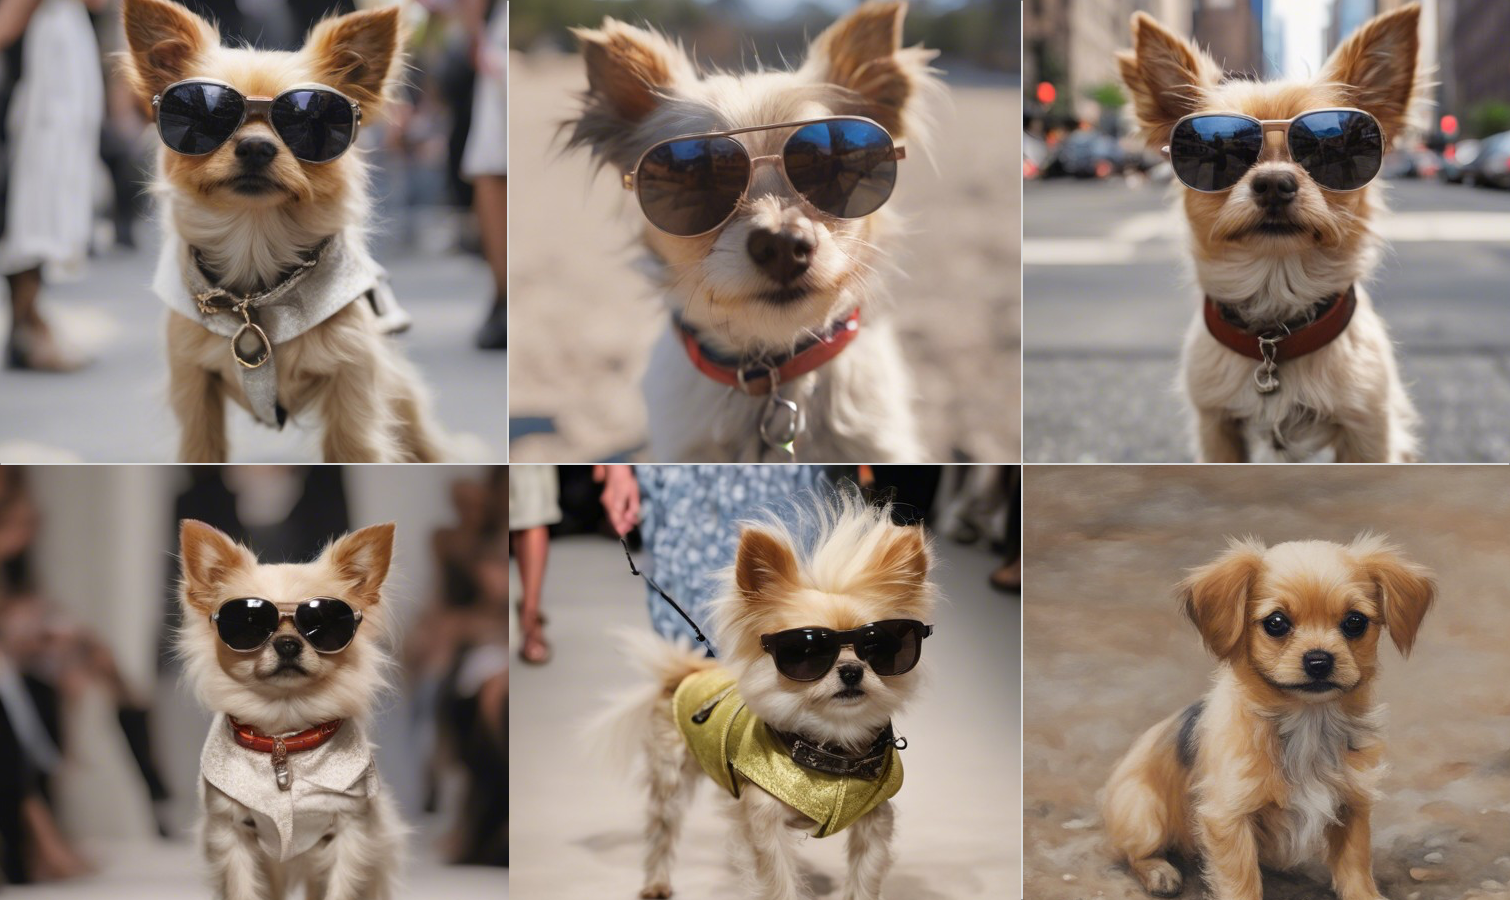
A new artificial intelligence image generator that can create a new image in real-time has been released by Stable Diffusion makers StabilityAI. Called SDXL Turbo, it is based on the company’s most powerful image AI model but fine-tuned for speed.
SDXL Turbo has some restrictions over the normal SDXL 1.0 image generator including the size of the output images and resolution.
They are previews, at 512px by 512px, but this allows for more rapid image generation and could be used to refine a prompt that could be used with SDXL 1.0 later. You could also use the smaller preview image as a starter image for a normal AI image generation.
How to try SDXL Turbo
The best way to check out SDXL Turbo at the moment is through the Clipdrop platform built by StabilityAI to demonstrate its various tools. Although, just like all previous Stable Diffusion models it is available open source to run on your own hardware.
StabilityAI described the technique behind the speed of Turbo as a “new distillation technology” that allows for step-by-step generation. This takes the underlying process the AI model goes through in interpreting the prompt from about 50 steps to one.
Just note that we were asked to sign up for a Pro plan after creating just a few images, which is $13 a month or $108 per year.
How to use SDXL Turbo
1. Visit Clipdrop from StabilityAI to use SDXL Turbo
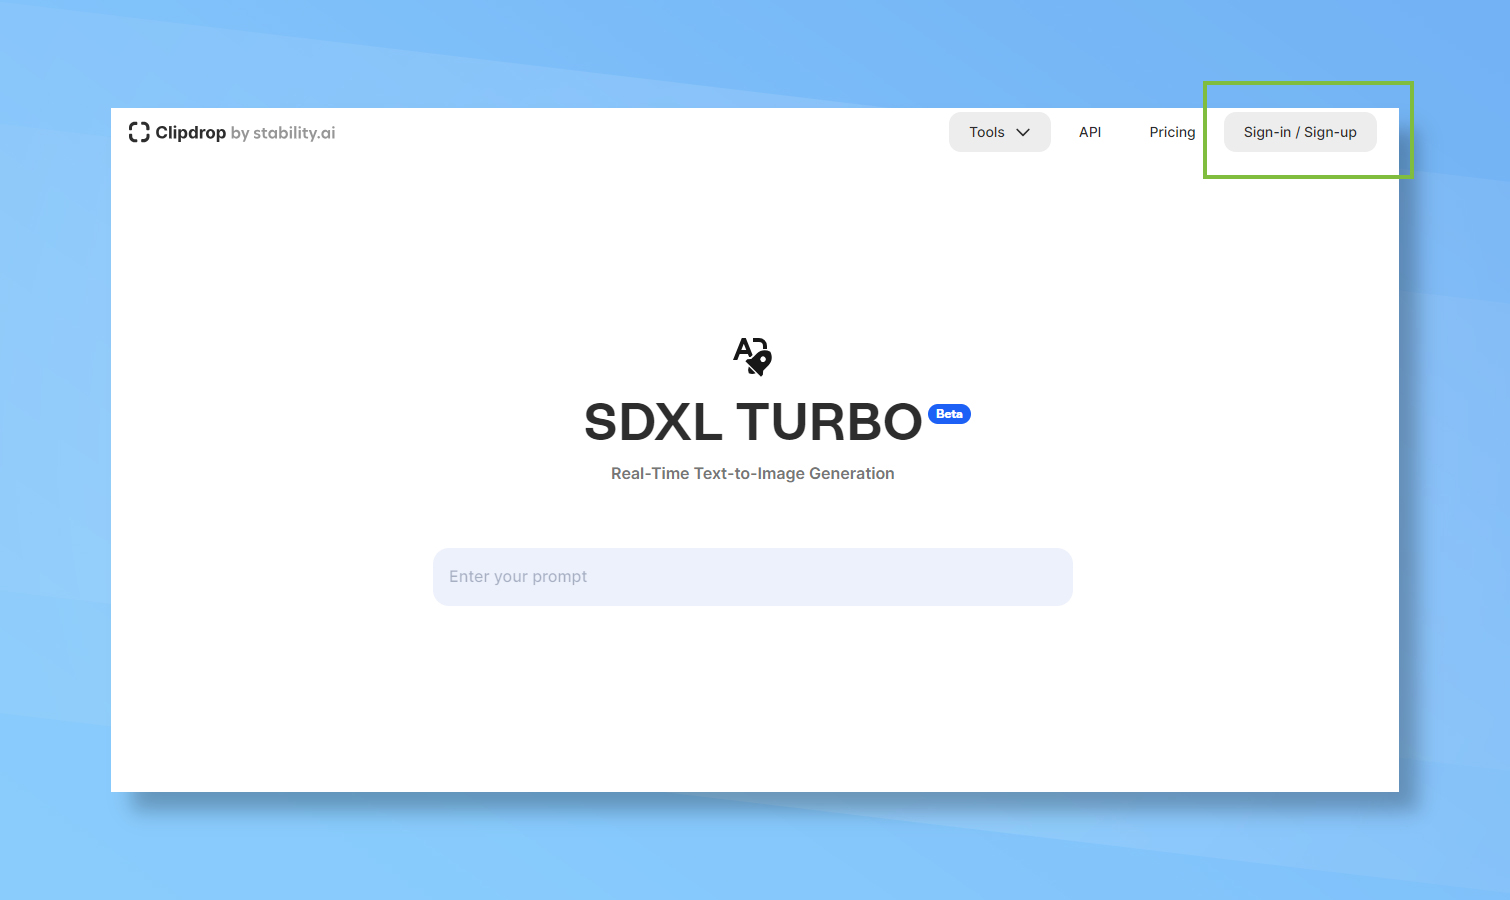
While you can find installs on Hugging Face or even install the model on your own hardware, the easiest way to try it out is to visit Clipdrop from StabilityAI. The free version gives you just enough credits for a couple of experimental images.
Simply click Sign In/Sign Up in the top right corner of the screen to get started.
2. Click the enter your prompt box
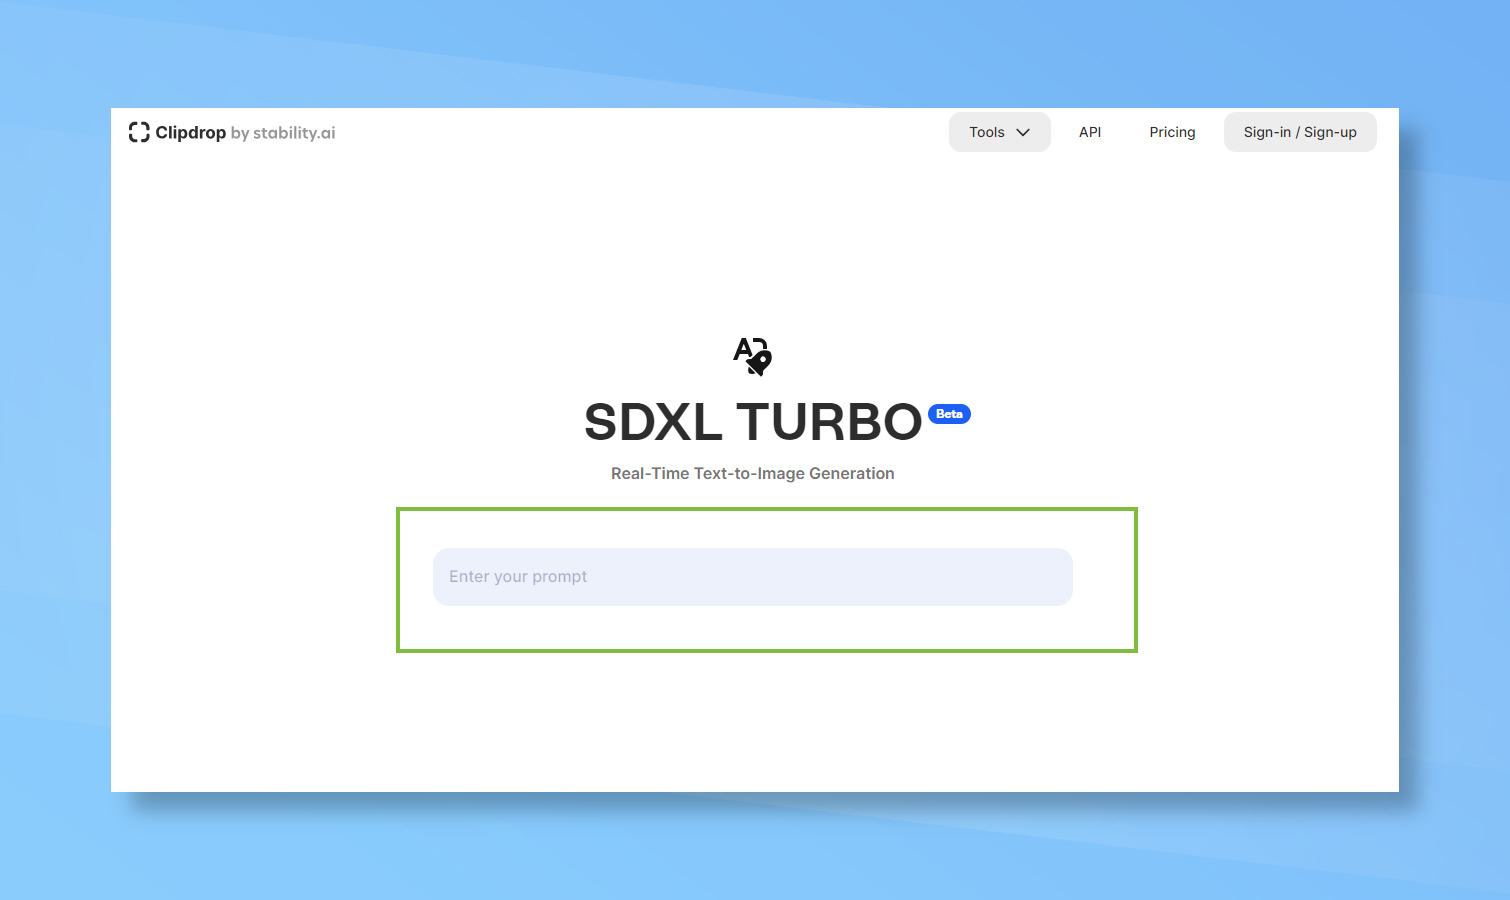
For some reason I still don’t understand when you visit the SDXL Turbo page on Clipdrop it takes you to what looks like a prompt box but is in fact just a link to take you to the real tool. Just click the dummy prompt box to get started for real this time.
3. Prepare for a jump to a new-look page
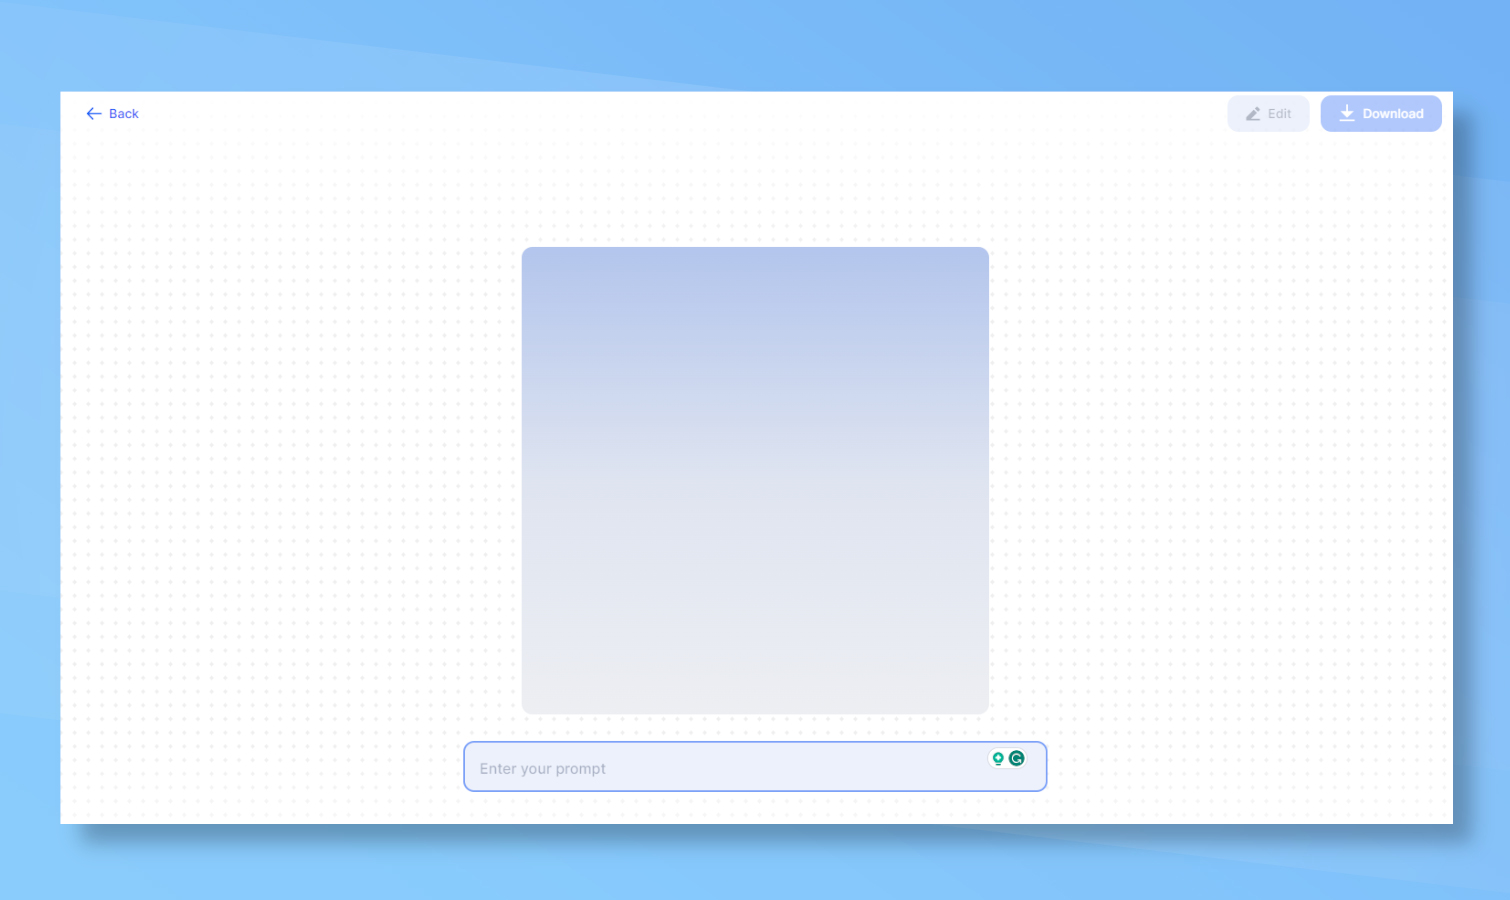
The actual SDXL Turbo tool looks very different from the page you were on before. It appears to be a pair of boxes drawn on graph paper. This is the right page.
4. Start typing what you want to generate
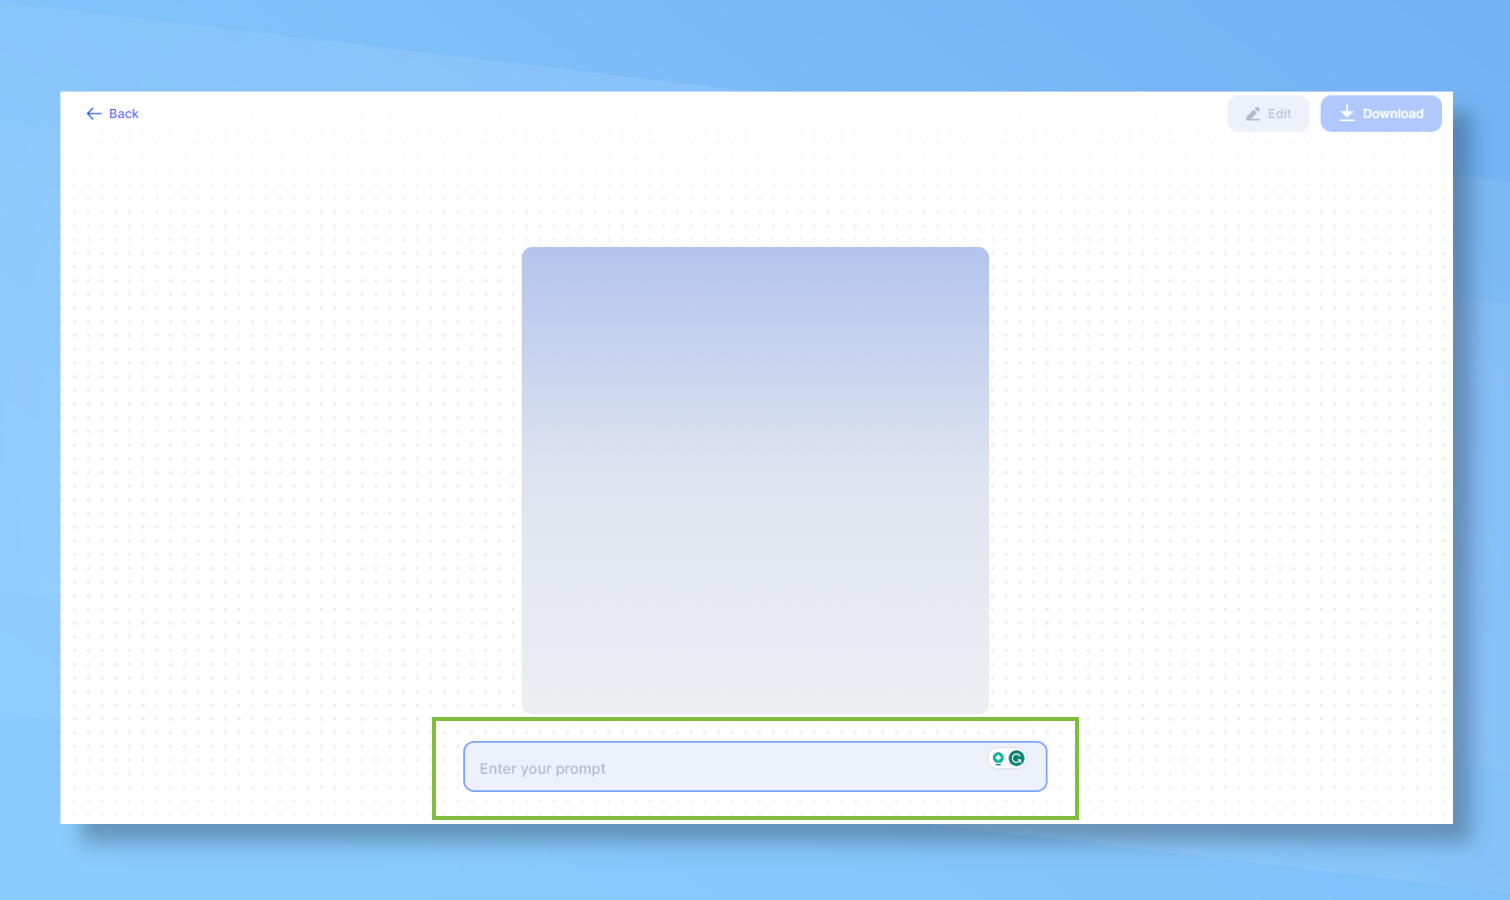
To begin the process simply start typing words into the box. It will remember what you type and build from the initial prompt. I started with a small dog.
5. This will fill the image box with the first version
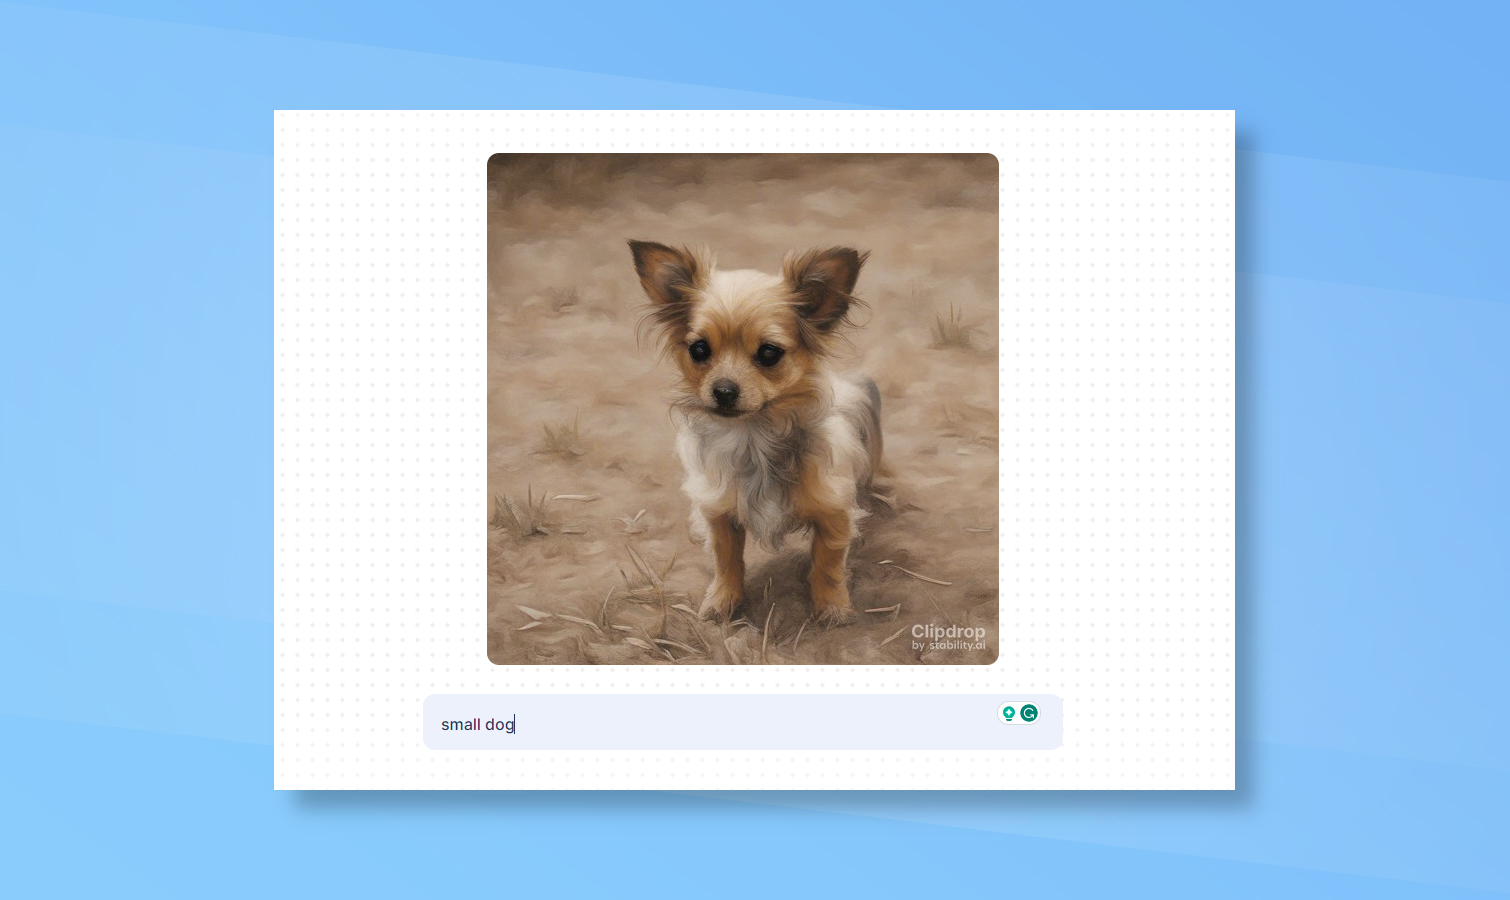
You should see, at least within a second or two, that the small dog appears within the box above the prompt box where you’ve been typing.
6. Add new words to change the image
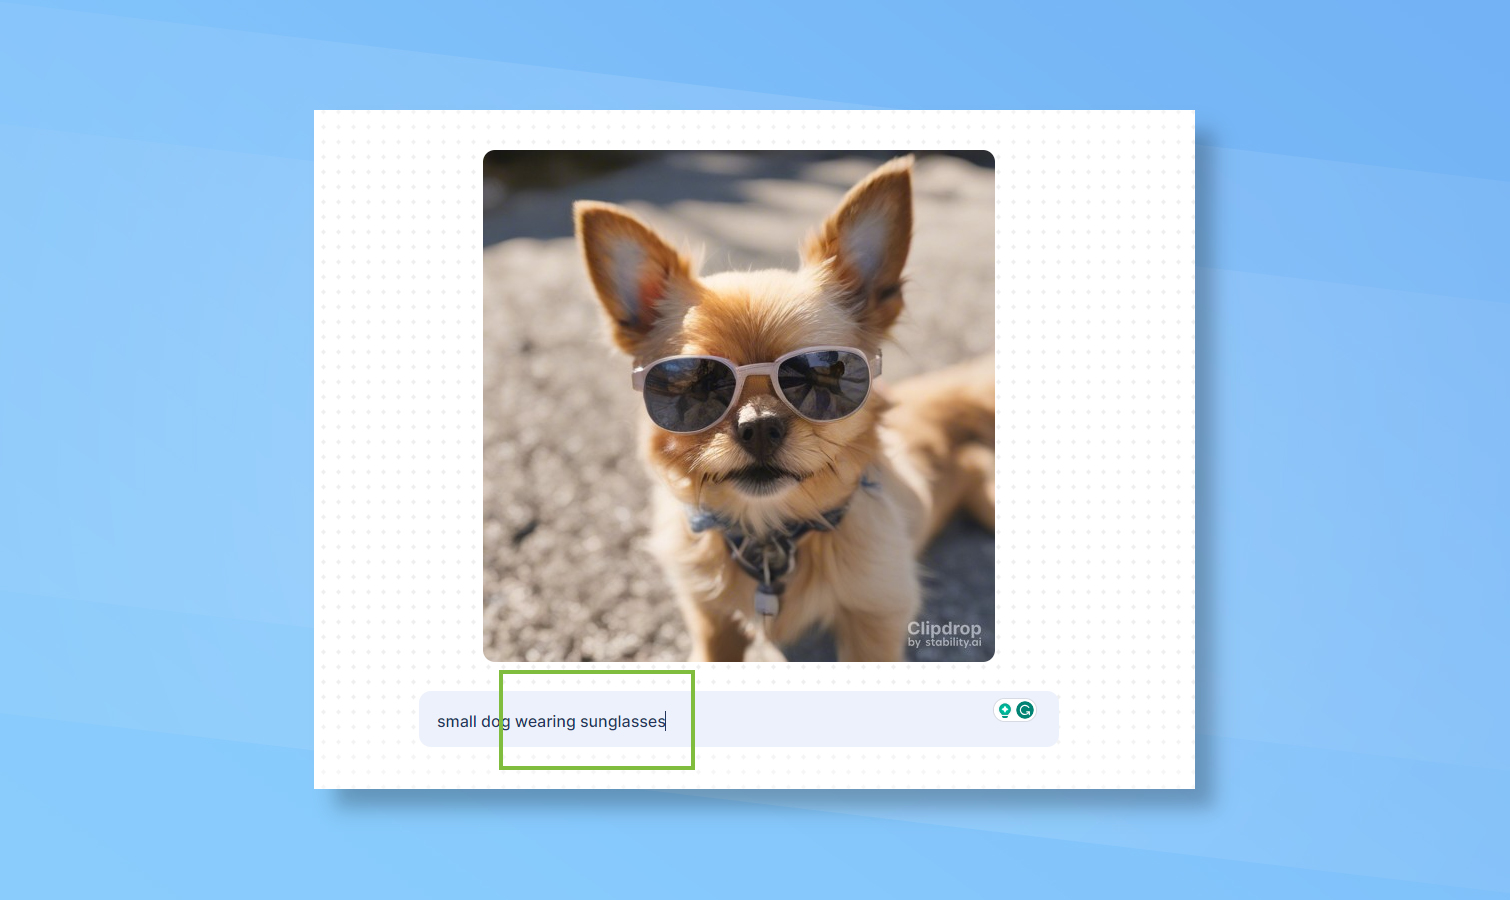
If you want more than just an image of a small dog you’ll need more words. Simply keep typing. In my case, I added that it should be wearing sunglasses.
7. Keep going, it can get as strange as you want it to look
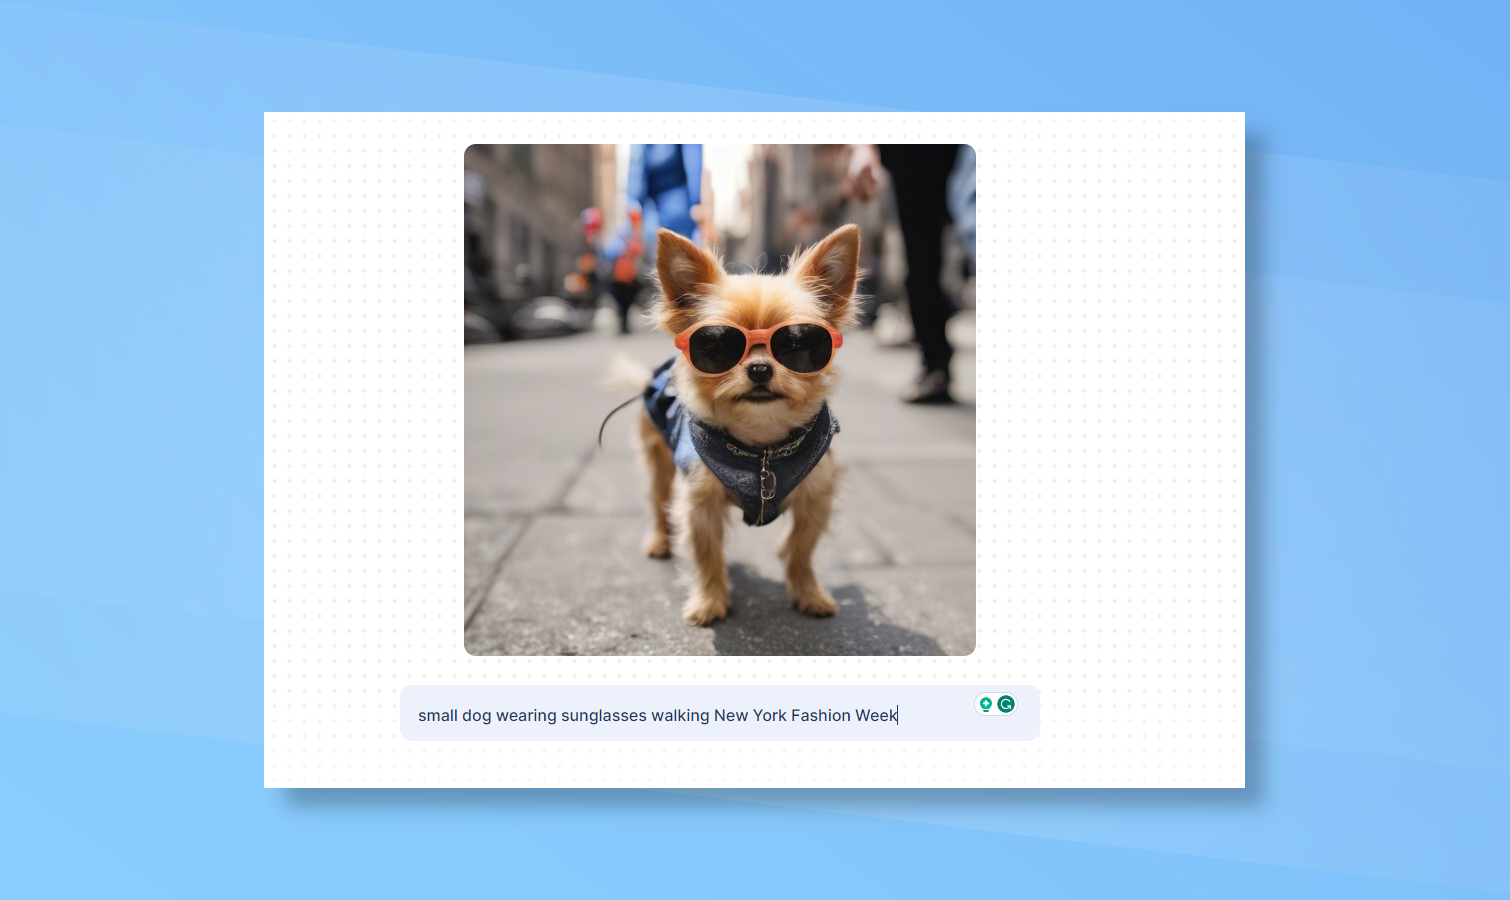
I decided I wanted the dog to be walking. To enhance it further simply keep typing words.
8. Seriously — keep going
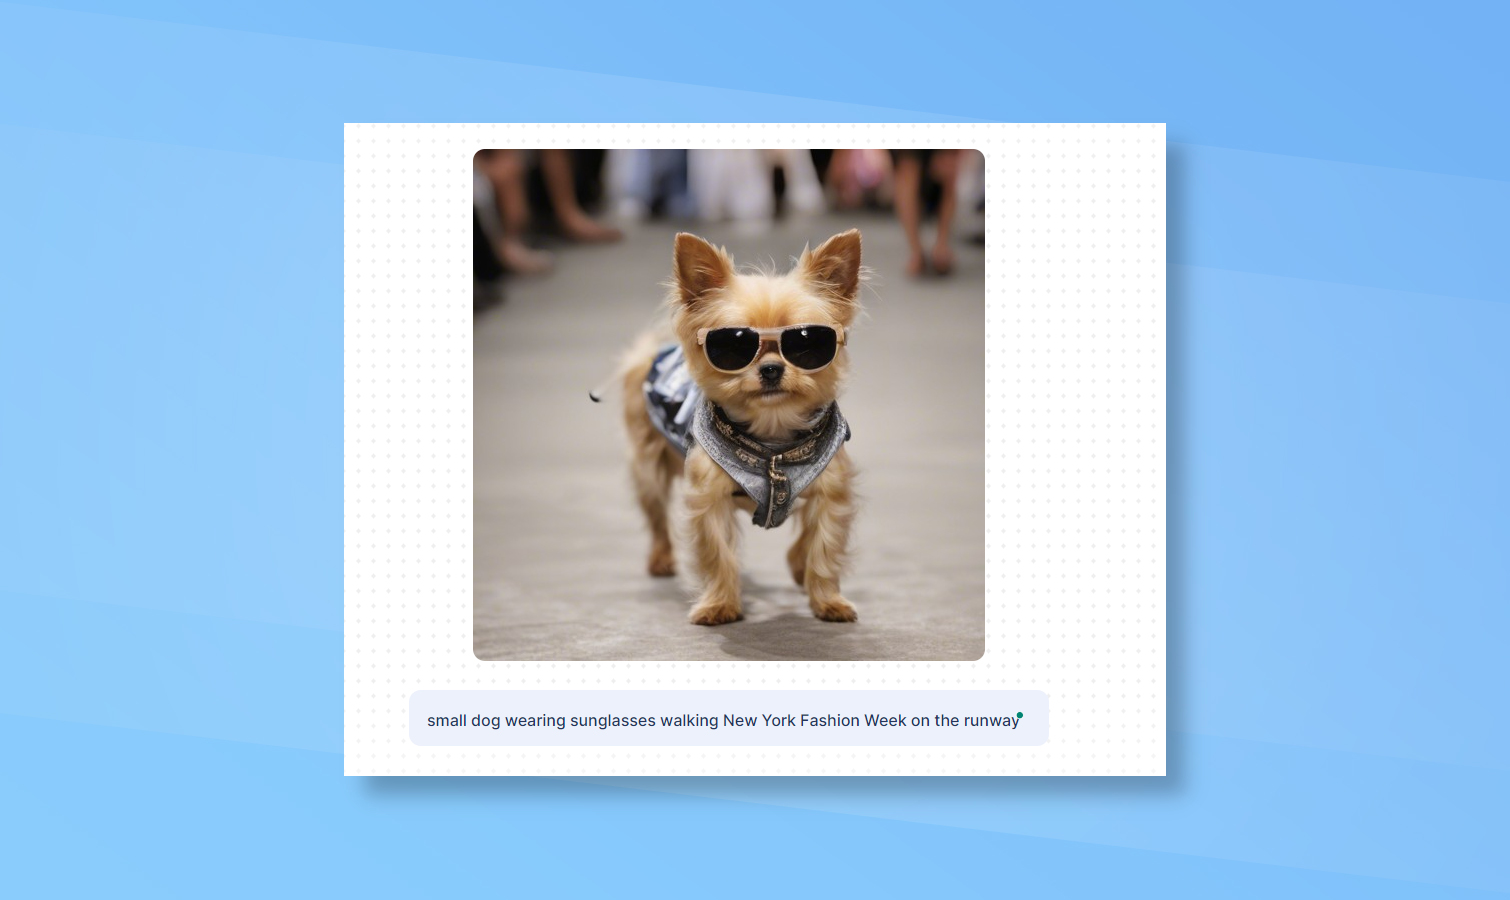
Honestly, just keep going until you get the image you want. You can even remove words to go back to a previous step. It will continue to change the image based on the current text in the box. I ended up with a small dog in sunglasses walking at New York Fashion Week.
9. Download your image when finished
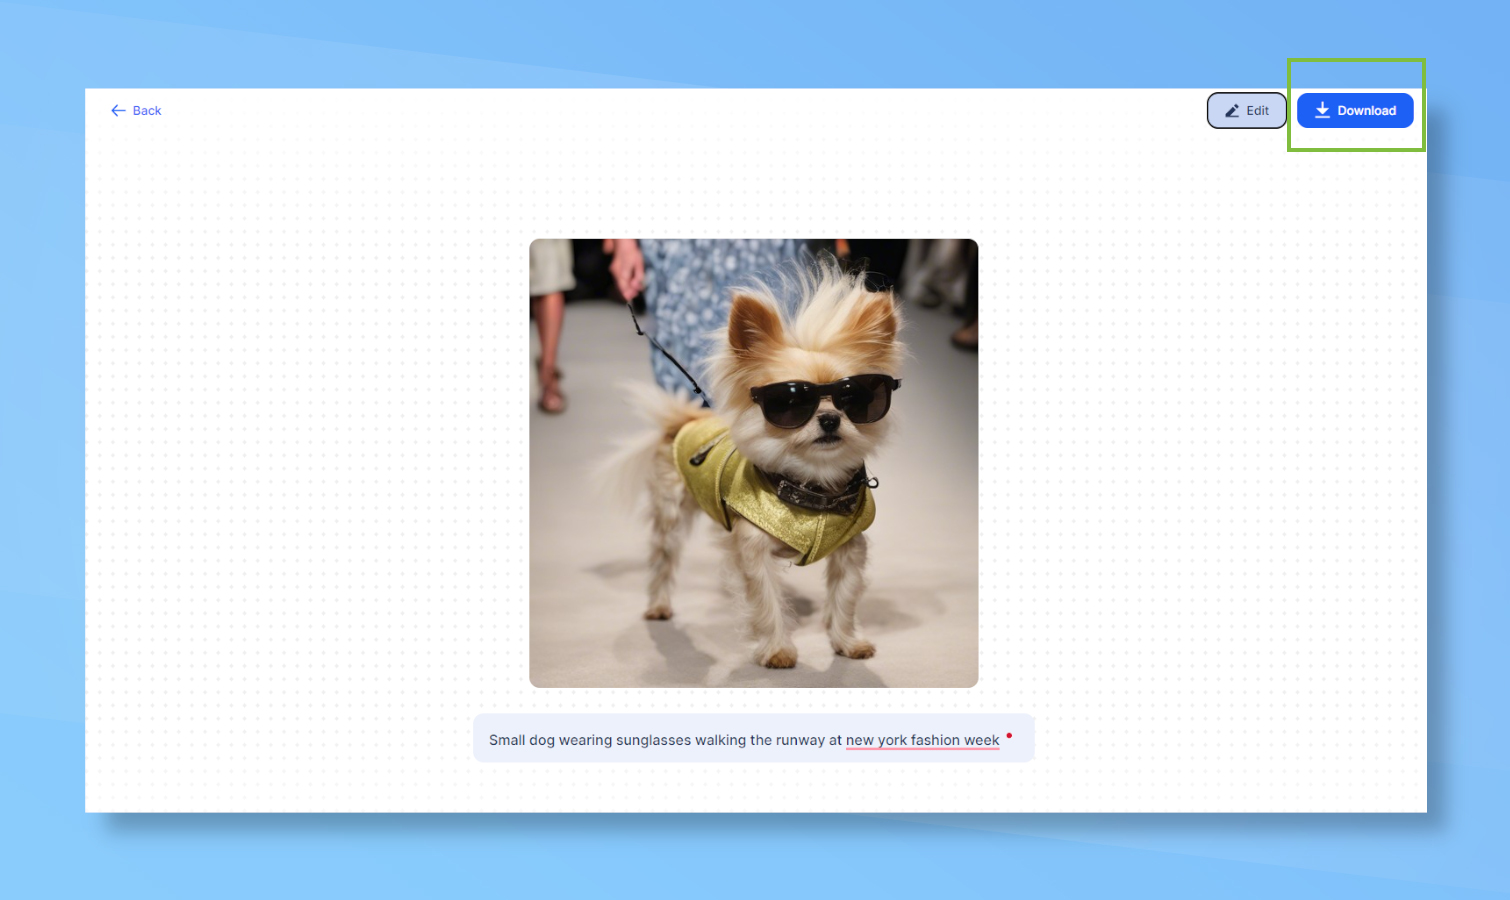
When you are done and have the perfect creation just click the download button in the top right corner of the screen. This will save it straight to your computer.

