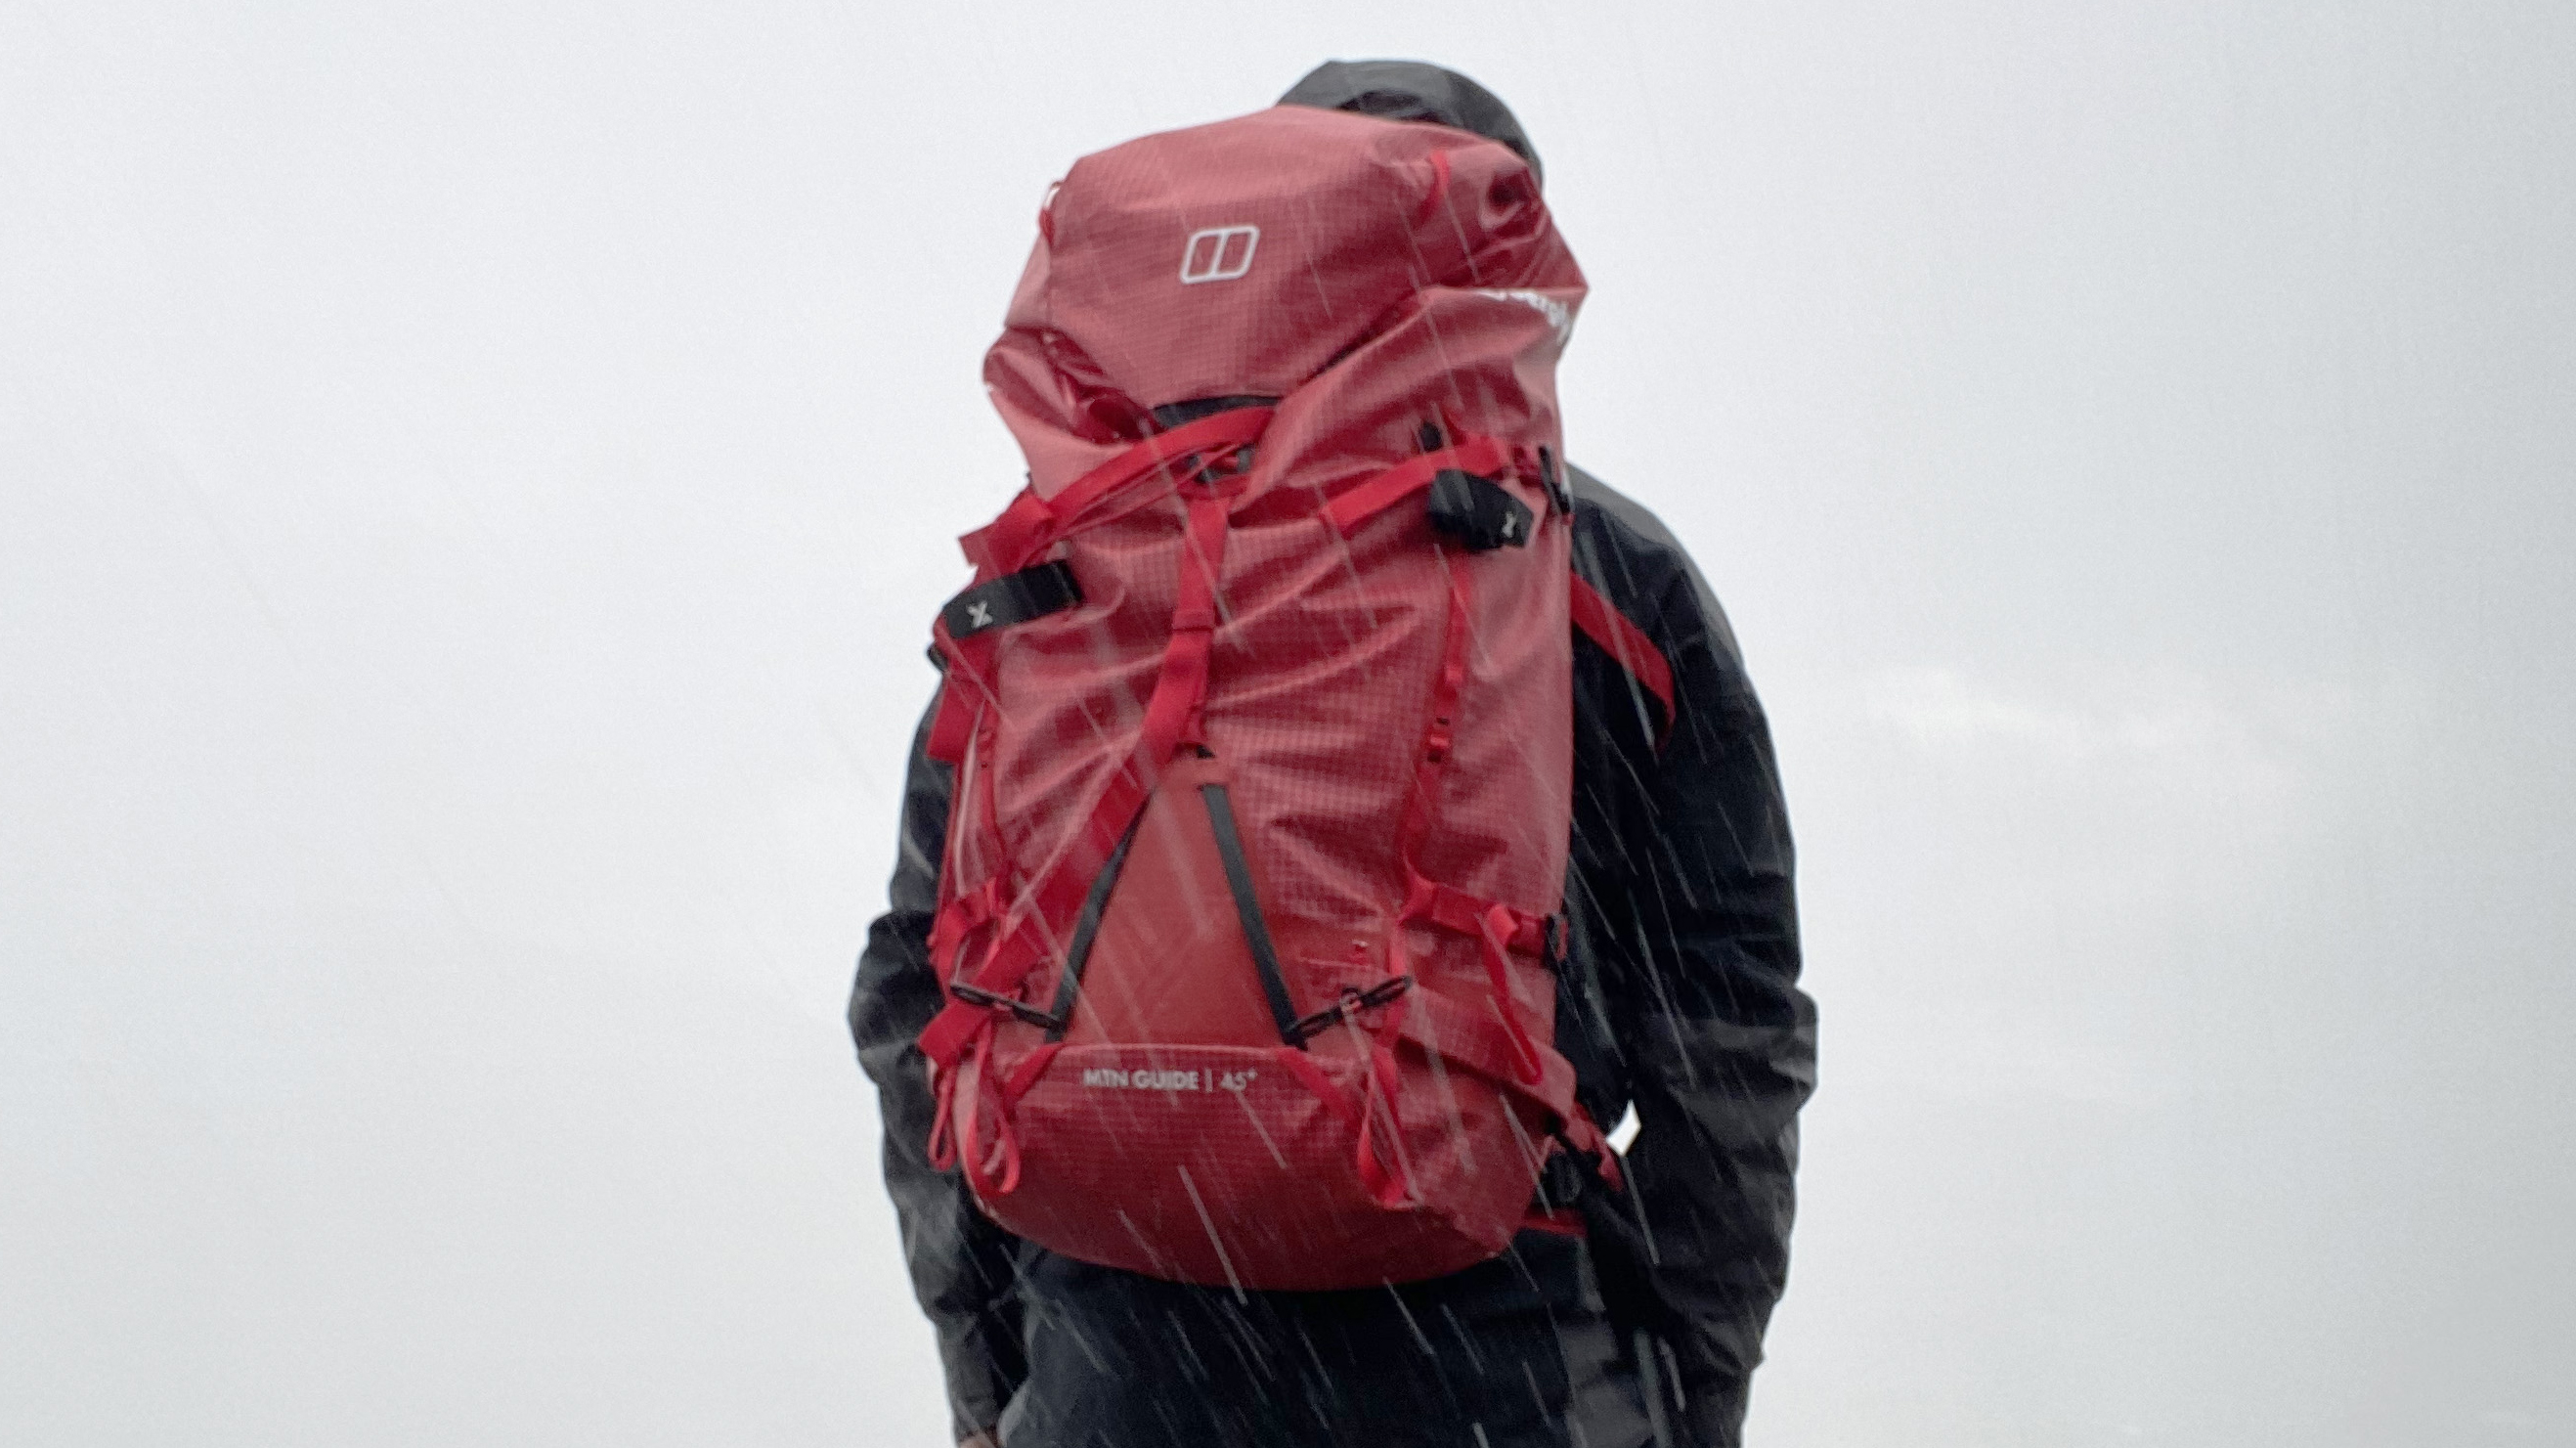
It's not easy for designers to create fully waterproof a backpack, even if they aim to use waterproof fabrics and DWR treatments. There are seams, lids, zippers, compartments and sleeves in the best hiking backpacks and that means there are plenty of areas where rain can ingress.
To keep the rain and wet out, you will need some extra help. Read on for five simple steps to waterproof your backpack, which means you'll be able to keep your outdoor products – and sandwiches – dry on the trail.
How to waterproof a backpack
1) Waterproofing spray and seam sealer – caring for your kit will extend its lifespan
2) Use a rain cover – most packs come with one, or you can buy covers separately, although they're not without drawbacks
3) Use a pack liner – use a sealable, waterproof liner within the pack's main compartment
4) Use internal dry bags – smaller, individual dry bags are a good way to organise kit and ensure the wet stays outside
5) Choose a pack with a waterproof pocket – many packs now have a zipped, waterproof pocked for stowing small items, such as cell phone and keys
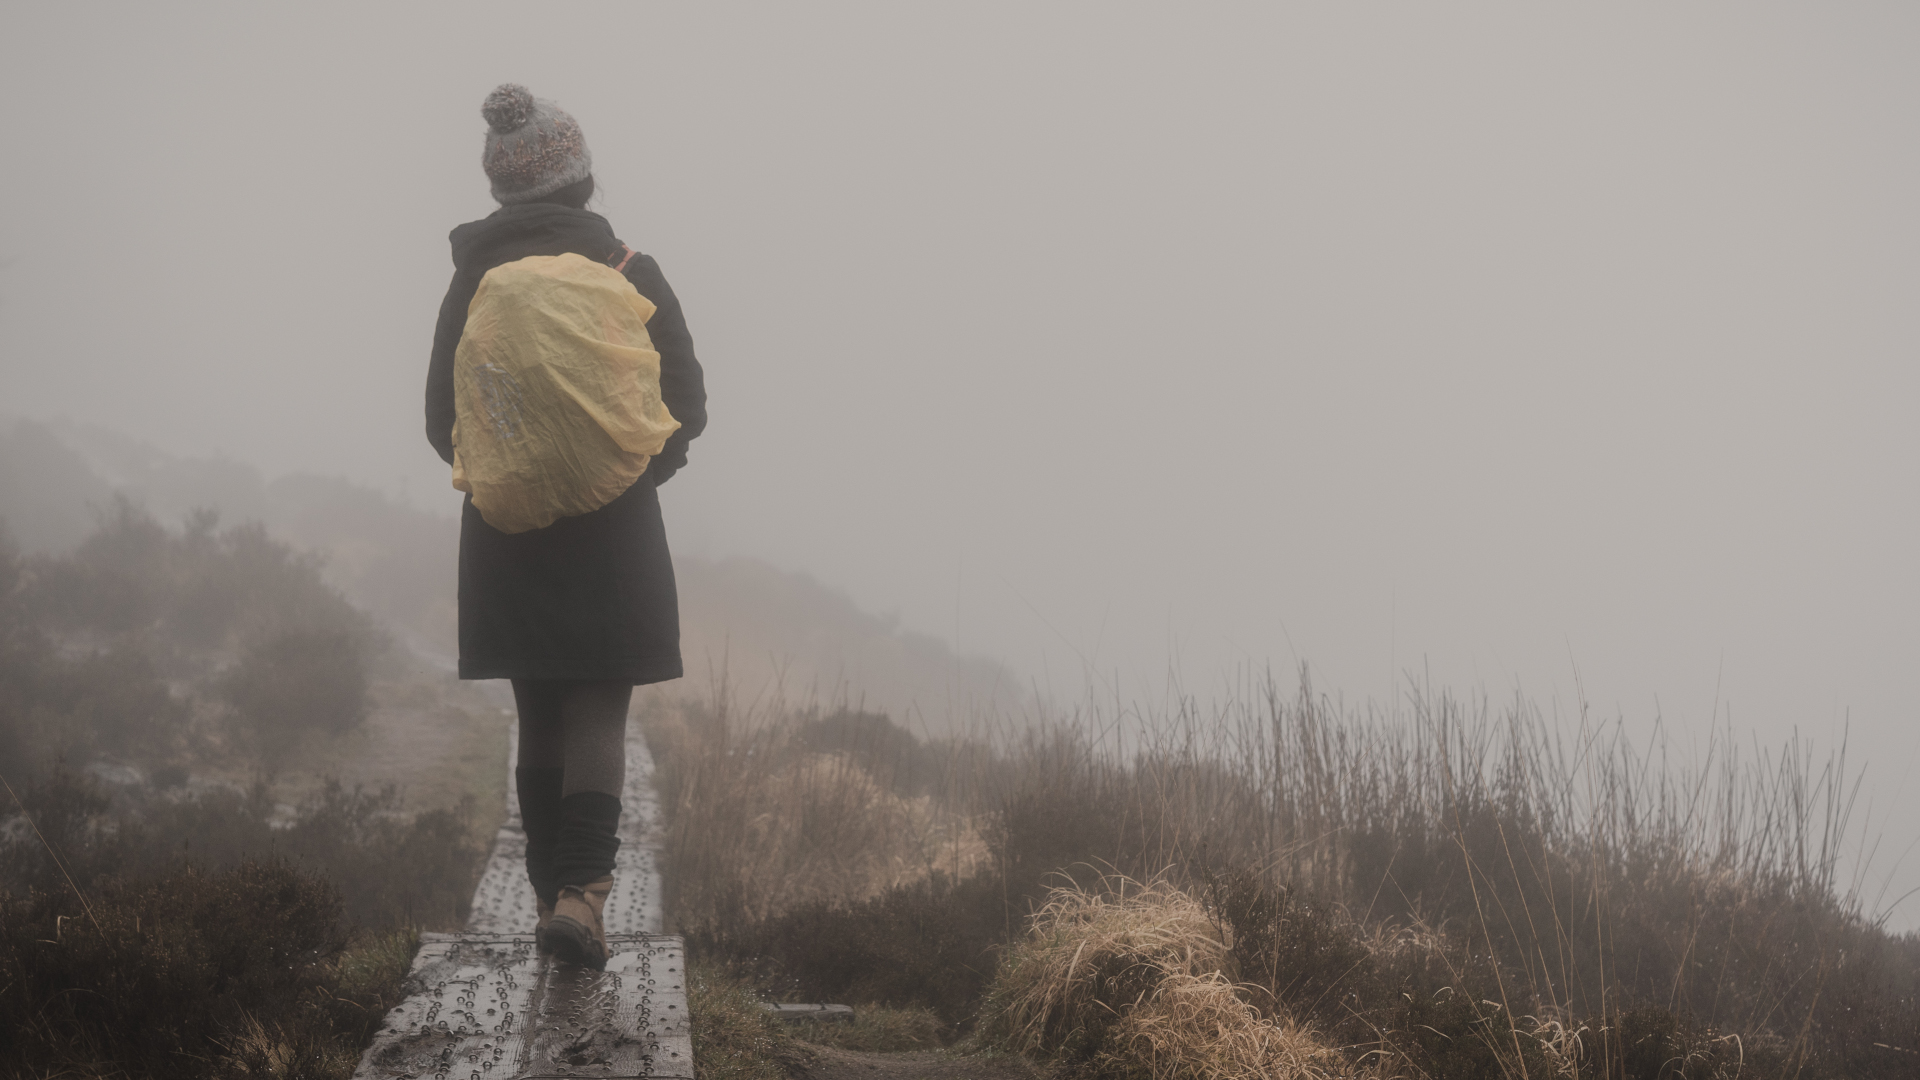
Why is waterproofing a backpack important?
There are different types of backpacks and many are made using water resistant materials. Some have double taped seams that keep out light rain, too. However, there are few packs that will keep out a heavy and sustained downpour.
Knowing how to waterproof a backpack is important for protecting your gear, whether it's spare baselayers, hiking gloves, food or a sleeping bag and tent if you are planning a camping trip or a multi-day thru-hike.
No-one wants to pull on a damp top, or fish out soggy sandwiches, or, worse still, get into a wet sleeping bag. That's why our easy fixes to waterproof your backpack and protect the gear inside will be very useful. Read on for five simple solutions for successful hiking in the rain with a backpack.
Waterproofing spray and seam sealer
In the same way that you can waterproof a tent and other outdoor gear, you can use waterproofing spray on your backpack. Make sure you start with a clean item. You can follow the how clean a backpack steps, then allow your pack to dry before applying one or two waterproofing spray treatments.
Moisture can also gets in through the seams, zips and any holes from wear and tear, so after the backpack has dried you can reinforce your efforts by using a seam sealing treatment, but make sure you let the treatment dry completely before using your bag.
This option is the most labor intensive and requires you to prepare your backpack in advance of getting on the trail. However, if you’re going on a long backpacking trip, or you just live and hike somewhere that gets a lot of rain, it’s a good preventative measure.
The downside of this method is that you will need to reproof fairly regularly because the treatments are not long-lasting.
Use a rain cover
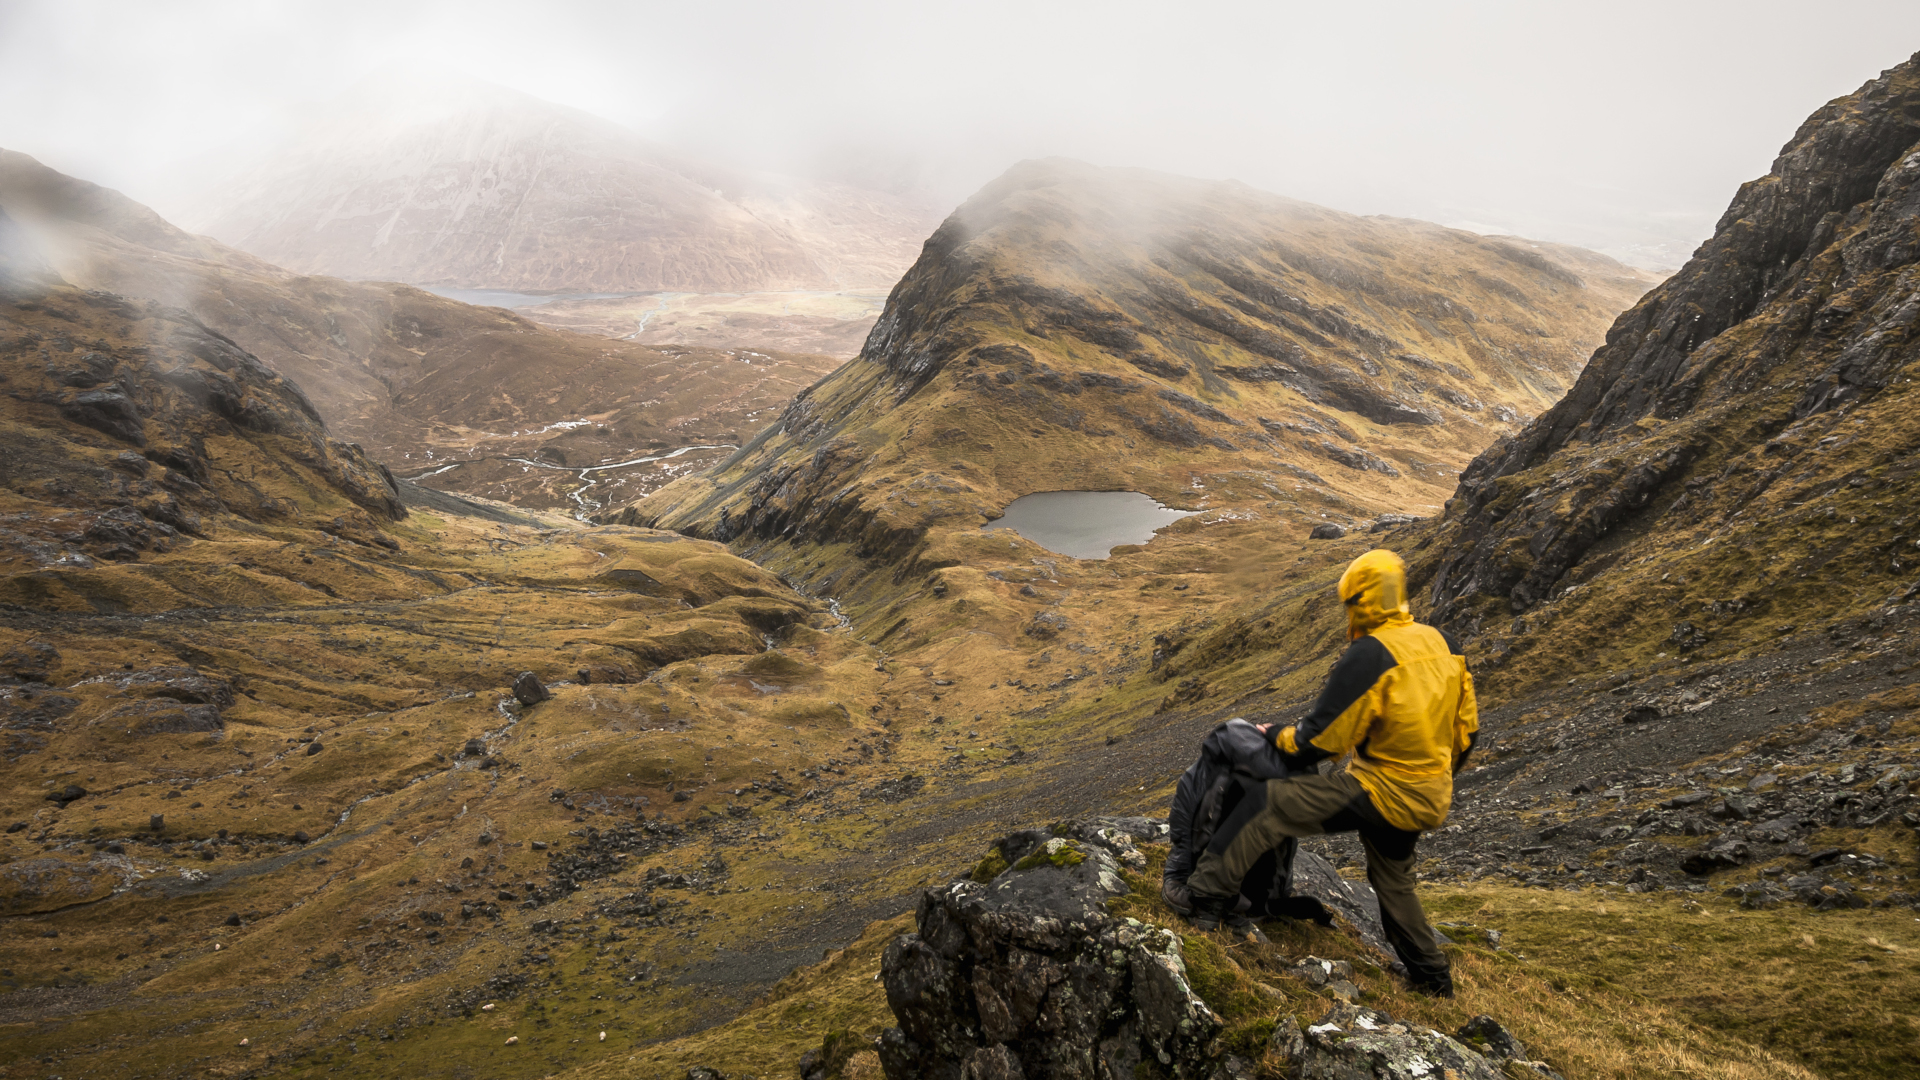
This option requires no advance preparation other than buying a rain cover that fits your backpack, and remembering to carry it with you. Many modern packs have a rain cover included and this is usually stowed in a dedicated compartment towards the bottom. Then, if it looks like it will rain, you can whip it out, pull it over your backpack and everything inside will stay dry. Rain covers are inexpensive, lightweight and pack down to a small size.
However, this option does have a couple of negatives. Firstly, the rain cover usually covers the whole of your backpack, which makes it difficult to quickly grab items you may need from its various compartments. You need to remove the rain cover each time you want to access your pack.
Secondly, the backcountry is littered with covers that have been caught by the wind, blown away and lost. If you think about it, a rain cover doubles up as a wind-catching sail, something that often happens when you open it up to pop on your daypack. The challenging conditions that often require a cover to be employed in the first place are exactly the kind of wet and windy conditions that will steal them away.
Some rain covers are attached to the pack by an elastic cord, which removes this issue, so this is something to look out for.
Use a pack liner
A pack liner is an affordable option and doesn’t add much weight. If you’re on a budget, you could even use a trash bag.
A pack liner sits inside your backpack and offers a simple solution for waterproofing. Instead of packing your gear directly into your backpack, you can place it all in a sealable, waterproof liner that fits inside your backpack, so even when your pack gets soaked, your spare hiking socks, down jacket and camping stove stay dry.
When you get home, just remember to let your backpack dry out before you pack it away.
Use internal dry bags
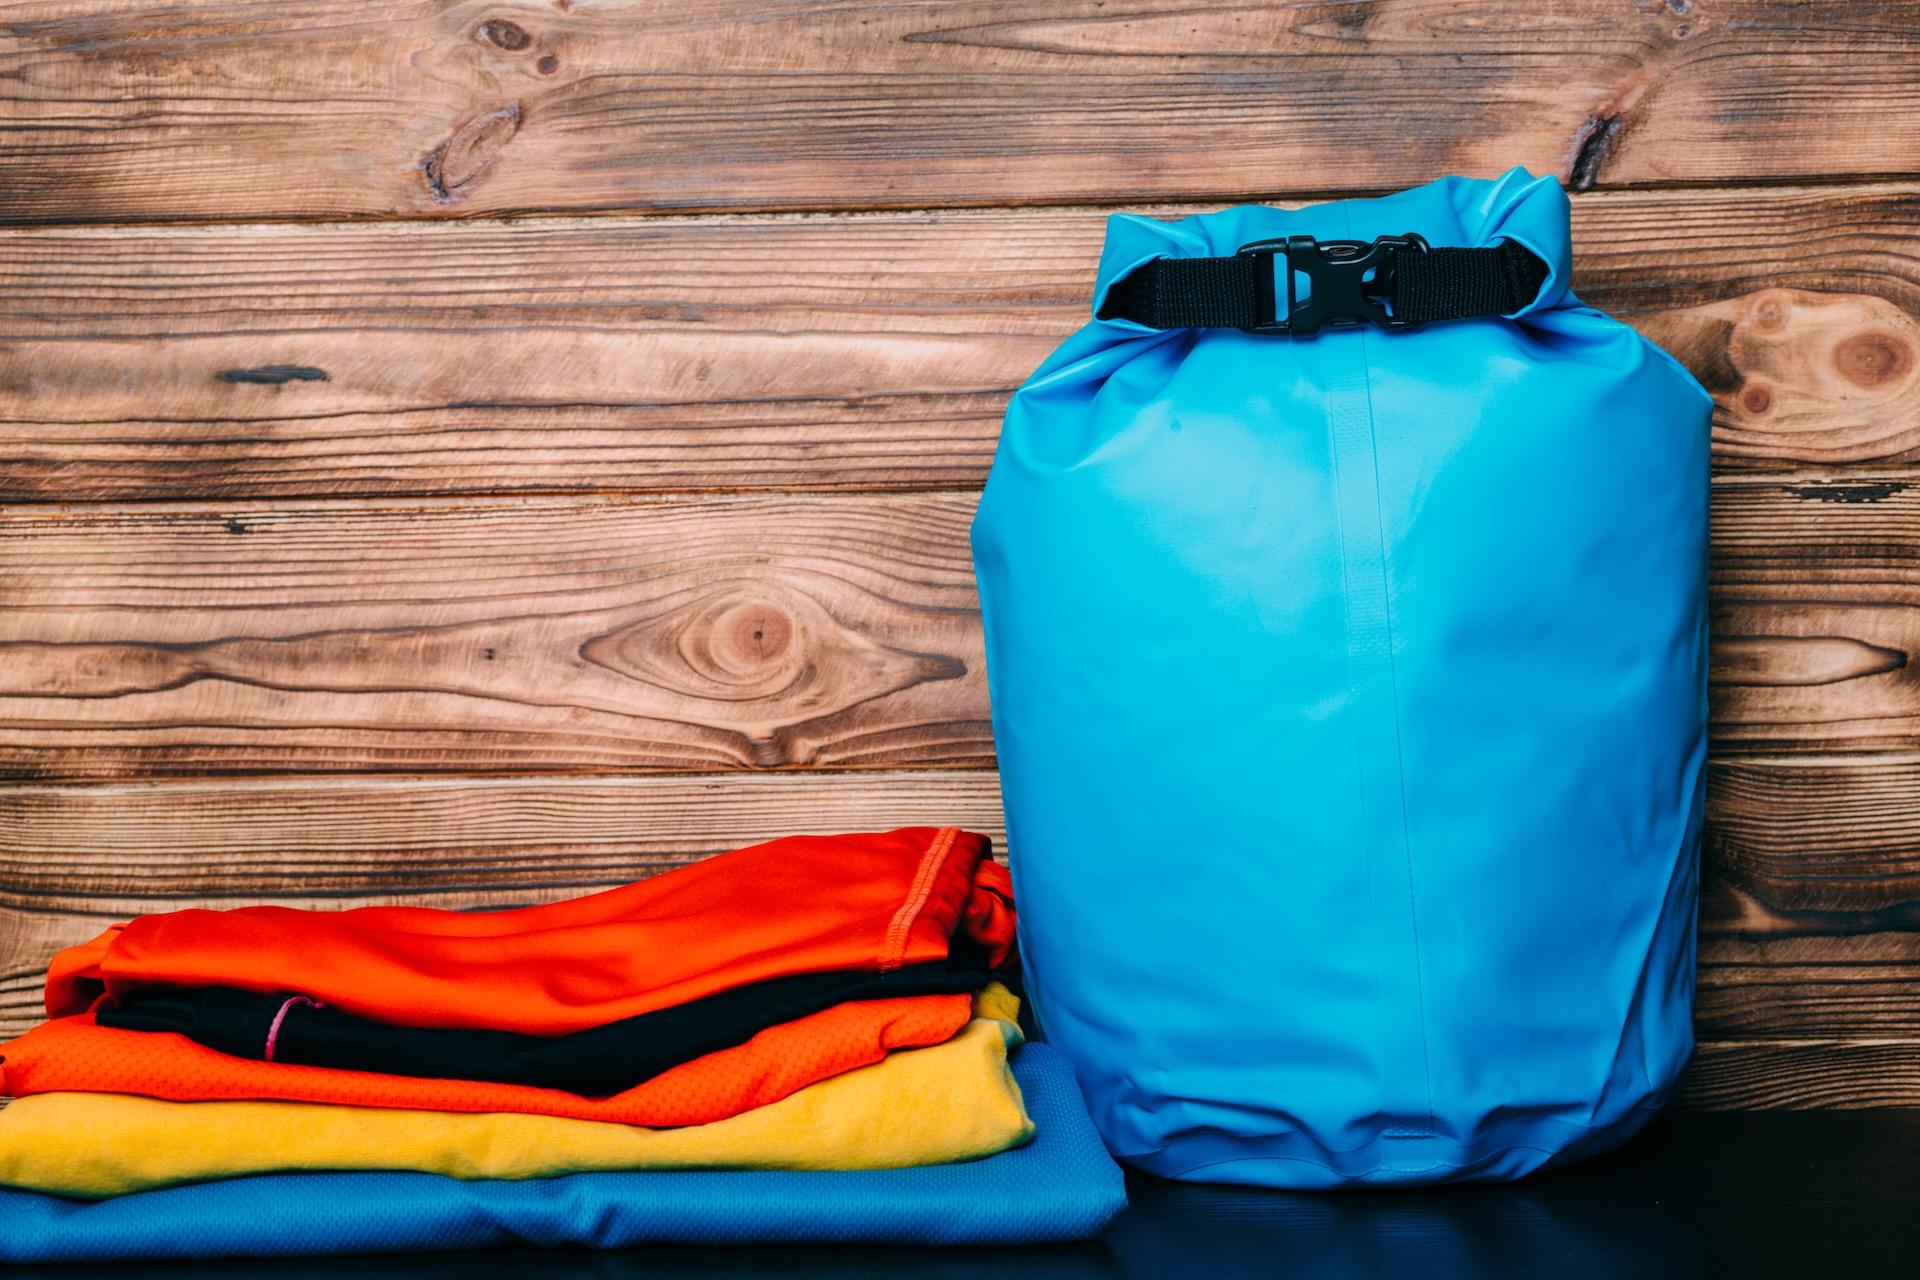
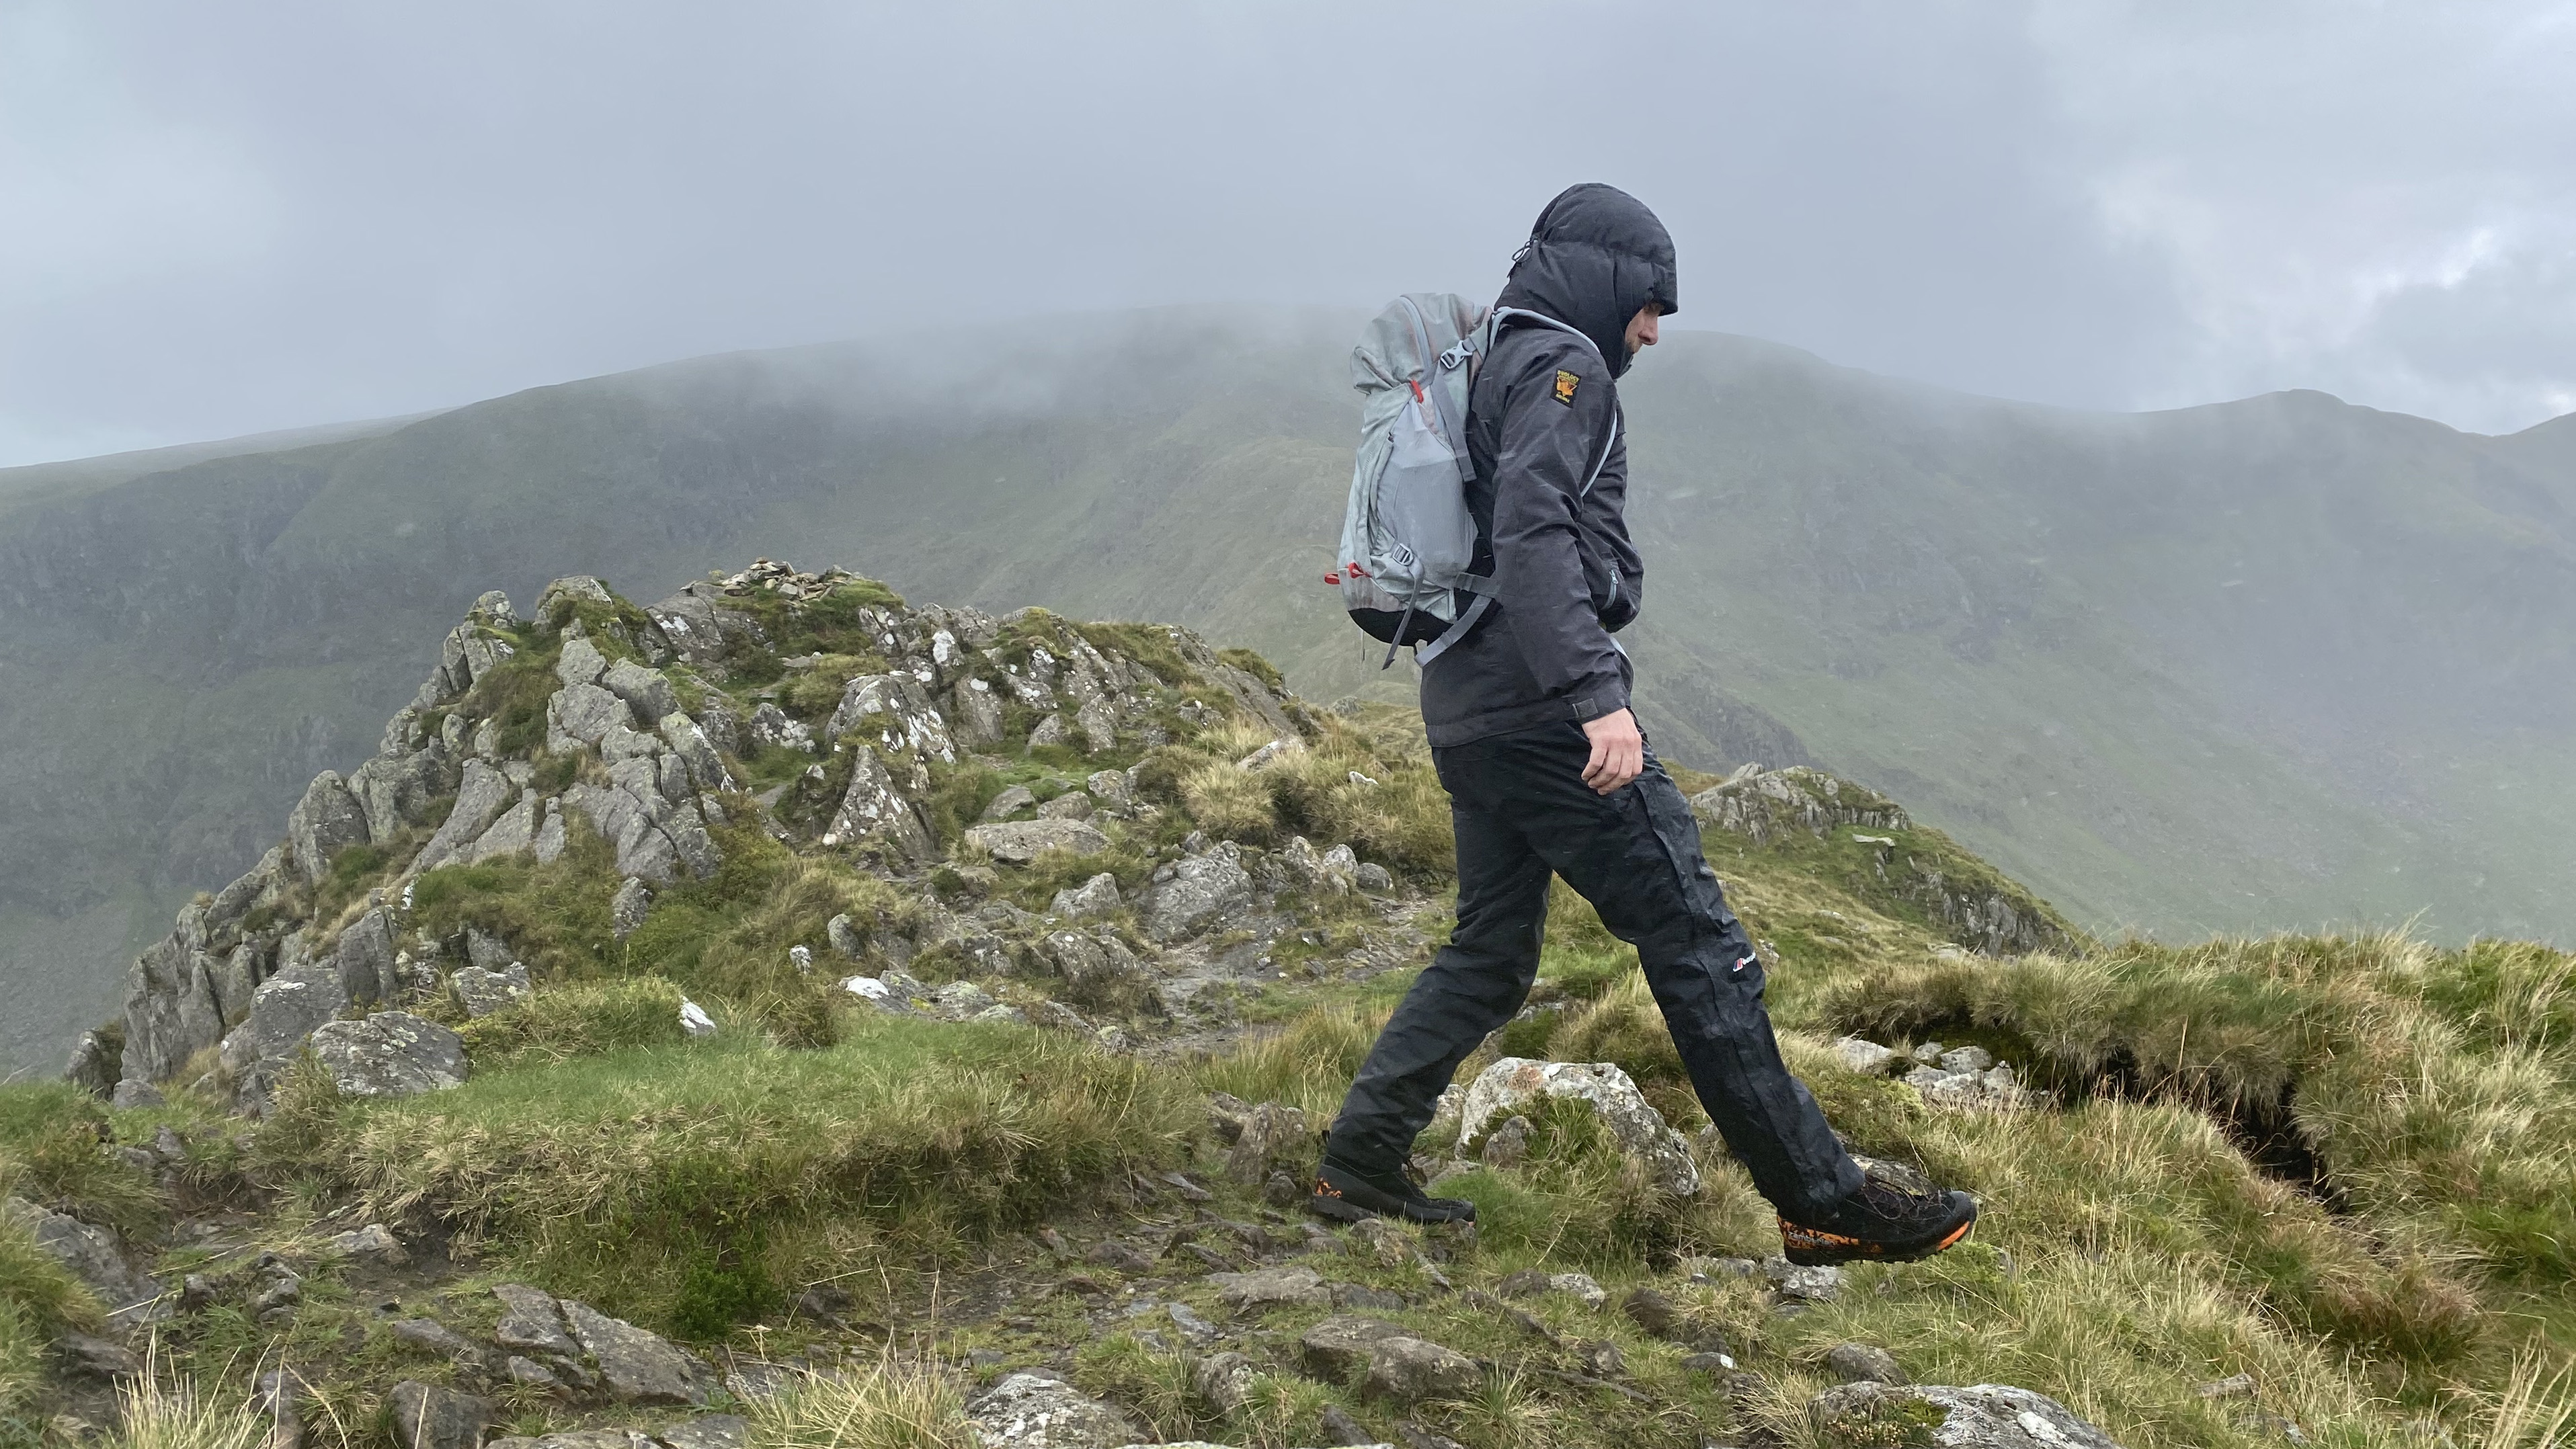
This is my go to for keeping kit both dry and organized. Everything gets grouped accordingly and I know exactly where everything is. It's a particularly useful system when wild camping.
Alex Foxfield, Mountain Leader
This option is similar to the pack liner approach but rather than a single waterproof liner, it uses multiple dry bags of different sizes. So, while your backpack itself may get a bit wet, all your clothes, power bank, food and maps will be fine.
The major advantage of this approach is organization. For example, if you have several dry bags, you can use one for electronic devices and cables, one for food, one for midlayers, one for camping equipment and another for items like hiking hats and gloves. A great tip is to use different coloured bags for different types of items to help you remember what's in each.
Choose a pack with a waterproof pocket
Even if a hiking pack isn't made with waterproof fabrics, you will often find that it has a waterproof pocket included. This means that important items, such as your phone, power bank, cables, vehicle keys and map can be kept dry.
Ideally the pocket will be internal, zipped and made from waterproof fabric.
If the pack doesn't have a waterproof pocket included, you could stash a small sealed and waterproof pouch, the sort that some people use for wild swimming, inside your pack so that your you can protect the times that will be more easily ruined by the wet.
You can also buy a sealable pouch for your phone, along with other types of protection for a phone. These days, a phone is one of the most vital items to carry for route finding (as well as a map and compass), taking photos and for relaying a message to other people if you find yourself late to get back to the trailhead, or in an emergency.


