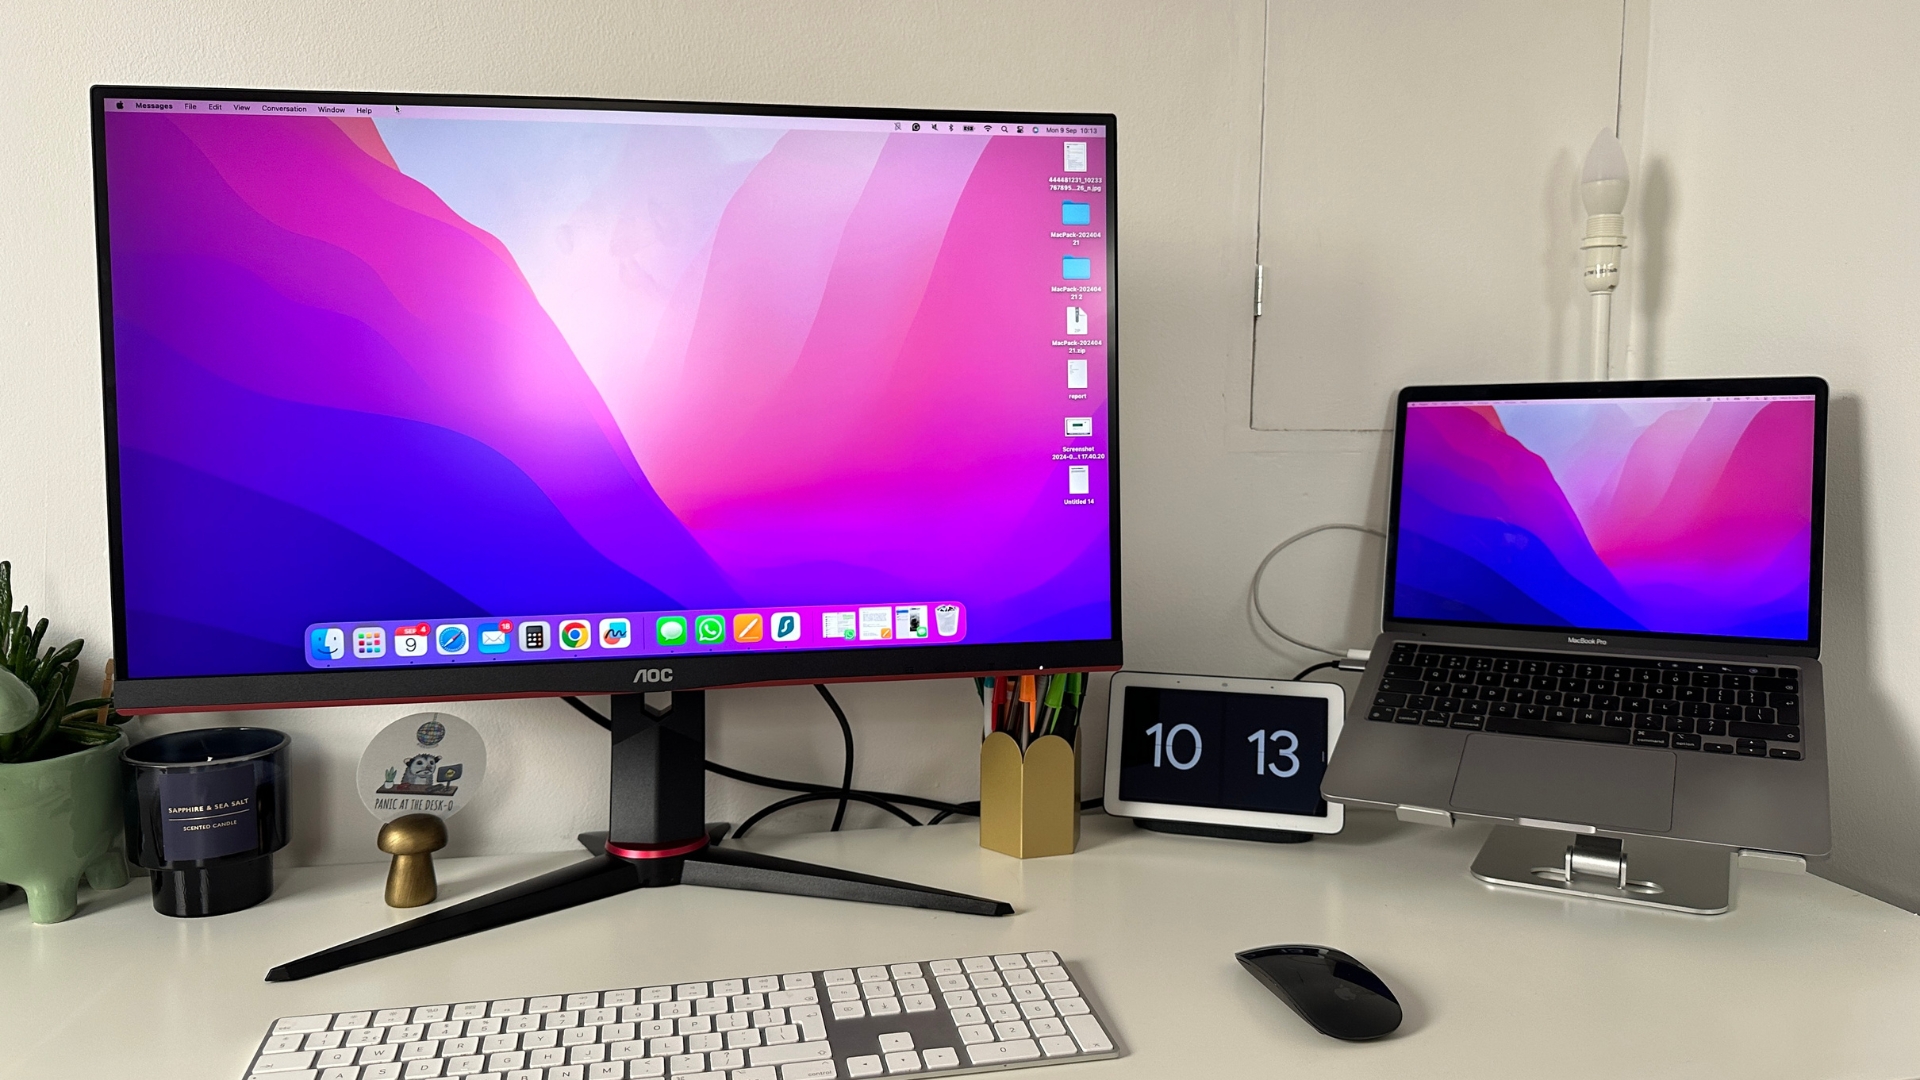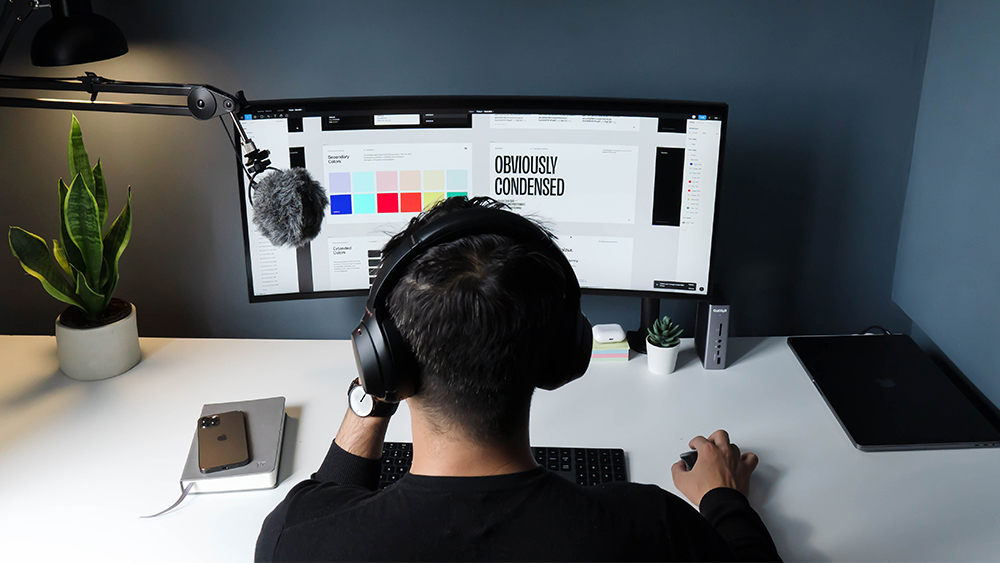
When you buy one of the best 4K monitors or the best drawing tablets, that can include pen displays, you'll want to make sure it is calibrated correctly. This is especially true for those working specifically with colour, including video colour graders, digital artists and graphic designers.
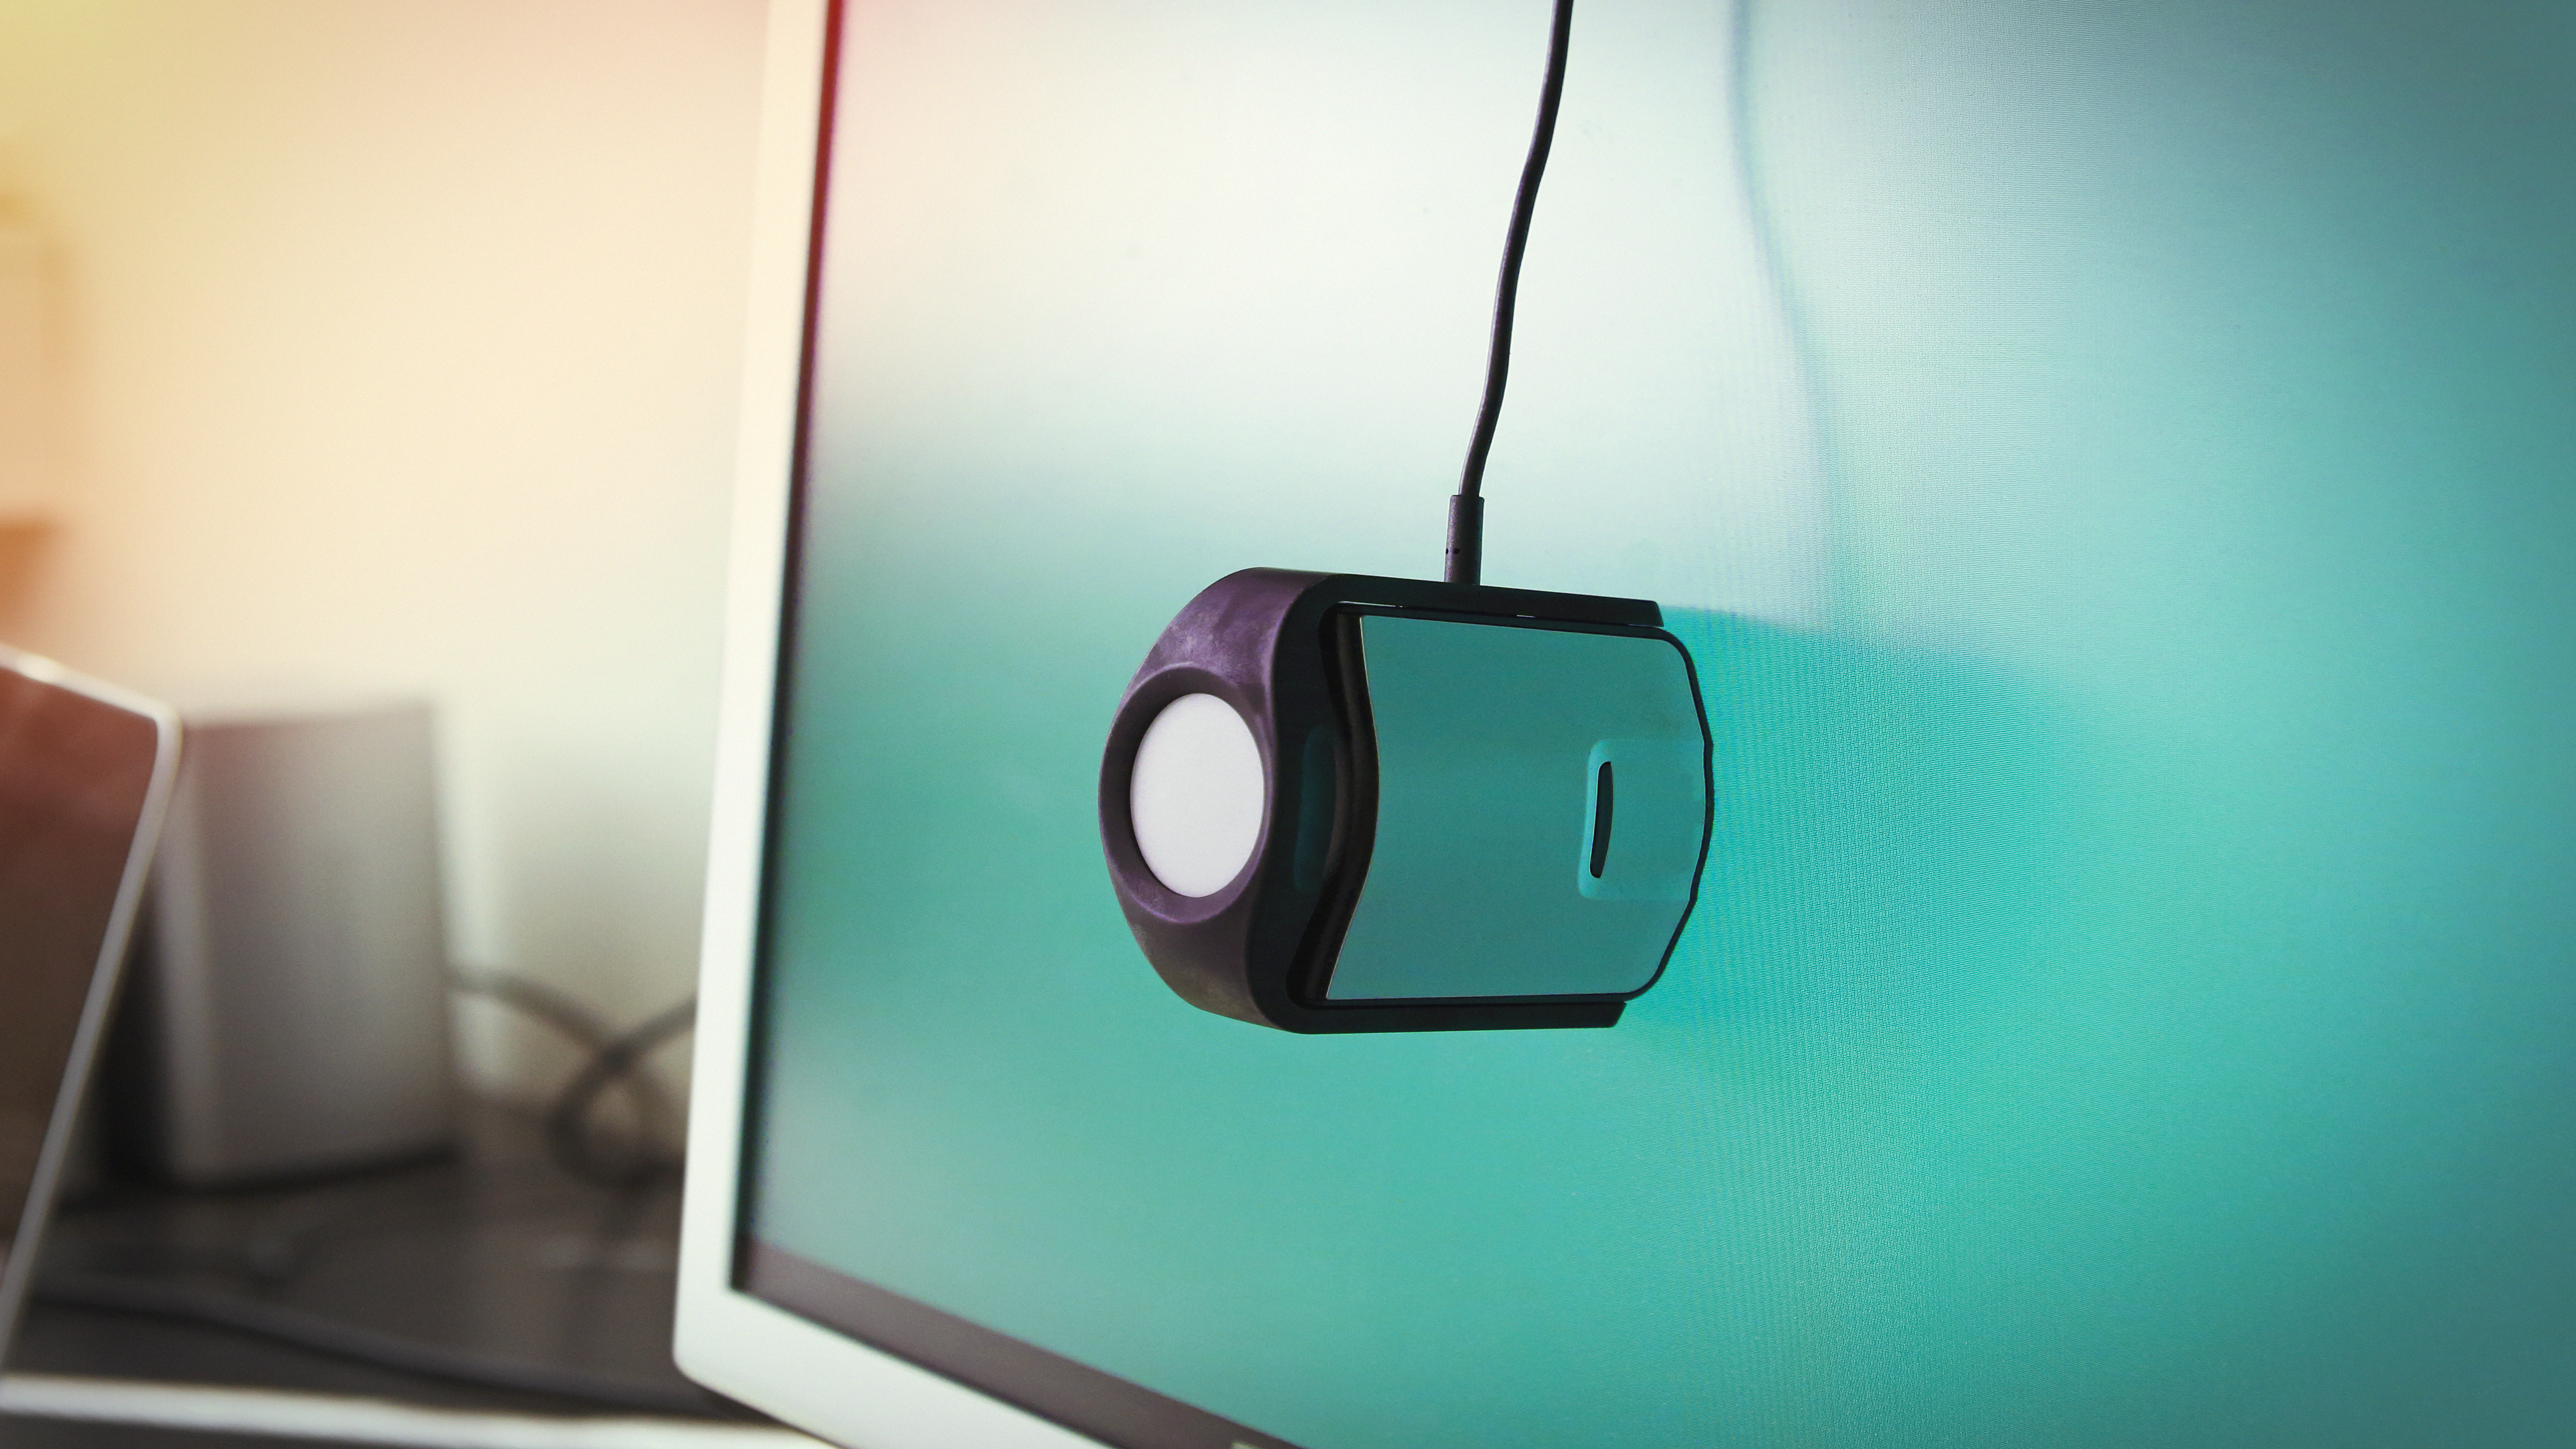
A colorimeter, also known as a probe or puck, is a small device that attaches to your display. It compares a monitor's colours against industry standards before creating a colour profile that can be used to re-calibrate the output. A colorimeter uses red, green, and blue filters to achieve this by mimicking the way that humans perceive light.
Accurate colour calibration has a number of benefits, including ensuring colour consistency across multiple devices. This is especially important when working with photography, graphic design, and video colour grades. It's also good practice to check a newly received monitor or pen display to make sure it matches the advertised specs.
Below I've collated five top tips for creatives who want to get the most out of their colorimeter and ensure accurate colour calibration. Need a device? Read our guide to the best monitor calibrator tools.

01. Buy a decent colorimeter
As with any product, the more money you spend, usually the better product you receive. That is especially true with colorimeters. Because their primary purpose is to accurately test your monitor's colours, you want to make sure you buy a device that can do that well. Otherwise, you'll inadvertently be incorrectly appraising your monitor, which completely defeats the object.
The first thing you'll want to check is whether the colorimeter is designed to be used on your device. Most of them will cover a range of monitors and displays but it's worth checking first.
Secondly, buy a colorimeter that has a solid measurement range without sacrificing low-light accuracy. I would get a device that can handle a little bit more than you currently need. That should help increase its longevity.
Finally, try and purchase a device that is robust and well-built. There's no use buying something that will fall apart or have its seals fail after a few months.

02. Try to get a colorimeter with software included
To make use of a colorimeter, you'll also need a compatible piece of software. They fulfil a range of different purposes, with one of the foremost being to analyse the colour properties of a display. The software achieves this by analysing the input data and using algorithms to determine its accuracy. It can also provide information including spectral data, light transmission, and light absorption using graphs.
Colour software is also required to build custom colour profiles and calibration LUTs for a display. It can do this by taking the measurement data from the colorimeter and then building profiles and LUTs that respond accordingly.

03. Colour calibrate your monitor in a dimly lit room
Before running colour calibration, you'll want to turn off most light sources in the room. This includes desk and overhead lighting. The problem with running calibration with too much lighting is that they can skew the readings and therefore affect the resulting calibrated brightness levels.
It probably goes without saying but it also makes sense to perform colour-critical work in a dimly and evenly lit room. You definitely don't want any light sources hitting or reflecting in your display because it'll seriously affect your perception of the colour.

05. Use a suitable picture mode
Monitors and displays ship with a variety of different picture modes. These are designed to provide users with different levels of brightness, contrast, and colour temperatures. These have a significant effect upon a colorimeter's results.
The default mode of most monitors provides high levels of brightness and contrast with overly vivid colours. This is great for making images look fantastic on the screen but not so good for ensuring accurate colour calibration. Cycle through the modes and choose one that most accurately represents colours. This is likely to be called something like movie or cinema mode.

04. Overcome inconsistent readings with averaging
Colour calibration works best when colour readings are consistent. If they're not, then it can be difficult to tell which are the most reliable. One of the best solutions to this happening is to use an average of the readings. It doesn't guarantee accuracy but it certainly increases your chances of working with a nicely calibrated display.
If you are experiencing inconsistent readings, then one of the reasons could be the power management of your monitor. Overcome this by turning any power-saving mode off on your screen. You can also change your colorimeter mode to see if that increases the consistency of readings.


