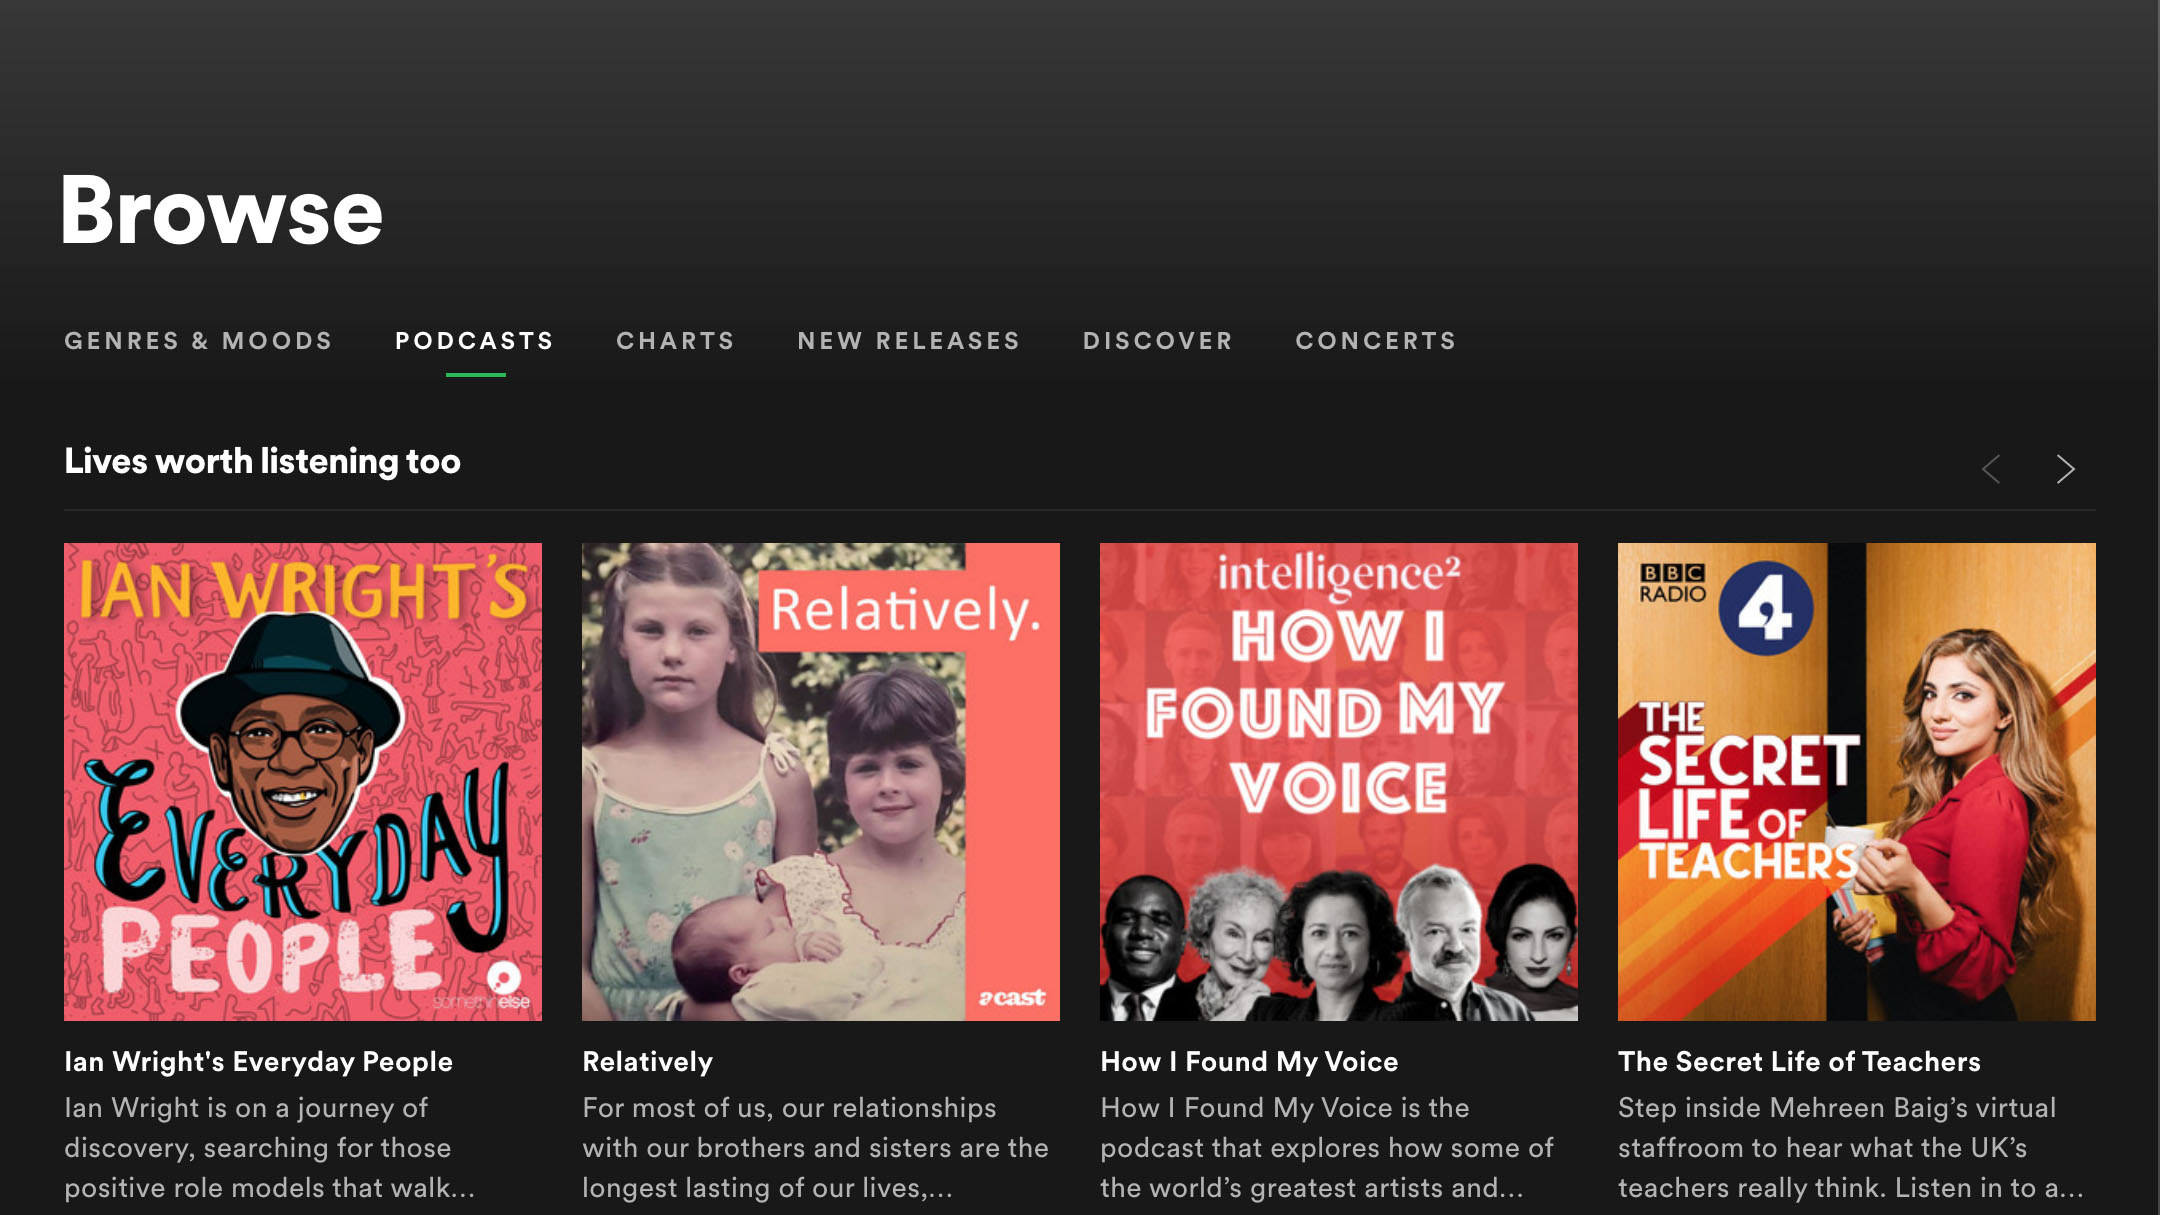
Spotify is becoming increasingly important to podcasters. Since the music streaming bought out free podcast host Anchor and rebranded it as Spotify for Podcasters, it has been clear that the place you stream your favorite songs from is also the place you can find the top podcasts.
One of the strengths of Anchor was that it was easy to upload your podcasts to, whether on a computer or using a mobile device. Spotify for Podcasters retains this ease of use, along with the free hosting and analytics tools.
Better still, you can use Spotify to upload your podcast whether you are launching a brand new podcast or you simply want to move your current show to a new host. This guide covers everything you need to know about uploading a podcast to Spotify.
Step 1: Prepare your podcast
If you want to get your podcast in front of a wider audience, Spotify is the ideal choice. You can use it to host your show, or you can host it elsewhere and simply have a page for your show on Spotify. Whichever option you choose, it’s always a good idea to make sure your podcast is in good shape and you know who your audience is.
We’ll assume you already know how to start a podcast and you’ve already got one recorded. What you need to do next is upload it. But before you do that, it’s important to ensure it sounds good. This is especially true when you’re just starting out when your audio editor’s export functions might not be completely familiar.
Give it another listen, then find one of the top-rated podcasts and listen to that. Does the audio quality seem close? If not, have a look at your export settings again and see if you can improve the quality. It might be an issue with your microphone, which may leave you wondering whether to re-record the show. If you’re the only host, this may be a good idea, but if you have multiple voices and yours is the only one that sounds like you’re on a landline from Antarctica, just make sure you sort that audio problem before the next podcast.
Once you’re happy with the audio quality, give the audience a bit of thought. You’re going to need to know how to direct the podcast at, so defining your podcast’s niche and creating an audience avatar is a good idea. Who is the listener? What do they like? What interests them in your topic enough to listen to your podcast? This is all the information that you will need when you upload the podcast to Spotify and create your show page, so it’s worth spending 10 minutes to jot it all down.
One last thing to note. The podcast you upload to Spotify music must be your own, or you must have the necessary permissions and licensing to use it. Furthermore, the content must be suitable for Spotify, and meet its terms of use.
Step 2: Create a Spotify for Podcasters account
To upload a podcast to Spotify, you first need an account that can accommodate this. Normal Spotify accounts do not support uploads.
Spotify has three public account types.
- Standard account: for listening to music
- Spotify for Artists: for musicians and singers to upload their music to Spotify
- Spotify for Podcasters: for podcasters to list their show on Spotify. This lets you create a page for your podcast and either host the show or provide the RSS feed from the existing hosting provider.
If you don’t already have a Spotify account, head to www.spotify.com/signup and create one. Once you’ve done that and verified the details, you need a Spotify for Podcasters account. For this, first, go to podcasters.spotify.com and click “Sign up.” Use the credentials you use for your Spotify account to sign in.
You may be asked to confirm your identity again.
With your identity verified, it is a good idea to spend some time configuring your Spotify for Podcasters account. The first thing you need to do is create a page for your podcast, using the “Add a new podcast” option (this can be found in the menu in the top-right corner if you accidentally skipped it when the account was set up).
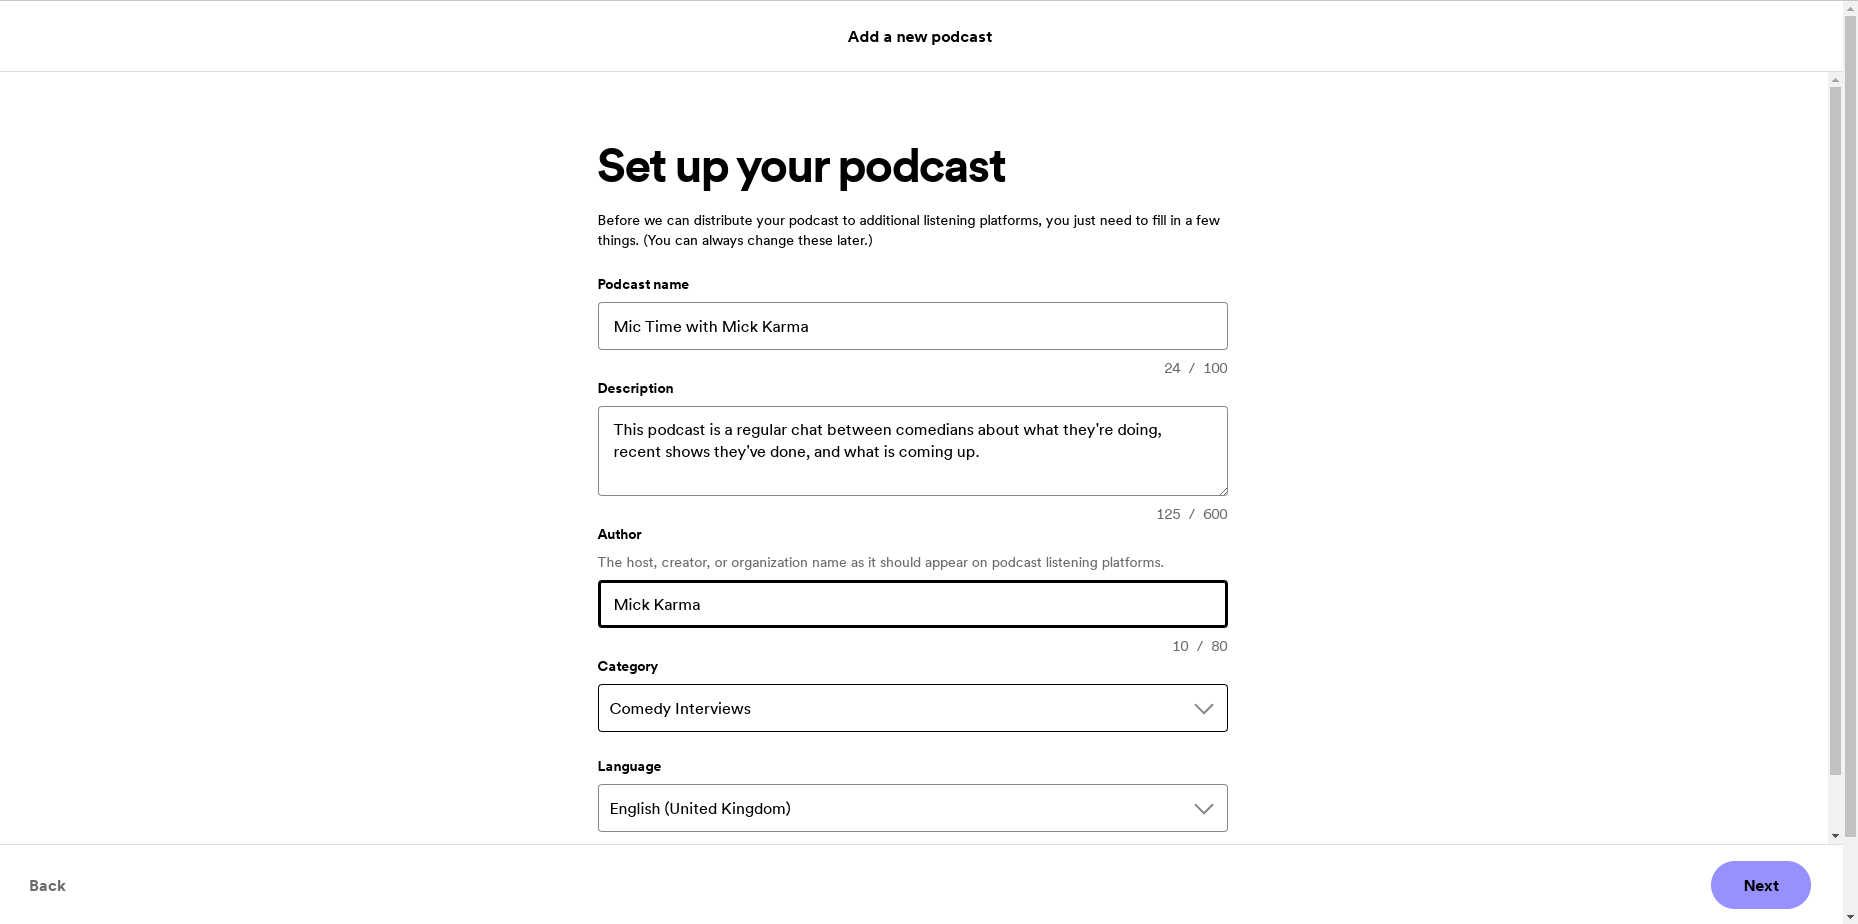
Here, click “I want to start a new podcast,” then in the “Set up your podcast” screen, add the title, description, and other details. Click “Next,” then add a photo for the podcast. This is the default image that will accompany your show when it is distributed, and appear on searches on Spotify. It will also appear on your show page. Note that you can set individual images for each show as you upload them.
Step 3: Upload your podcast to Spotify
If you already have a podcast recorded and it is ready to be shared, you can easily do this through Spotify for Podcasters.
At this point, your Spotify for Podcasters account should be set up and verified, and your show page created. To upload your podcast to Spotify, click “New episode,” then “Select a file” to browse the podcast’s audio file saved on your computer.
Next, once the file uploads, give the episode a name, a description, shownotes, and cover art.
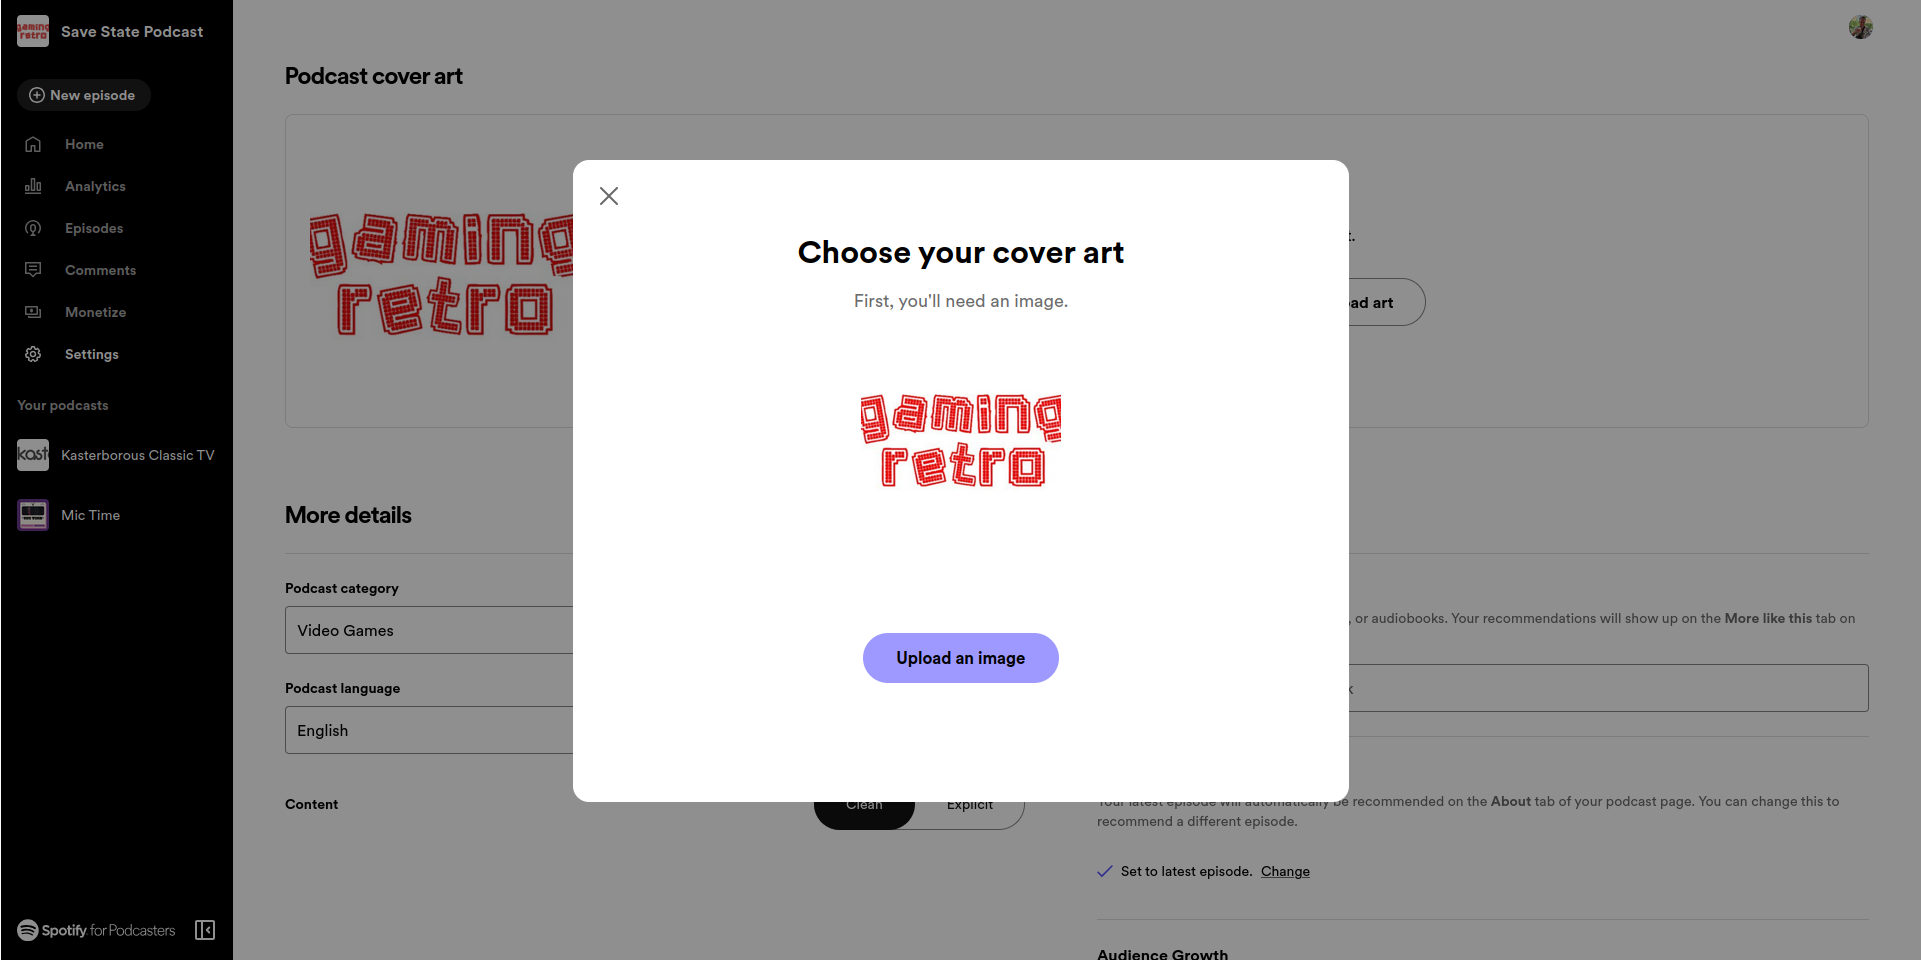
When you’re ready, set a publish date (you can set it to go out now, or use “Schedule”) and click “Next.” Add a poll or skip this, click “Next” again to review the details of the podcast, maybe give it another play to check you didn’t miss anything, then click “Publish.”
Record your podcast on Riverside.fm
As of July 2024, Spotify for Podcasters is integrated with Riverside.fm, one of the best browser-based audio studios for podcasting. This is a browser-based tool, capable of recording from whatever microphone you have connected to your computer. Riverside.fm is compatible with Google Chrome, so make sure you are using this browser.
To create a podcast in Riverside.fm, click the “New episode” button in Spotify for Podcasters. Instead of uploading a file here, click “Go to Riverside,” then “Let’s Go.” Click “Sign Up” to create an account. (We tried using our existing Spotify account, but this didn’t seem to work, so we switched to a standard email and password login, which turned out fine.)
Once you’re logged into Riverside.fm, you can either click “Record” to start recording with your PC mic (this requires checks – there is also the option to use your camera), or simply hit “Upload” to add a file to edit.
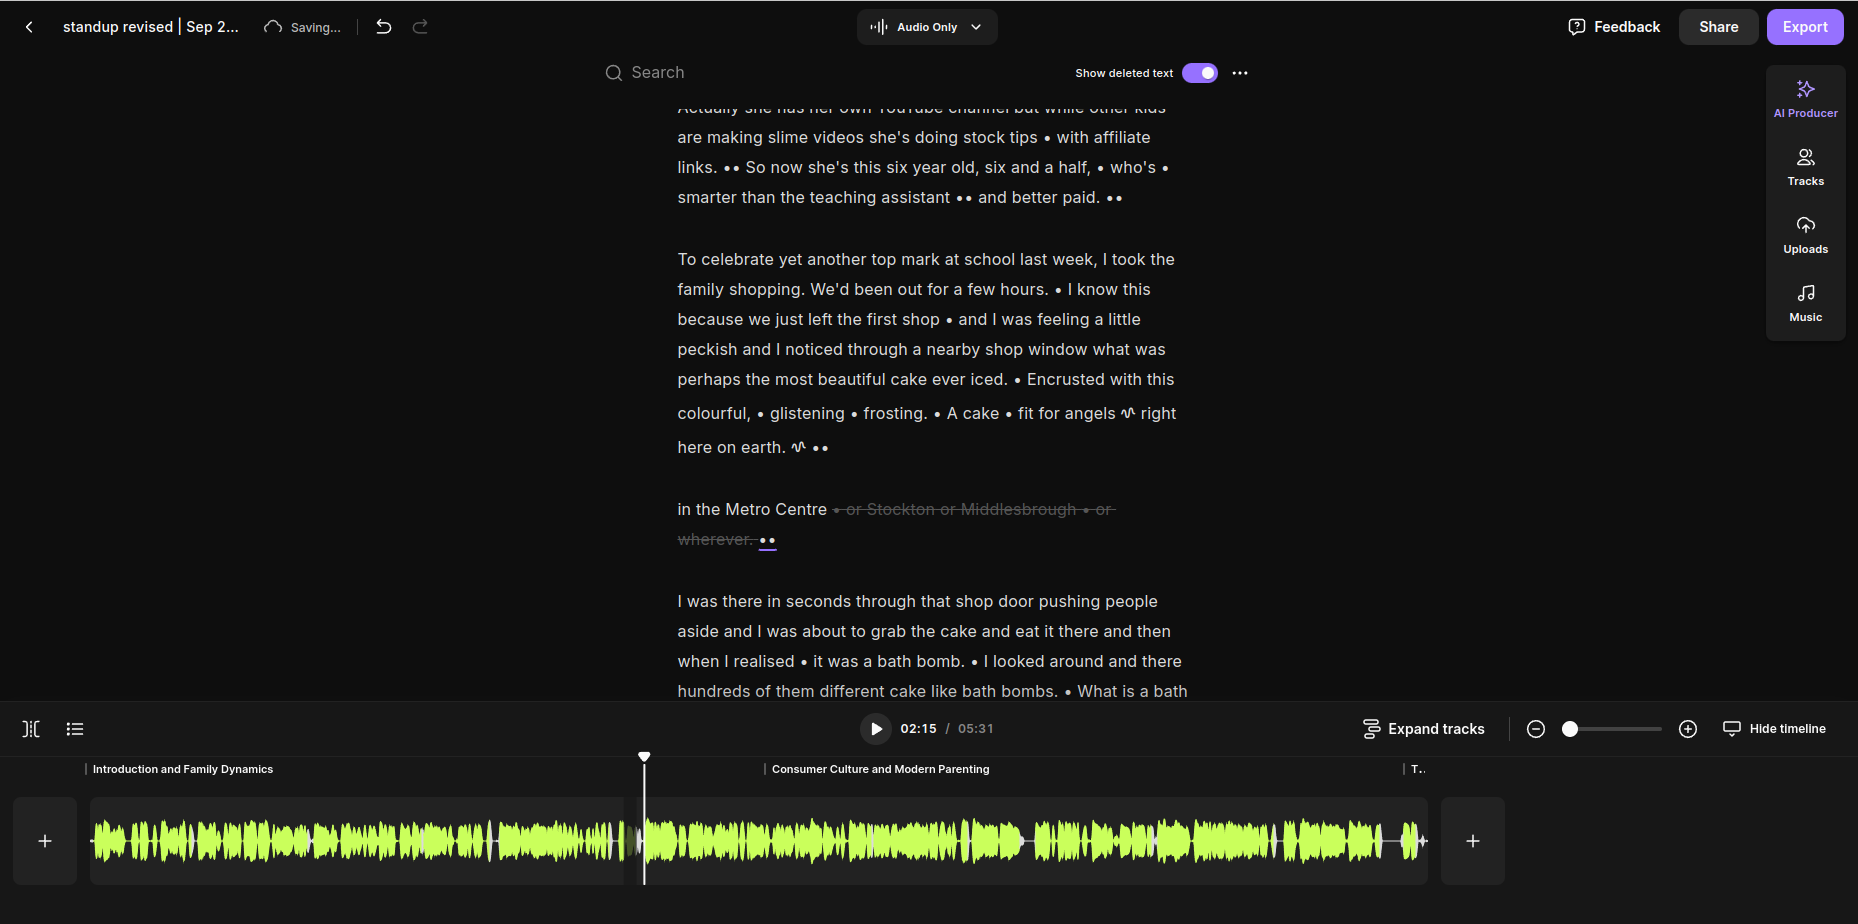
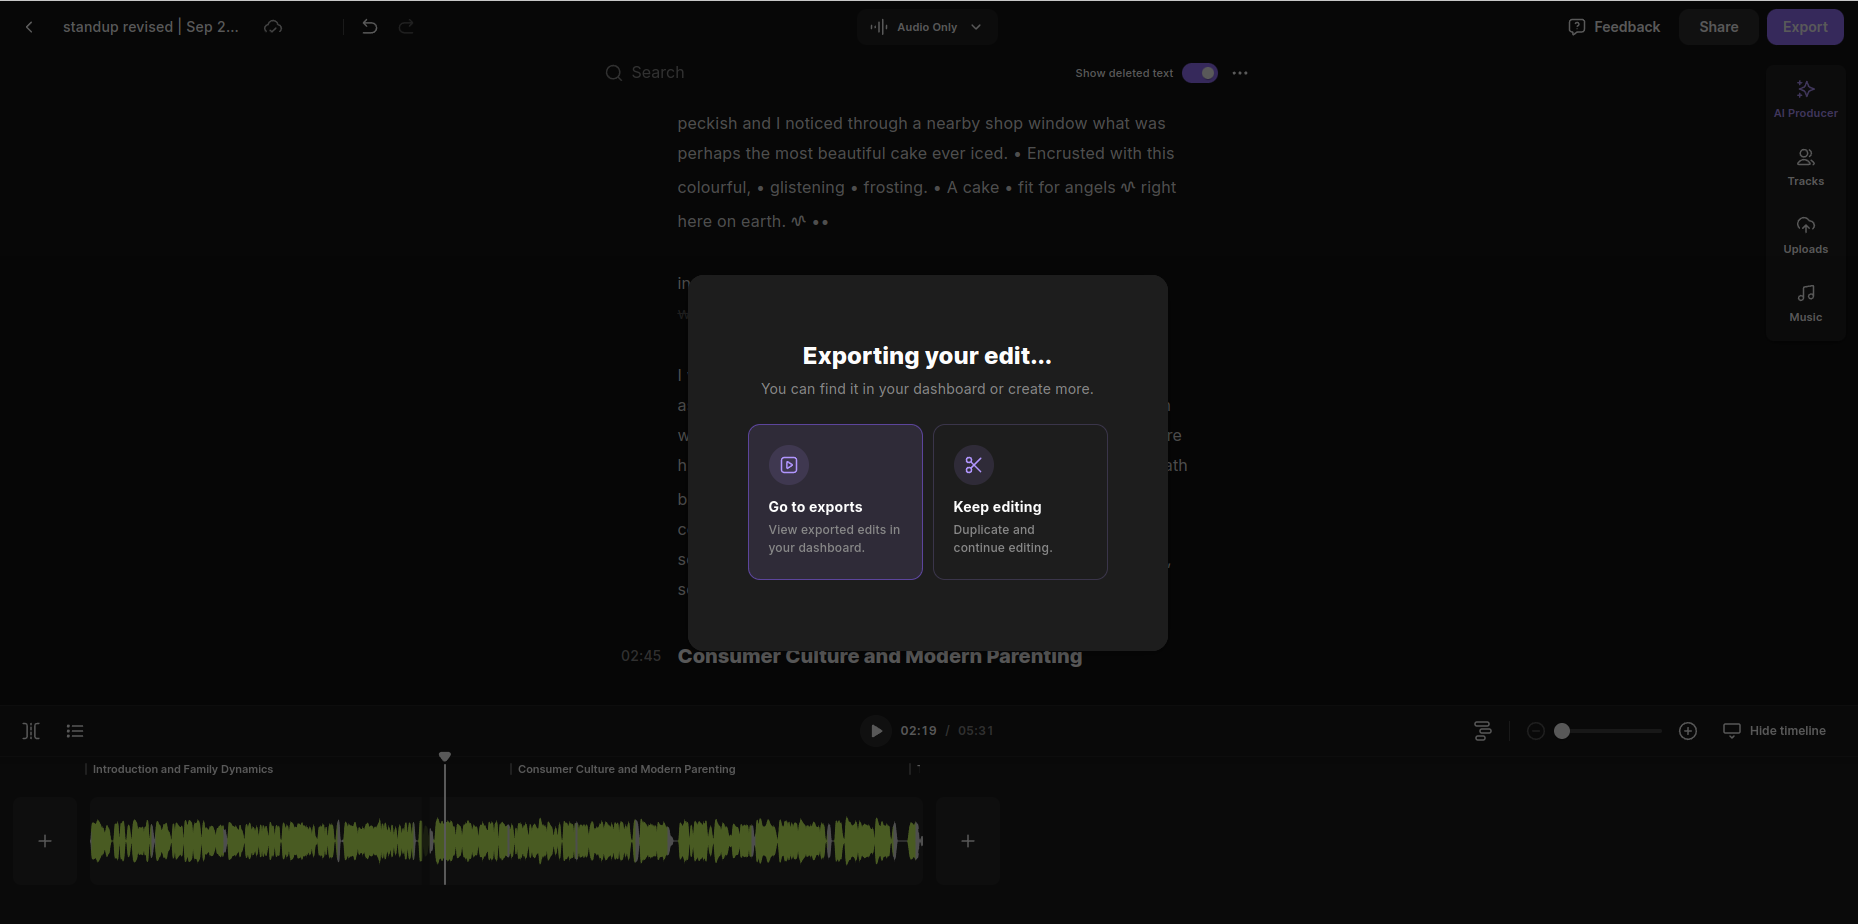
When you’re done with Riverside.fm and are ready to publish to Spotify, hit the “Export” button, taking care to click the switches for improved sound quality and background noise removal if necessary. You’ll get an email notification when the file is ready to export, and among the options, you’ll see the “Spotify” button. Click this to move the podcast into Spotify for Podcasters, then “Confirm” its addition to the selected podcast.
Your podcast has been created and edited in Riverside.fm, and is ready to be uploaded to Spotify!
Spotify for Podcasters and Riverside.fm on mobile
Note that if you use the Spotify for Podcasters mobile app, the audio record feature has been removed. Instead, you’ll need to record the podcast using a sound recording app, or the Riverside.fm mobile app, then upload through Spotify for Podcasters. The app supports uploading MP3, M4A, and WAV formats.
To use this, open Spotify for Podcasters, select your podcast, then press the “+” button. Tap “Select a file” to browse your phone for the audio file to upload, then input the details for the episode, such as the title, description, etc.
When you’re done, tap “Publish” to make the episode live right away, or click “Schedule” to publish later. If you’re not ready to publish the podcast just yet, click “Save” to save it as a draft.
What if you already have hosting for your podcast?
If you’re fortunate enough to already have a podcast host, paid or otherwise, then you can continue to use that instead.
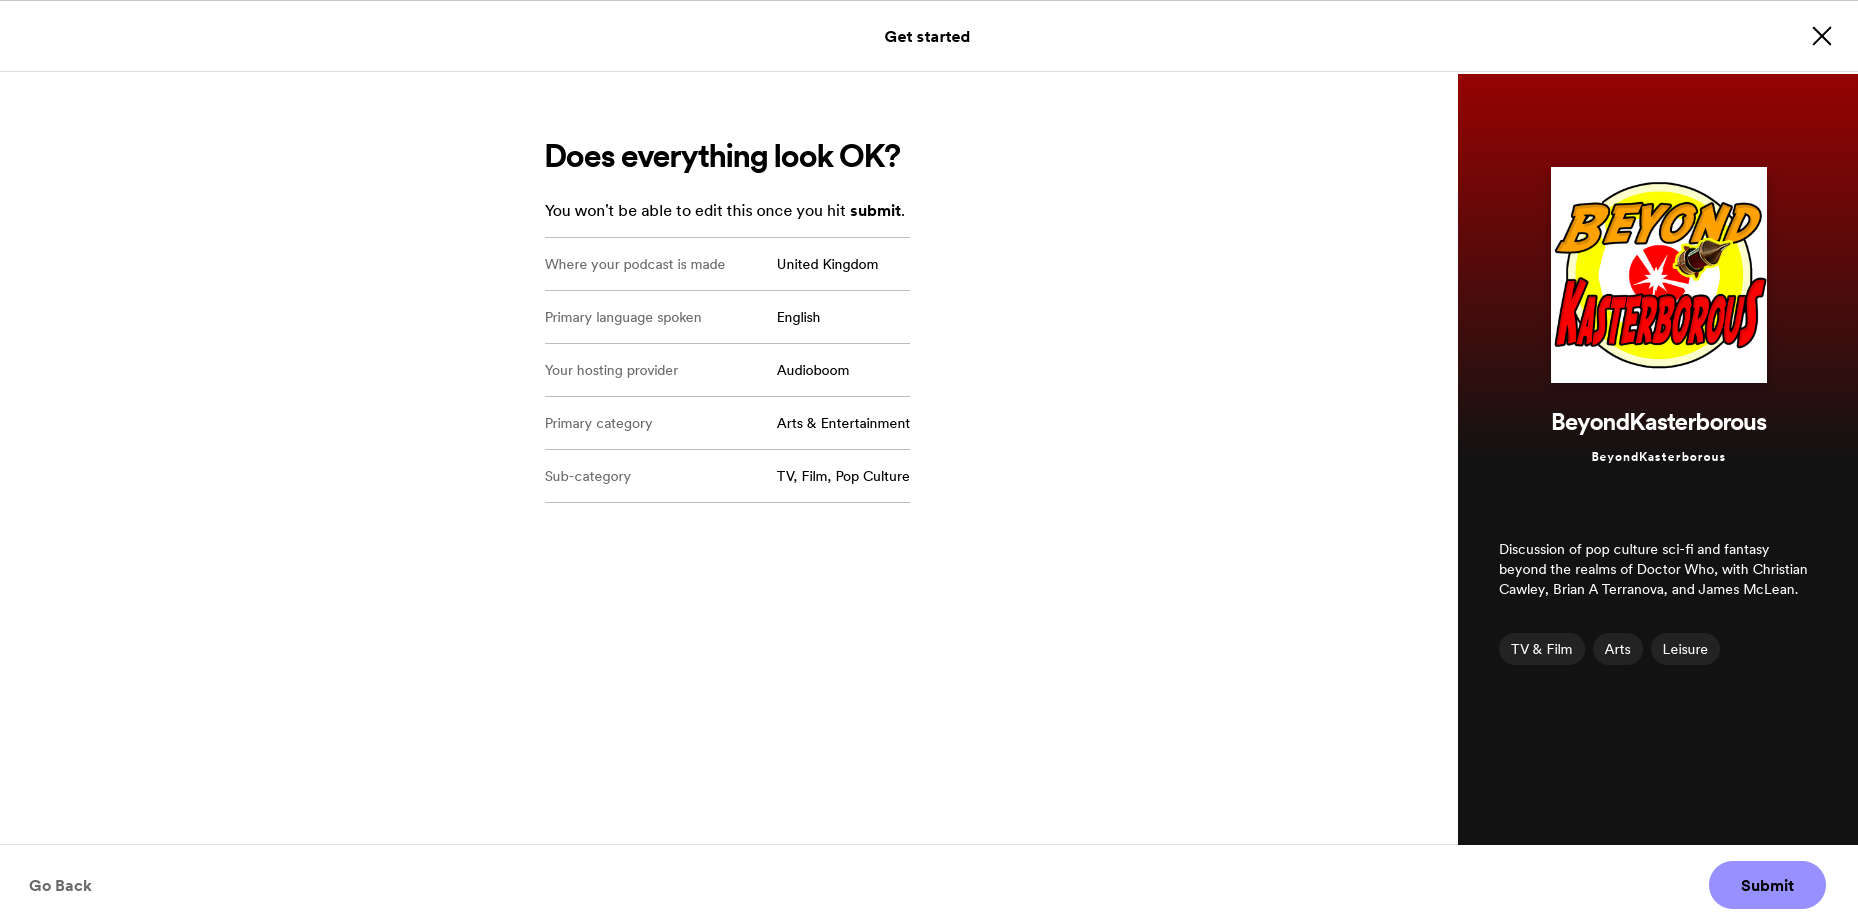
When creating a new show in Spotify, instead of clicking “I want to start a new podcast,” choose “I already have a podcast.” Using this option, you can submit your existing podcast’s RSS feed to Spotify, although it must be correctly configured, with an associated email address listed in the RSS feed.
This is because you need to verify ownership of the podcast, which happens when you click “Next.” This prompts Spotify to send an 8-digit pin for you to enter. After this, simply set the corresponding language and category details, up to 3 sub-categories, click “Next” again to confirm what you’ve entered, and when you’re happy, click “Submit.”
Your existing podcast is now available through Spotify. You can continue to upload episodes to your current hosting provider, or simply switch to using Spotify’s hosting service. Your listeners will not notice any change.
Next steps to successful podcasting on Spotify
You’ve uploaded your podcast to Spotify, and your first episode is live. But what next? How do you find listeners?
Embracing social networks is a smart option, and Spotify can help here, as can your virtual recording studio in Riverside.fm.
Promote your podcast on Spotify
When it comes to show promotion, each episode’s description is vital. These shownotes can be used to explain the episode’s contents, link to any relevant material, and can even include a transcription of the episode. Using the description in this way can help your show be found by search engines, which will naturally play a part in promotion. Various tools are available that can create a transcription of your podcast. If you used Riverside.fm to record your Spotify podcast, the transcription it generates can be downloaded and used in your shownotes.
With your podcast now on Spotify, you will need to promote it. Simply waiting for people to stumble upon it and click play is not enough. “Build and they will come” is good advice, but “they” need to know where to find it.
Spotify for Podcasters has some built in tools to help you promote your podcast
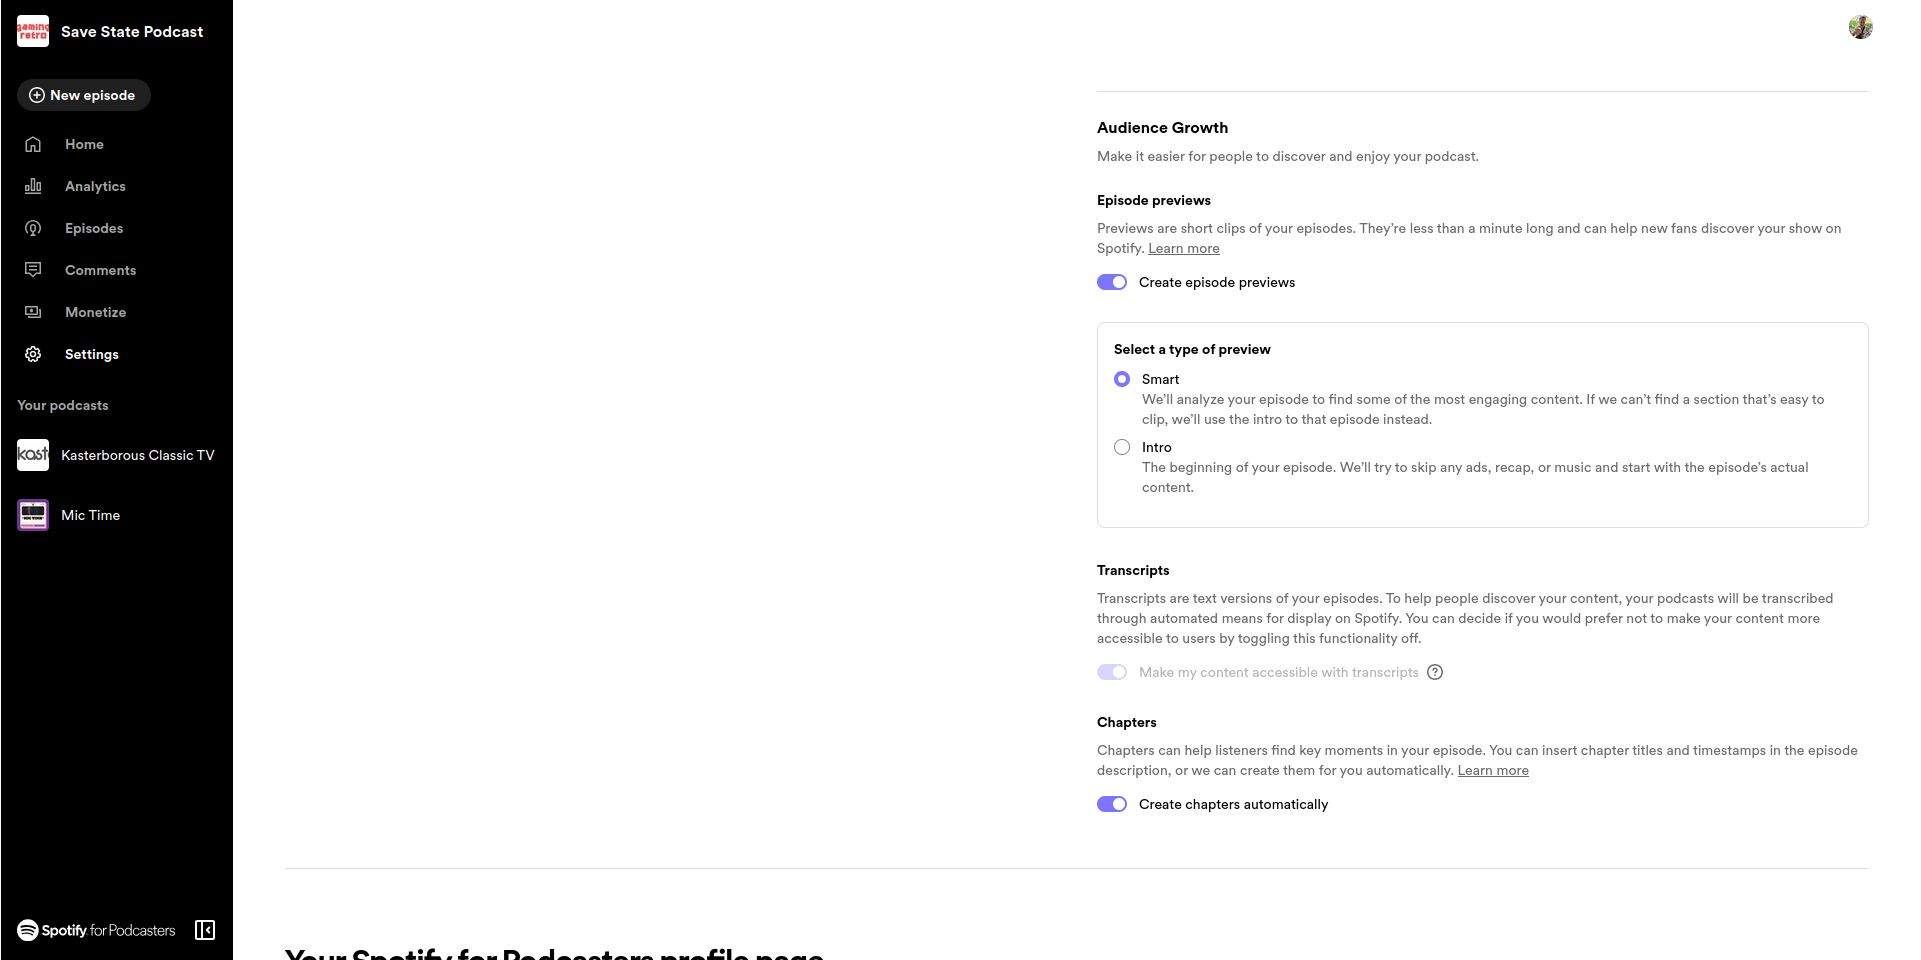
First of all, check your show’s “Settings” page. Scroll down, and you will find the option to “Select a trailer,” which can be from any episode. For the purposes of not taking up too much time for potential listeners, it’s worth spending some time creating a dedicated trailer.
You should also enable “Episode previews,” to give potential listeners a quick flavor of what to expect. The “Smart” option is best here, which Spotify selects for you.
At the bottom of the page, you’ll find options for social networks, so fill these in with the appropriate links. Then, when you share your podcast from within the Spotify for Podcasters interface, it will create a post you can easily share.
Meanwhile, in the “Availability” tab, you have the opportunity to add the addresses of your show’s profile on Amazon Music, Apple Podcasts, and various other services. Use the corresponding connection tool to ensure this is set up correctly. You’ll need to set up an account on these services if you haven’t already.
To get an idea of how well your podcast is going, use Spotify for Podcaster’s Analytics tool. This will show you some basic stats and demographics to help you identify the type of listener you’re getting.
Successful podcasting with Spotify
The best way to promote your podcast is simply to keep podcasting. Keep it consistent, keep the quality up, and engage with your audience. Speak directly, invite feedback, and interact with them on social media.
Adapt to trends where appropriate (don’t force it) and keep an eye on how search engines operate. When they change their algorithms, make sure your podcast promotion strategy is good enough, or work out how to change it.
A successful podcast can potentially be monetized. Spotify offers monetization tools, starting off with subscriptions for smaller shows, but you can only unlock these if you upload your podcast to Spotify. Simply listing your show on the platform does not unlock monetization tools.
In a smartphone, tablet, or computer you have the hardware you need to start podcasting. With Spotify, you have the platform, hosting is free, and the Riverside.fm online editing tool can also be used without charge.
You have the tools at your fingertips to create and launch a podcast on Spotify.


