Reverb can be a top effect for creating cohesion and helping your mix to gel, but we can also use it for task-specific techniques.
In previous mixing masterclasses we’ve looked at how sharing a small number of different size reverbs can be a reliable starting point to help make your mix cohesive. However, as your mix progresses you’ll often find that specific sounds need their own reverb treatment, and you’ll be looking to expand this core technique with some more tailored spaces.
These reverbs might be featured or they might be more subtle, and as discussed previously, you have an abundance of reverb flavours at your disposal to achieve the desired sounds. Once you’ve found the effect you’re after, you can then choose whether to use it as an auxiliary, which is an easy way to add it to your existing mix balance, or whether you want to incorporate it as an insert as part of a track’s mix chain.
In this mixing masterclass, we’re focusing on a few precision reverb techniques and what they can be used for. Some are pretty obvious, and others a little more leftfield, and they’re only a few examples of many. That said, it should provide some insights and hopefully inspire you to use reverb in a creative and targeted way.
Reverbs that work for your sound
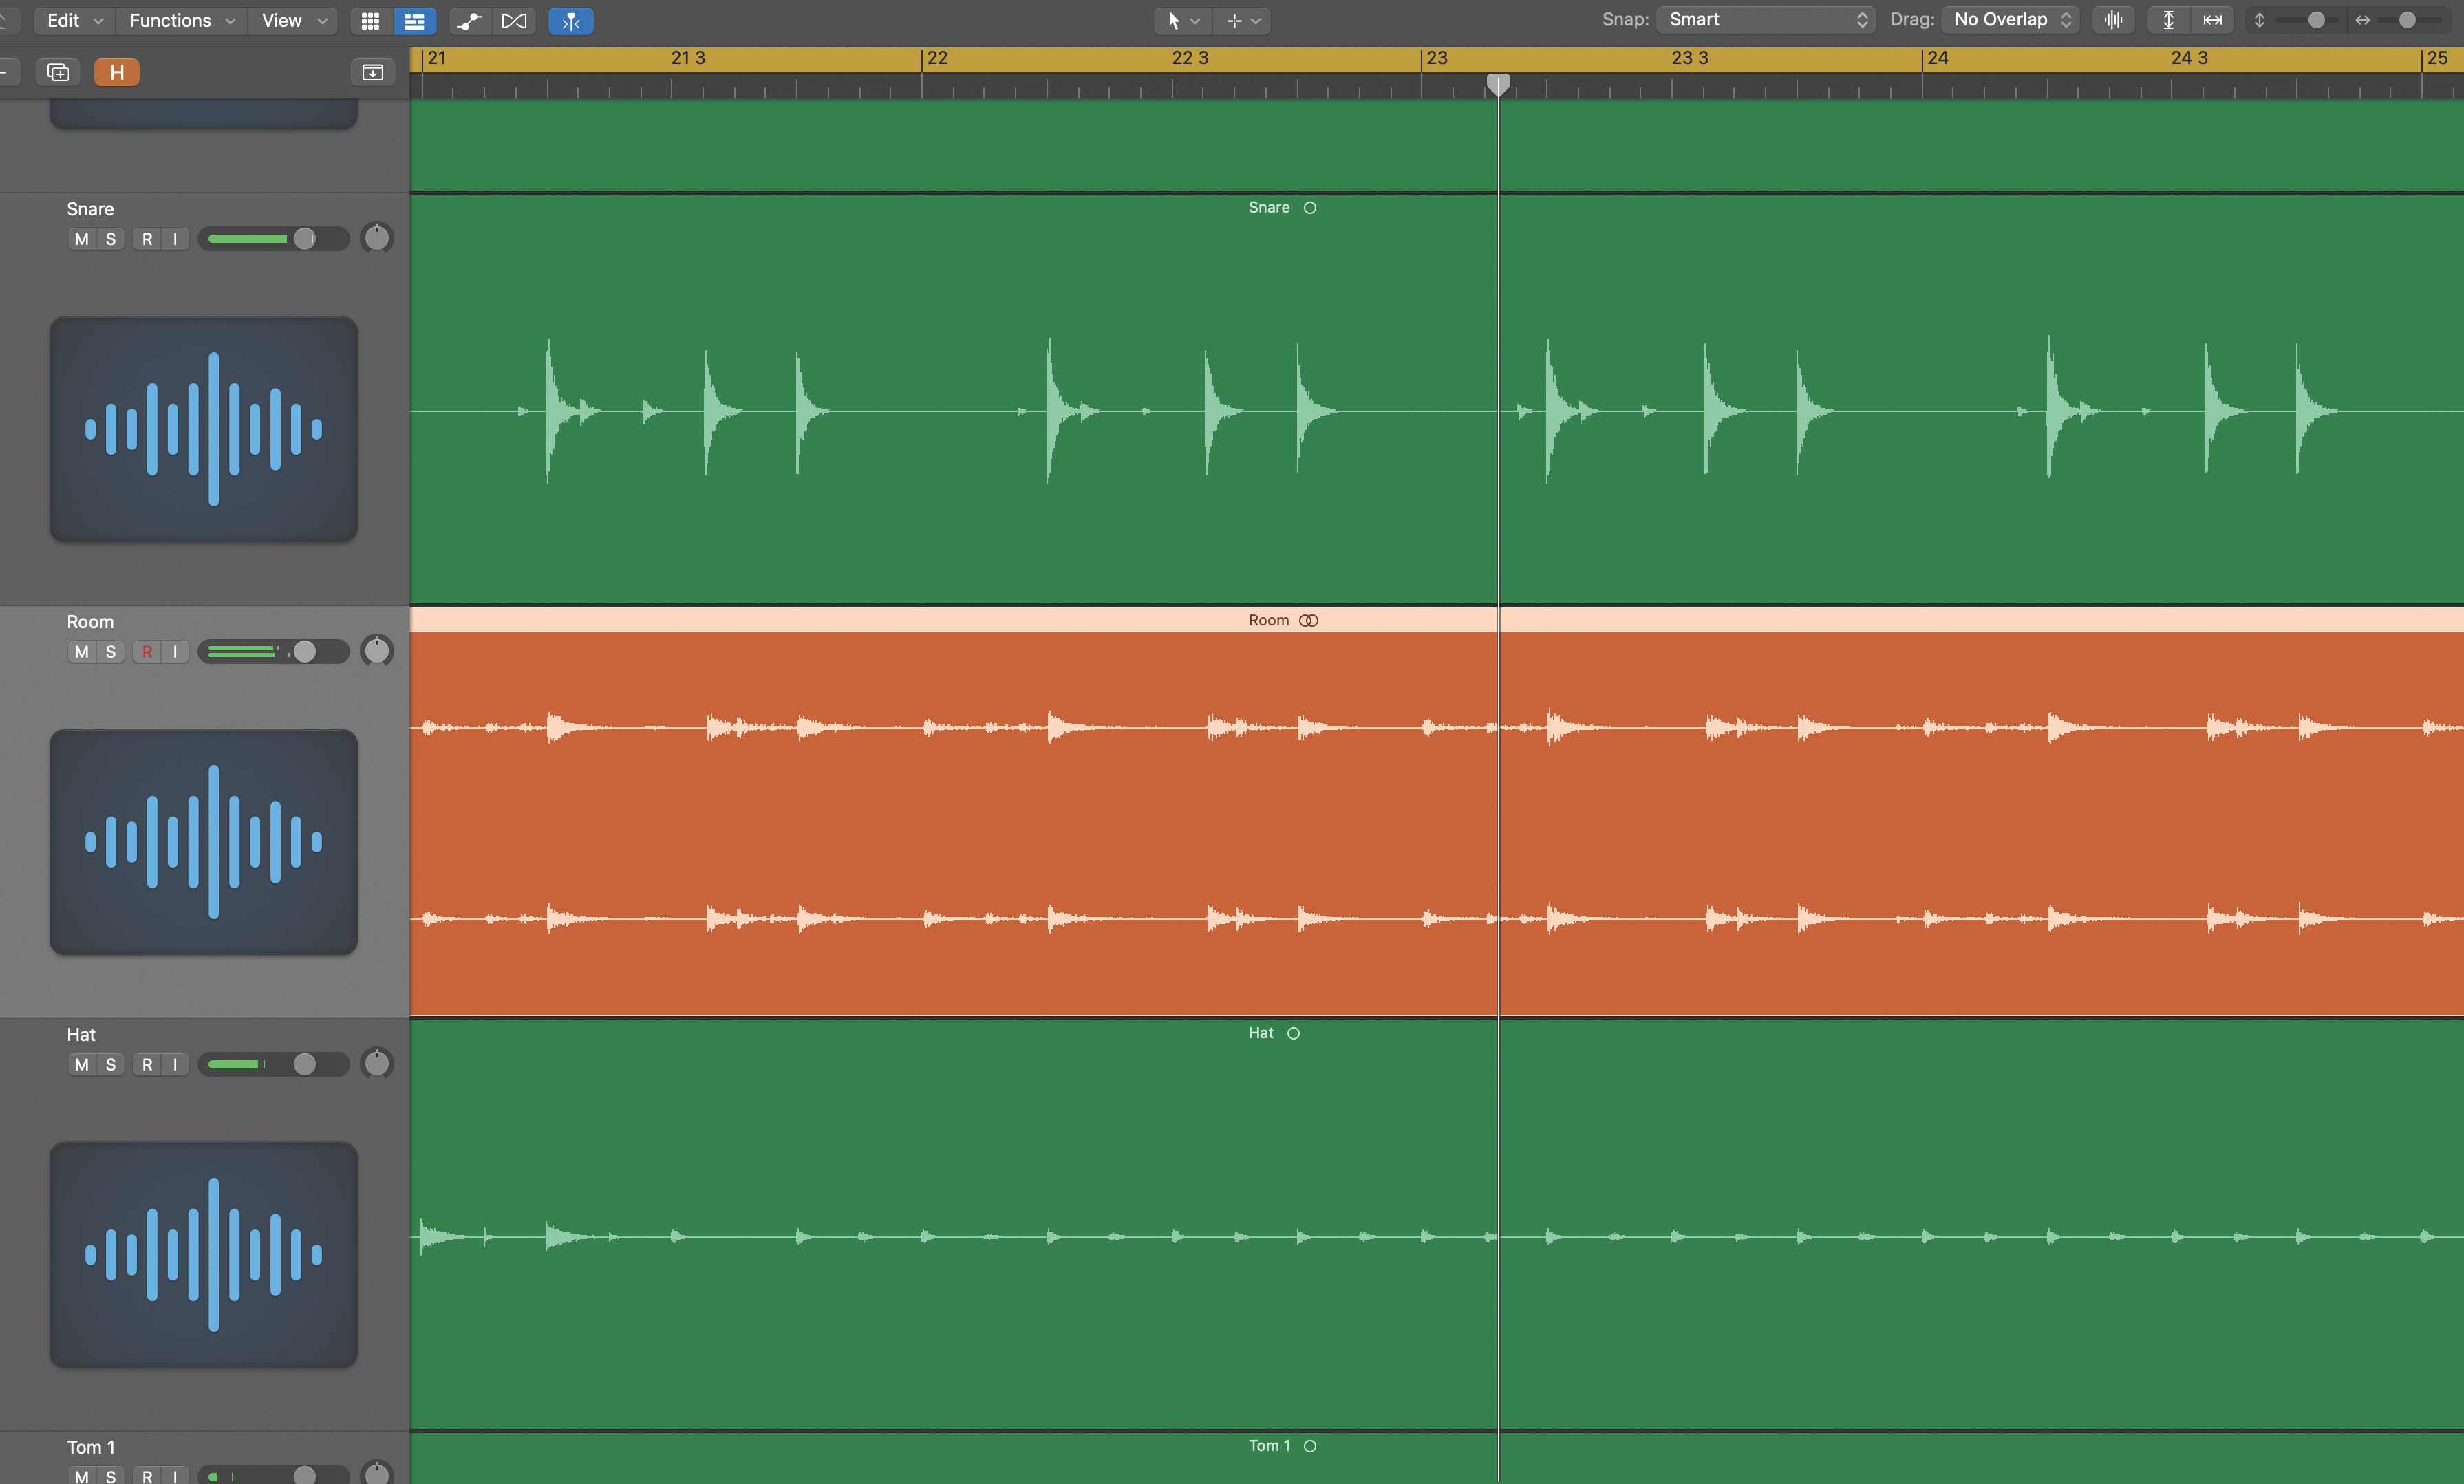
Getting the right backbeat sound can make or break a track, and a tailor-made reverb can work wonders. This allows us to get the decay time bang on and choose a reverb with the required tone. Let’s consider a couple of examples. First up, a regular drum kit. Here, the recorded room sound may be too distant.
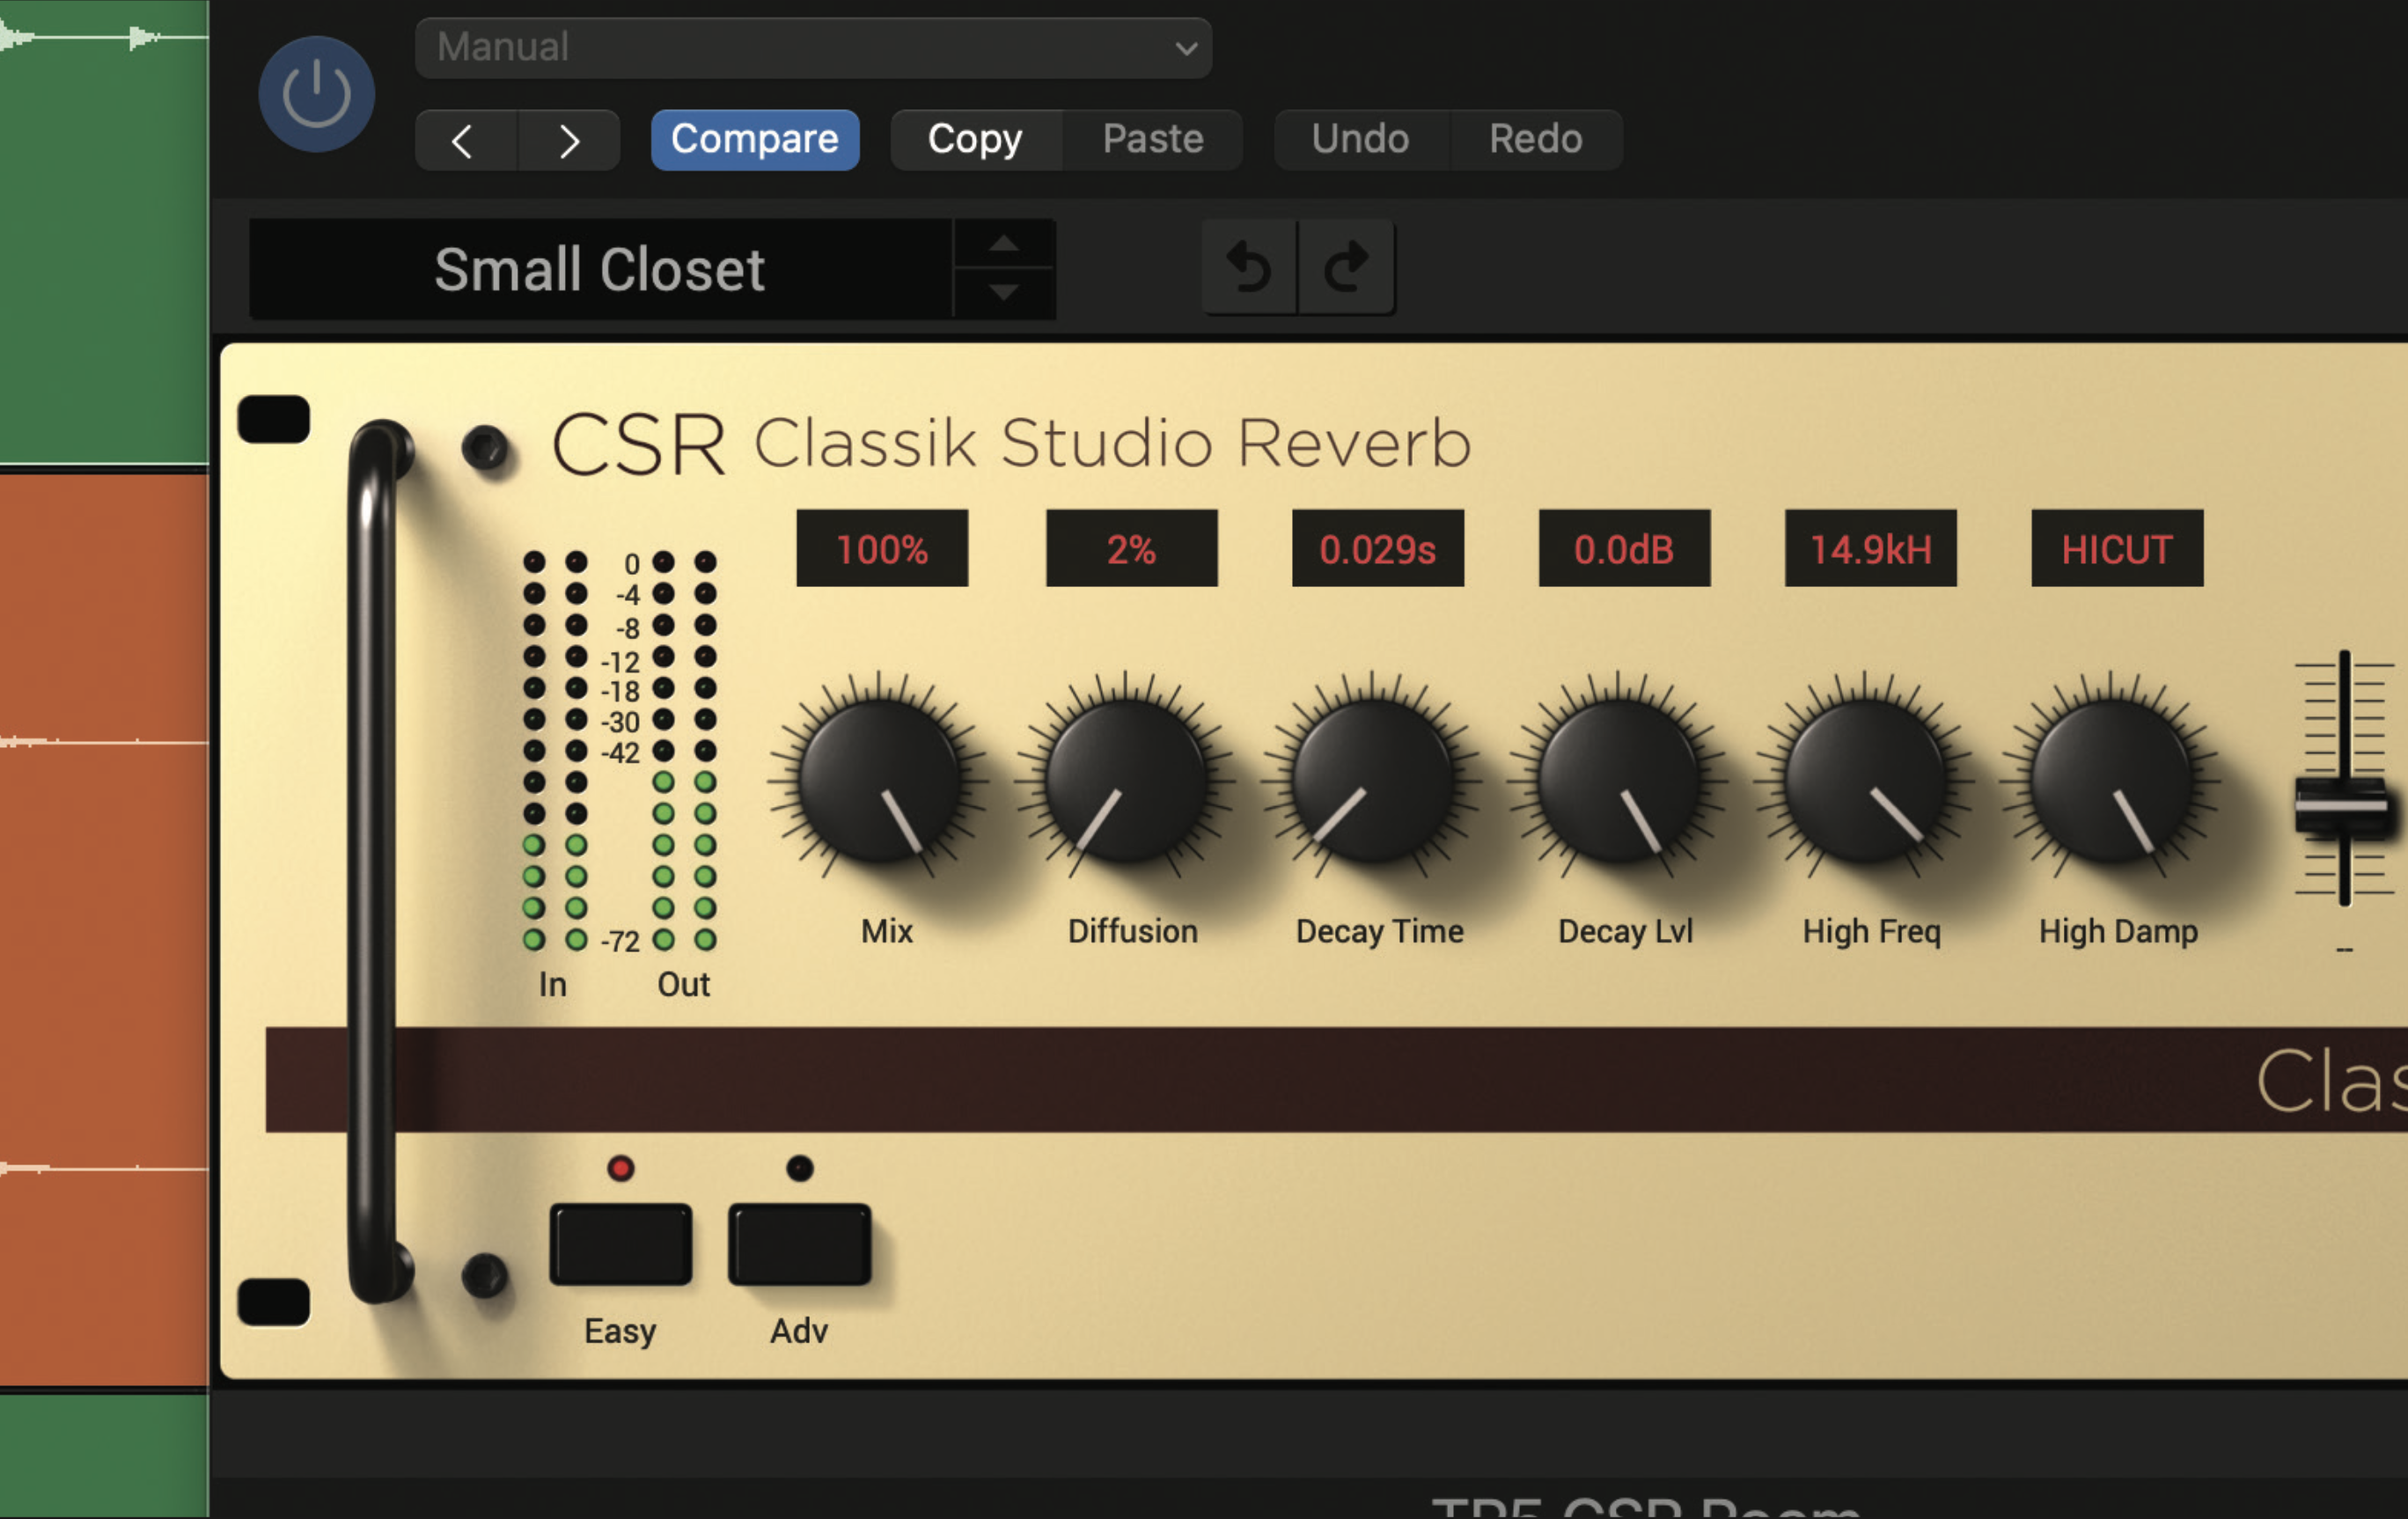
On this occasion, something small is what we’re after, as it puts space around the snare without it becoming washy. We’ve loaded a tiny space. The decay is short (about 30ms) and the overall tone is bright. The effect also has minimal predelay and a slightly modulated effect. For convenience, we’ve used an auxiliary not an insert.
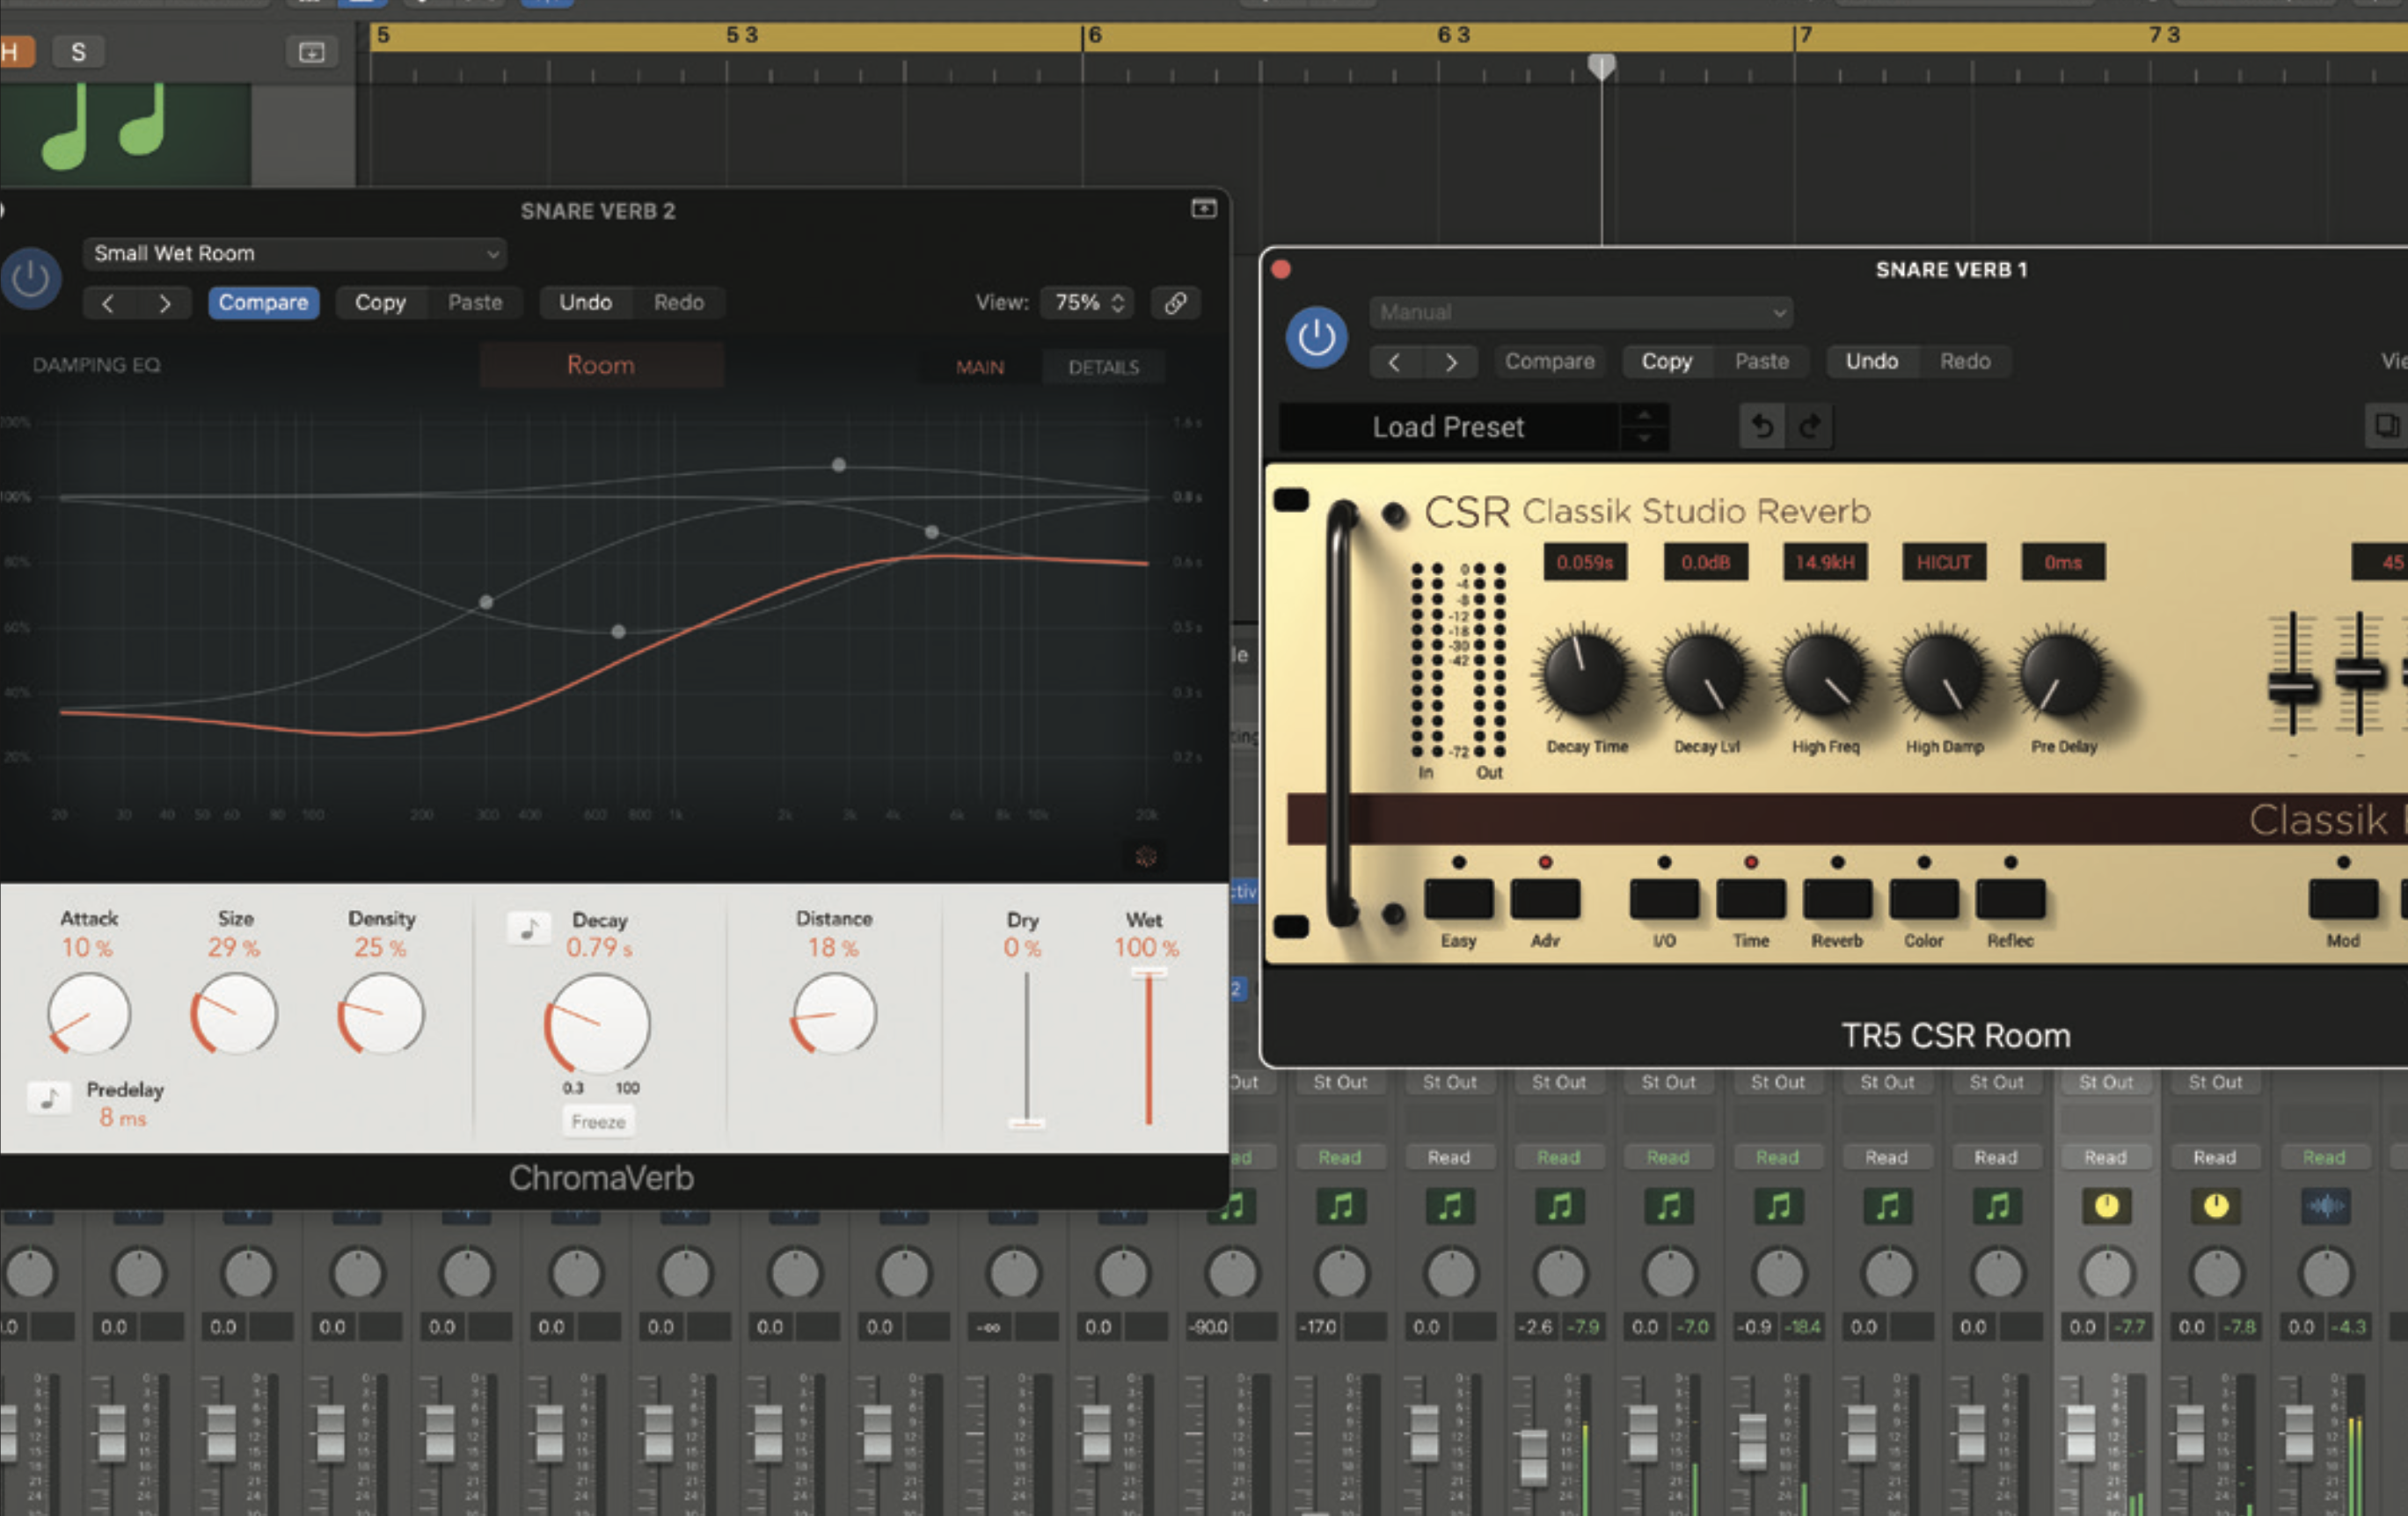
For machine beats, we’re not working with an existing room ambience so can be a bit more creative. Try two separate reverbs. One short, a bit like the previous step, and something bigger. Here we’re using a medium room. Use auxiliaries for the reverbs, and be prepared to tweak these important send levels throughout the mix.
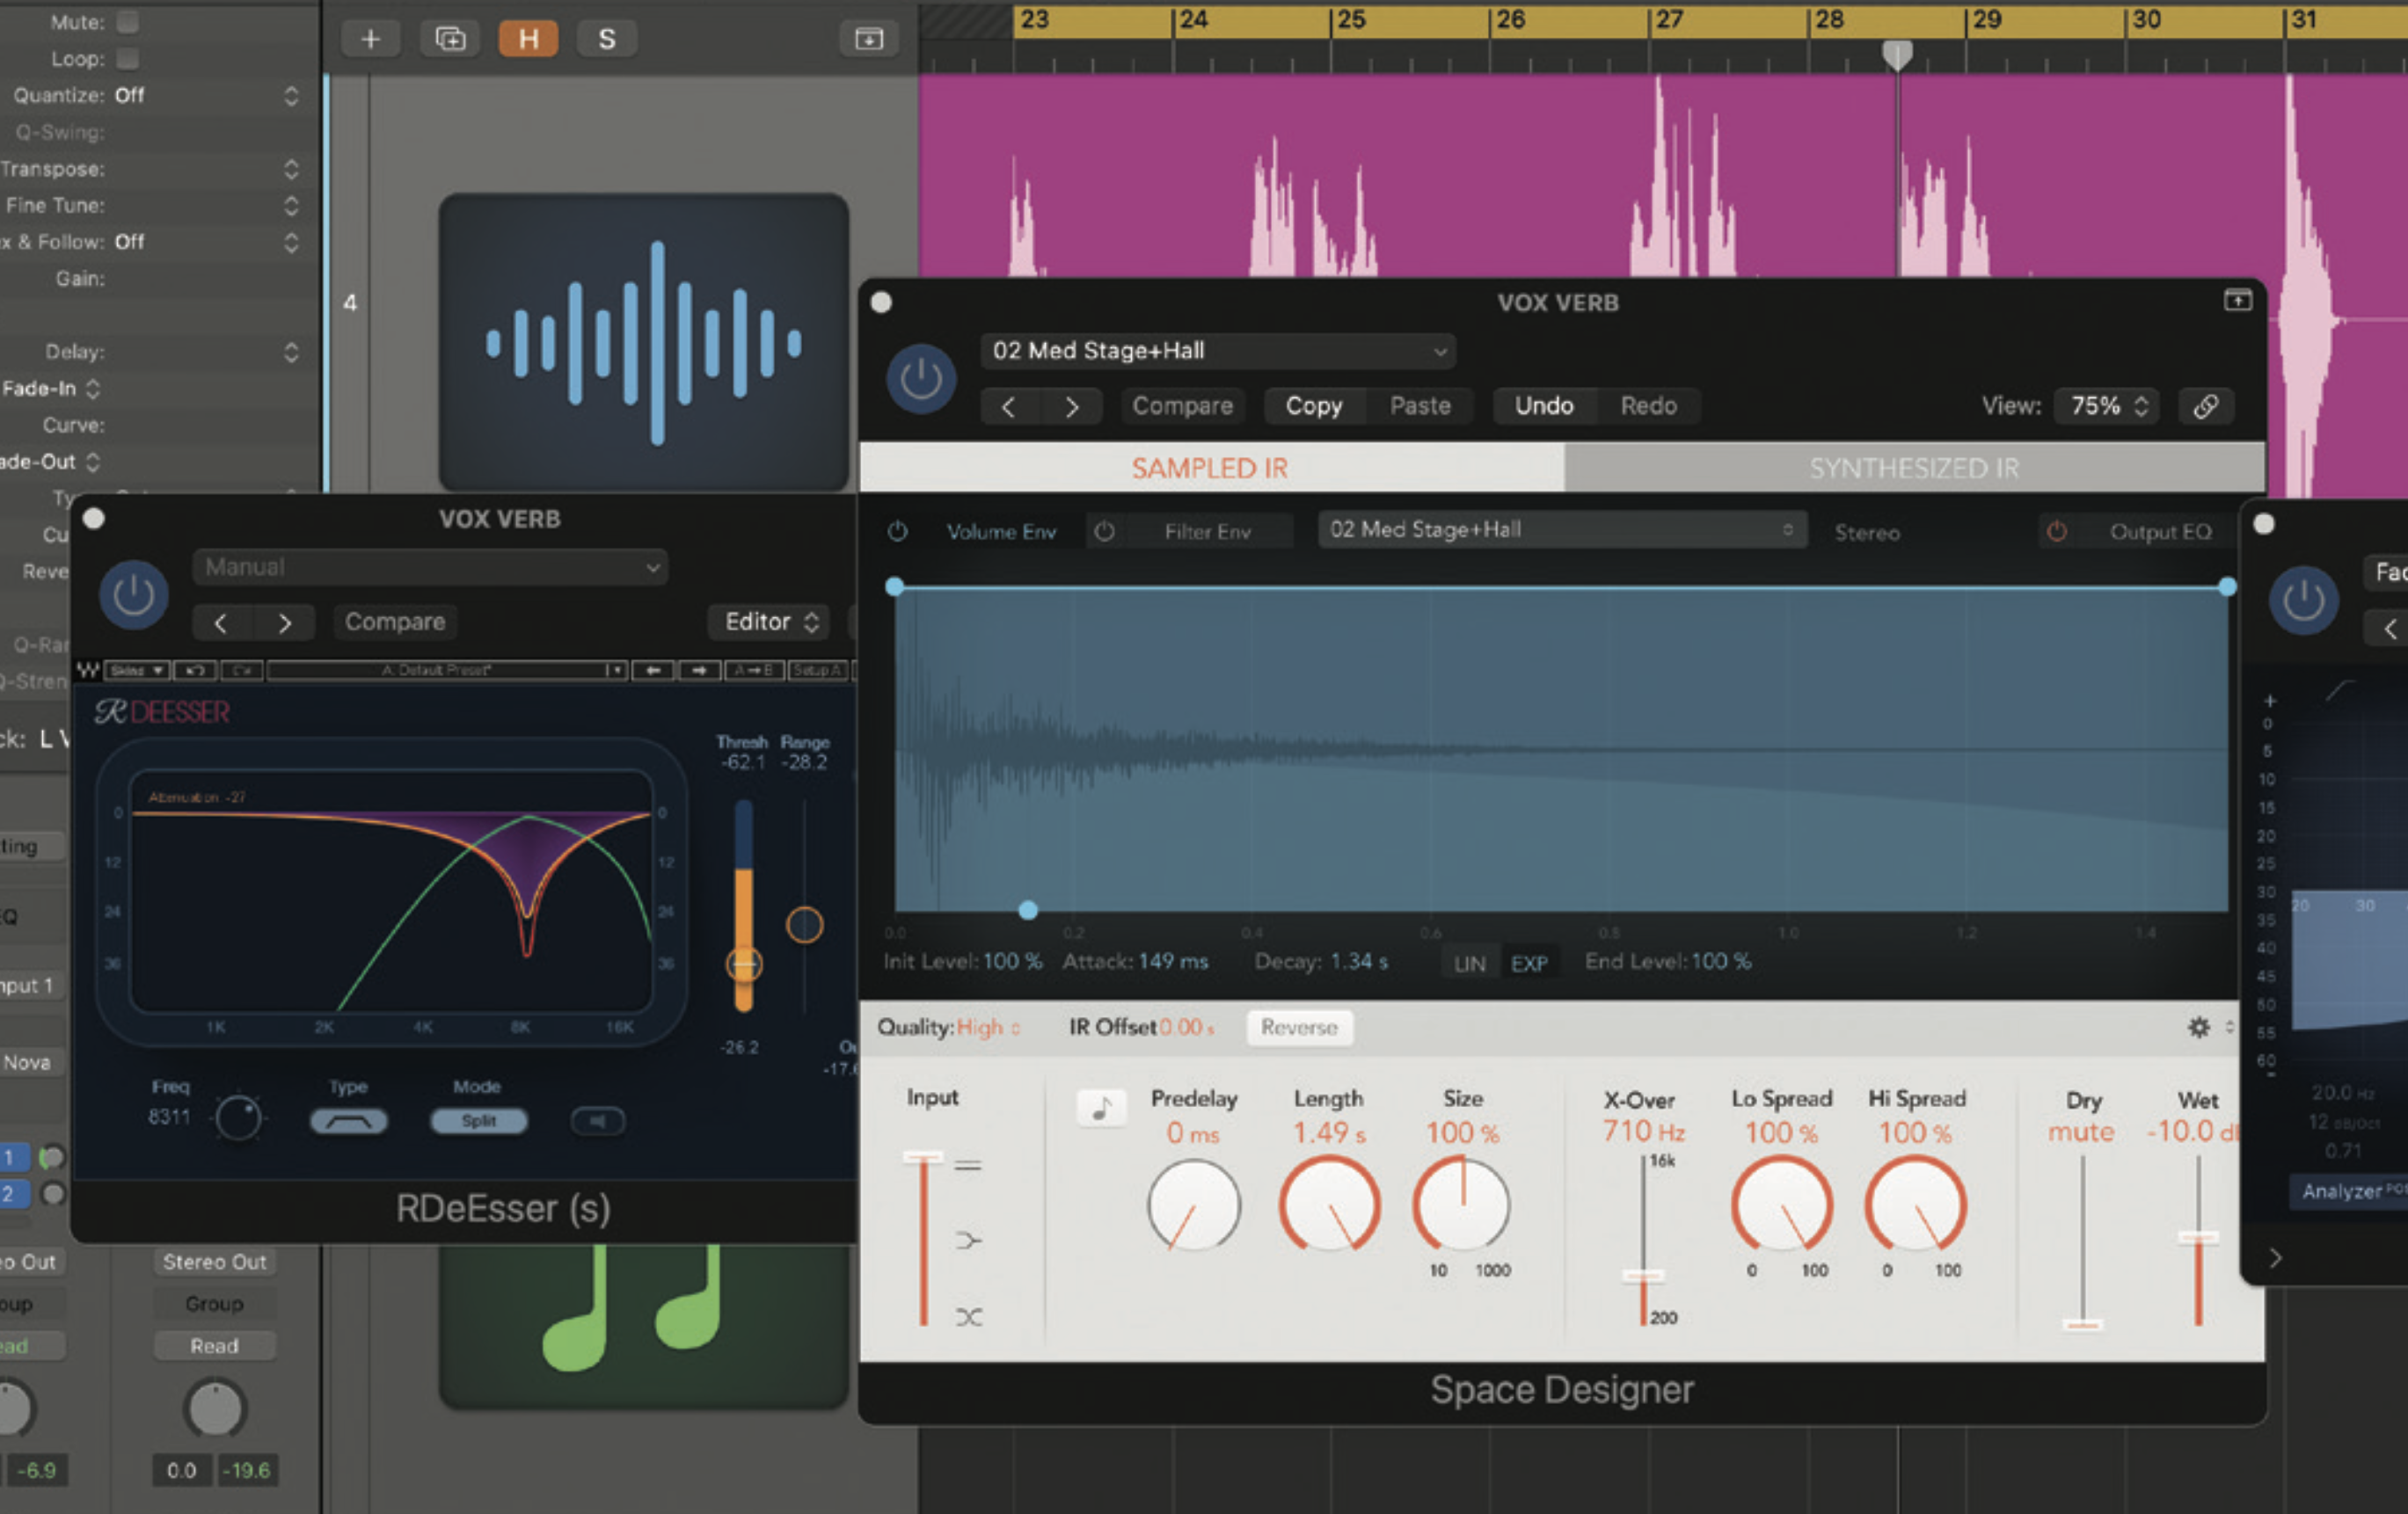
To further finesse reverbs, we can tailor both the send and return. One candidate would be vocals where we want to de-ess the send or more typically EQ the whole reverb return. If a shared reverb is already working with your vocal, duplicate the reverb auxiliary, add the de-esser before the reverb and EQ after the reverb in the return chain.
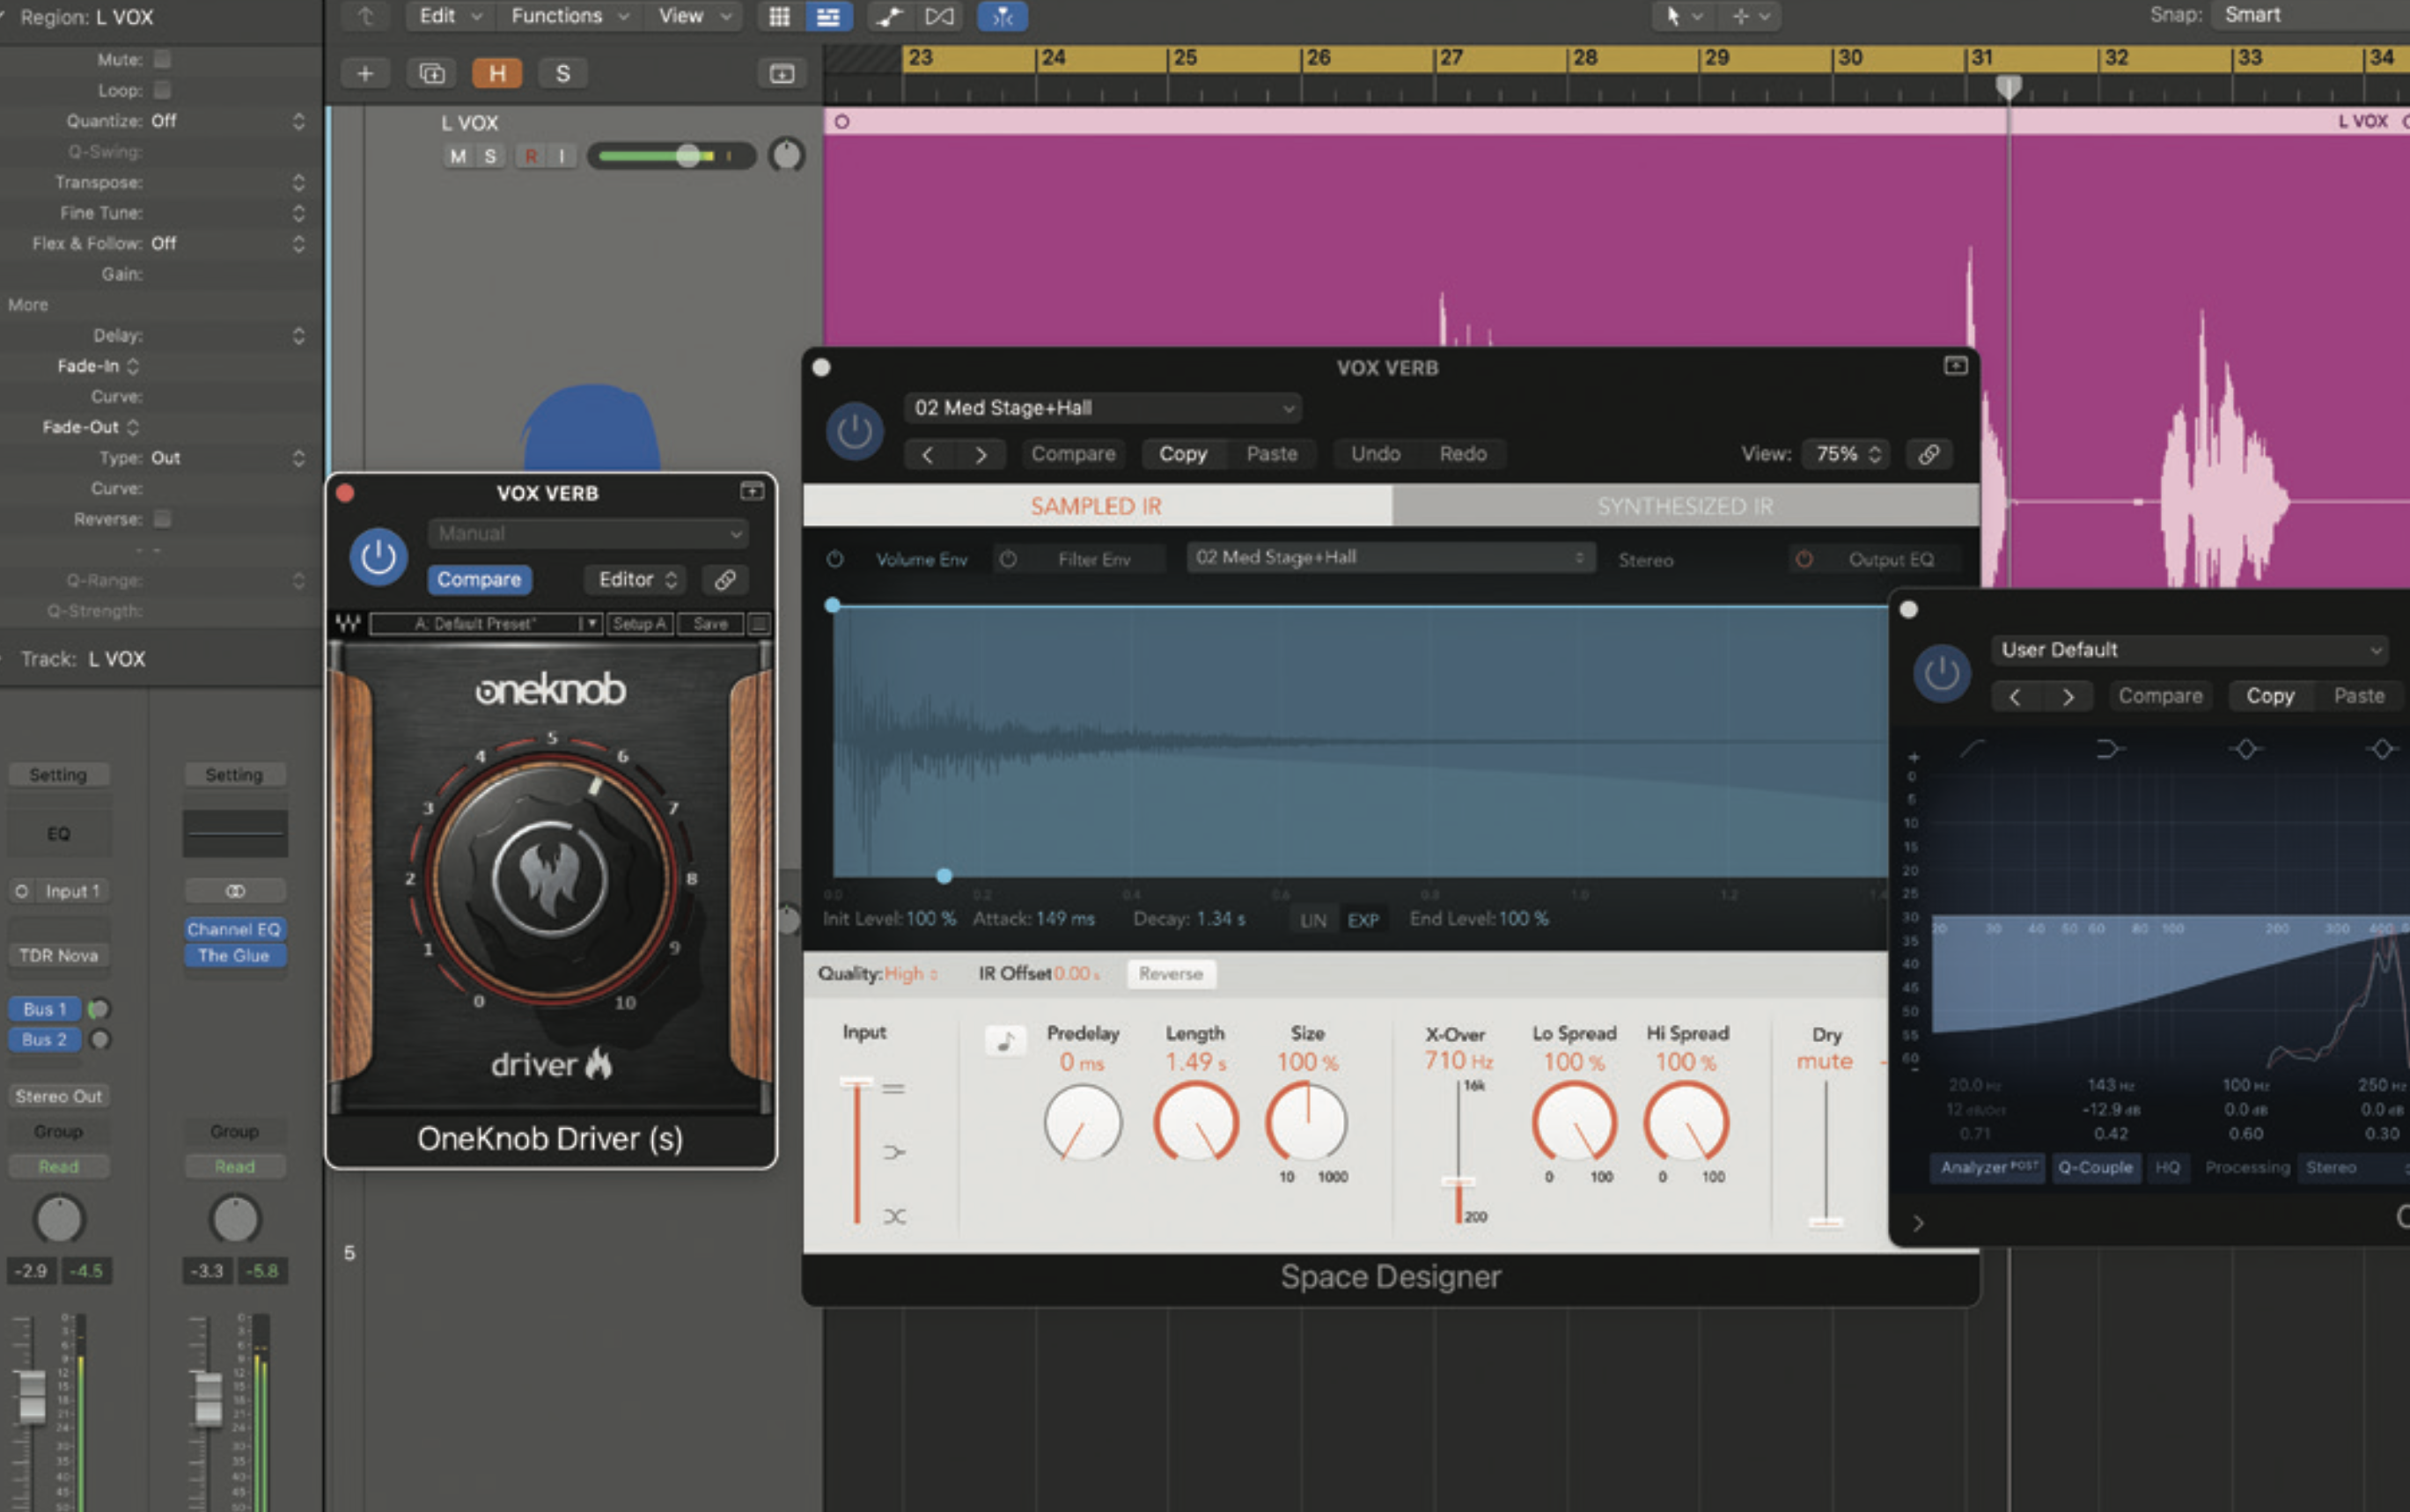
The idea of pre-processing a reverb or processing the return can also be used in other ways. For example, sticking with the vocal idea, we could add saturation to the auxiliary. Try inserting a saturation plugin before the reverb in the auxiliary track. This will dirty up just the reverb and leave your original source sound as is.
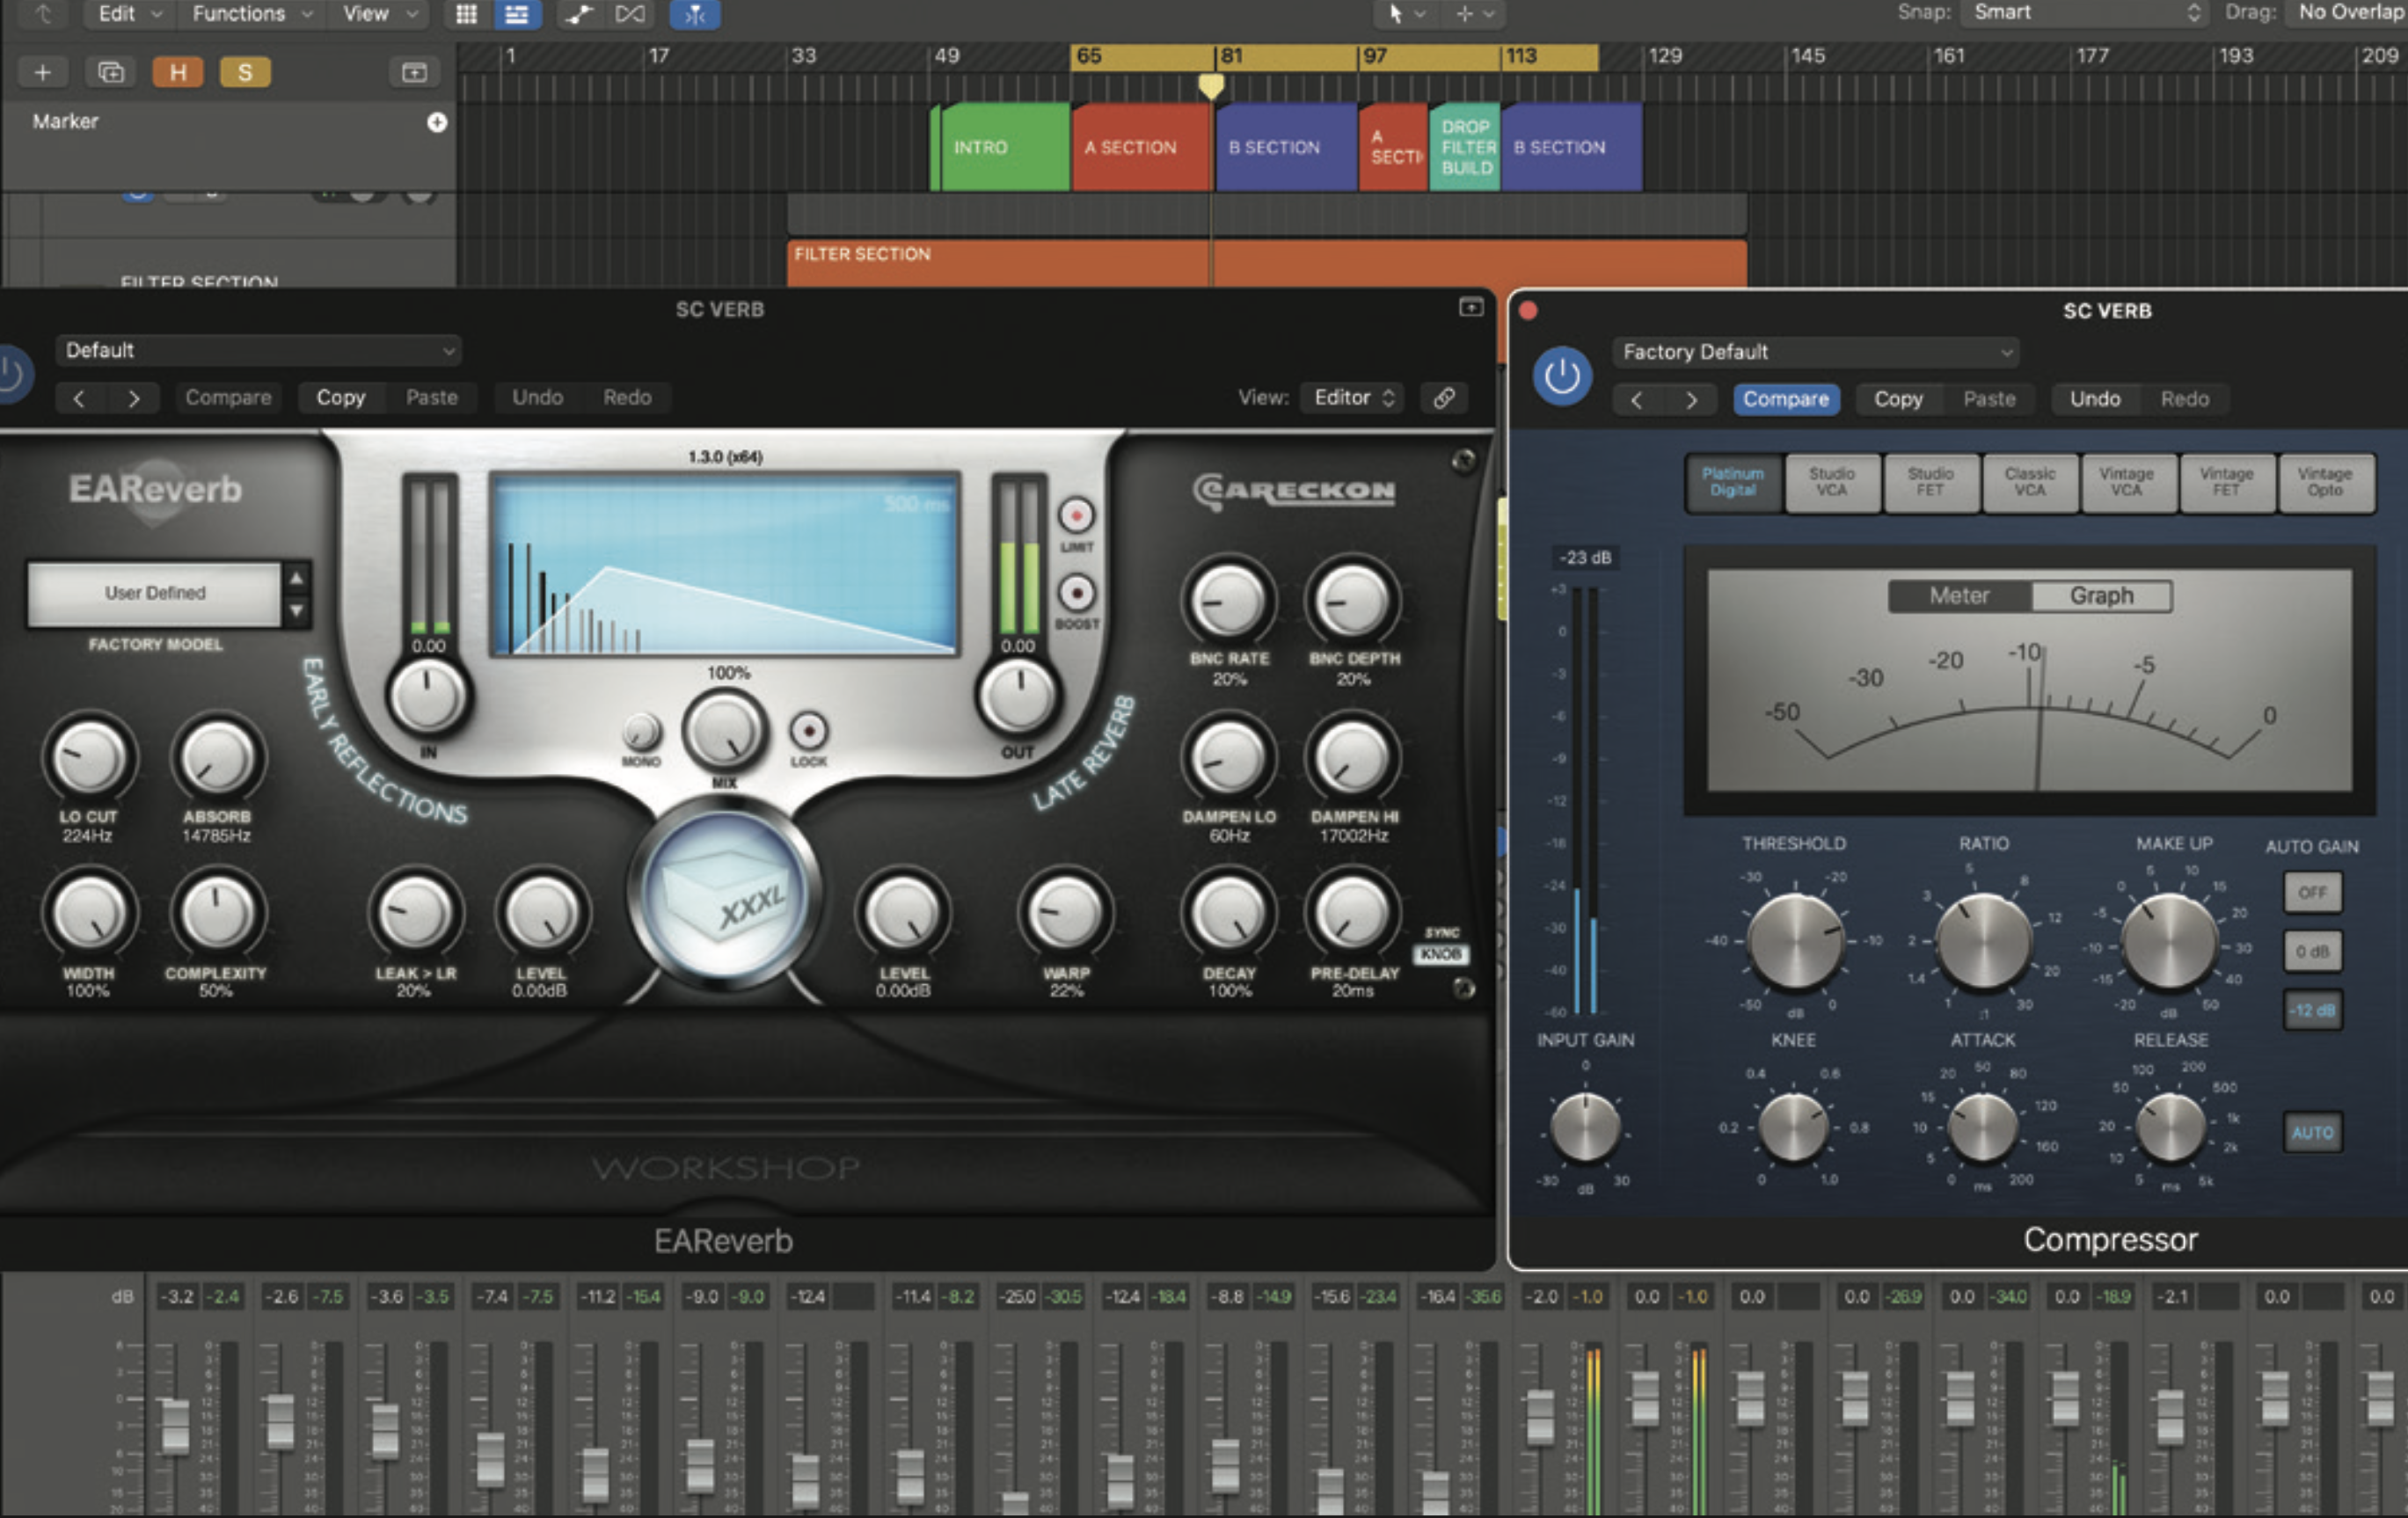
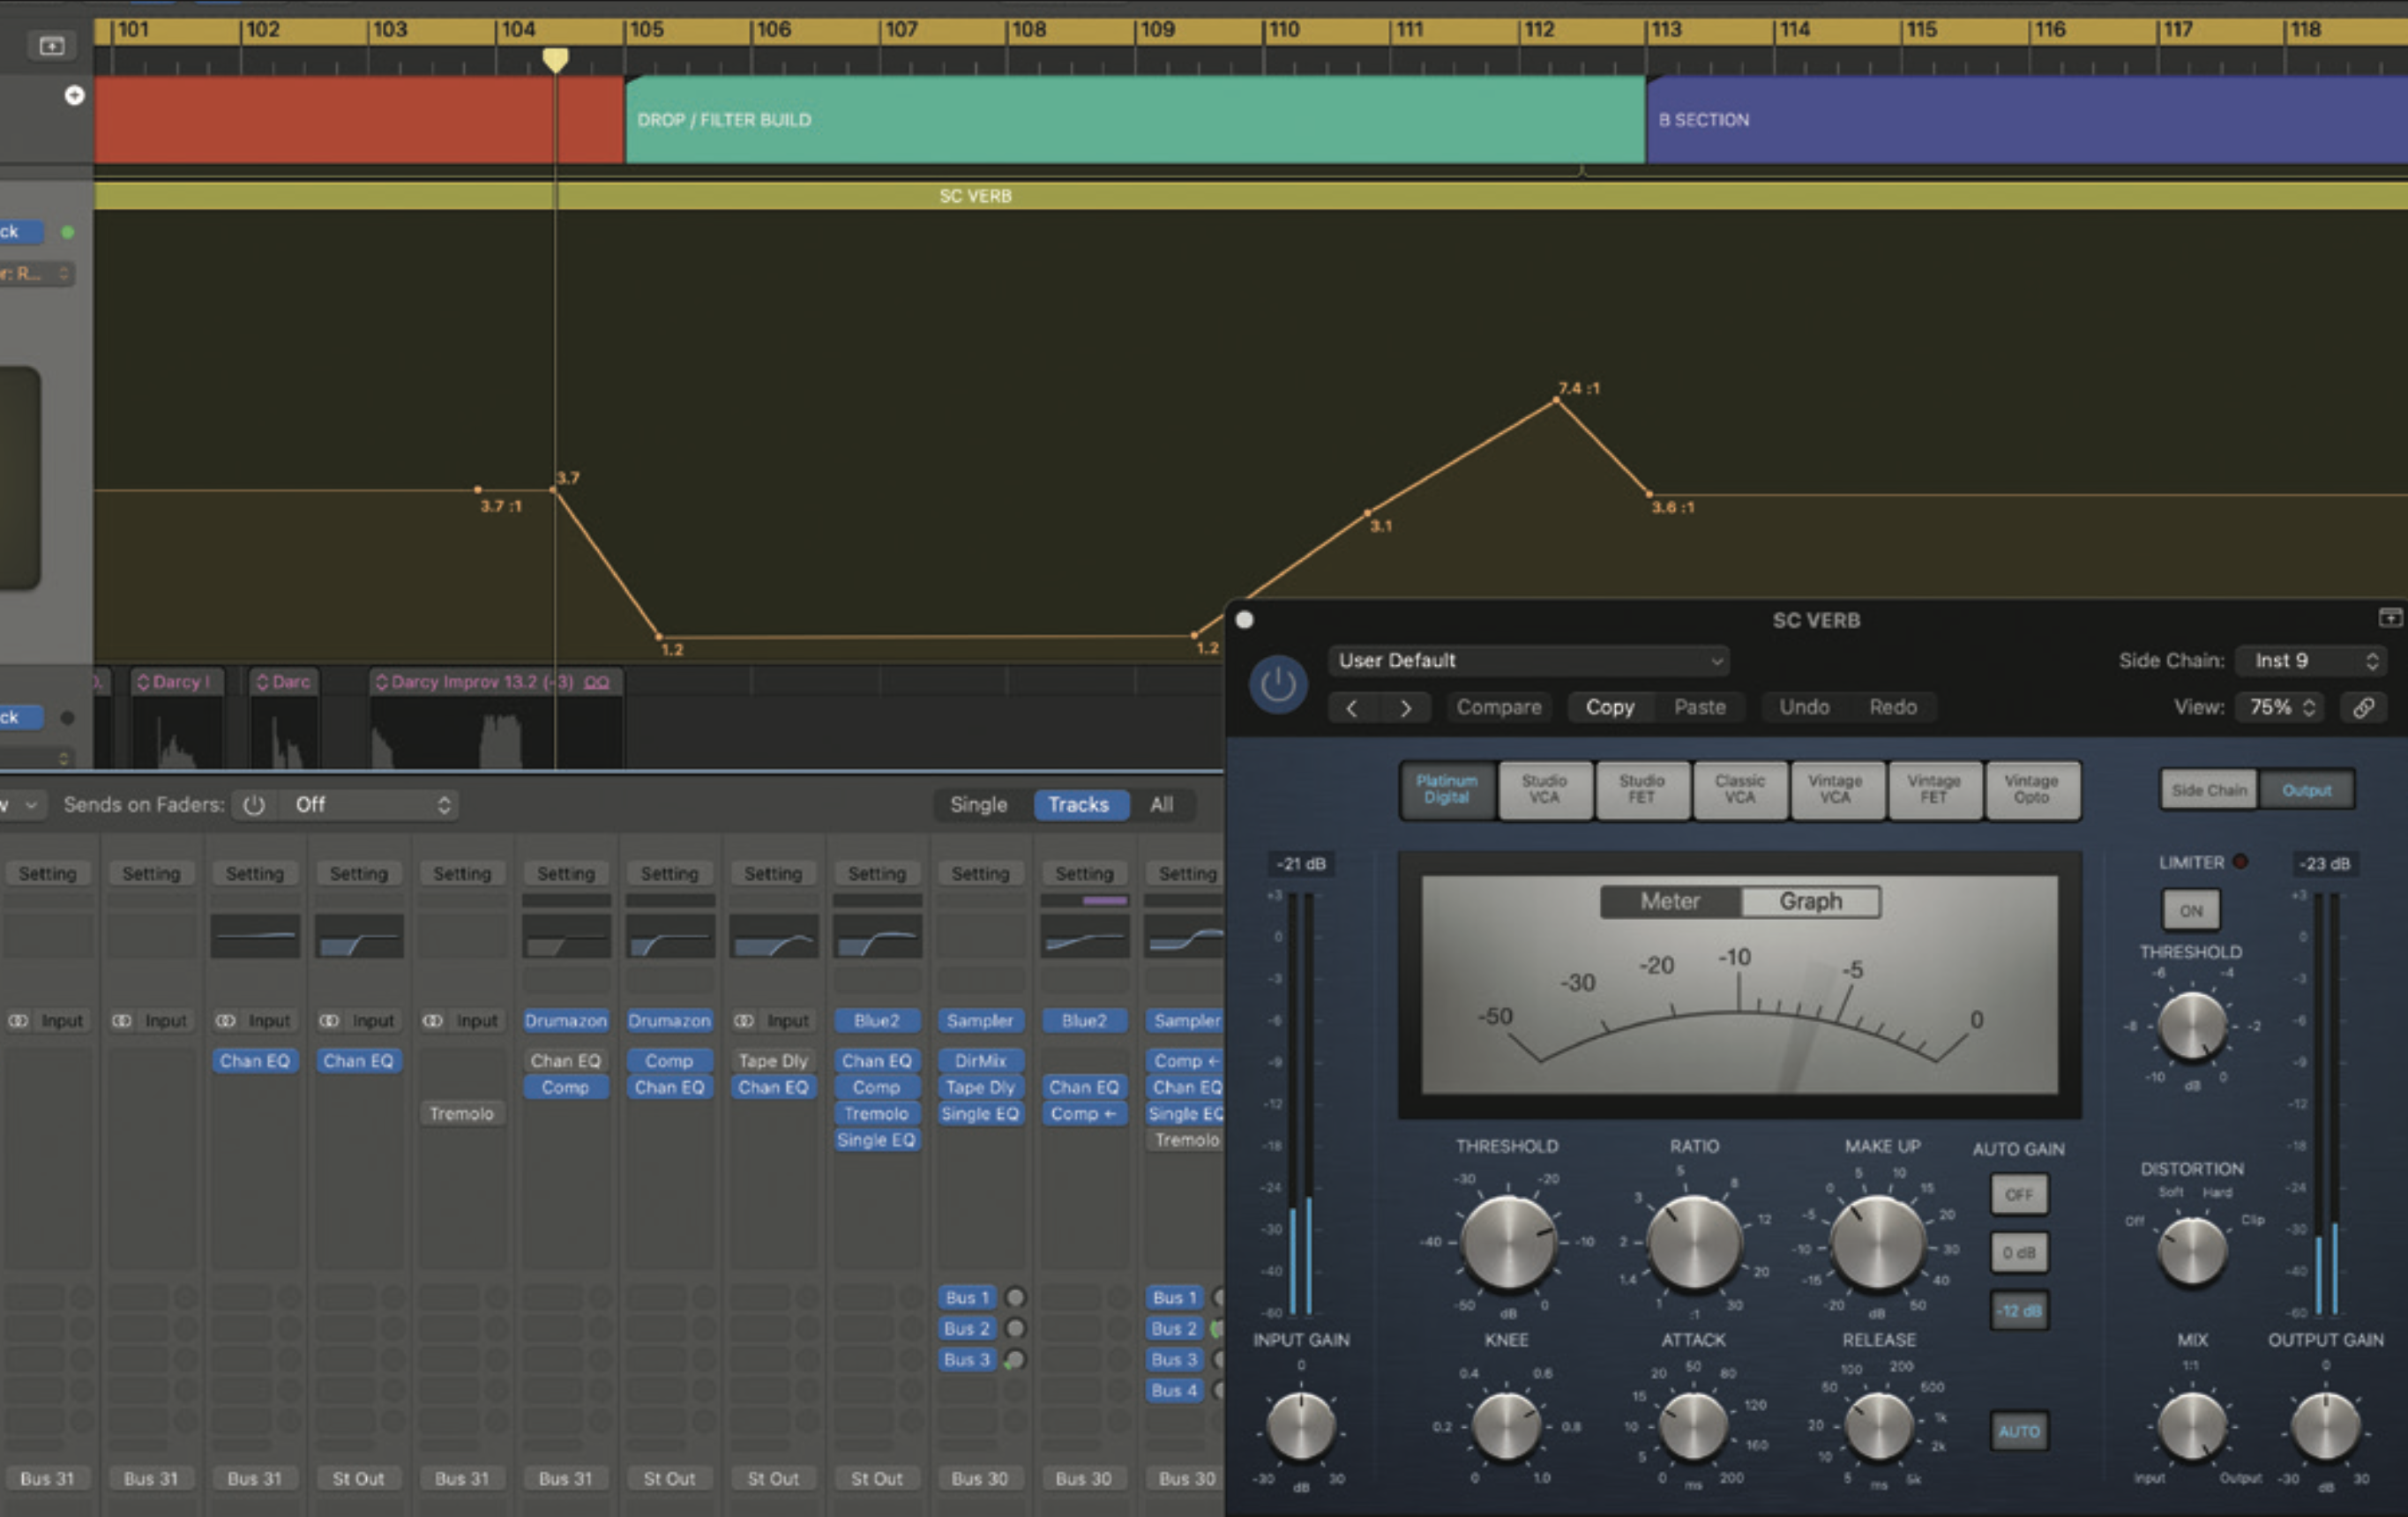
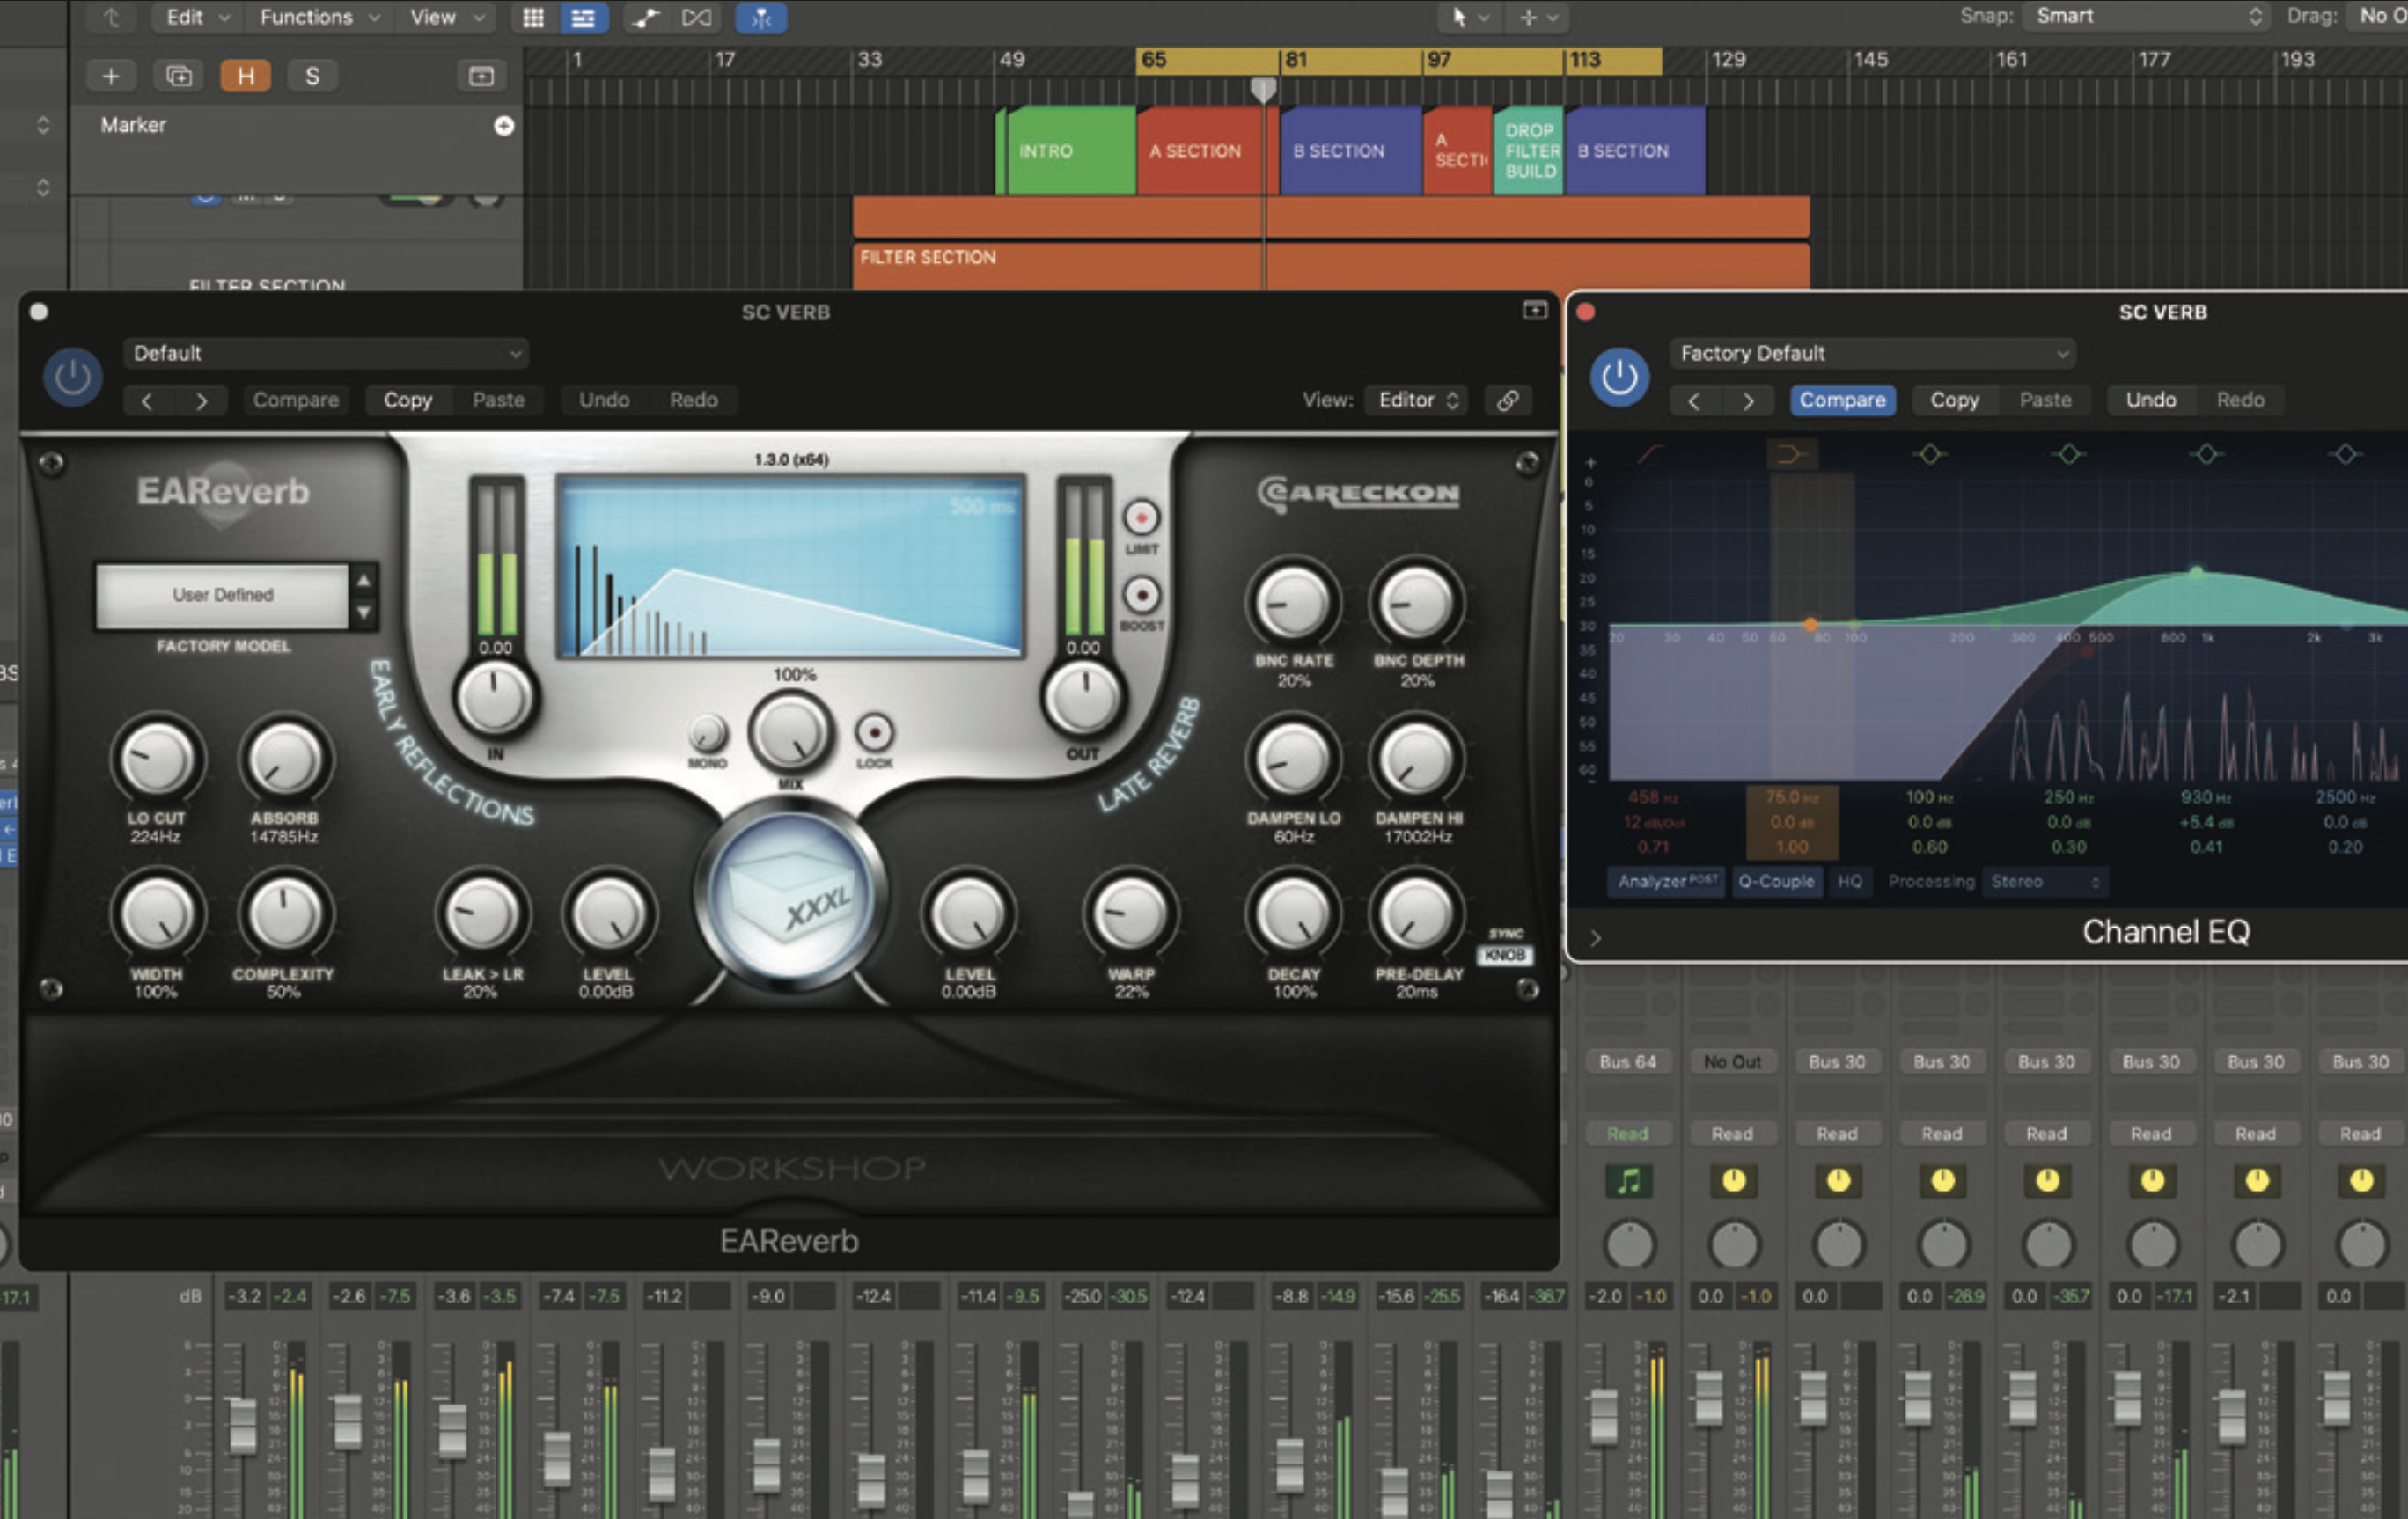
Another technique that works is to sidechain the reverb return. Again, following the same concept as the vocal reverb, we may not want to sidechain the source sound much if at all, but by sidechaining the reverb return, we create some great effects. Here we’ve used the kick drum as the sidechain for the classic pumping effect.
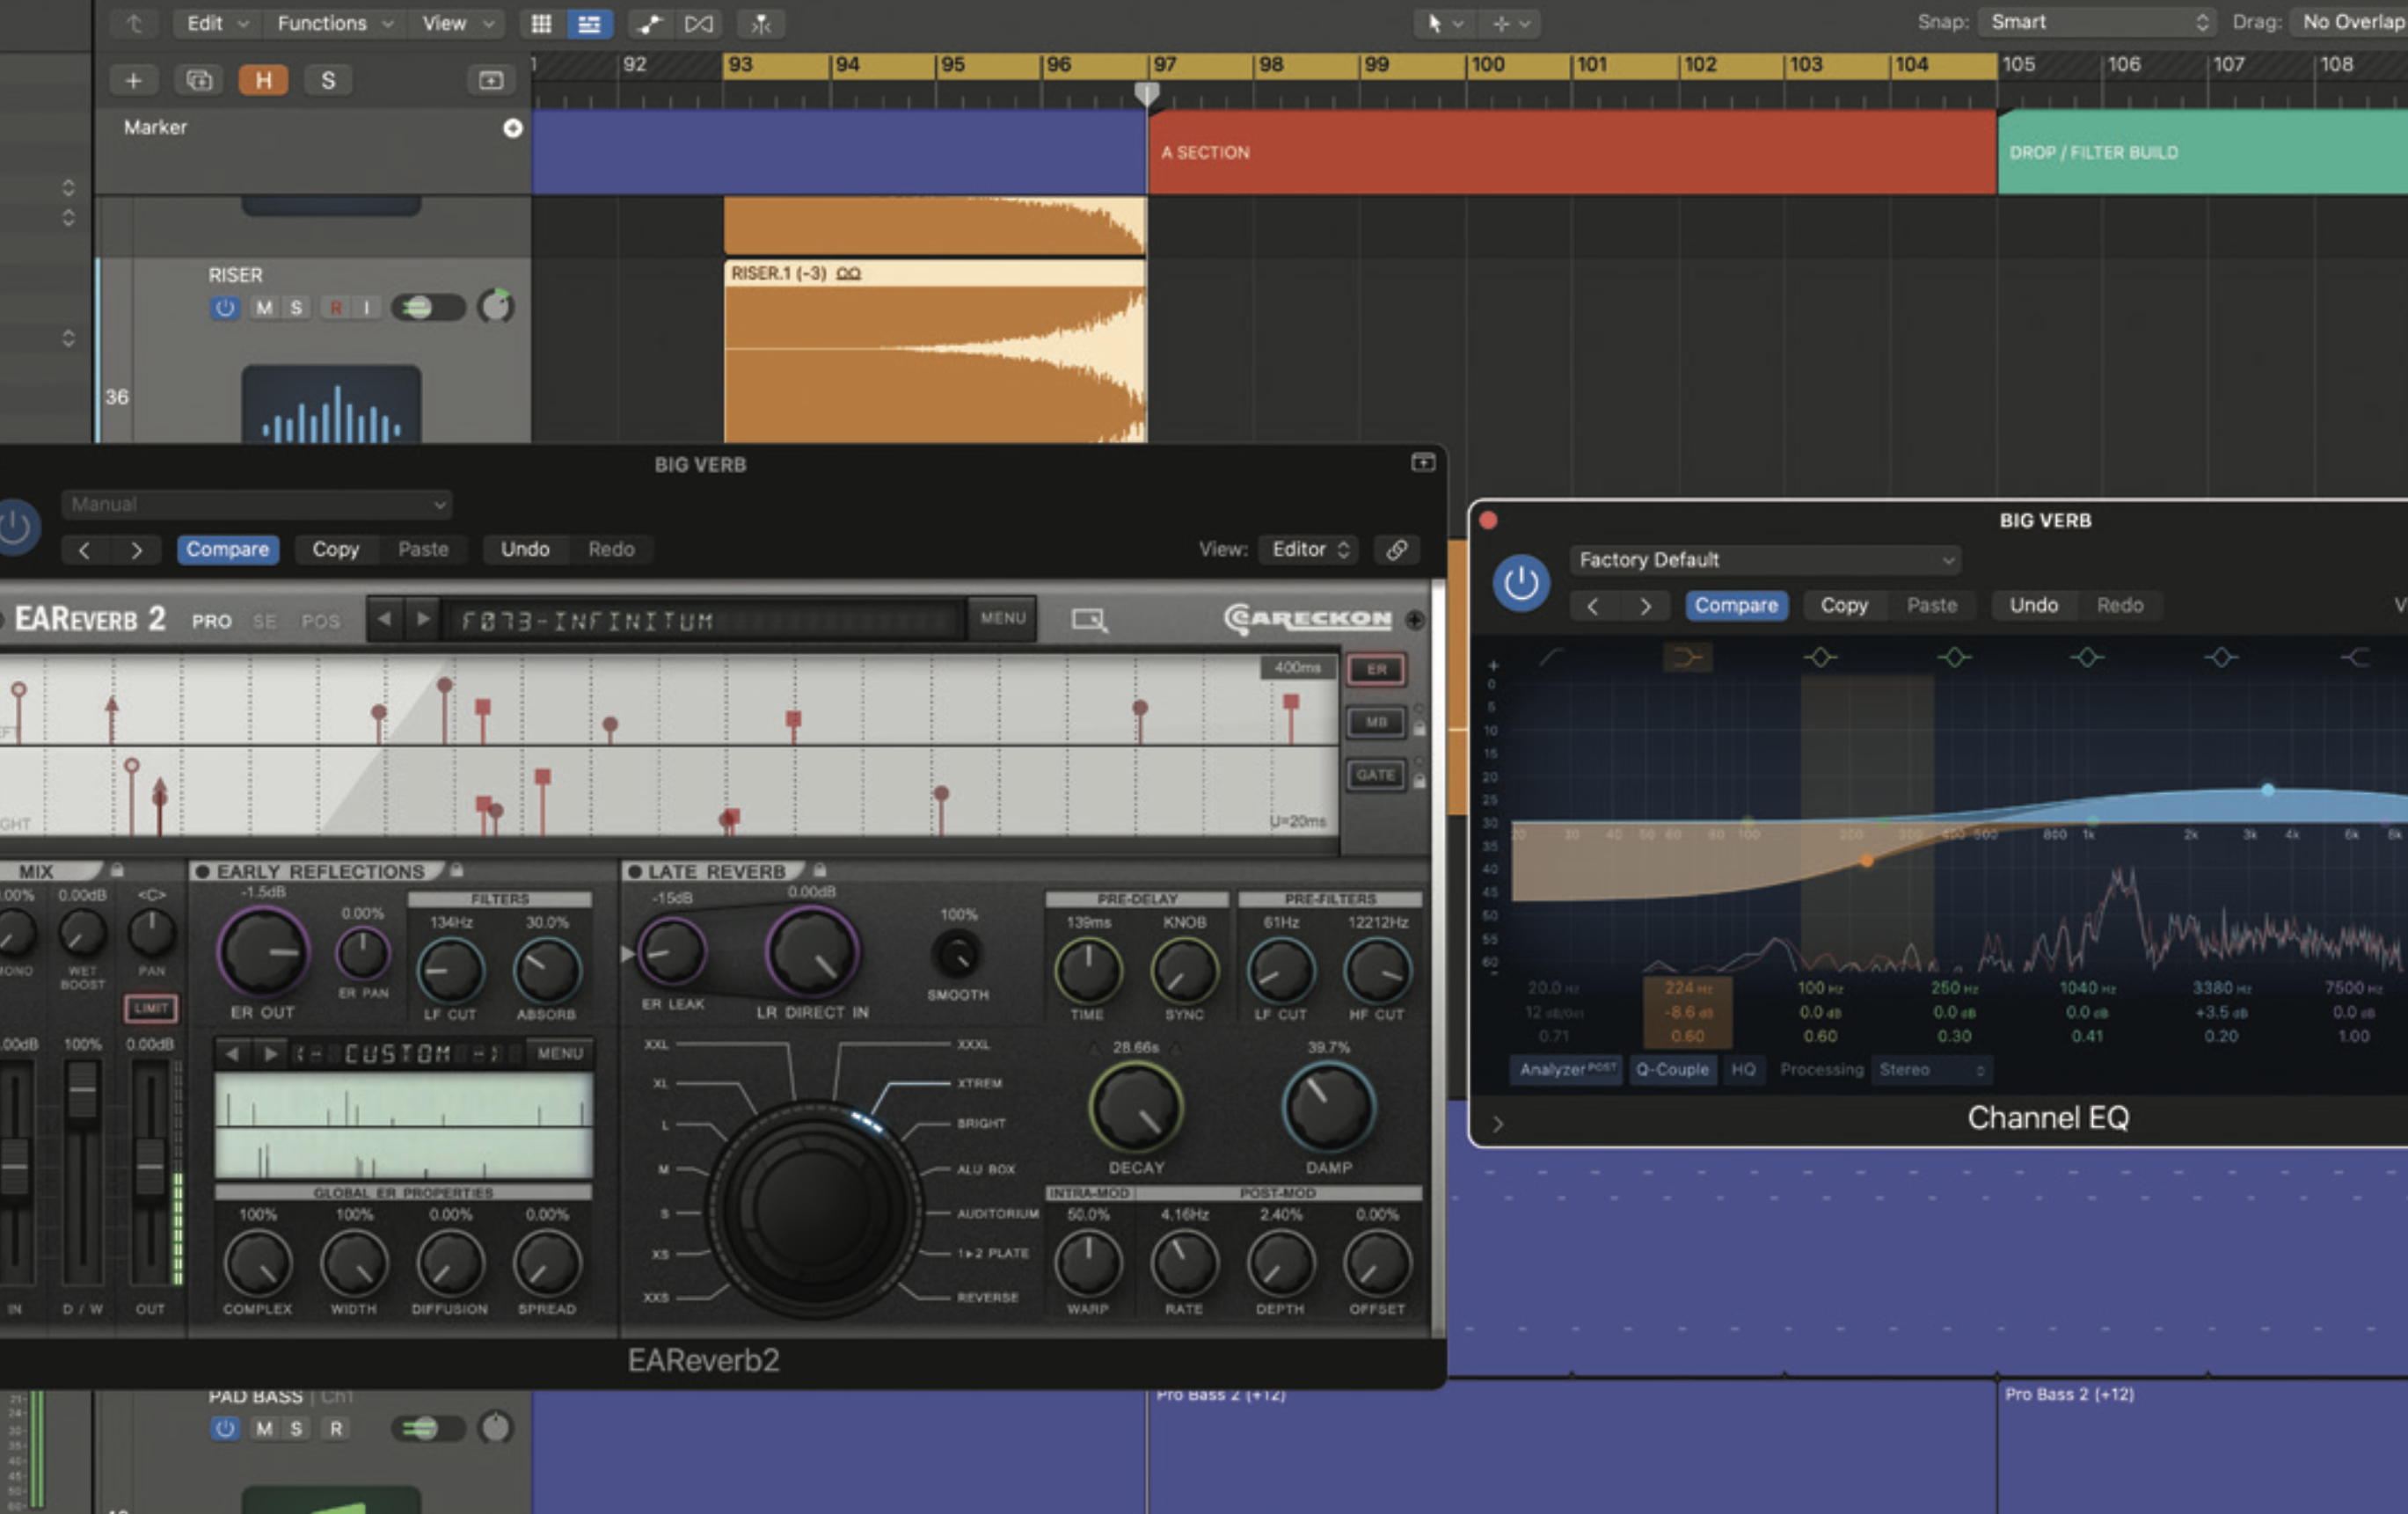
Although we may choose to EQ our shared reverb returns, for a targeted reverb we can be far more precise with the tailoring. You can use the reverb’s onboard EQ if it’s flexible enough, or simply add an EQ plugin after the reverb. EQ options include using filters to create a focused frequency band.
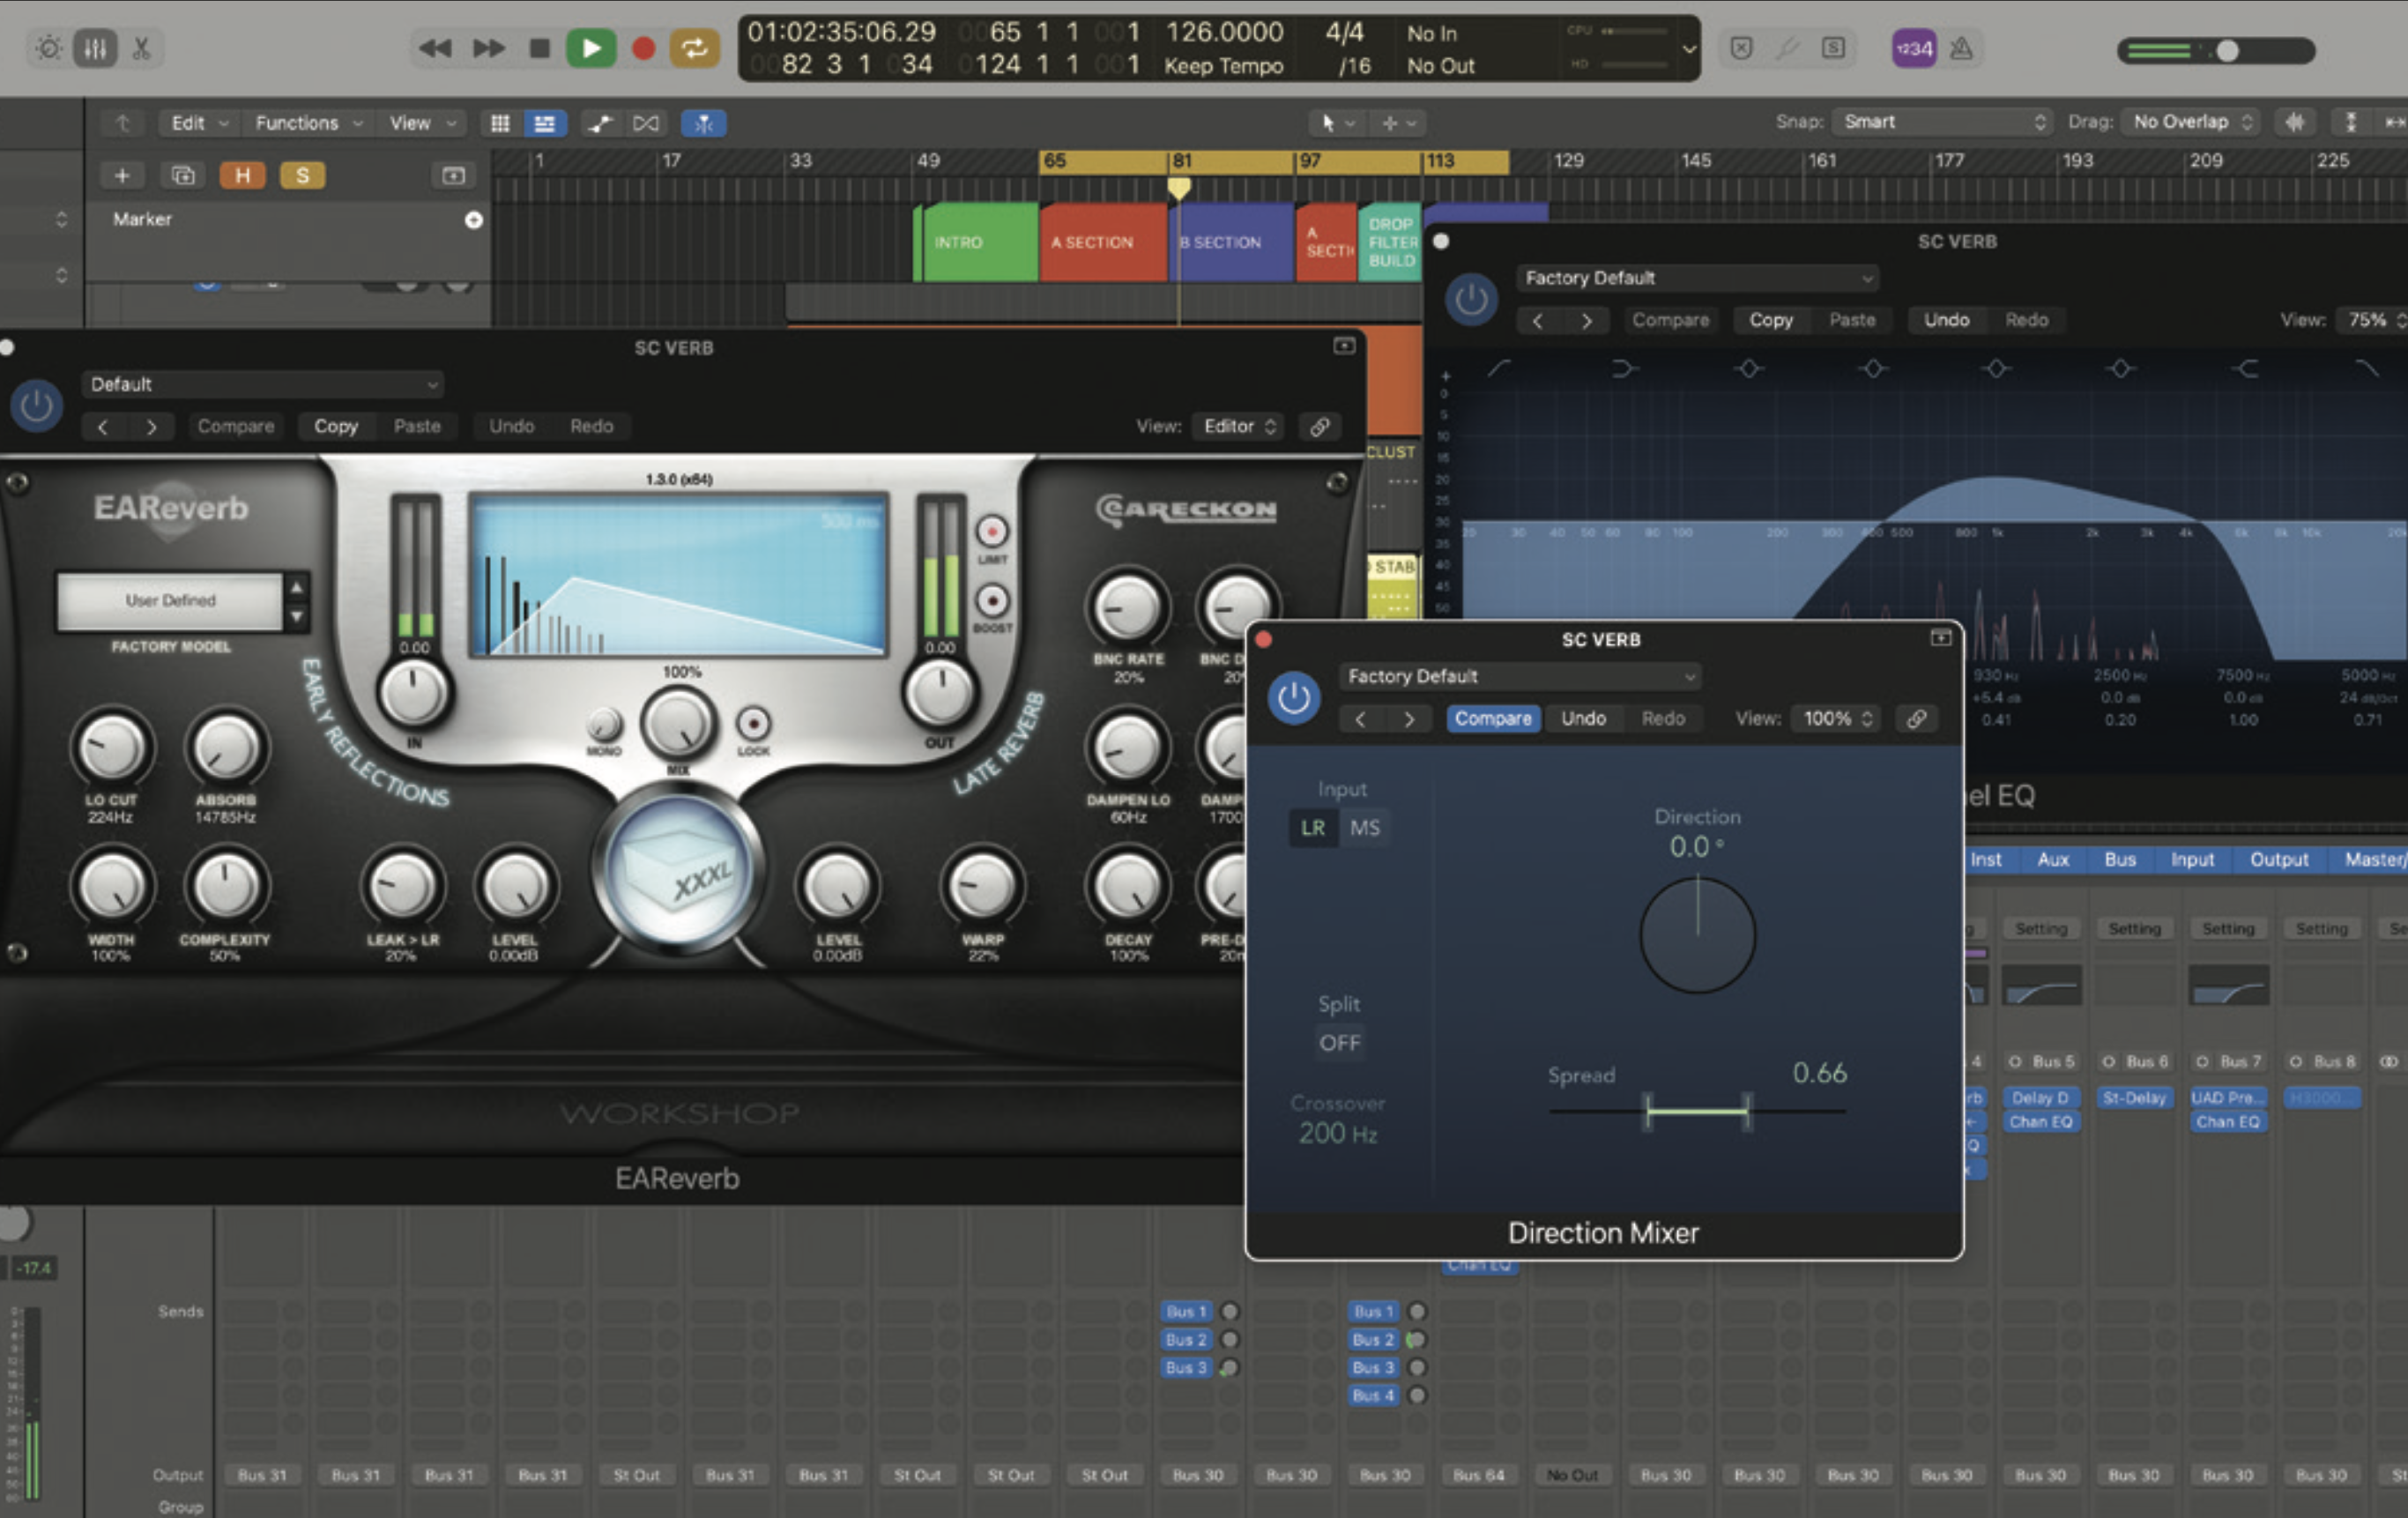
In our Pro Tip we discuss retro techniques that use mono reverbs, but the actual width of the reverb is again something that’s worth considering. This is often something we can adjust in the reverb itself, but if this hasn’t been possible, simply use a width adjustment plugin after the reverb.
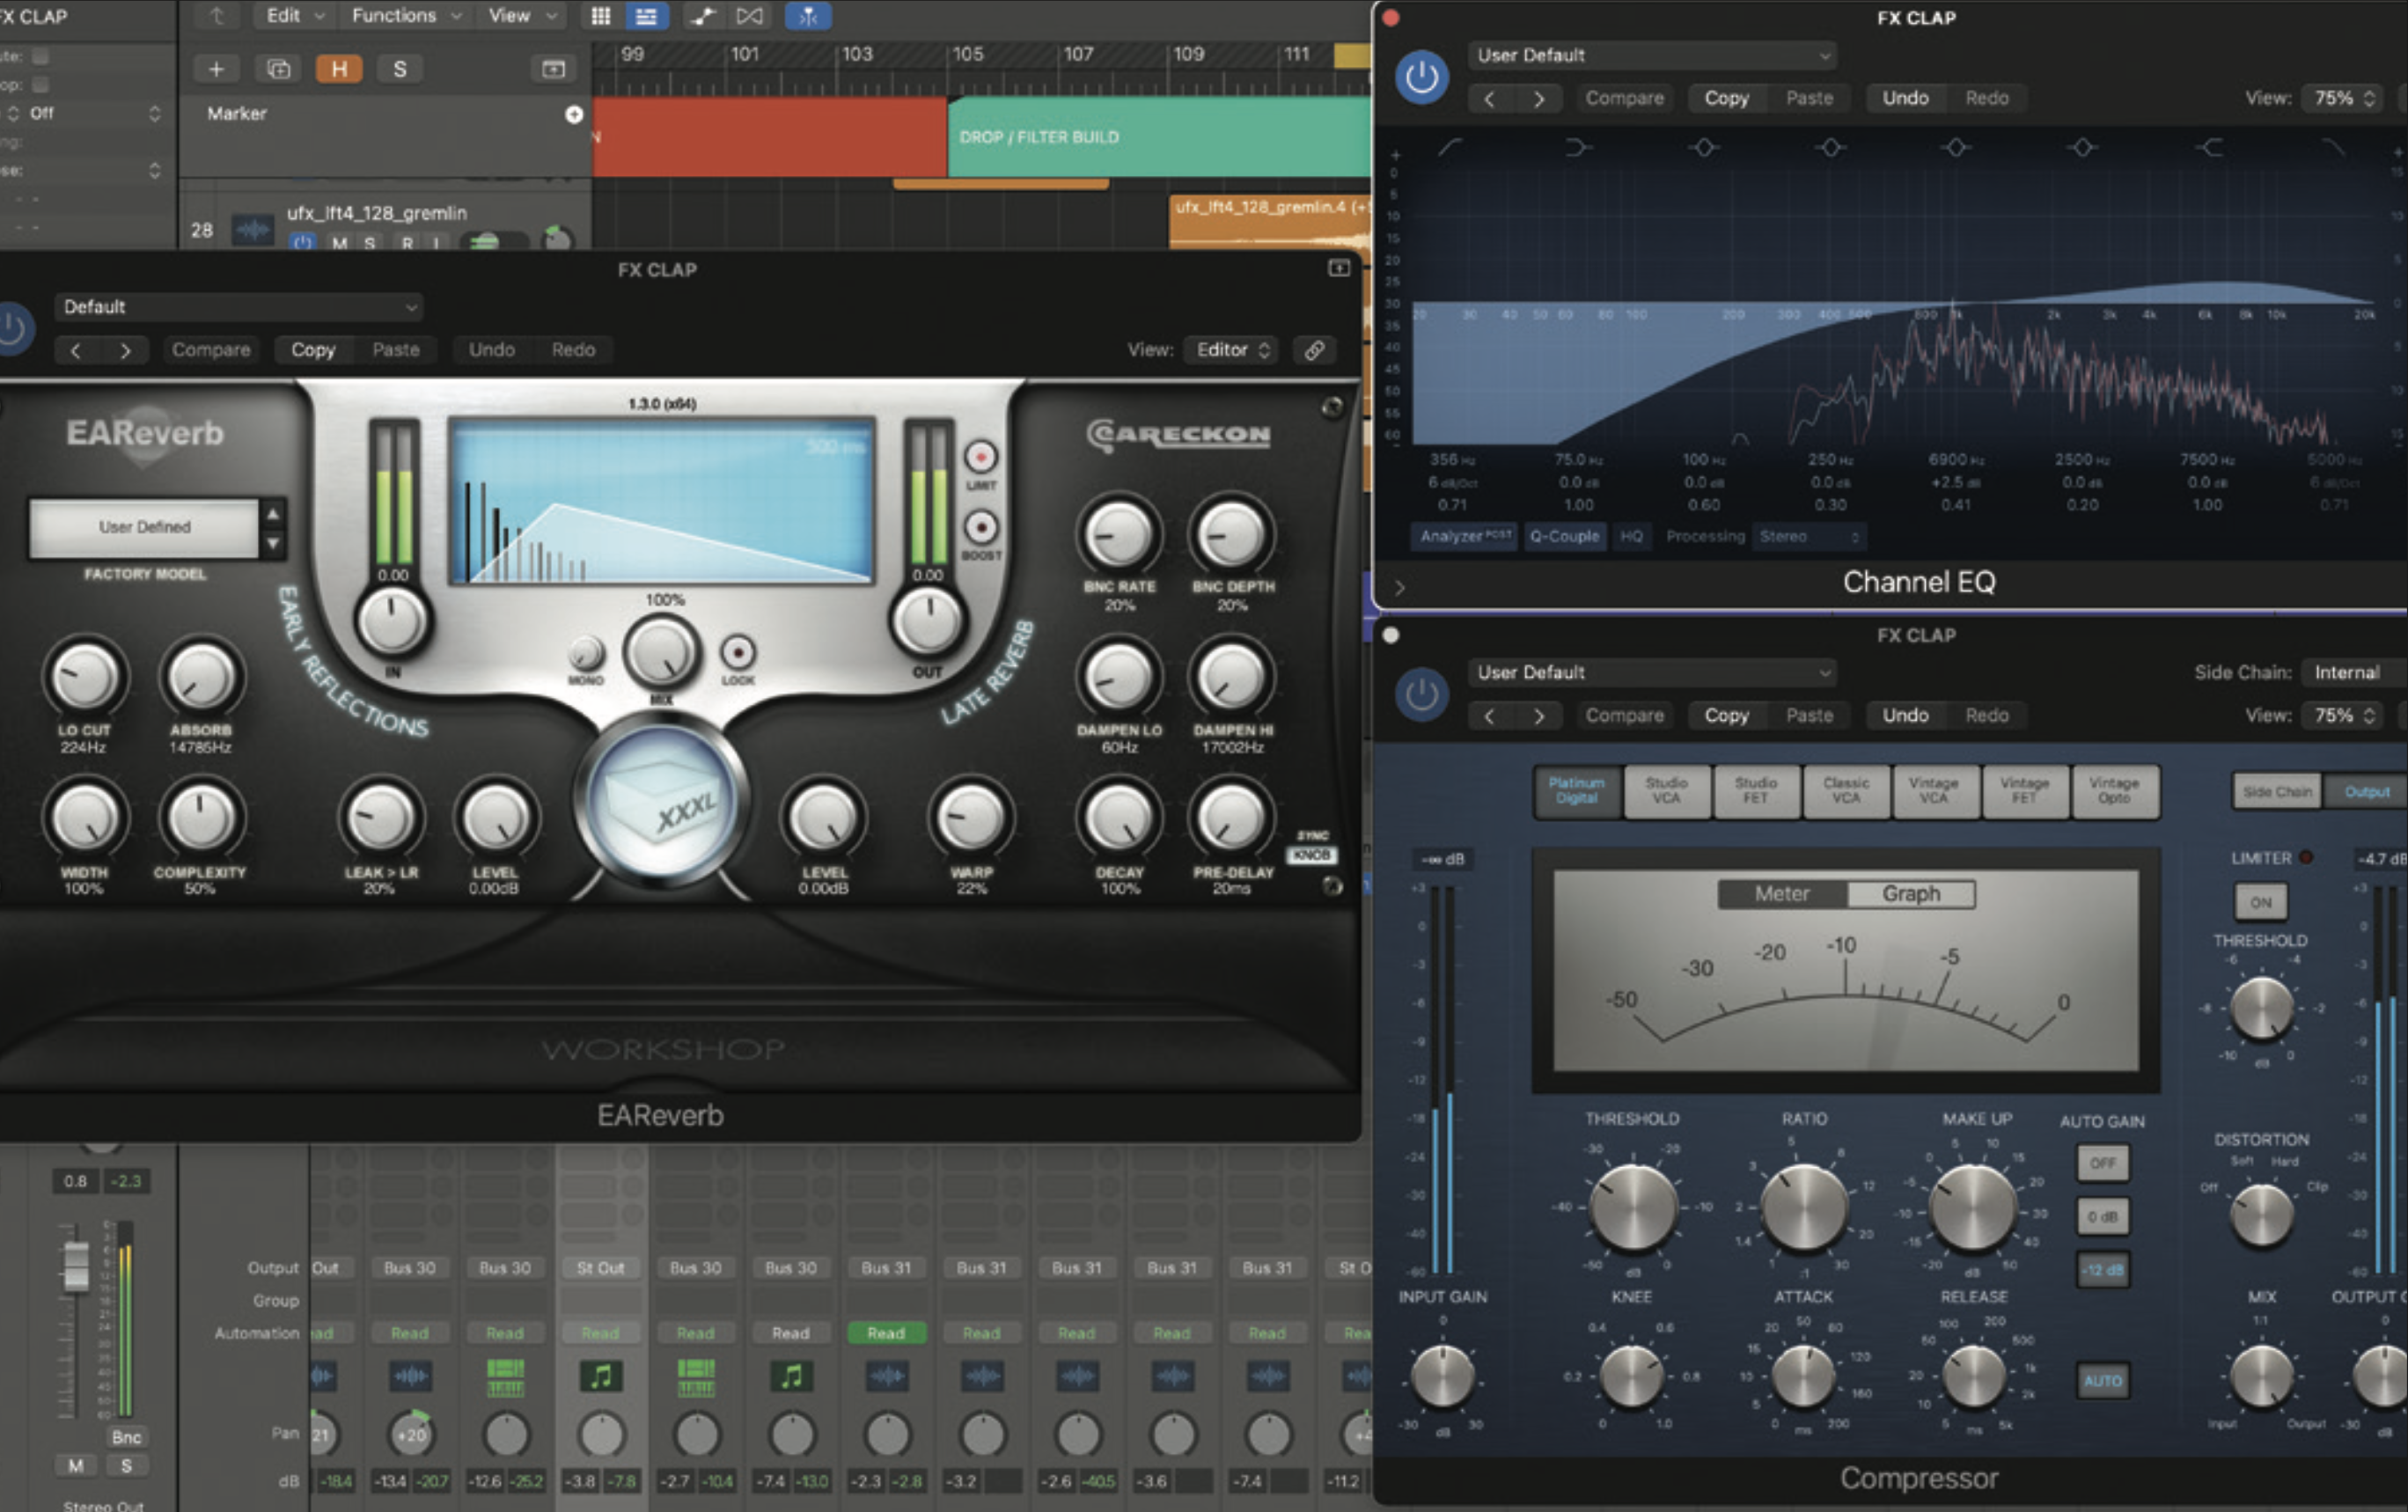
Using task-specific reverbs for spot effects works very well and allows us to really fine-tune the reverb. If we’re processing a single sound this often works best set up as an insert with the reverb integrated into the mixing chain. Here we’ve used a large thin reverb to process a clap.
We often use very large reverbs to process transition effects such as booms and sweeps. These work as inserts but if you’re going to process multiple tracks then an auxiliary works best. Here we’ve loaded up a massive reverb (about 28sec decay) for this task, and tailored the return EQ.
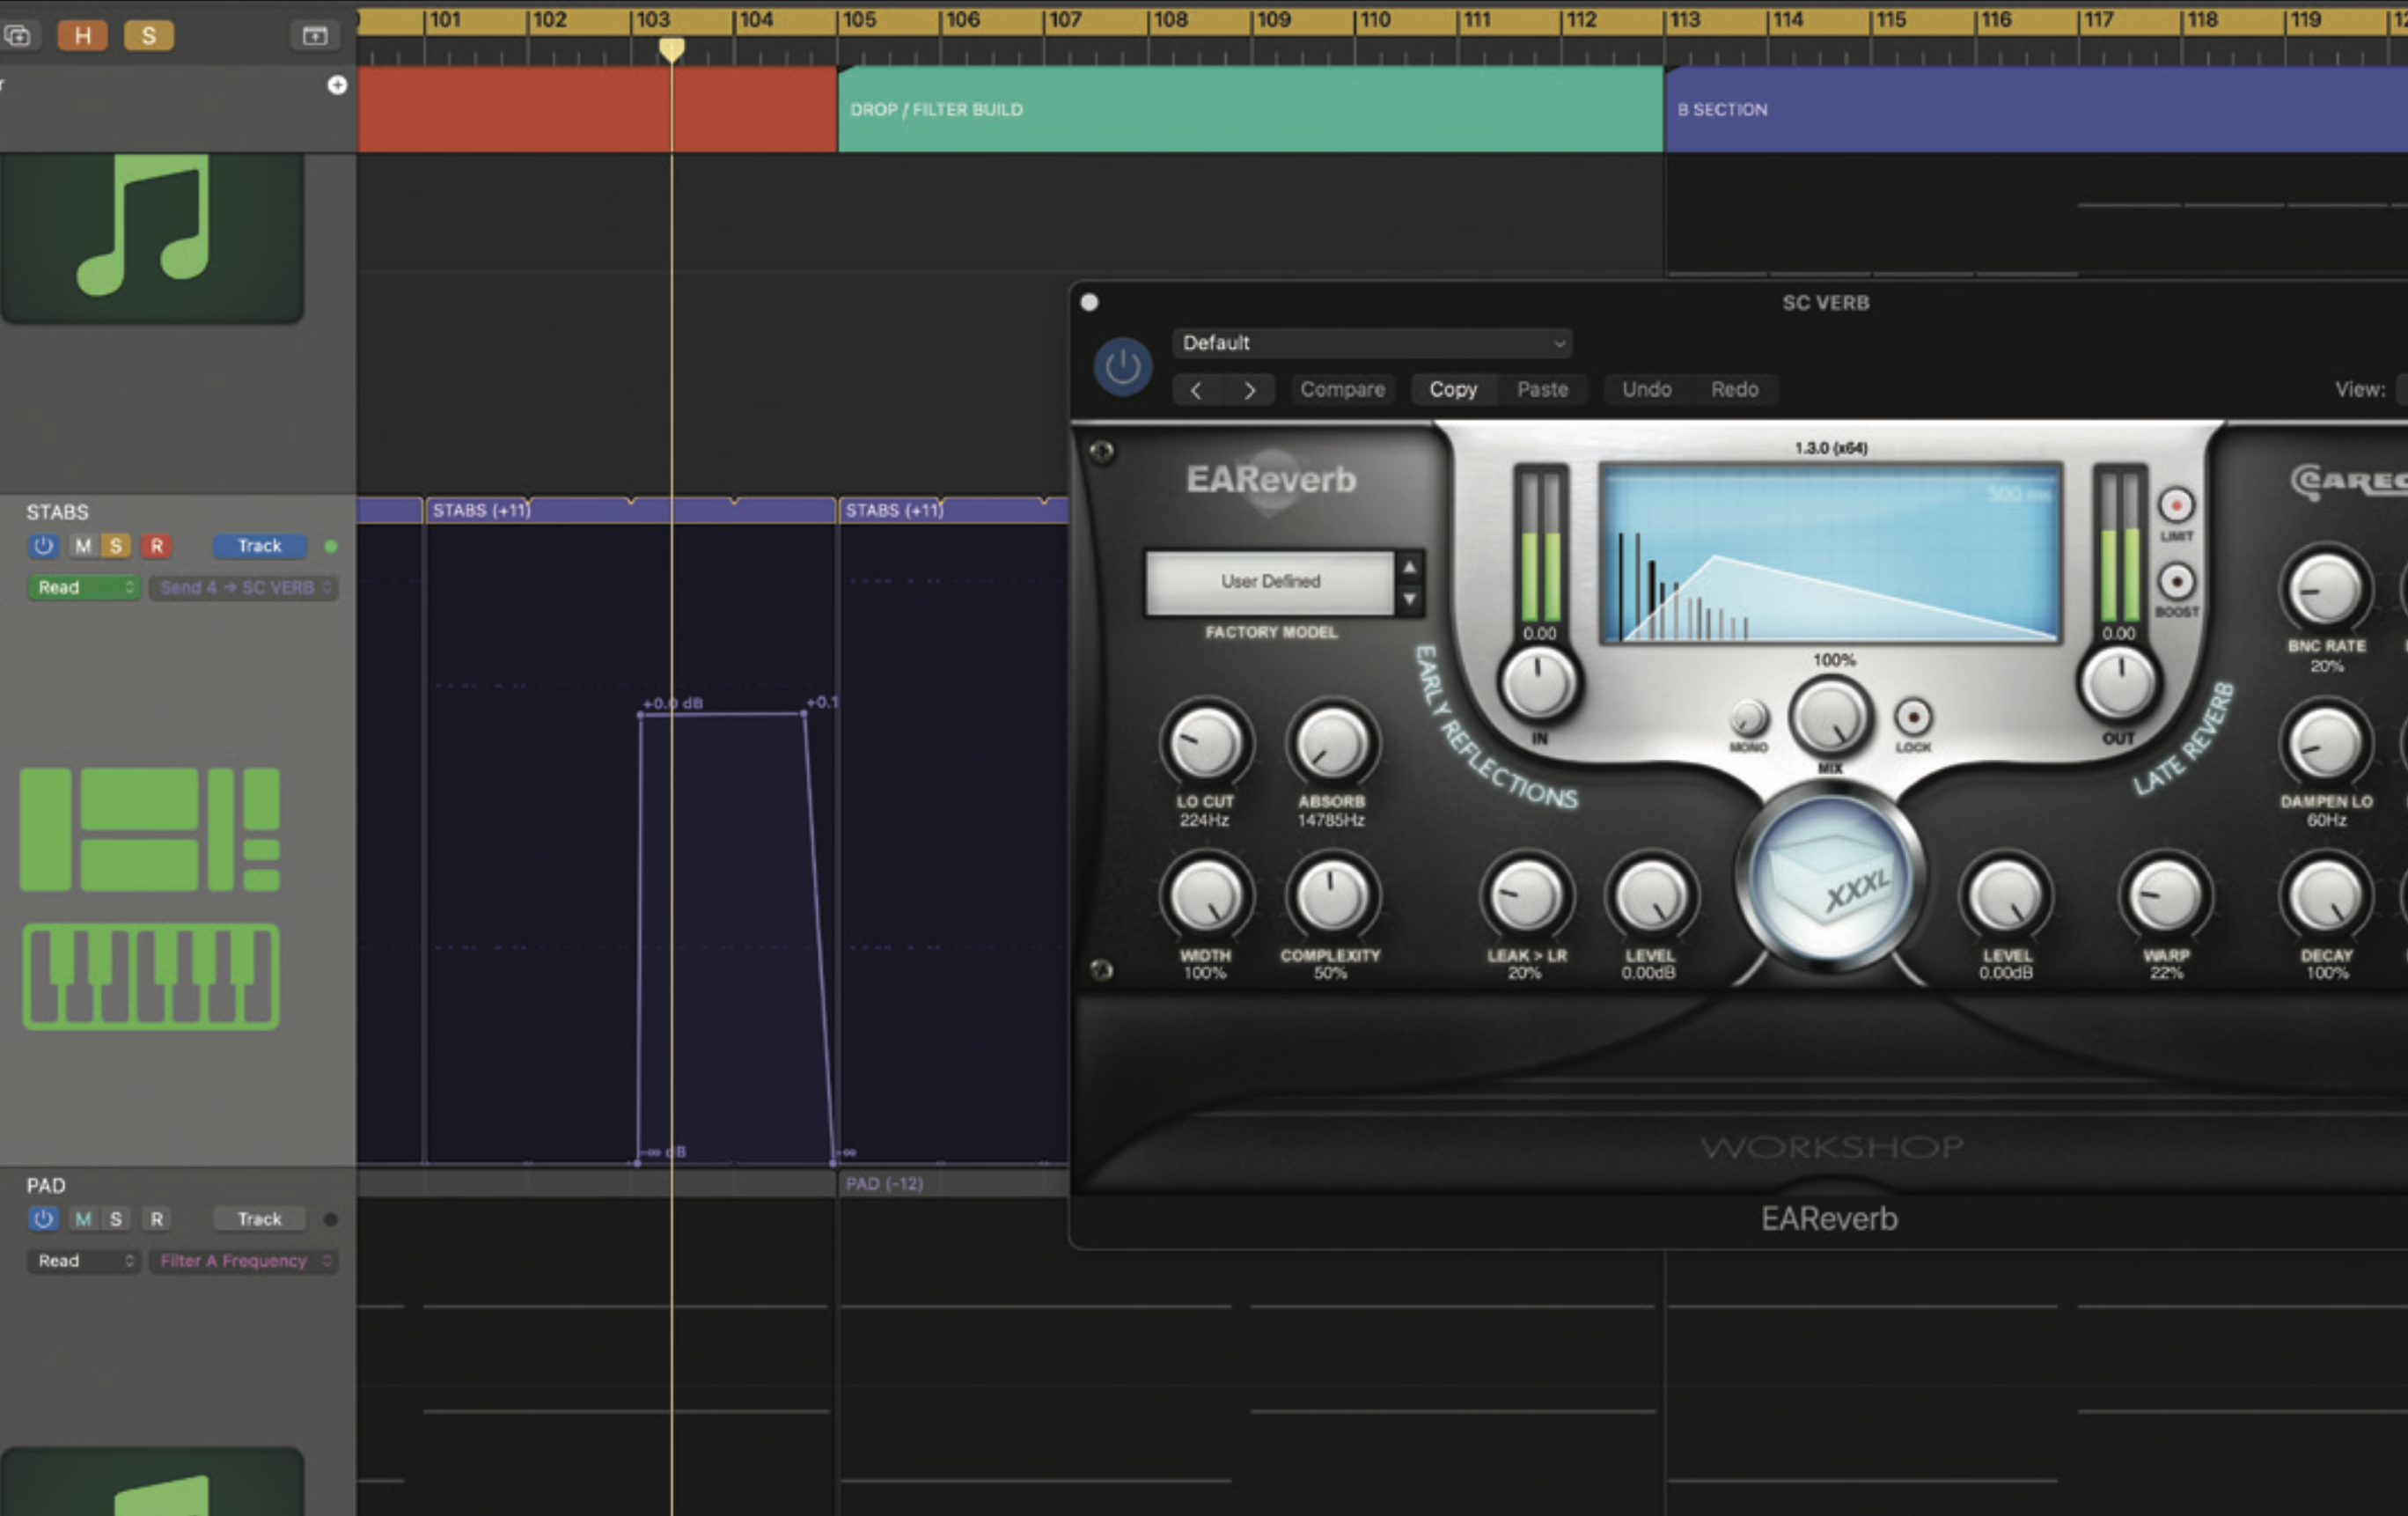
Finally, automation can be a handy tool when tailoring reverbs or setting send levels. Returning to our sidechain reverb, if we want to adjust the depth of the pumping effect for different sections, automating the compressor threshold or ratio can help achieve this.
When it comes to send levels, we can automate levels to match mix requirements of different track sections, or automate the sends in more creative ways, possibly to duck the reverb when the source sound plays. One trick is to automate sends to process specific sections of the source, like the reverb equivalent of a delay spin.
Pro tip: retro approach
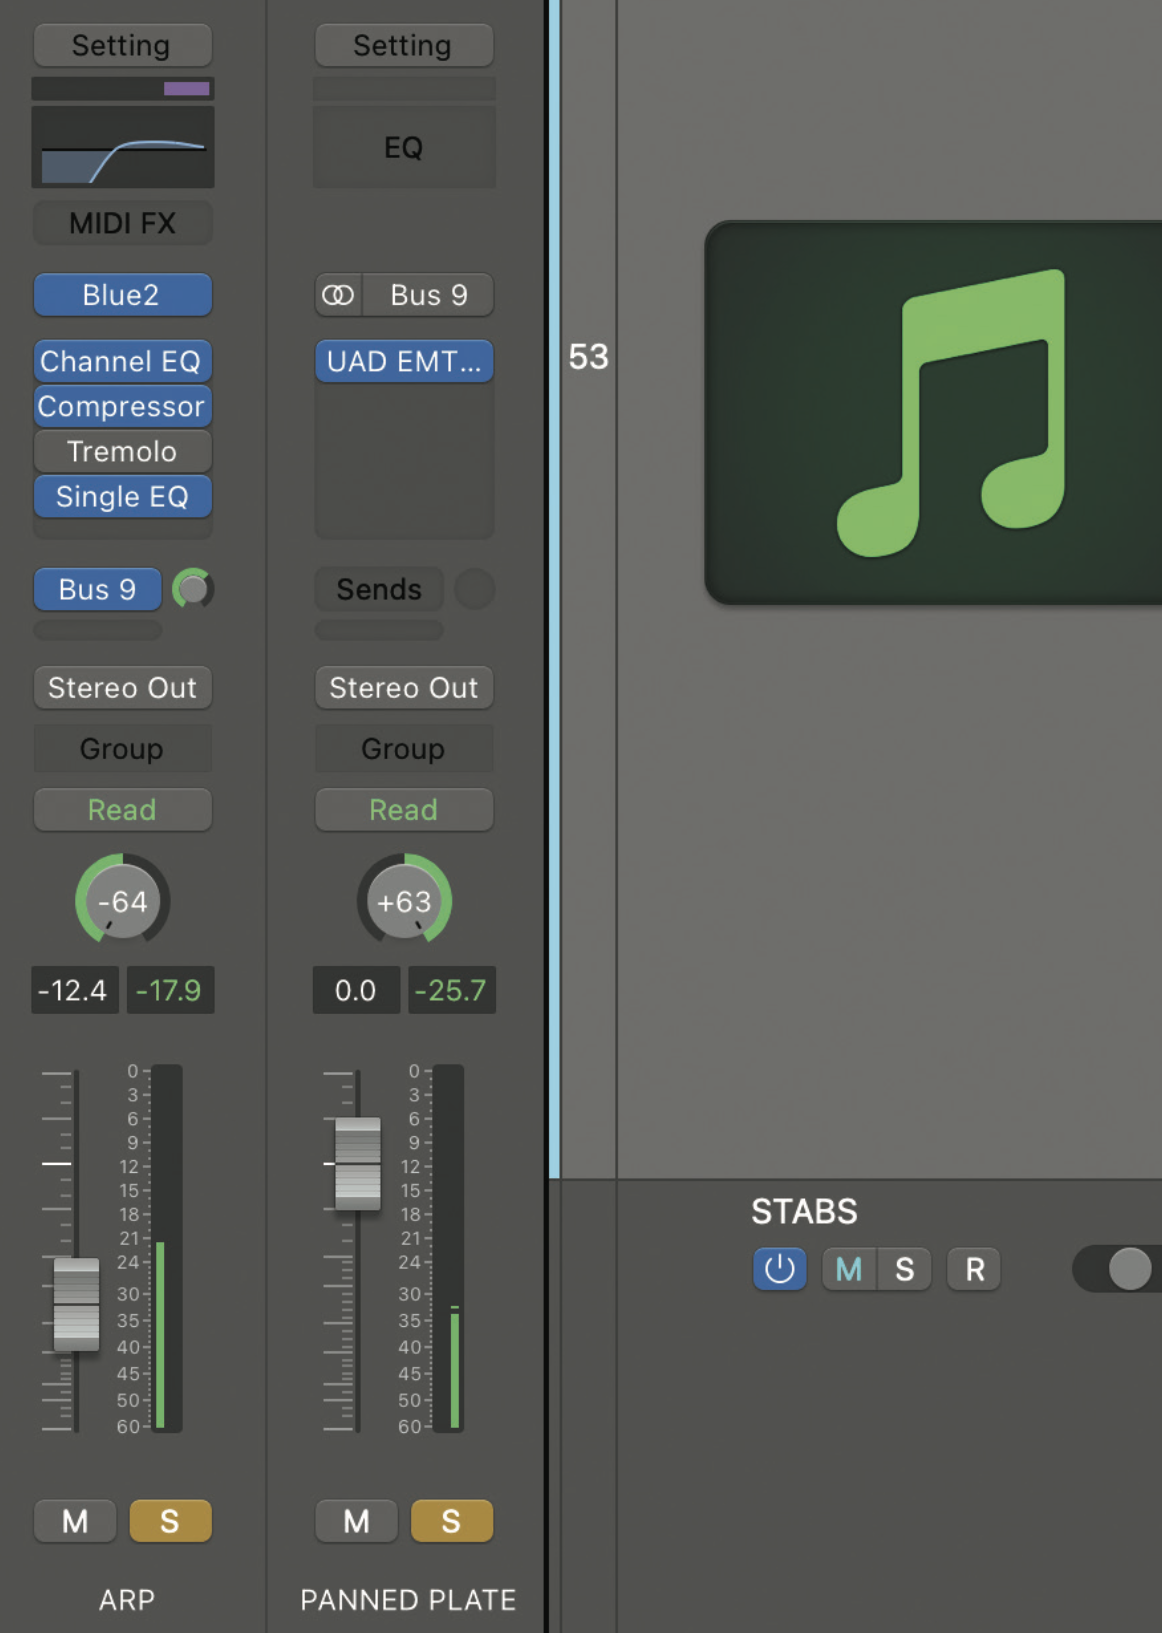
Artificial reverb has been a key component of mixing for decades, and although we now have more choice than ever and the flexibility to use as many processors as we want, it’s important not to overlook quality techniques from the past. Let’s see a couple. Both techniques buck the trend for modern reverb as they make use of mono reverbs. First, simply use a mono reverb. This may seem an odd choice, but as discussed before, blending multiple stereo sounds can create an unnecessarily messy stereo image.
At times, if we just want the flavour of the reverb without the width, mono is best. In most cases, you can simply load a mono instance of your reverb plugin, but if you can’t, place an image width plugin after the reverb to make it mono. Our second mono technique is to add a panned mono reverb. This works well when the source and reverb are panned to opposite sides, although they don’t need to be hard panned to work. It’s also worth panning just the reverb with the source sound more centred. Panned mono reverb is easily executed using an auxiliary.
Recommended listening
1. Armin van Buuren x VIZE x Leony - City Lights
Pick pretty much any Armin van Buuren track and you’ll find specific reverbs used for spot effects.
2. Gorgon City - How Do You Love?
A good example of targeted and automated use of reverb in a contemporary track.


