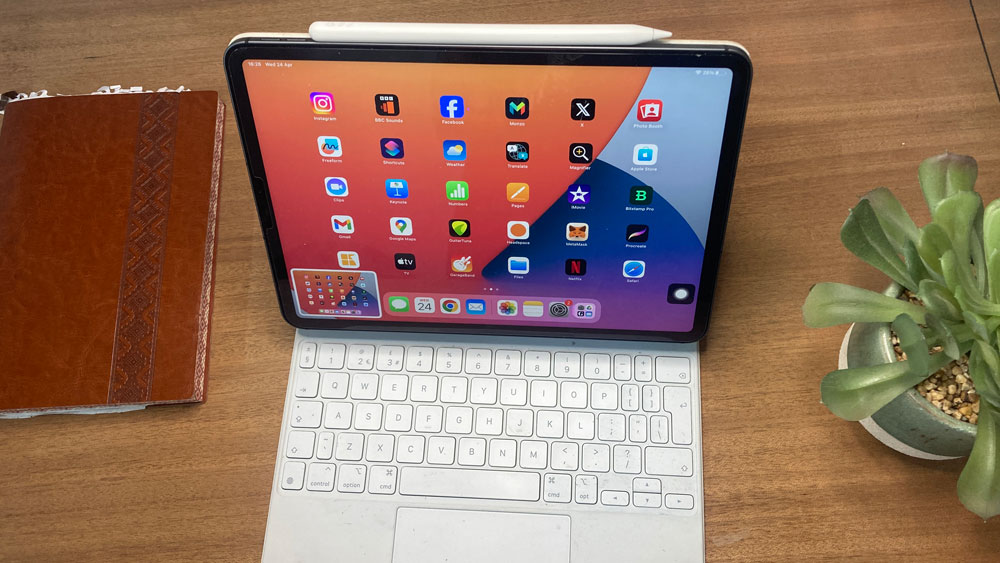
Taking a screenshot on your iPad is a handy skill, whether you want to capture a design idea or save an important message. Fortunately, it’s a straightforward process, and the same for most iPad generations, including the iPad Air & Pro.
But if you're new to iPad, or you've never had to do it before then it may not be immediately clear. That's why we've put together this guide, and even included two handy videos. So, what is the easiest way to screenshot on an iPad?
How to take a screenshot using buttons
01. Locate the buttons
On your iPad, find the Home button (for older models) or the Side volume buttons (for newer models without a Home button).
02. Press Simultaneously
Press and hold the Home button (or either side button) and the Power button at the same time.
03. Screen captured
You’ll see a quick flash, and your screenshot will be saved to your Photos app.
How to use assistive touch
01. Make sure Assistive Touch is turned on
Simply go to Settings > Accessibility > Touch > AssistiveTouch; make sure AssistiveTouch is ON (a little touch button will appear).
02. Choose your action
Custom action to decide whether you’d like to screenshot with either a single or double-tap, or a long press.
How do I edit a screenshot on iPad?
After snapping you can either edit directly by tapping the thumbnail that appears in the corner of your screen, or go to photos; Screenshots to view there.
If you need a new iPad, see our best iPad for drawing guide. Or see the deals we've found below:


