Watch video: Clear the streets! Remove people from your photos
Some of the world’s most popular and spectacular locations are unsurprisingly very popular as tourists flock in droves, whether it’s Rome’s Colosseum, the Eiffel Tower in Paris or the Great Pyramids of Giza in Egypt. Even busy cities like Edinburgh or seaside beach towns are often full of people and tourists going about their day.
As a photographer you may be able to perfectly wait for a time when there’s a gap, and you’re able to take a shot without any people. However, for many locations this just isn’t possible due to the high footfall. Another option would be to beat the crowds and arrive early, but this restricts you to the type of available lighting you’ll get at those more unsociable hours.
So, in this project, I'll look at two different ways you can work around this issue for cleaner scenic shots – one in-camera and another method using Photoshop. Let’s get to it!
Technique 1: Stack and stitch your shots
1. Set up on a tripod
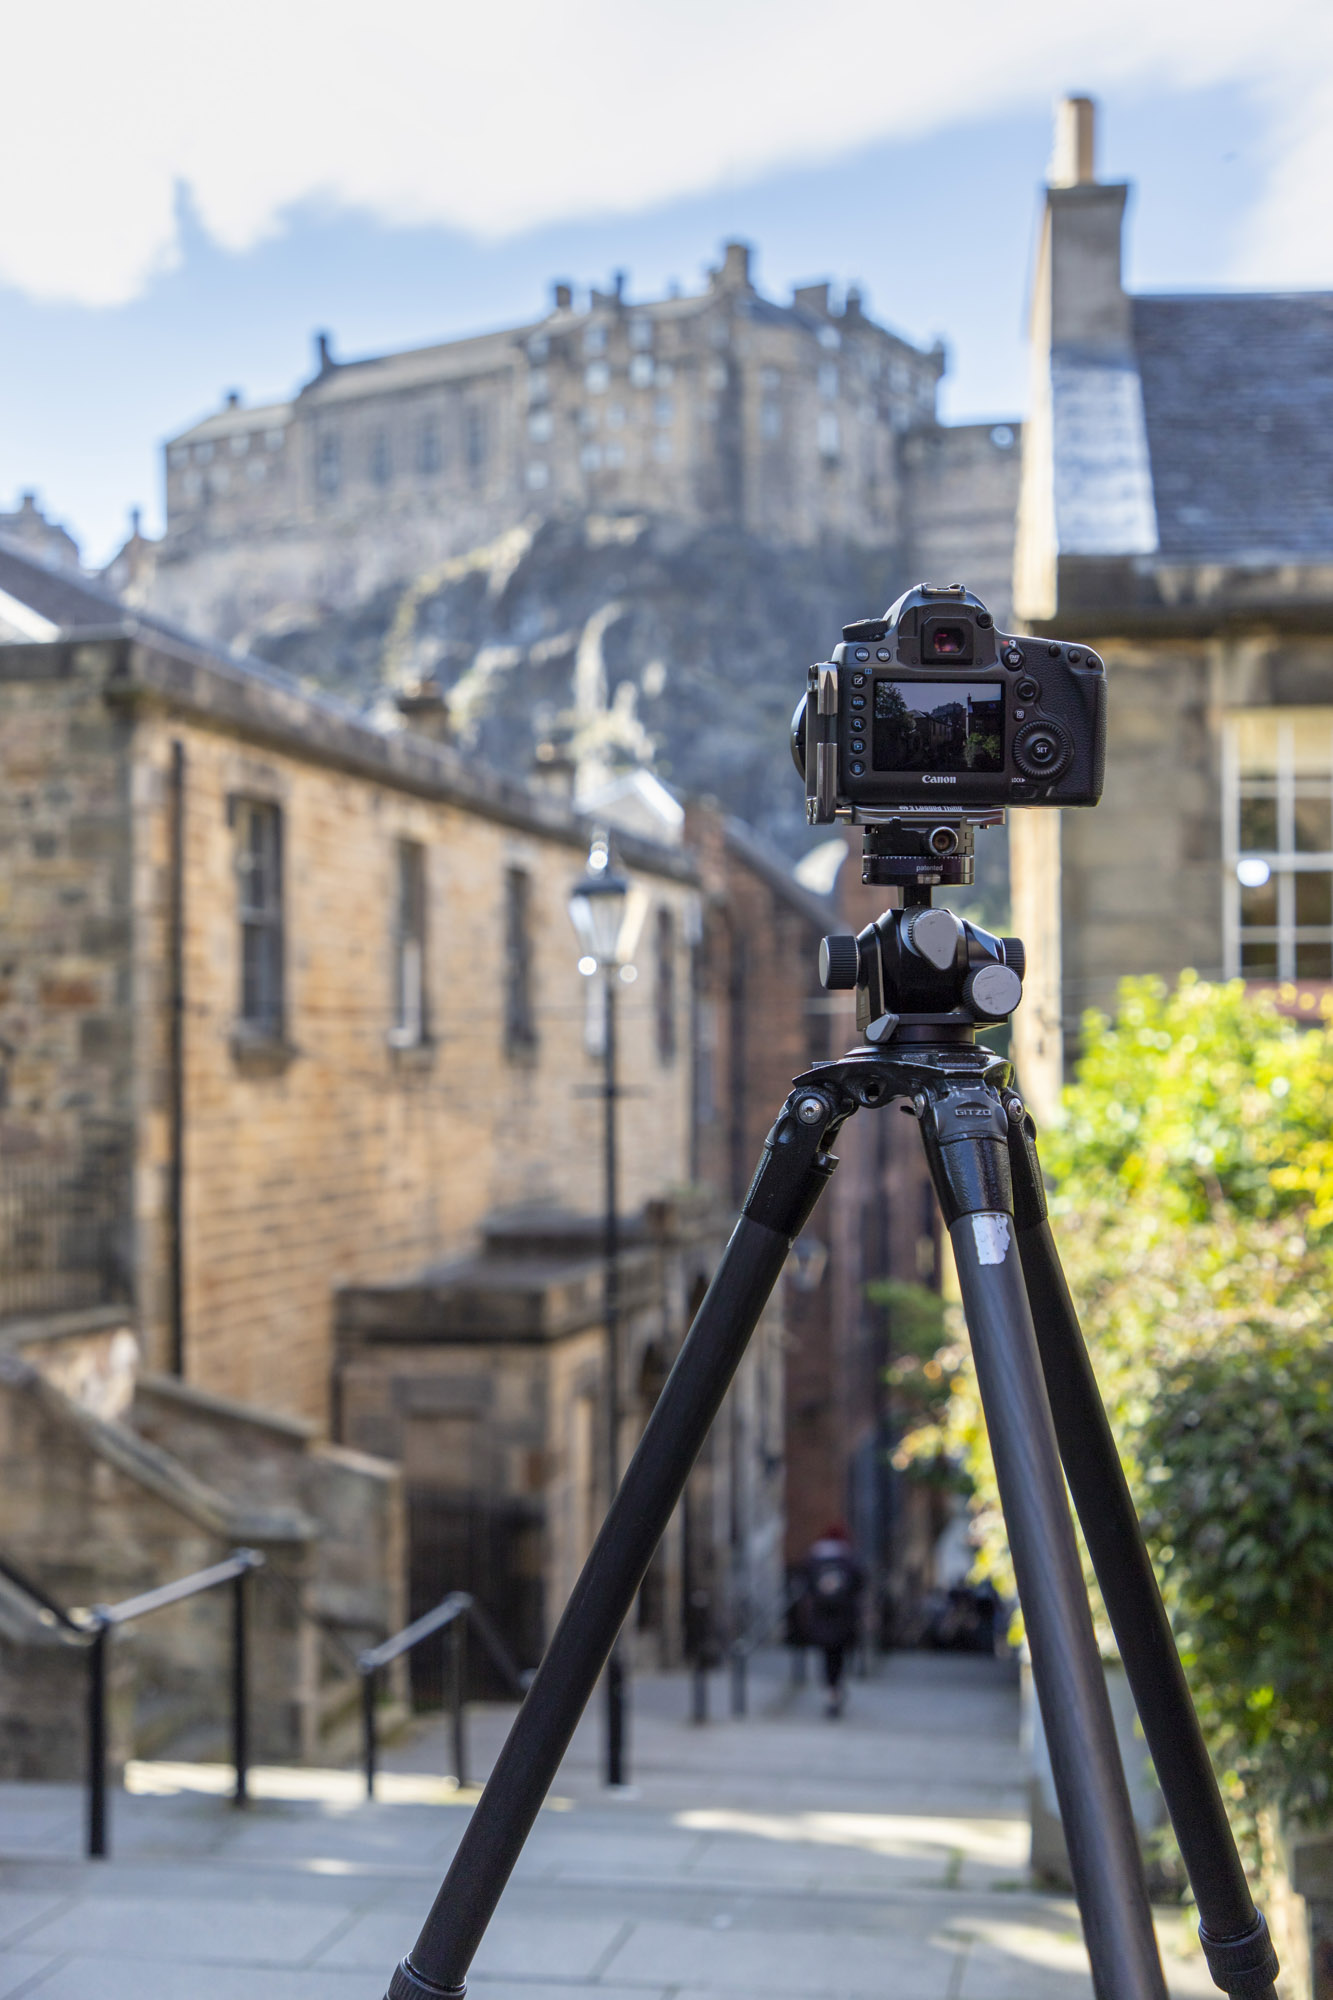
You’ll be taking multiple images of the same scene and stitching together the best parts in your editing software. To make the stitching process as simple as possible, it’s best to set up on a tripod and lock off the focus and settings for consistent results.
2. Wait for movement
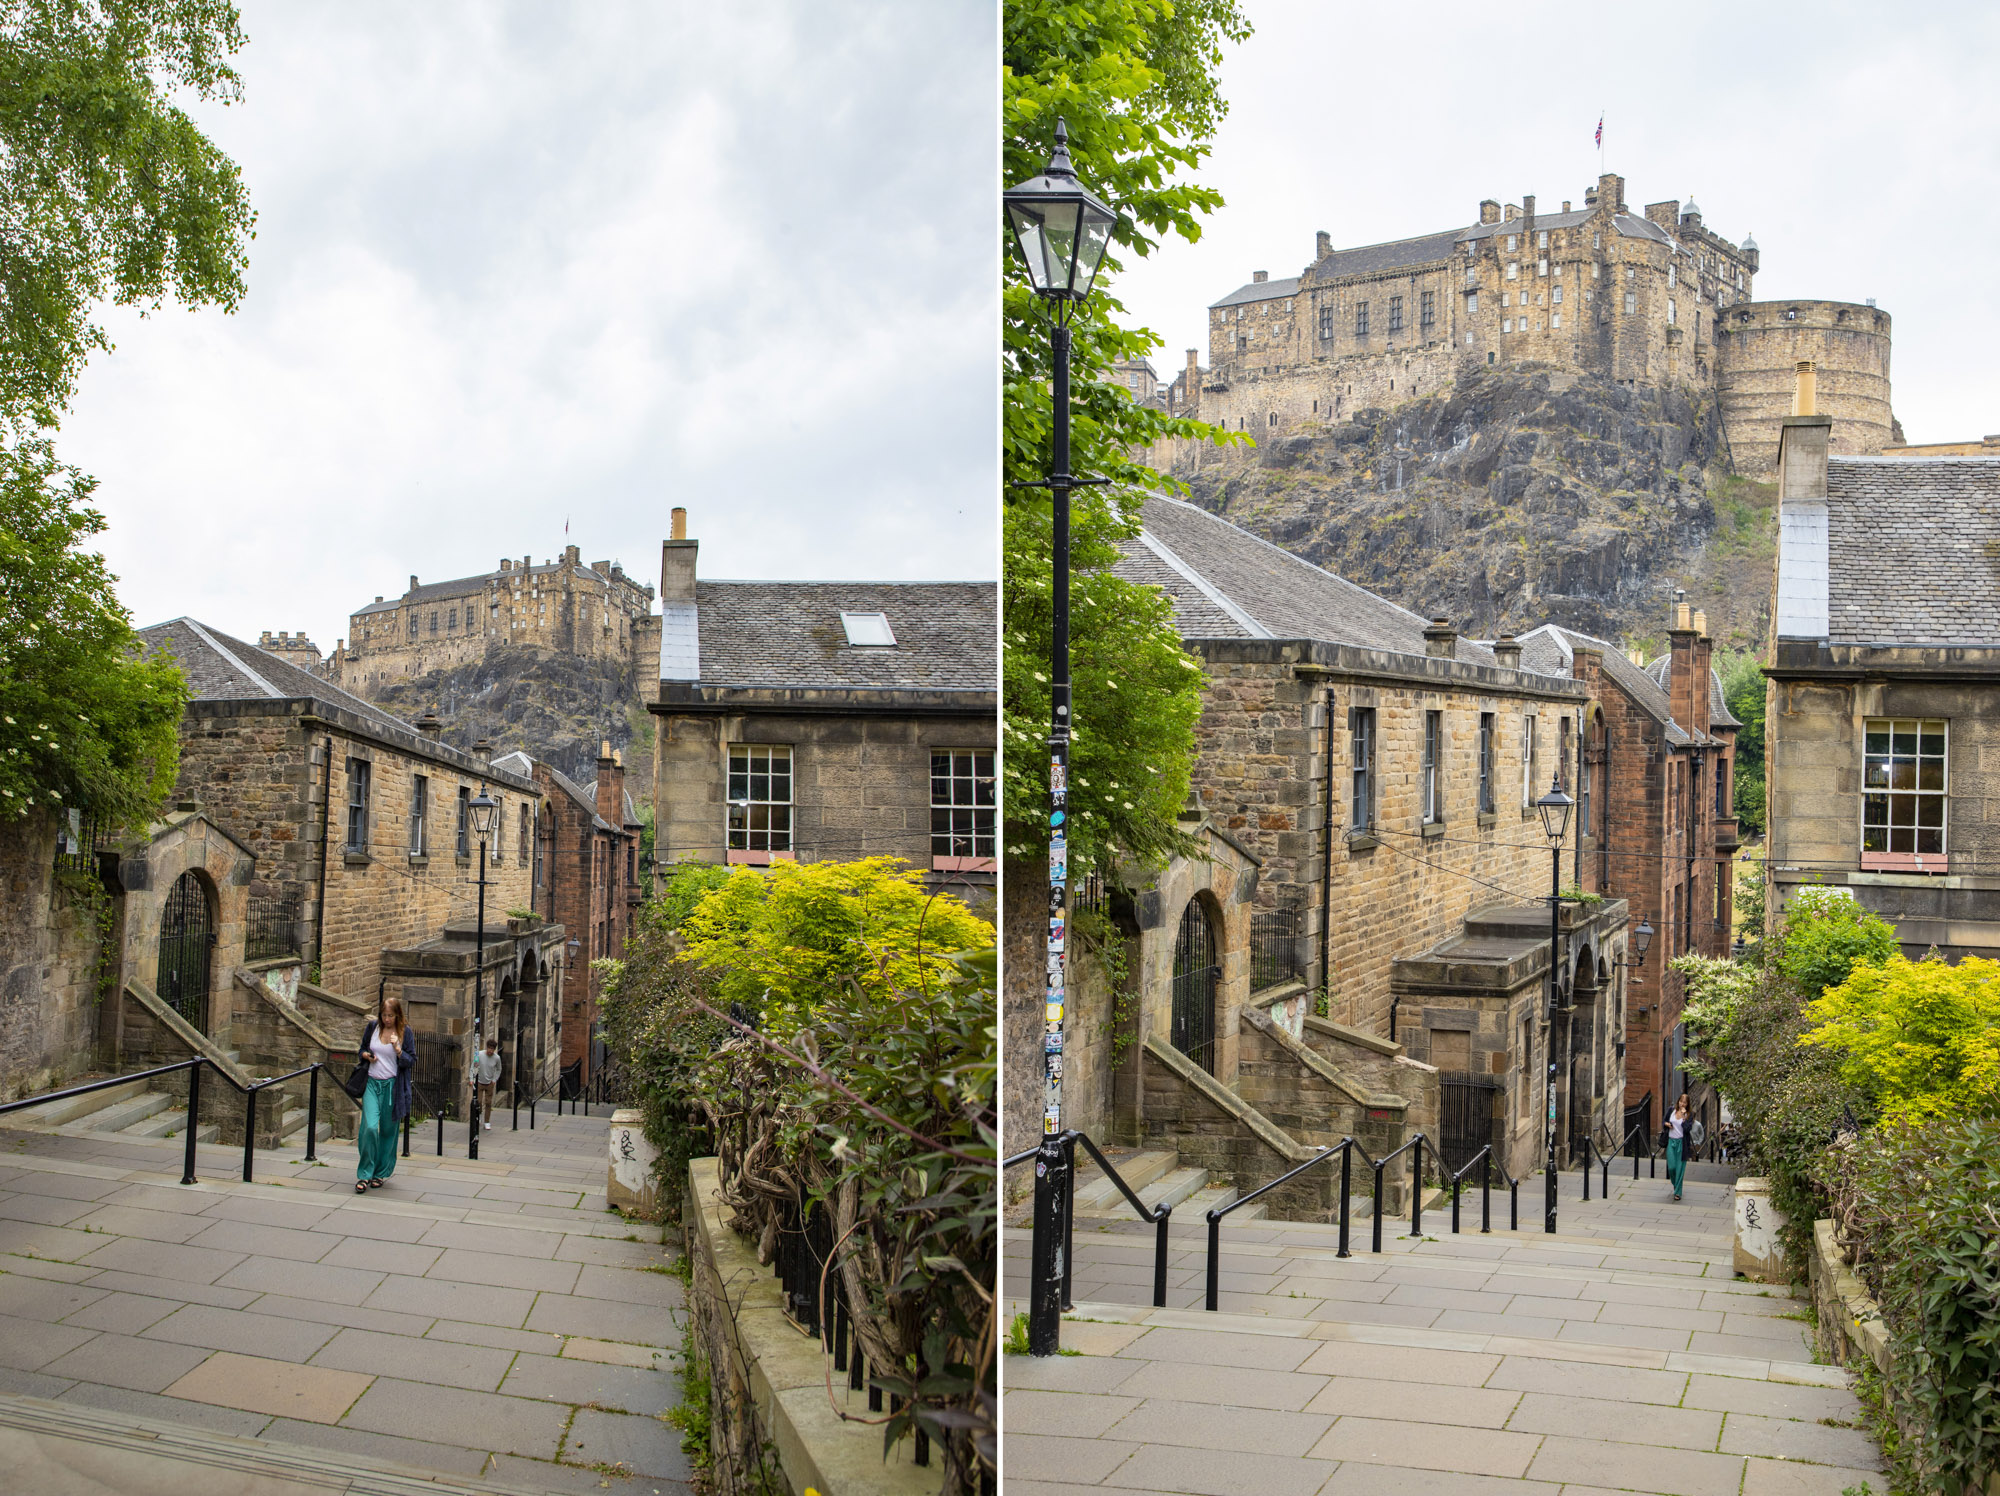
Now you’ll need to take multiple images, patiently waiting for there to be enough movement between frames, so you have enough of the ‘good’ parts of the scene thaht you can stitch together to make a totally clear street shot in post-production.
3. Blend in Photoshop CC
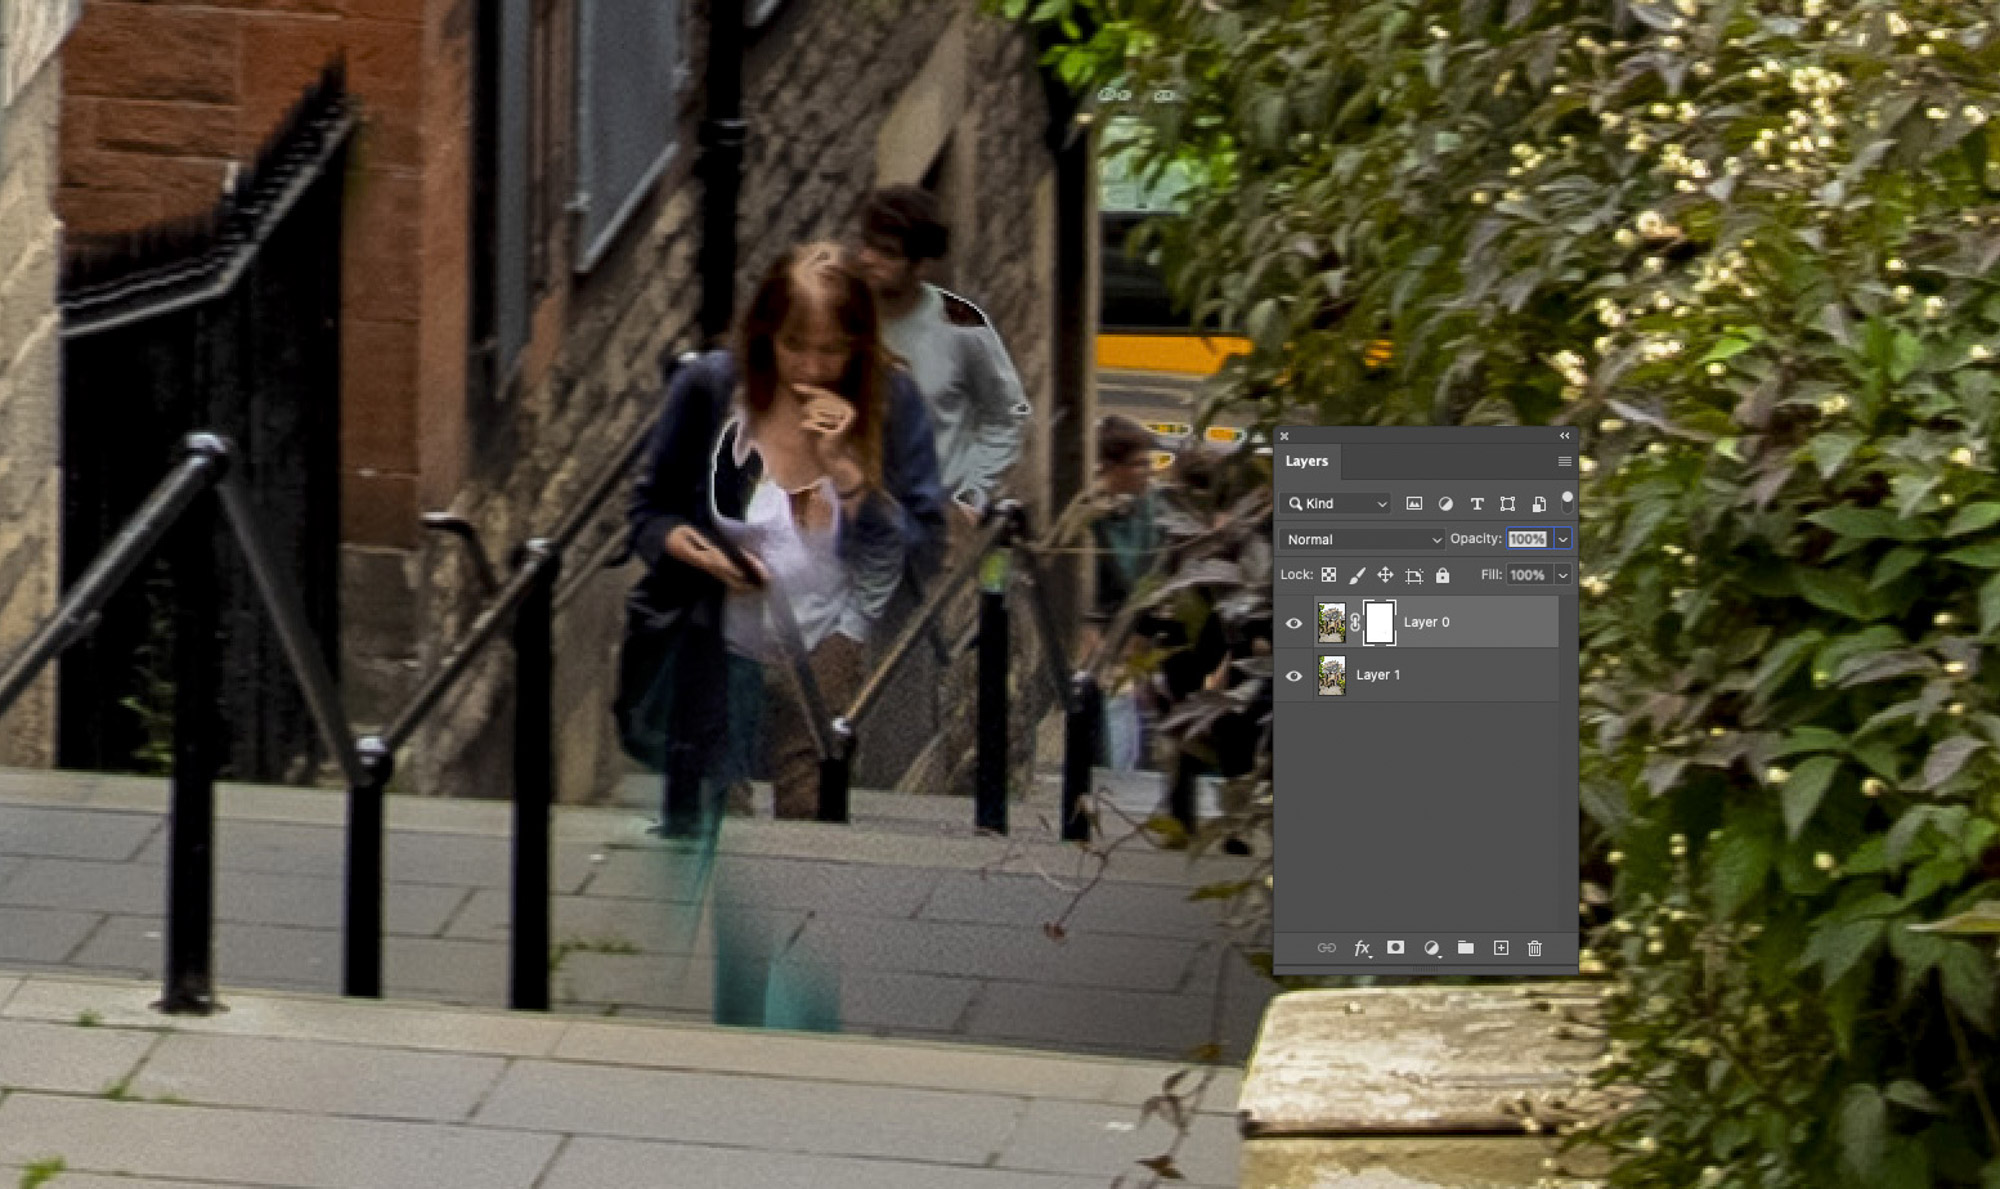
Select all your images in Adobe Bridge and go to Tools > Photoshop > Load Files into Photoshop Layers. Click the Add Layer Mask icon, then with a soft black Brush tool paint over the area where people are to reveal the clear scene on the layer below.
Technique 2: Blur people with a long exposure
1. Attach your filters
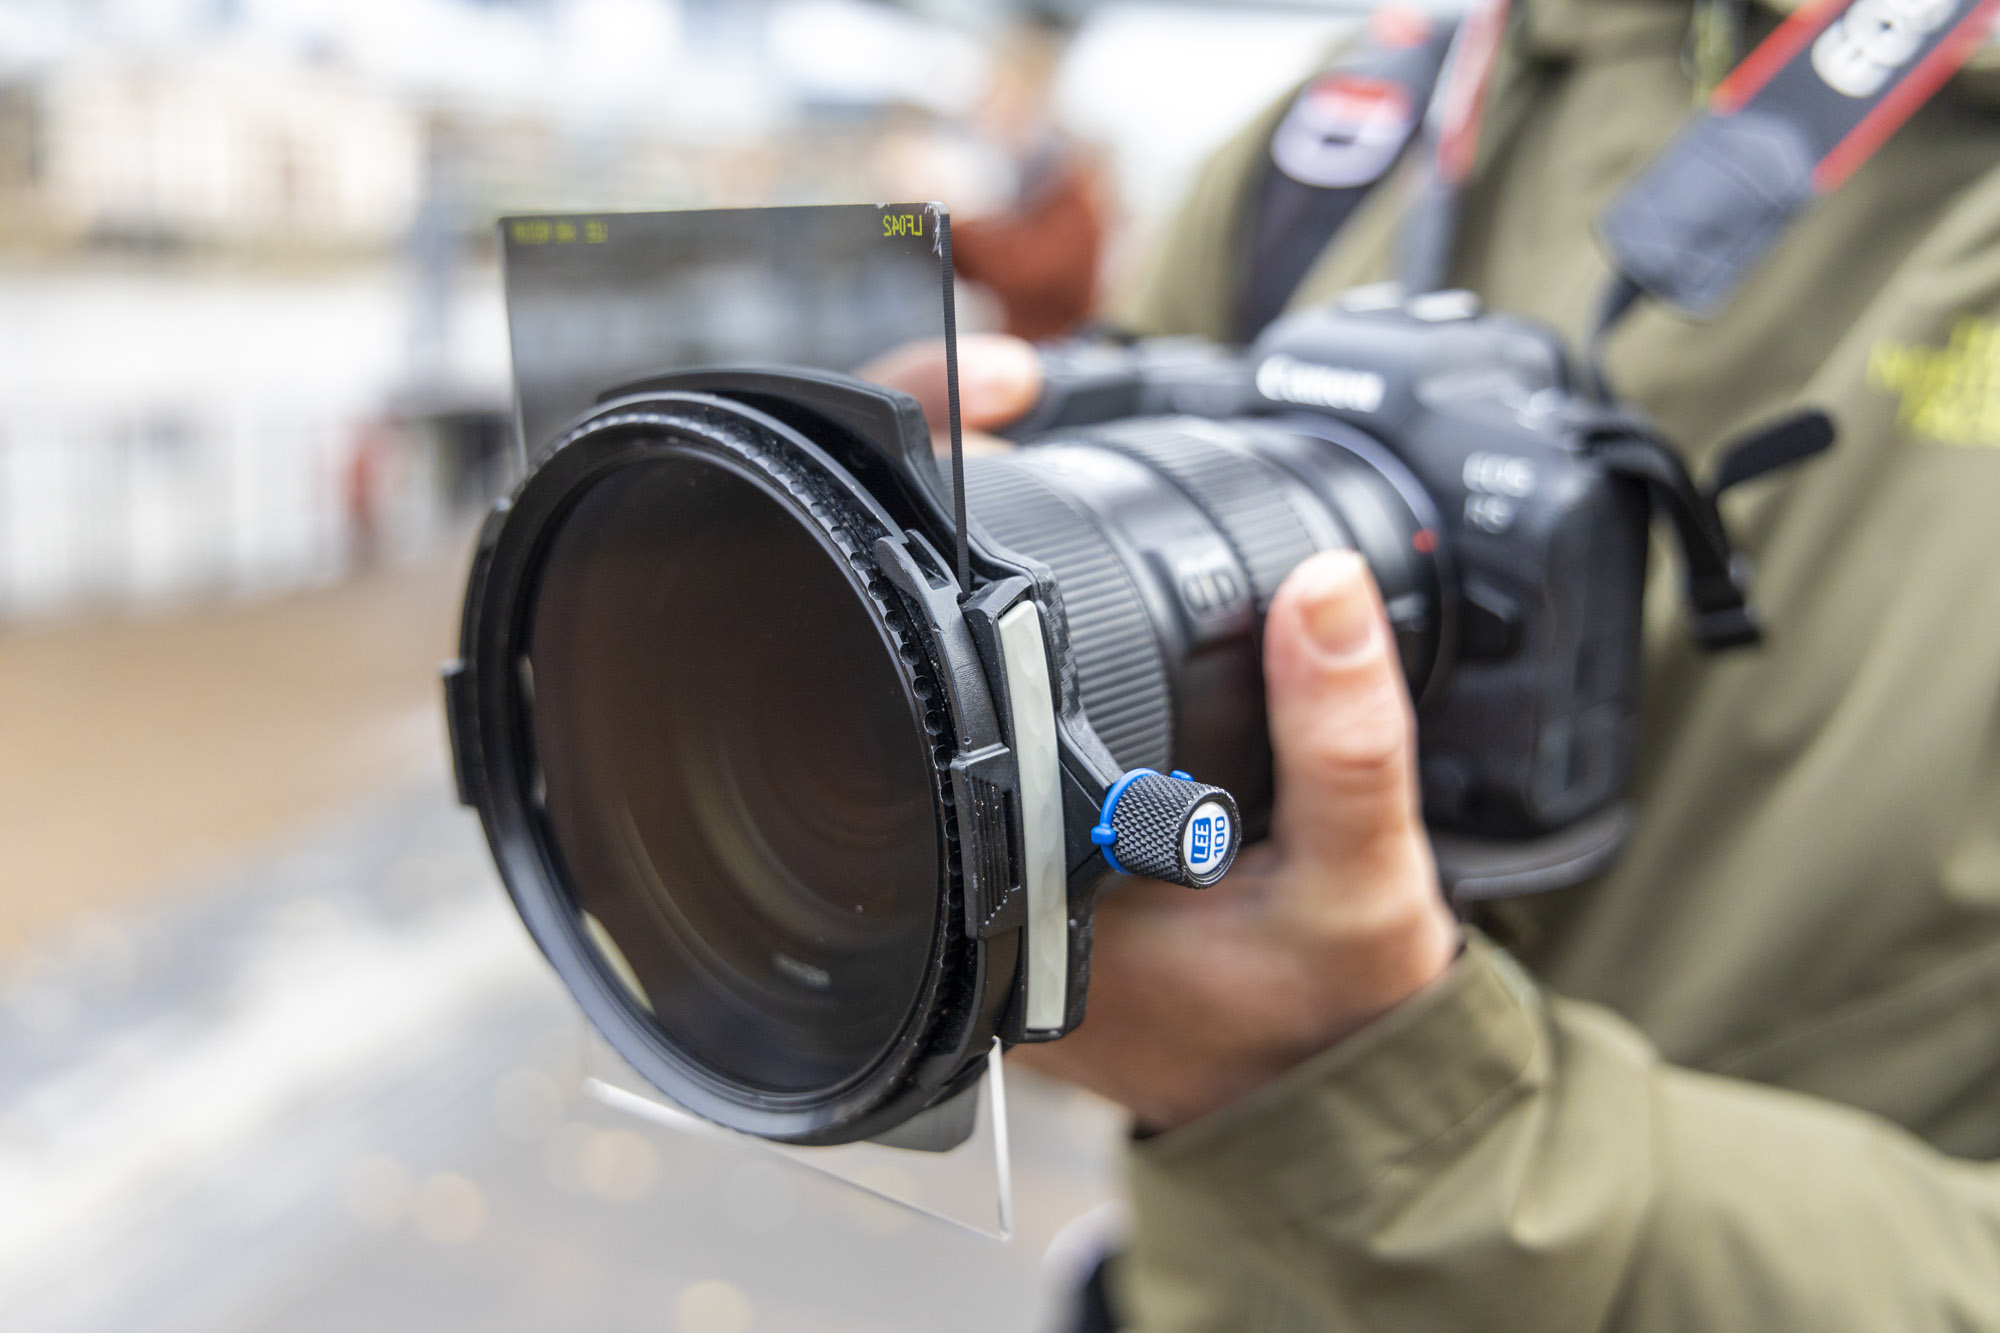
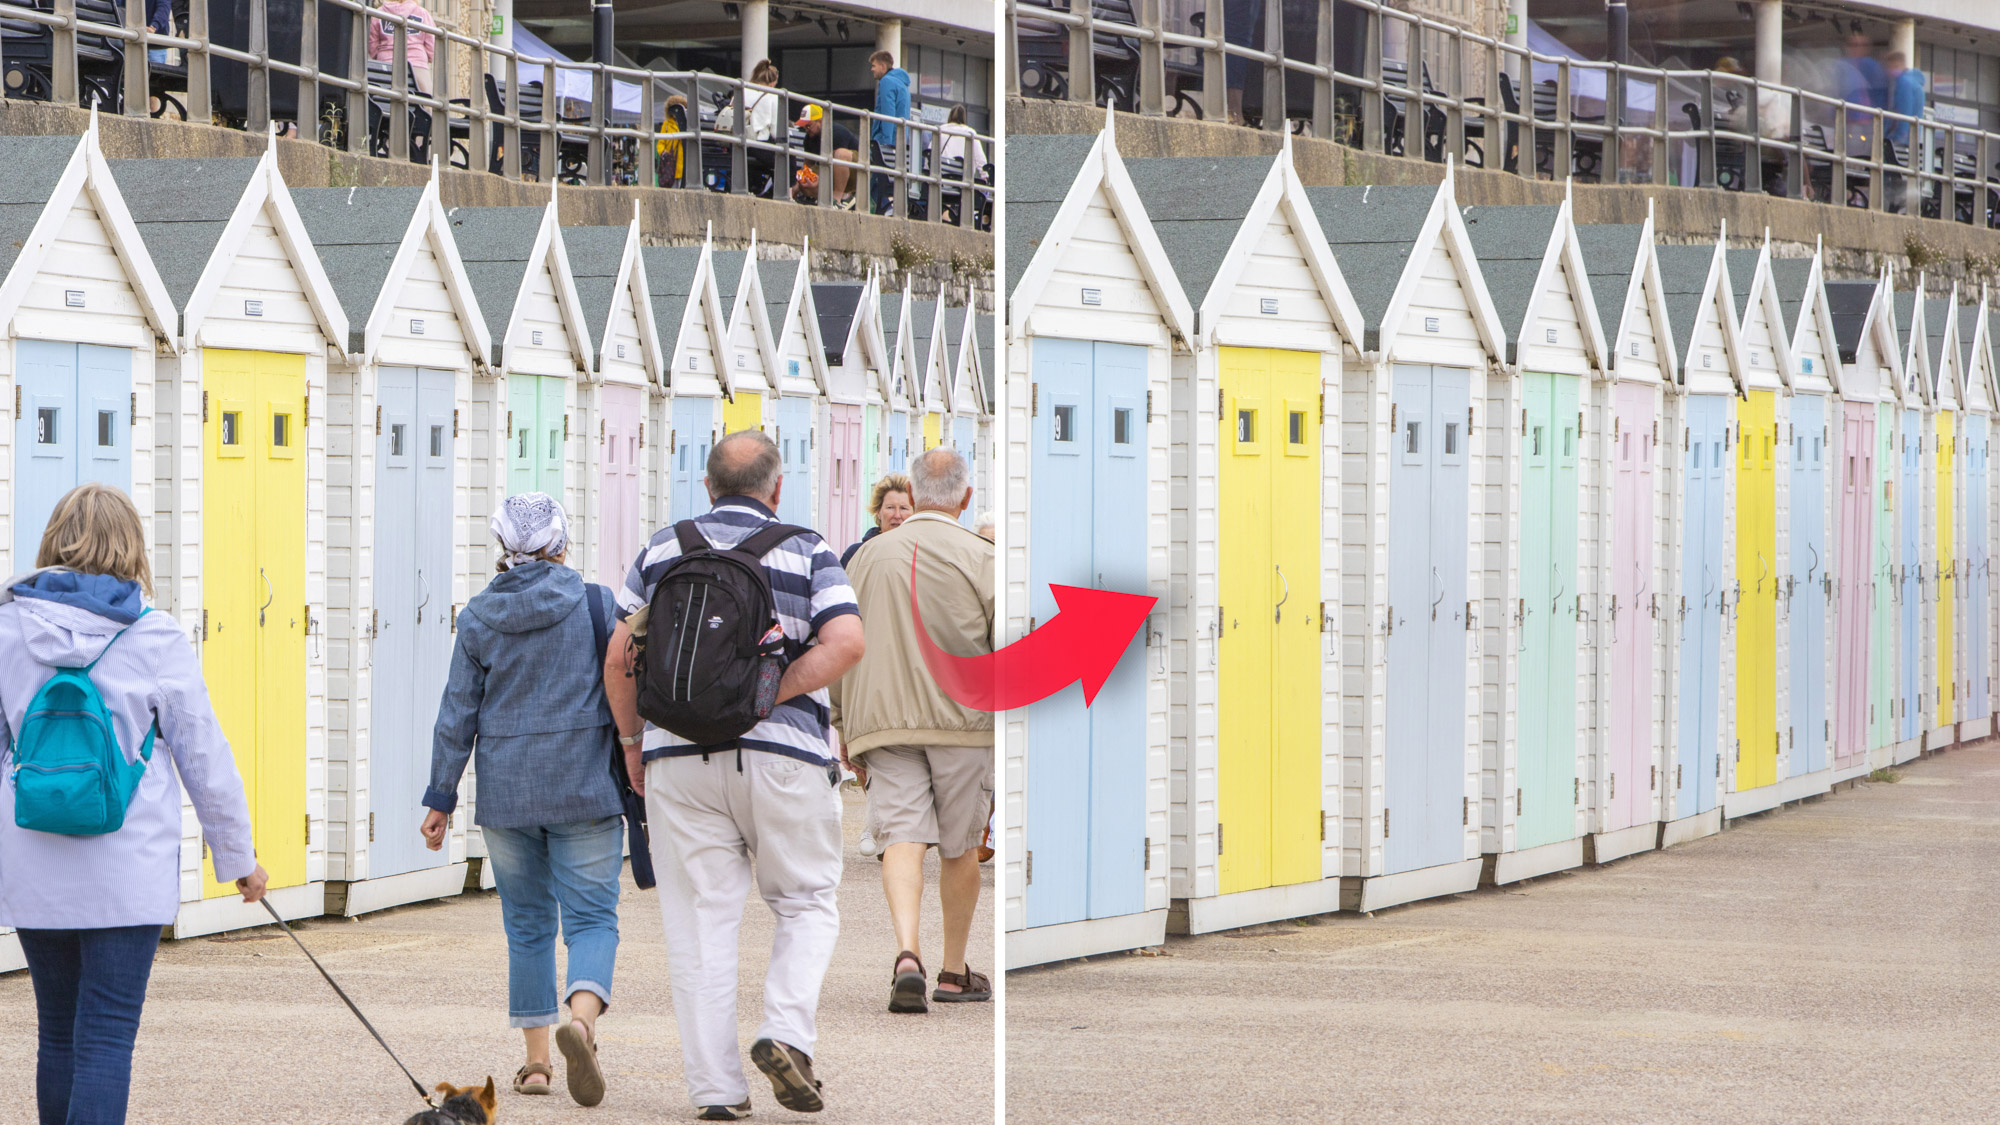
Another technique is to use a long exposure to blur the people in-camera to remove them, so that only the stationary buildings are left sharp. Set up on a tripod and attach filters like a neutral density or polarizer which will both reduce light flow.
2. Get set up in a busy location
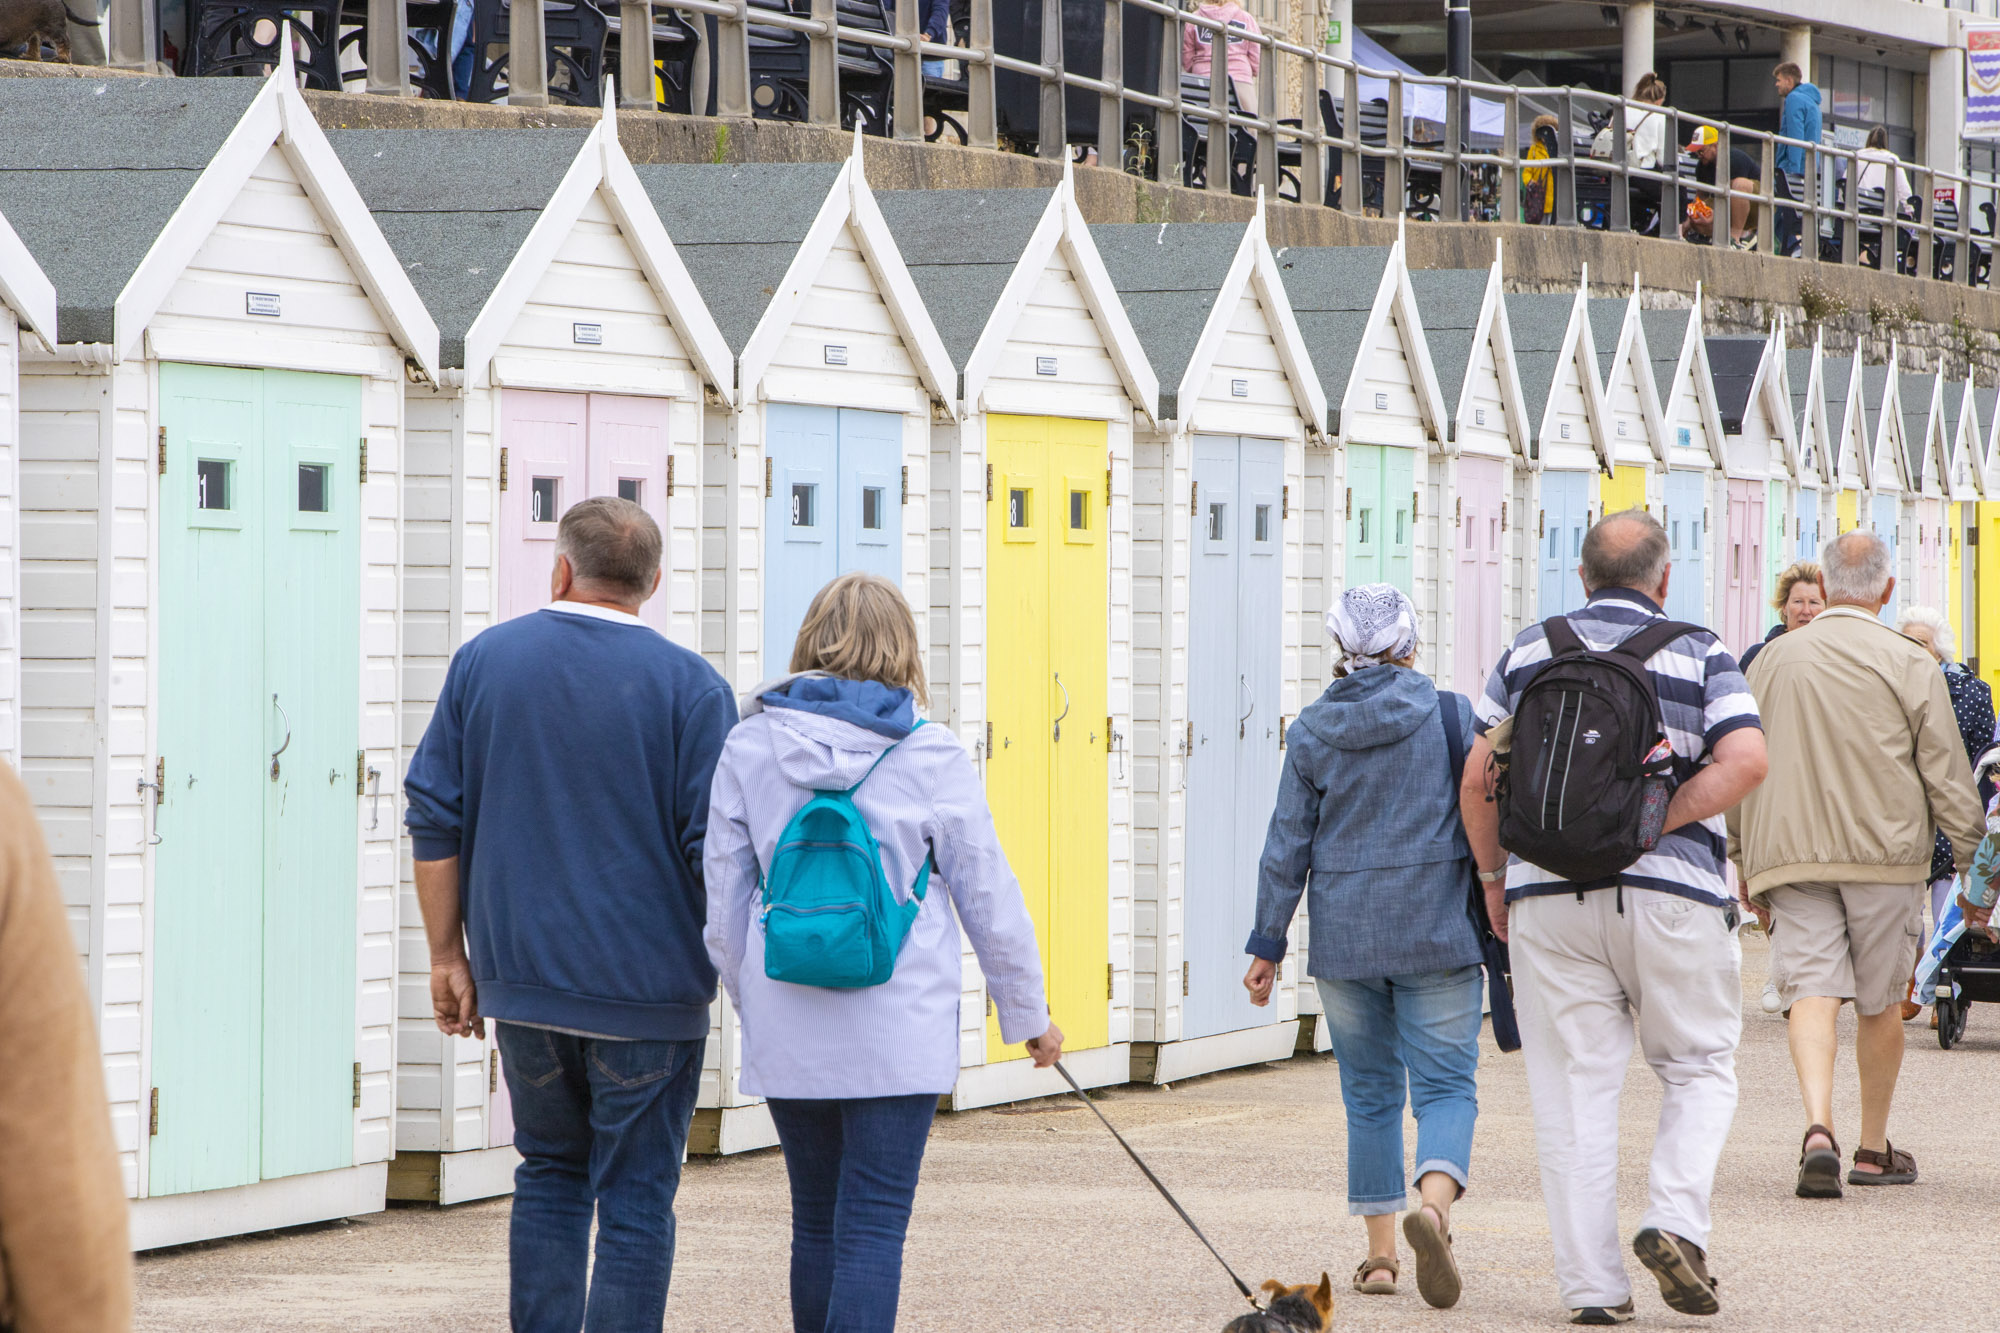
This busy coastal path in Lyme Regis was perfect to demonstrate this effect, as I wanted a shot of the colorful beach huts without the crowds of people that looked a bit distracting. I set up on a tripod and focused about a third of the way in.
3. Take a long exposure
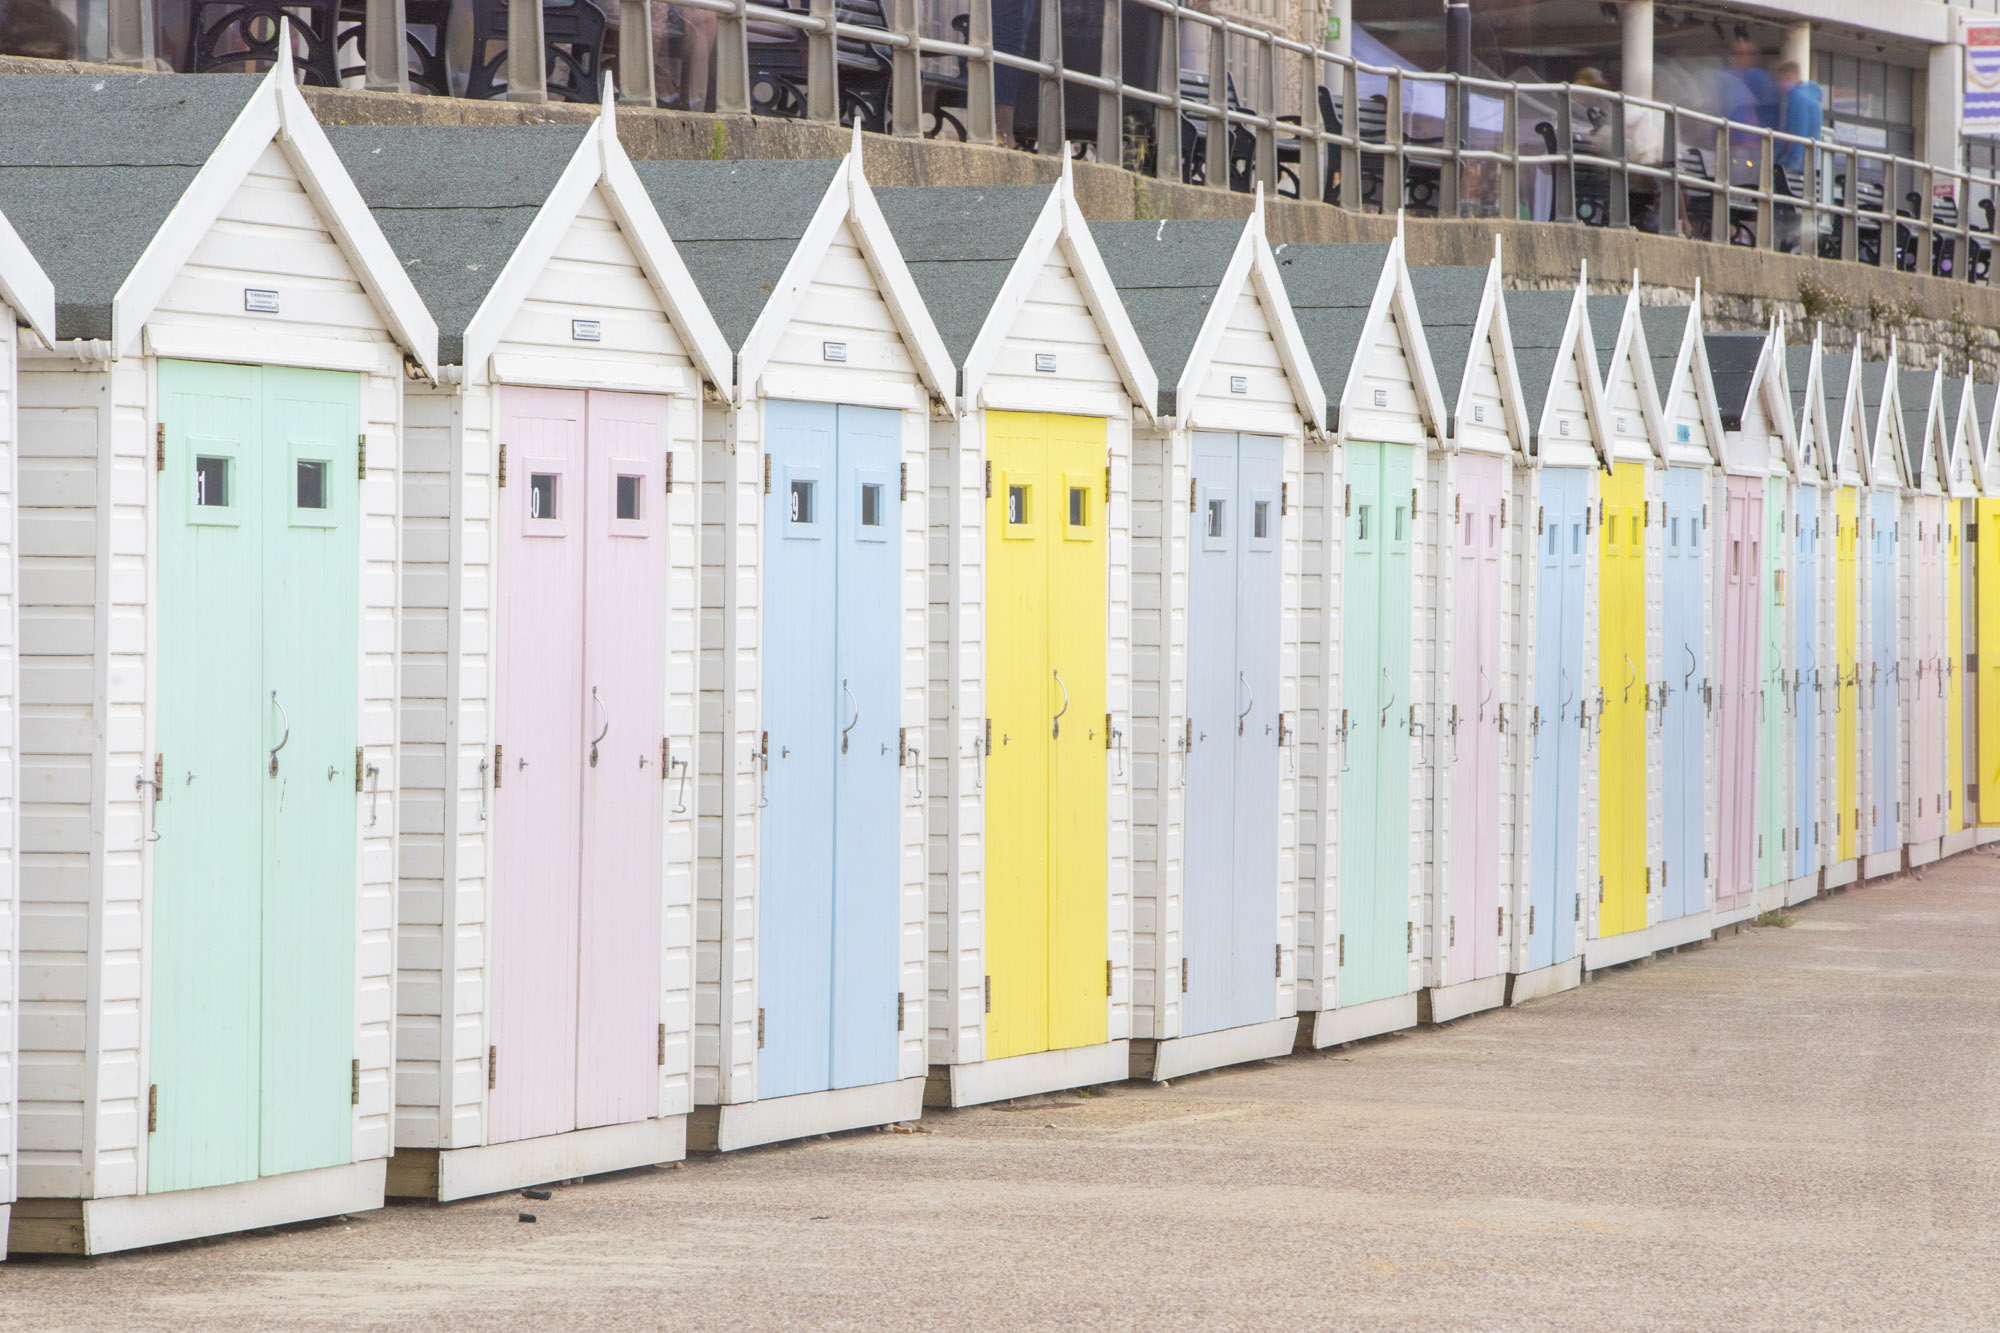
Your exposure time will depend on the strength of the ND filter you use and also how much time is needed to blur the people – if they don’t move much during the exposure they will appear as a dark blur, so you’ll need a longer exposure.
If you're serious about scenery, take a look at the best cameras for landscape photography along with the best lenses for landscapes.
