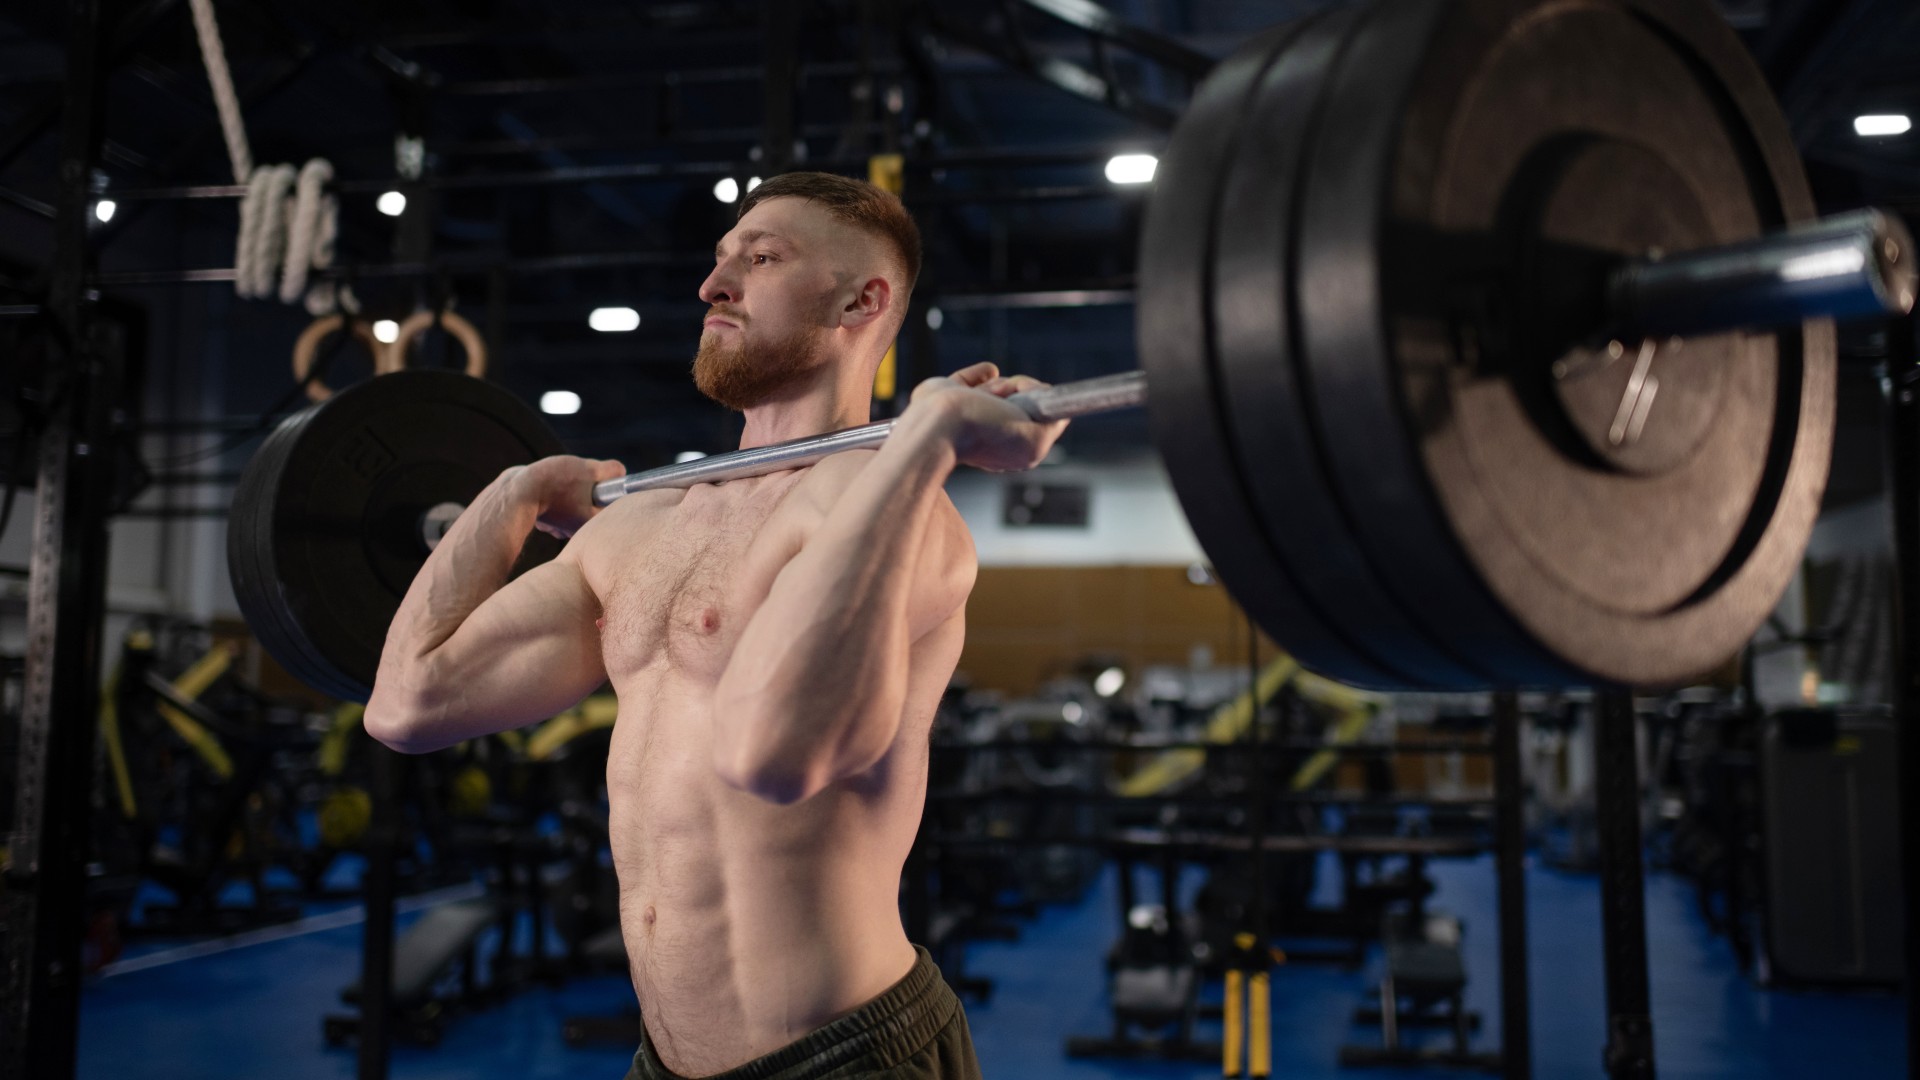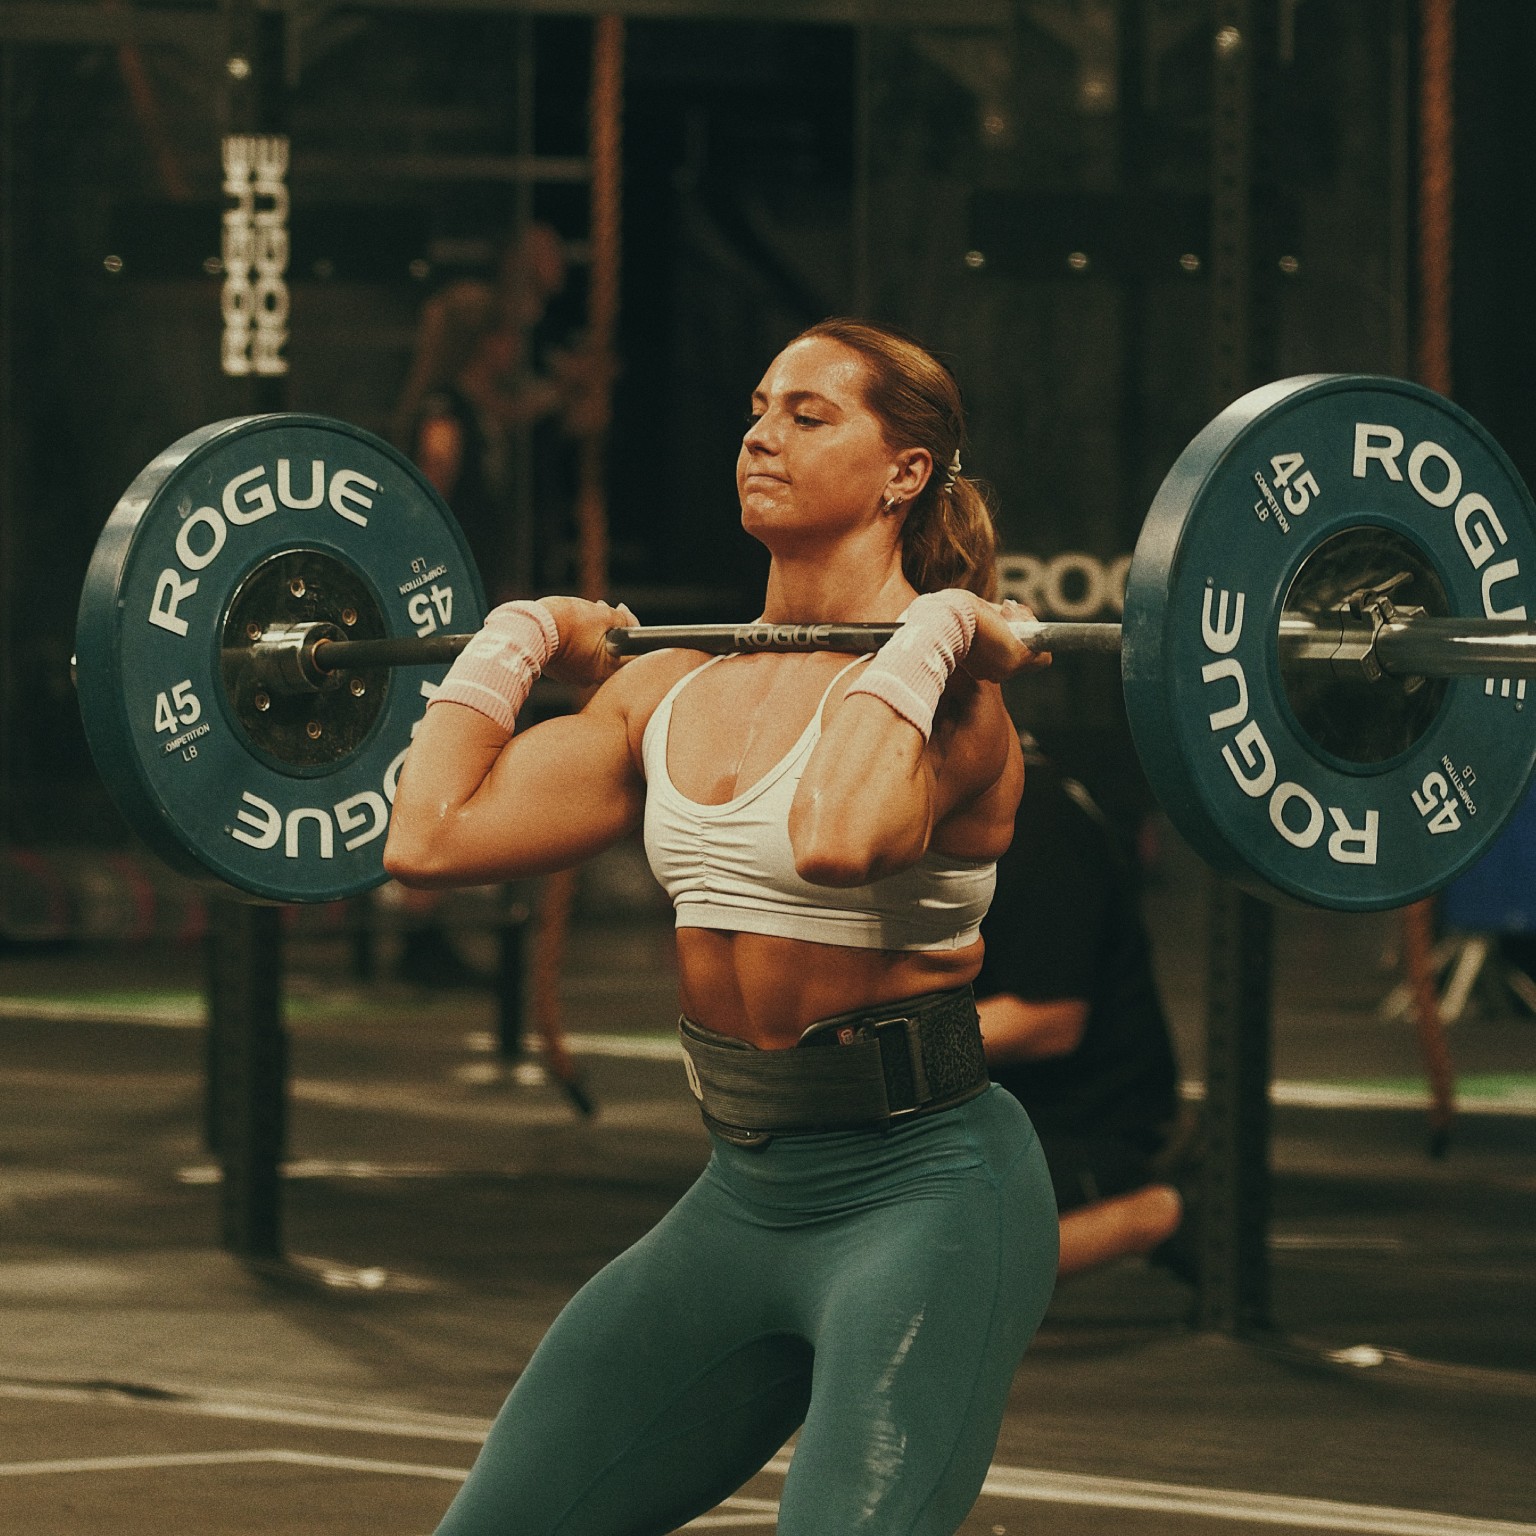
The jerk is a technical exercise that involves explosively lifting a weight from the shoulders to an overhead position. In competition, this is done using a barbell, but you can perform dumbbell jerks and kettlebell jerks, too.
Combined with the clean, clean and jerks crop up just about anywhere during CrossFit, strength and conditioning and comps. But the move — a staple Olympic weightlifting barbell exercise — needs mastery.
We spoke to CrossFit coach Mike Smith for a step-by-step guide to learning it, and we also reveal the benefits of the jerk, jerk variations you can try, and how to lift according to dumbbells, kettlebells and barbells.
Grab the best cross training shoes for your workouts and buckle up. Here’s what he told us.
What is a jerk?
The jerk builds explosive power and strength, and depending on how it’s programmed (sets, reps, workout style and load), can also improve muscular endurance.
Once the weight has been cleaned to the shoulders, the lifter will explosively press the weight overhead. However, several stages of the jerk must be learned successfully to shelve the weight in the final overhead position properly, especially if you’re competing with the exercise.
What is the technique of a jerk?

Setup will get you correctly positioned to initiate the jerk, then you have the dip, drive and lockout. These phases will help you punch the weight overhead and catch it in the overhead position, then you can recover by standing tall and returning your feet to the correct position, before controlling the descent (or throwing the weight down).
Learning how to do a clean gives you transferable skills and acts as an initiator for lifts like the press, push press, jerk, or jerk variations like the split jerk or push jerk. Once you’ve learned to clean a weight to your shoulders, here’s how to jerk step-by-step, plus some common variations.
How to kettlebell jerk
Setup
- Feet should be directly under the hips
- Front rack position: kettlebells rest on your forearms and shoulders, with elbows tucked close to your ribs
- Brace: engage your core and stabilize before initiating the movement.
The dip
- Controlled dip: perform a small, controlled dip by bending your knees slightly while keeping your torso vertical
- Keep the weight through your heels and mid-foot.
The drive
- Explosive extension: extend your hips, knees and ankles powerfully
- Drive the kettlebells upward from your legs through to your arms
Controlled finish: Stand tall with kettlebells locked overhead before lowering them.
How to kettlebell split jerk
- Follow the steps above by driving the kettlebells overhead
- At the same time, split your legs into a lunge position
- Front foot: lands flat with the knee slightly bent
- Back foot: lands on the ball of the foot, knee bent
- The feet can be slightly turned in
- Step back foot first: from the split position, step your back foot forward, then bring your front foot to meet it, hip-width apart.
How to kettlebell push jerk
- As you drive the kettlebells overhead, catch them in a quarter squat position without splitting your legs
- Lockout: catch the kettlebells overhead with your arms fully extended and active shoulders.
Lowering the Kettlebells with controlled descent: lower the kettlebells back to the front rack position, then back to the ground in a controlled motion, avoiding any jarring impact.
How to dumbbell jerk
Setup
- Feet directly under your hips.
- Front Rack Position: dumbbells rest on your shoulders with elbows forward, palms facing inward (neutral grip)
- Brace: engage your core to stabilize before starting the jerk.
The dip
- Controlled dip: perform a slight knee bend (1/8th squat) with an upright torso
- Keep the weight centered through your heels and mid-foot
The drive
- Explosive extension: extend through your hips, knees, and ankles, transferring power from your legs into driving the dumbbells upward.
How to dumbbell split jerk
- Follow the steps above by driving the dumbbells overhead
- Split your legs into a lunge position
- Front foot: lands flat on the floor with a slight bend in the knee
- Back foot: lands on the ball of the foot, knee bent
- The feet can be slightly turned in
- Step back foot first: recover by stepping your back foot forward, then bringing your front foot in line with it.
How to dumbbell push jerk
- Drive the dumbbells overhead and catch them with bent knees in a quarter squat position, keeping your feet aligned
- Lockout: catch the dumbbells overhead with arms fully extended and active shoulders.
Controlled finish: stand tall with the dumbbells locked overhead before lowering them.
Controlled descent: Lower the dumbbells back to the shoulders, then safely to the floor, keeping control of the movement to avoid unnecessary impact.
How to barbell jerk
Setup
- Feet should be under your hips, with toes slightly pointing out
- Front rack position: the barbell rests on your shoulders, with elbows slightly in front of the bar
- Brace: take a deep breath and brace your core to prepare for the jerk.
The dip
- Controlled dip: bend your knees slightly, keeping your torso vertical. The dip should be short and controlled
- Keep your weight centered through your heels and mid-foot.
The drive
- Explosive extension: drive through your legs, fully extending your hips, knees and ankles. This force is transferred from your legs to the bar, pushing it upward.
How to barbell split jerk
- Follow the steps above, and explosively drive the bar overhead
- Split your legs into a lunge position
- Front foot: lands flat on the floor with a slight bend in the knee
- Back foot: lands on the ball of the foot, with the back knee bent
- The feet can be slightly turned in
- Back foot first: recover by stepping your back foot forward, followed by your front foot, to return to a standing position with the bar overhead.
How to barbell push jerk
- Drive the bar overhead and catch it with your knees bent, without splitting your feet
- Lockout: catch the barbell overhead with straight arms and an active shoulder position.
Controlled finish: Stand tall with the barbell locked overhead before lowering it back down.
Lowering the bar with controlled descent: Lower the bar back to the front rack or safely to the ground with control, avoiding unnecessary impact on the body.
During the dip, the lifter can softly bend the knees to prepare for the upward motion. From here, the drive allows the lifter to powerfully send the weight upward using a vertical trajectory, using the power from the legs to transfer through the core and upper body. To receive the weight, the lifter will adopt slightly different techniques depending on the style of jerk.
For the split jerk, this will be the lunge position; during the push or power jerk, the lifter lands in a parallel or above parallel squat in the overhead position; for a squat jerk, the lifter catches the weight in a full squat position with the bar locked out overhead.
Push jerk vs power jerk vs squat jerk
Technically, when taught correctly, there’s a difference between the push and power jerk: the power jerk requires moving from a starting hip-width position to a wider shoulder-width position as the weight transitions overhead. To reset, the lifter will then re-position their feet with the weight still locked overhead. During the push jerk, the feet will stay the same distance apart.
Squat jerks are very similar in execution but the lifter must catch the weight in a deep squat position, which challenges full-body mobility, especially as it requires a pause in the squat before moving to stand and recovery.
This is an advanced variation taught less often in the gym classroom, but it’s great to learn if you are working on improving your technical ability on the jerk and have already learned the overhead squat technique.
Is the jerk a good exercise?
The jerk builds strength, neuromuscular power and explosive output while improving the efficiency of your type II fast-twitch muscle fibers. If you plan to compete in weightlifting competitions or want to develop your power, the jerk is well worth learning.
Strong pressing power builds functional upper body strength, but it’s an advanced skill to learn, which means you could spend months or even years learning it, developing skills like strength, speed, or increasing load.
Although the barbell allows you to load maximally, if you choose free weights, you can dual or single-load. Unilateral training helps build a strong core and improves balance and coordination while strengthening both sides of the body equally.
One study published by Frontiers shows unilateral training teaches muscular cross-education in untrained muscle groups, meaning other muscles aside from the target groups can benefit.
Why can't I clean and jerk?
Several mistakes can prevent you from pulling off the clean and jerk, but let’s zone in on the jerk. Common issues include insufficient dip, lack of power through the driving phase, or inability to lock the weight out. It’s also crucial to coordinate the upper and lower body so that your feet land at the same time, and also as you punch the weight out.
If you find that you’re pitching forward during the jerk, your foot positioning could be to blame. The bar should travel vertically and close to the body, with the weight distributed between mid-foot and heel, to improve balance, grounding and stability.
Many CrossFit coaches will teach skills called corrective drills, which often focus on specific phases of the jerk, like the dip or drive. You may find your coach teaches each phase first as a warm-up, learning to move with the weight, before asking you to add load and practice the full jerk.
Another handy technique is to add pauses at different stages of the jerk to teach strength, control and proper alignment; it’s not unusual to hold the bottom of the jerk for several seconds before moving into recovery and re-setting. A great coach will also teach the importance of bracing and using your breath to power and control the movement, always exhaling as your body meets with the most resistance.


