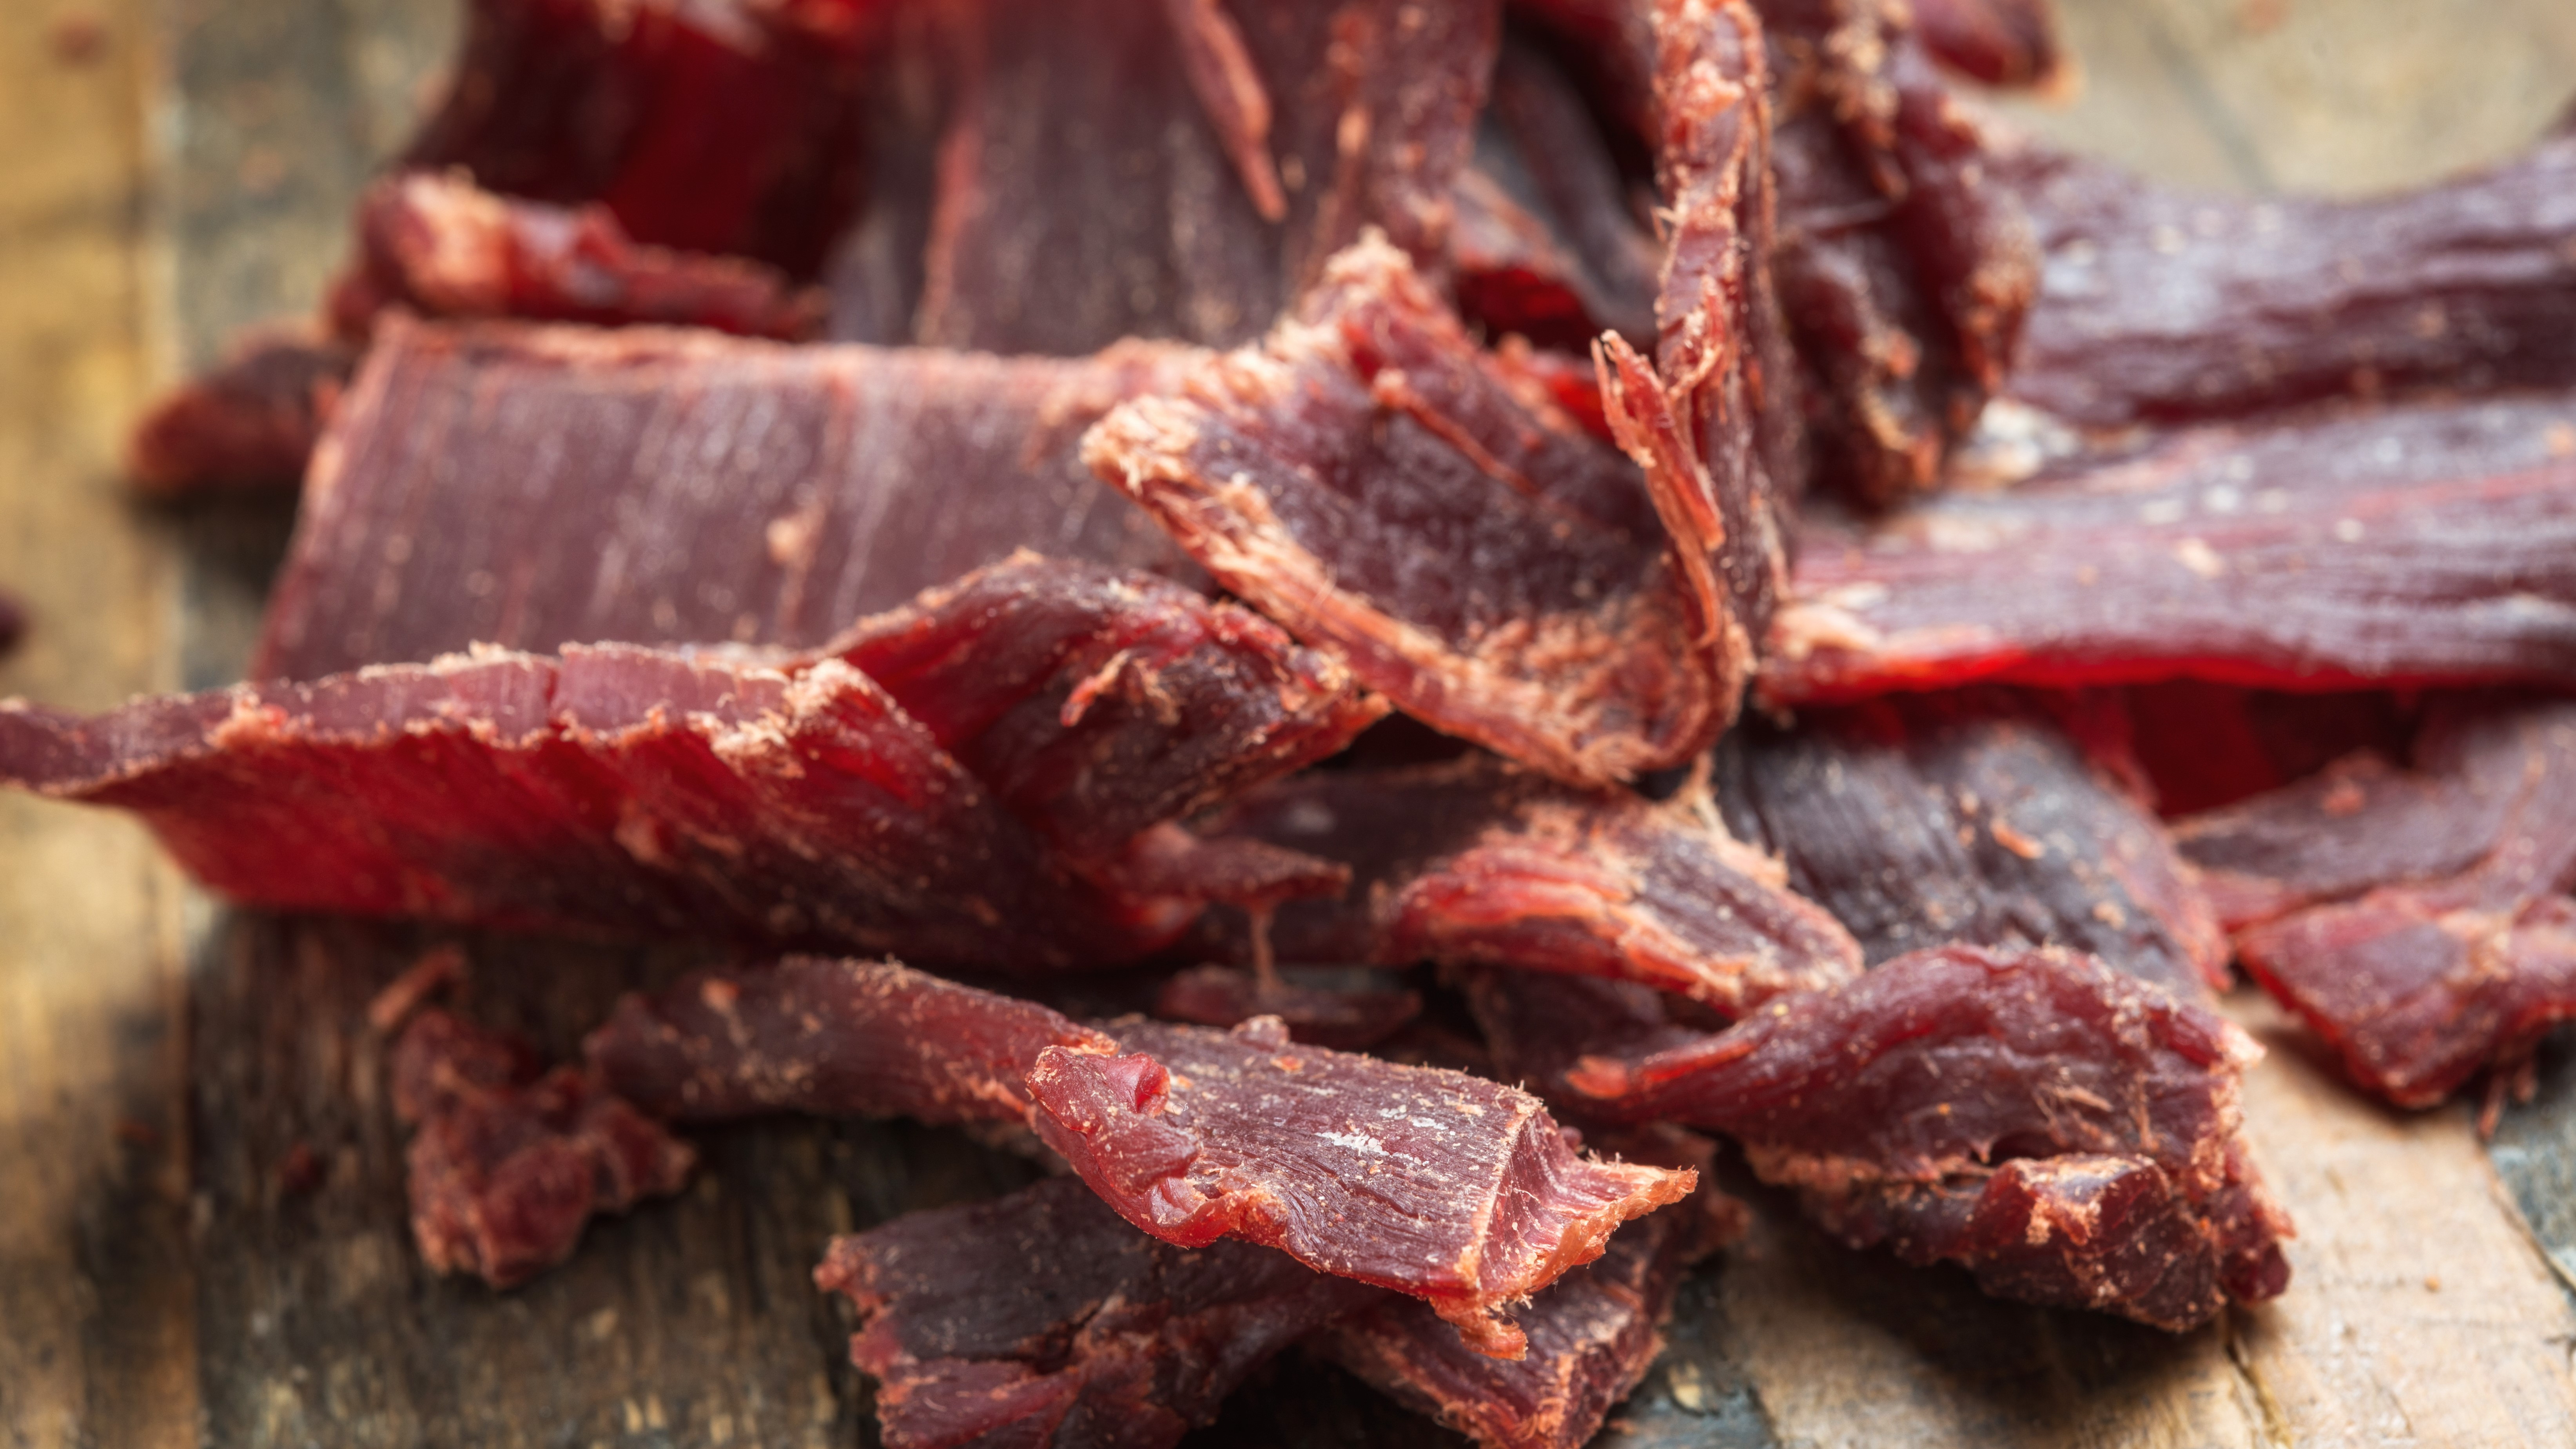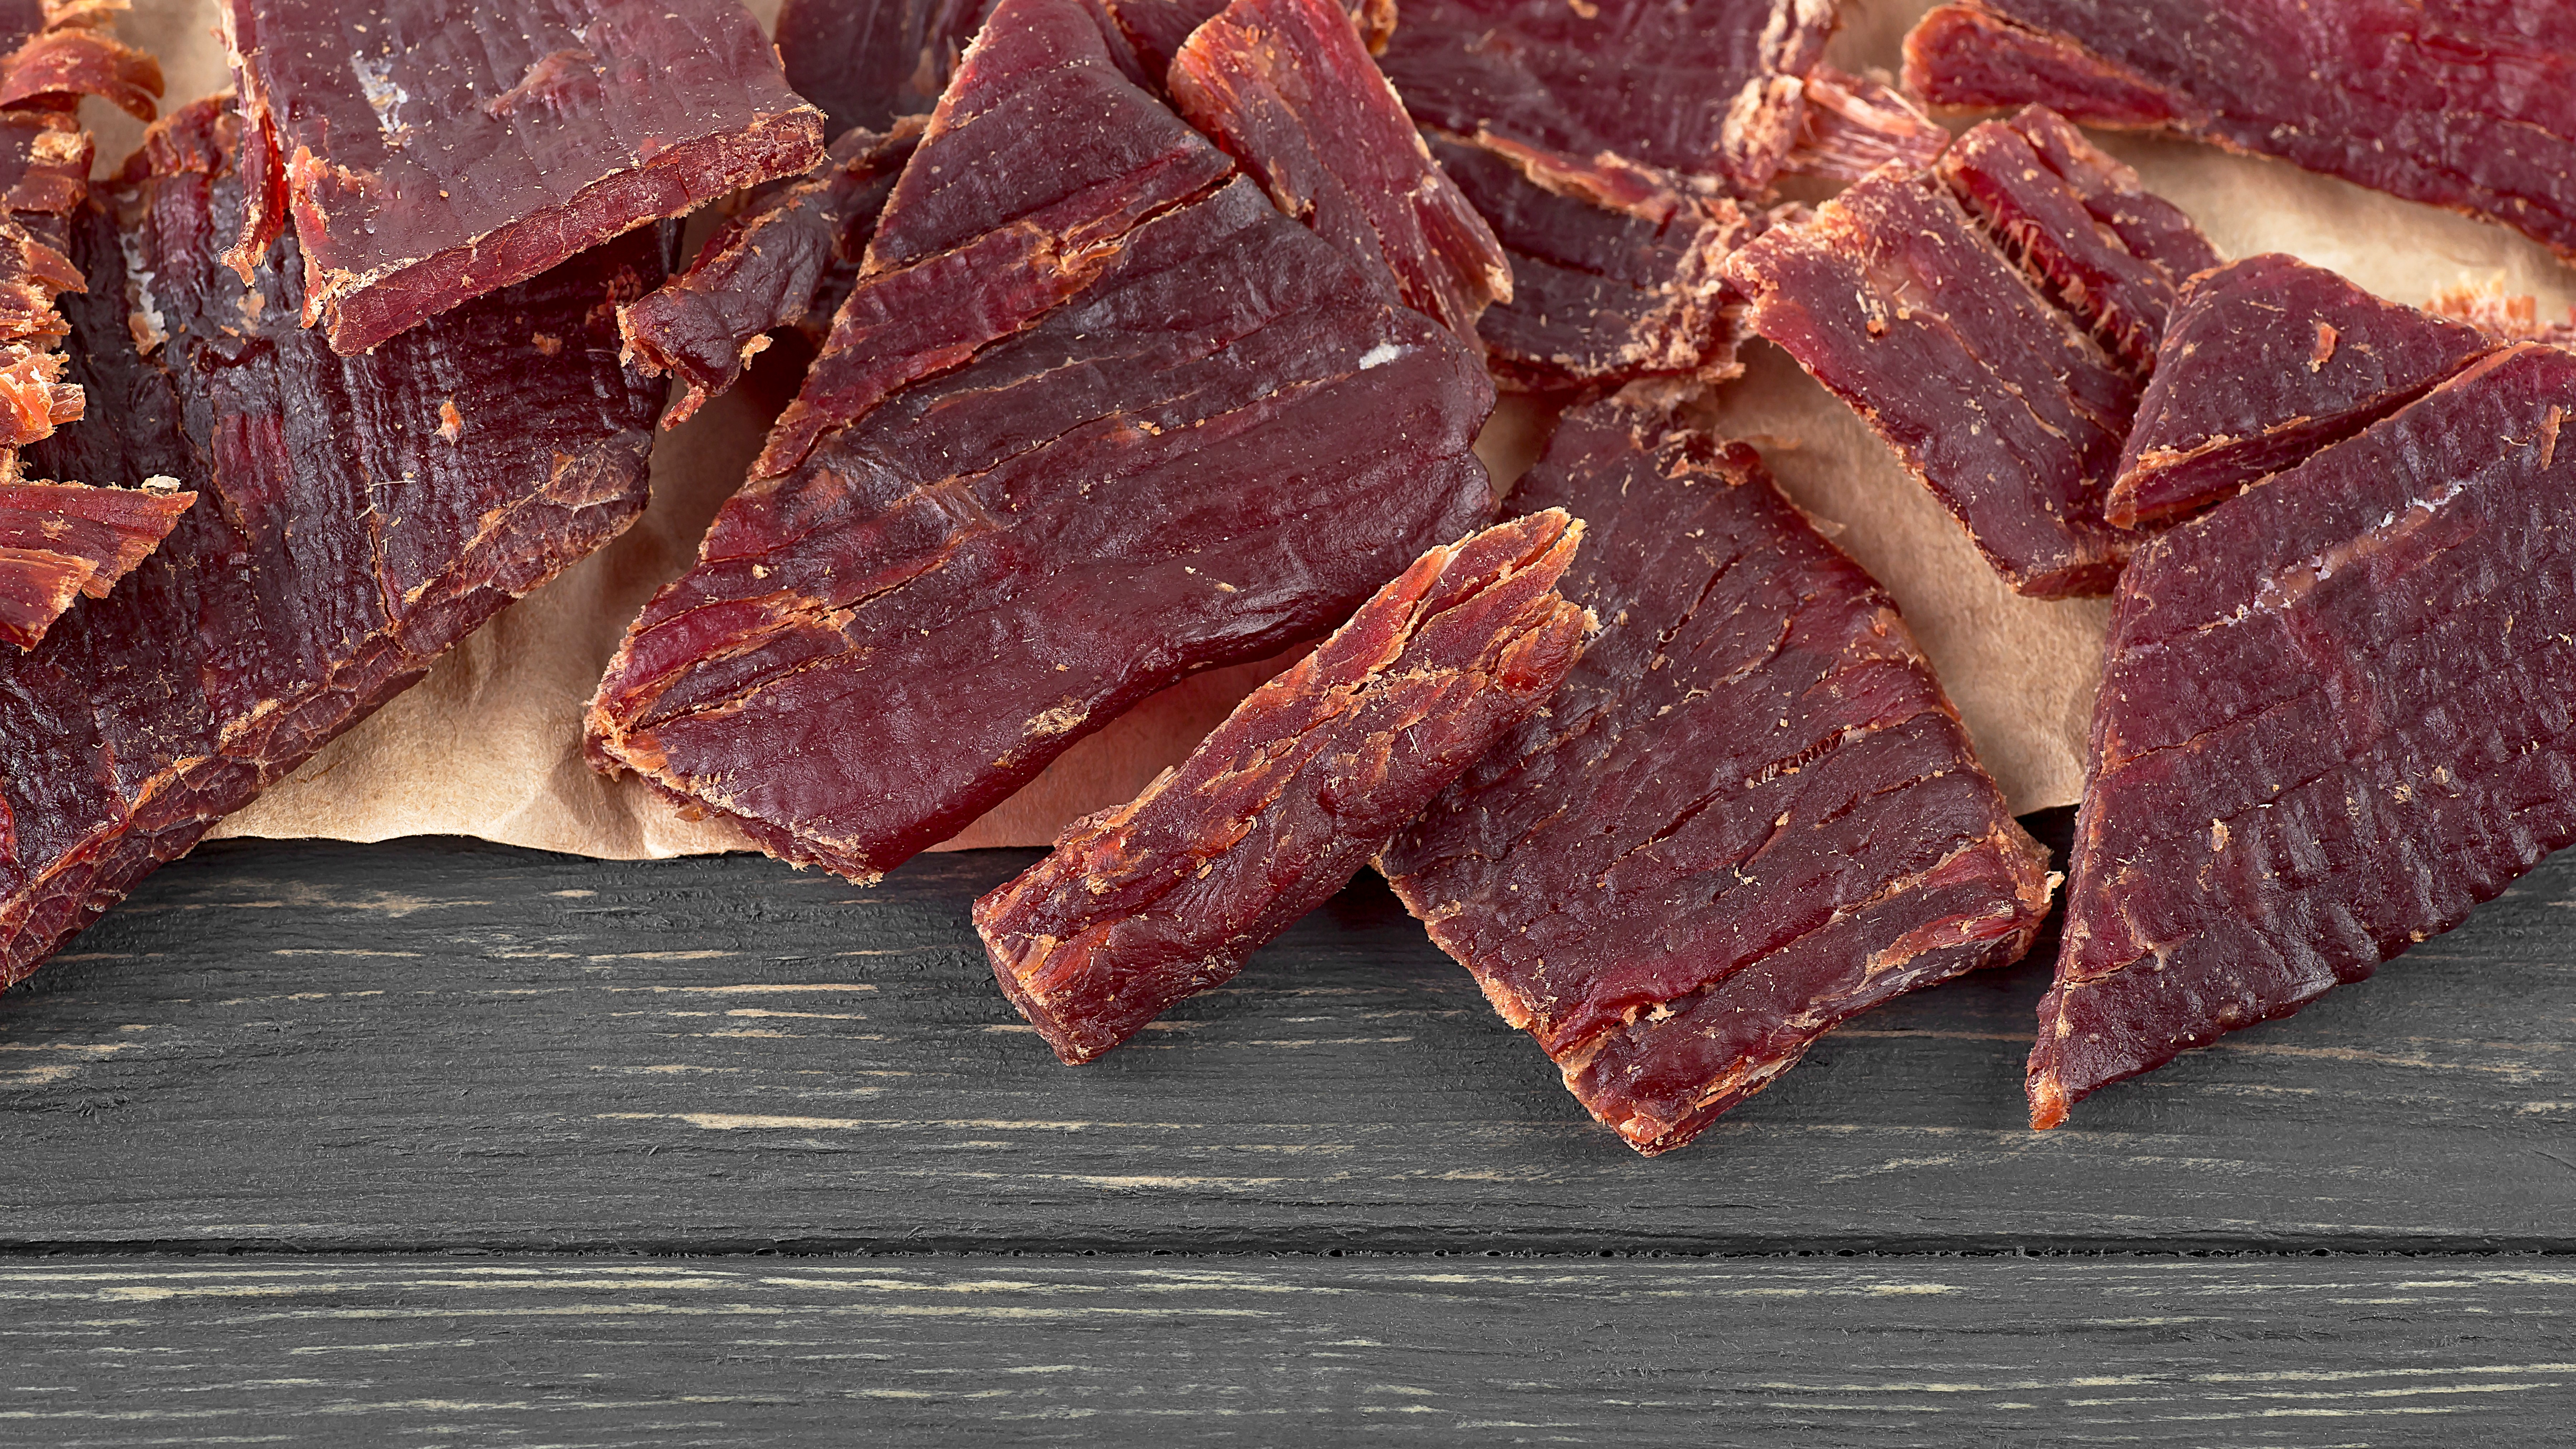
When you hike as much as I do, you’re always on the lookout for a high protein, portable hiking snack that can keep you fueled on the trail without taking up too much room in your backpack or spoiling in hot weather. Enter, the humble jerky.
Growing up in Scotland I was not initiated into the wonderful ways of jerky until I moved to the US in 2001, and I must admit, at first I eyed this leathery meat snack with a degree of skepticism. But I’ve always been a curious person, and when you live in a place where you literally can’t go through any checkout at any grocery store without being assailed by the various types of jerky on offer – turkey, beef, barbecue, teriyaki – I was bound to give it a go eventually. When I finally did, I had to admit it’s great for hiking, if not a little weird.

Jerky is lightweight and non-perishable, most importantly, it satisfies the craving for chewy snacks instead of backpacking mush and tastes pretty good (if you like leathery meat, anyway). That said, when you’re buying a lot of it pre-packaged, it can also get really pricey.
A few years back, when I was living in Colorado, my boyfriend at the time had an extremely fortuitous hunting season and we found ourselves with a bit of a surplus of deer, elk and pronghorn meat. It seemed like the perfect time to start experimenting with making our own jerky and though it took a little while, we were surprised and pleased with how easy it was and how good it turned out. Read on to discover the health benefits of jerky, and how to make your own without a dehydrator.

Is it healthy to eat jerky?
Jerky, which comes from the Quechua word 'ch’arki' meaning dried meat, is virtually any kind of meat, or even fish, that has been dried to preserve it. It’s typically been marinated, or at least salted, to give it flavor. It’s a great source of protein and a decent source of fat, as well as vitamins and minerals such as iron, B-12 and zinc (if it’s made from red meat anyway) as well as sodium, which can make it really good for long days sweating it out in your hiking boots. If you’re backpacking, you can crumble it up and add it to your backpacking meals to give them a little more substance.

How to make jerky
You can make jerky with a dehydrator, and the chances are that it’s the easiest method out there, but it also involves an extra expense you may be trying to avoid, and it’s not strictly necessary. All you really need to make some pretty tasty jerky is an oven, some thinly sliced meat, a marinade using items that are already in your pantry, and lots of time.
Ingredients
Here, I’m including my typical marinade recipe, but feel free to get creative with the ingredients to tailor your jerky to your tastes. This recipe will make about 1lb of jerky.
- 2lb meat (venison, beef, chicken, turkey)
- Soy sauce
- Worcester sauce
- Spices such as black pepper, smoked paprika and garlic powder
Instructions
Make sure you take note of the timings here and pick a day when you plan to be home for most of the time.
- Step 1: Trim all the fat off the meat and place it in the freezer for about 45 minutes, so that the outside is frozen and it’s firm but not frozen through. This makes it easier to slice.
- Step 2: Slice the meat thinly with a sharp knife. You’re looking for the slices to be about ⅛ of an inch (3mm), or about twice as thick as your average strip of bacon.
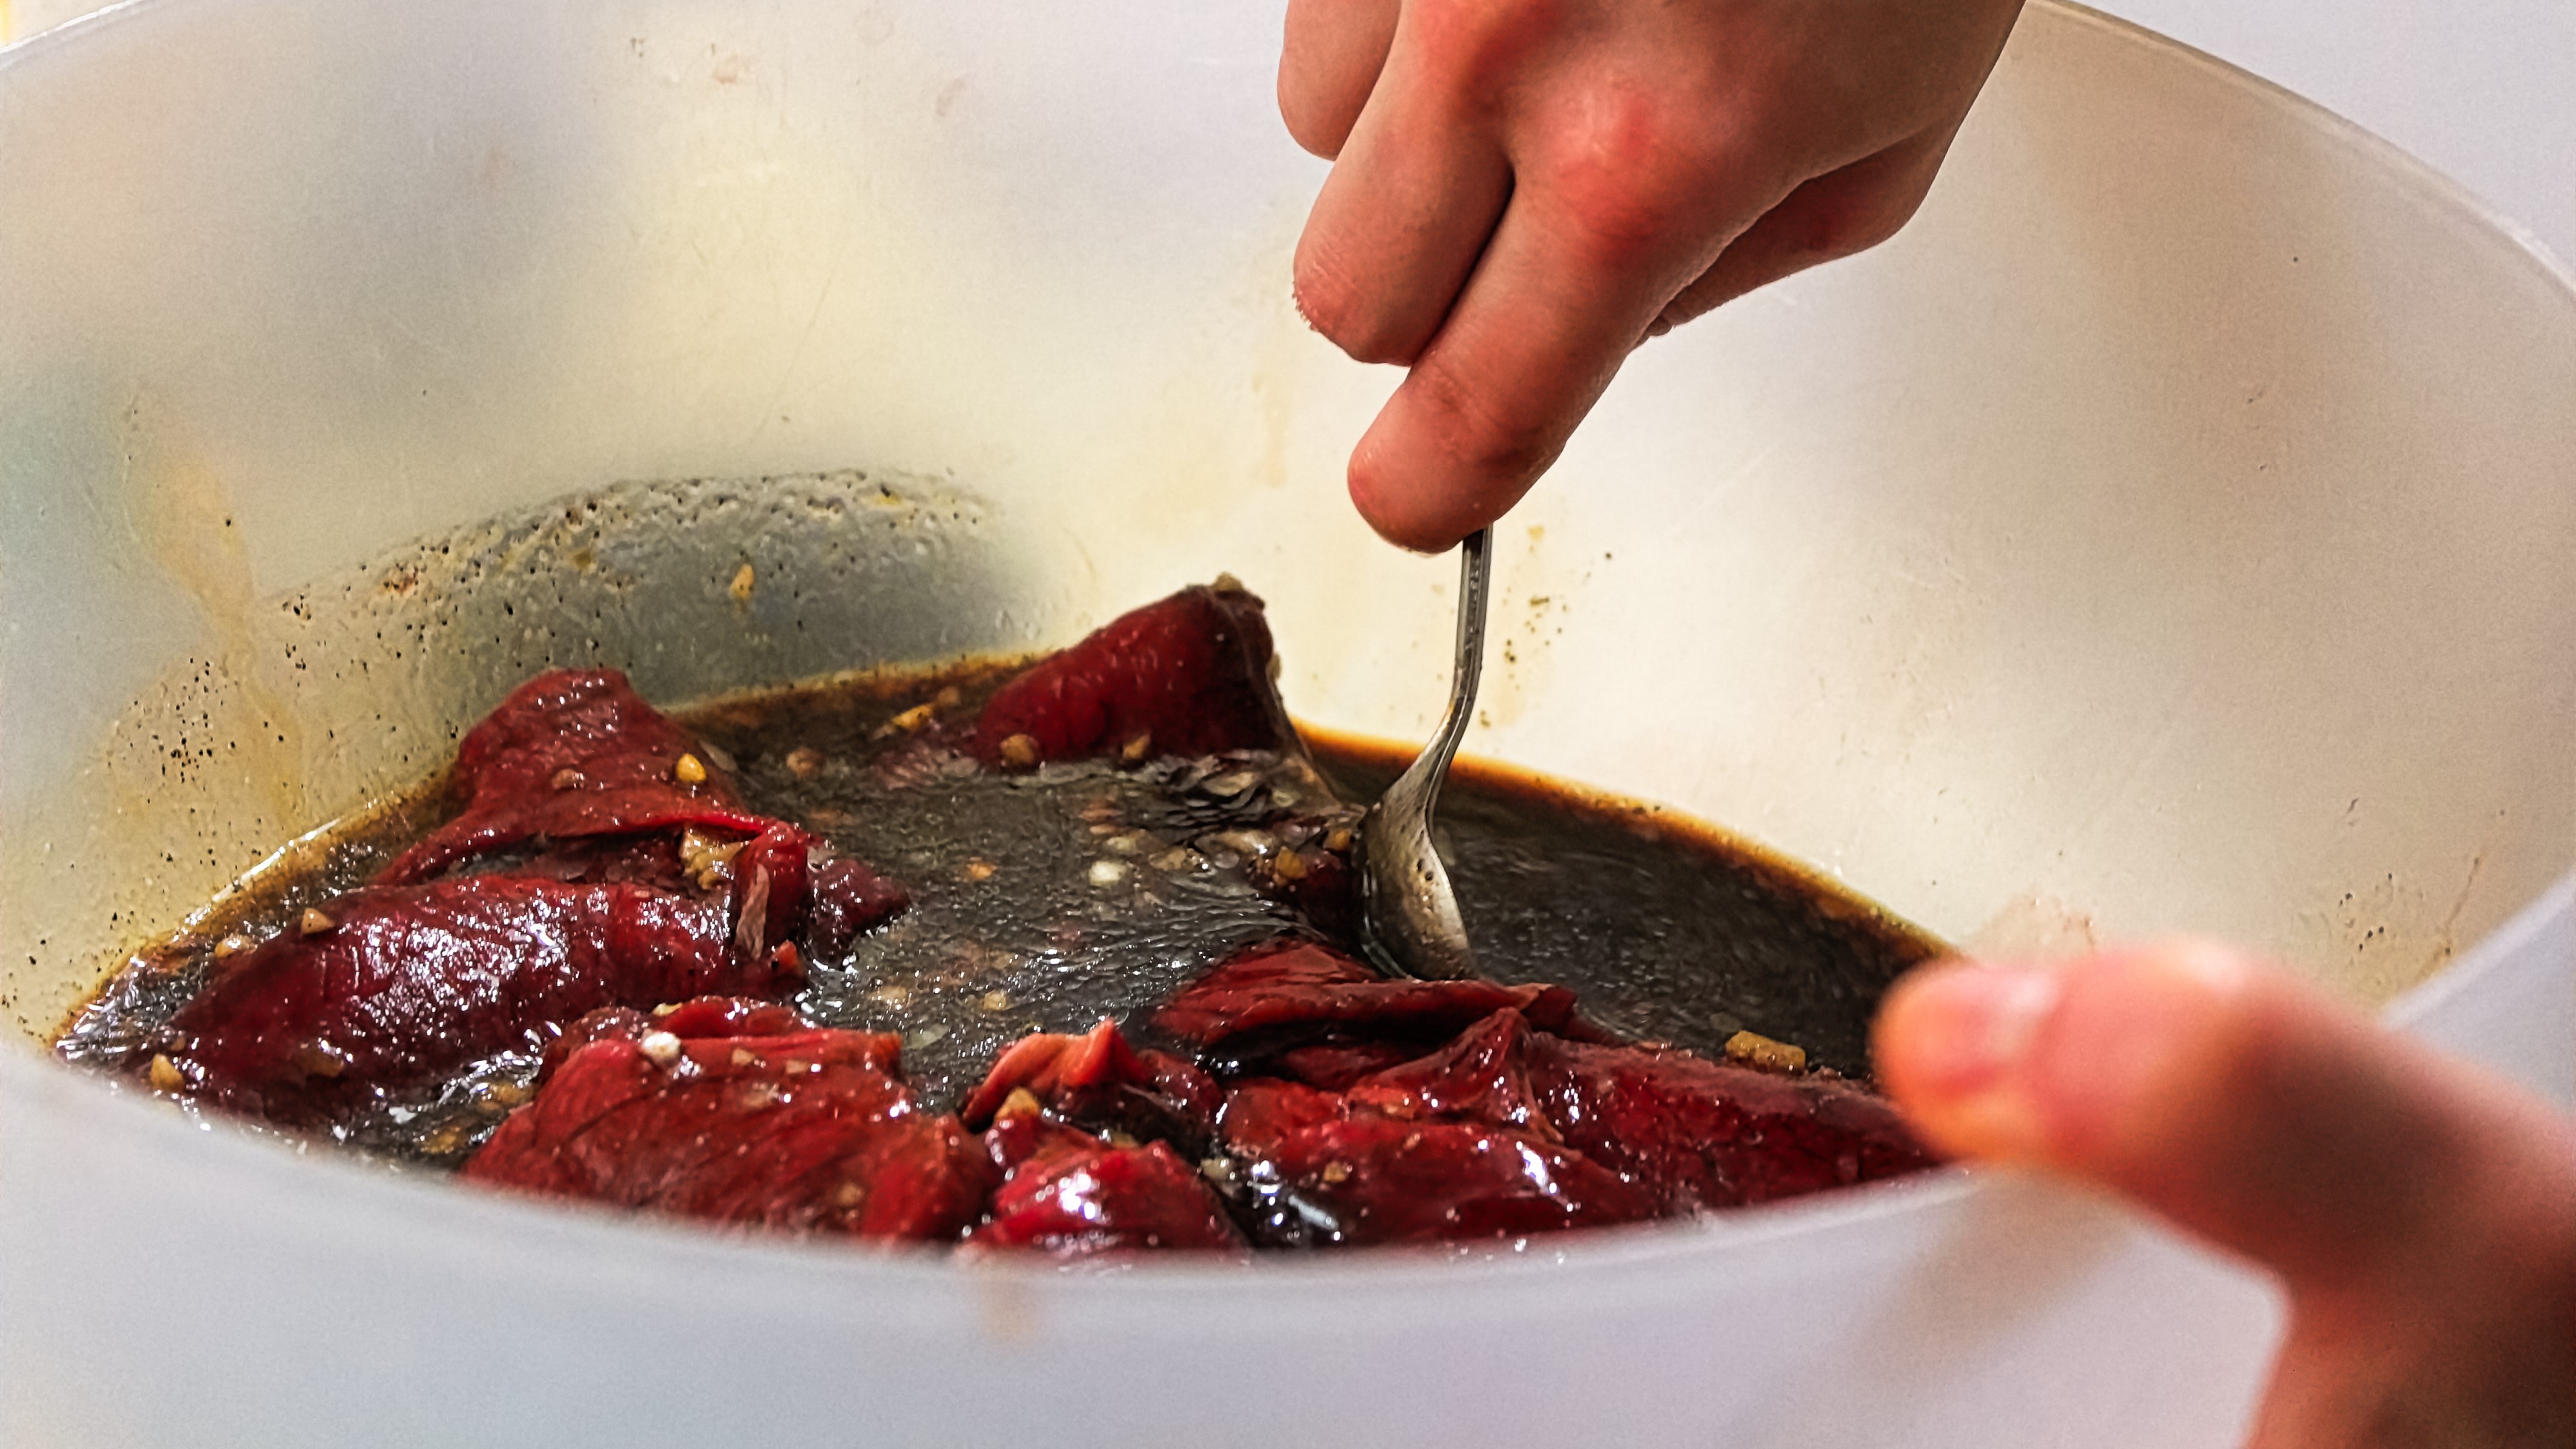
- Step 3: Place the sliced meat in a sealable plastic bag and add your marinade ingredients until the meat is well coated. Use your hands to ensure the meat is covered and add more marinade ingredients as needed. Place it in the fridge for 24 hours.
- Step 4: Preheat the oven to its lowest possible temperature (175F or lower is best, otherwise you can prop the oven door open using a wooden spoon) and prepare two baking sheets with foil. Arrange your meat strips on the trays and place in the oven.
- Step 5: Bake for approximately 5 hours, rotating which tray is on top every hour. After three hours, test a piece of jerky for consistency and if it’s already getting dry, you may want to take yours out sooner (mine has always taken about five hours).
- Step 6: When dried, take the jerky out of the oven and let it cool fully before storing in an airtight container.
- The best freeze-dried food: lightweight, convenient meals for backpacking


