
Weebly is a popular website builder for those who want to get started quickly. With a large suite of customisable templates and an intuitive WYSIWYG editor, Weebly makes it pretty simple to get your website up and running. Also, while other website builders offer a greater degree of customisation and functionality, Weebly offers a free tier – and one that’s pretty fully featured at that. If you’re working on a budget of zero, it’s one of your best options for throwing together a decent website.
Whether you’re looking for the best website builder for small businesses or the best website builder for artists, Weebly definitely merits consideration. We’ve put together this quick-start guide to help you make your site on Weebly – from choosing your theme and populating your pages, to implementing apps and selecting the right plan for your needs. So, let’s get to it.
1. Select a theme
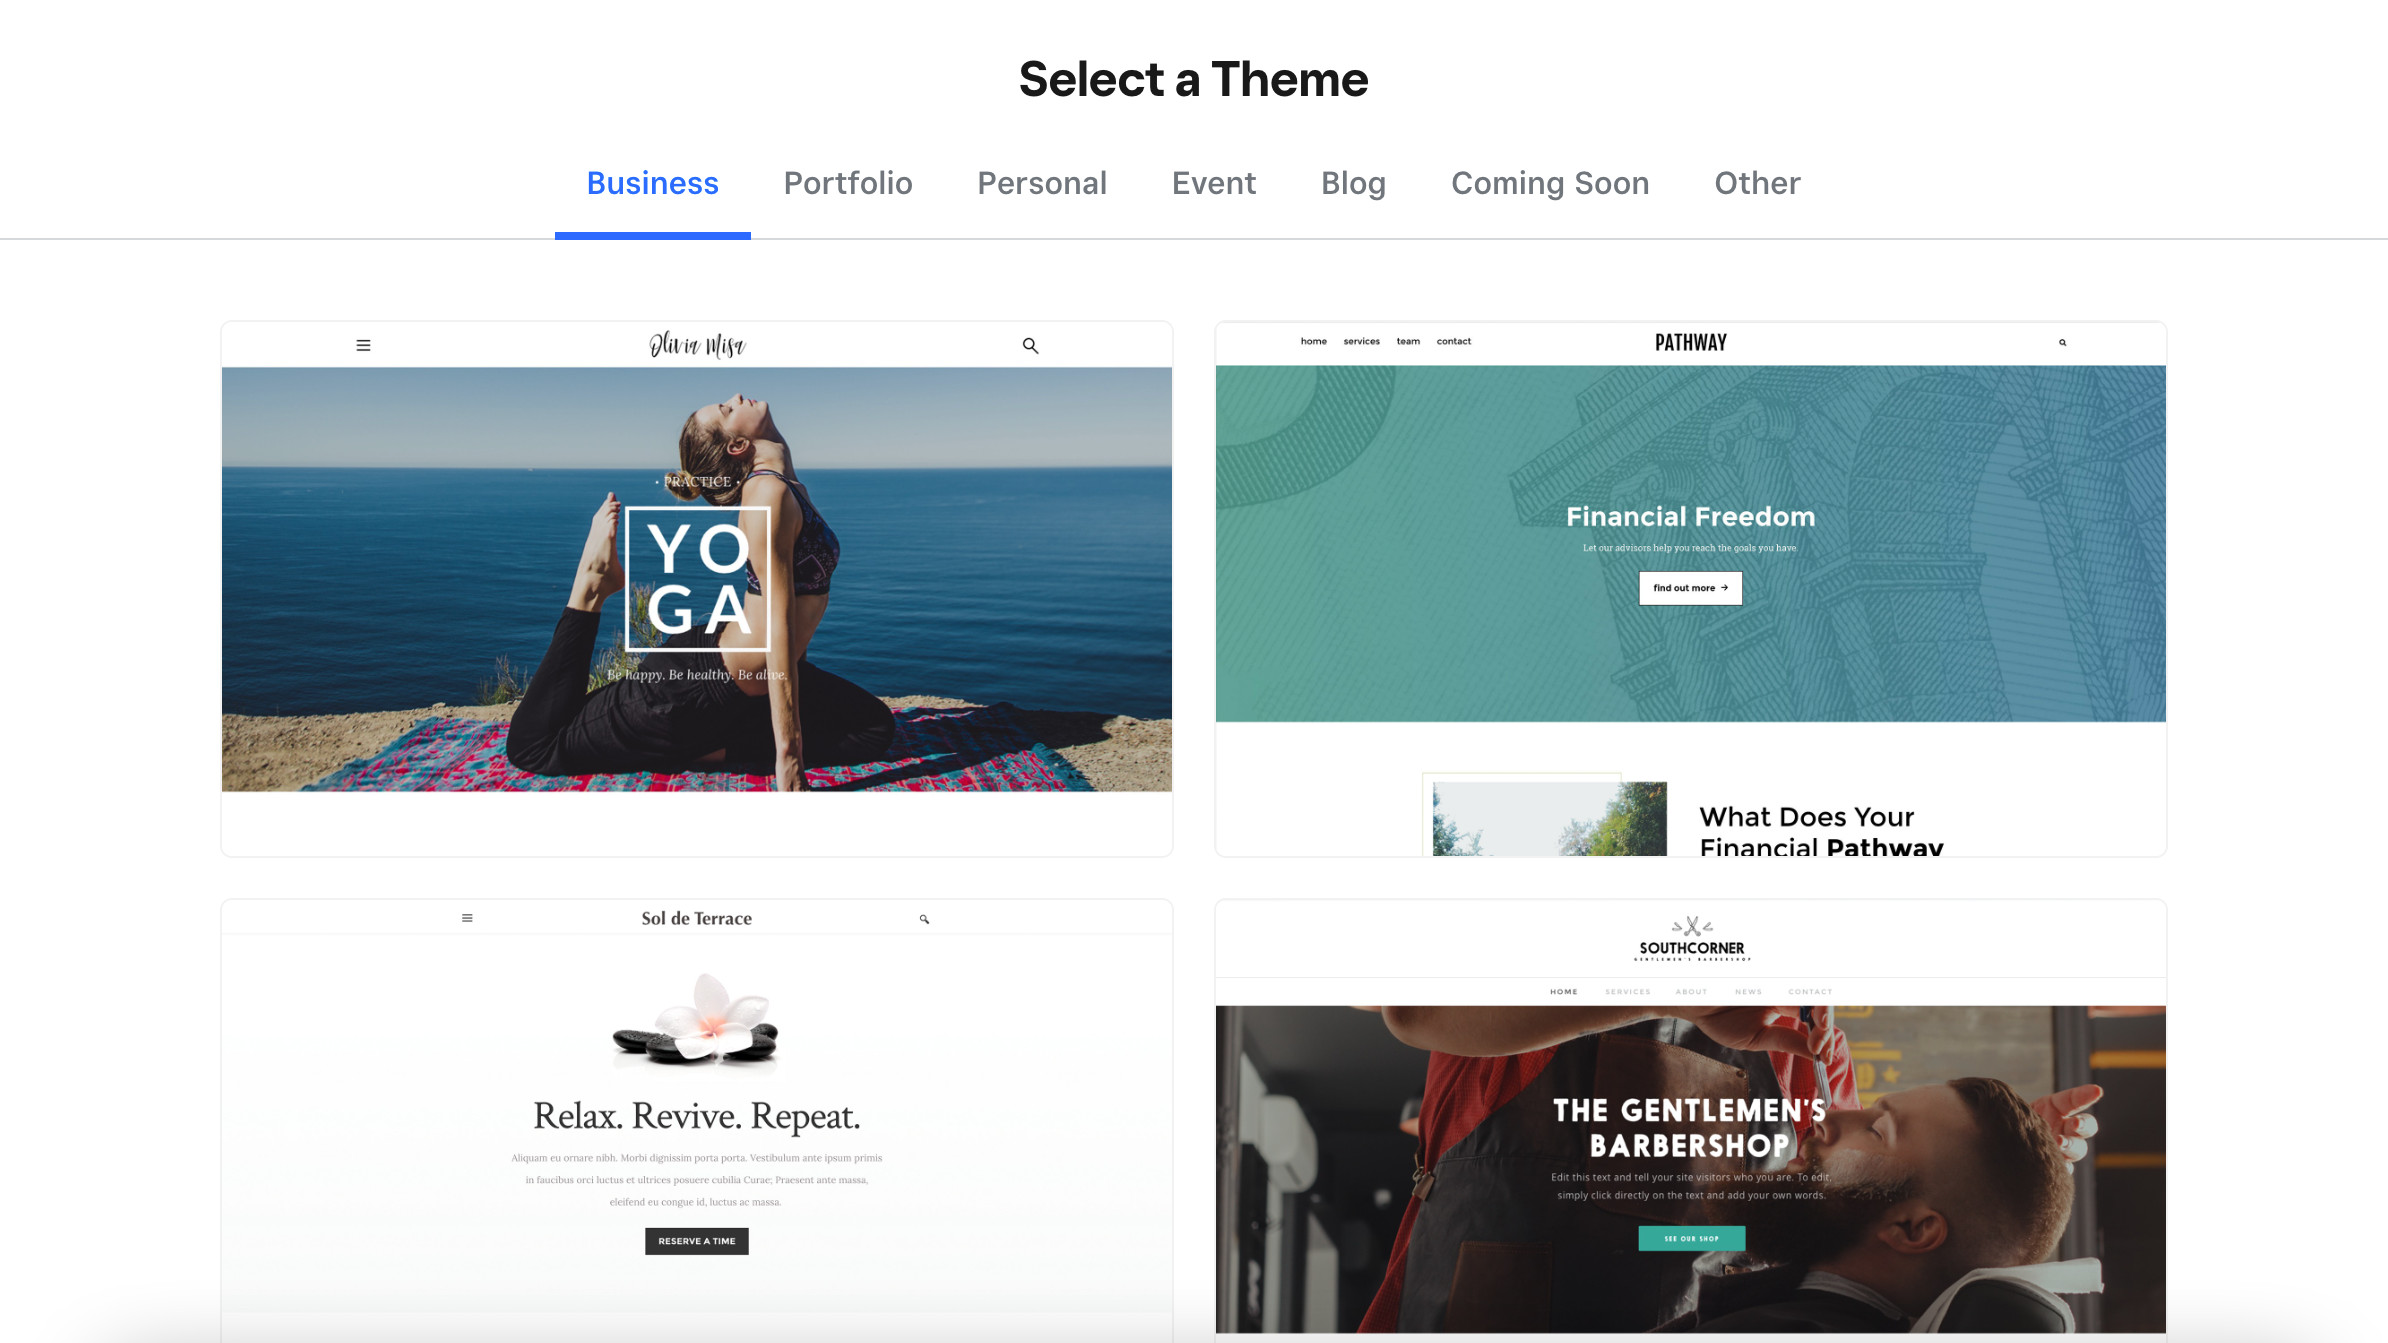
One of Weebly’s strengths is its theme store. While pretty much all website builders offer a theme selection to a greater or lesser degree, Weebly’s is particularly wide-ranging and sensibly laid out, with categories for online stores, portfolios, event pages, blogs, and more. You can also design your own theme from scratch and save it in the gallery for future use if you want.
All the themes can be extensively customised, so don’t worry too much about getting one that precisely fits your vision – just pick one that’s reasonably close. Once you’ve selected your theme, you’ll be immediately kicked into the editor.
Also – something to note about Weebly is that it makes it very easy to change themes. You can easily swap over without losing all your content. So it’s not a problem if you change your mind about a theme down the line.
2. Add pages and content
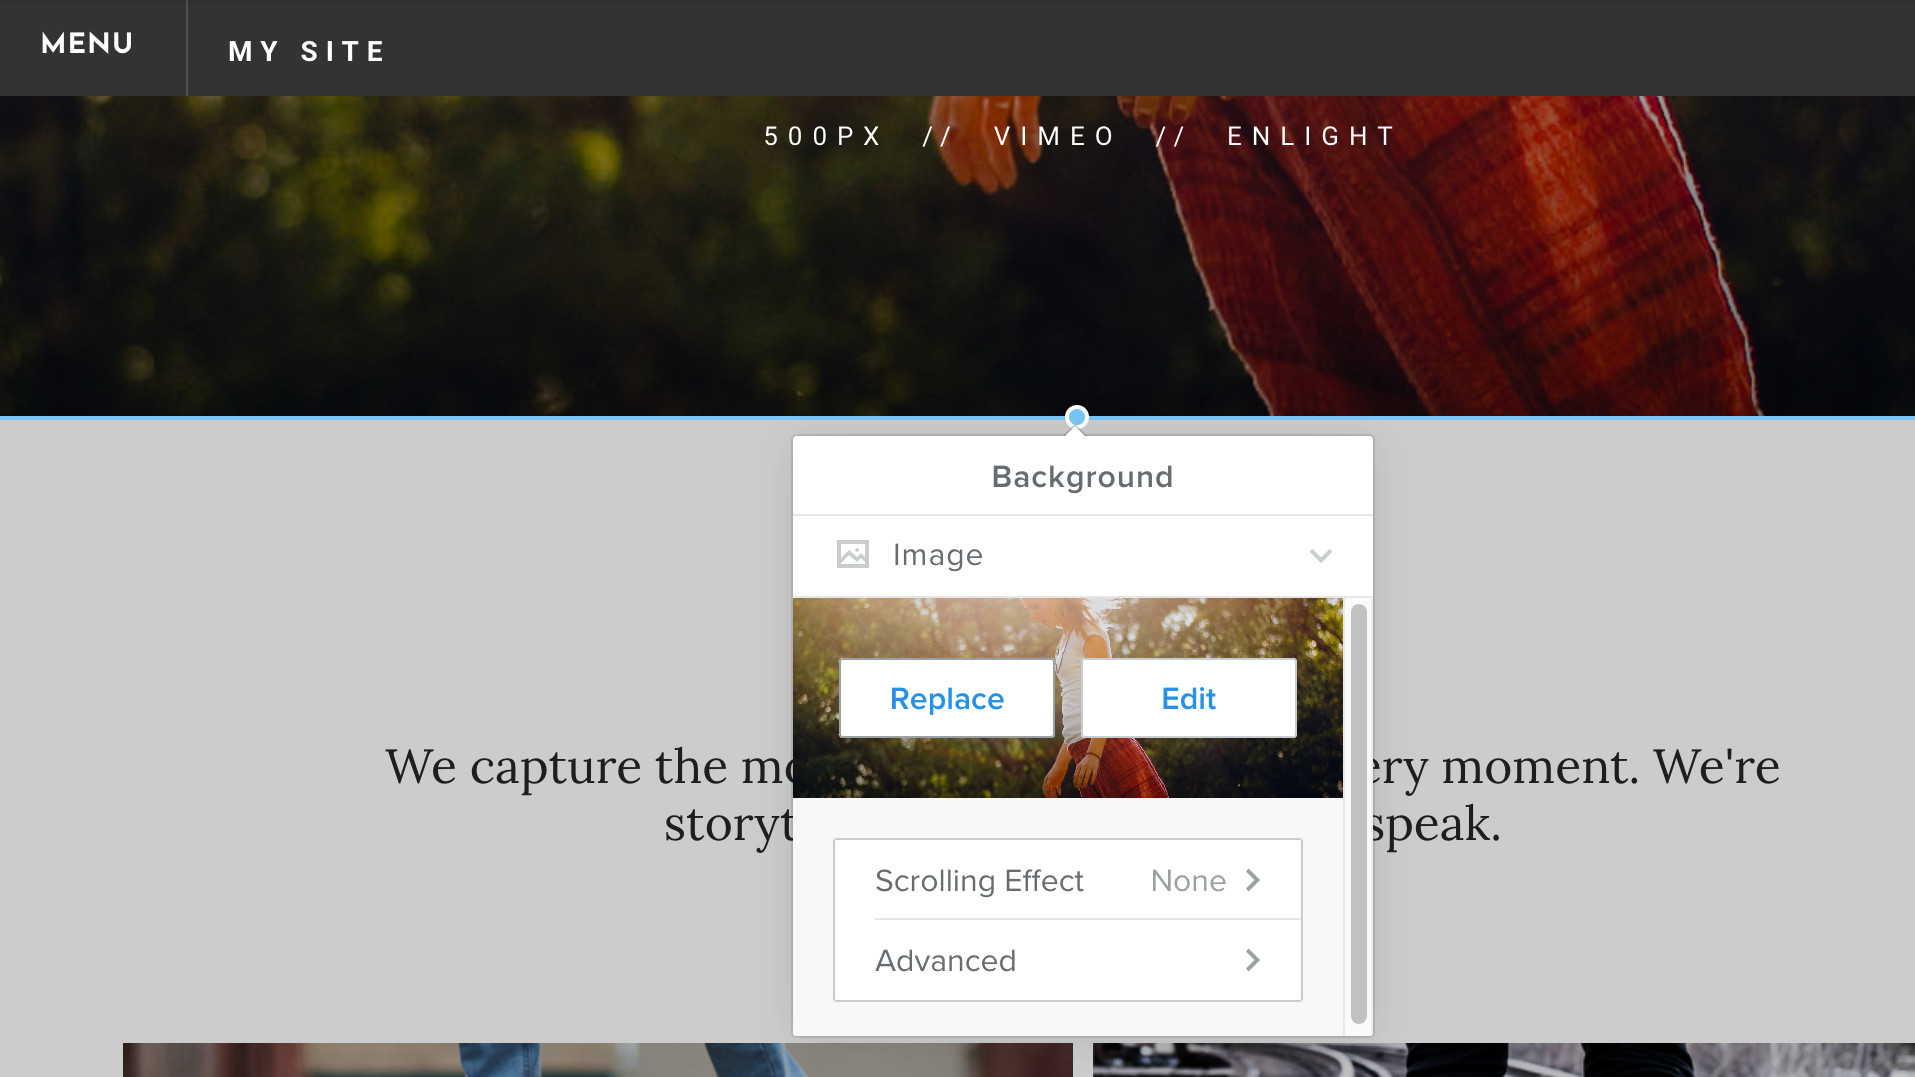
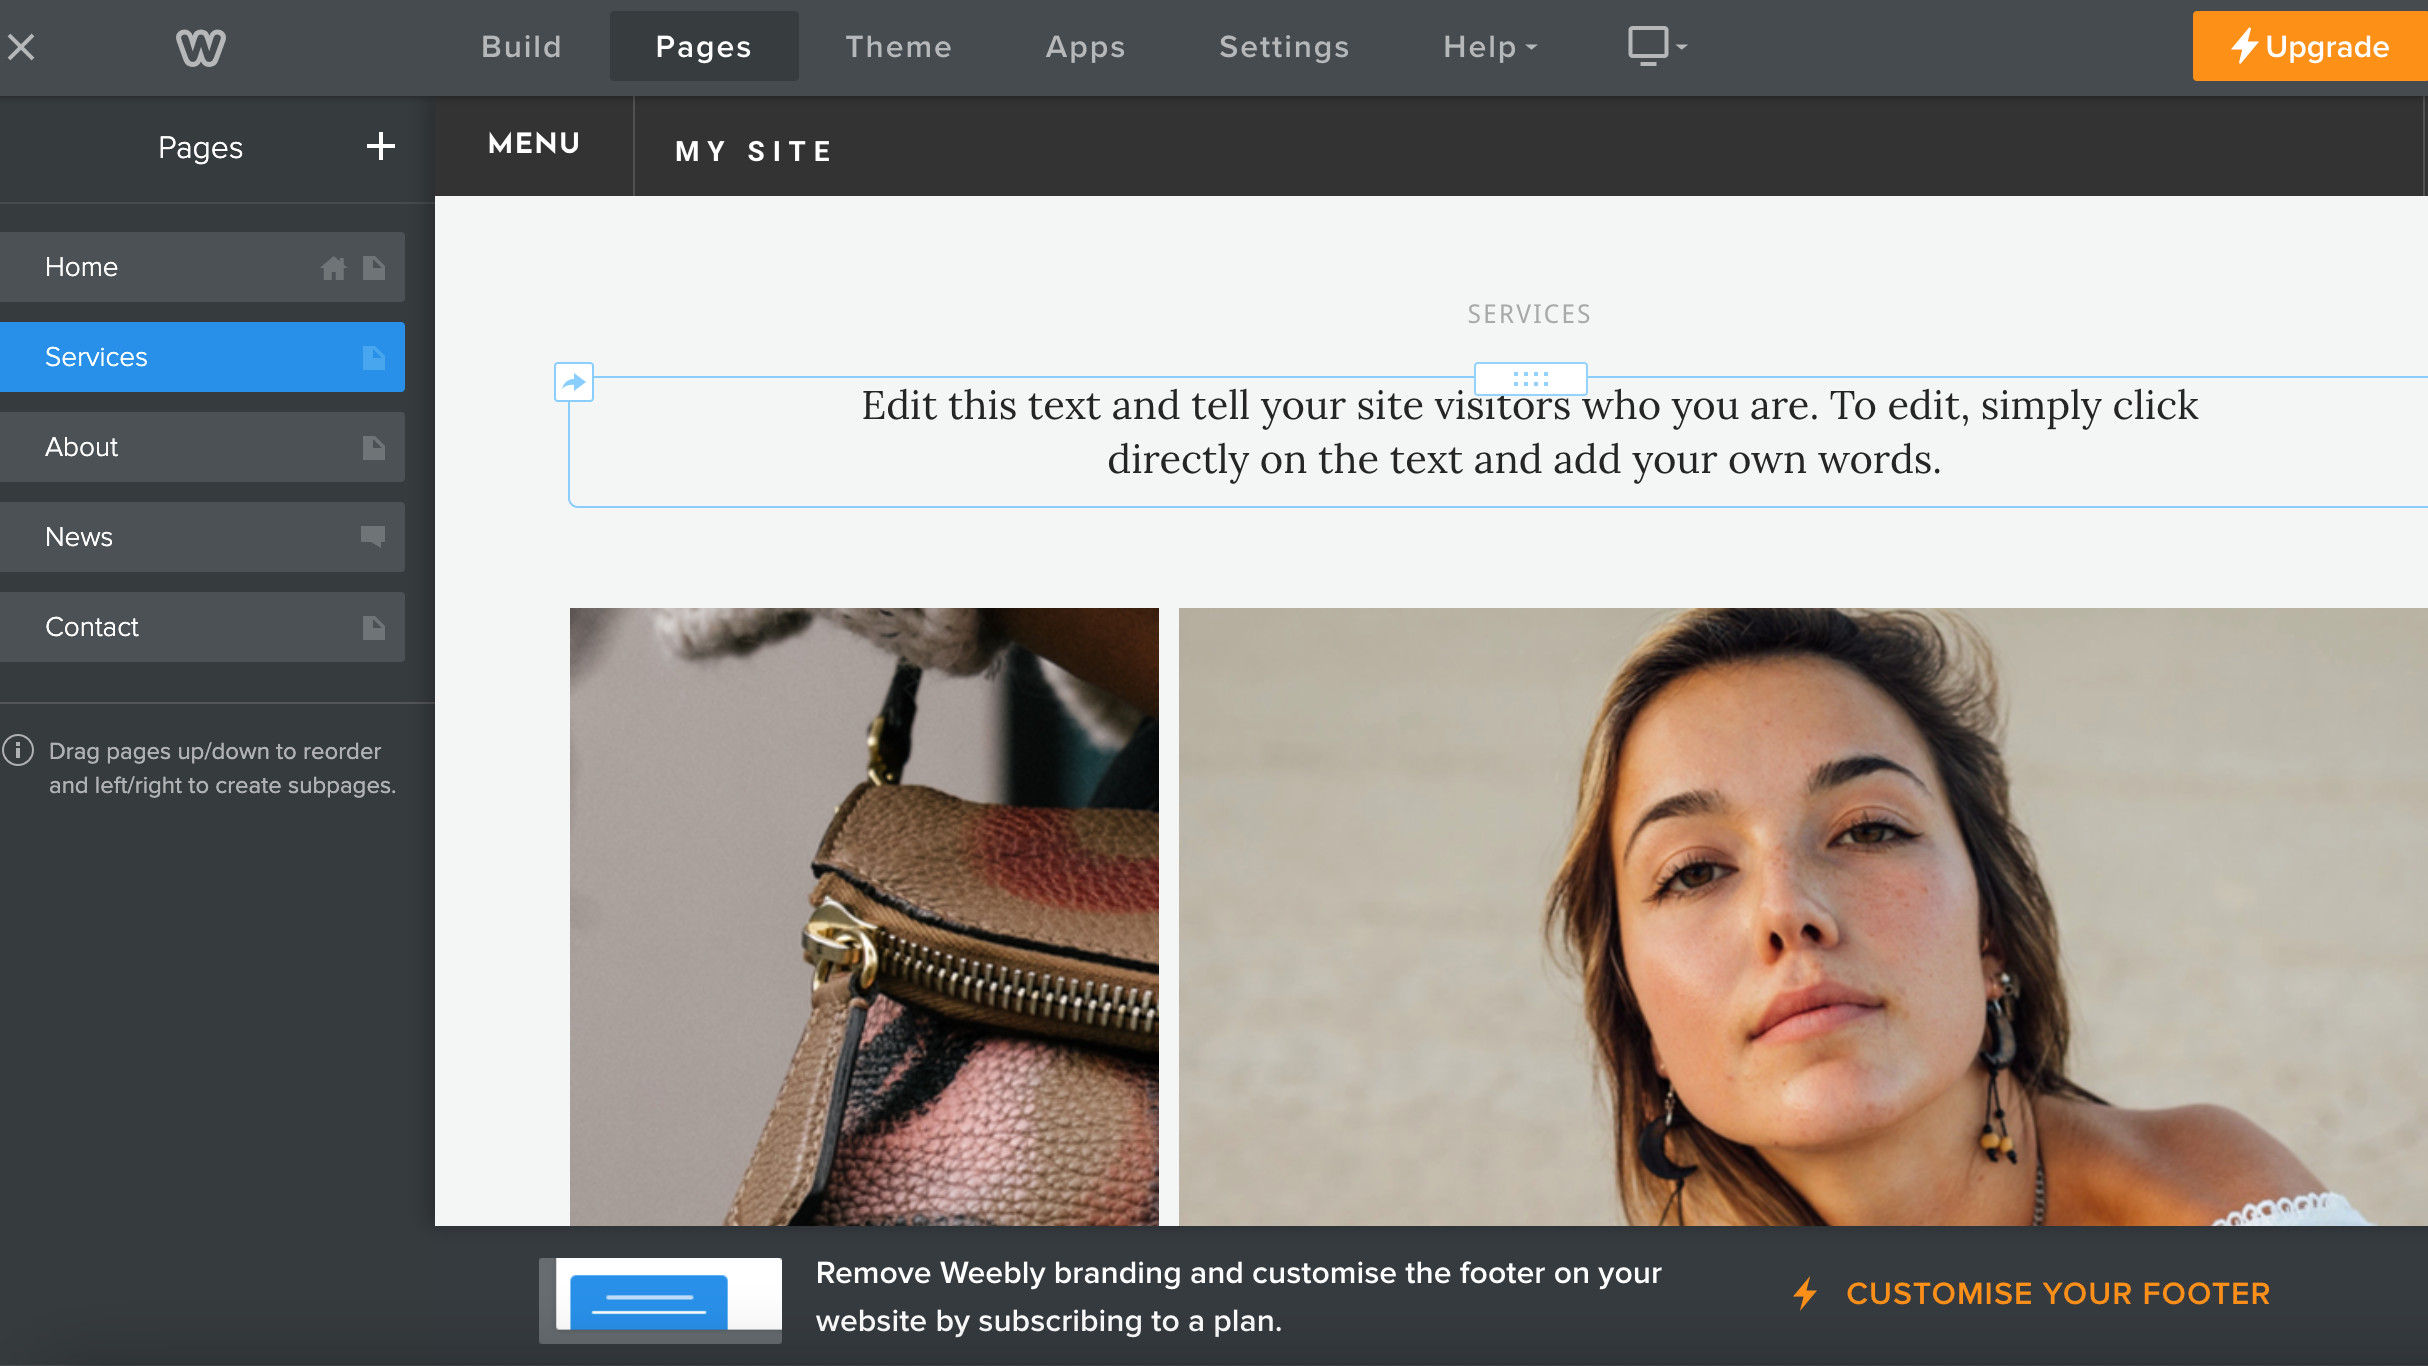
Once you’re in the main editing panel, you’ll be able to replace the placeholder content with your own text and images – which you do by clicking the ‘Build’ tab in the top bar. Editing is an intuitive process in Weebly – text and images are organised into blocks. Click any block to edit its content, and click-and-drag the rectangle at the top of any block to move it around the page.
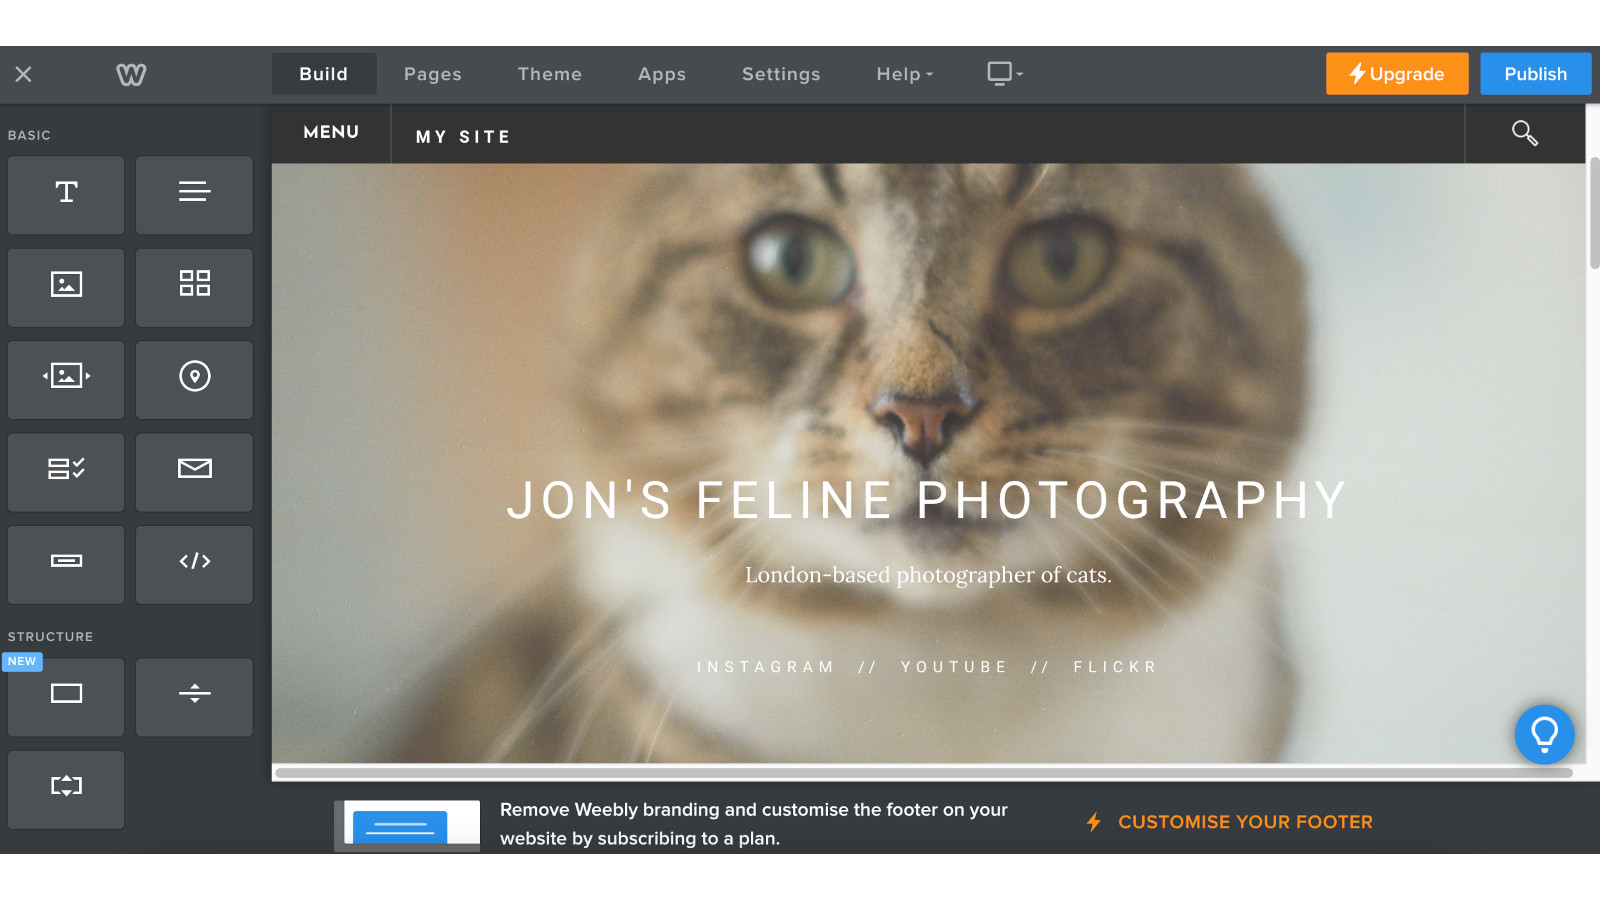
Weebly adds a lot of placeholder content into its themes – arguably a bit too much. You can sub in its generic text and images for your own, though you may find it easier to simply get rid of it all and add your own blocks as you please. You drag them in using the left-hand menu. Annoyingly, Weebly doesn’t keep a library of images you’ve uploaded, so if you want to use the same one multiple times, you’ll need to reupload it.
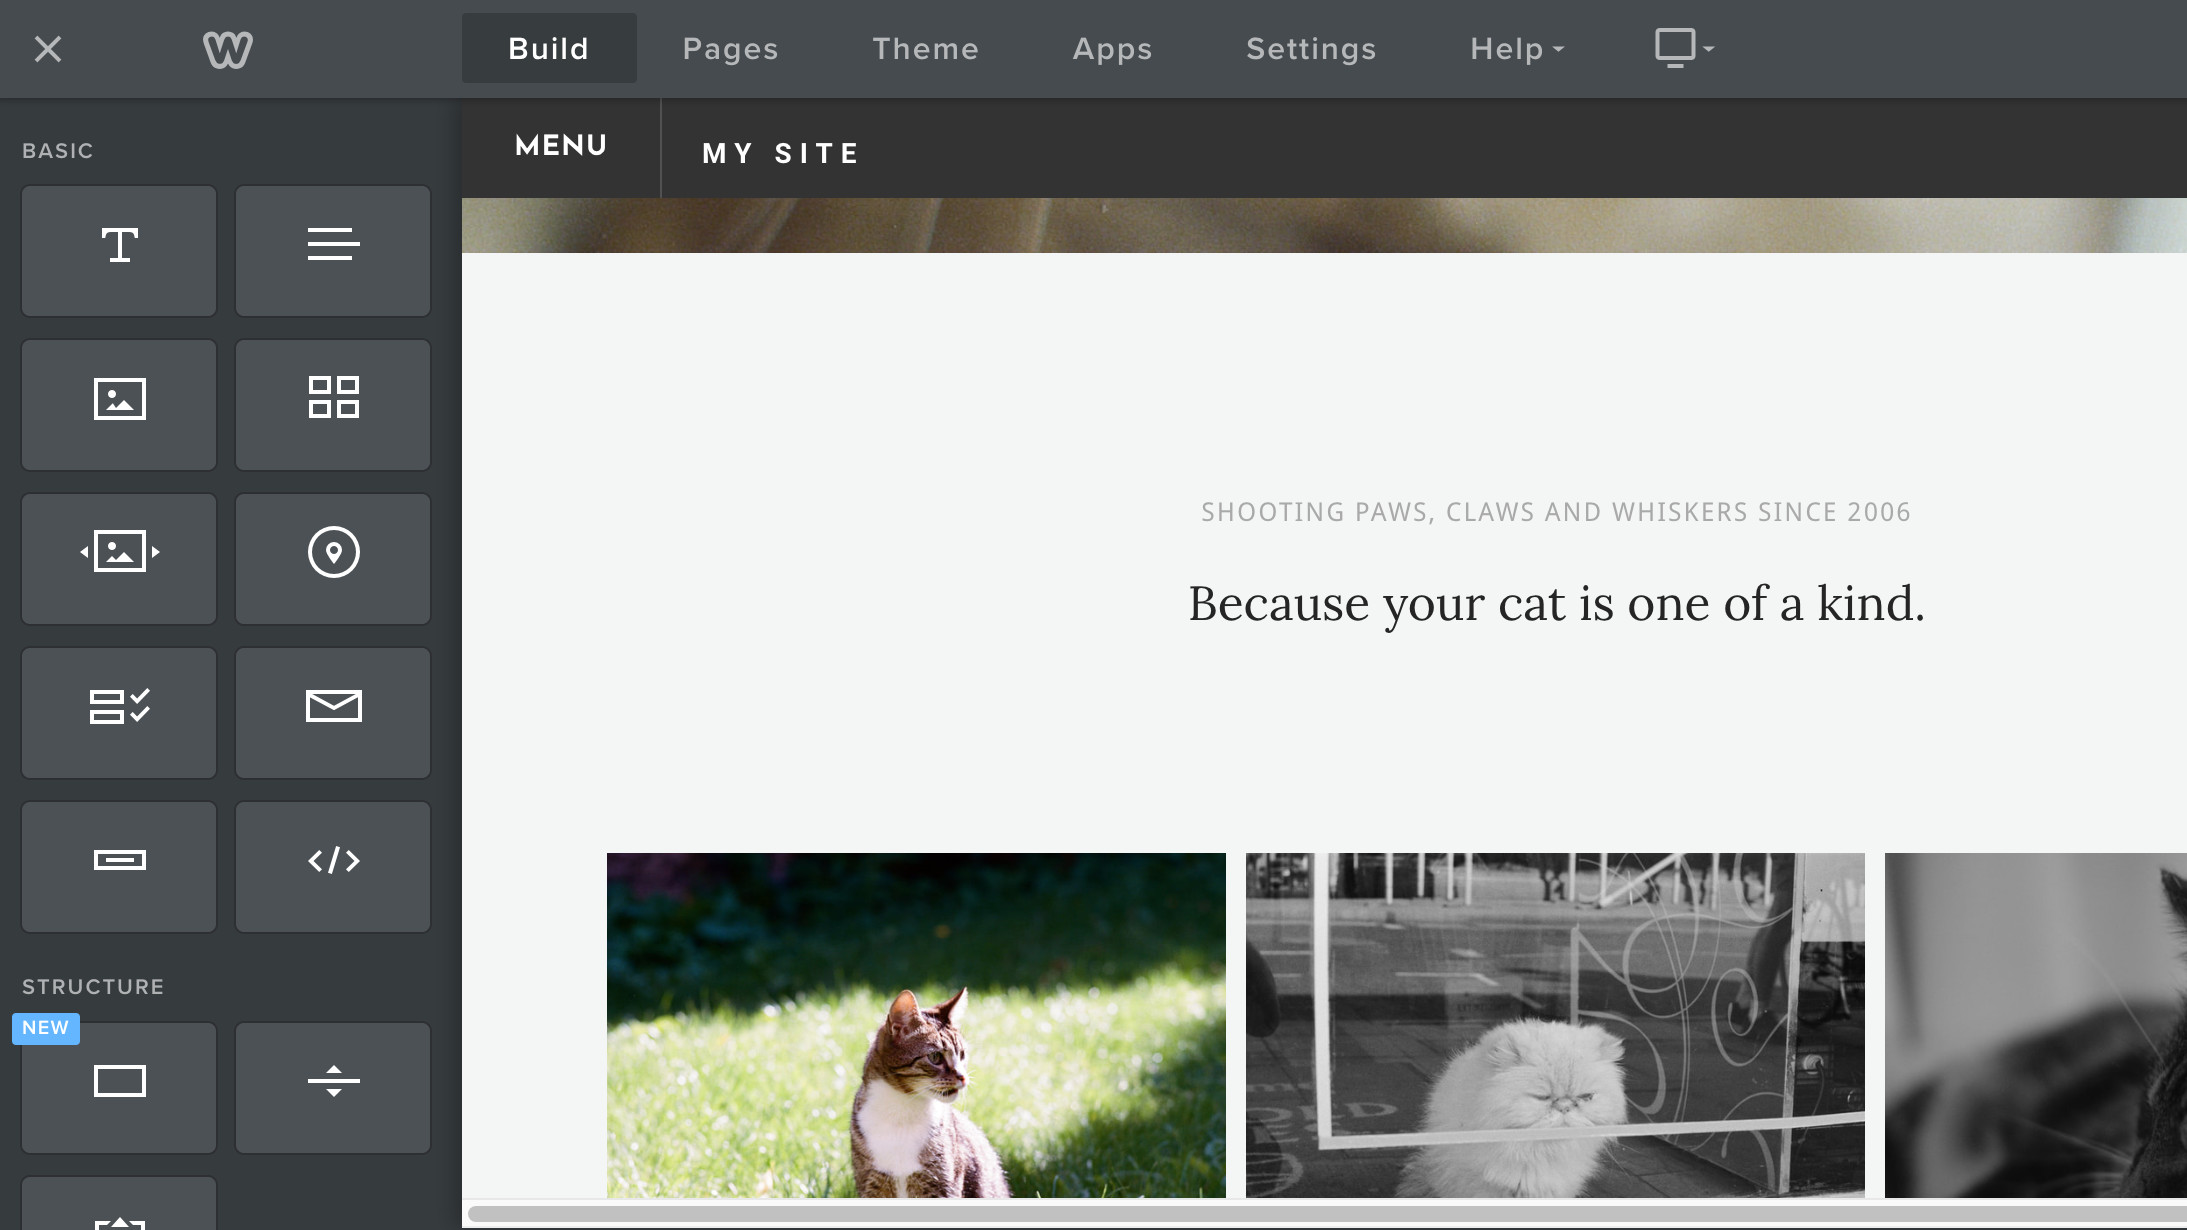
You’ll also need to add pages, which form the structure of your site. Many Weebly themes will give you a number of pages by default, which are generally pretty sensibly the kinds a business is likely to need – ‘Home’, ‘Services’, ‘About’, ‘Contact’, that sort of thing. If you want to delete any, or add more, you can do so from the Pages tab up top.
3. Consider adding apps
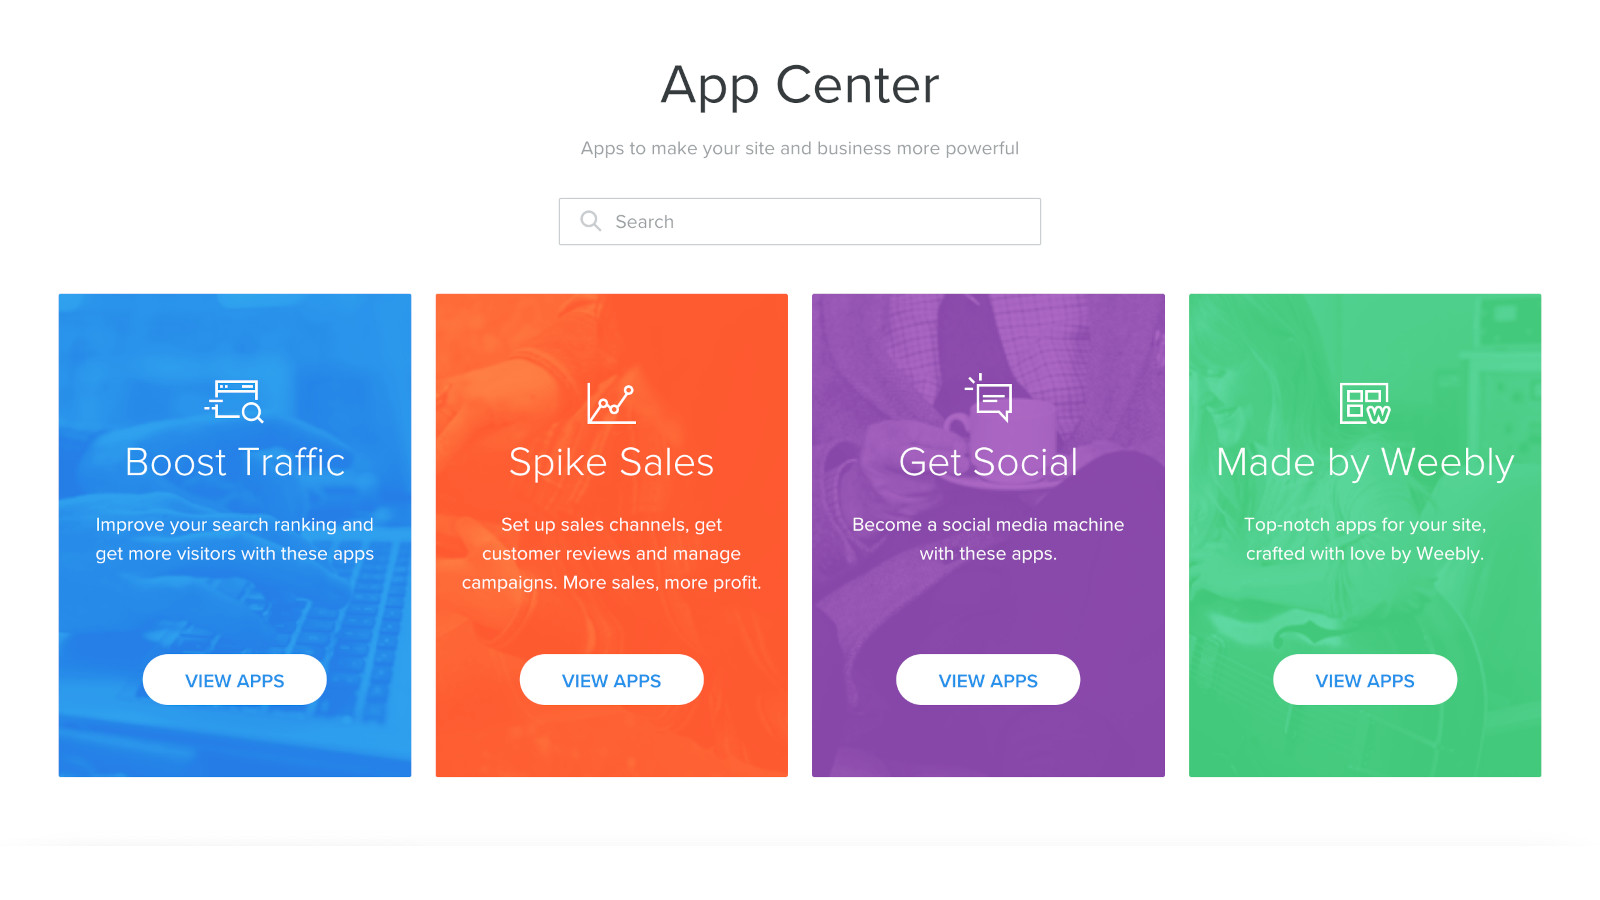
Weebly offers a wide range of Apps, essentially widgets that you can install in your site, some free, some not. They’re contained in the Apps tab at the top toolbar of the site editor, and include social plugins like an Instagram grid displayer, as well as SEO monitoring tools, customer support chat and more. The integration quality varies between Apps, but it’s worth having a browse to see if any could be useful for your site.
4. Pick your plan and publish
Once everything’s in place, the last step is to pick your plan, and publish your site. The aforementioned Free tier is handy if you’re making a site for non-commercial purposes, or just don’t really mind not having your own custom domain (which is the main draw of the cheapest ‘Personal’ tier). In the editor, you may have also run into the Free tier’s other limitations, like the 10MB file upload limit.
It’s worth noting that Weebly is one of the cheaper website builders around – its plans start at $10 (£5) per month, and only run up to a maximum of $26 (or £19) per month. Once you’ve selected your plan, and specified your domain if necessary, all that’s left to do is launch!


