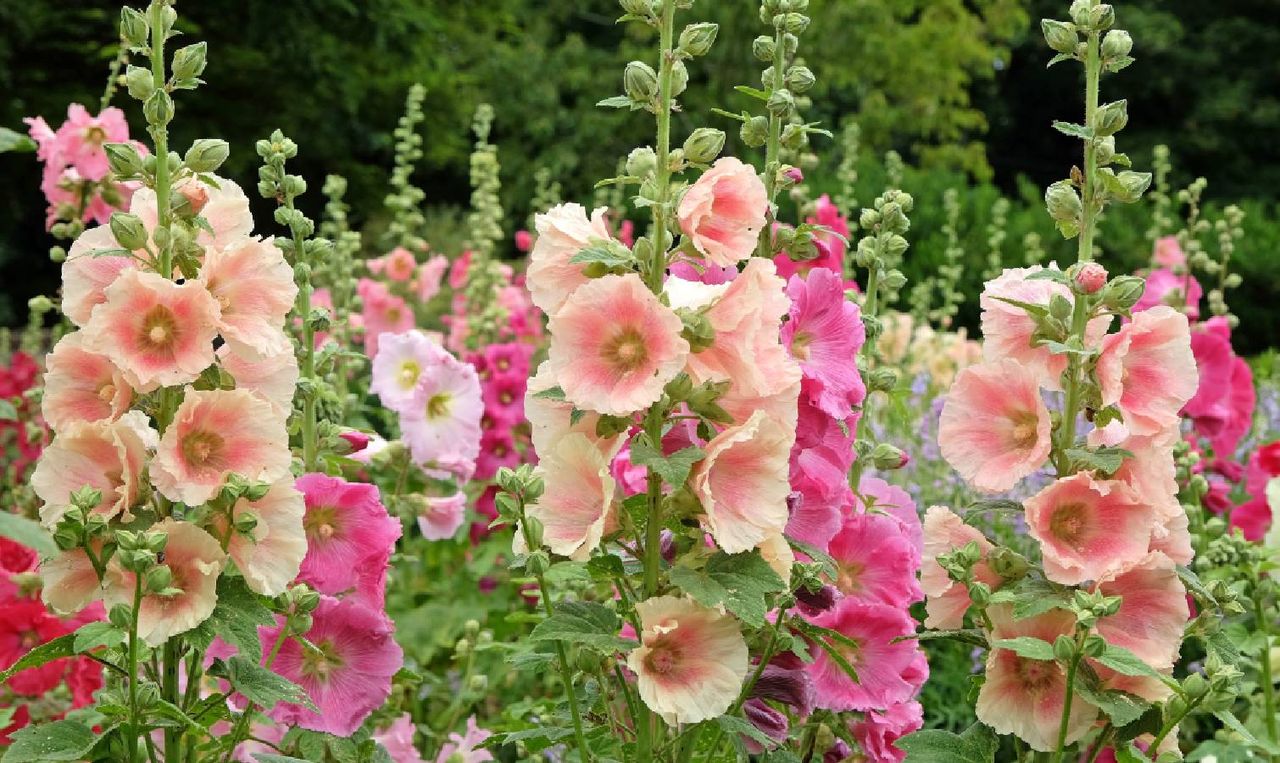
Hollyhocks are my absolute favorite flowers, ever, and I'm lucky enough to have a few of these beauties in my own garden. They are the ultimate cottage garden classic: tall with large, gorgeous blooms, the kind of plant that just commands attention. But they can also be incredibly frustrating.
It’s a classic gardening letdown, isn't it? You spend all summer admiring those towering stalks, only for them to vanish, leaving you wondering if you did something wrong. The trick to a reliable yearly display, however, is simply working with their natural two-year lifecycle.
By spending just a minute at the end of the season to guide their seeding process, you can easily establish a permanent, self-sustaining patch that comes back every summer.
Understanding their lifespan
Unlike true perennials like peonies, which grow from a permanent root system that returns every spring, hollyhocks are biennials with a strict two-year lifespan.
In their first year, hollyhocks focus entirely underground, driving a massive, carrot-like taproot deep into the earth and growing a low rosette of leaves on the surface. They do not produce flowers during this initial season.
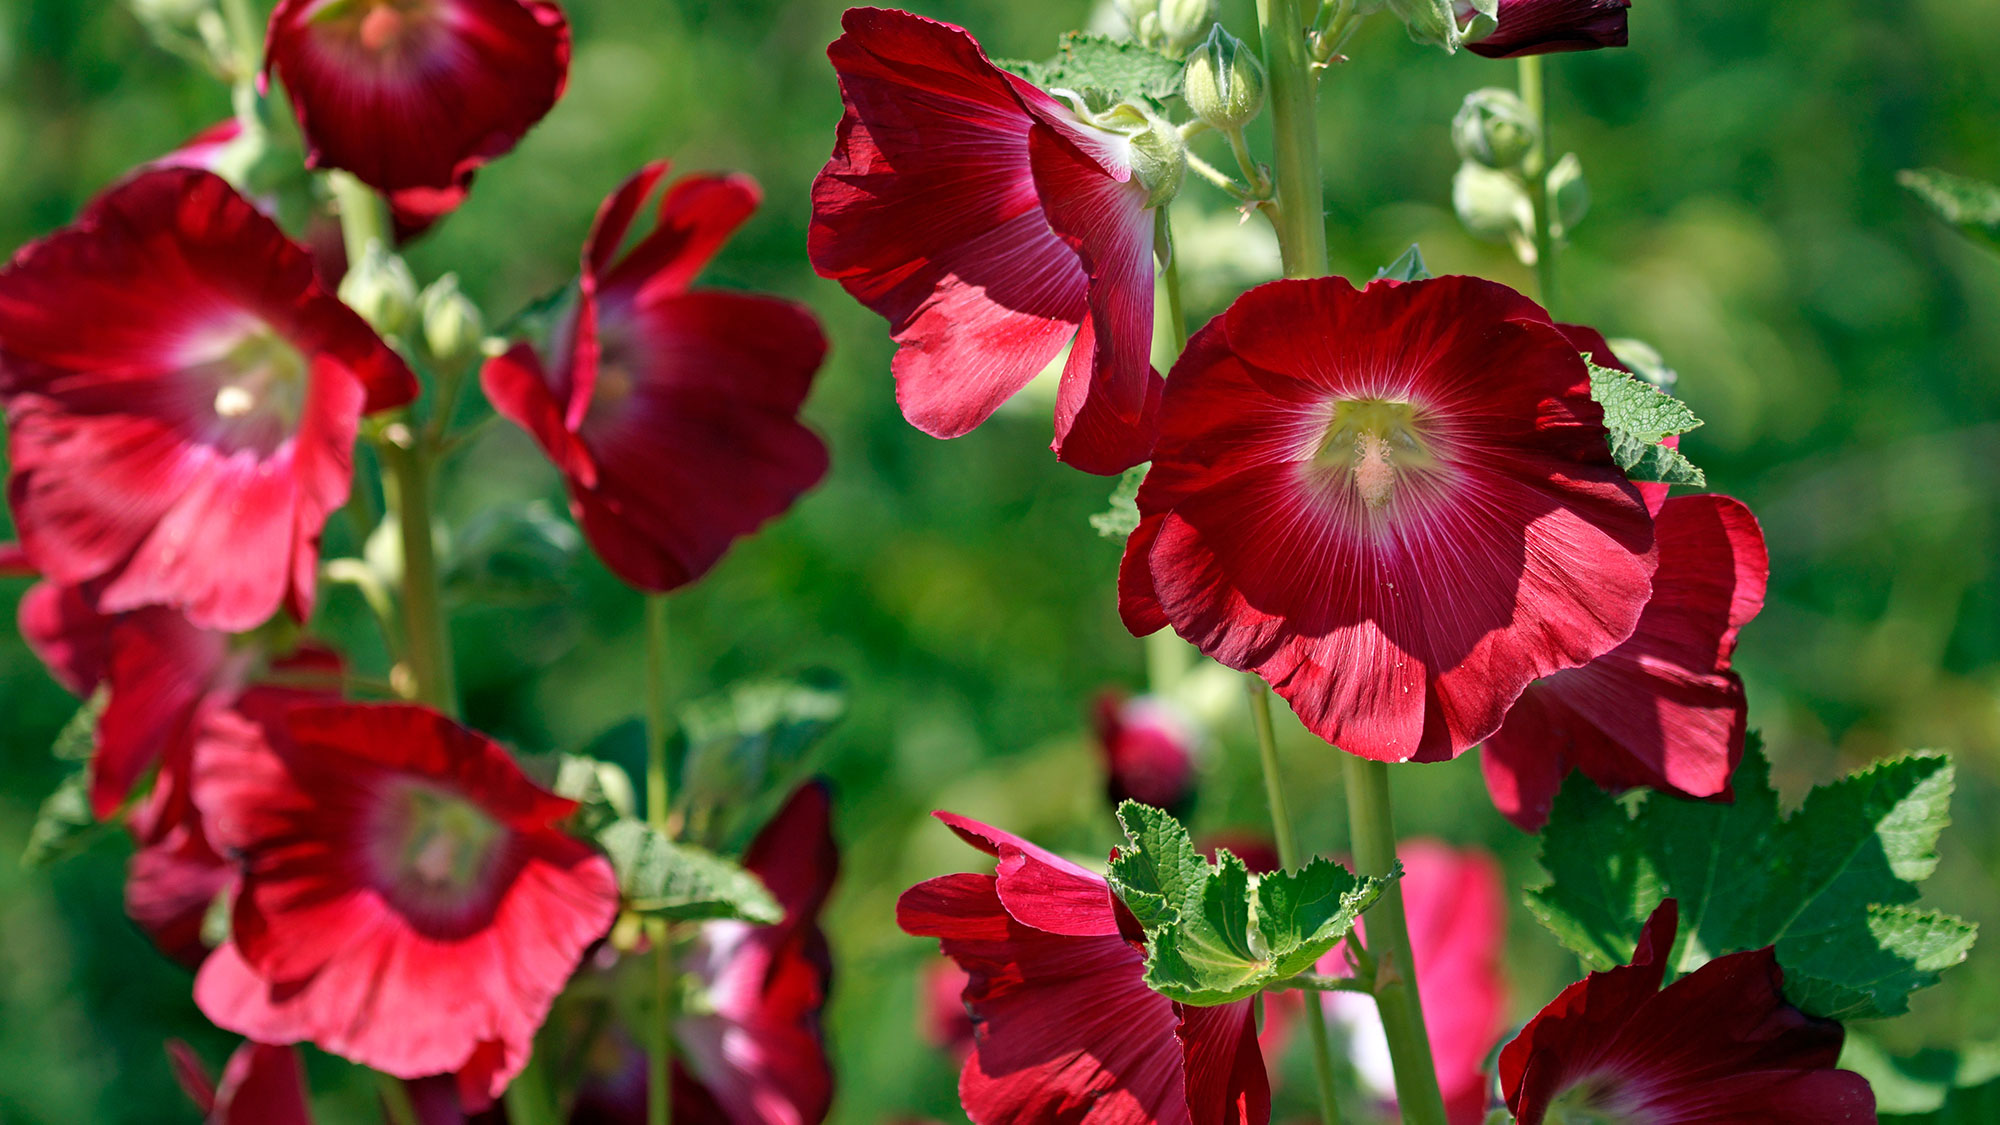
In their second year, the plant uses that stored energy to shoot up its massive flowering stalks, bloom magnificently from mid-to-late summer, drop its seeds, and completely die.
To get a permanent wall of hollyhocks year after year, you simply need to ensure that the dying second-year plants successfully drop their seeds to establish a new generation of first-year seedlings every August.
The 1-minute shake and scatter method
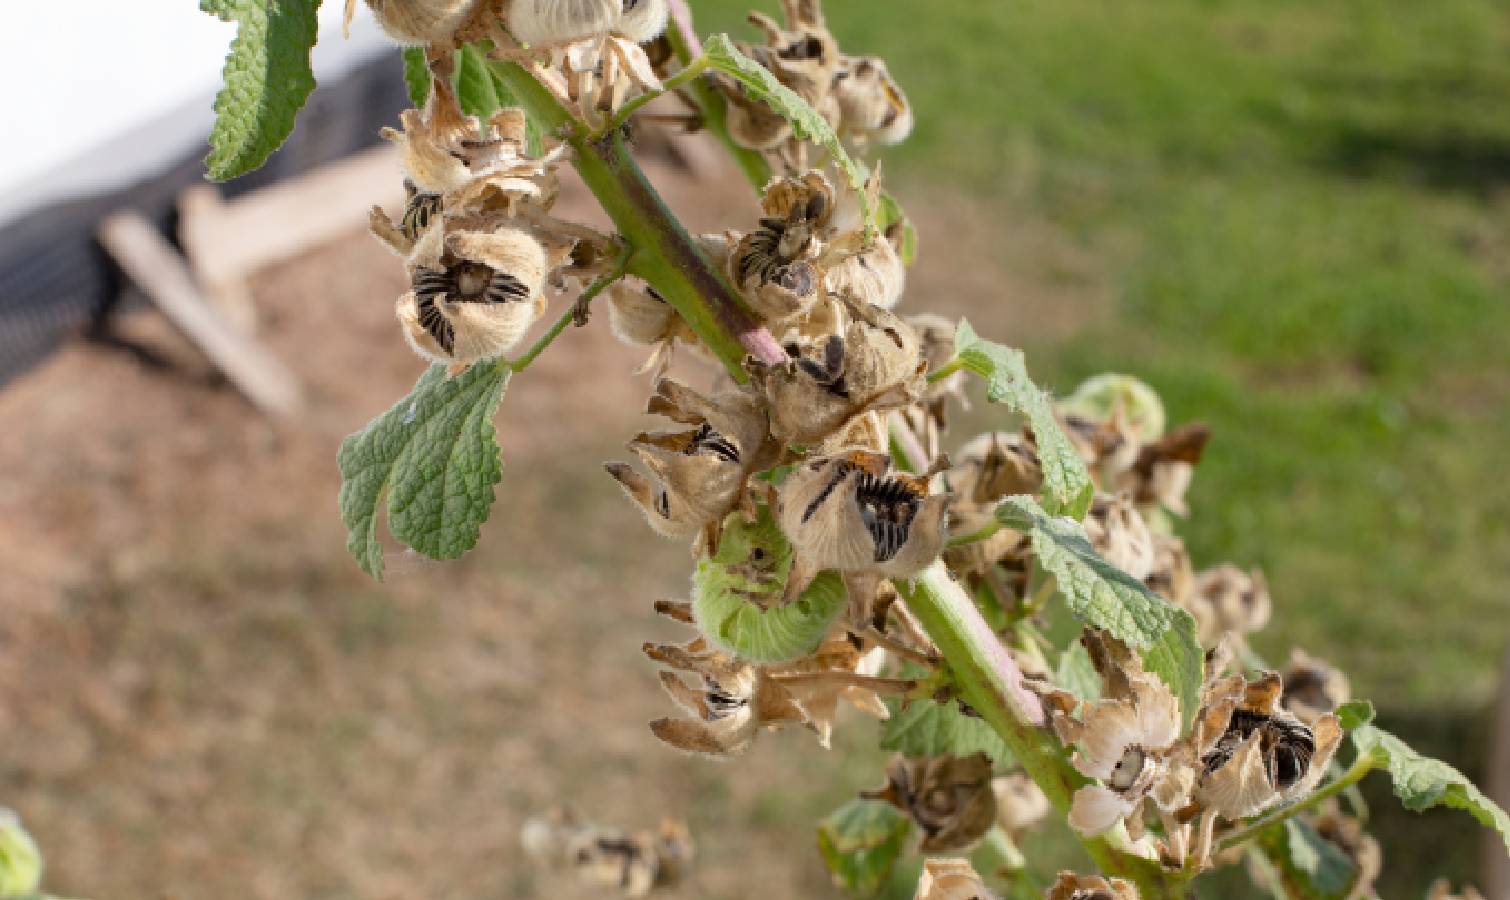
As your hollyhock flowers begin to fade and drop their petals in July and August, leave the pruning shears alone. You must leave the spent flower stalks completely intact so the remaining green, button-like seed pods can form along the stem.
Leave the stalks alone until the stems turn brown and dry, and the seed pods become paper-thin and brittle. When you touch a pod and it feels like old parchment paper, the flat, dark seeds inside are fully mature.
Walk down your garden bed, grab the base of the dried stalks, and give them a firm shake. Allow the papery seeds to rain down naturally into the soil directly at the base of the parent plant.
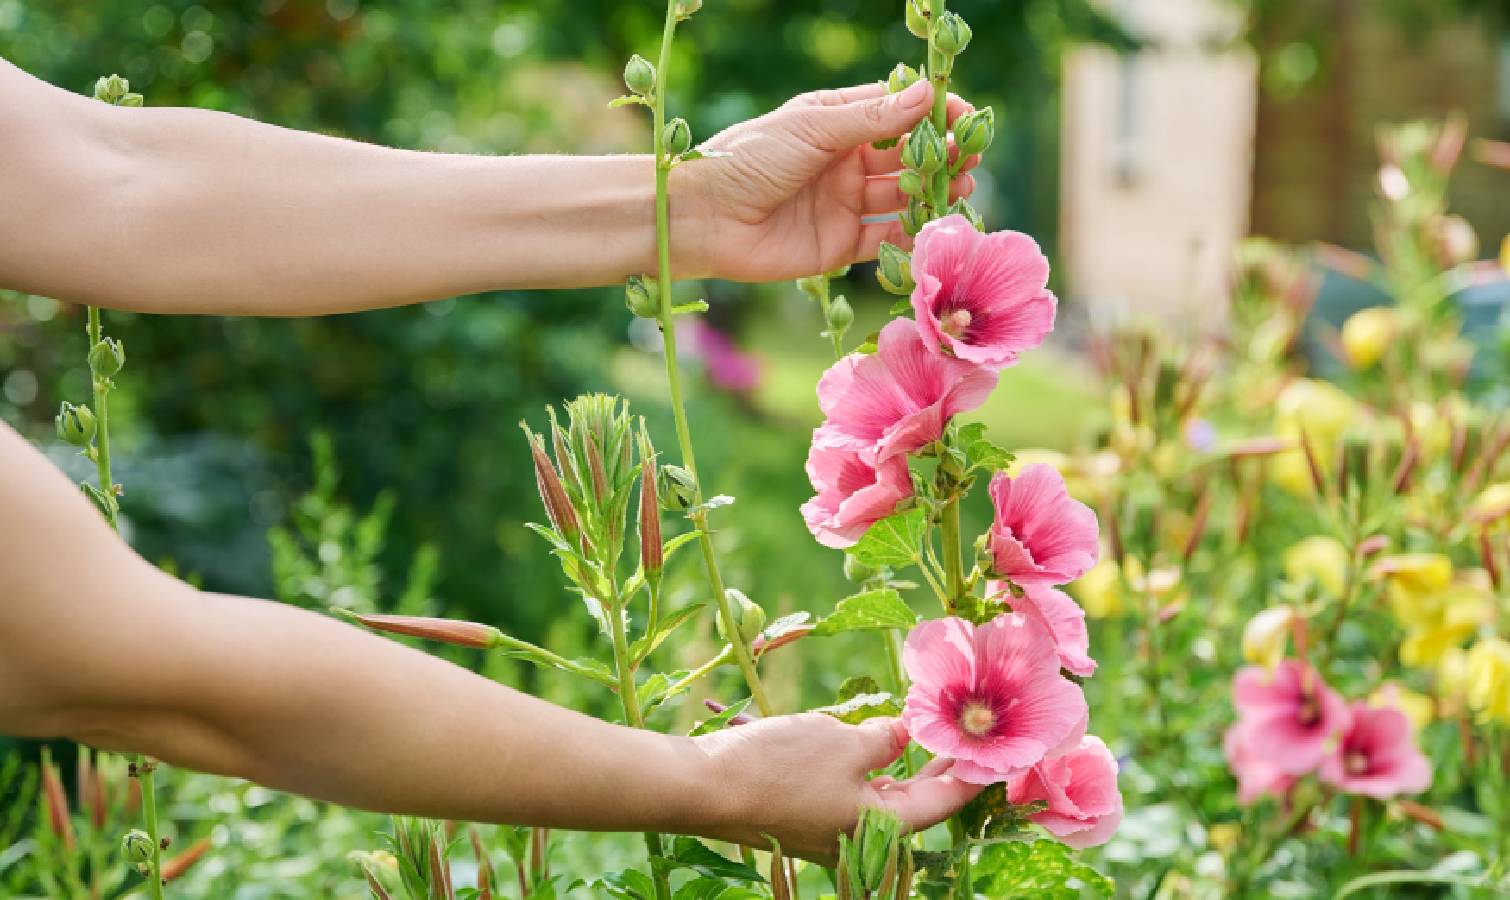
If you want to expand your display, simply snap the dry stalk off entirely, carry it to a new bare patch of soil, and gently tap it over the ground.
How to guarantee success
For this 60-second trick to work, you have to ensure the falling seeds actually hit a viable launchpad.
-
Ditch the bark mulch:
Hardwood bark mulch chips act like a shield. Hollyhock seeds need direct contact with the soil and consistent summer moisture to germinate. If you must mulch for weed control, switch to a thin layer of rich, well-rotted compost, which naturally breaks down into a loose, fertile seedbed.
-
Keep soil exposed and untilled:
Ensure the ground immediately surrounding your current hollyhocks is slightly exposed. Avoid digging up or tilling this area in the autumn, as you will bury the dropped seeds too deep. They prefer to sit right on the surface.
- Learn to recognize the 'Babies': In the autumn or early the following spring, tiny new hollyhock leaves will begin to carpet the ground. They look like small, fuzzy, rounded green saucers with scalloped edges. Learn to spot them immediately so you don't accidentally pull them up during your seasonal weeding sessions.