You may not have to go to the Enclave to craft Praxic Blade, but it has as many upgrades and catalysts as any other craftable Exotic in Destiny 2. While Praxic Blade catalysts aren’t as game-changing, they are a nice bonus if you decide to lean into a specific playstyle.
To get Upper Hand, Hyperblade, and Echoing Blade catalysts, prepare to jump back into the Fire and Ice Exotic mission on Legendary difficulty. The last catalyst, Energy Conduit, is available from the Equilibrium dungeon.
Here’s how to get every Praxic Blade catalyst in Destiny 2.
Table of contents
All Praxic Blade catalysts and how to get them in Destiny 2
Upper Hand
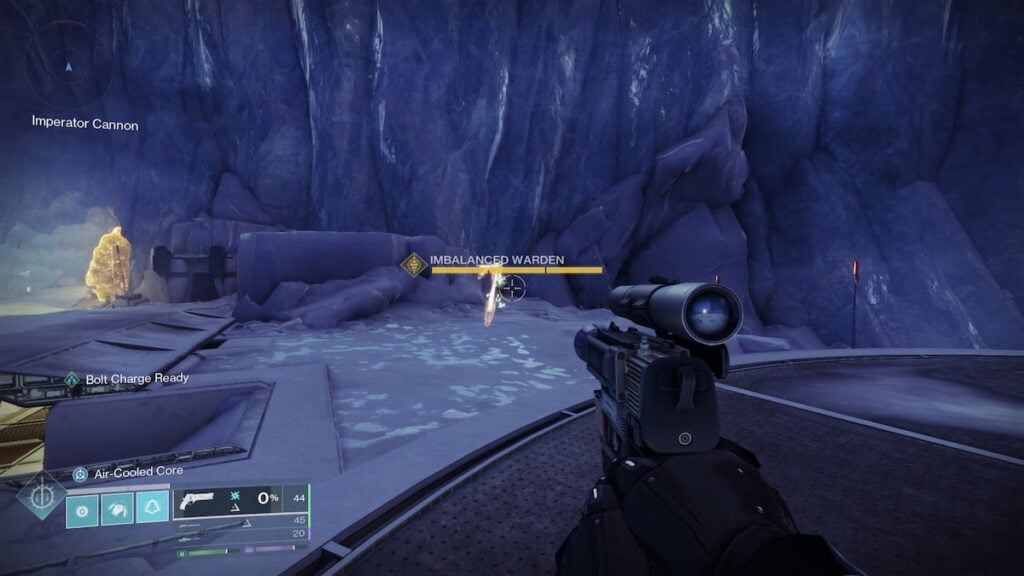
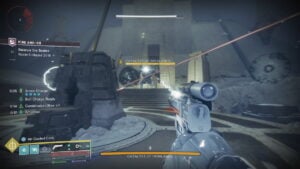
To get the Upper Hand catalyst, you need to kill two Taken Imbalanced Wardens at the beginning of the mission. From the Imperium base entrance, head left into the cave to find the first knight and then head to the right across the hill (where the huge cannon is) to find the second.

Kill them both and continue to the vault’s entrance. When you first enter the Ascendant Plane, you’ll see four Pyramid splinters around the room. Shoot them all to start a 30-minute timer – you must complete the mission within this time.
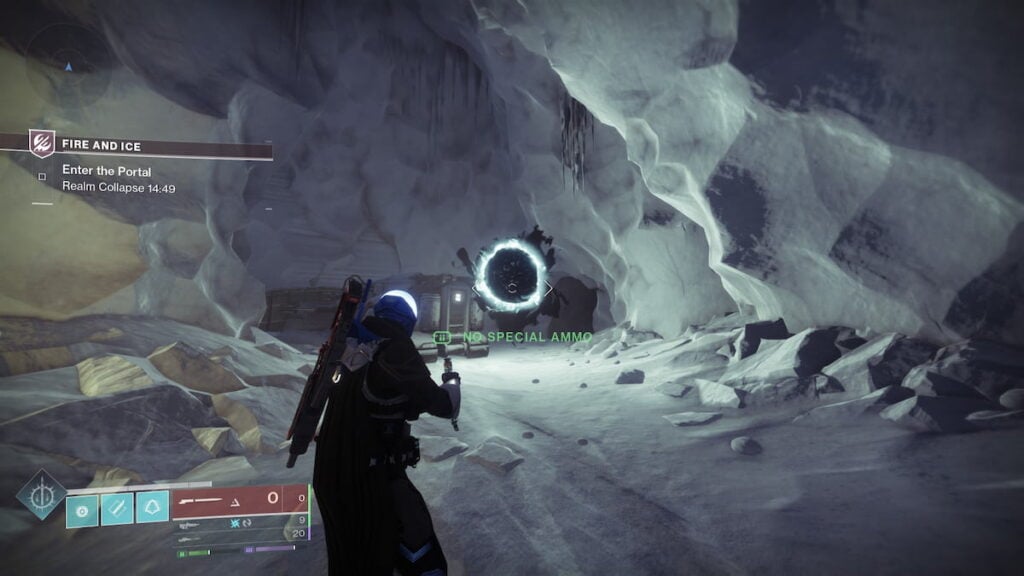
Proceed with the mission as normal until you complete the Balance the Scales encounter and leave the Ascendant Plane. Flip the Ascendant Plane, and before heading back into the portal, go to the same two spots where you killed the Wardens. There should be Taken blights for you to destroy using the Praxic Blade.
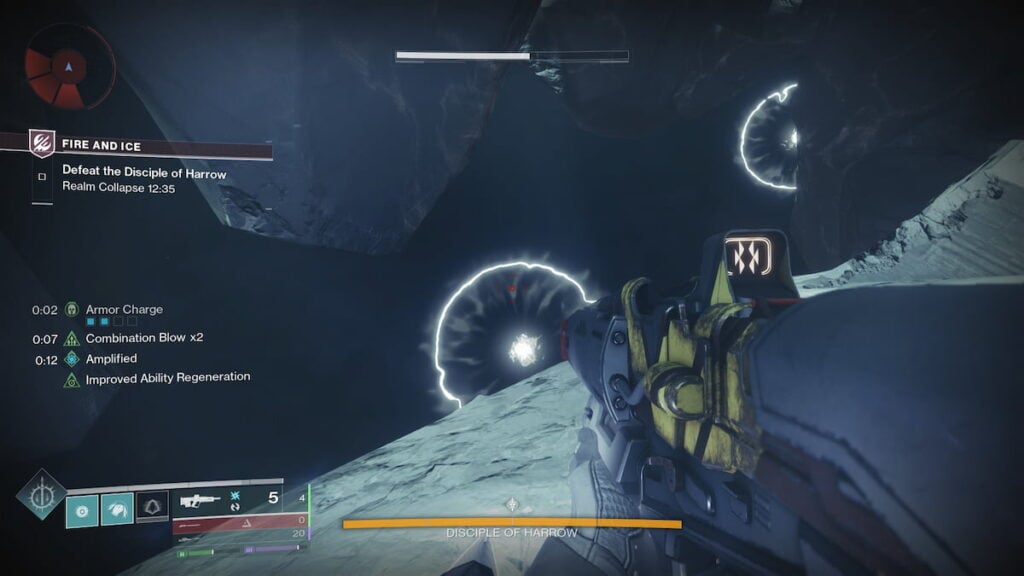
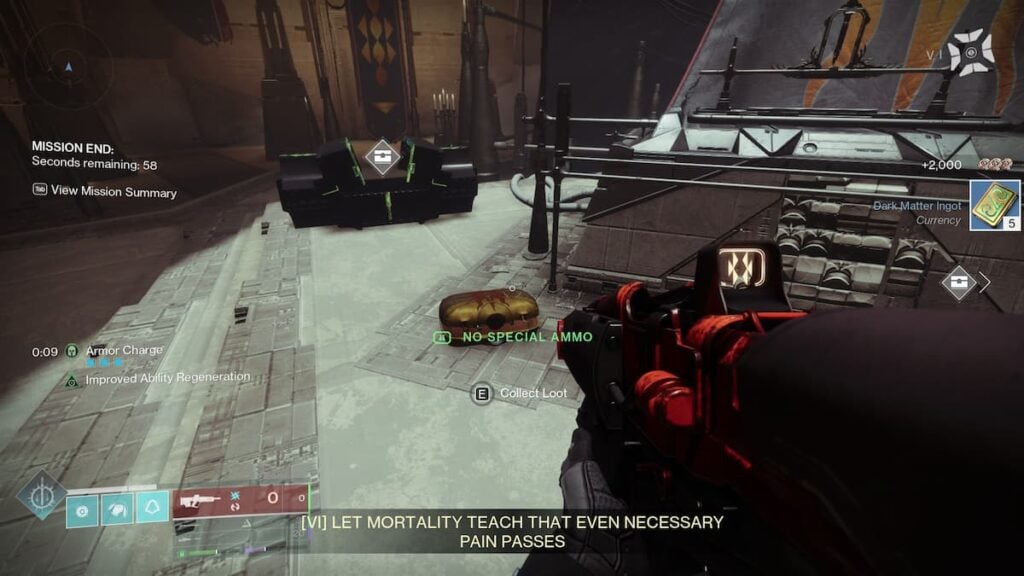
The last step is in the final boss room. When you reach the Energy mechanic, there’ll be two Light blights below the shattered floor on top of the regular Dark blights. Fill the Light blights, then the Dark ones, kill the boss and remaining enemies to complete the mission. In the Praxic vault, there’ll be a small yellow chest in the middle you can loot to get the Upper Hand catalyst.
Hyperblade


For the Hyperblade catalyst, you also need to start the timer by shooting four splinters when you first enter the Ascendant Plane. Do the mission as usual until you reach the Balance the Scales encounter.
Here’s what you need to do in the Balance the Scales encounter:
- Throw three balls at any of the blights to fail it.
- Kill the Imbalanced Warden miniboss.
- Repeat for all four blights.
- Destroy four small blights on top of the pillars in the middle of the arena using the Praxic Blade.
- Defeat the Catalyst of Imbalance boss.
Make sure not to fill the blights before defeating the boss. Completing the encounter will prevent you from spawning the boss, and you’ll lose your chance to get the catalyst this run. After you kill the boss, finish the mission as usual and collect the catalyst from a small chest in the vault.
There was a bug that prevented the Hyperblade catalyst from dropping. This bug has been fixed, and you can now safely do the necessary steps to get both Upper Hand and Hyperblade.
Echoing Blade
Unlike the other two catalysts, you don’t need to have the timer on to get Echoing Blade. Instead, all you need to do is find and destroy seven oddities (small Taken blights) hidden in the traversal section of the Exotic mission.
First oddity
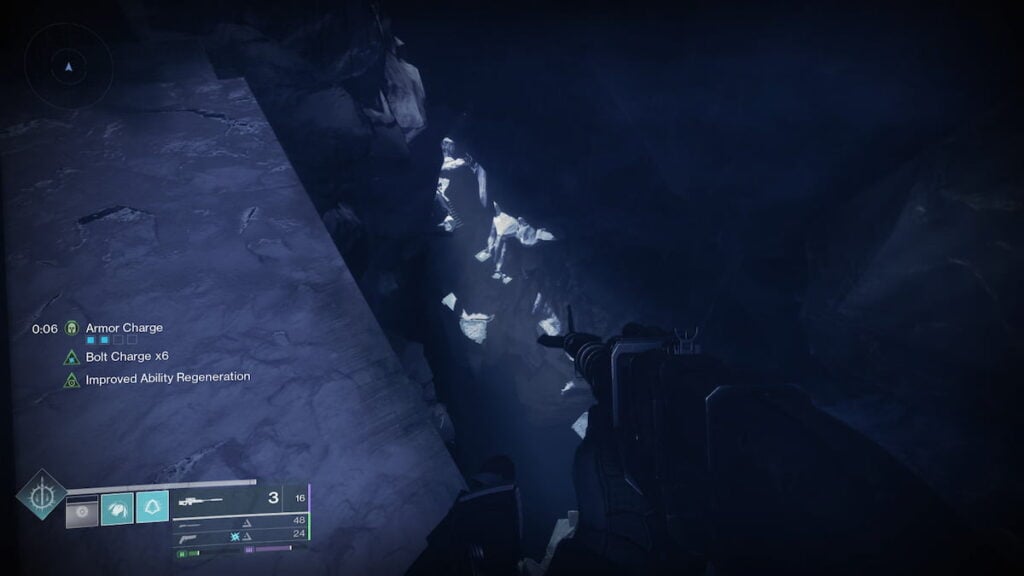
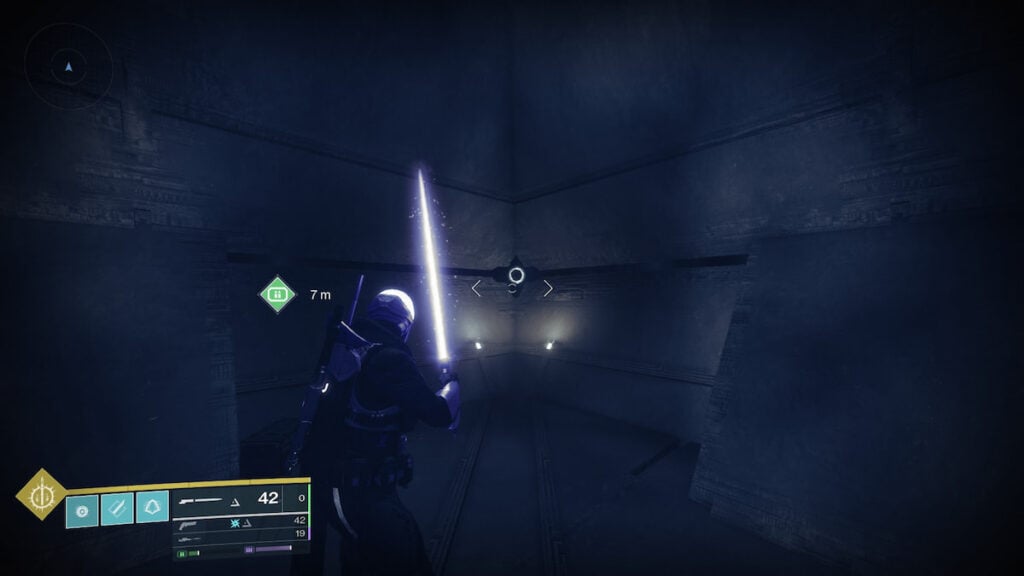
When you enter the Ascendant Plane and drop down the structure in the middle, look for the ledge on the left as soon as you reach the open area. Follow the lights on the ledges until you reach the wall with disappearing blocks and an oddity behind it. Walk near the blocks to remove them, then use the sword throw to destroy the blight.
Second oddity

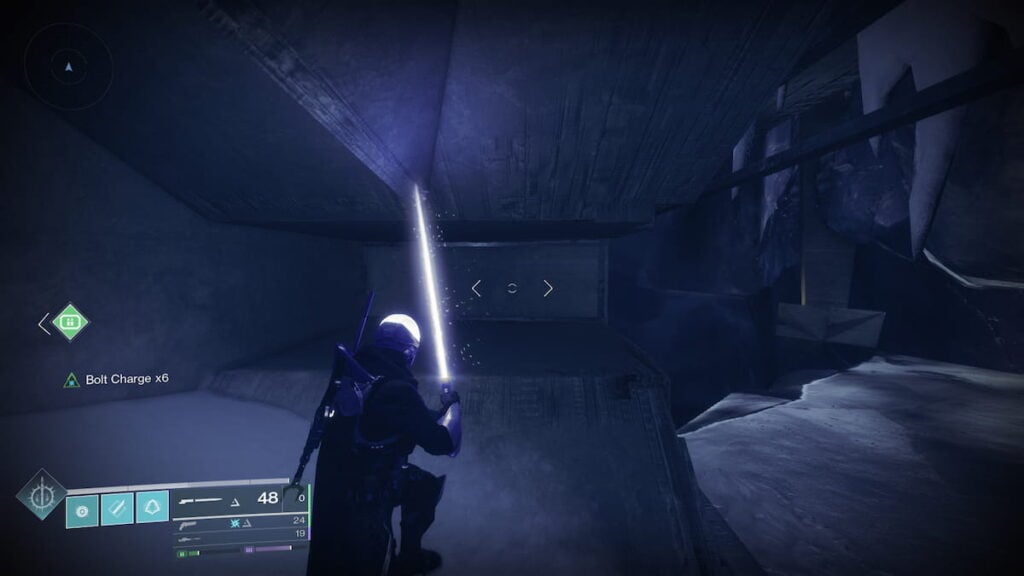
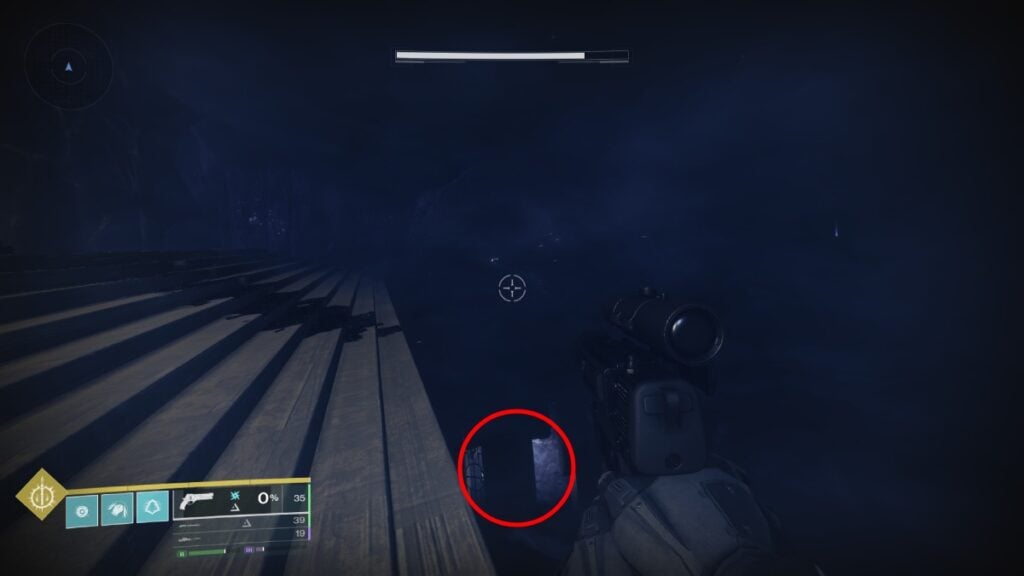
Drop down from the first oddity and follow the main path back until you reach a wall with the disappearing block. Touch the block and use the ledge on the left inside the room to reach the blight. Destroy it and exit the room using another disappearing block.

Third oddity
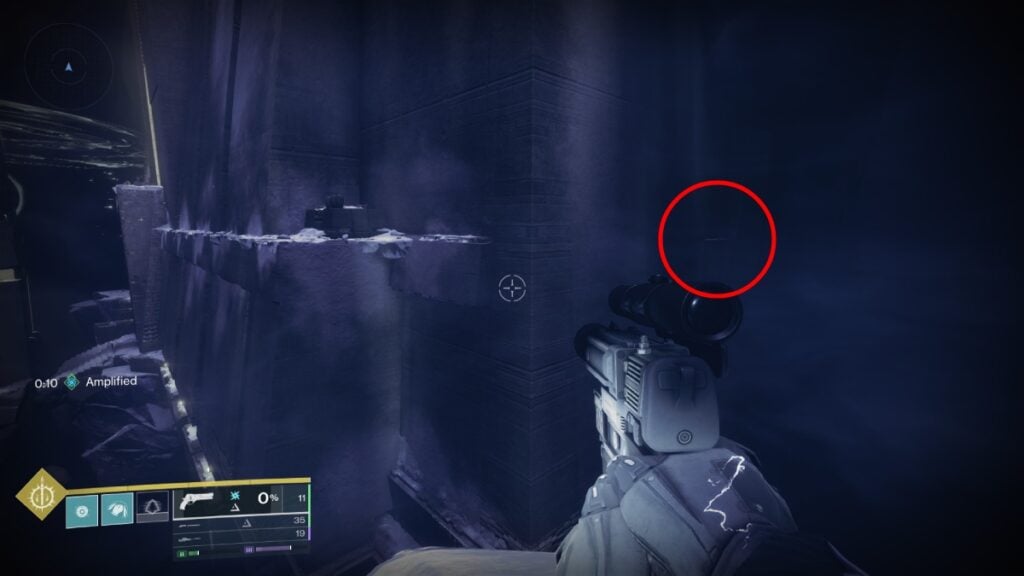
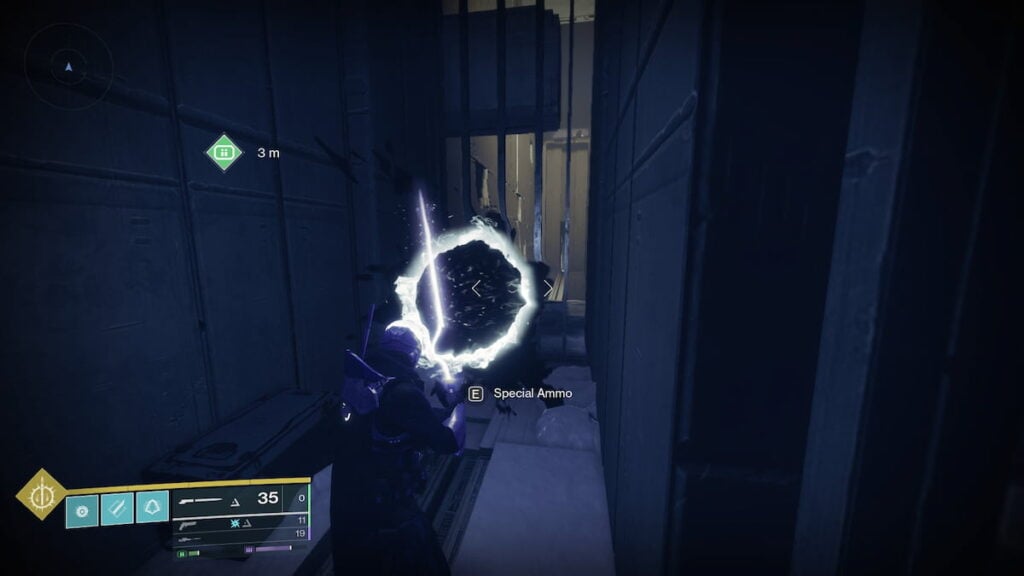
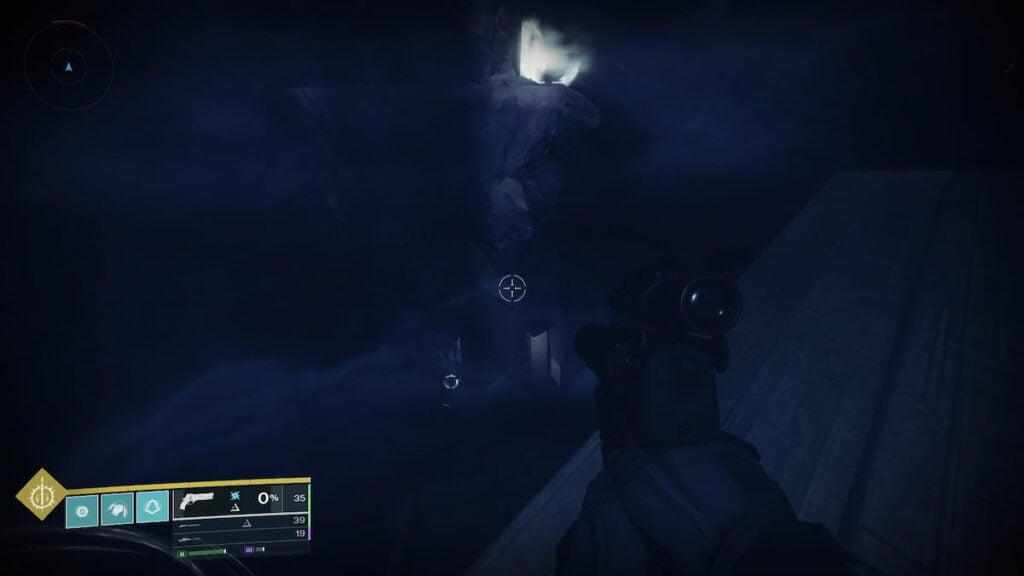
Follow the normal path until you reach the temple-looking structure. Go to the far end as usual and jump on the floating rock. Now, instead of jumping left to go back, jump onto the small ledge on the right wall. Climb up to the Special ammo crate and destroy the oddity.
Fourth oddity
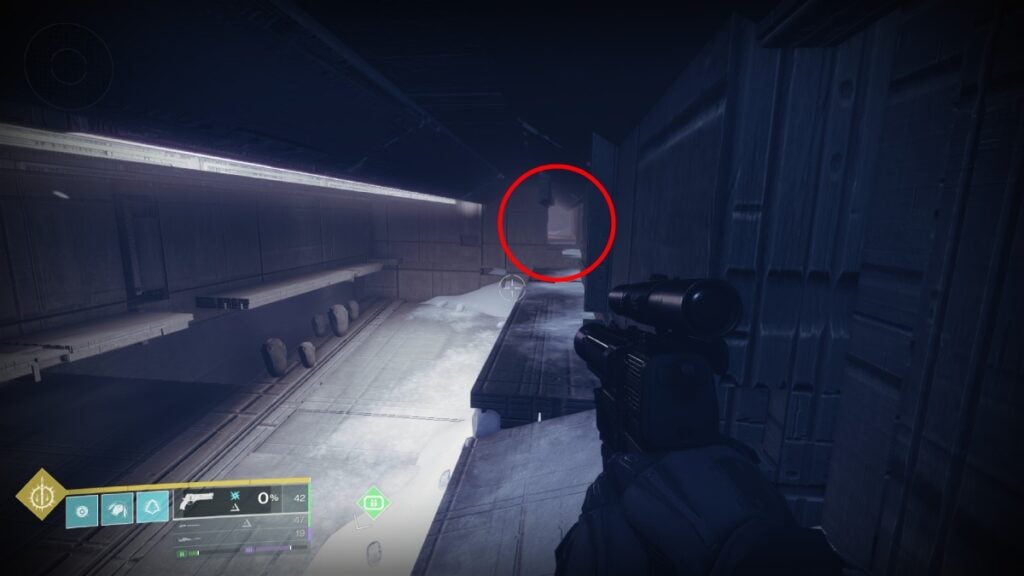
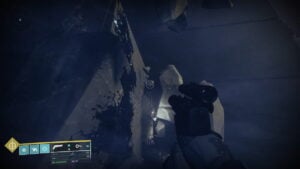
The next oddity is in the loft-like area, after the hallway where blocks are popping out of the walls. Before jumping down, there’s a hole in the wall you can reach by jumping on a ledge, then using a sword swing (just a basic light attack will do). Drop down the disappearing block, remove the two blocks in front, then use the sword throw to destroy the blight.
Fifth oddity
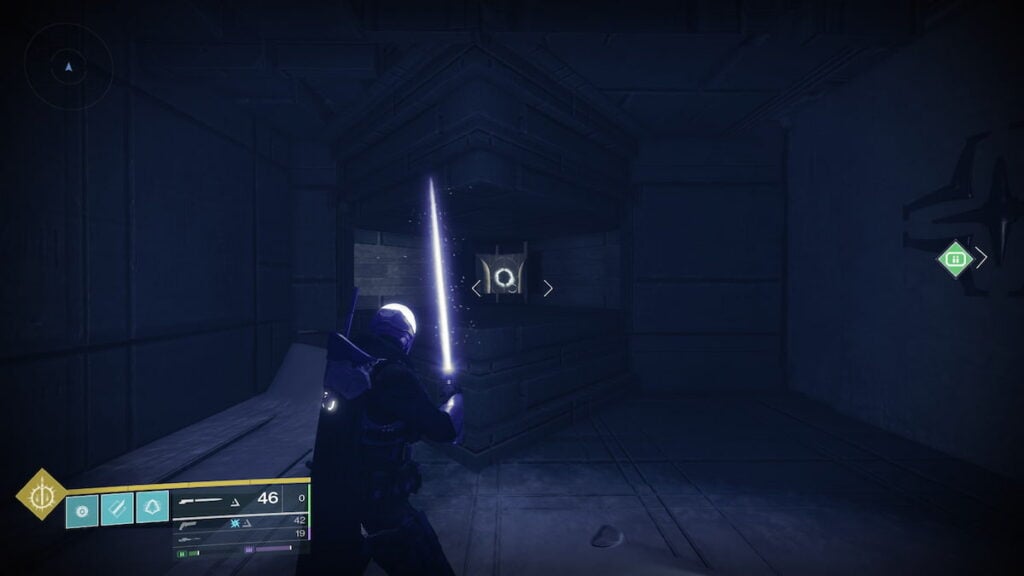
The fifth oddity is in the section where you climb under the ceiling with red lights. On the right side, there’s an isolated path with a diamond hole and a disappearing block in the ceiling. Jump up to remove it, then use the sword throw inside the room to destroy the blight.
Sixth oddity
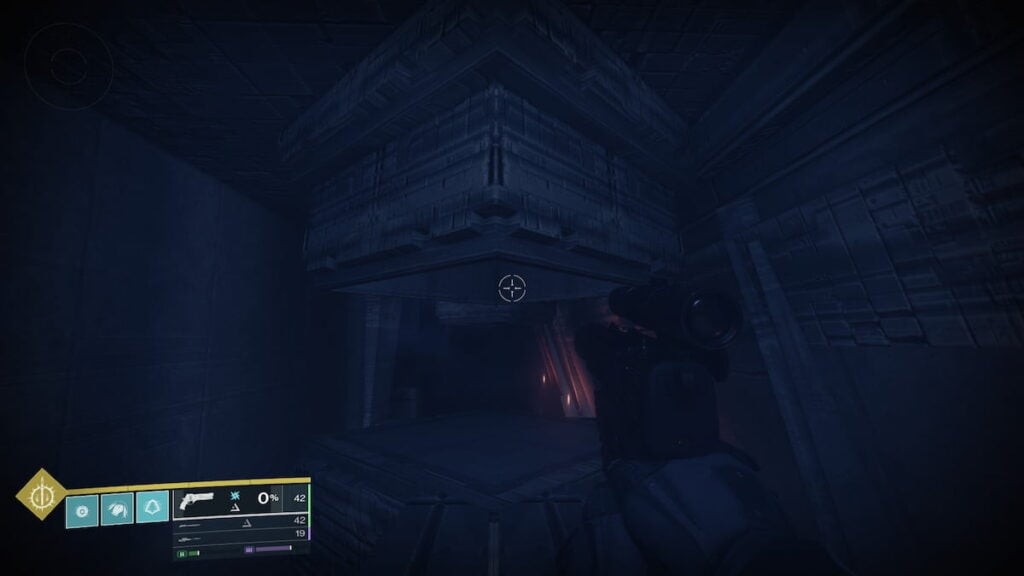
The sixth oddity is in the open area with Hobgoblins and disappearing platforms. As soon as you turn left, you’ll see the blight at the bottom of the floating rock. Drops down the stairs at the edge of the platform, then uses the sword throw to destroy the oddity. Aim at a wall on the right so the sword bounces off and hits the target.
Seventh oddity


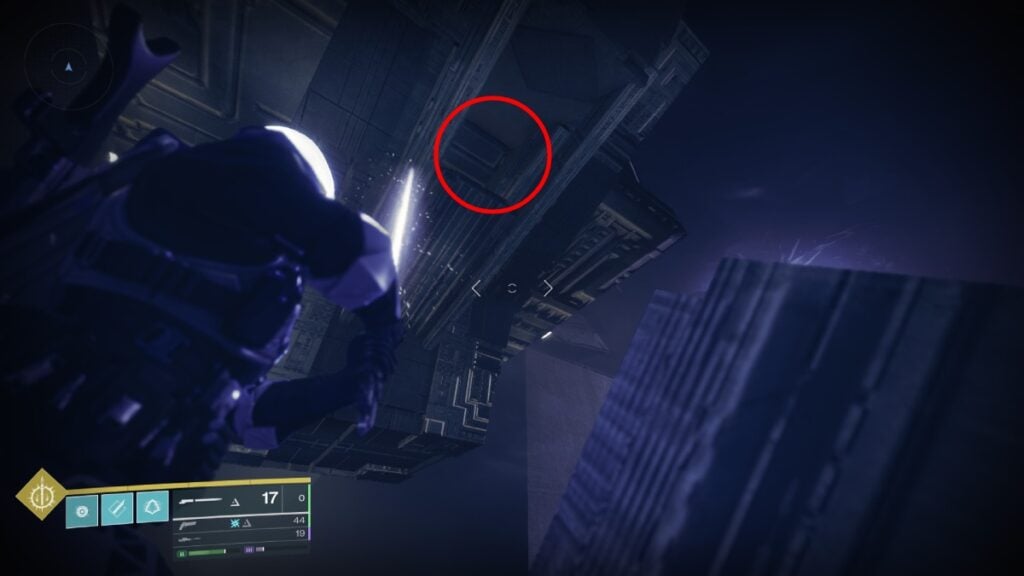
To reach the final oddity, go to the beginning of the open area and jump up the ledges. Follow the path up top until you reach the top of the tower and throw the sword into the hole on the far side. You can try to bounce it off the diamond markings, but that seems to be very inconsistent.
After destroying all seven oddities, complete the mission as usual, and loot the catalyst chest in the Praxic vault.
Energy Conduit
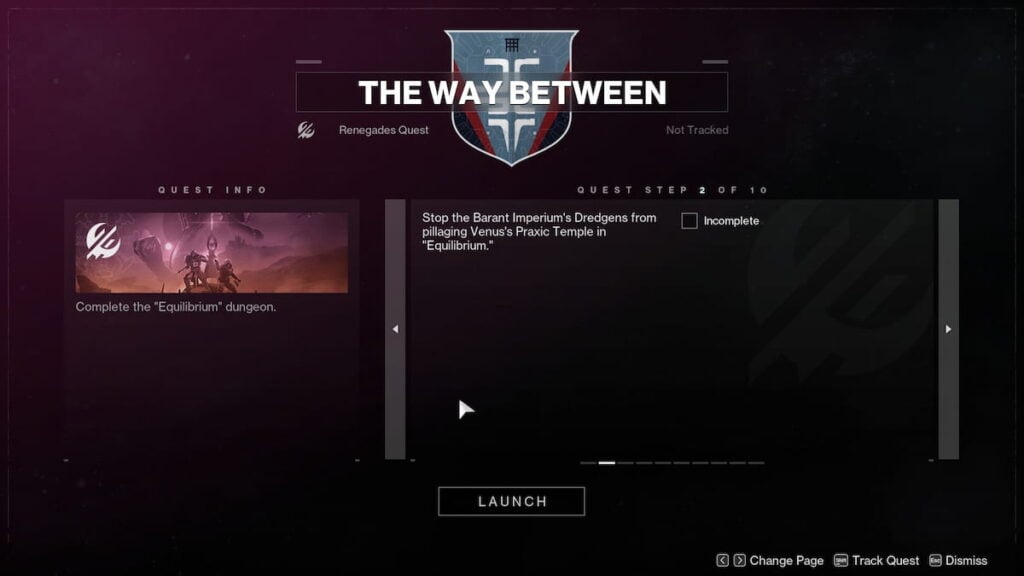
The last catalyst, Energy Conduit, is tied to the Equilibrium dungeon and The Way Between quest available from Aunor. You must complete The Way Between quest, which includes running the dungeon multiple times and completing new puzzles throughout the dungeon. Throughout this quest, you also get all the other customization options tied to the Equilibrium dungeon, except for the Taken color, which is a random drop.