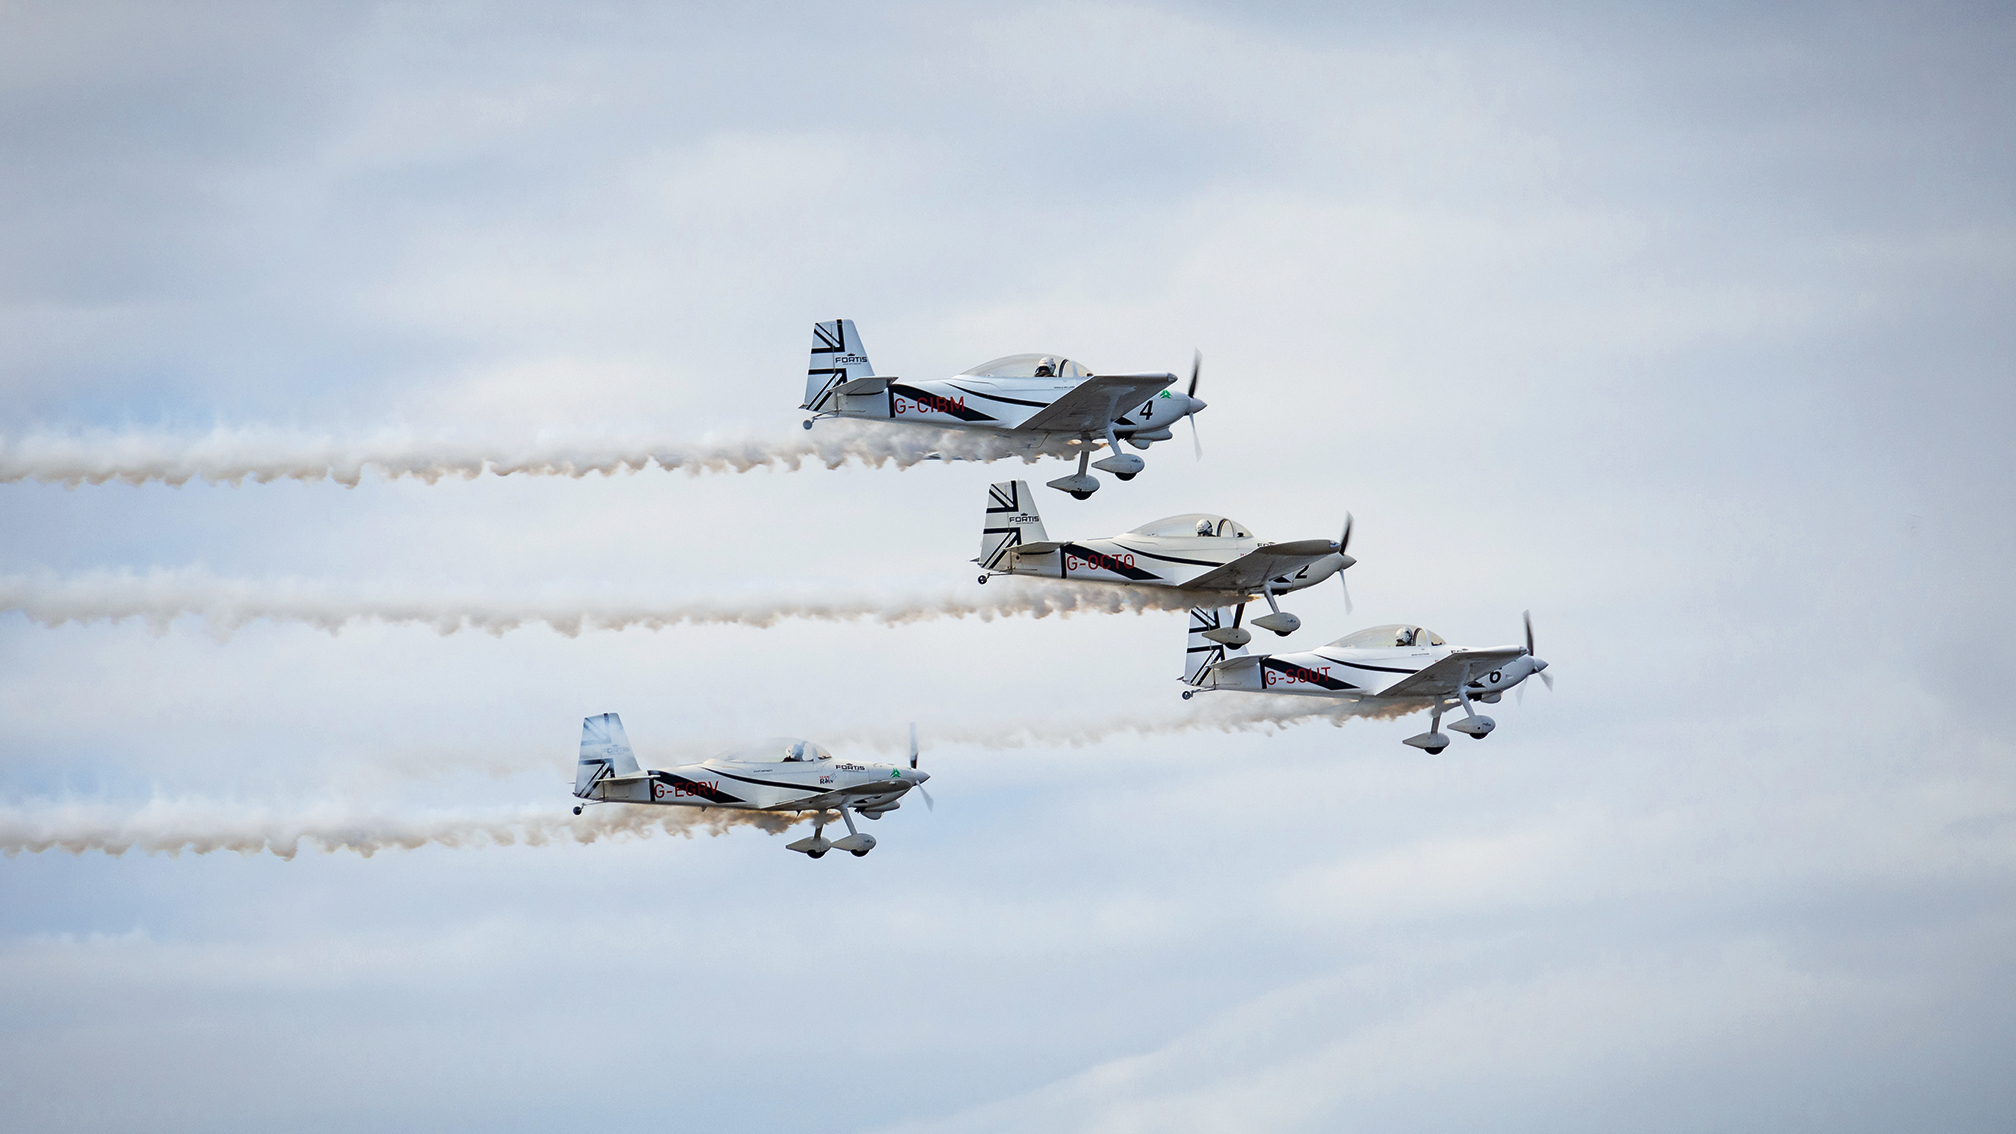
One of the most challenging tasks in photography is to freeze a fast-moving subject, such as a racing car, a bird in flight or a plane at an airshow.
Taking photos in automatic mode can be frustrating, as the camera’s settings need adjustments in exposure and focus. This means that some shots may be usable and sharp, but many will lack precision. To capture those dynamic and dramatic moments, technical knowledge and practice are the keys to success. Here the exposure triangle comes into play, which consists of three elements: shutter speed, aperture, and ISO. These settings all have an impact on each other.
For action shots, the priority is to select a fast shutter speed, such as 1/1,000 sec, to freeze the subject. However, this also means that light has less time to reach the sensor, resulting in a darker image. You might think that working with a wide aperture (low f-stop number) would solve this problem, as it enhances the brightness.
The problem is that the more open the lens, the shallower the depth of field and therefore the narrower the focus area. This makes it even harder to keep the subject in focus, especially if it is moving unpredictably. Raising the ISO for brightness seems logical, but extreme values cause noise and grain – reducing the image quality in both sharpness and clarity.
By understanding the exposure triangle and by experimenting with different settings, you will learn how to freeze the moment. Fortunately, the camera’s automatic modes and focus assistance can help guide you.
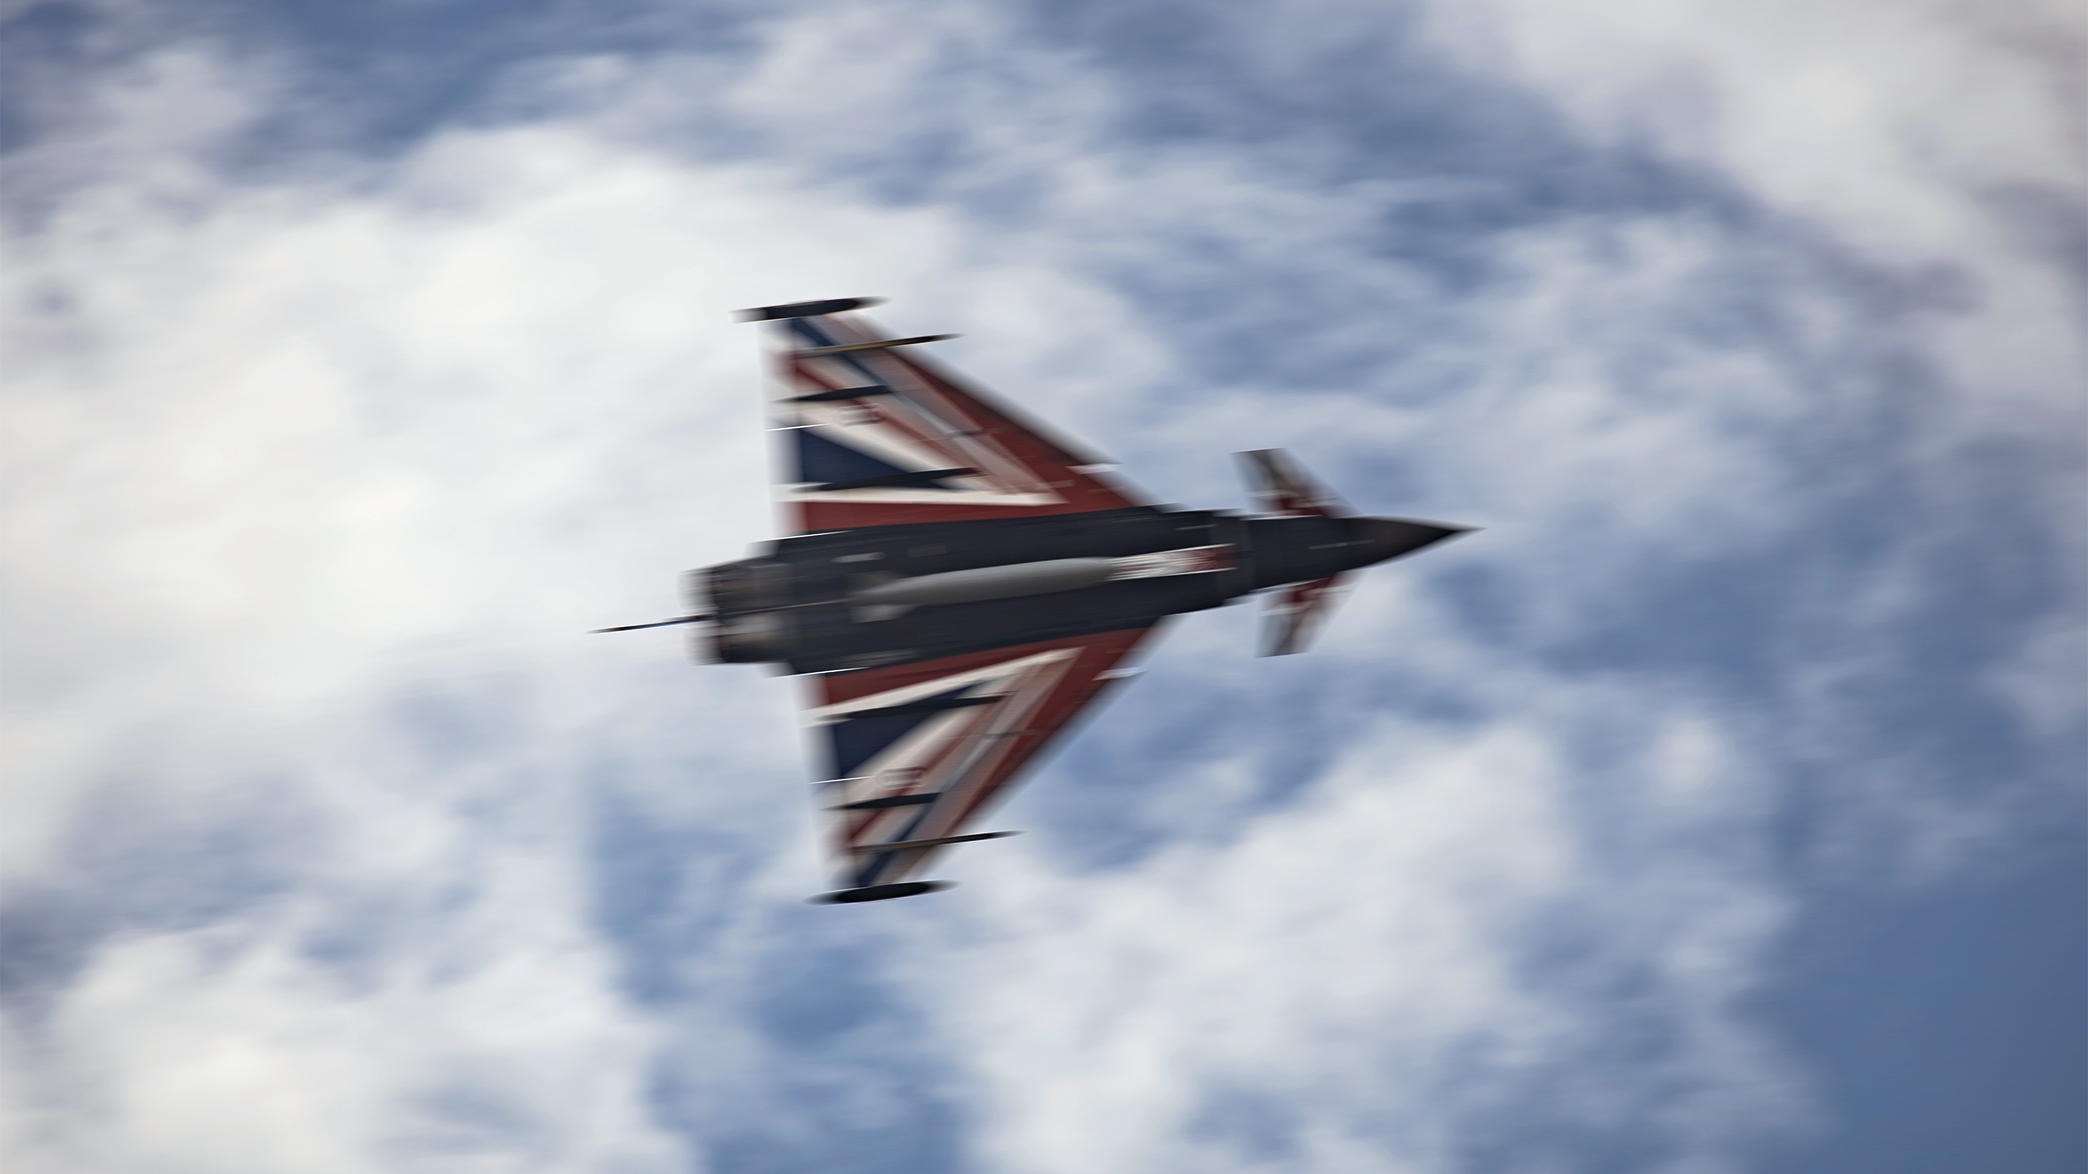
Before and after

Shooting steps
1. Choose an optic
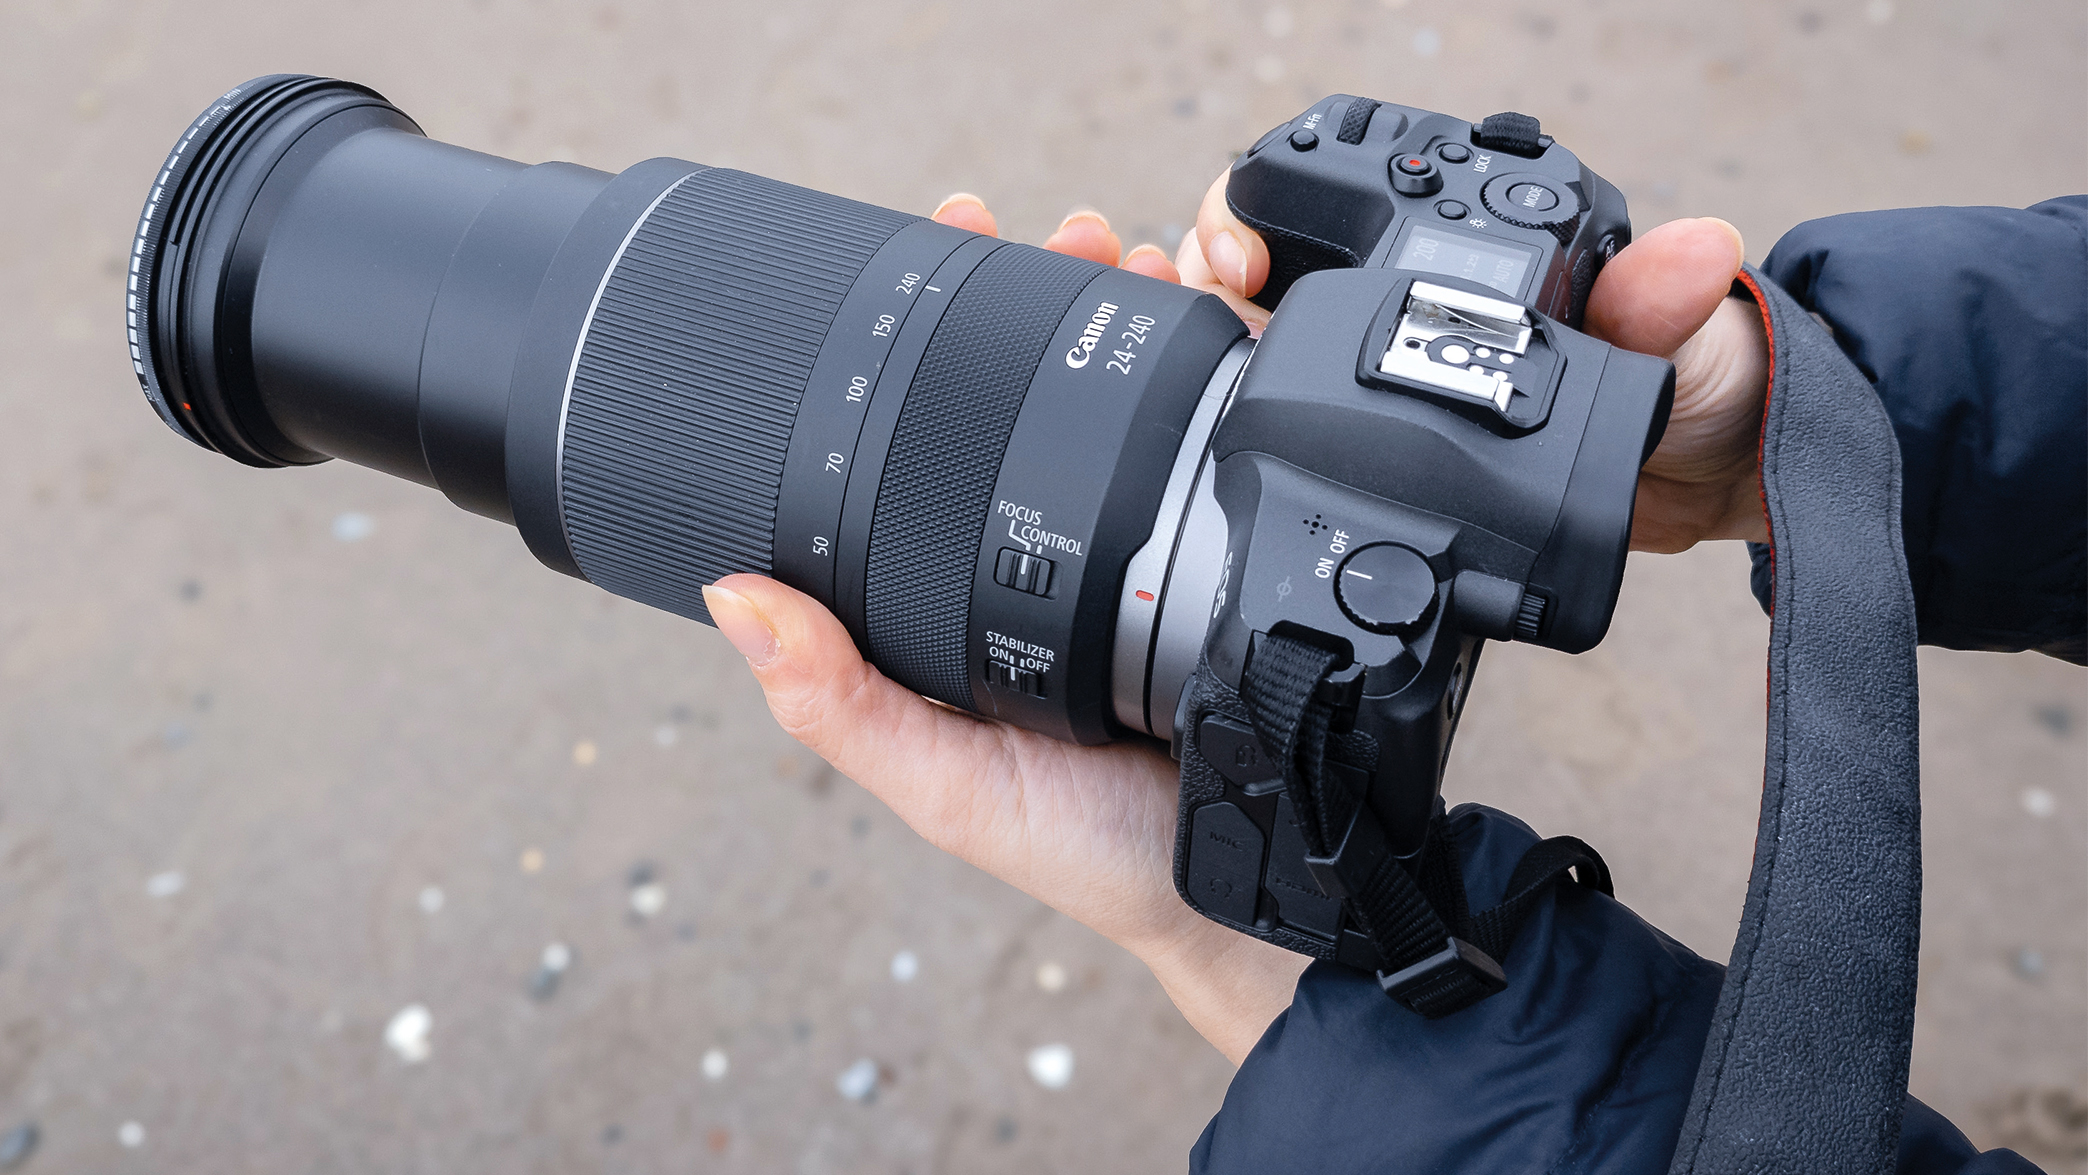
To get up close to your subject and for extra flexibility in framing, a zoom lens with a focal length of 200mm or above is probably your best bet. However, these lenses can be expensive, so renting a zoom lens for a special occasion could be a more cost-effective option to consider.
2. Clean the lens
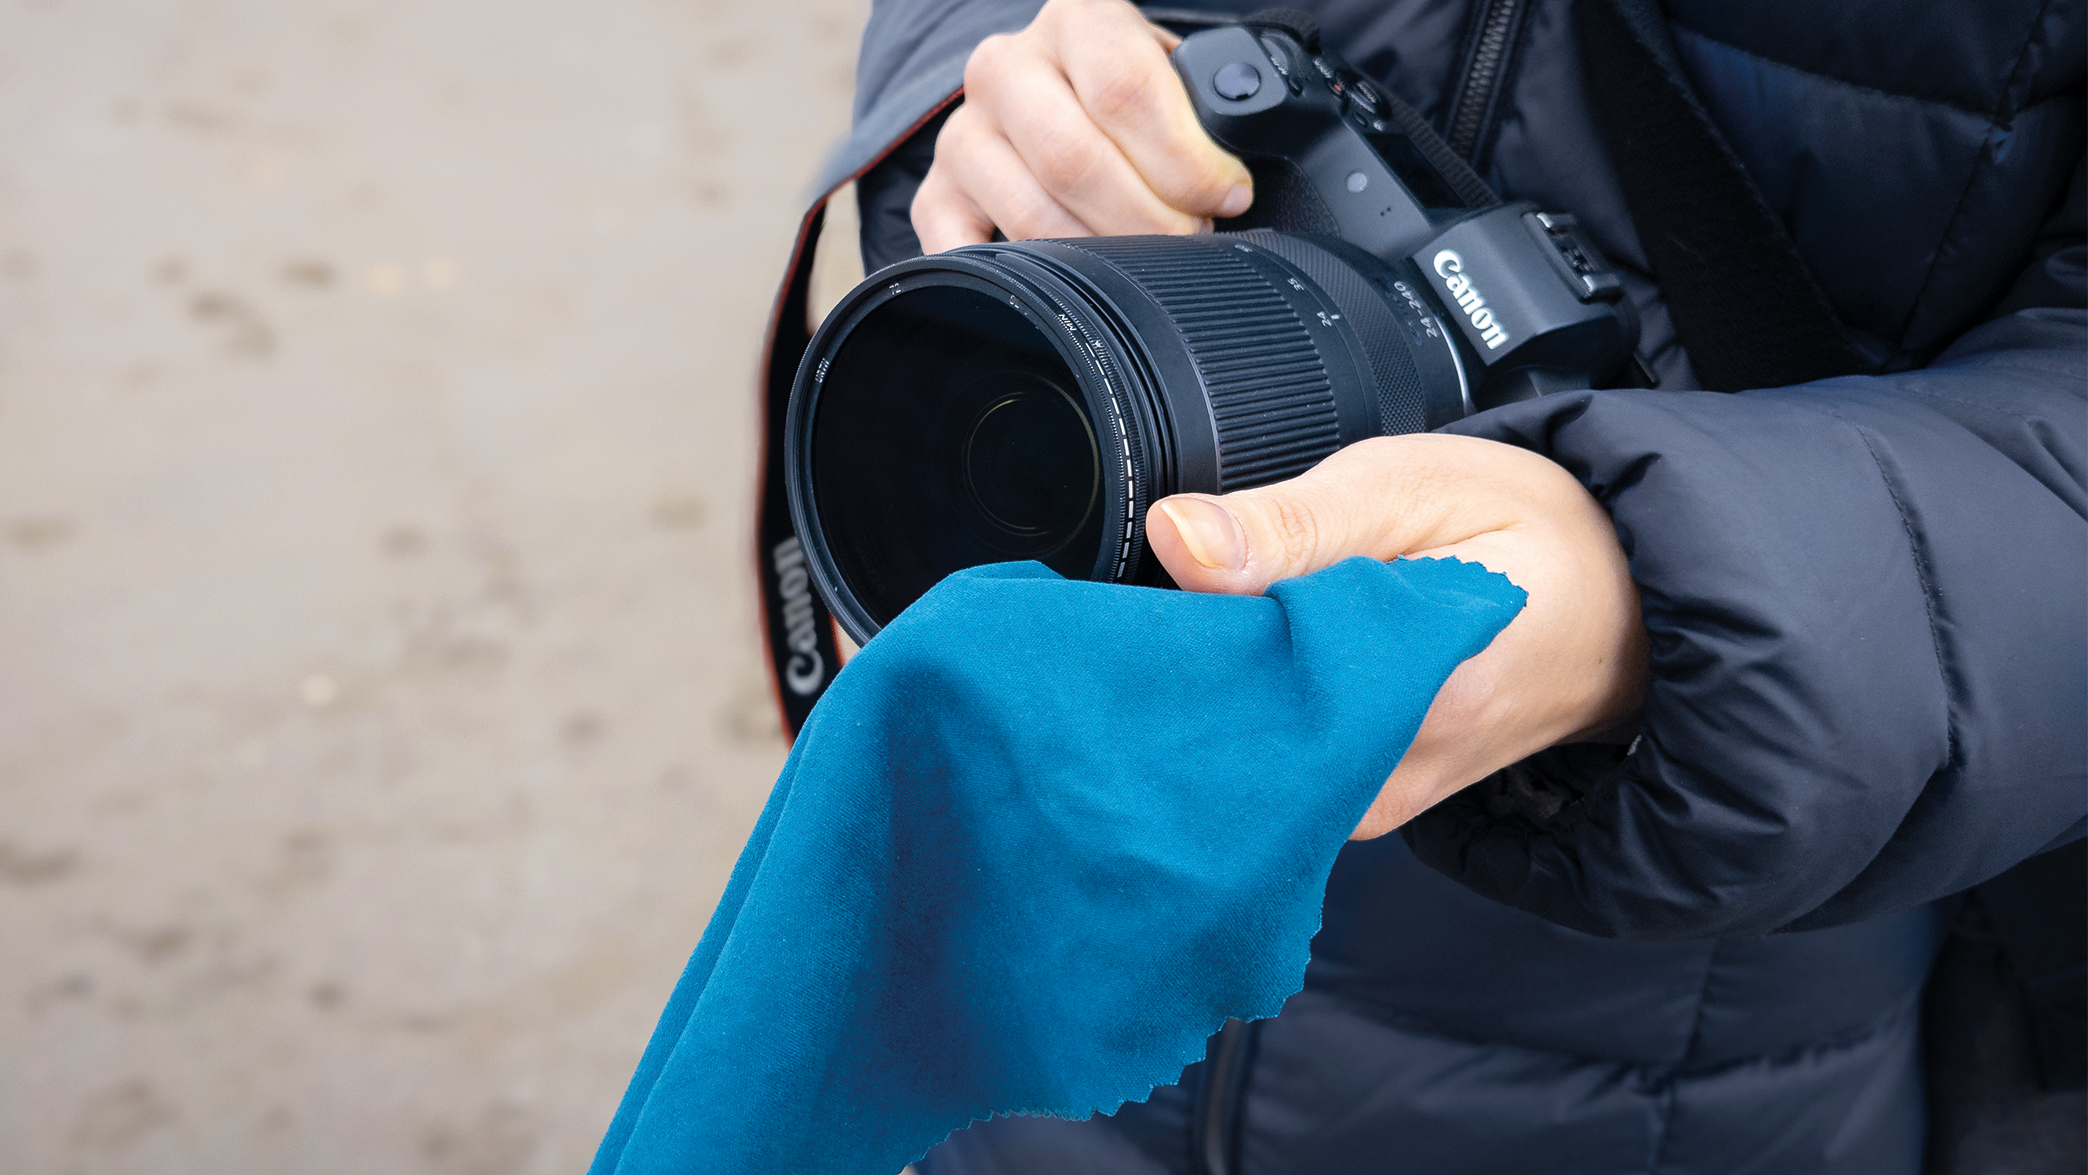
We are relying on the autofocus settings to keep up with the speed of the moving subject, so it is important to clean your lens first. This way you ensure that the AF can work accurately and won’t be distracted by dirt or spots on the lens. Use a suitable microfibre cloth to clean the lens.
3. Prioritize shutter speed
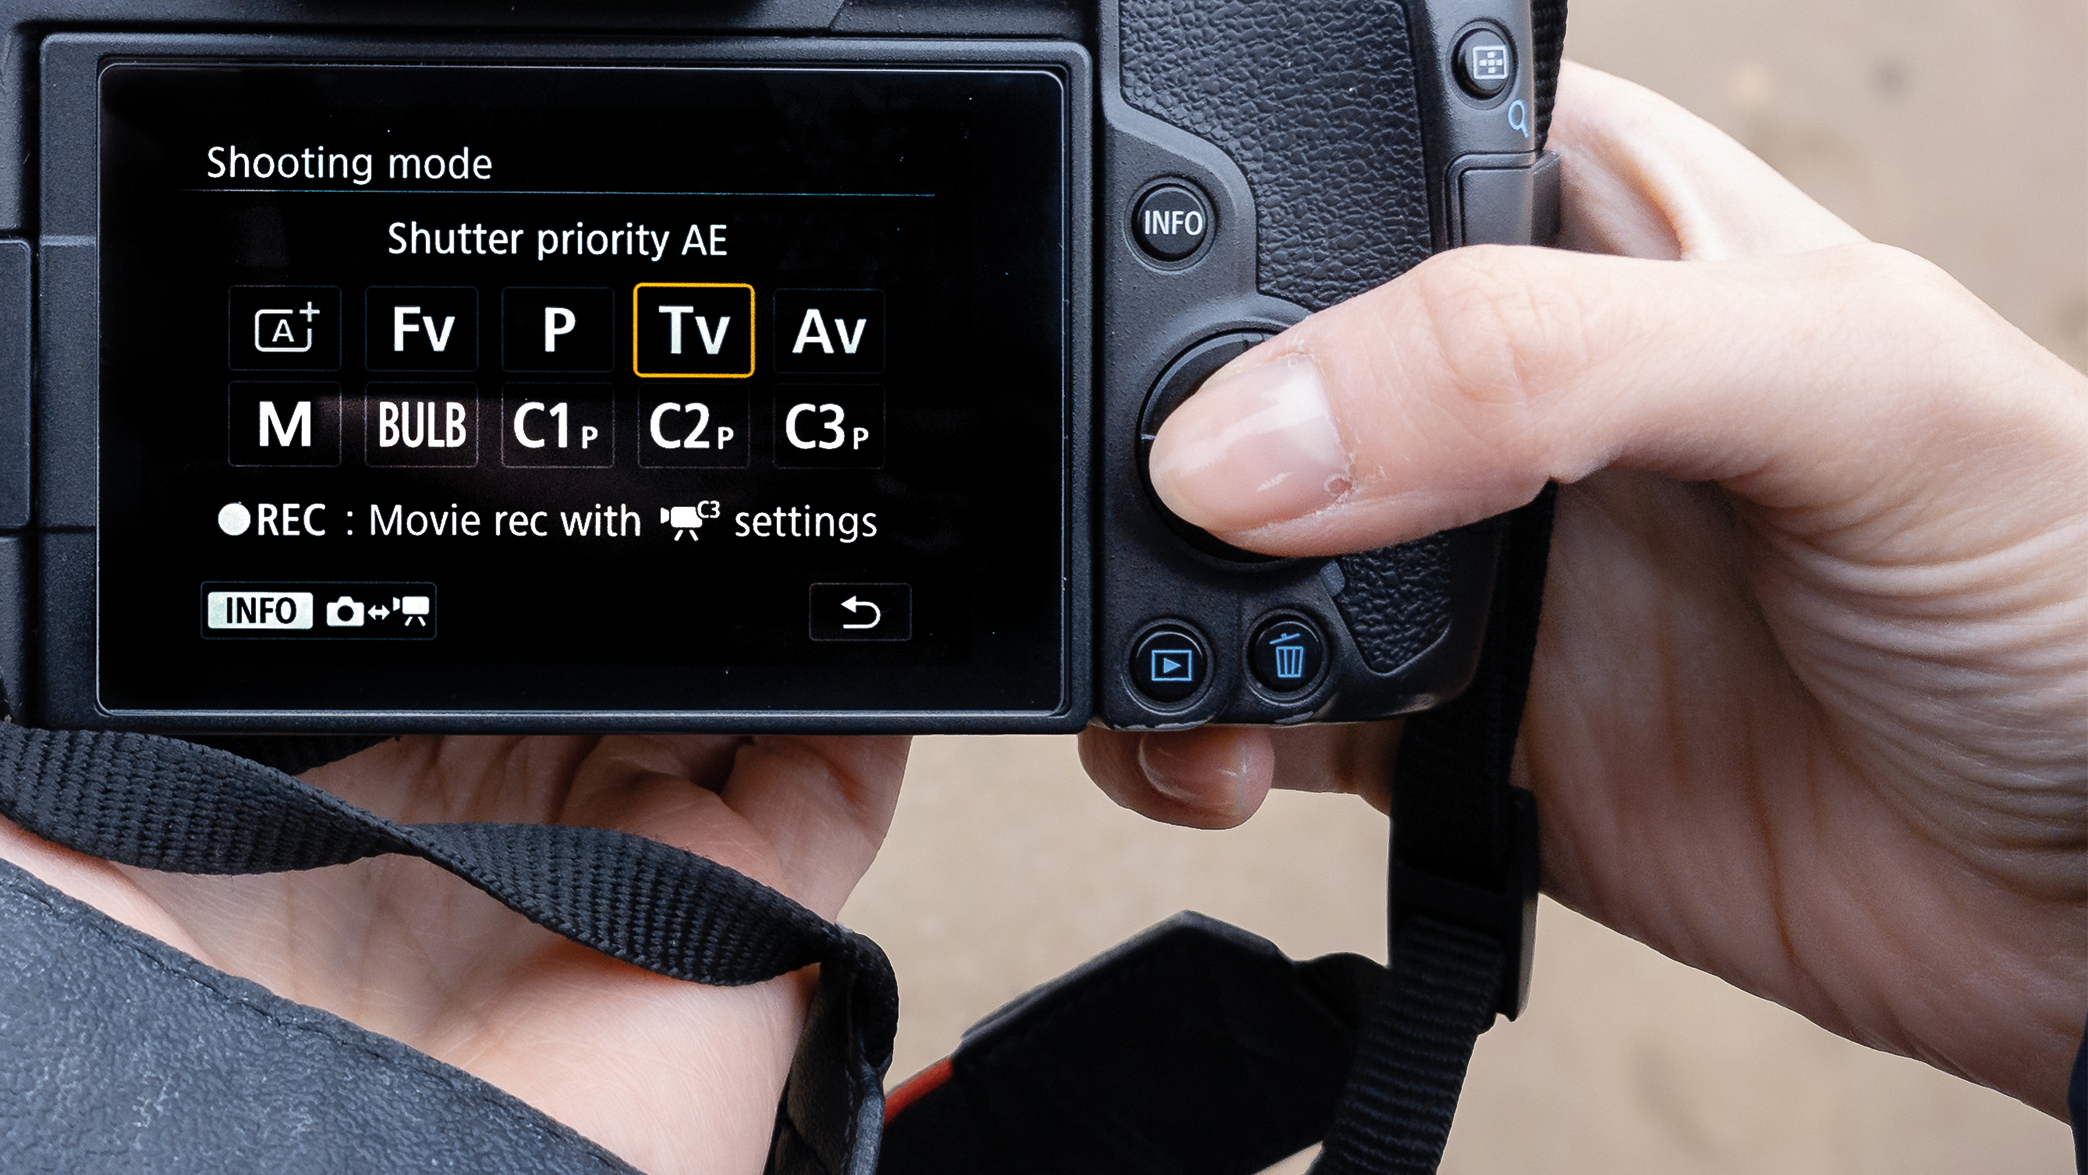
Select the Shutter priority mode and lock the shutter speed. Now the camera calculates an appropriate aperture and ISO value to ensure correct exposure. After doing some test shots, select Manual mode and experiment to put your exposure triangle knowledge into practice.
4. Set the focus
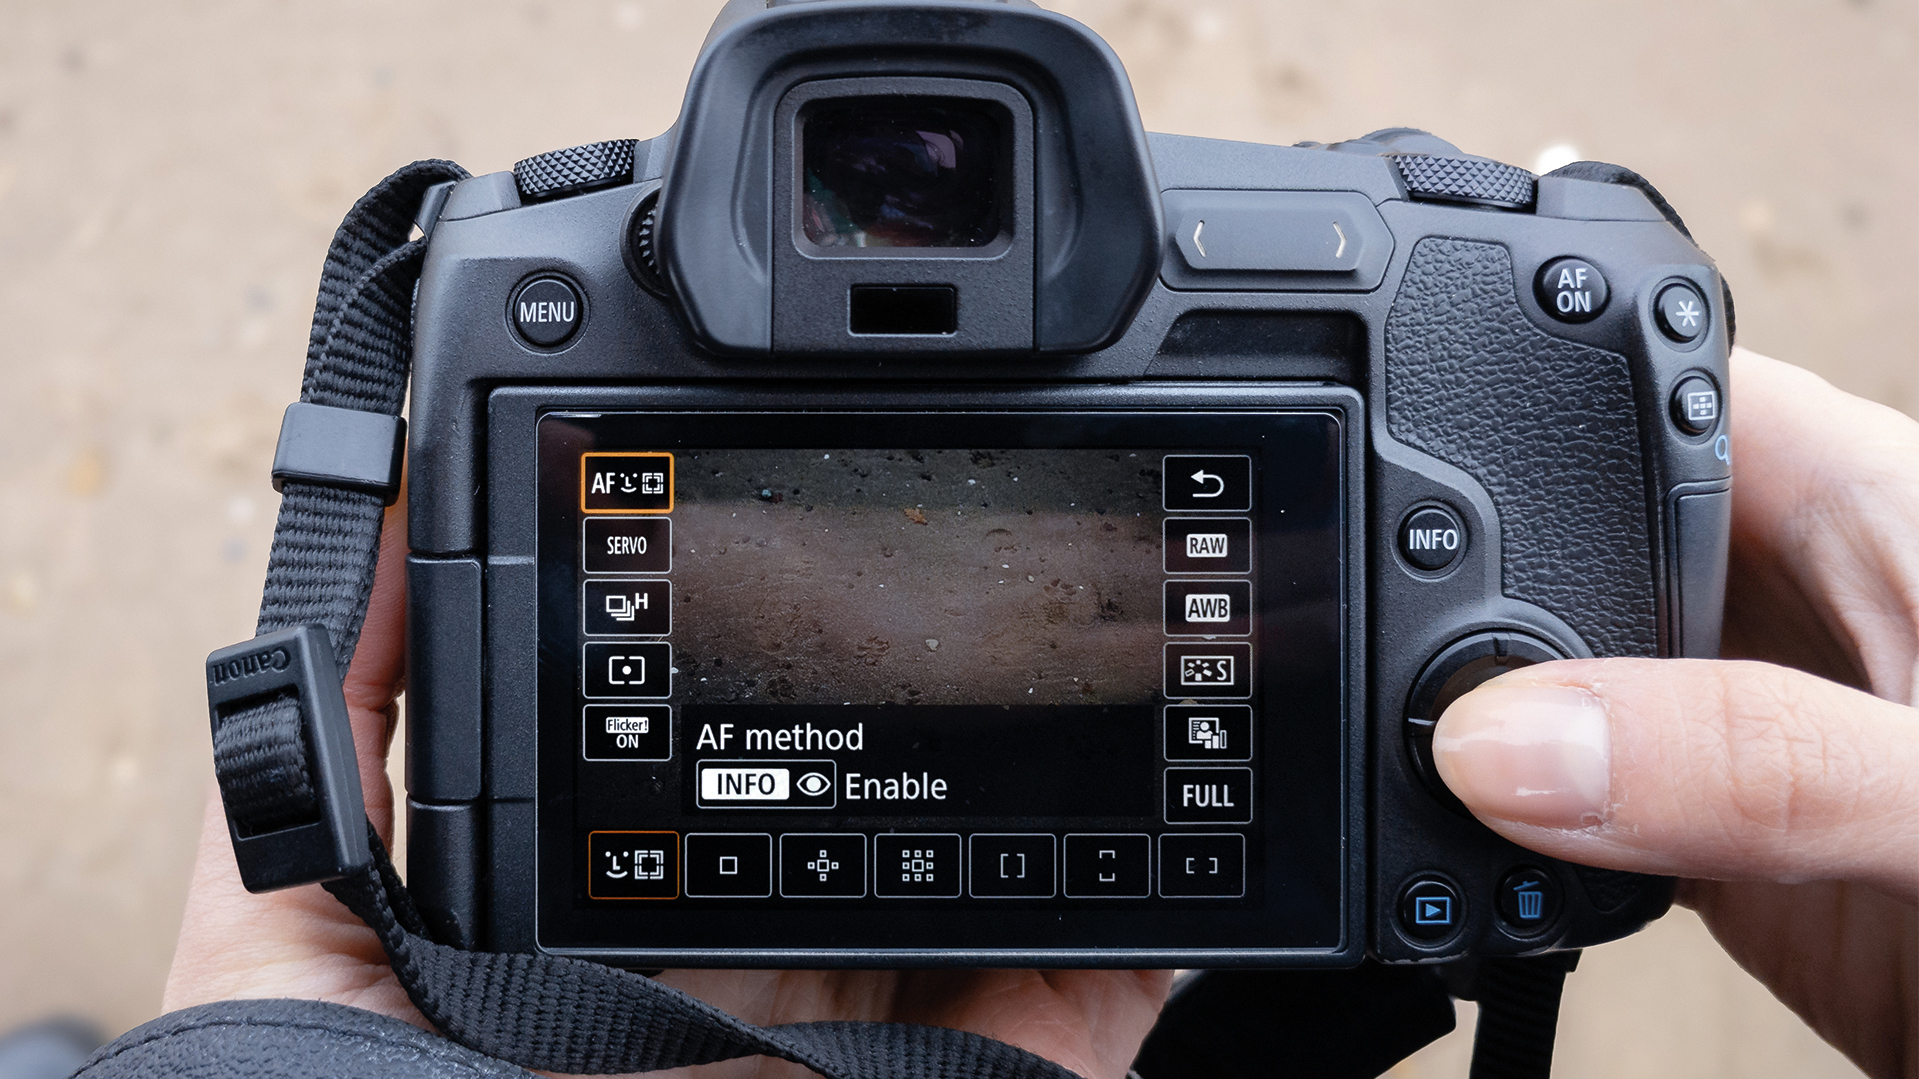
To maximize your chances of getting sharp results, shoot in Servo autofocus mode. This setting tracks the subject as it moves across the frame. By selecting continuous / burst shooting mode, the camera takes multiple consecutive shots when you keep the shutter button depressed.
5. Control exposure
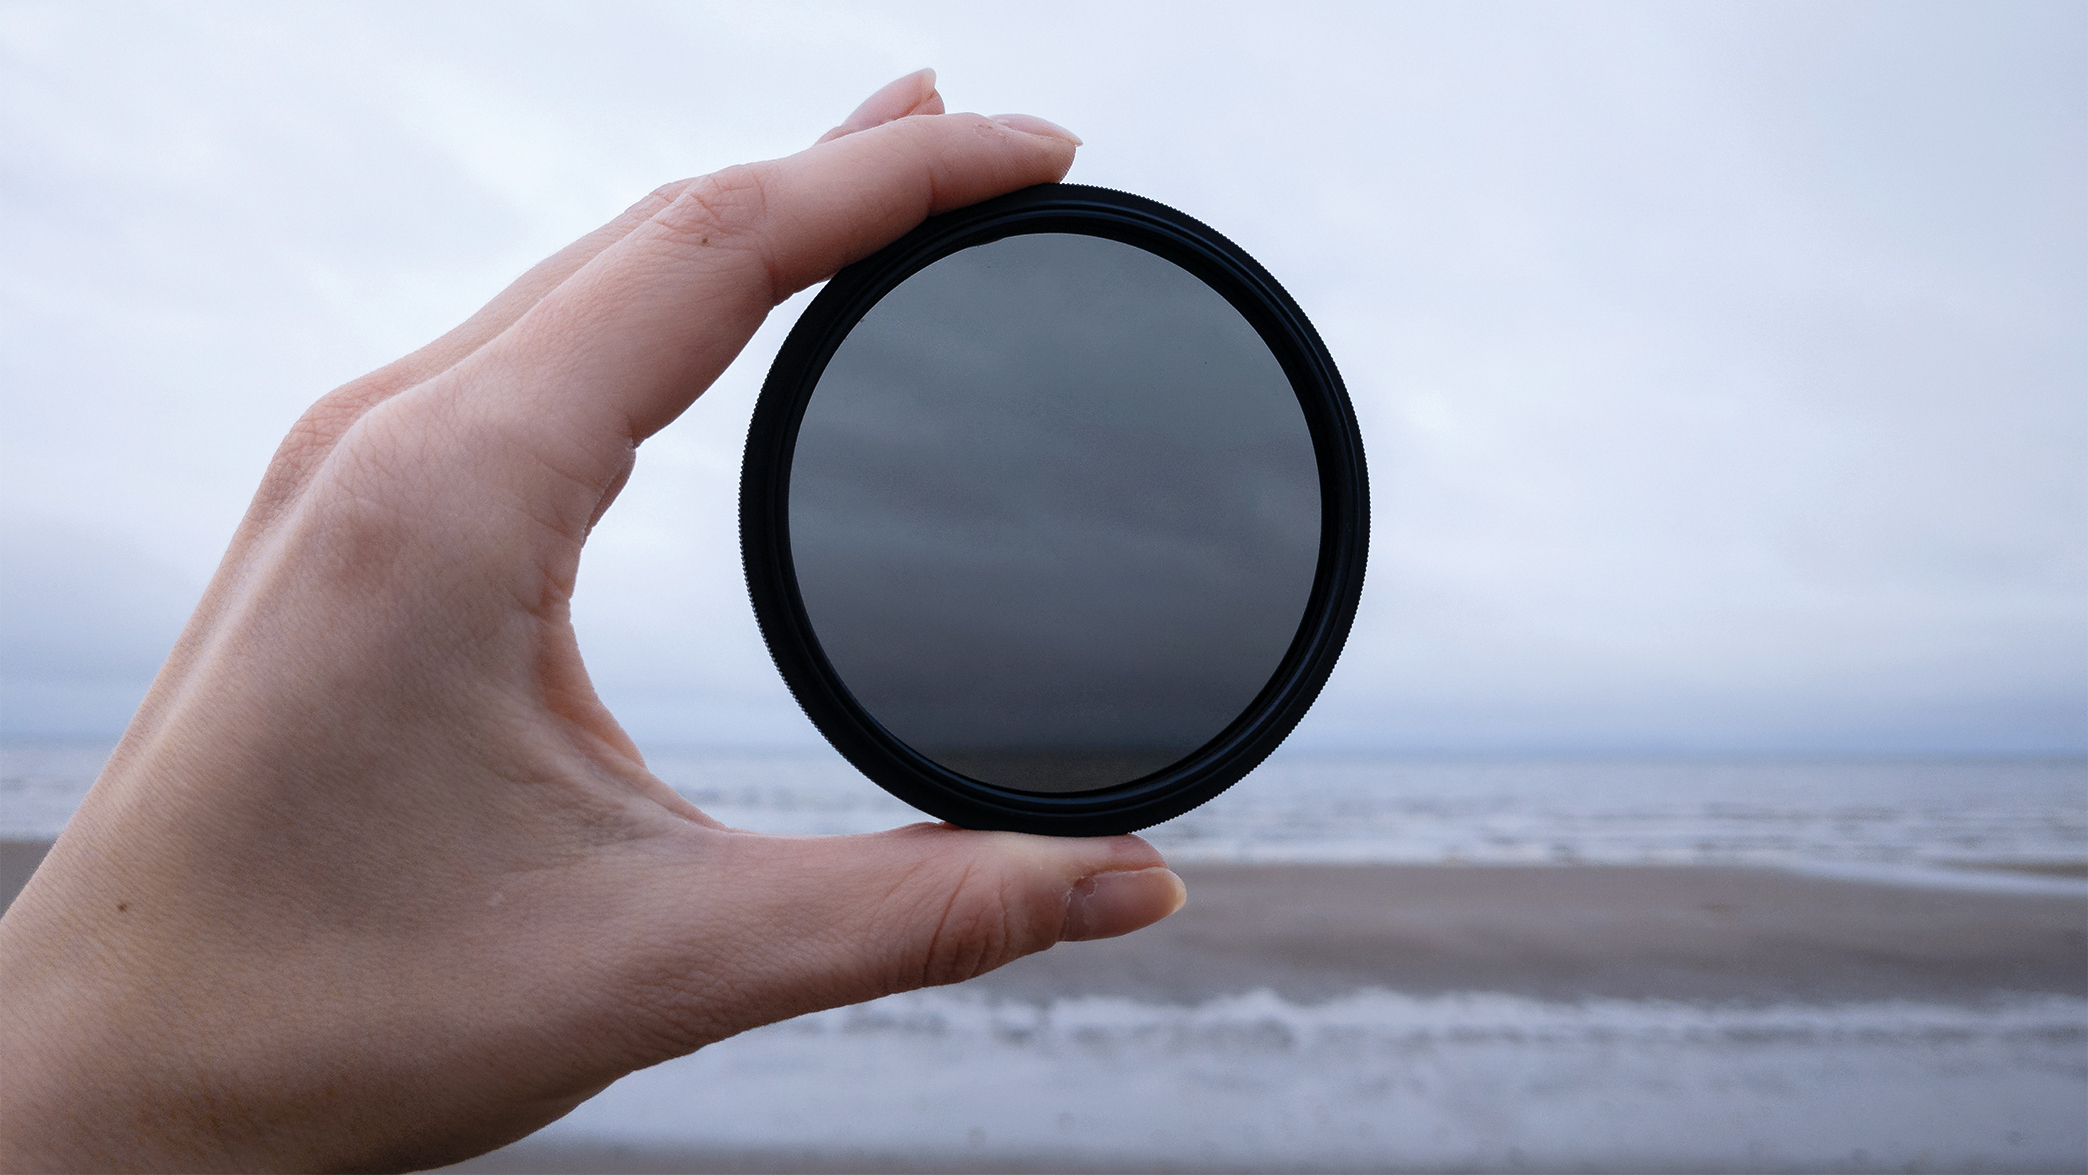
When shooting in bright conditions, for example, if your subject is directly against a bright sky, using an ND (neutral density) filter helps to control the exposure. A filter works like sunglasses for your lens and reduces the amount of light while improving dynamic range and detail.
6. Track the subject
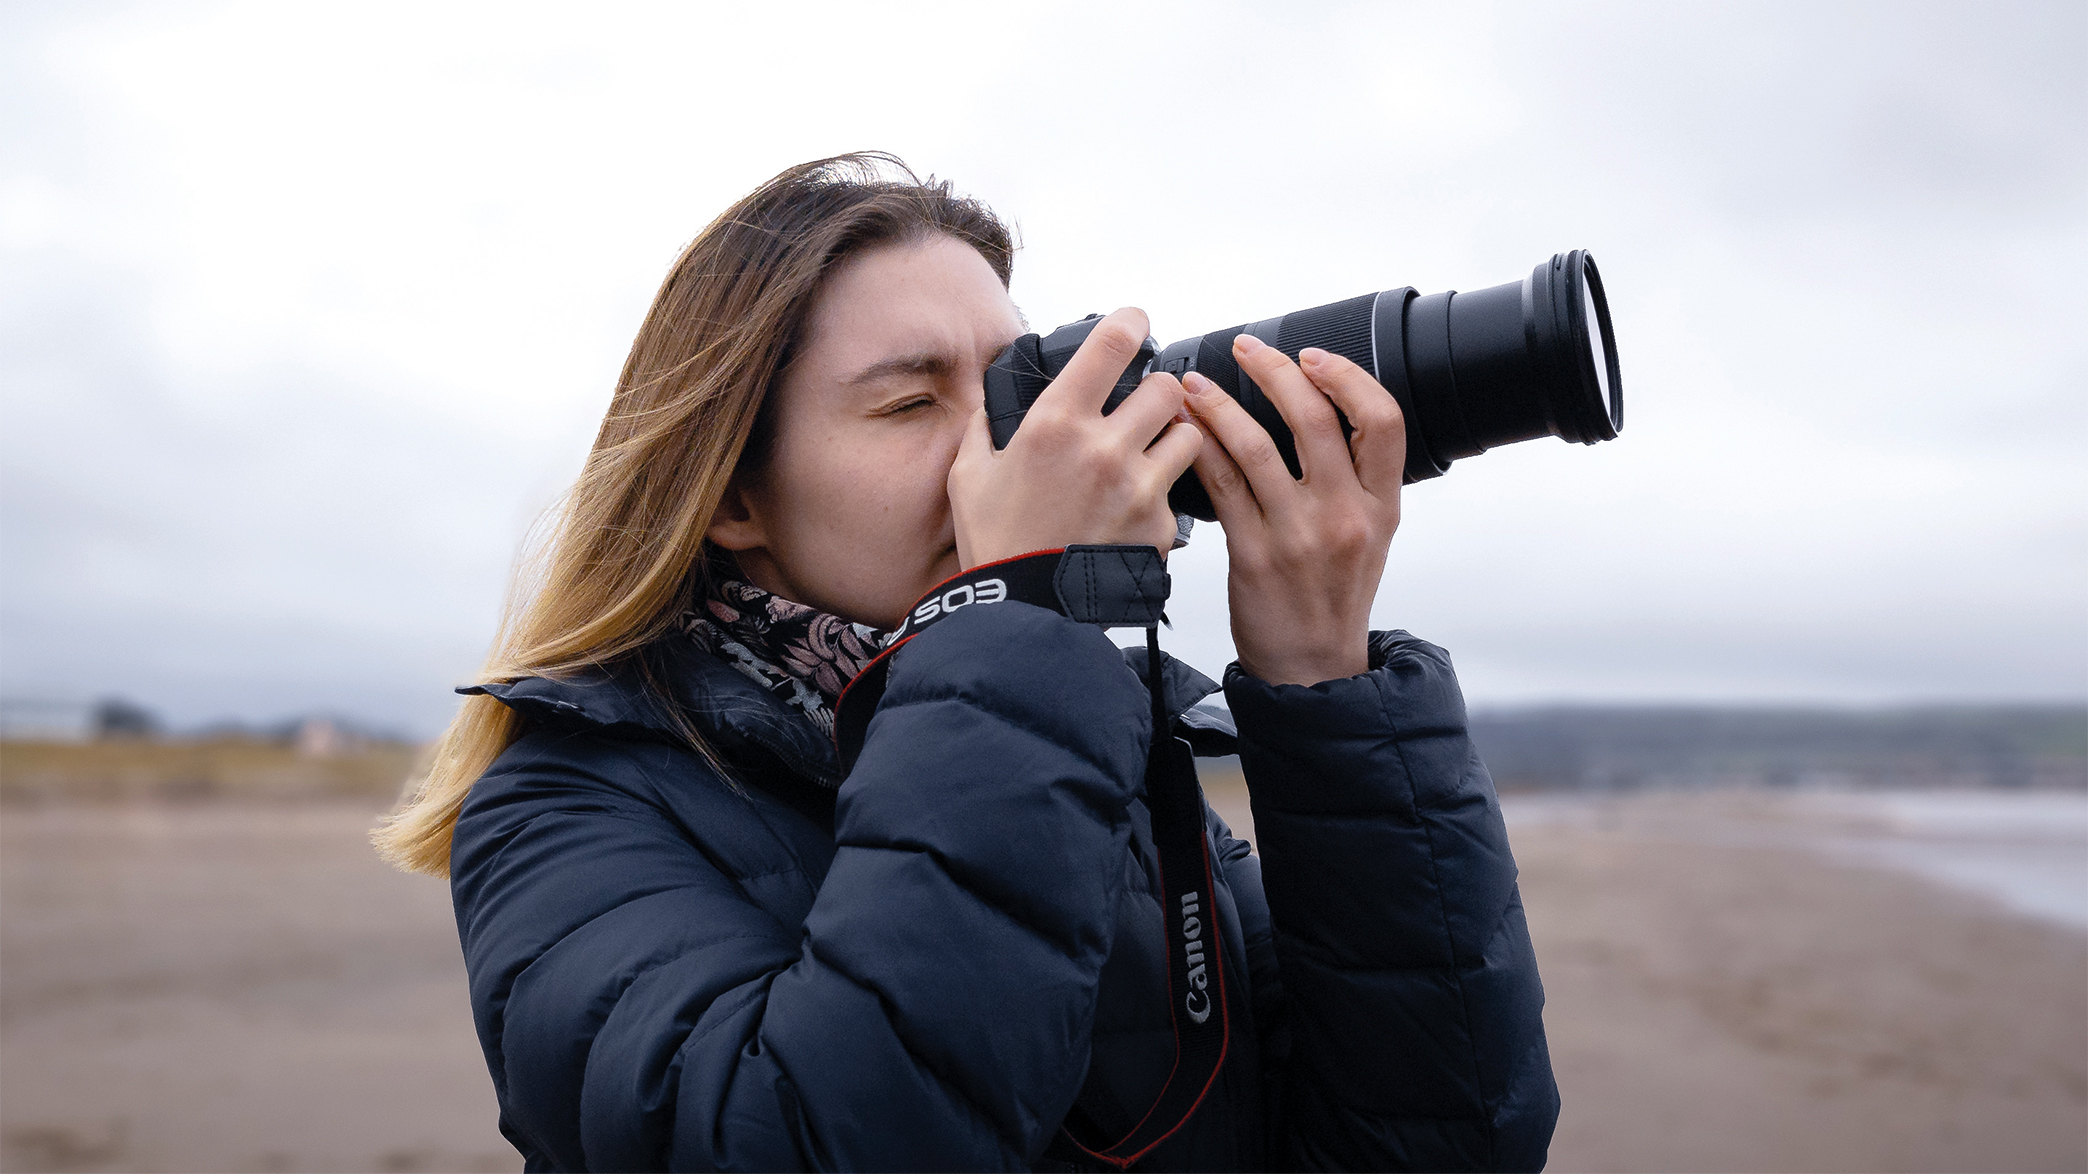
Now it is time to capture a fast-moving subject. Get into position with your legs slightly apart and keep your attention on the subject, panning along with the movement. Take some test shots and review the results. Change your point of view occasionally to add variety to your shots.
If you're shooting fast subjects, you might want to take a look at the best cameras for sports photography or the best cameras for wildlife photography.


