
Get all your news in one place.
100's of premium titles.
One app.
Start reading
Creative Bloq
Creative Bloq
Technology
Cyril Yong Zhou

How to create a video game world using Blender and Photoshop

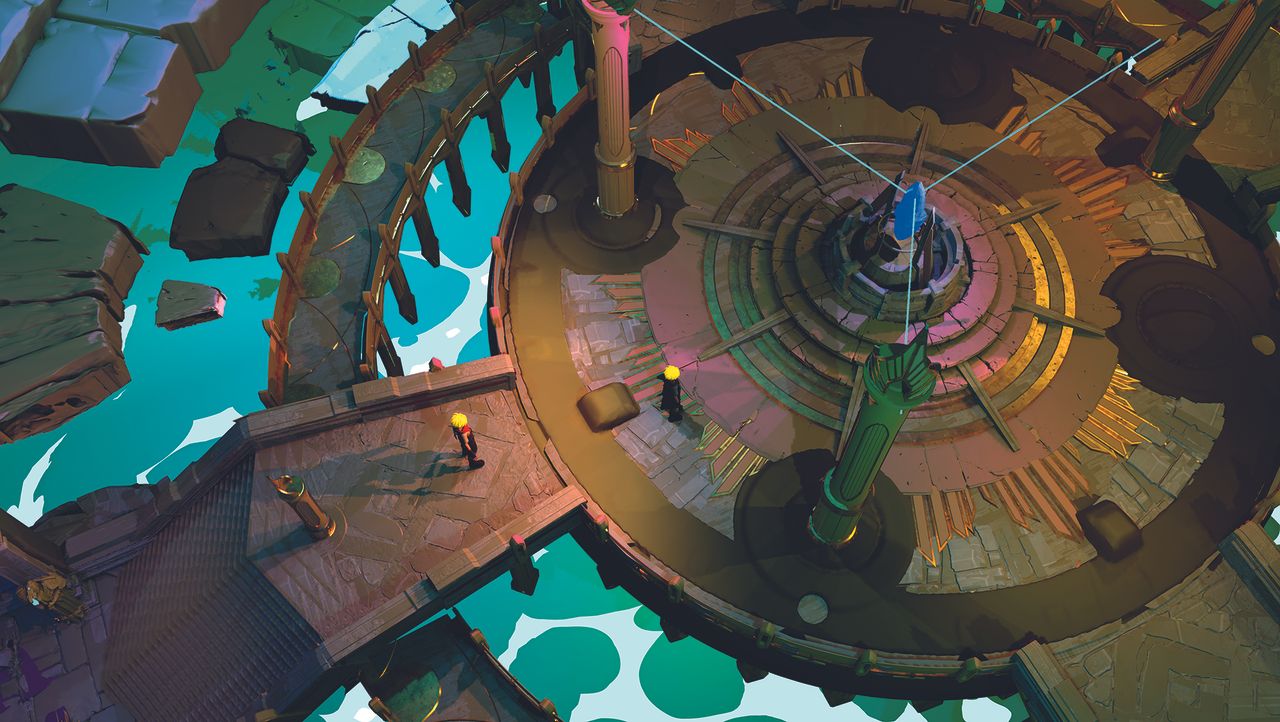
Art for a 3D video game world.

The Dragon Sanctum is an environment concept designed for a stylised action adventure game. My goal was to evoke a sense of ancient mystery and grand scale, drawing inspiration from classic JRPG worldbuilding and anime aesthetics.

To achieve this efficiently, I utilised a hybrid 3D-to-2D pipeline. I used Blender (see our guide to the best 3D modelling software) to construct the cavern’s massive multi-tiered architecture ensuring physically accurate perspective, complex bounced lighting and volumetric god rays.

Once this 3D foundation was established, I transitioned to Photoshop for heavy overpainting. This workflow enables me to solve complex spatial and level-design problems in 3D, while the final 2D paintover breathes life into the scene, breaking the ‘CG stiffness’ and delivering a warm, traditional hand painted illustration finish.

(Note that you might want one of the best laptops for 3D modelling or the best drawing tablets to work on).

01. Composition and value

Before touching any 3D software, I always start with 2D black-and-white thumbnails to lock in the core composition and value groupings. Here, I explored different focal points and camera angles to ensure the dragon monument felt imposing.

I also sketched a rough top-down map to plan the multi-tiered level design and structural hierarchy

02. 3D blockout and player flow

I then moved into Blender to build the structural blockout. Since this is a functional game environment, establishing ‘player flow’ is critical.

I mapped out the walkable areas, bridges and the central sanctum platforms (Tier 1 and 2). This 3D phase guarantees that the monumental scale is correct and the layout is practically navigable.

03. Lighting and implementing the final 3D base render

With the layout complete, I set up cinematic lighting and dense volumetric fog in Blender to establish mood and depth.

This 3D output provides perfect perspective and lighting information, serving as the foundation before transitioning into Photoshop for the final stylised overpaint.

This article originally appeared in ImagineFX. Subscribe to ImagineFX to never miss an issue. Print and digital subscriptions are available.

Creative Bloq is now easier to access than ever before with our on-the-go app, which brings you all the content you know and love from our website, but in a super-streamlined design.
Download the Creative Bloq app for iOS
Download the Creative Bloq app for Android

Sign up to read this article
Read news from 100's of titles, curated specifically for you.
Already a member? Sign in here
Related Stories
Top stories on inkl right now
One subscription that gives you access to news from hundreds of sites
Already a member? Sign in here
Our Picks
Fourteen days free
Download the app
One app. One membership.
100+ trusted global sources.