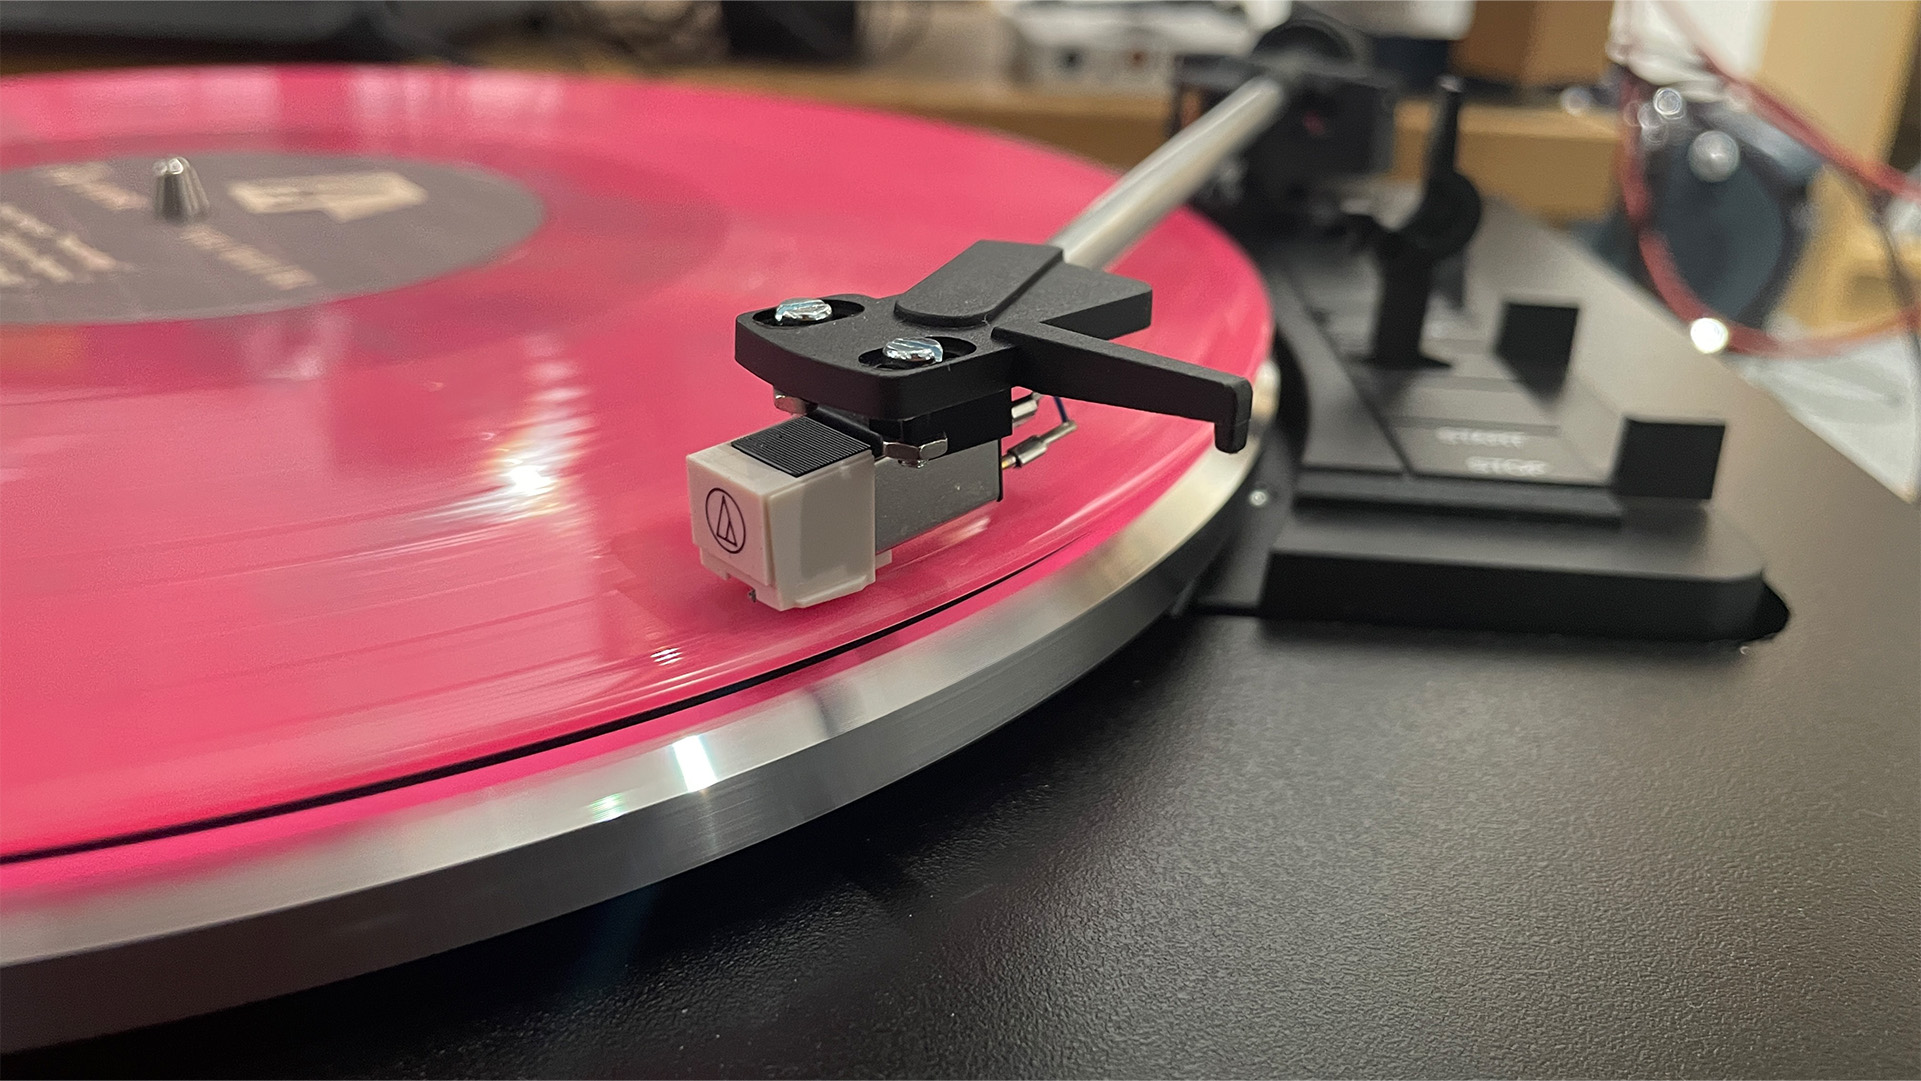
Look, no one said physical music ownership was going to be easy, and if you want the very best sonic performance from your turntable, you’re going to need to keep it clean. No, blowing the dust off the dust cover every once in a while doesn’t count… and that’s if you even use a dust cover, of course.
Yes for all the love and wonder of physical music, it does come with a bit of extra legwork to ensure you’re getting it at its very best, and out of all hi-fi kit, record players probably require the most. Any dust, dirt or other such grime can cause audible issues in playback — keeping your records clean can go a long way to helping there, but you also need to pay some attention to your turntable too.
Turntables are fragile so you’ll want to take a bit of care when you’re doing it for the first time, but once you know your way around, you’ll be doing some regular spruce ups in no time.
Got your lint-free cloths at the ready? Let’s go.
Why do I need to clean my turntable?
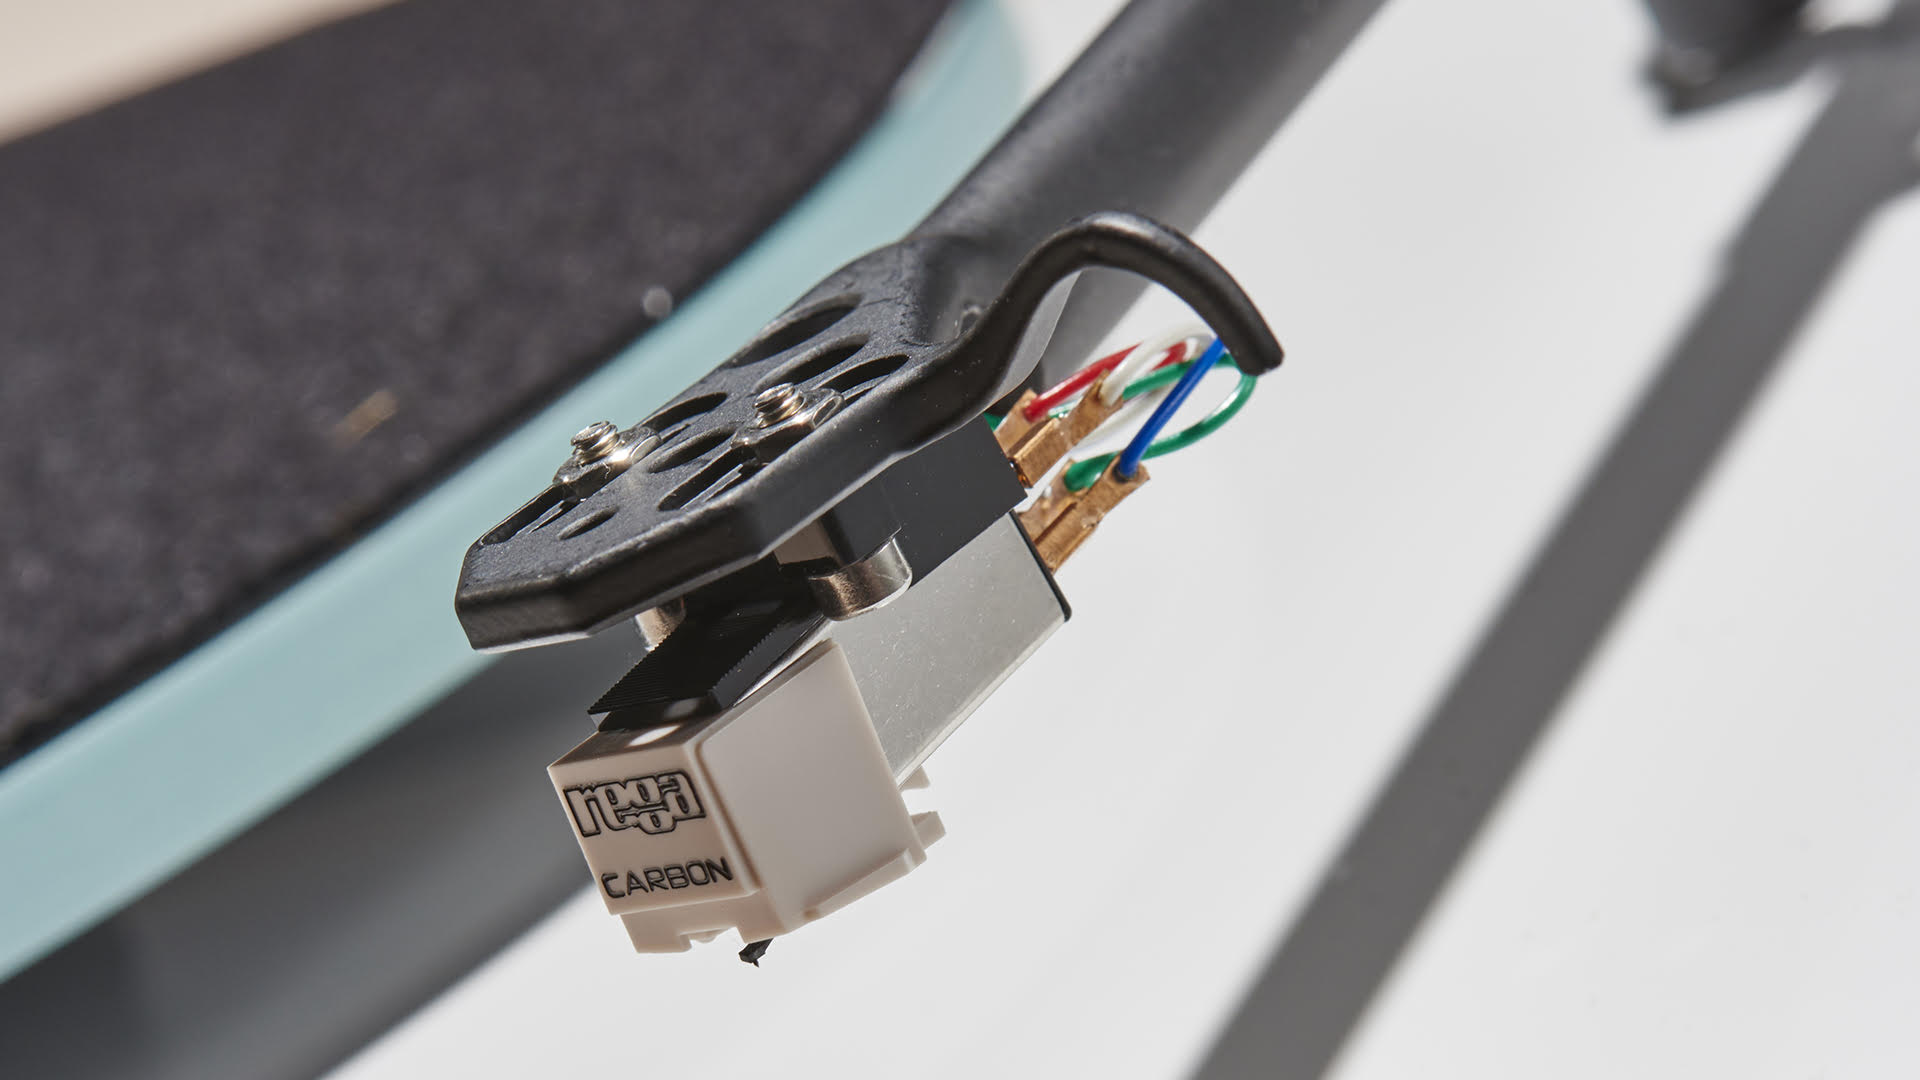
As we’ve touched upon already, dust and dirt can cause serious issues with your vinyl sound. The biggest problem is record players actually actively attract dust, thanks to the static created by the stylus moving through a record’s grooves.
This shows up as pops and crackles in playback, a muffled, undefined sound, and even stylus mistracking. It can damage your vinyl too, not to mention affect the longevity of your turntable, so a little bit of maintenance is key to keeping it sounding its best.
What do I need to clean my turntable?
Before you start, it’s always worthwhile checking your turntable’s care instructions to see if it has any recommendations for things to do, or not do. Some manufacturers recommend cleaning methods that others don’t, so it’s good to be sure so you don’t accidentally void your warranty.
All that considered, the cleaning list for the majority of turntables is relatively straightforward. You’ll need:
- A clean microfibre cloth
- Anti-static dusting spray
- Rubbing alcohol (isopranyl alcohol)
- A stylus brush
How do I clean my turntable?
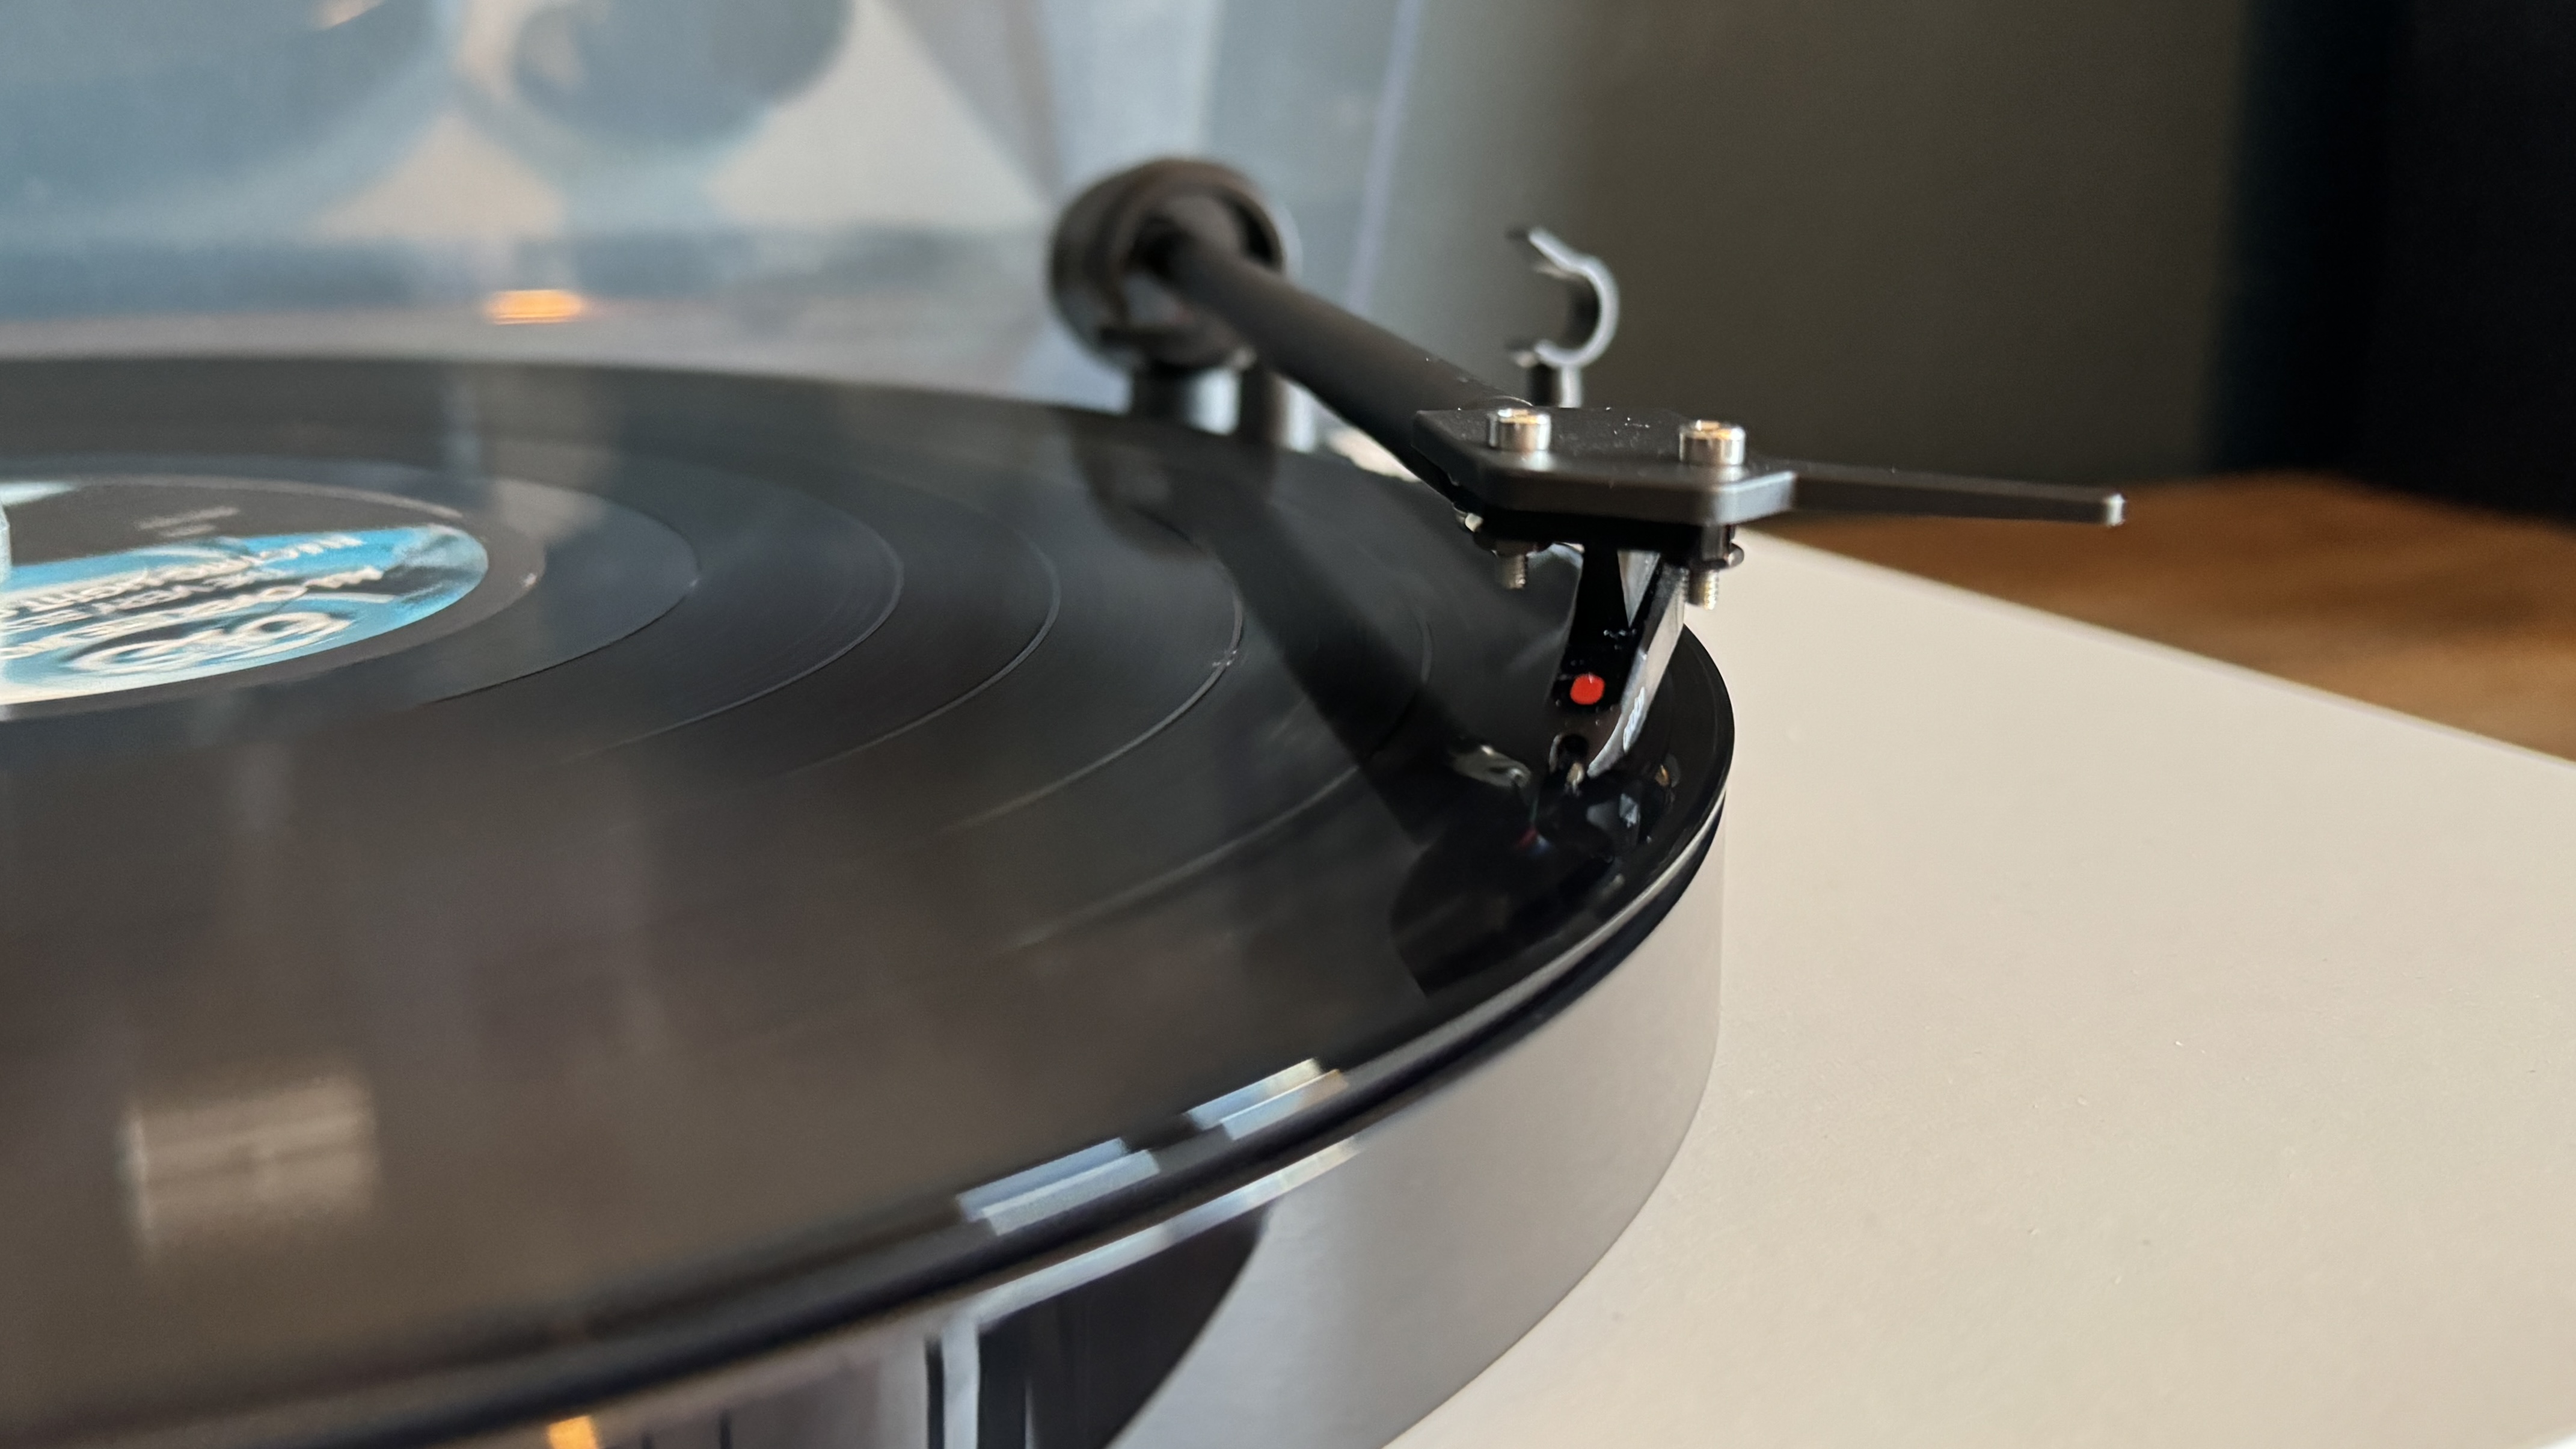
Now you've got everything prepared, let’s take this step by step.
1. Unplug it
Nice and easy to start with — you’ll want to unplug your turntable and move it to a place where you can easily access everything you need to clean.
2. Check under the platter
First, remove the platter and have a check of the belt and the motor. You can carefully remove and clean the belt with a dry cloth if it’s looking particularly dusty but you’re mostly having a look here for any issues that might need a professional’s help. We’d avoid touching any of the main mechanics — if you’re restoring a really old turntable and things aren’t looking their best, then professional maintenance may be the best way to go.
3. Dust the deck
Pop the platter back on, grab your microfibre cloth and tackle the bigger surface areas of the turntable that may have accumulated dust — things like dust cover, platter and the plinth. Spray your cloth, not the turntable, with an anti-static dusting spray and then carefully wipe it over these areas to clear them of dust.
If you use a turntable mat, this can usually be dusted down too, though rubber mats can be dunked into warm and soapy water for a thorough clean. Just make sure you give them sufficient time to dry out afterwards.
Take care when cleaning around the tonearm and any switches or dials that you don’t disturb the counterweight or change any settings that you carefully set — though we’d always recommend a check of these after a clean anyway, to ensure they’re still correct.
4. Clean the tonearm
For this, you’re going to need alcohol. No, it’s not time to celebrate your cleaning achievements just yet. Isopropyl alcohol (over 90% ideally), or rubbing alcohol, is great for degreasing and disinfecting, making it a good choice for keeping your tonearm clean, shiny and germ free.
Mix the with equal parts water and use a microfibre cloth or cotton bud to wipe across the length of the tonearm, not forgetting to go carefully around the headshell and counterweight.
If your turntable’s headshell is removable, you can take it off and ensure all the connections are clean too — some people use the eraser on the end of a pencil to gently clean the contact points inside the tonearm and on the headshell itself.
5. Clean the stylus
We all know how fragile the stylus of a turntable is, so you don’t need us to tell you to take care on this part. But seriously, just take care, ok?
The simplest way to keep your stylus singing is to use a stylus brush, swiped back to front a few times — mimicking the way it moves through your record’s grooves. This should help to dislodge any dust or dirt — behind the stylus tip is often a place to pay attention to — though there are a few other options if you feel like your stylus needs a very deep clean.
There are a number of cleaning sprays and dipping gels for styluses, though this is the area that some brands disagree on, so it is worth checking recommendations.
For a simpler method, and something you can buy cheaply from a hardware store, try a Magic Eraser. Cut a small cube and rest gently rest the stylus into it several times, until it not longer leaves a residue. Make sure to do this dry, and on the white side of the Eraser only — any coloured sides will have been treated with cleaning agents that could damage your stylus.
6. Time to check your work
Hopefully at this point, your turntable is looking brand new. Before you start enjoying the fruits of your labour though, do check your turntable is still set up correctly. That means checking any manual tracking force and anti-skate measurements are still as they should be, just to make sure you haven’t accidentally knocked anything while cleaning.
How often should I clean my turntable?
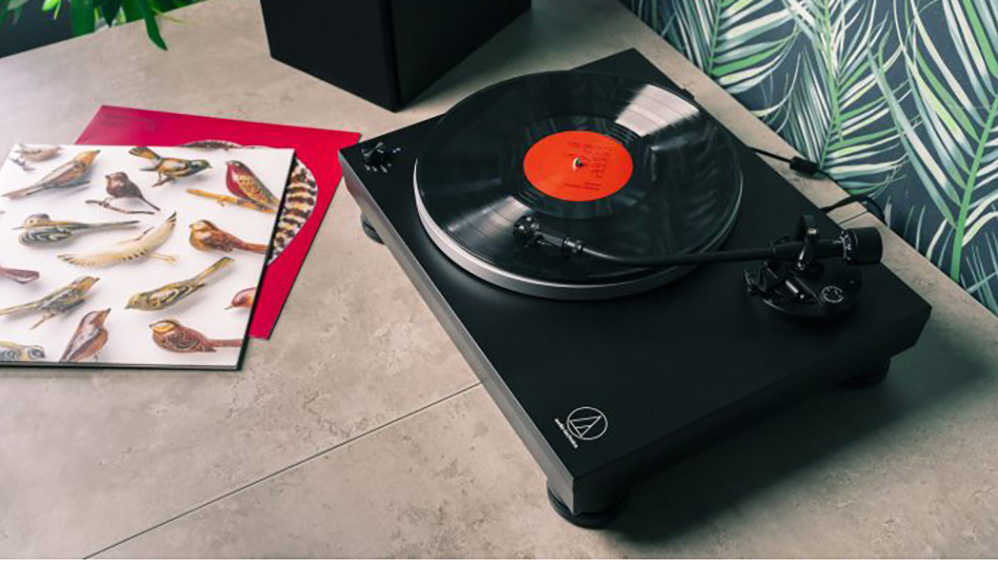
Opinions vary on this, but regular listeners will know that the more records you play, the more dust accumulates, so it’s not a bad thing to stay on top of cleaning as often as you can.
Running your stylus brush over your stylus once every couple of week or so only takes a minute or two, and you can fit in the rest of the cleaning as and when you feel like it needs doing — perhaps once a month is a good goal.
However, the best thing you can do to ensure your turntable is playing as well as it can do, is to keep your records clean. If they have less dust in their grooves, less dust will be picked up by your stylus and your whole system will sound much, much better.
Happy listening!
MORE:
Read all the Vinyl Week 2024 features
Check out the best record players you can buy now, all tested by our experts
How to set up your turntable and get the best sound
How to clean vinyl records at home (and keep them clean in the first place)


